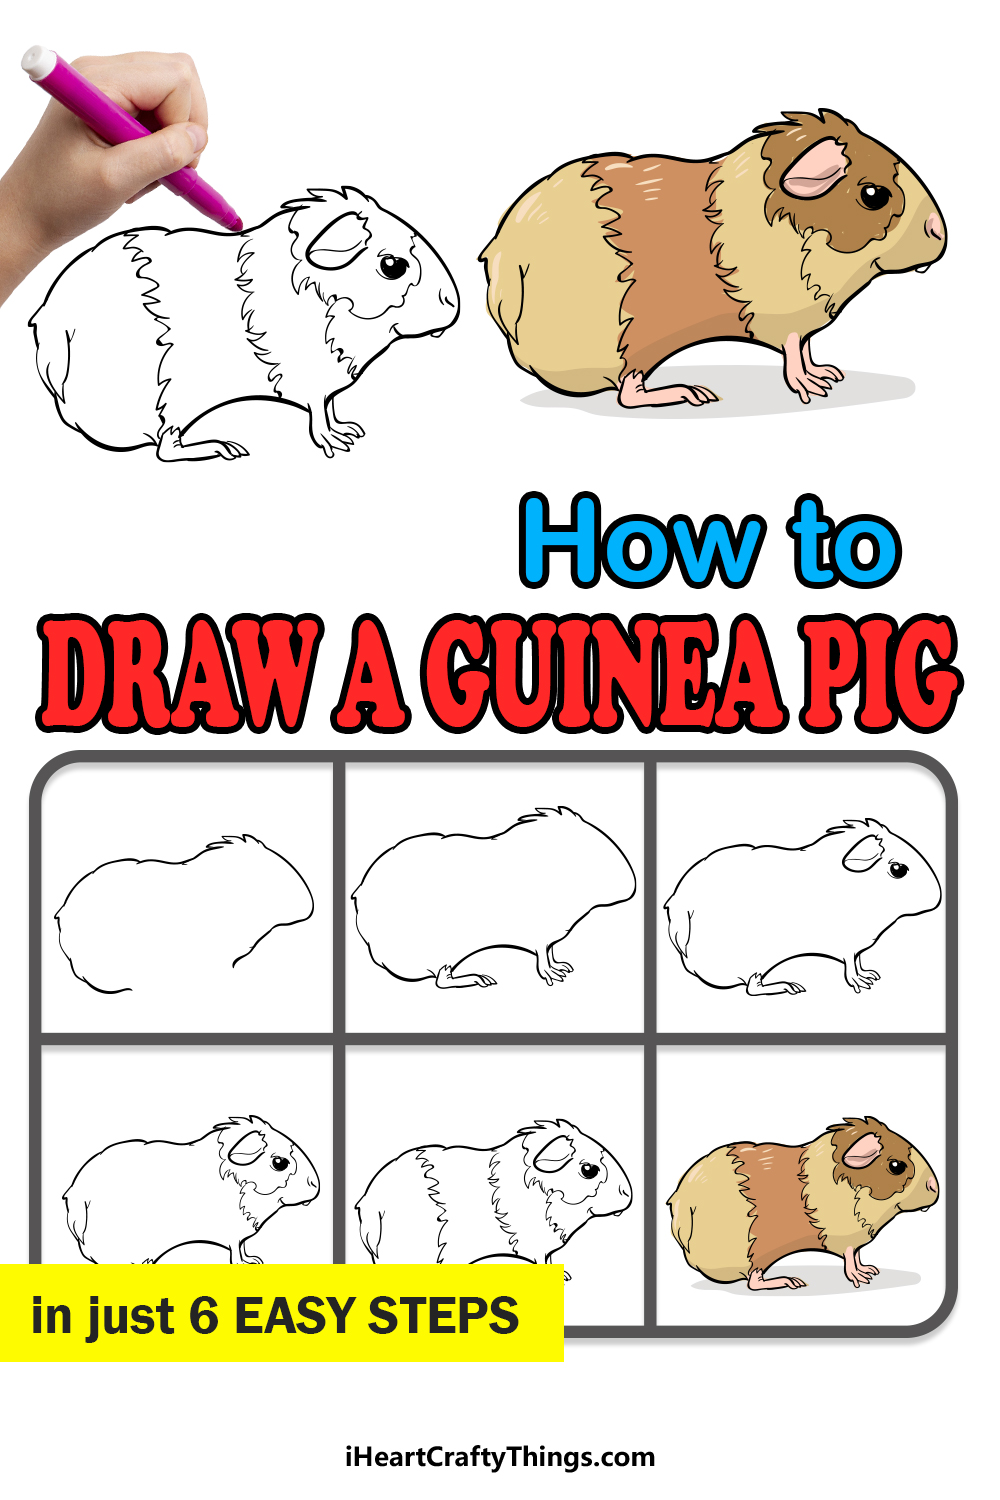
There are many adorable pets that you can get, from mice to rabbits to cute puppies! One of the cutest little friends that you can have, however, is the guinea pig.
These furry little rodents come in many different colors and types, and because they are so distinct looking many people would like to learn how to draw a guinea pig.
If you would like to draw a guinea pig pal yourself, then keep reading this guide to see how you can do it!
Our step-by-step guide on how to draw a guinea pig will show you how easy it can be!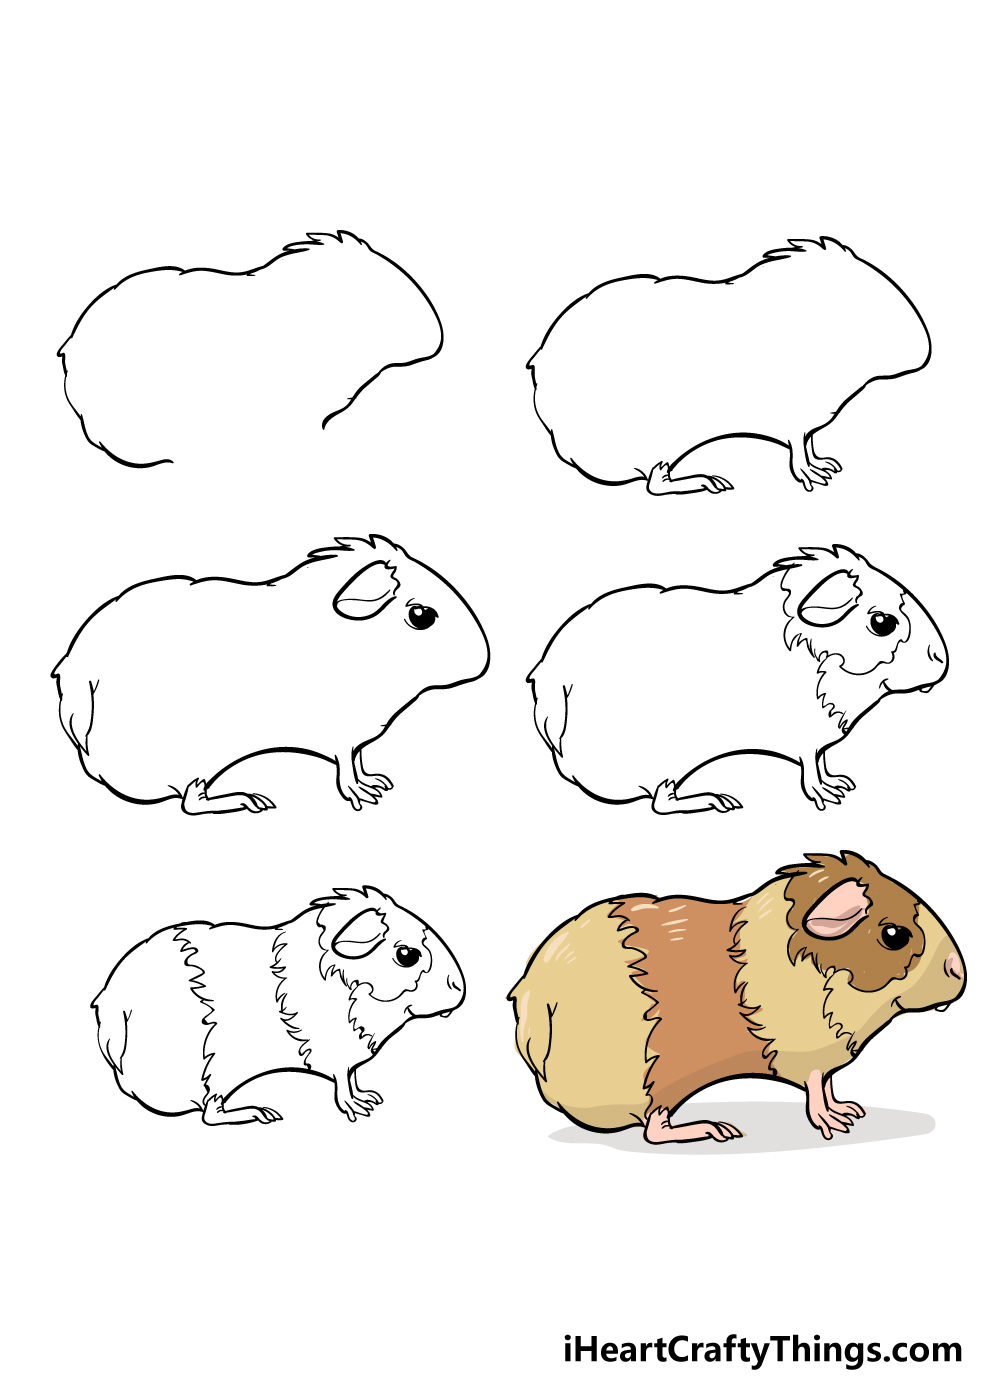
How to Draw A Guinea Pig – Let’s get Started!
Step 1
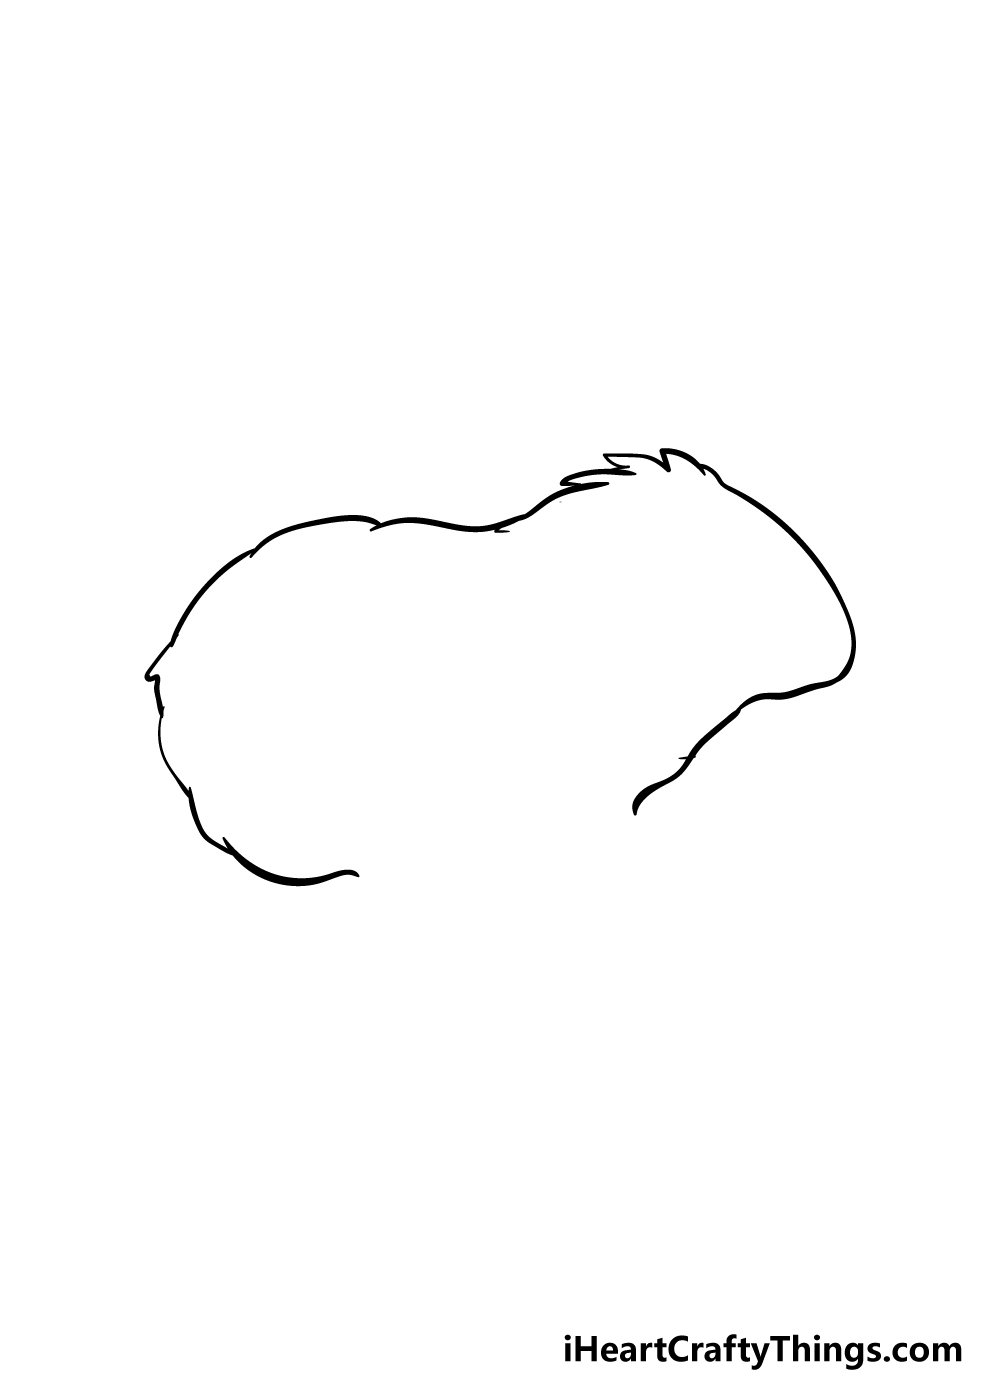
To begin this guide on how to draw a guinea pig, we will be starting with the body and head outline for the guinea pig.
The guinea pig will be facing the right-hand side, and the back of it will be drawn with a rounded, jagged line.
The jaggedness of the line will be used to give the appearance of fur. It will then have a short back before moving into the head outline.
There will be more sharp lines on top of the head to show hair, and then it will go into the face at the front.
As you can see in the reference image, the face is a little more rounded and less jagged in the linework, as it will not be as furry there. Once you have the face and body outline done, you’re ready for step 2!
Step 2 – Draw the legs and belly of the guinea pig
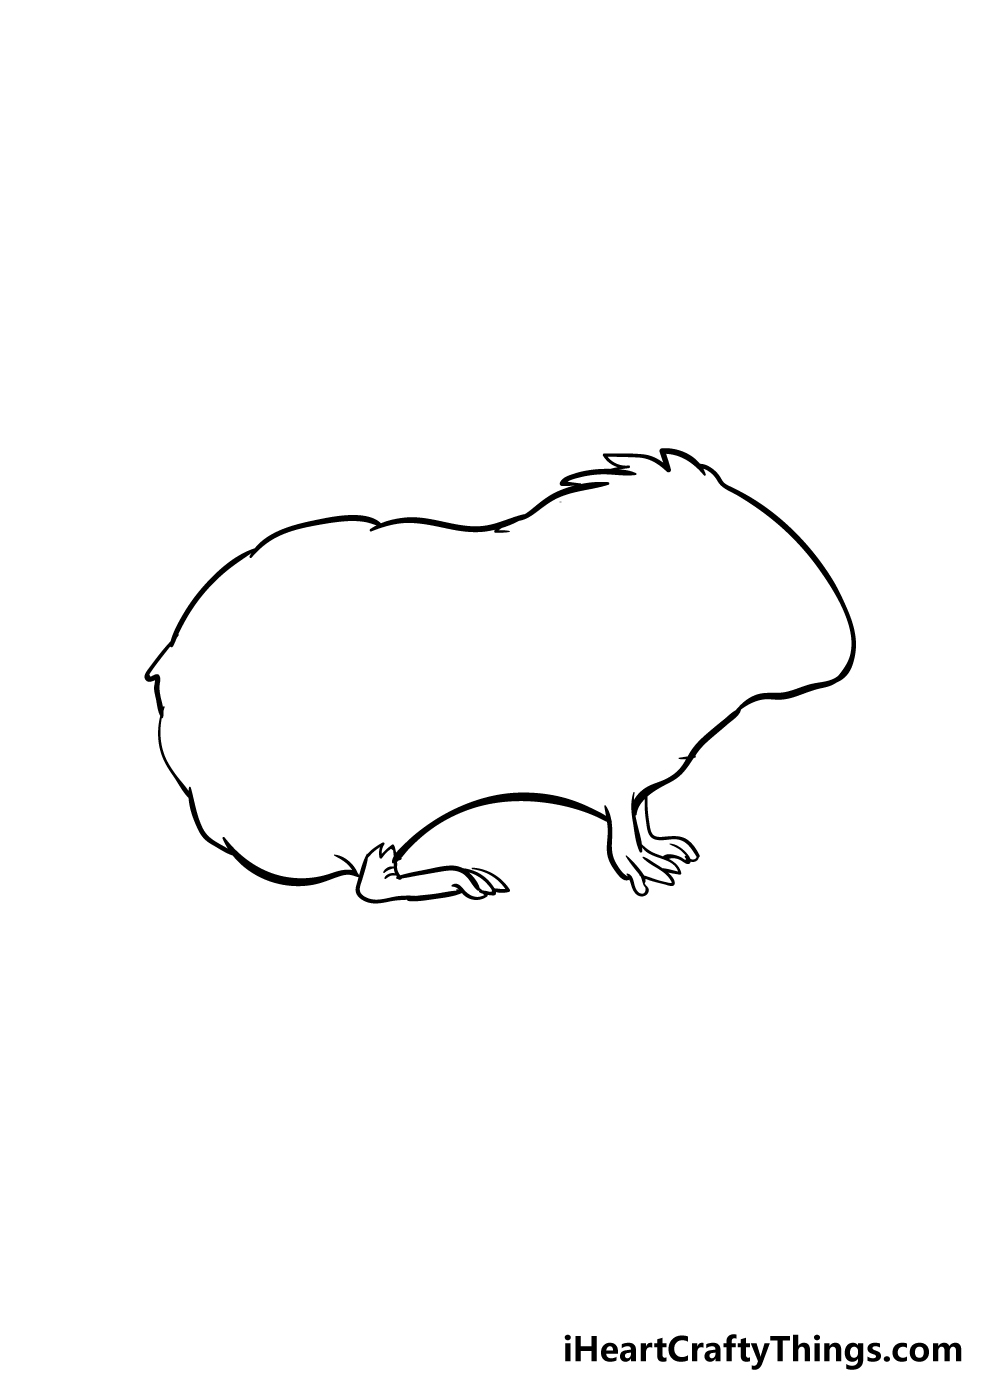
We will be adding some legs and a belly to your guinea pig drawing in this next step! The back legs will be very short coming down from the body, but will have long feet on the floor.
You can draw a small, jagged line at the very top of the leg to suggest fur there. The belly will then be drawn with a line that curves inward on the guinea pig.
The front legs will be slightly longer and thinner than the back ones, and the feet on these ones will also be a bit smaller.
Step 3 – Now, we shall add an eye, ear and tail
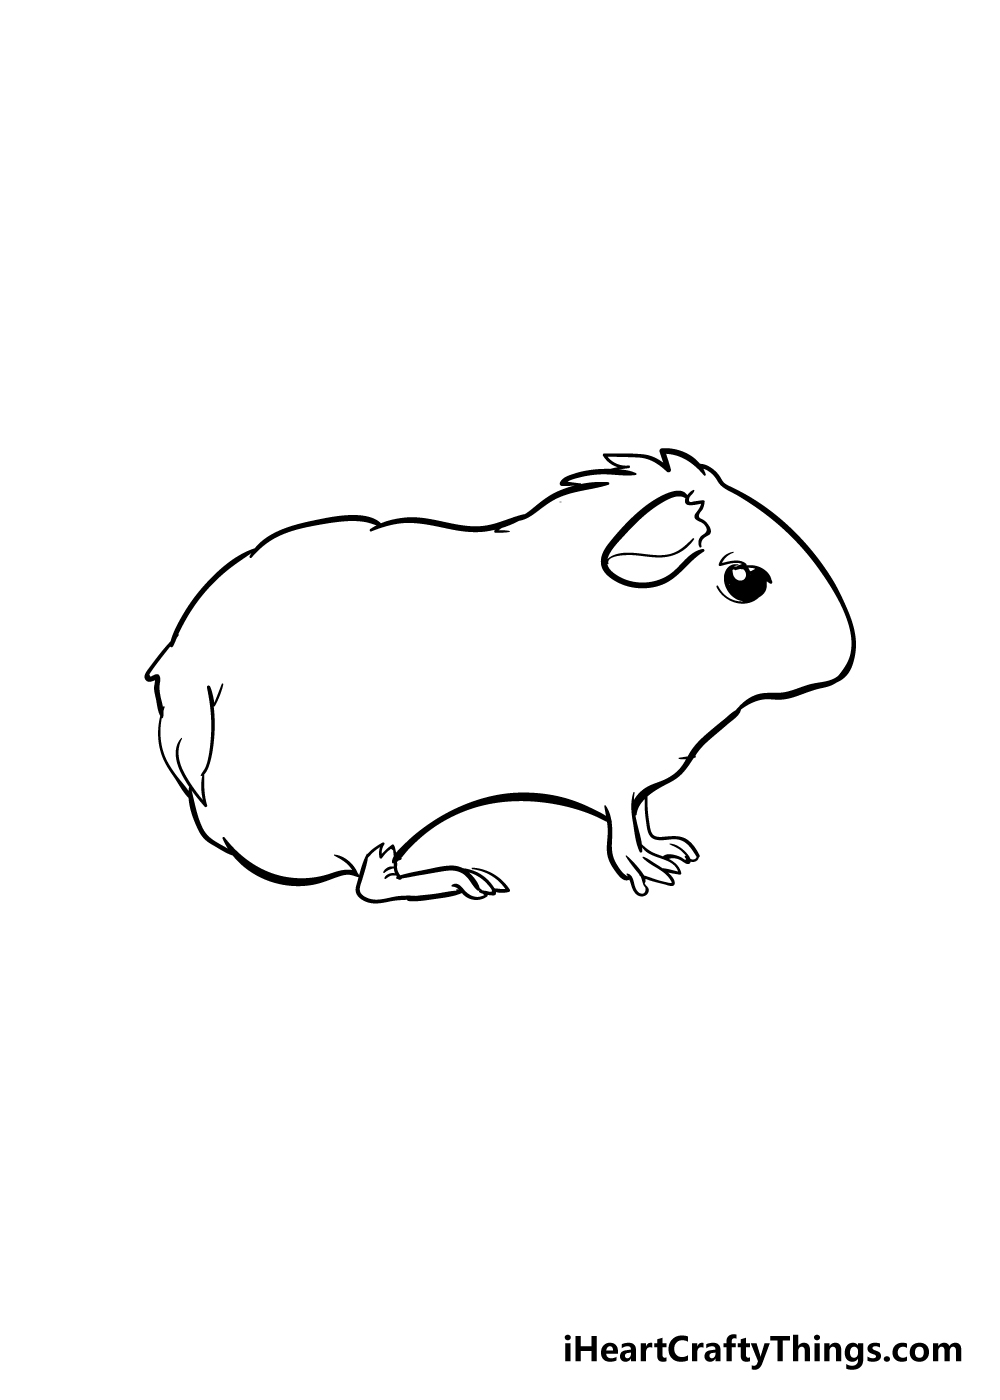
In this step of our guide on how to draw a guinea pig, we shall be adding several elements to the interior of the body outline.
To start with, you can draw an eye for your guinea pig. This will be drawn as a filled black circle with a smaller white circle inside of it to suggest glinting in the eye.
Then, slightly above and behind the eye you can draw an ear. The ear will be relatively big and will flop down.
You can draw it with a combination of straight and curved lines, as shown in the reference image.
Finally, you can draw a thick tail right at the back of the guinea pig. Once you have these elements, you’re on to step 4!
Step 4 – Add some facial details to your guinea pig in this step
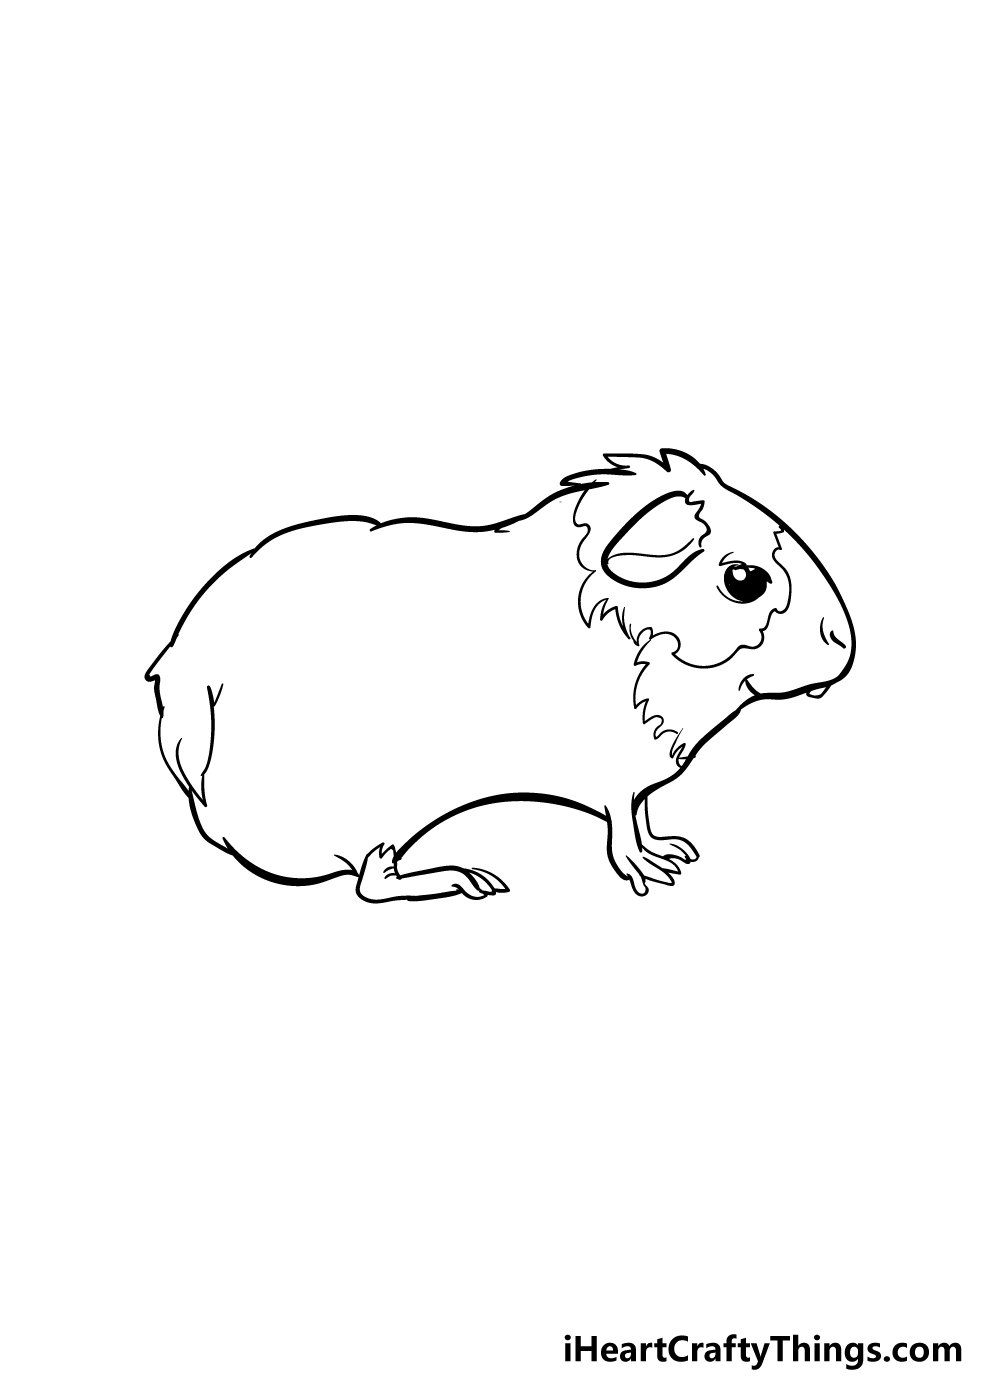
Your guinea pig drawing is really starting to take shape now! A guinea pig can have lots of distinct fur patterns, and we shall start to draw the pattern for this one in this step.
These lines should be curvy and jagged like the other lines you’ve used for fur in this guide. The first pattern will come down from the top of the head and around the eye. Then, another line will come down off that one and under the mouth.
As for the mouth, you can use a curved line to give a smiley mouth to your guinea pig drawing!
Step 5 – Now, you can add in the final details to your guinea pig drawing
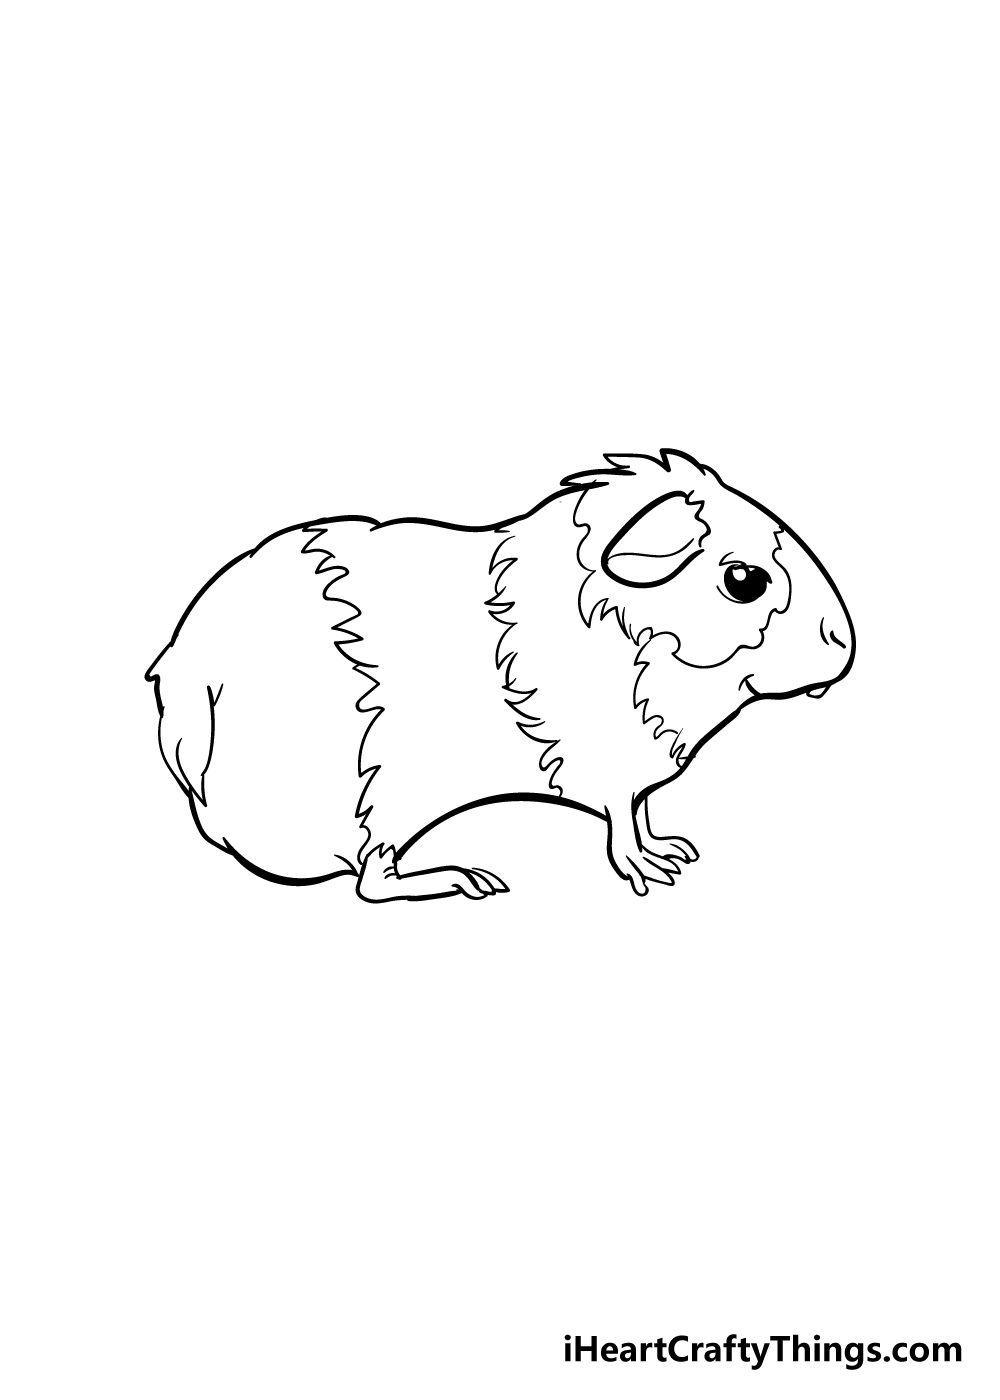
We have just a few more details to add in this step of our guide on how to draw a guinea pig! In this step, you can add more furry pattern details like the ones you drew for the face in the previous step.
You can add two of these lines to the body to finish off the detailing of your guinea pig!
Before you move on, you could also add any other fun details that you would like! It might be nice to draw a background for your guinea pig, and you could draw some accessories like a food bowl or a few toys.
How will you finish off this image before moving on to the final step?
Step 6 – Finish off your guinea pig drawing with some color
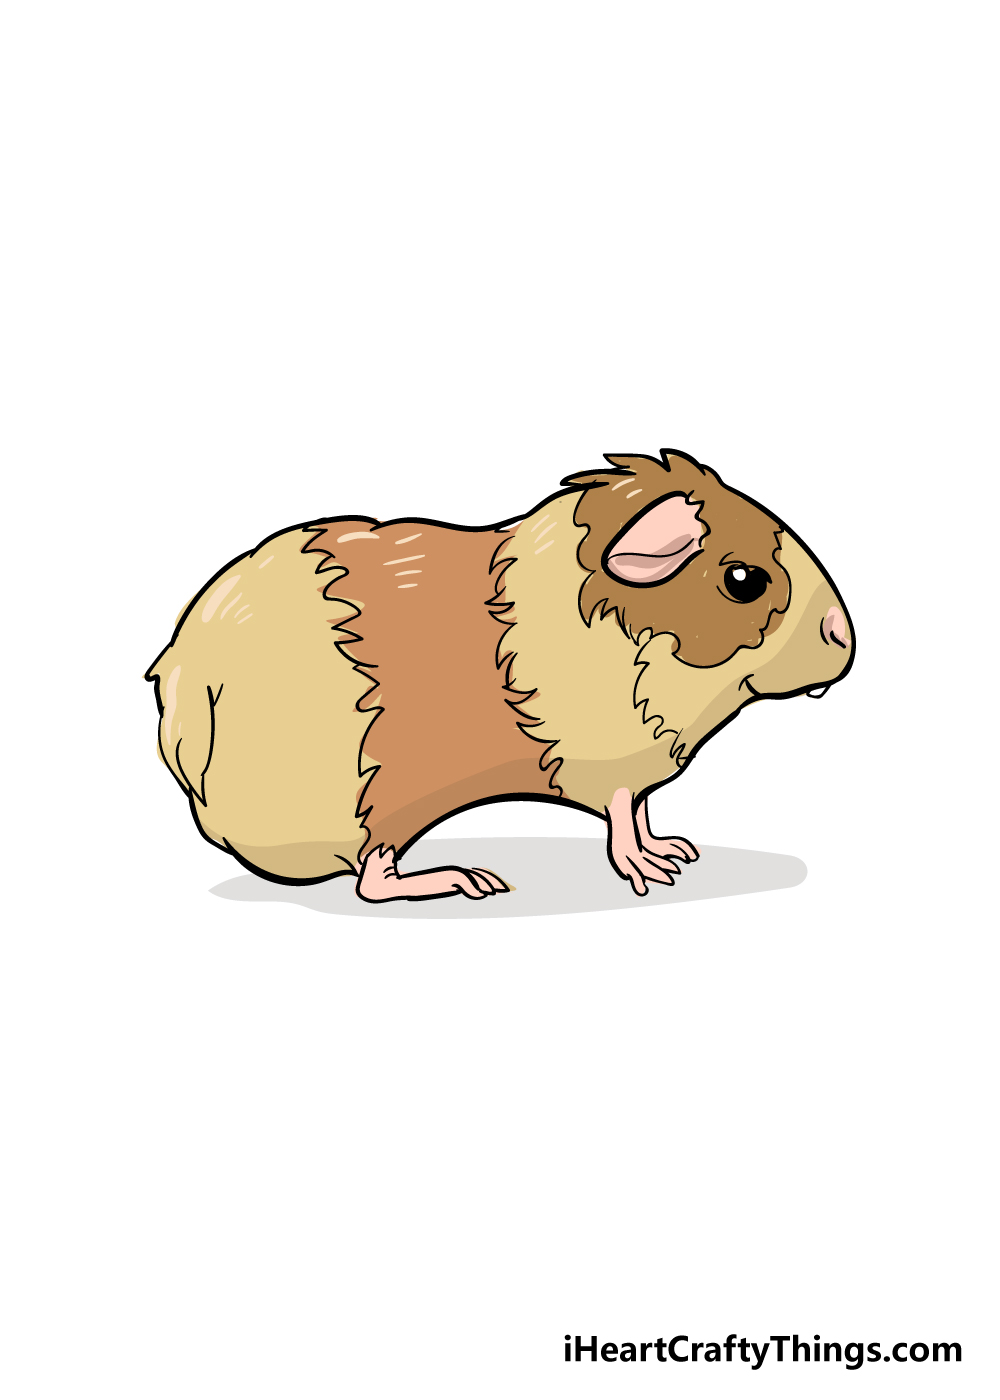
Now that you have finished your guinea pig drawing, you can bring it to life with some beautiful colors!
A guinea pig can come in a wide variety of different colors, so you have a lot of options at your disposal when coloring in.
If you have ever owned a guinea pig before, maybe you could color this one to look like it!
Once you have decided on the colors that you will be using, you can also play around with different art mediums.
If you want your guinea pig looking bright and vibrant, you could use mediums like acrylic paints and colored pens to make the colors pop!
If you would like a more muted, classic image, then you could use something like watercolors or colored pencils for that kind of look.
We can’t wait to see what you choose!
4 More Ways To Make Your Guinea Pig Drawing Unique
Make this adorable guinea pig drawing even better with these 4 ideas!
Any guinea pig owner will tell you that they are highly social animals. For that reason, we think it would be perfect to add some friends to your drawing of a guinea pig!
You have completed the guide, and now you know how to draw a guinea pig really well. All you would need to do is follow the steps and maybe change a few details to have as many friends for the guinea pig as you could want.
How many guinea pigs would you like to have?
Speaking of changing details, you could also have fun customizing this particular guinea pig. These rodents come in all manner of colors and fur patterns, so you would really be able to get creative with it.
It could also be fun to draw multiple guinea pigs and have each one look unique. What colors and patterns do you think would look great on this guinea pig we have created during this guide?
Guinea pigs also love to eat all kinds of tasty vegetables and other types of food. We think it would be great to add some tasty treats to this guinea pig drawing!
A guinea pig will always be happy to enjoy foods like lettuce, spinach, kale and many other types. You could also add some bell peppers for some color!
By the time you have added these touches, this guinea pig will have a feast to enjoy.
Lastly, you could finish off this guinea pig sketch with a background. Guinea pigs love their food, but they also love having toys to play with and an interesting habitat to explore.
The only limit is your imagination, so you could design the ultimate guinea pig mansion! This could include pipes for it to crawl in, toys for it to play with and elaborate beds for it to get cozy in.
Once you have decided on the elements you would like for your guinea pig house, don’t be afraid to use lots of colors to make it even better!
Your Guinea Pig Drawing is Complete!
That brings us to the end of this guide on how to draw a guinea pig! We really hope that you found this guide helpful and informative.
When taking on a new drawing challenge, you can always overcome it if you take it step by step and try your best! We also hope that this guide as not just helpful but also lots of fun for you to use!
Now that you are finished, you can still add your own touches to make this image even more unique.
Whether you do this with a background, some drawn props or with your colors, we know you will do an incredible job!
Be sure to check out our website for more great tutorials! We also upload new guides all the time, so check in often to never miss out!
Once your guinea pig drawing is finished, we would love to see your cute rodent pal! Please do share your drawing on our Facebook and Pinterest pages for us to enjoy!