Drawing on paper is, by its nature, a 2D medium. Unless you get fancy with digital software you’re never quite going to get a true 3D image on paper.
That being said, there are tricks that you can use to get something that has the appearance of 3D on a flat surface!
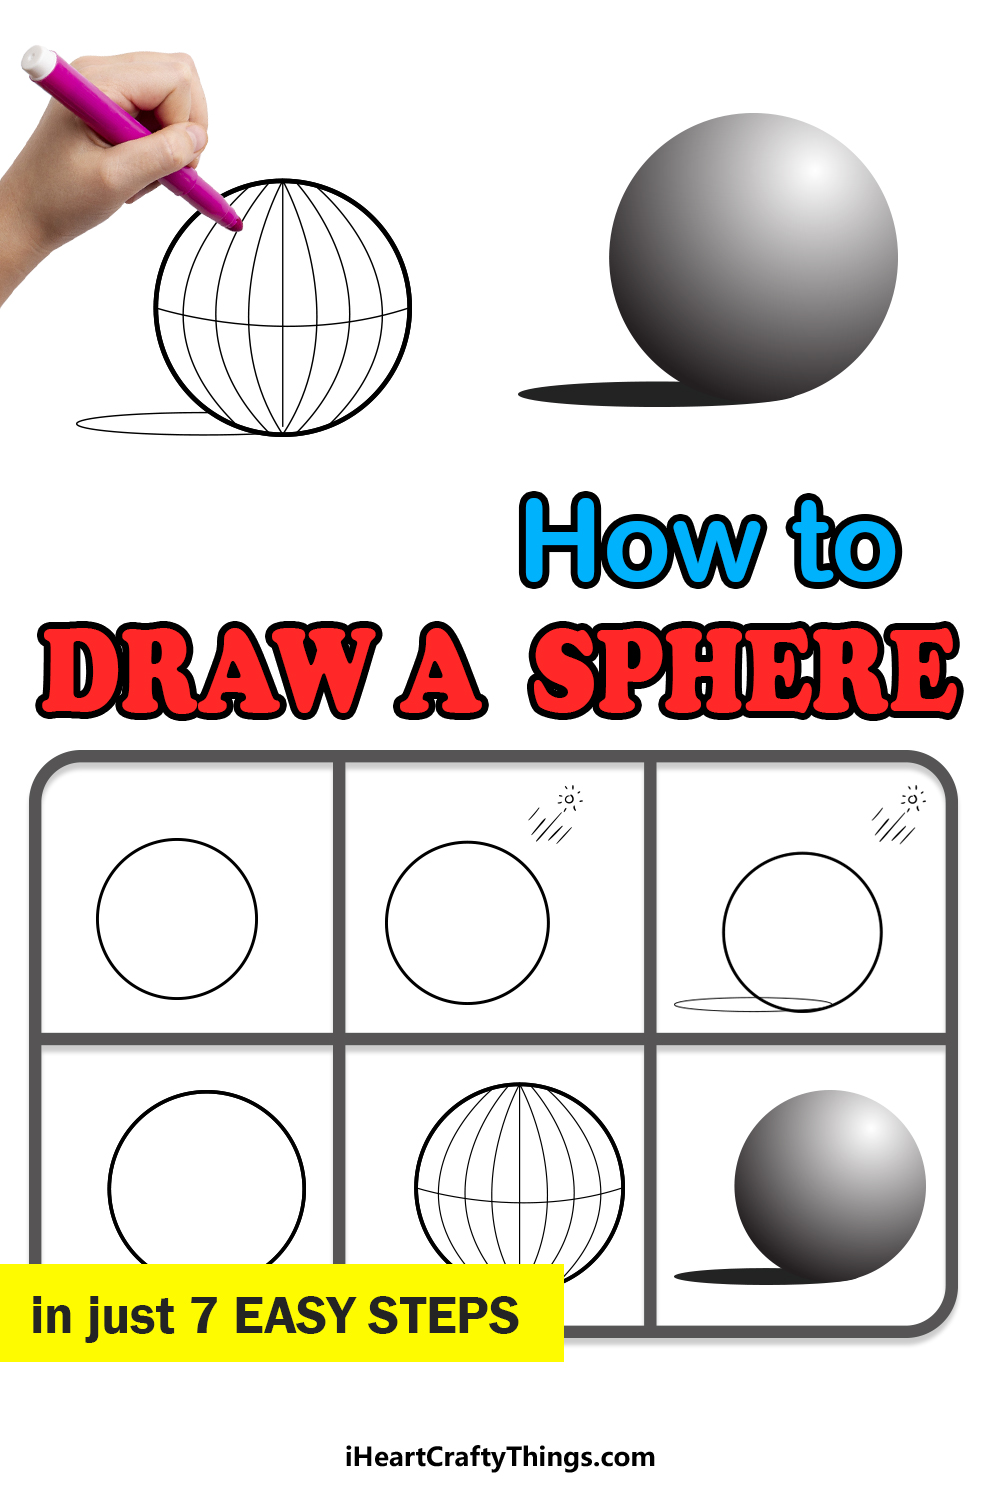
One of the best shapes to try this out on is the sphere, and that begs the question of how can you learn how to draw a sphere on flat paper?
This step-by-step guide on how to draw a sphere in 6 steps will show you how you can use lighting and shadows to achieve the closest thing to 3D on a flat surface.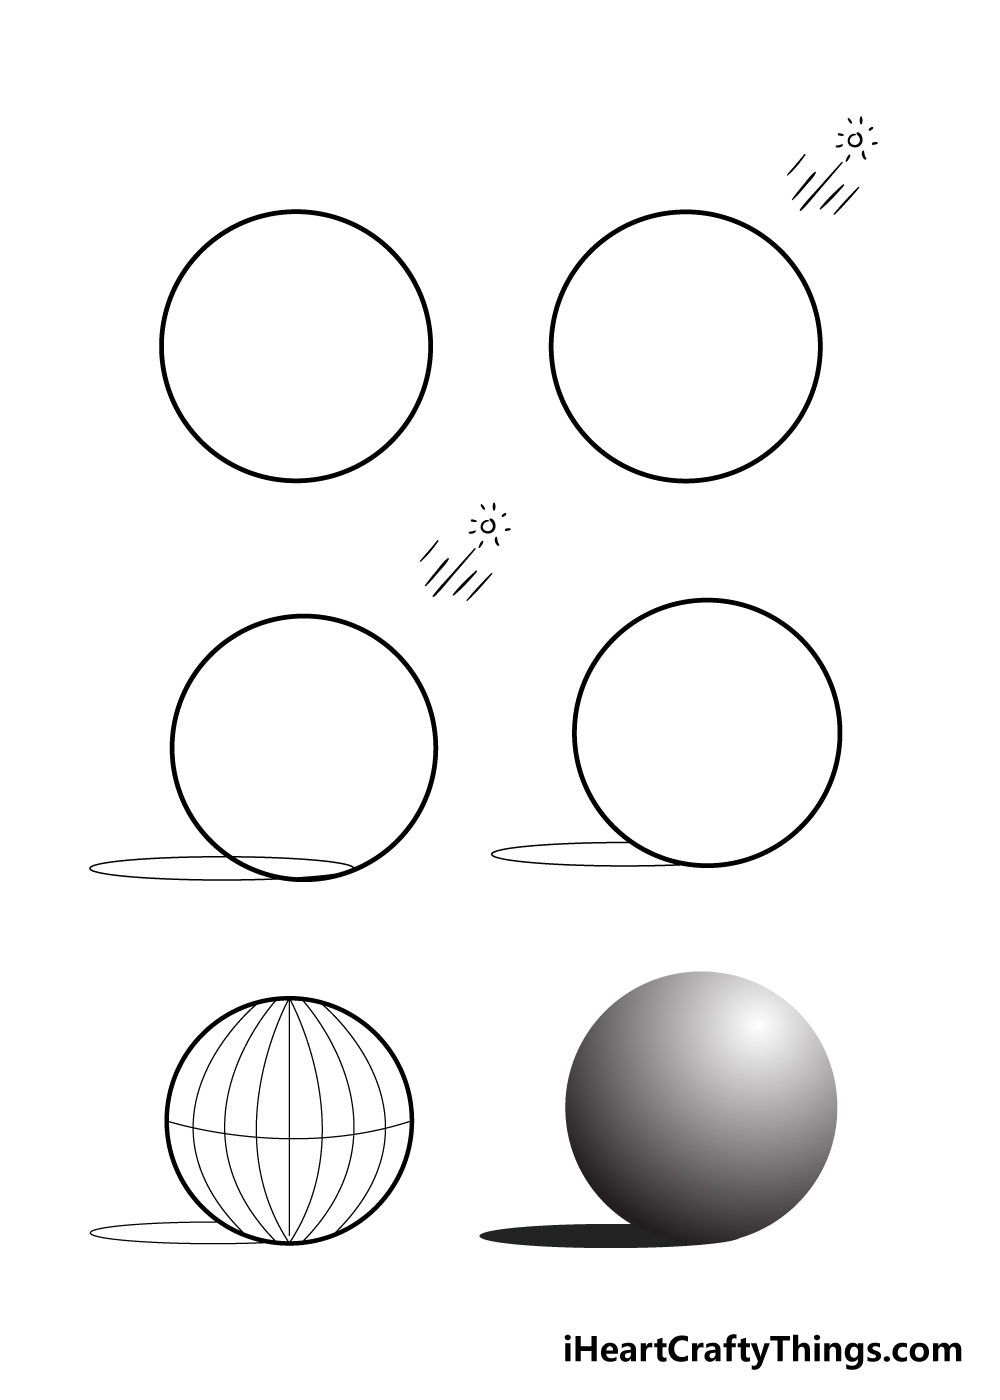
How to Draw A Sphere – Let’s get Started!
Step 1
For this guide on how to draw a sphere, you will find some drawing tools to be very helpful in completing this drawing.
First, a drawing compass will be very helpful because the closer you can get to a perfect circle the better for this drawing.
Then you will want some pencils, at least one light and one dark. Finally, you’ll want a good-quality eraser.
For reasons we’ll go into later, you should probably avoid using a pen for this drawing. With all that being said, we shall begin the actual sphere drawing now!
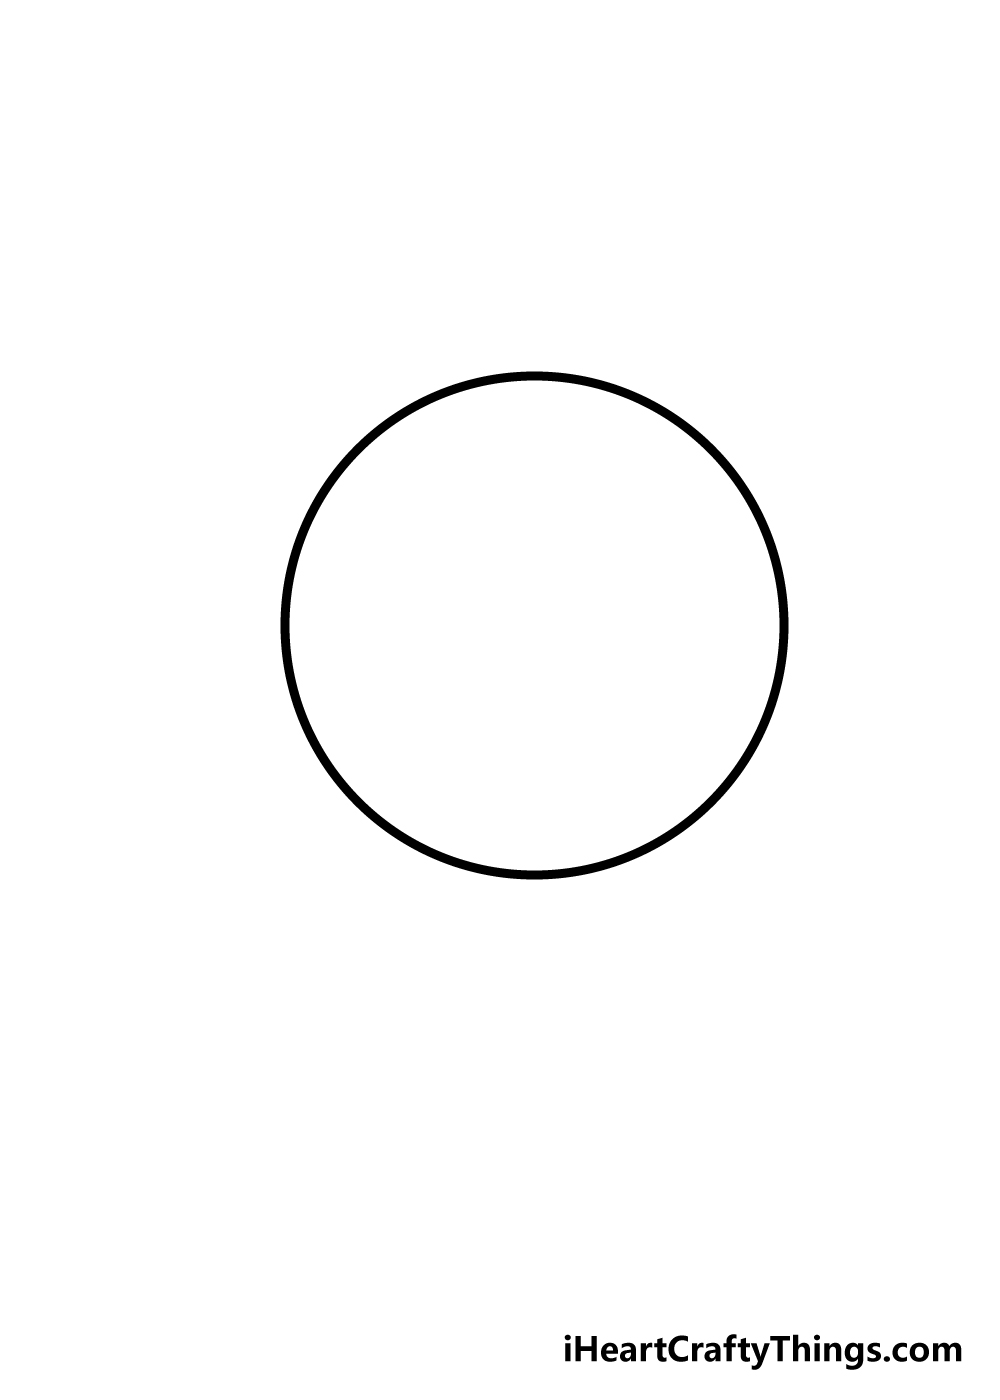
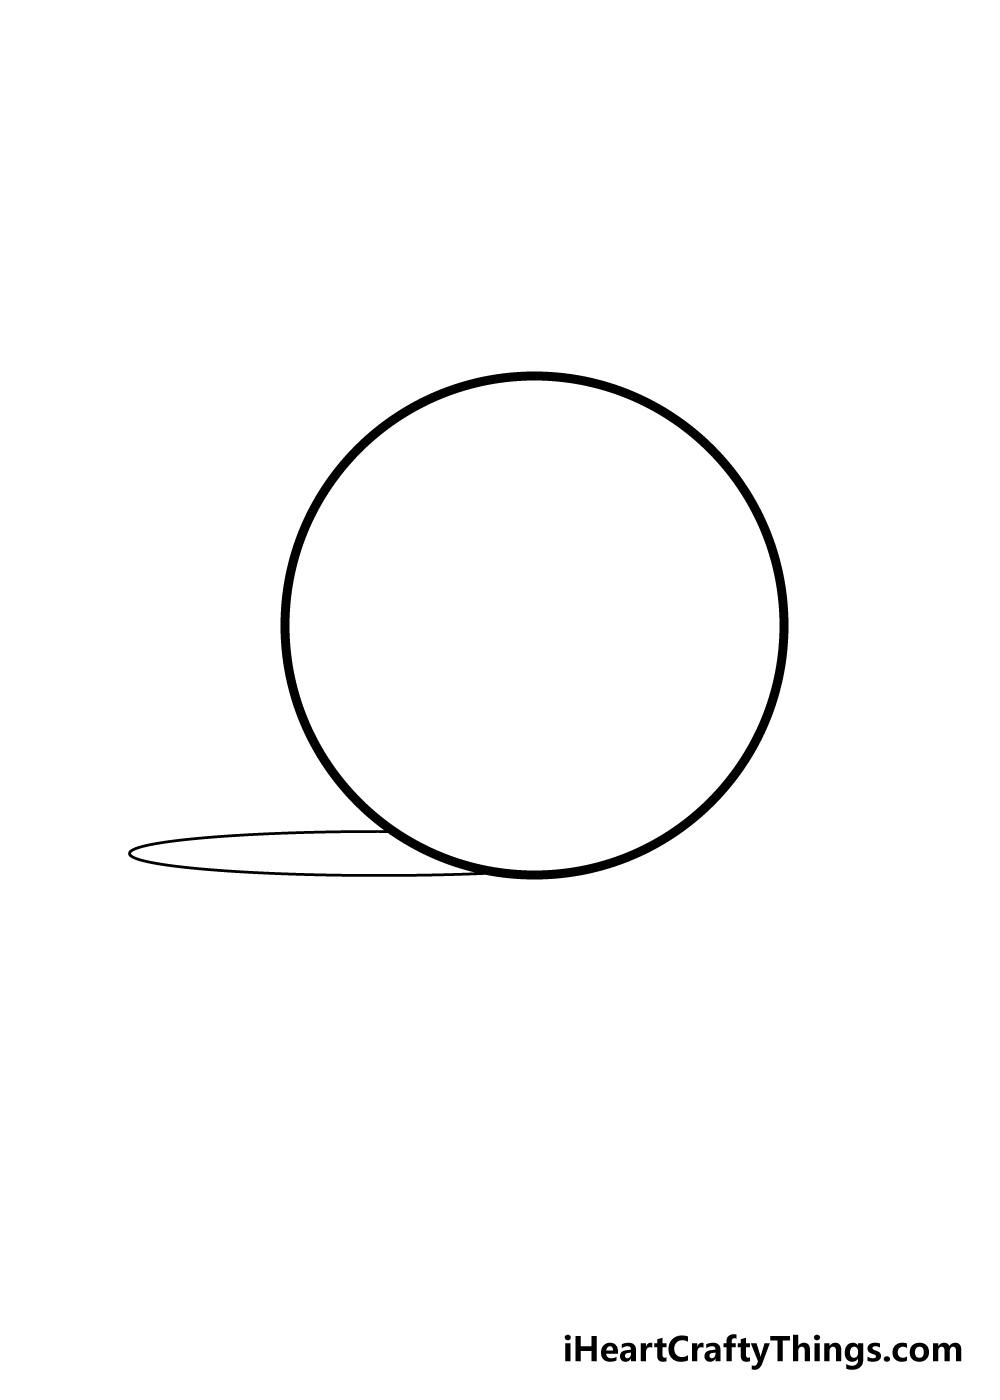
To start with, use the lightest pencil you have to draw a circle using your drawing compass. If you don’t have a drawing compass then you could find a flat object to trace around.
The lid of a jar can often work well for this!
Try to keep the outline as thin and light as you can! We gave ours a thick line for your benefit but in your picture you shouldn’t see the outline at the end.
Step 2 – Plan out the light source

Here’s a great tip for any 3D drawing: the key is in the lighting. For that reason, we are going to draw in a reference point for which direction the light will be hitting your sphere drawing.
Using your light pencil, you can draw a circle with some lines coming off from it to create the light source hitting your sphere.
Try to think of this as a lamp’s light hitting the sphere as you proceed. We will be erasing this reference later, but it will be very helpful when you start adding shadow.
Step 3 – Now, draw a shape for the cast shadow
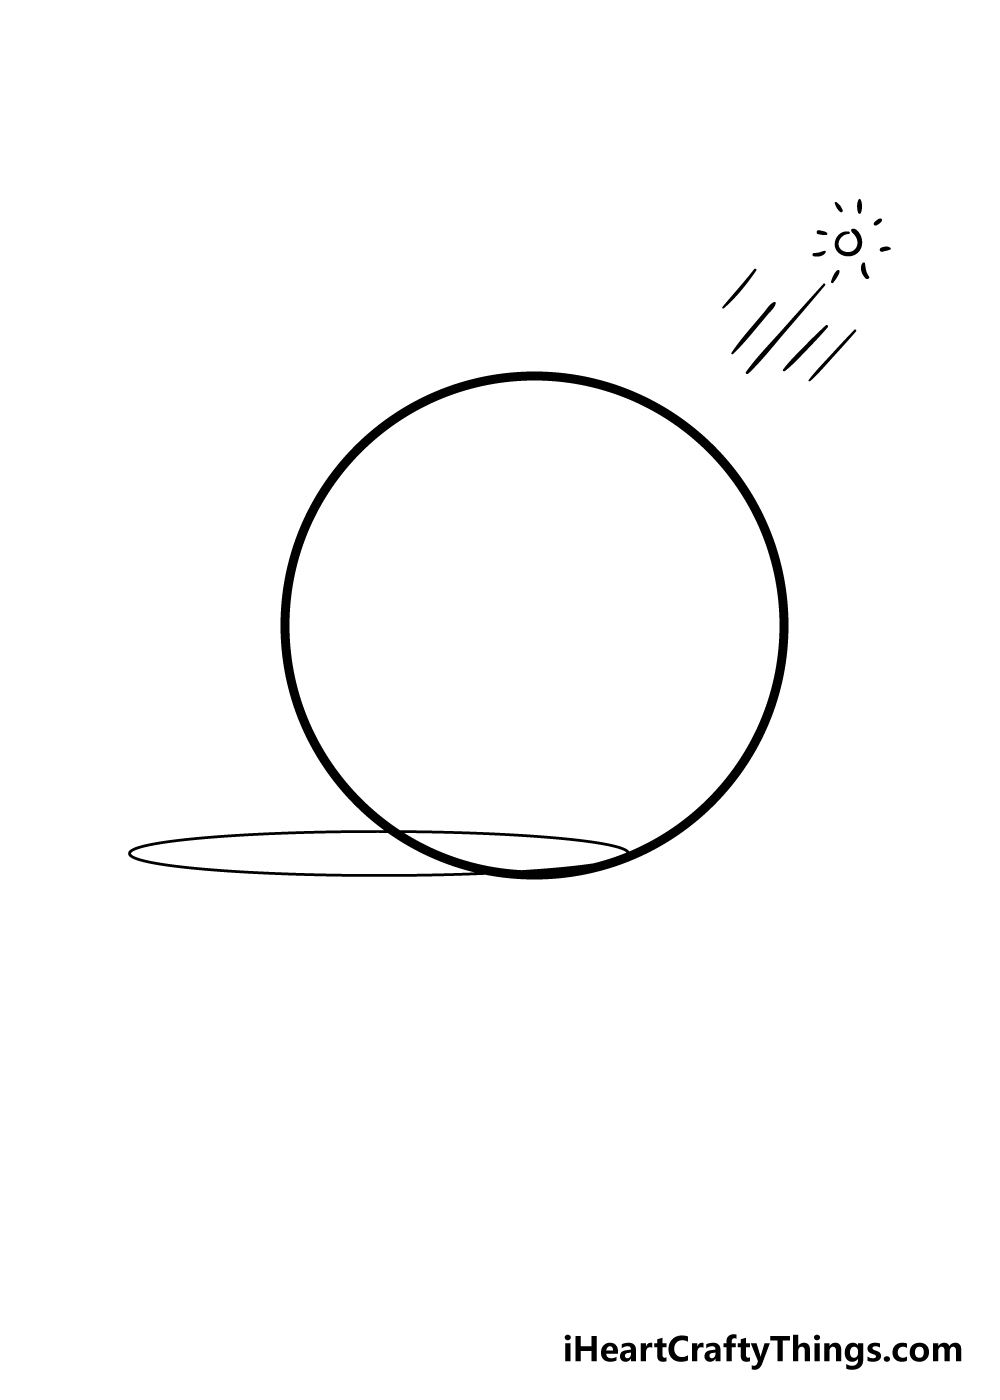
One of the ways that you can convey light and shadow is by drawing a cast shadow from the object, so we will plan that in this step of our guide on how to draw a sphere.
Using your light pencil, draw a flat oval coming off from the base of the main sphere.
By following both the reference image we provided and the light source picture, you will see how it will be cast off from the sphere.
Try to draw this oval guide with a very light touch, as you shouldn’t be able to see the shadow outline later.
Step 4 – Erase some lines in the sphere for this step
In this next part of your sphere drawing, you only need to erase some lines inside of the sphere.
Carefully erase any part of the shadow planning oval that is inside the sphere. In our reference image we also erased the light source picture, but I would recommend keeping it there for a bit longer.
Step 5 – Next, picture your circle as a ball shape
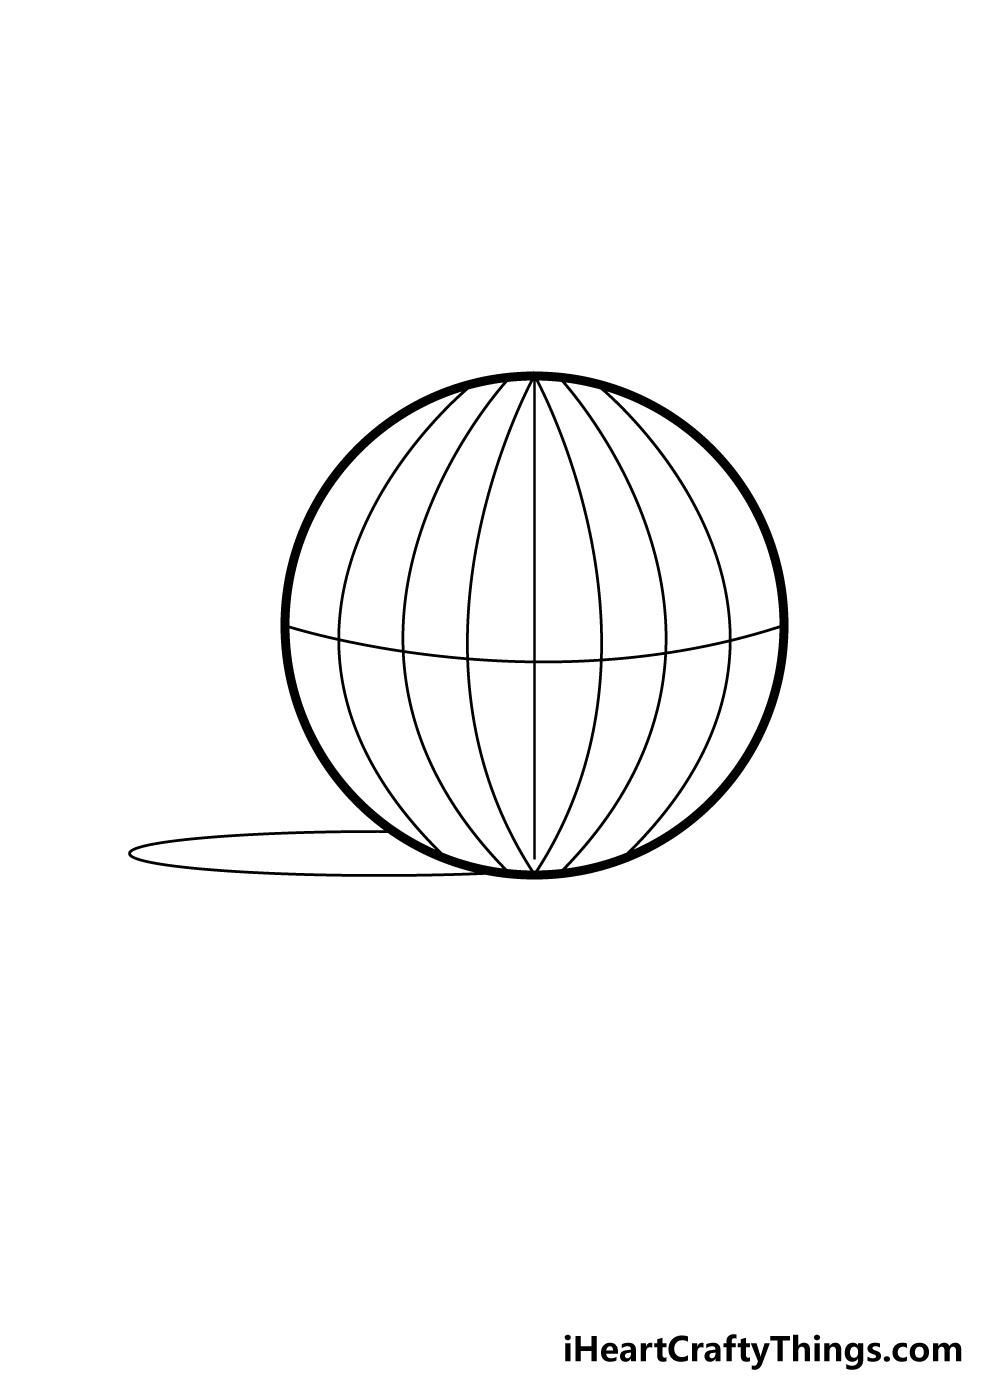
In this fifth step of our guide on how to draw a sphere we won’t actually be drawing anything.
Instead, you should refer to the reference image we provided to help visualize what the sphere will look like.
The lines that we have on the reference image show you what the curves of the ball would look like if it wasn’t flat on a page.
With that in mind, you are ready to bring the 3D effect to life in the next step!
Step 6 – Finish off the 3D effect with some shading

The final step of your sphere drawing is where it all comes together!
When coloring in your sphere, it would be recommended to either use a pencil or a colored pencil if you would like some brighter colors.
When adding the shading, try to keep the reference image from step 5, the cast light and the shadow in mind.
The point where the light hits the sphere will be the brightest point on the shape, and the shading should get darker the further it gets to the other side of the sphere.
The darkest point will be the cast shadow as it connects to the sphere, and that shadow will get a bit lighter the further away it gets.
This can all be a bit tricky and take a bit of practice, but if you follow the guide and take it slowly then you’ll definitely be able to do it!
Once you have the hang of it, perhaps you could start implementing different colors and patterns while trying to maintain the 3D effect.
What kinds of effects would you like to add to your picture?
4 More Ways To Make Your Sphere Drawing Unique
Find out how you can put your own spin on this sphere sketch with these fun tips!
At the moment, we have an undefined ball for this sphere drawing. You could make it a lot more unique by turning it into something more specific!
There are many things you could turn it into, and the best news is that many of these objects can be found in the home. For example, you could use a soccer ball or maybe a basketball.
These could be created quite easily by adding seams, textures and patterns onto the sphere. What other objects could you create using this sphere?
Even if you don’t turn this drawing of a sphere into an object, there are ways that you could decorate it. You could make it look very cool and unique by adding some cool patterns to it.
Another idea would be to make it look like a planet! This could be done by adding some wavy lines to it and maybe by adding a ring around it.
You could create some really cool looks for the sphere using some simple lines and shapes!
This sphere looks great on its own, but it could look even better if you added some more shapes. These could be cones, box shapes or any others that you can think of.
Once you have chosen your shapes, you can follow the steps of this guide and apply them to these new shapes. That would help you to draw them in a similar 3D style!
Finally, you could use some colors and fun art tools to really make this sphere sketch stand out. We went for a grey color scheme for this one we worked on, but there are so many other colors you could go for.
When coloring it, you may want to try out some new art tools and mediums that you’re maybe not as familiar with. Trying new art tools is a great way to have more fun and get some unique colors!
What kind of color scheme do you think would suit this sphere?
Your Sphere Drawing is Complete!
This was quite a complex guide on how to draw a sphere, so you should be extra proud for reaching the end of this tutorial!
This may be a tricky one, but by following this guide hope that you found drawing your own 3D sphere can be easier than you ever would have thought!
We also hope that you had lots of fun learning alongside us on this drawing journey.
Now that you have learned how to draw this 3D sphere, you can also apply what you learned in this guide to other shapes!
If you would like to attempt a 3D cube or a triangle for instance, just remember what you learned about cast lights and shadows.
We have plenty more drawing fun in store for you on our website! We have dozens of guides already, and we will be uploading more constantly for you to enjoy!
Be sure to check in frequently to catch the great new guides.
Finally, we would love to see your completed sphere drawing, so be sure to share it on our Facebook and Pinterest pages for us to admire!