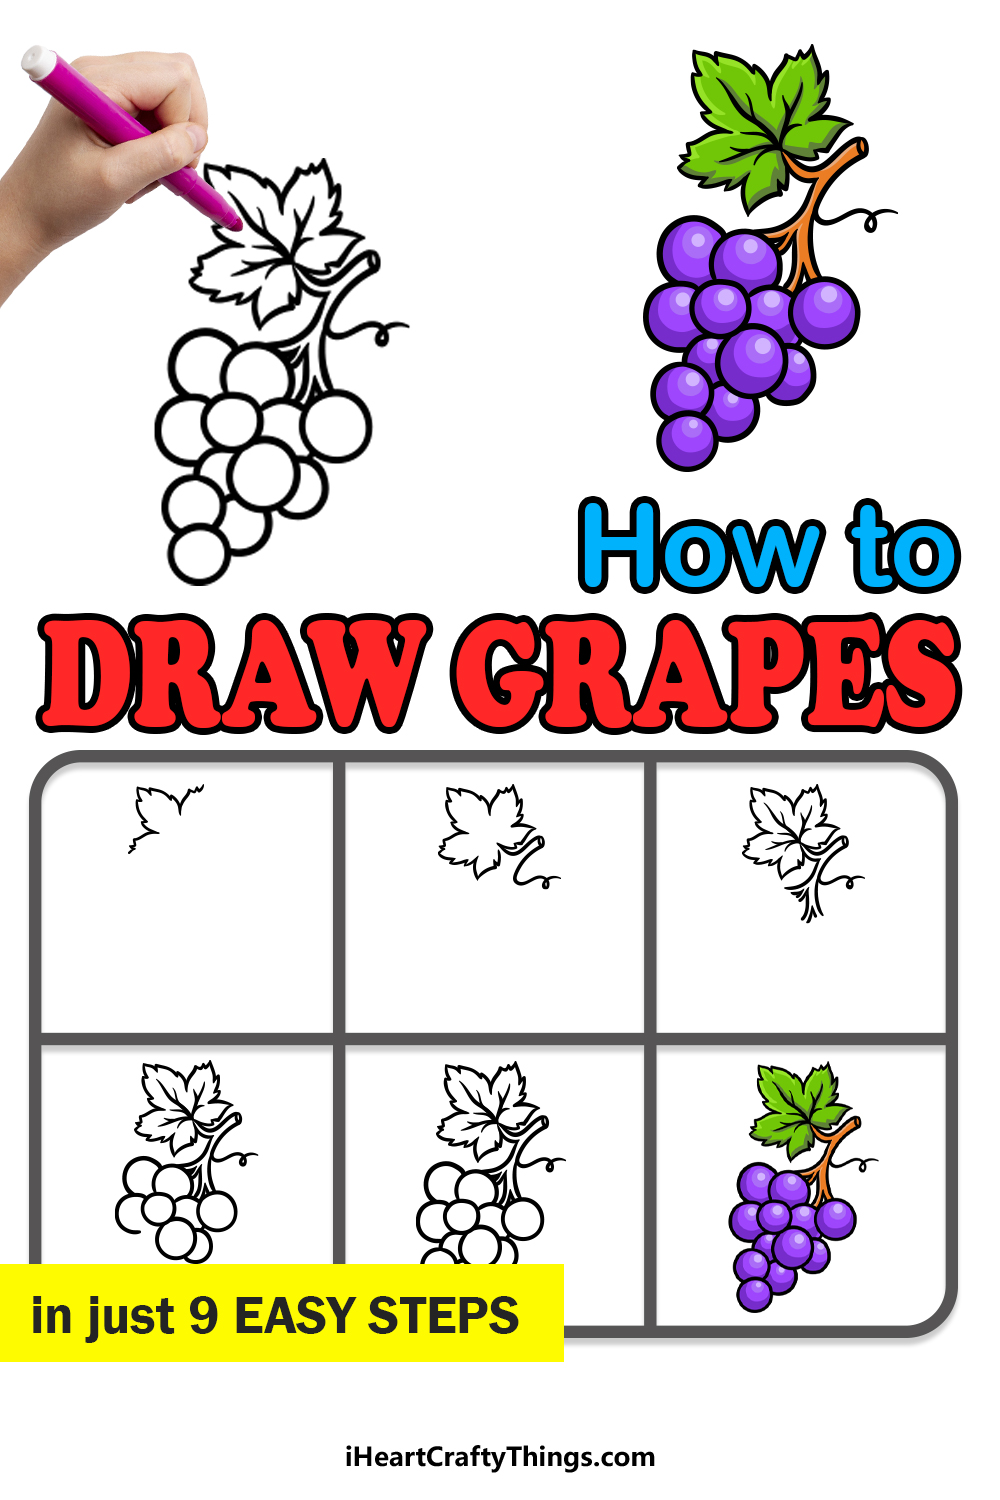
This tutorial for kids provides the easiest way to learn how to draw grapes! Follow along and you will be able to draw this delicious fruit.
Grapes are one of my favorite fruits, as they are tasty and small enough to enjoy as a snack throughout the day. They also happen to be very good for you!
You can eat them as is, but they are also used as flavoring for drinks, jams, jellies and all manner of candy and other treats. This guide brings them back to basics though.
You will see how to draw a lovely bunch of grapes, and I will also show you how you can color this drawing. Once you have the hang of it, you can then add your own background or additional details.
Discover How To Draw Grapes By Following These Steps
How to Draw Grapes – Let’s get Started!
Step 1

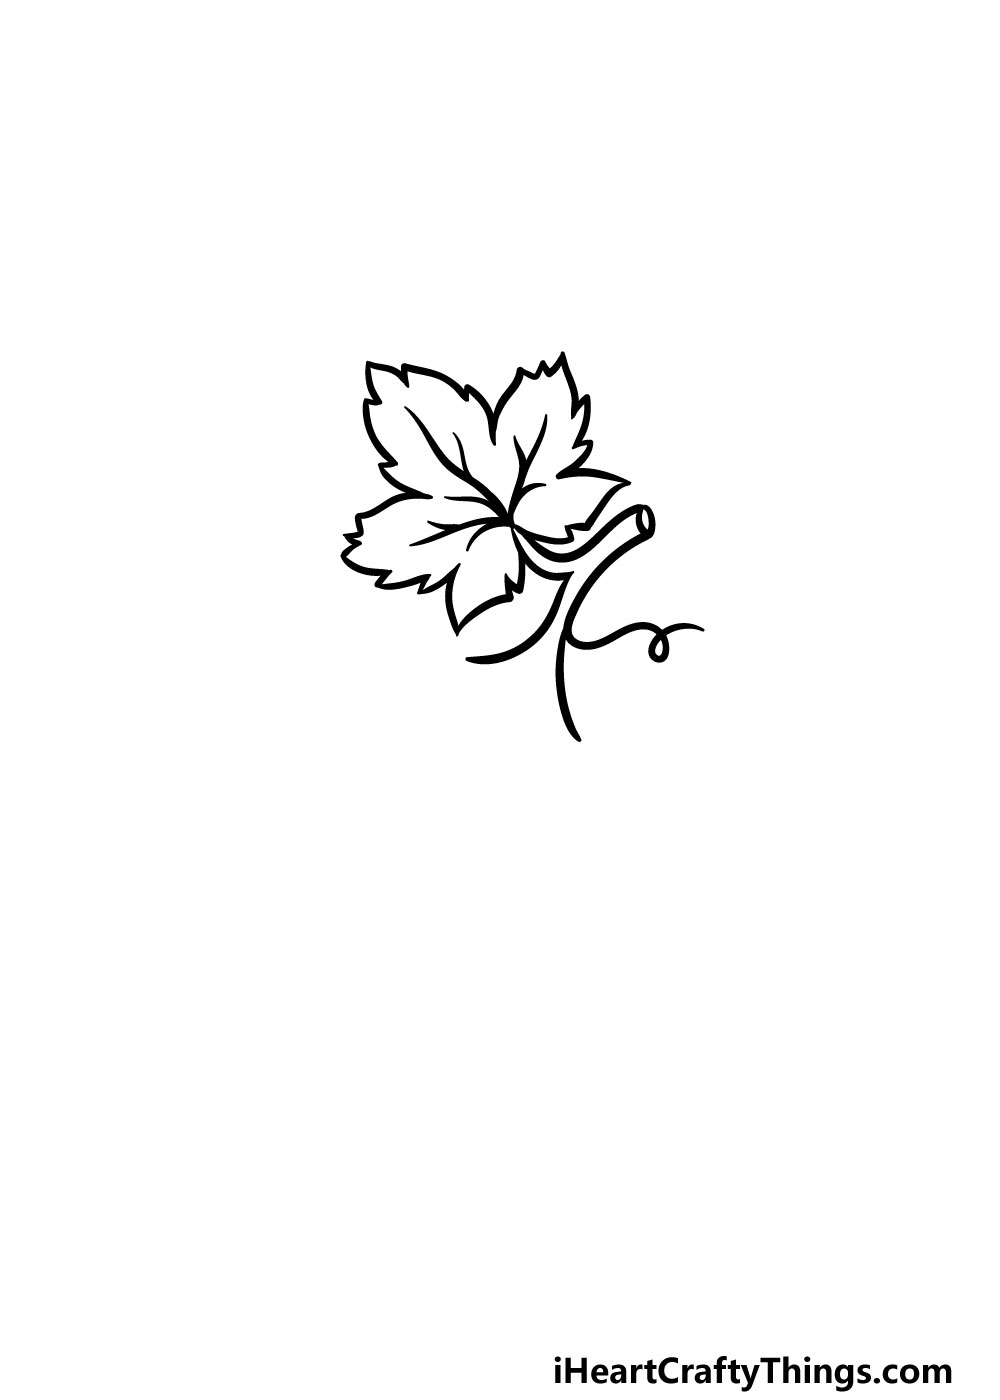
In this first step of our guide on how to draw grapes, we will be drawing the leaf attached to the bunch of grapes.
The leaf will have pointy edges going around it, so you can use some jagged lines to draw the edge of the leaf.
For now, you will be drawing the one part poking out, as it will be one of three sections on the leaf. You’ll see what we mean when you refer to the reference image as you draw!
Step 2 – Next, finish off the leaf outline
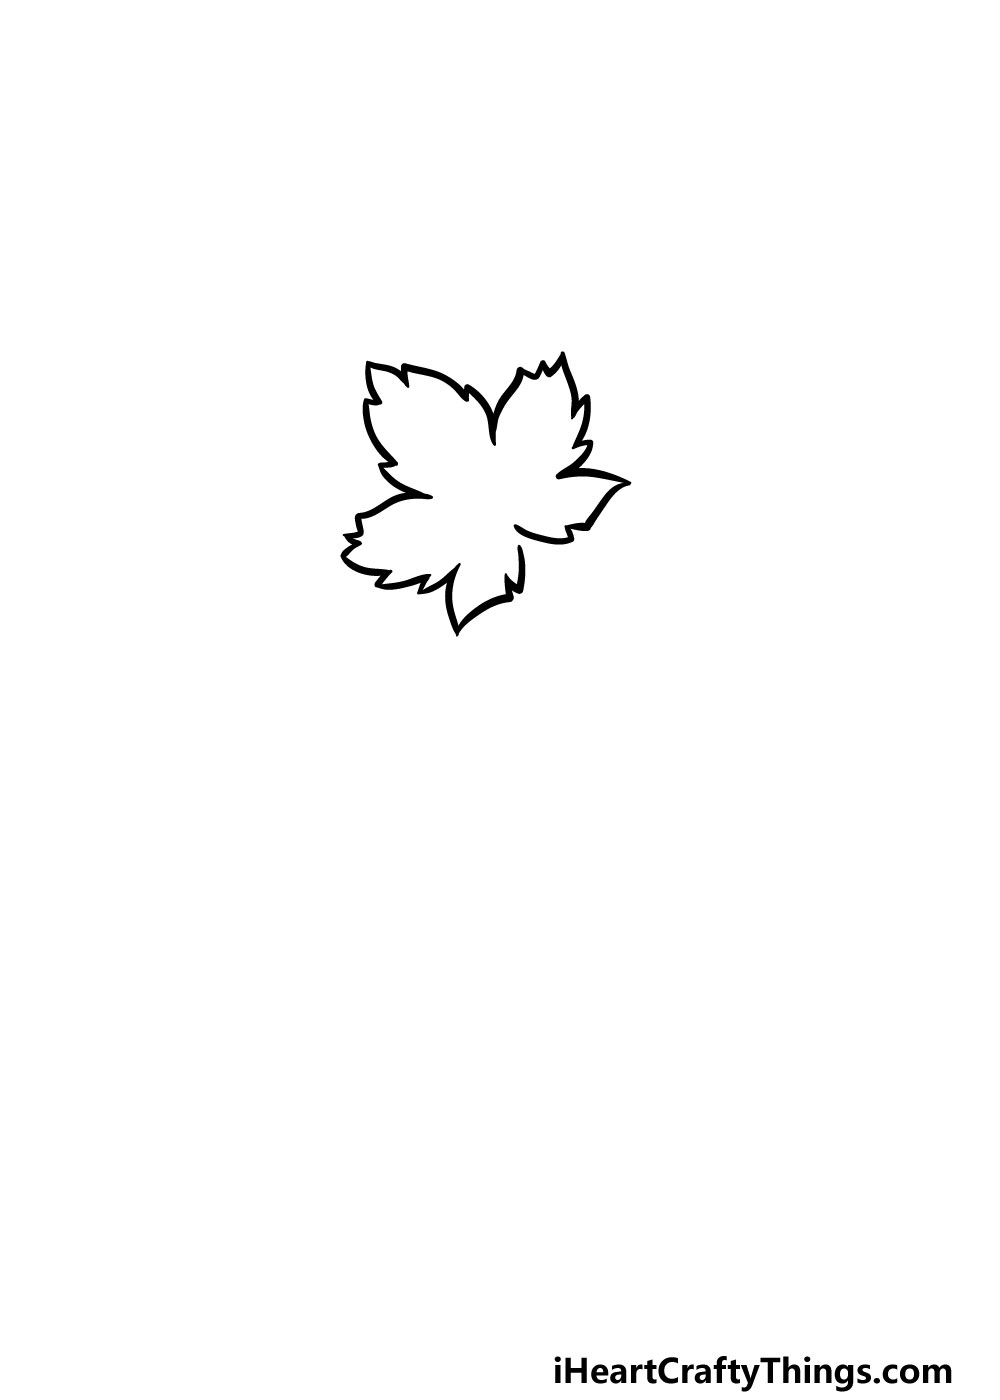
We will be finishing off the leaf outline for this part of your grapes drawing.
As mentioned before, there will be three sections protruding off the leaf, and you will be drawing them using the same jagged line from before.
By the end of it you will end up with a leaf that looks almost a bit like a jagged maple leaf.
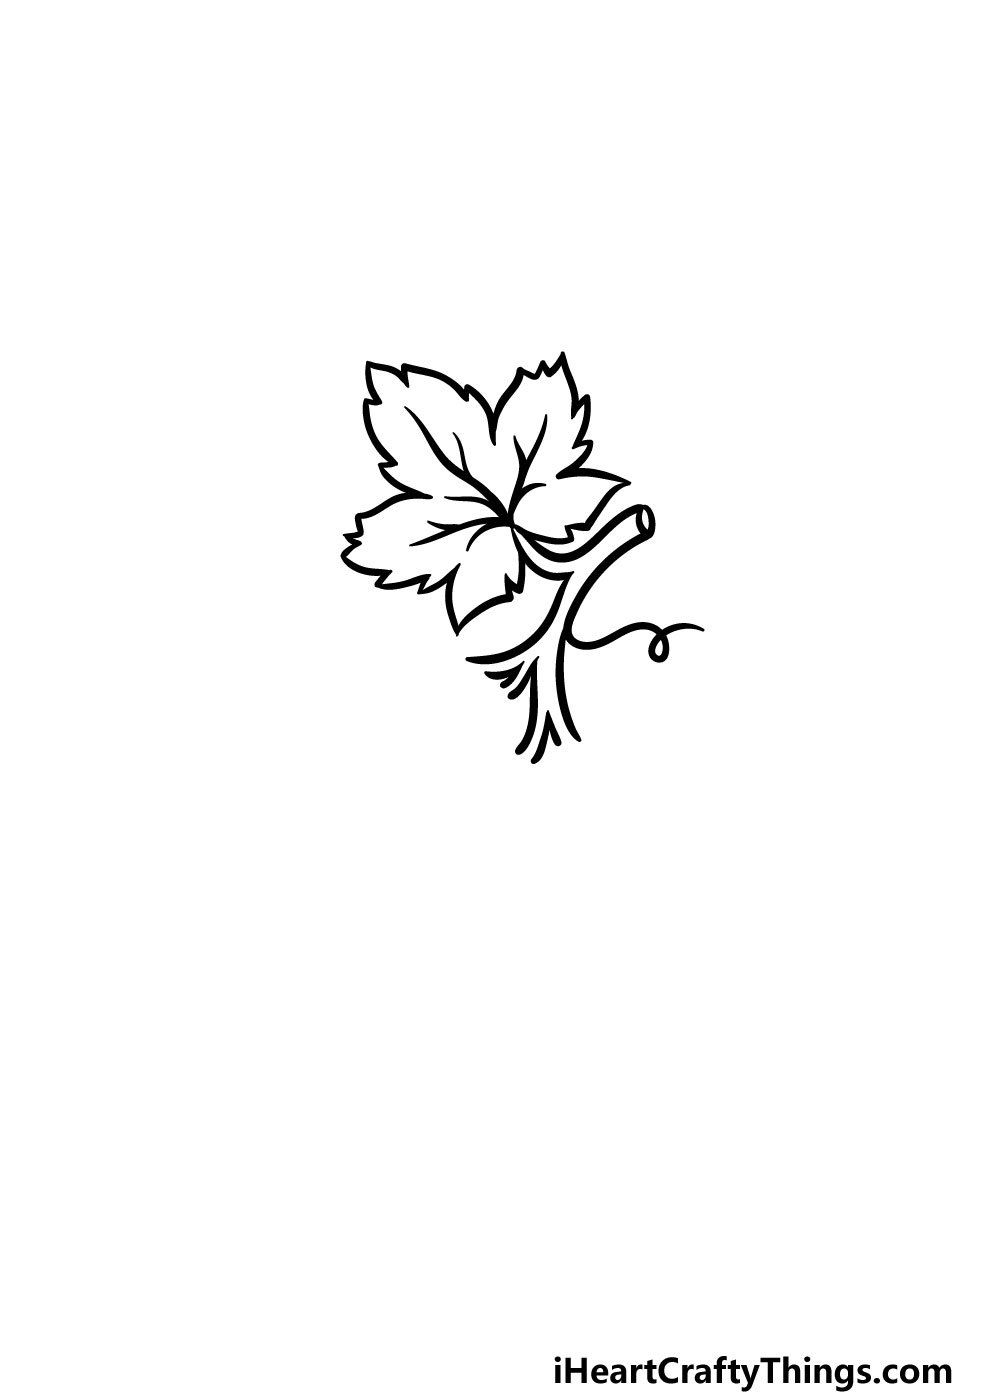
Step 3 – Now, draw the stalk and some of the vines
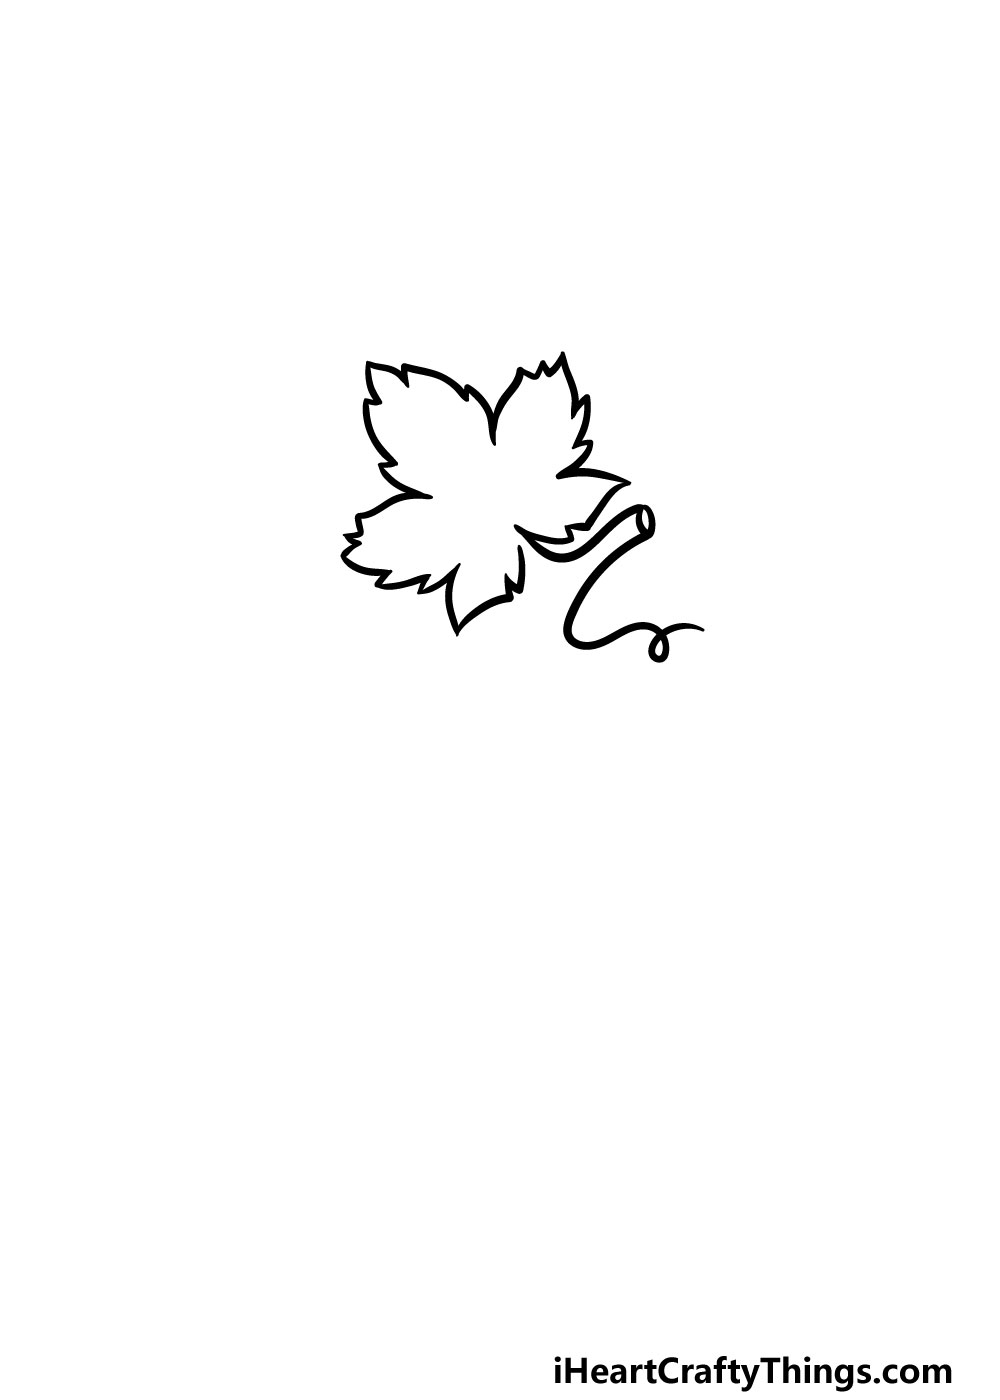
You have the outline of the leaf drawn, so now you can add some more elements in this step of our guide on how to draw grapes.
You can use some curved lines coming from the bottom of the leaf, and then use a thick line looping on itself for the vine coming off the grapes.
Step 4 – Next, draw some details for the leaf and the stem
There are a few details to add to the leaf and the stem in this part of your grapes drawing. First, you can draw some lines inside of the leaf for the veins inside it.
Then, you will be extending the stalk of the grapes with some more curved lines coming down.
Step 5 – Now, finish off the stalk
It’s almost time to start drawing the grapes themselves, but before you do there are just a few more details to add to the stalk in this step of our guide on how to draw grapes.
Simply use some smaller curved lines coming down from the stem to finish off the forked stalk of the grapes. That’s all there is to it for this step, and now you’re ready to draw some grapes!
Step 6 – Next, start drawing the grapes
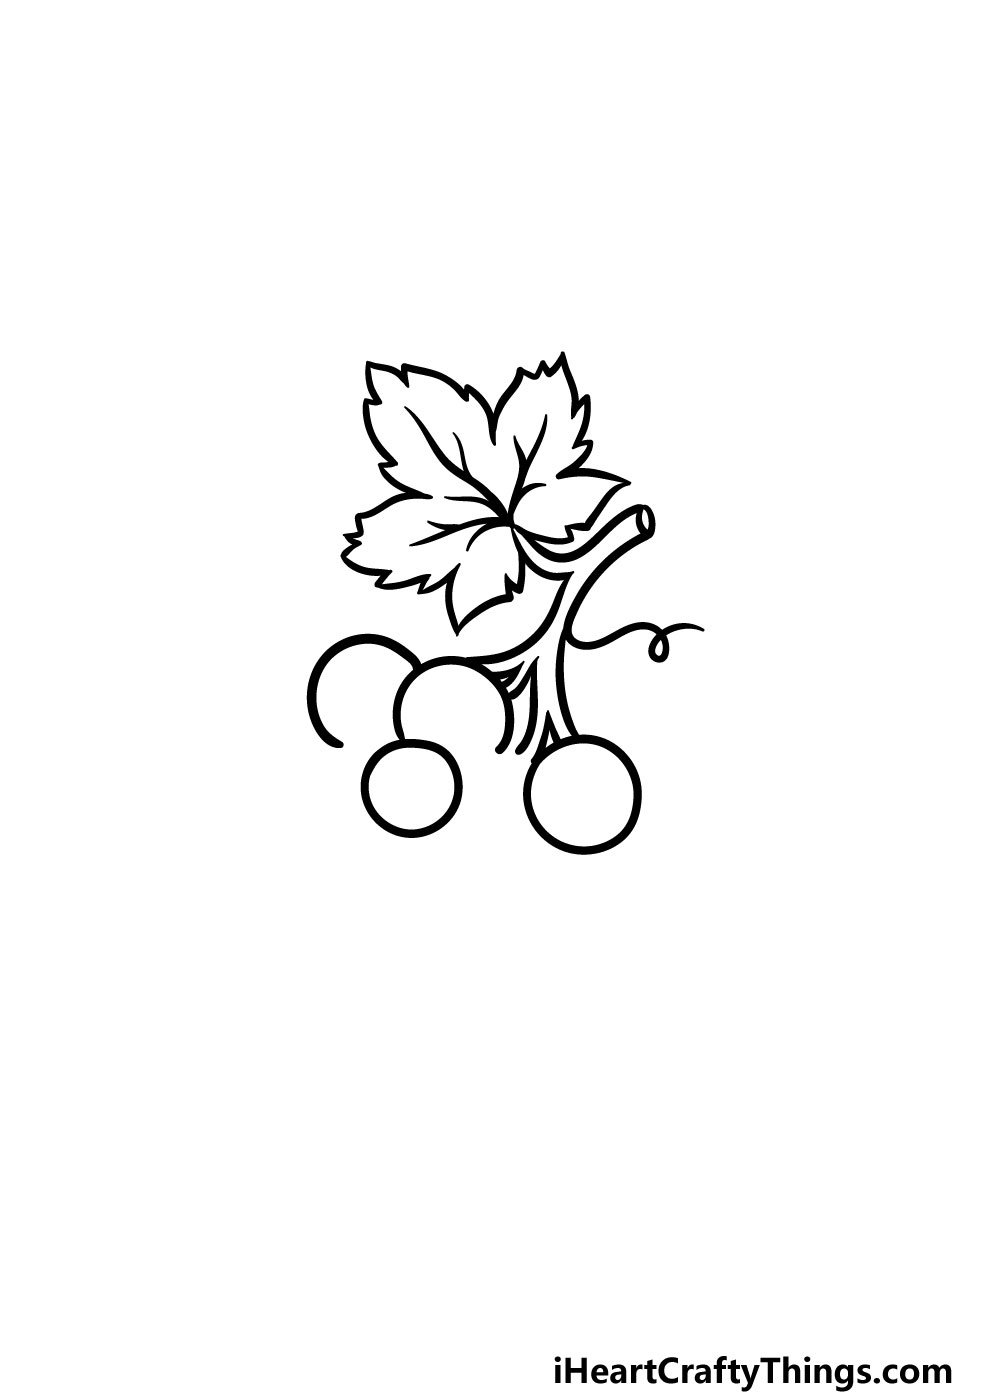
We will finally be drawing some grapes for your picture now! You can start by drawing a simple circle at the bottom of the stalk for the first grape.
Then, for the other grapes you can draw some more circles, except they will have some gaps in them where other grapes will be overlapping with them.
For this step of your grape drawing, you only need to add four, only two of which will be full circles.
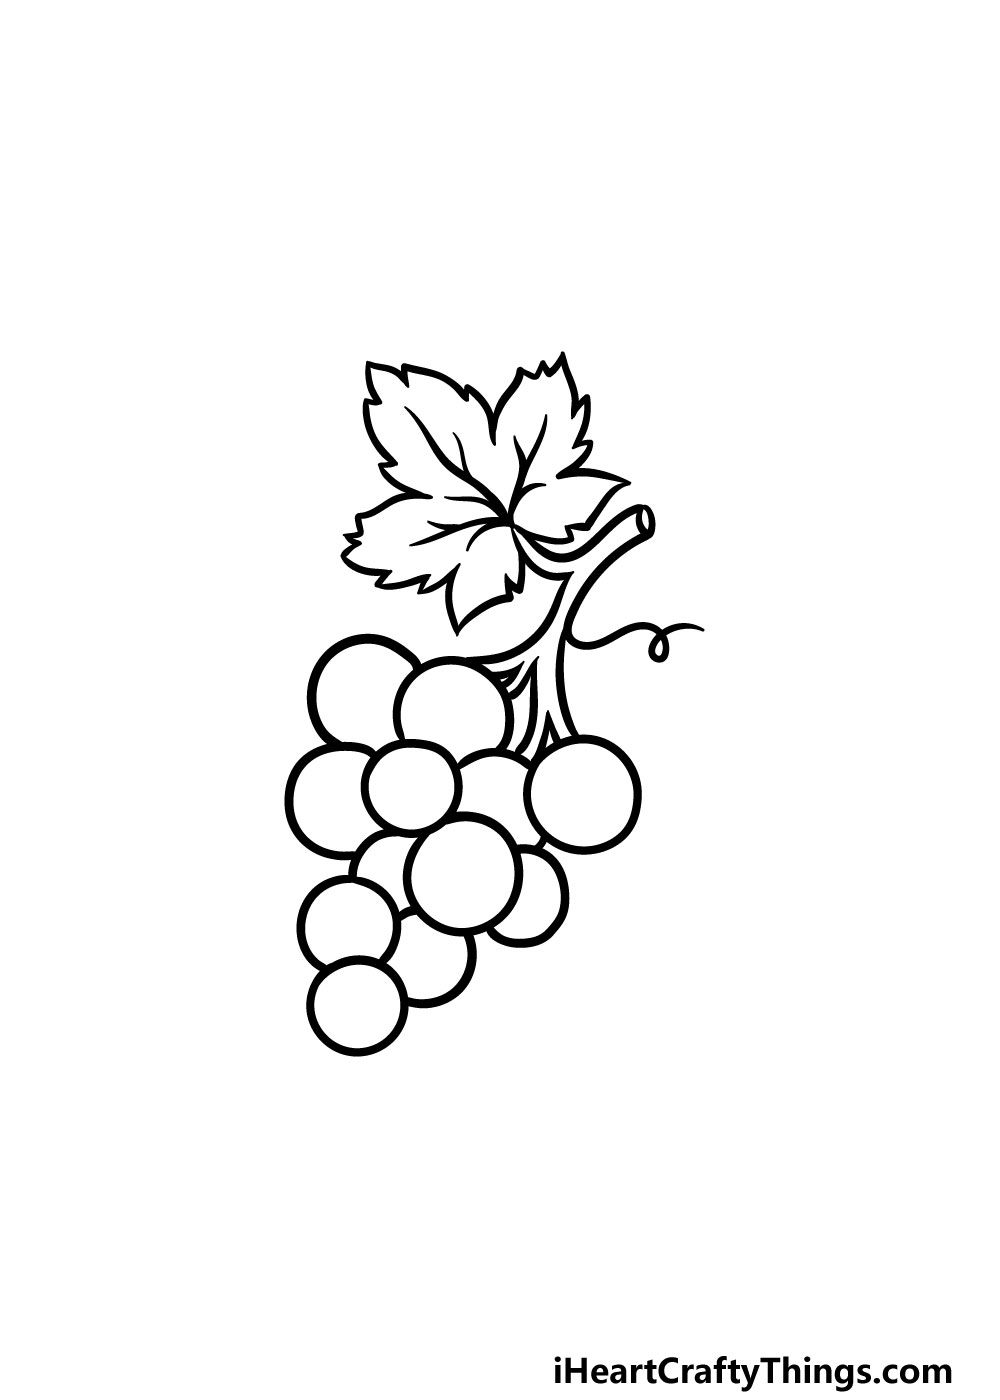
Step 7 – Next, draw some more grapes

You can continue to add some grapes in this step of our guide on how to draw grapes. Much like the previous steps, we will only be adding four in this part.
Only one will be a full circle this time, whereas the other three will have gaps or connect to the previous grapes. Once you have drawn these, you’re ready to add the final ones in the next step!
Step 8 – Next, draw the final grapes
It’s almost time to add some incredible colors to your grape drawing, but we have just a few more details to add first!
The main aspect of this step will be to draw the final four grapes. You can also fill in any leftover gaps in the previous grapes.
Once you have added these final grapes, you’re ready for the final step! Before you move on, you can also add in any extra details that you would like!
Perhaps you could make a cool background by drawing some vine patterns, or you could add some more of your favorite fruits to it! How will you finish off this grapes drawing before you color it in?
Step 9 – Now finish it off with some color
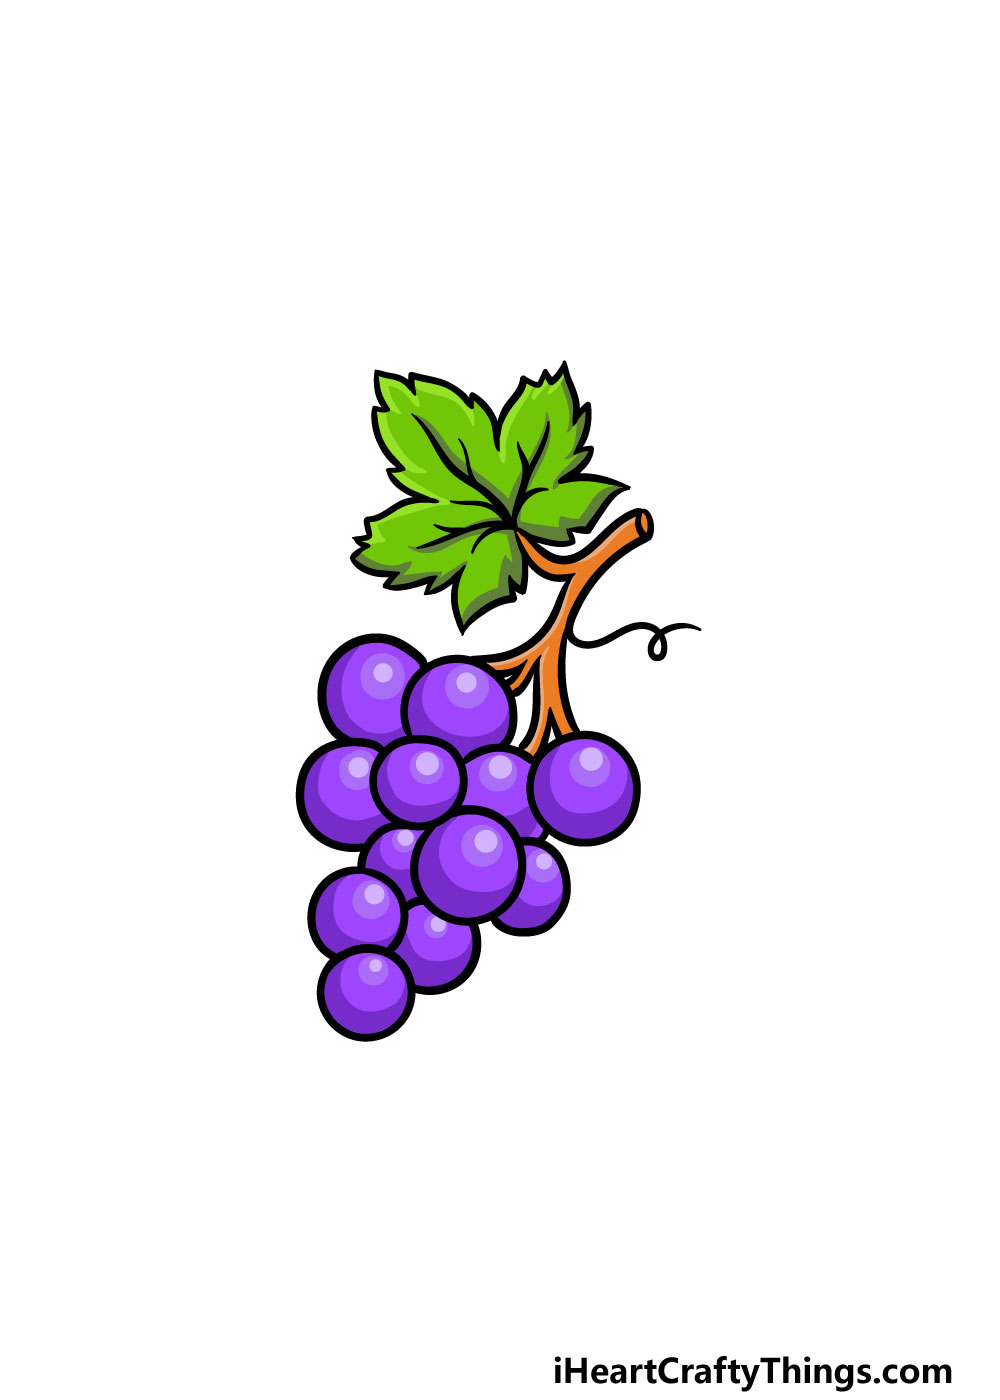
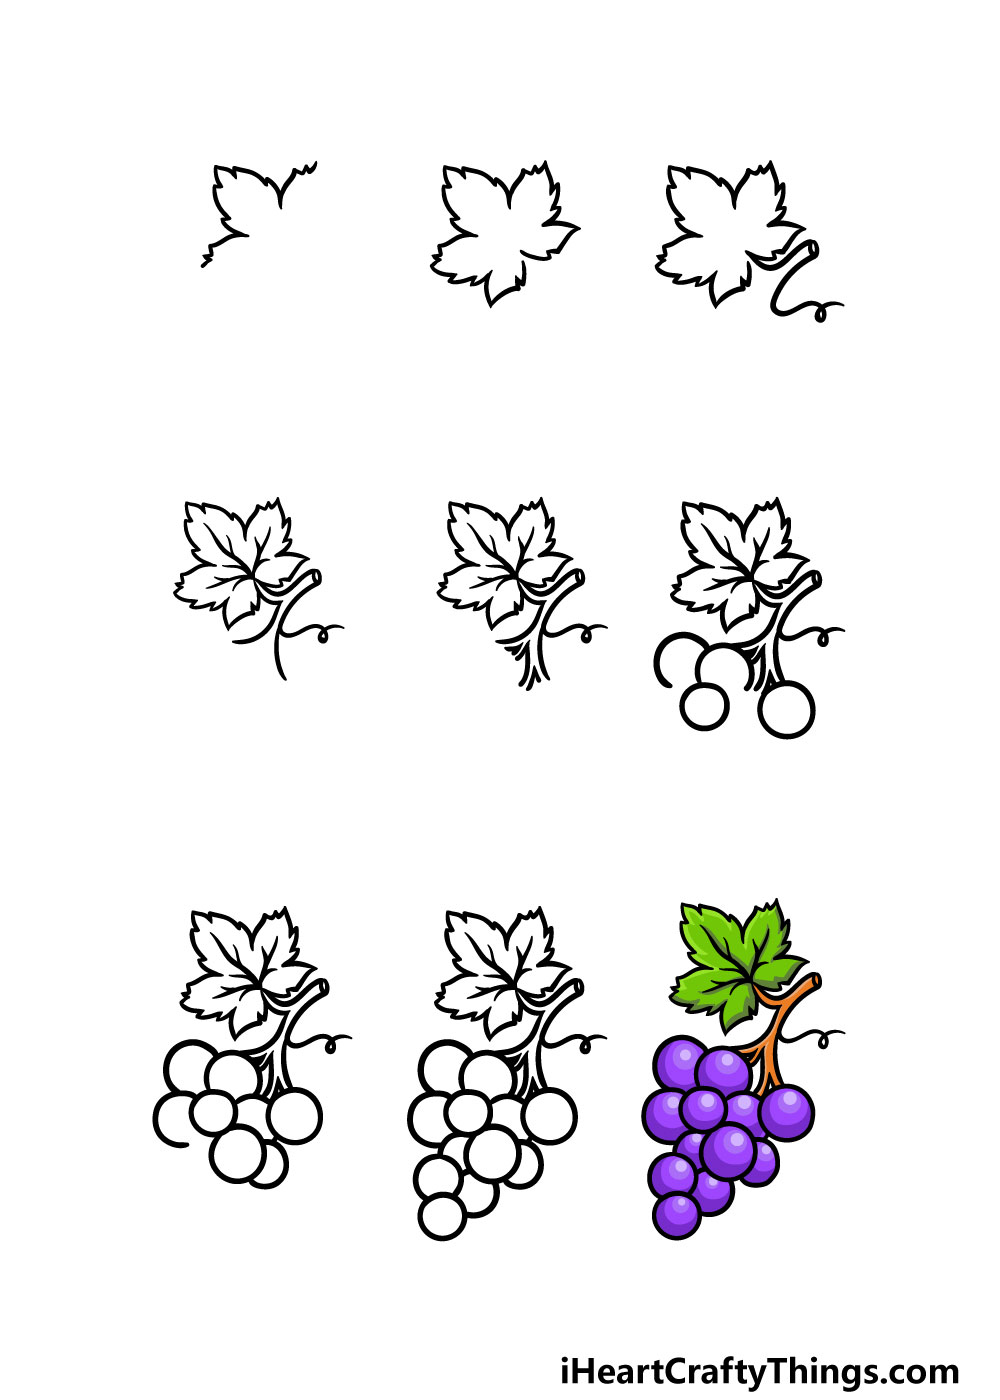
That brings you to the final step of this guide on how to draw grapes! Now that it is drawn, you can have some fun using your favorite colors to fill it in.
We used purple for the grapes and a nice bright green for the leaves, but this is just one of many color combinations that you could use.
You could also make the grapes green or even use some bright and vibrant colors for a more stylistic image. We can’t wait to see what colors and art mediums you use to bring this drawing to life!
5 Tips To Make Your Grapes Drawing Even Better!
Enjoy this bunch of tips we have for improving your grapes drawing even more!
Grapes are popular to enjoy around the world, and they will often be eaten with other fruits. That represents a great opportunity for this grapes sketch!
You could add all kinds of different fruit to the image in order to create a wonderful still life. These could be any fruits that you love, and they would also allow you to incorporate even more colors.
Whether you add different fruits to this grapes drawing or not, you could also enhance it by adding a background. You could create a classic still-life setting by having them in a fancy bowl, for instance.
That’s one idea, but there are so many cool settings you could create! What are some backgrounds you can think of?
Another cool way to make your drawing of grapes even better would be by adding a human character. This would also go really well with our previous suggestion!
You could draw them in a cartoon style or make it more realistic if you prefer. If you were to do this, you could even use yourself or maybe some friends and family as inspiration!
What kinds of situations would you create with this picture?
When it comes to famous still-life pictures, they can be found in every style imaginable. From photorealistic to abstract, there is something to suit every taste!
That also represents an opportunity for you to change the style of this grapes sketch as you see fit. If you have a favorite kind of art style, then you could adapt it to this image.
Leading on from our previous tip, using different art tools and mediums can help with changing the style as well. For example, if you want a more realistic style then using paints would be perfect.
For a cartoony take, using colored pens and markers would help achieve that vibrant look. What art tools and mediums best fit your vision for this wonderful drawing?
Your Grapes Drawing is Complete!
With the final details and colors added, that means that you have reached the end of this guide on how to draw grapes!
When taking on a new drawing, it can be made so much easier when you break it down into more manageable steps. It can also make it a lot more fun, so we hope that you had an amazing time working on it!
Now you can take over and show us how creative you can be with your own details.
Whether you add some elements of your own, create a cool background or use some creative colors, we can’t wait to see what you do!
Once you’re ready for more, you can find more drawing guides on our website! We upload new ones all the time, so be sure to check in frequently to never miss out!
When you have finished your grapes drawing, we would love to see it! We hope that you will share it on our Facebook and Pinterest pages for us to enjoy.