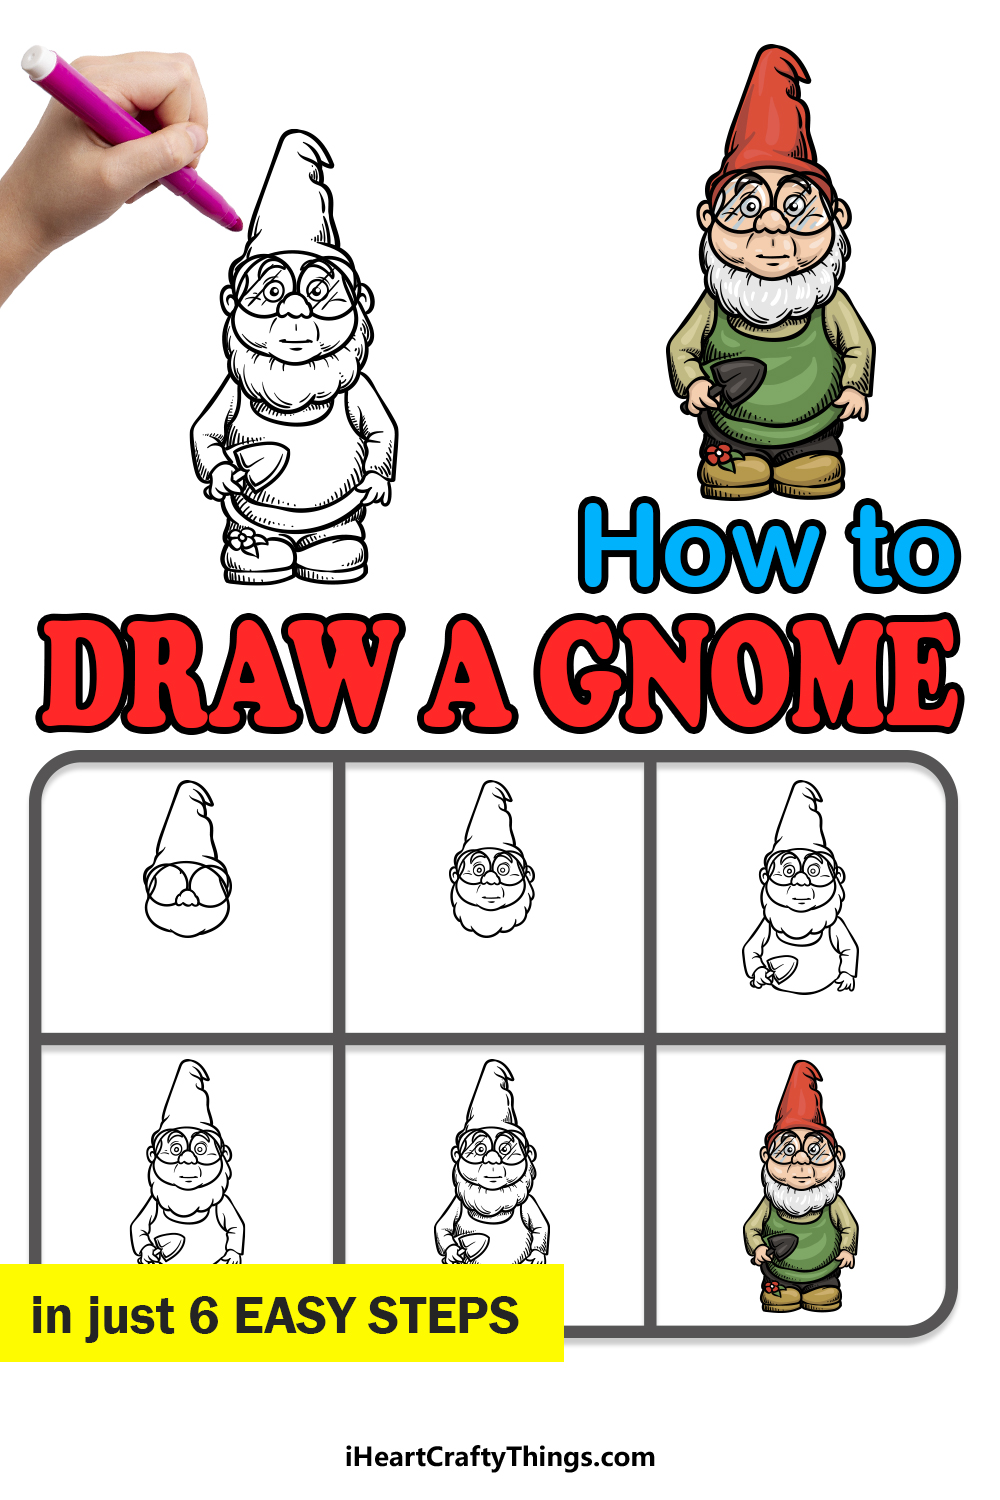
This guide on how to draw a gnome is perfect for anyone to enjoy! No matter your age, you can follow along and see how to make this cute gnome character.
Adding a gnome to your garden is a great way to add a bit of magic and whimsy to your yard. These little guys come in many different forms, and you can place them in some amusing situations.
This guide for kids is perfect for anyone who has dreamed of designing their very own gnome. I’ll walk you through all of the steps in order to create this adorable gnome.
Once you have the hang of the design, you could even change some of the details and put him in different poses and background settings.
There is a world of possibilities waiting for you, and it all begins with the first step of the guide!
Watch This Guide On How To Make A Gnome Drawing
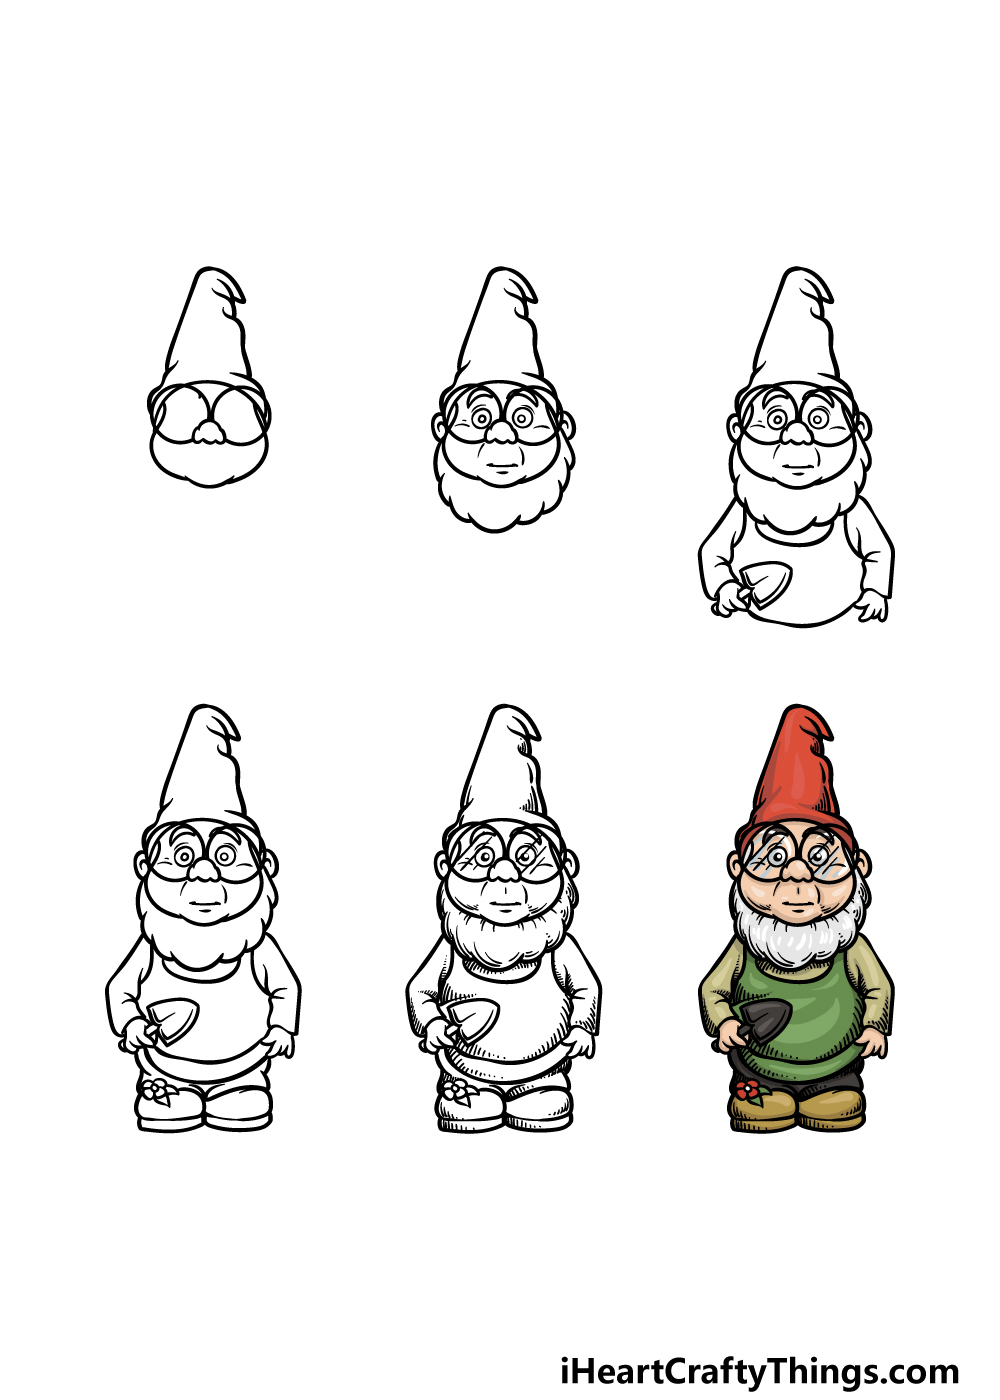
How to Draw A Gnome – Let’s Get Started!
Step 1
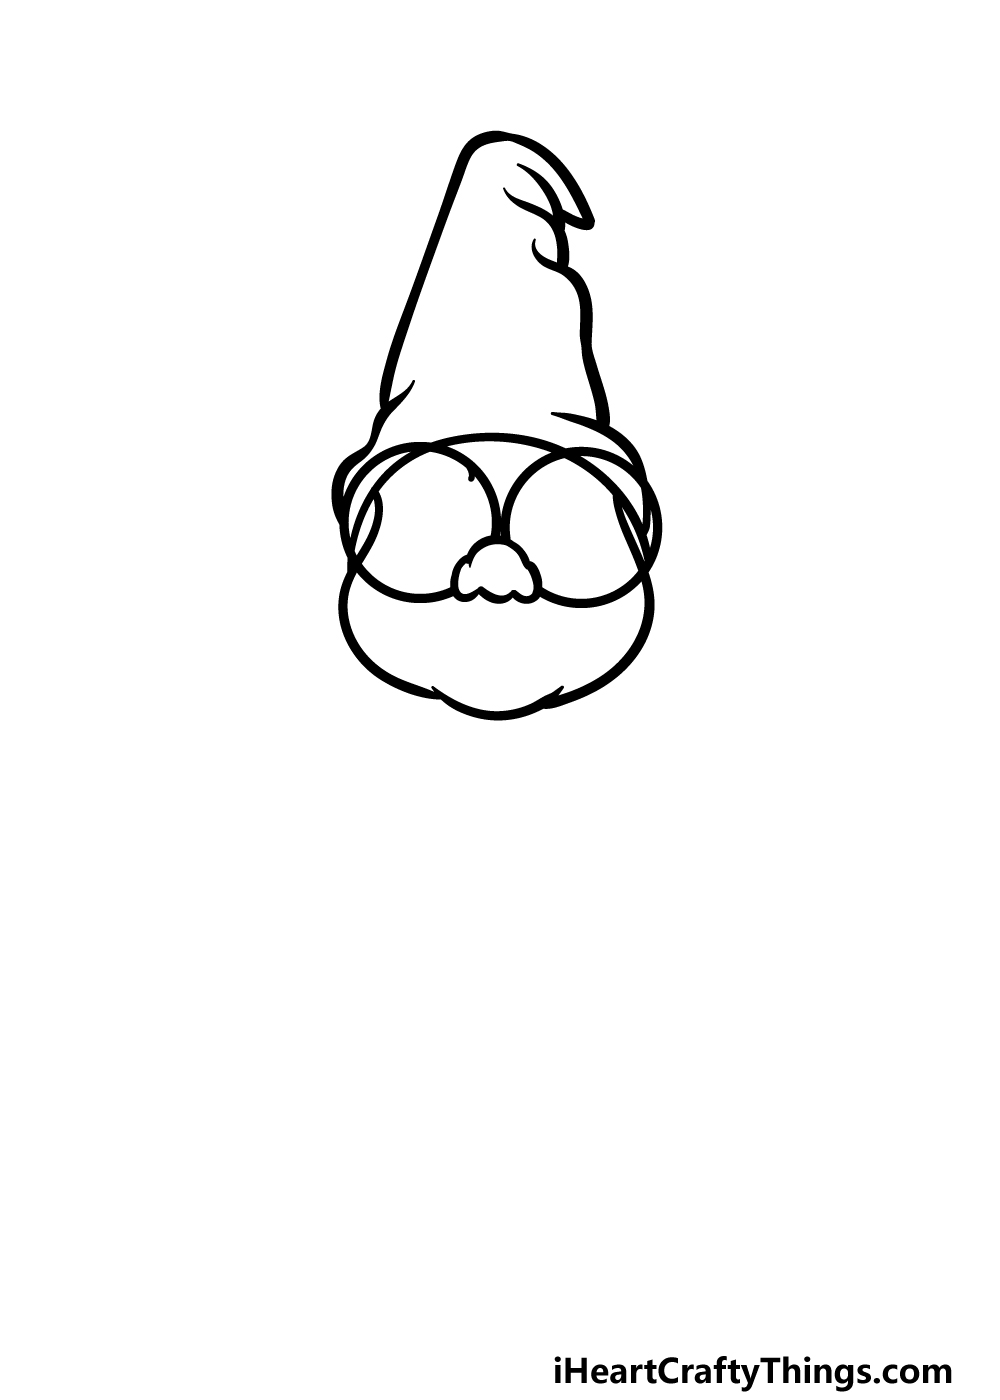
We will be creating a classic depiction of a gnome in this guide on how to draw a gnome. In this first step, we will begin with his head outline as well as the classic pointy gnome hat he is wearing.
You can begin by drawing a small, rounded shape for his nose. Then, we will be drawing two large circles sitting atop his nose. These will form the comically large glasses that he is wearing.
Then, you can use some curved lines to finish off his facial outline. Finally, finish off this step by drawing his tall hat sitting on his head.
This will be so tall that the tip will be drooping over to the side a bit. Then we can proceed to step 2 of the guide!
Step 2 – Now, draw his facial details and his beard
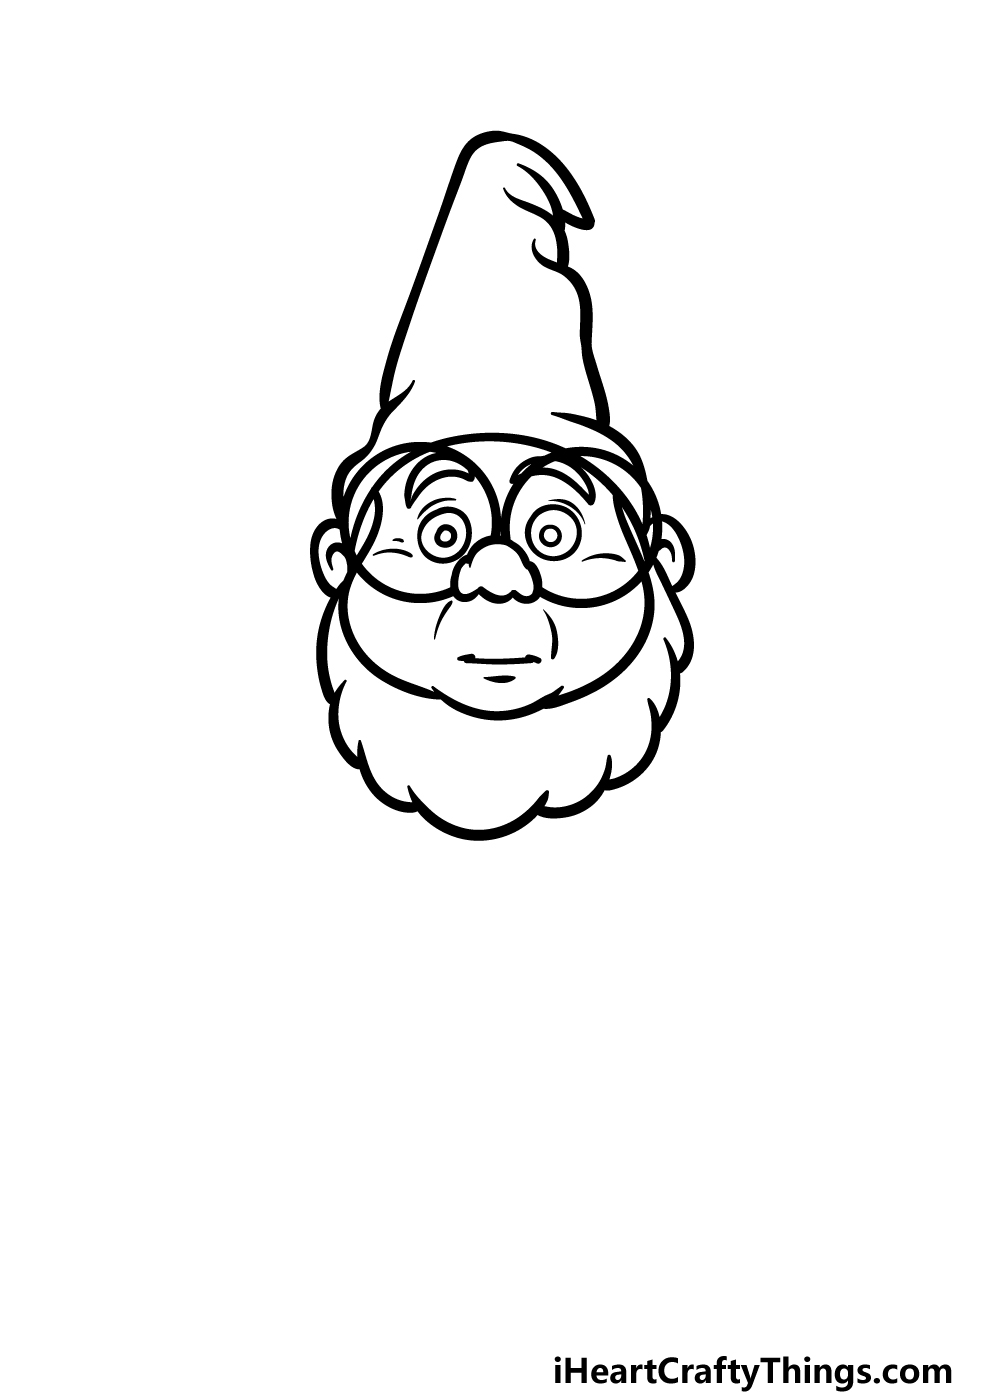
With the outline for the head of this gnome drawing done, we can start adding some facial details in this second step.
First, draw some small circles inside of his glasses for his eyes, and then add even smaller circles within them for the pupils.
You can also add some details such as his eyebrows and some lines around his eyes.
Then, finish off his face by adding his mouth. To conclude this second step, we will then draw his bushy beard sitting below his face.
This will be drawn using some bumpy lines to make it look nice and bushy.
Step 3 – Draw his arms and his chest
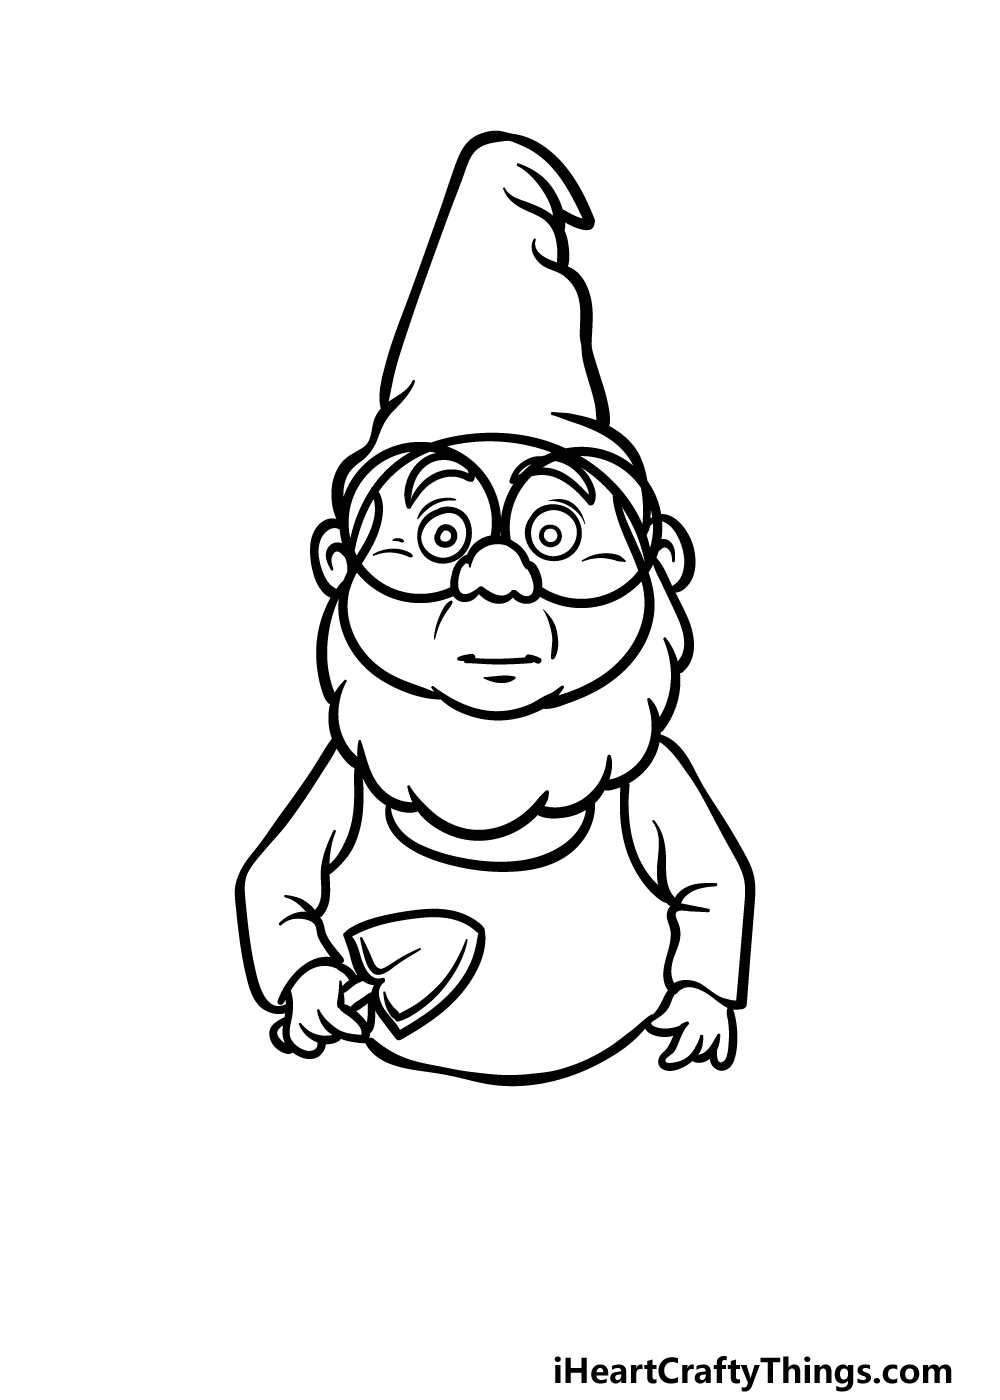
In this third step of our guide on how to draw a gnome, we will be drawing his arms and his chest.
Use some more curved lines for the long sleeves of his shirt, and then you can add a little hand at the end of each sleeve.
To fit the gardening theme, we will also be drawing a small garden shovel in his hand on the left.
Once you have finished his arms, we will then finish off the outlines for his chest and waist before we move on to step 4 of the guide.
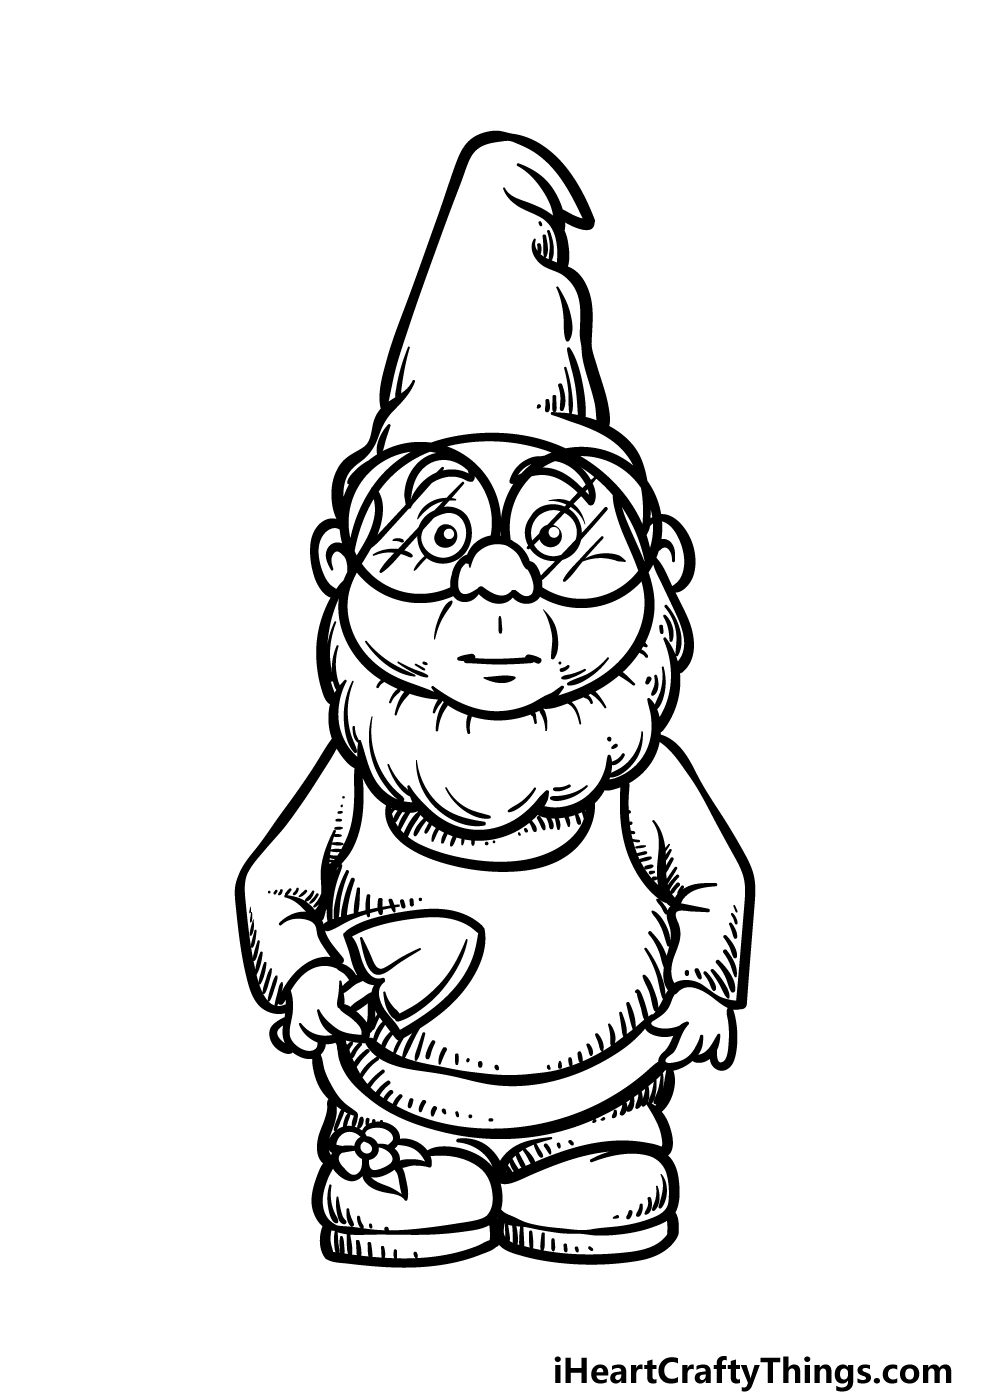
Step 4 – Next, draw his legs

We will be finishing off the outline for this gnome drawing in this step, and this will have you ready for the final details in the next one.
To do this, we will be drawing his short little legs. These will be drawn with some more curved lines, and they will be so short that it almost looks as if he doesn’t have any.
Then, you can finish off this step by drawing his rounded shoes at the bases of his legs. To further emphasize the garden theme, we will draw a small flower onto his shoe on the left.
Then we will be ready to add those final details we mentioned as we proceed to step 5!
Step 5 – Add the final details to your gnome drawing
You completed all of the outlines for this picture in the previous step of this guide on how to draw a gnome, and this step will see you adding the final details.
In our reference image, we finished off this little gut by adding some smaller lines throughout the picture. These lines will help to add that extra bit of texture dimension to the image.
Once you have added these details, you could also keep the drawing going even further!
One way to do this would be to add a background, or you could even change the details to create a unique gnome!
If you’re feeling a bit ambitious, you could also draw some unique gnomes to stand around this one.
How do you think you will finish off this gnome drawing?
Step 6 – Finish off your gnome drawing with color
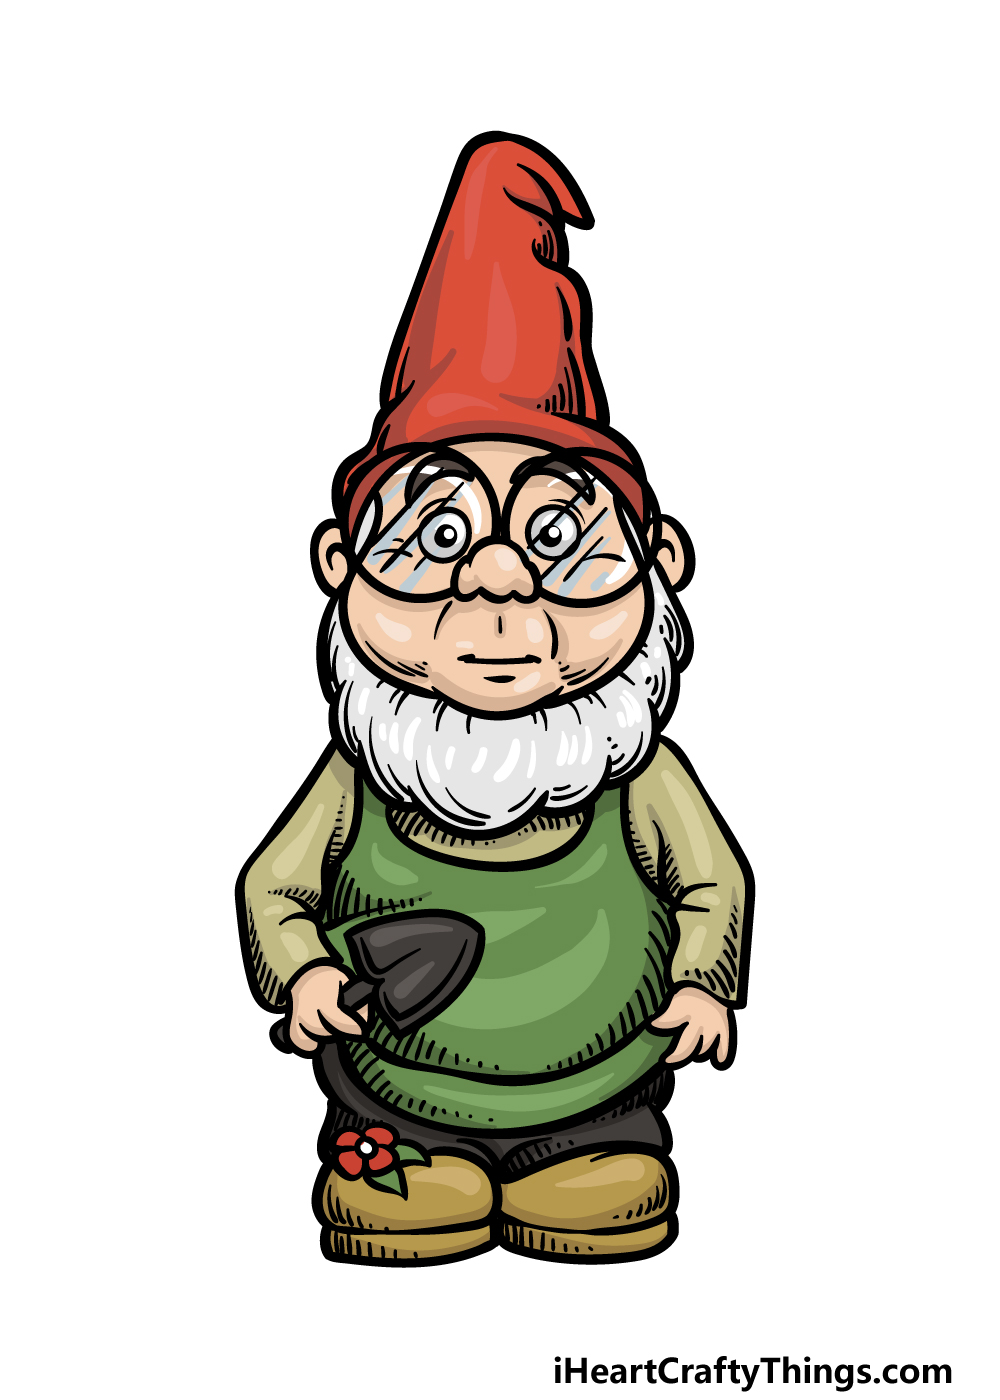
This is the final step of your gnome drawing, and in it we shall finish him off with some colors!
There are many different colors you could go for to finish him off, and in our reference image we showed you just one set of colors you could go for.
We used yellows, greens and browns for his clothing and then went with some reds for his pointy hat.
These are definitely colors you could use if you like this color scheme, but you should also feel free to use any other colors you love!
When coloring this gnome, we would recommend some watercolor paints for a more muted, classic look to the picture, but what colors and mediums can you think of to use for this image?
5 Tips To Make Your Crab Drawing Even Better!
Find out how you can make your awesome gnome sketch even better with these tips!
In this gnome drawing, we have him posed with a little garden spade. This fits well, as gnomes are common ornaments in gardens.
We think it looks great, but you could substitute this spade with other accessories! He could have a gardening fork or maybe a watering can for a few more gardening-related ideas.
These are a few substitutes you could use, but what else could you give this gnome to hold?
Once you’re finished learning how to create this drawing of a gnome, you may want to give him some gnome friends! Using the guide, you could go through the steps and change characteristics to create more gnomes.
Why not try and see how many gnomes you can fit on the page and how many unique appearances you can create?
Seeing as gnomes are usually found in yards, they may also make friends with small critters. That would be another great addition to your gnome sketch!
We mentioned drawing some gnome friends, but you could also go for some animal friends. These could include squirrels, rabbits or maybe some cute birds.
What other animal pals could you add to this image?
When you have decided what extras you may or may not wish to add to your picture, you can then finish off with a background. The obvious choice would be a yard or a garden, and that would look great!
It could include flowers, small ponds or any other peaceful features you would expect to see outside. Do you think you will go for a garden setting or pick another background instead?
Finally, we would really encourage you to have some fun with colors and mediums. We showed you how you may want to color this gnome drawing, but when it comes to color there are no wrong answers!
Not only can you play with colors, you can also try out various art tools and mediums to make it look perfect.
Your Gnome Drawing is Complete!
A garden gnome is always a charming addition to any garden, and we hope that you had a great time recreating this cute example of one in this guide on how to draw a gnome!
In this guide, we wanted to break this design down into smaller steps that would not only make it easier for you but also leave room for your own creativity.
Now that you have completed this design, you could add to it by adding a background, some more details or even by designing your very own gnome variation! How will you complete this cute image?
Then you can keep the drawing fun going by finding your next drawing guide on our website. We have a huge selection for you to enjoy and we plan to release more soon.
Keep checking in to never miss out!
We would love to see your finished gnome drawing, so please do show us by sharing it on our Facebook and Pinterest pages!