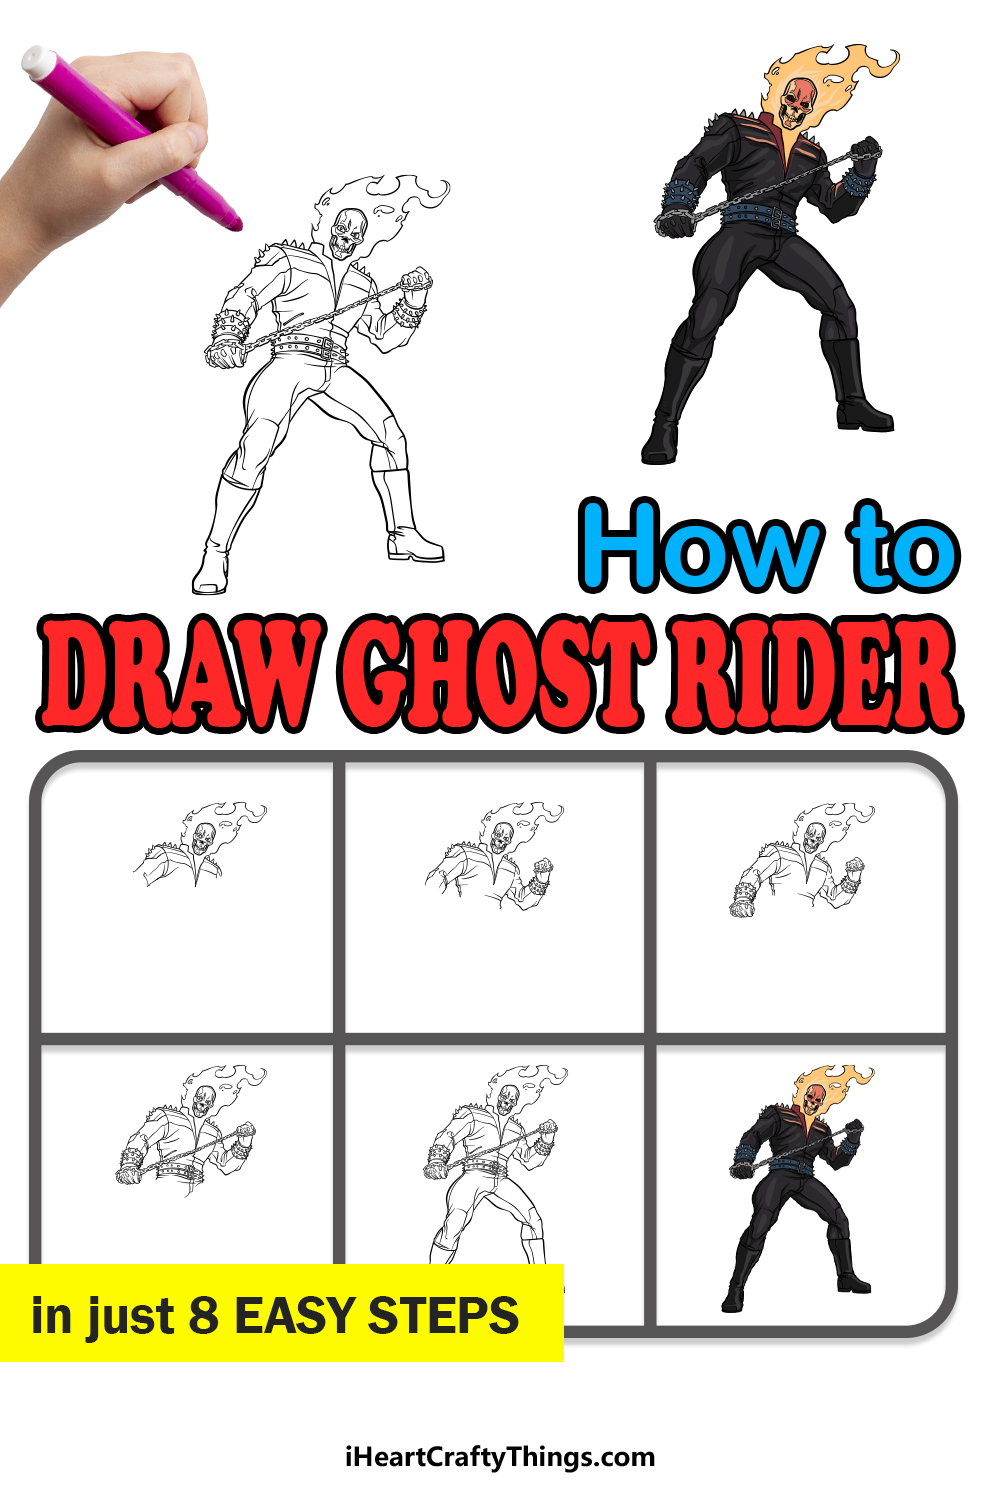
There are many memorable characters from comic book history, but of all these heroes and villains Ghost Rider has to be one of the most unique!
This antihero character has a flaming skull for a head and rides his signature flaming motorcycle as he goes after his enemies.
This awesome design as well as his complex backstory have made him a popular character, and by learning how to draw Ghost Rider his many fans can create some great art featuring him.
If you admire this unique character as well, then you’re going to love the guide we have for you!
This step-by-step guide on how to draw Ghost Rider will provide you with plenty of drawing thrills!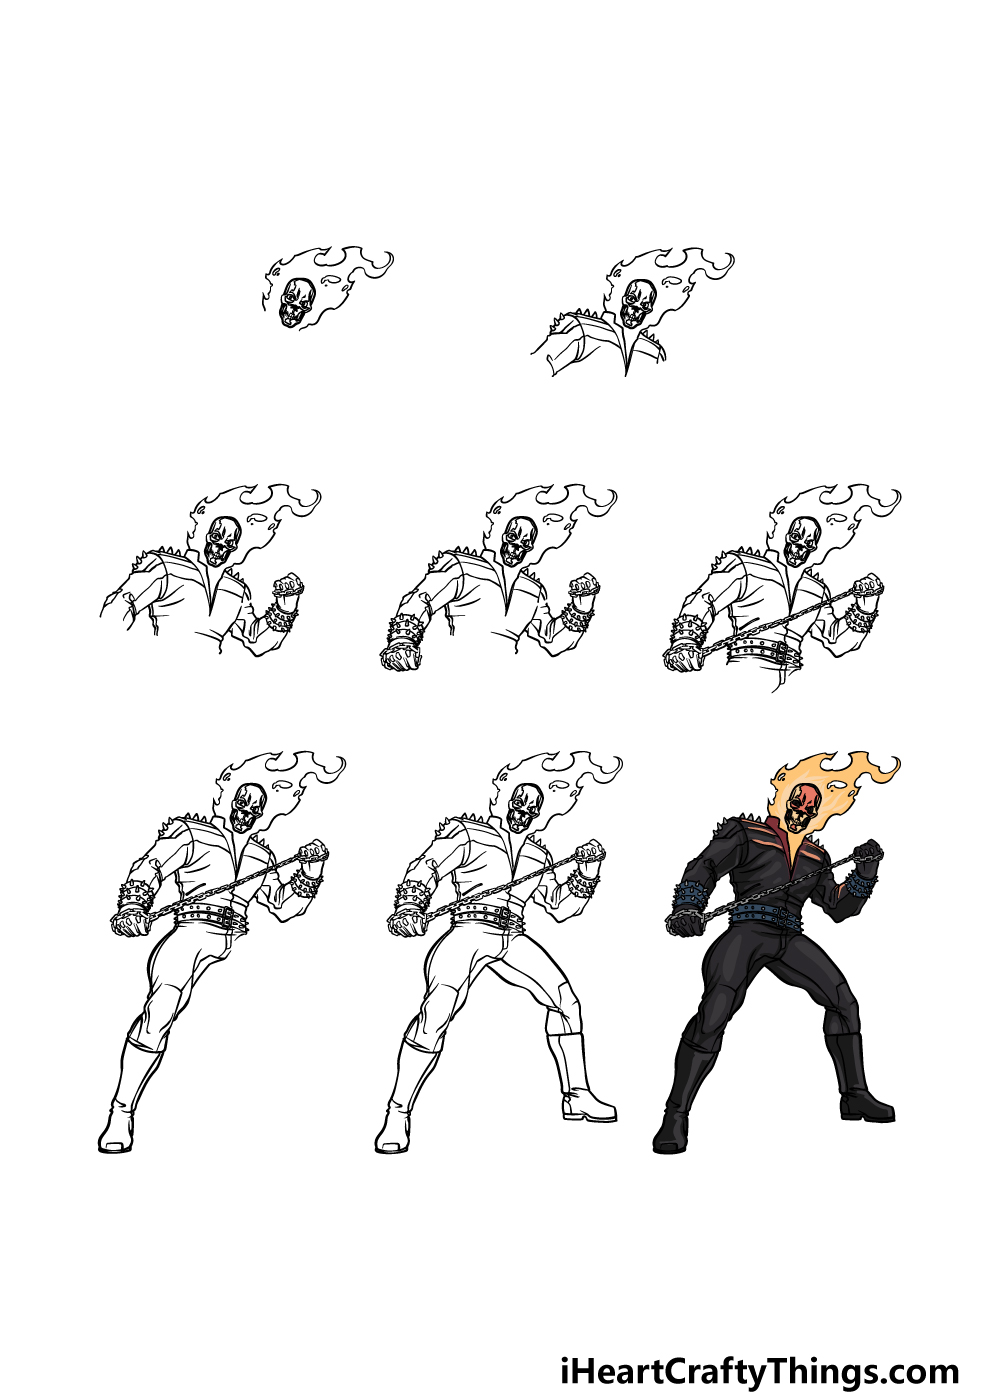
How to Draw Ghost Rider – Let’s get Started!
Step 1
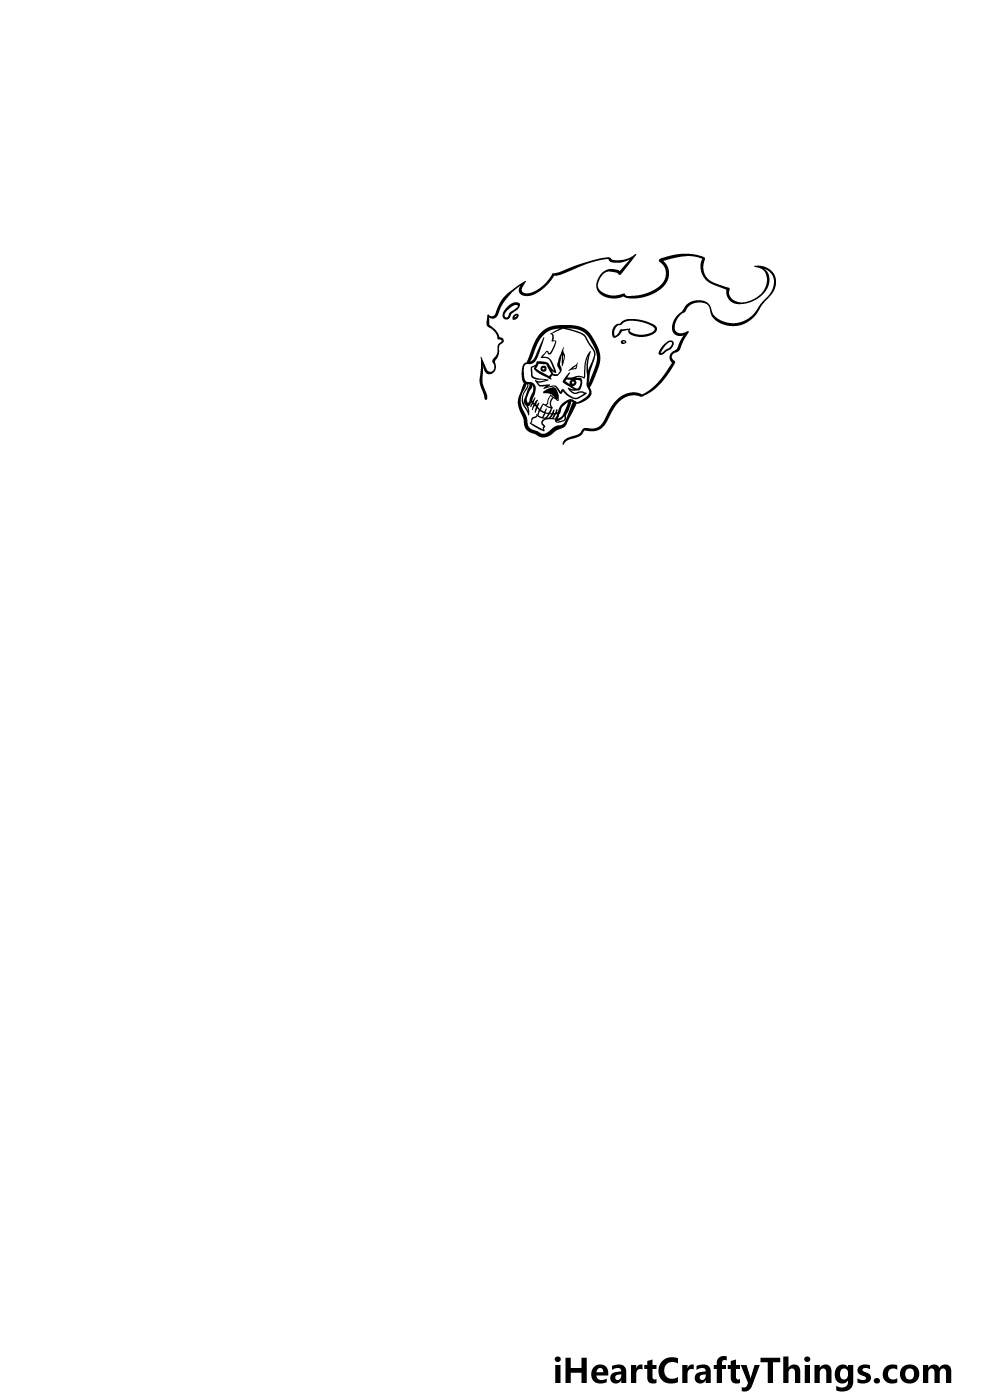
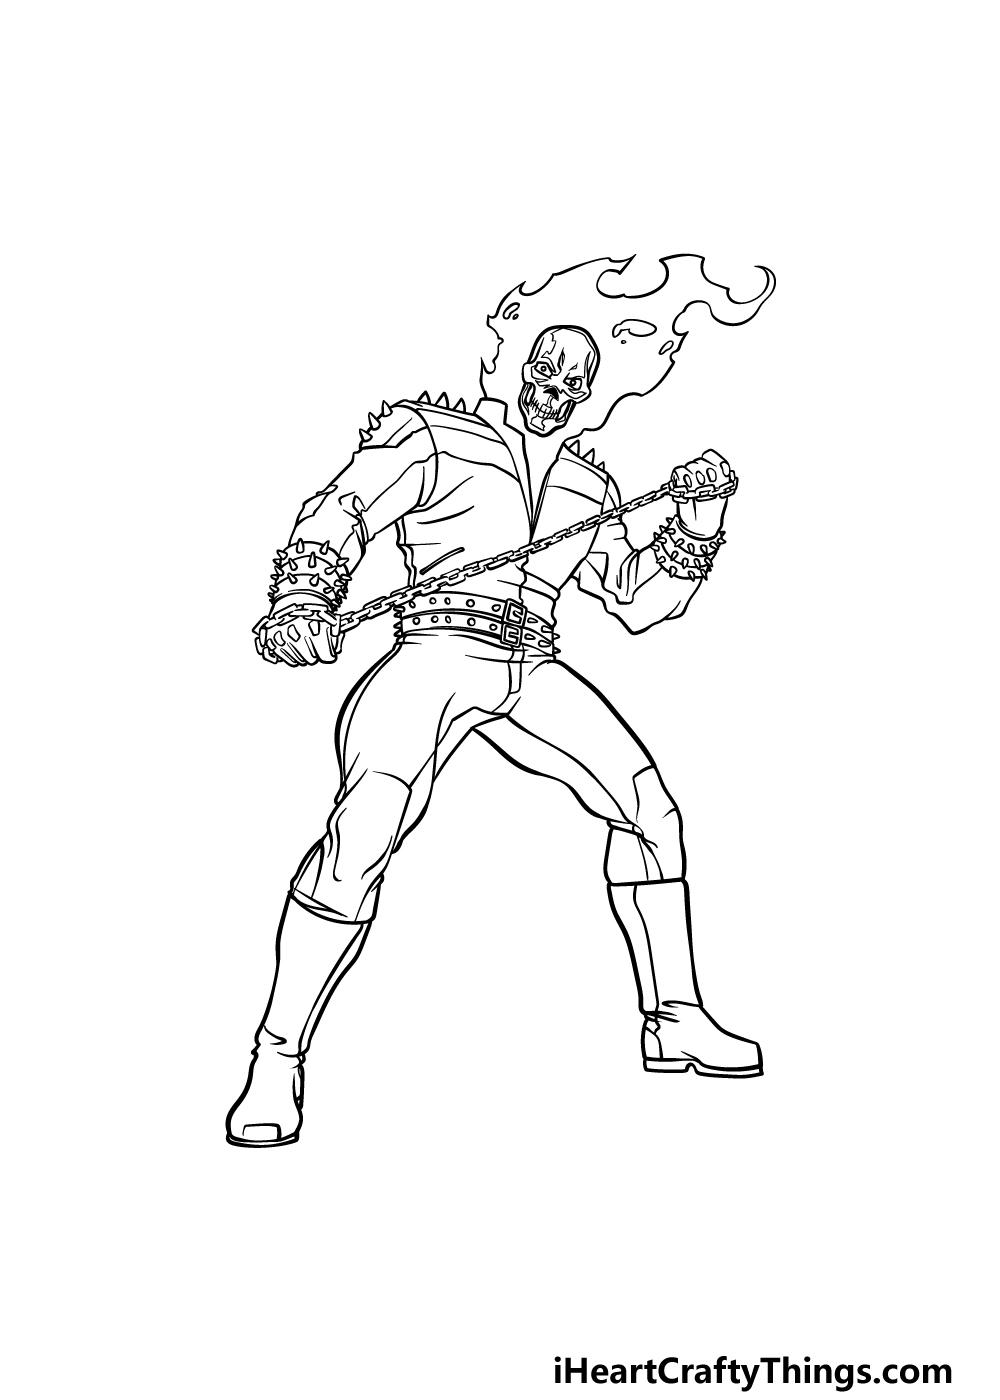
For the first step of our guide on how to draw Ghost Rider, we will start with what is possibly his most recognizable trait: his flaming skull head.
For this step, you may want to zoom closely into our example image, as we have quite a few intricate details in the skull portion of his design.
His eye sockets will also have small circles inside of them for the eye effect we will be coloring later. Once you have replicated the skull, you can then use some wavy lines for the flames around his head.
Step 2 – Next, start drawing his jacket
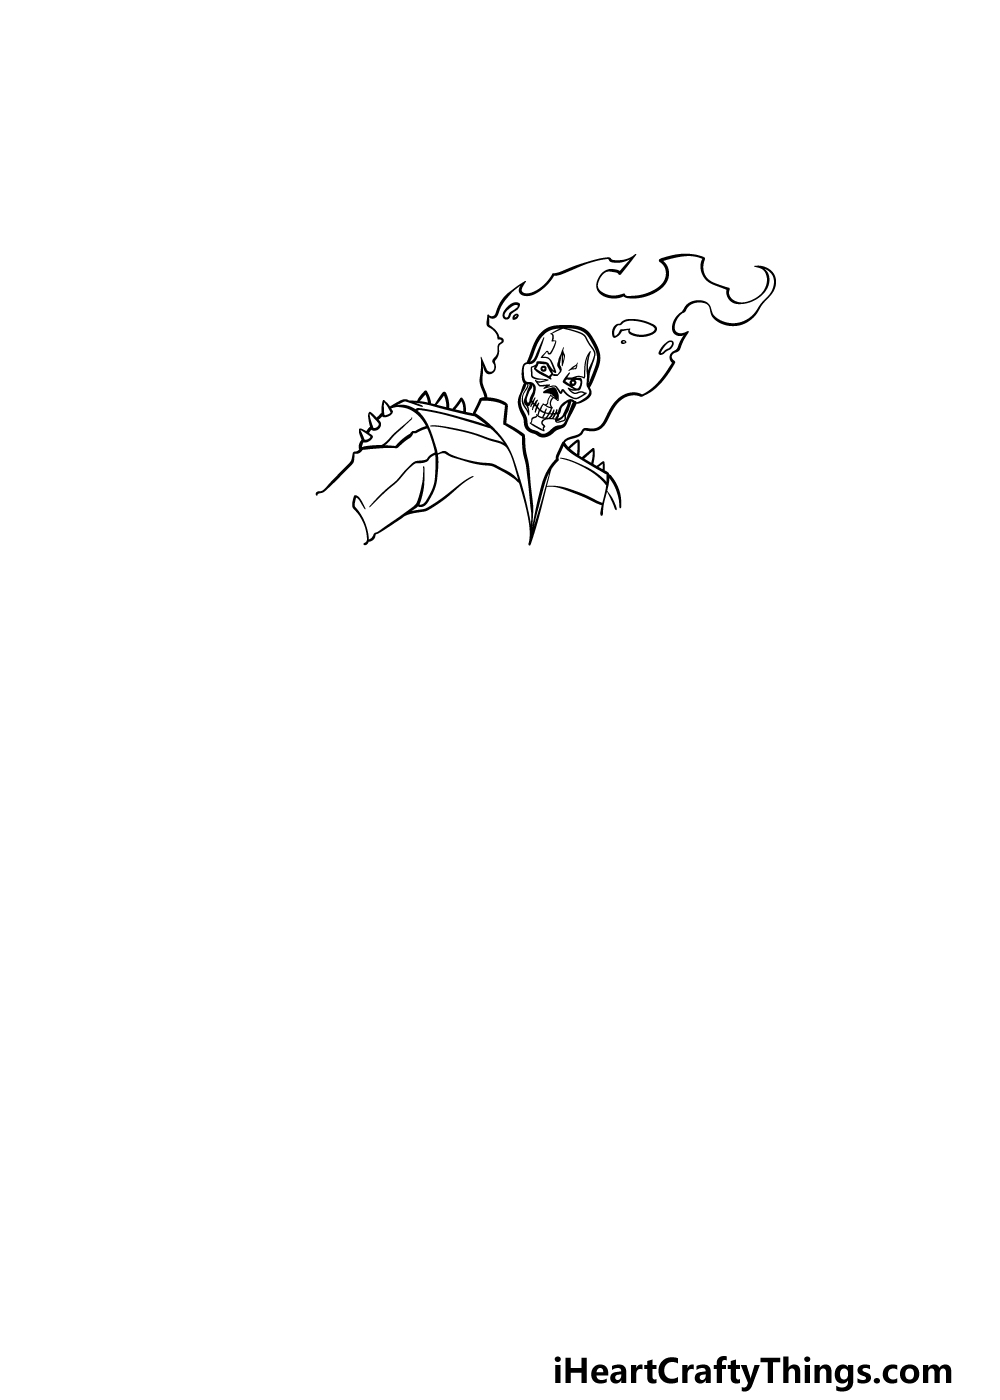
For this second part of your Ghost Rider drawing, we will start drawing his iconic leather biker jacket.
We will be using some rounded lines that connect straight to the flames around his head to draw the collar and start of the jacket. We will then use straight lines for his shoulders extending out, and then we shall start the arm of his jacket as well.
You can finish off this step by adding some small spikes to his shoulders to make him look even cooler!
Step 3 – Now, draw his arms and chest
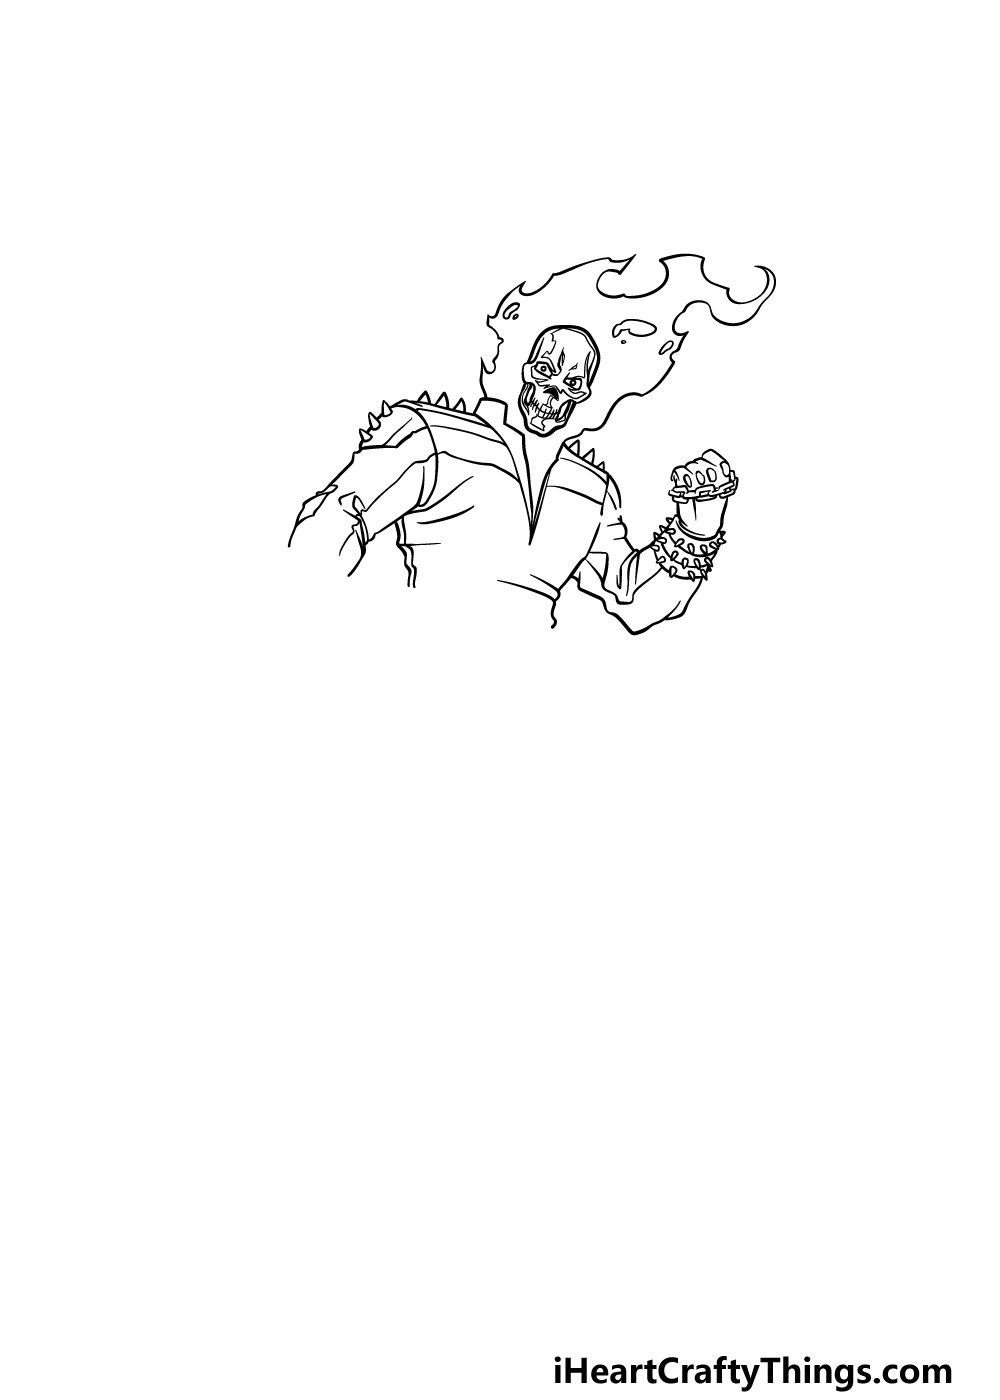
Now you’re ready to draw some more of his arms and chest in this step of our guide on how to draw Ghost Rider.
You can extend the arm on the left a bit and then draw the first part of his chest using some straight and slightly curved lines.
His other arm will be bent, so that means that we will be using lots more curved lines to create the wrinkles in his jacket sleeve.
There will be more spikes around his forearm, and then his fist will be clutching a chain.
Step 4 – Next, draw his other fist
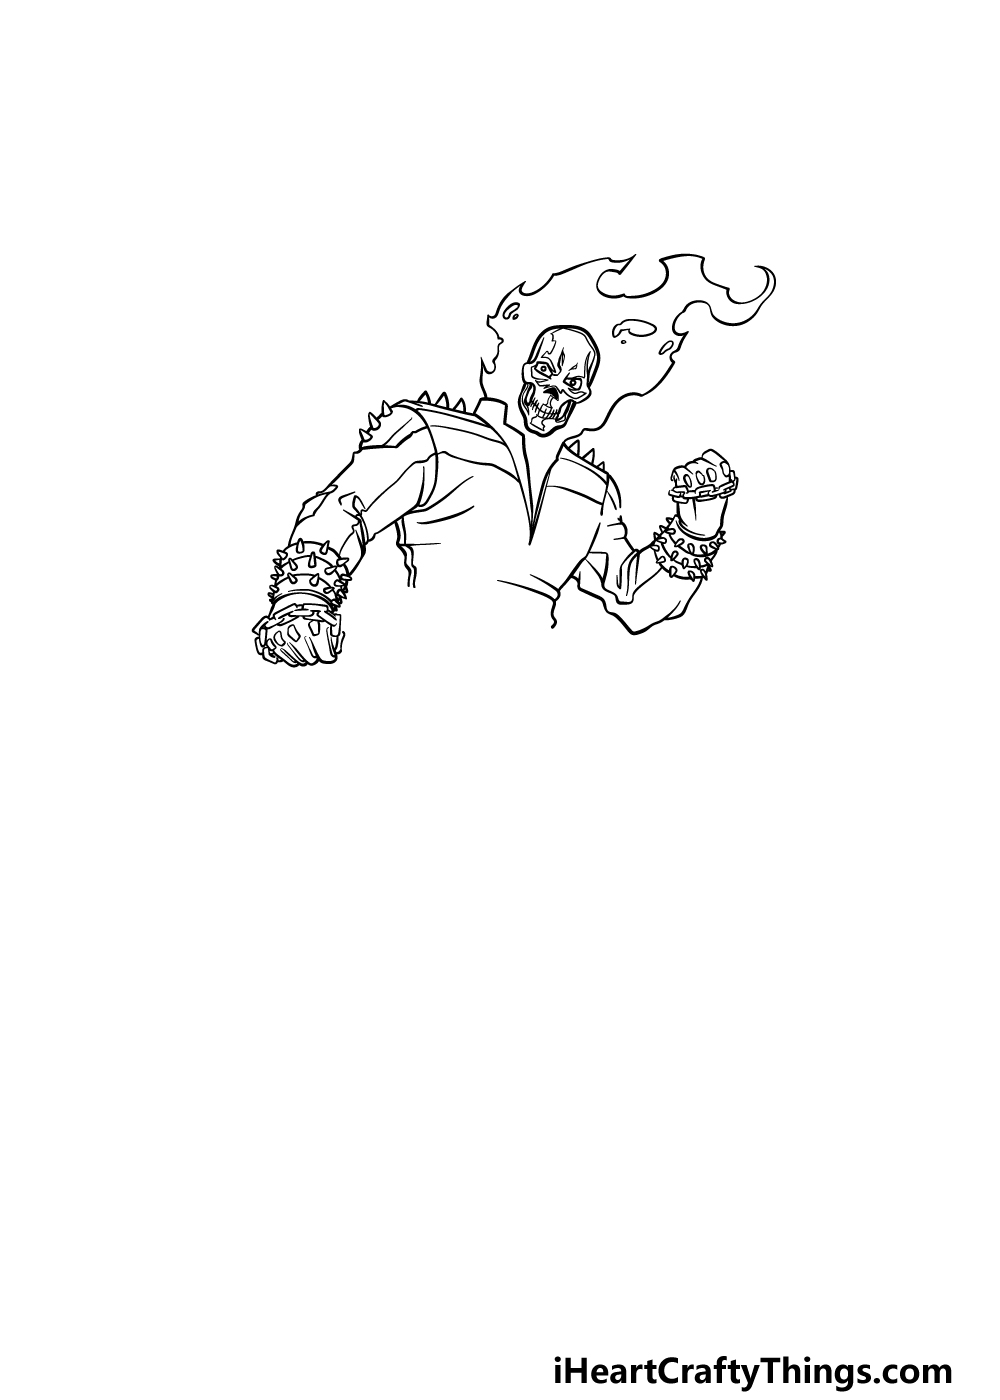
You’ve drawn one hand and forearm for your Ghost Rider drawing, and we will add the other one in this next step.
Similar to the other one, this forearm will have some spikes around it, and will lead to a closed fist.
He will also be holding a chain in this hand, and we will add more detail to that chain in the next step.
Step 5 – Now, draw the chain and his belt
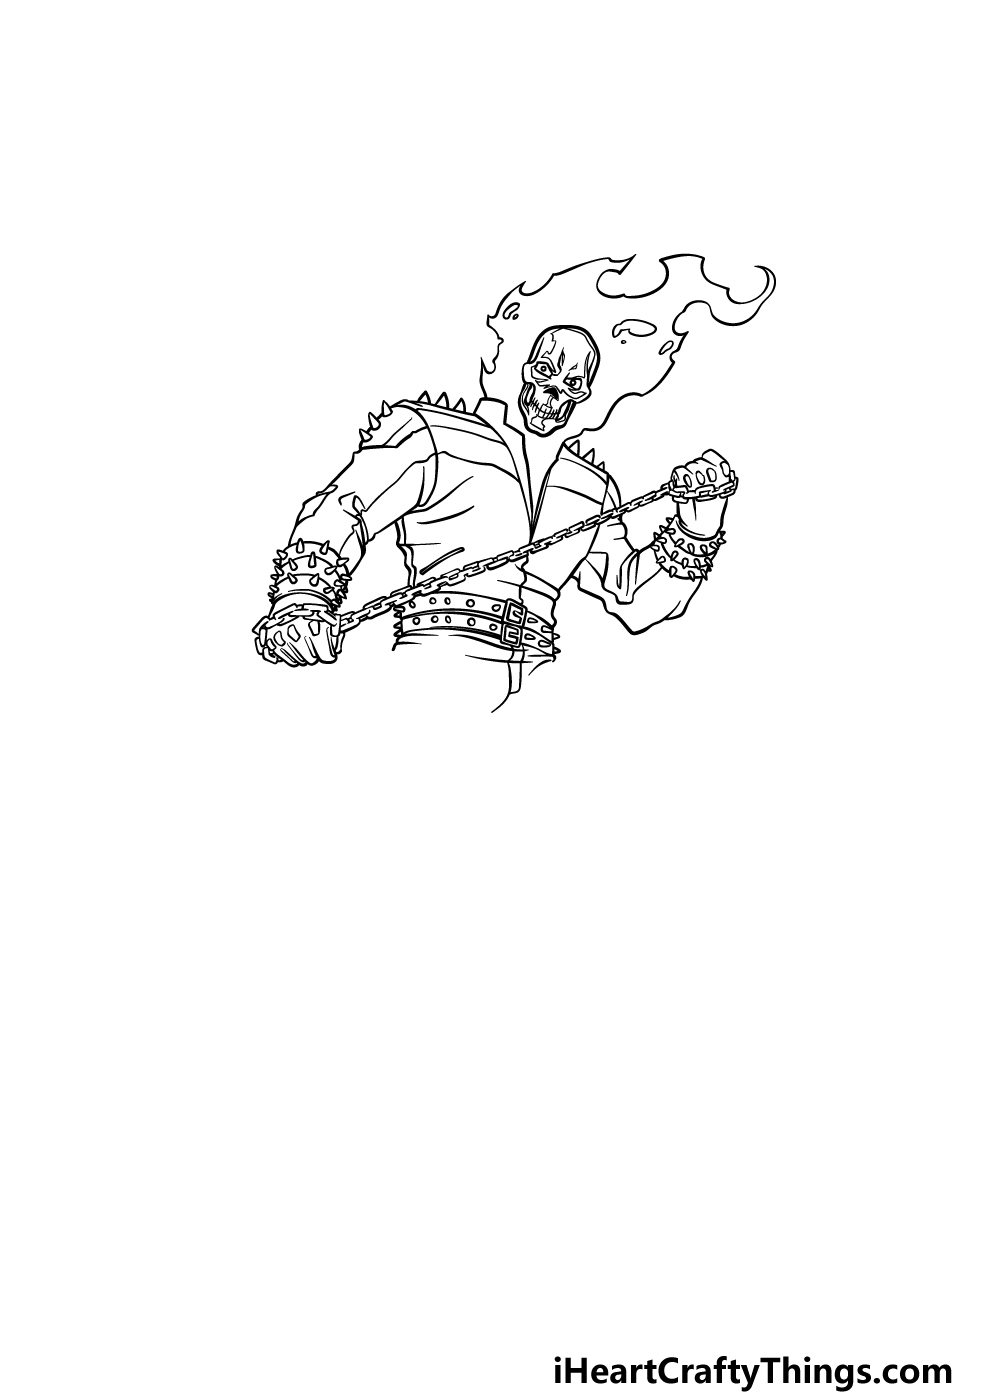
This next step of our guide on how to draw Ghost Rider could take a bit of patience, but it will be worth the effort!
We have already drawn his hands holding chains, and in this part we will be showing the length of chain between his hands. The reason this could take a bit of patience is that the various links will have to be drawn.
Then, we will finish off this step by drawing the two belts he is wearing. He must have a fondness for spikes, as there are some on his belts as well!
Step 6 – Next, draw his first leg
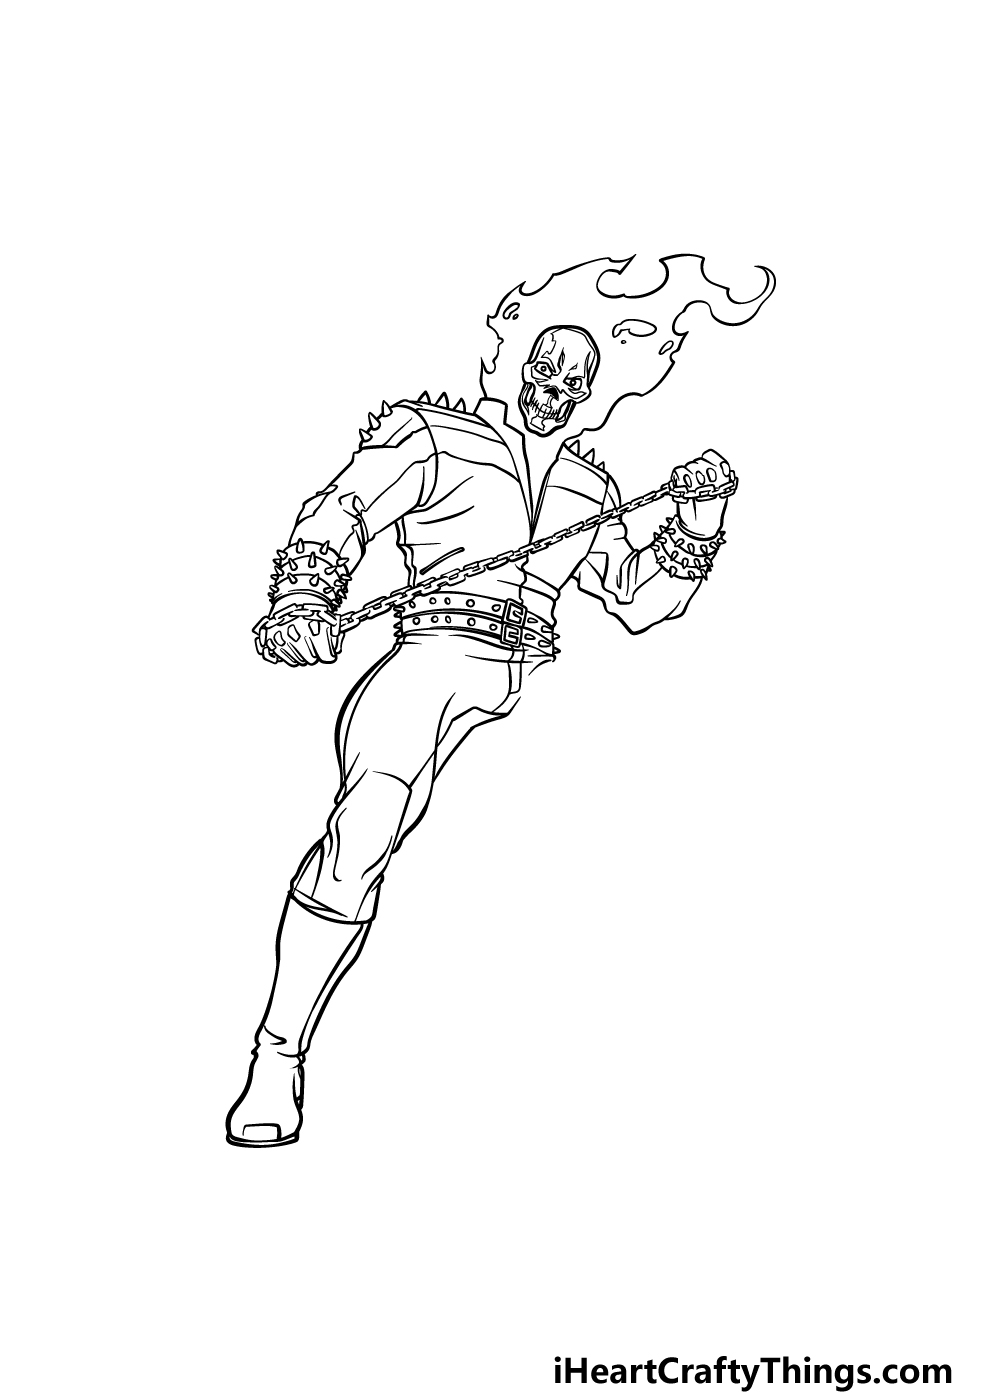
We will be finishing off your Ghost Rider drawing by drawing his legs in this and the next step. For now, we will be drawing the leg on the left.
His biker pants are quite tight, so we will be using some smooth, curved lines to draw this first leg. Then, we will finish off by drawing his boot at the bottom of the leg.
Step 7 – Next, draw his other leg
This seventh step of our guide on how to draw Ghost Rider will see you finishing him off by drawing his other leg.
This one will look very similar to the first, except it will be at a slightly different angle. Once you have both legs drawn, be sure to draw any background details and additional characters that you would like for this image!
Step 8 – Now finish it off with some color
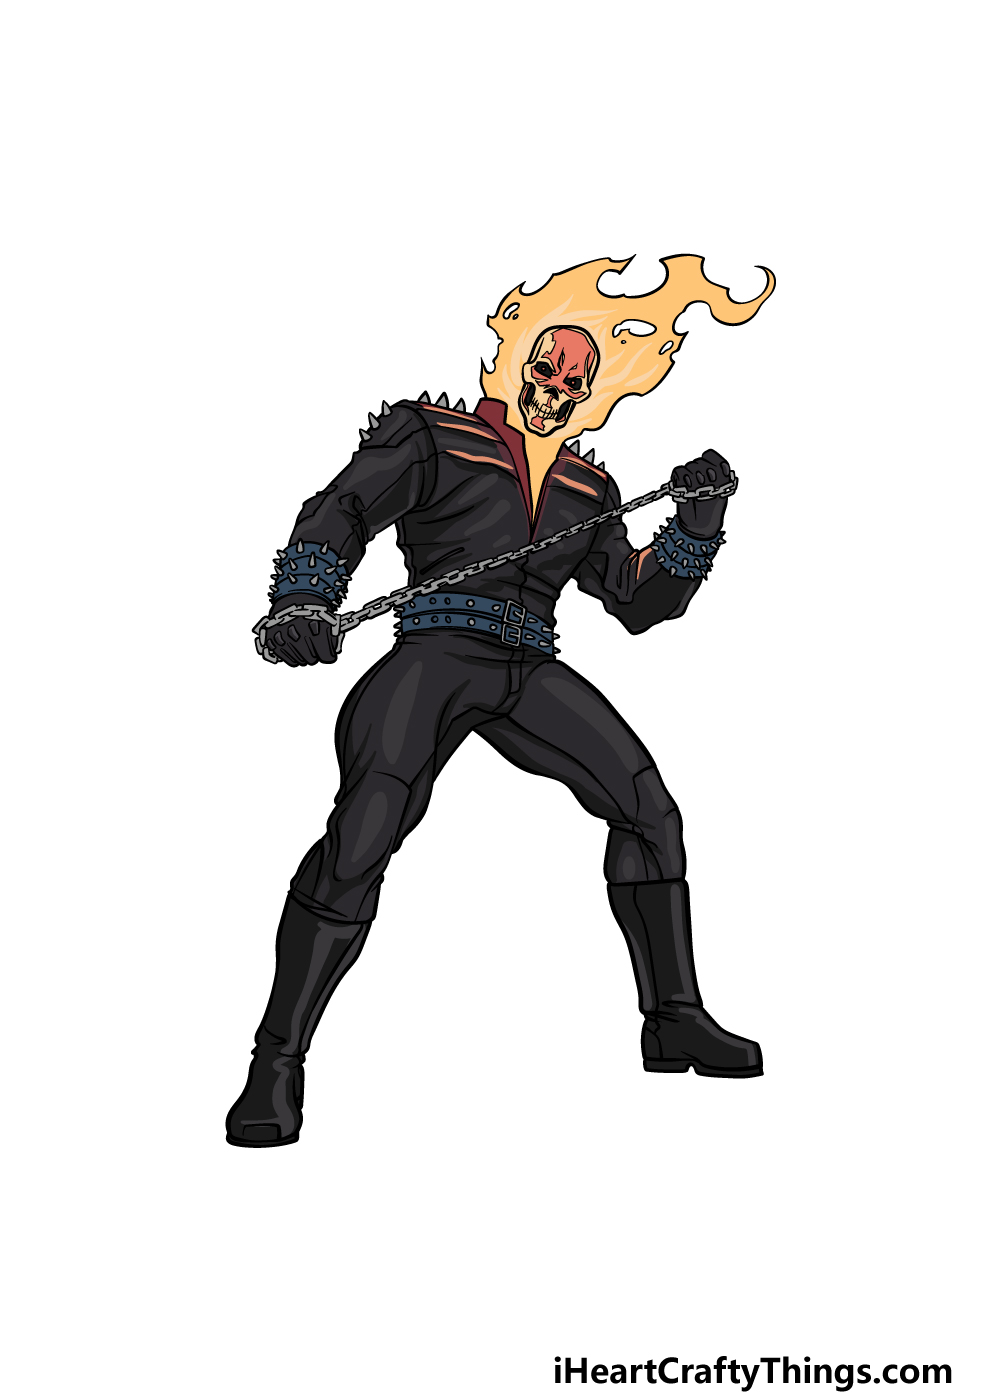
At this final step of your Ghost Rider drawing, you can finish it off by adding some amazing colors to it.
There’s a bit of color contrast with this character, as most of his outfit is dark black, but then he has the bright yellows and oranges of his flaming head. We also incorporated some orange onto his outfit to show the fire reflecting there.
We colored his eyes sockets in with black and then used orange for the little dots inside of them for a really cool look.
One way to color this would be to use a more solid medium like colored markers for his suit and then use watercolors for the flames to make them look softer.
What colors, mediums and techniques will you use for this awesome picture?
3 More tips to make your Ghost Rider drawing easy!
Check out these fiery tips we have for making your Ghost Rider sketch even easier!
This drawing of Ghost Rider shows a larger than life character, but you can use some simple tricks that artists use when drawing humans.
When drawing realistically proportioned humans, artists will often break down the design into smaller shapes and elements.
This will usually be done with a pencil, as they are just there to guide you.
They could include a rounded shape for the head and longer ones for the limbs. You can then use guiding lines across the face and body to map out where certain features will go.
Once you have these drawn, you can then add finer details in further layers.
You would be unlikely to find anyone that looks like this character in real life, but you can still use someone real to help you.
If you have a friend or a family member that has a similar build to Ghost Rider, then they would be perfect!
If you don’t know anyone like that, it can still be really helpful. Once you find your helpful assistant, ask them to pose the same way that Ghost Rider is in the pictures we provided.
To make it even easier, take some reference pictures from various angles. Having a real 3D person to refer to can help you with the proportions and details of your Ghost Rider drawing.
For this Ghost Rider sketch, we drew him in a highly detailed style. This represents the way that he tends to look in many of his comic appearances.
While this looks awesome, you could also draw him in a different art style if you want to make it easier.
This is something you could do just because you prefer the look of the new art style, however!
In the comics, many art styles have been used for Ghost Rider, so you would have some reference material to work with when depicting him in different styles.
What art styles would you potentially find easier to draw?
Your Ghost Rider Drawing is Complete!
There were a lot of details and proportions to get right in this guide on how to draw Ghost Rider, so you should be really pleased with your finished drawing!
While this drawing had its challenges, our goal with this guide was to make it as easy and fun as possible for you to work on. Hopefully we succeeded in this goal!
Now you can show off your creativity not only by drawing elements like a background or extra characters but also with the colors and mediums that you go for.
We can’t wait to see what you decide on for this picture!
When you’re ready for more, you’ll want to check out our website for more incredible drawing guides. We upload new ones often, so be sure to keep checking in!
We would really appreciate it if you would share your Ghost Rider drawing on our Facebook and Pinterest pages, as we always love to see your creations!