Five Nights At Freddy’s has become quite the phenomenon in the past few years. This series of scary games have made millions of people around the world jump from their seats!
The games are also full of many colorful and terrifying characters, and even though they’re made to be scary many people have their favorites.
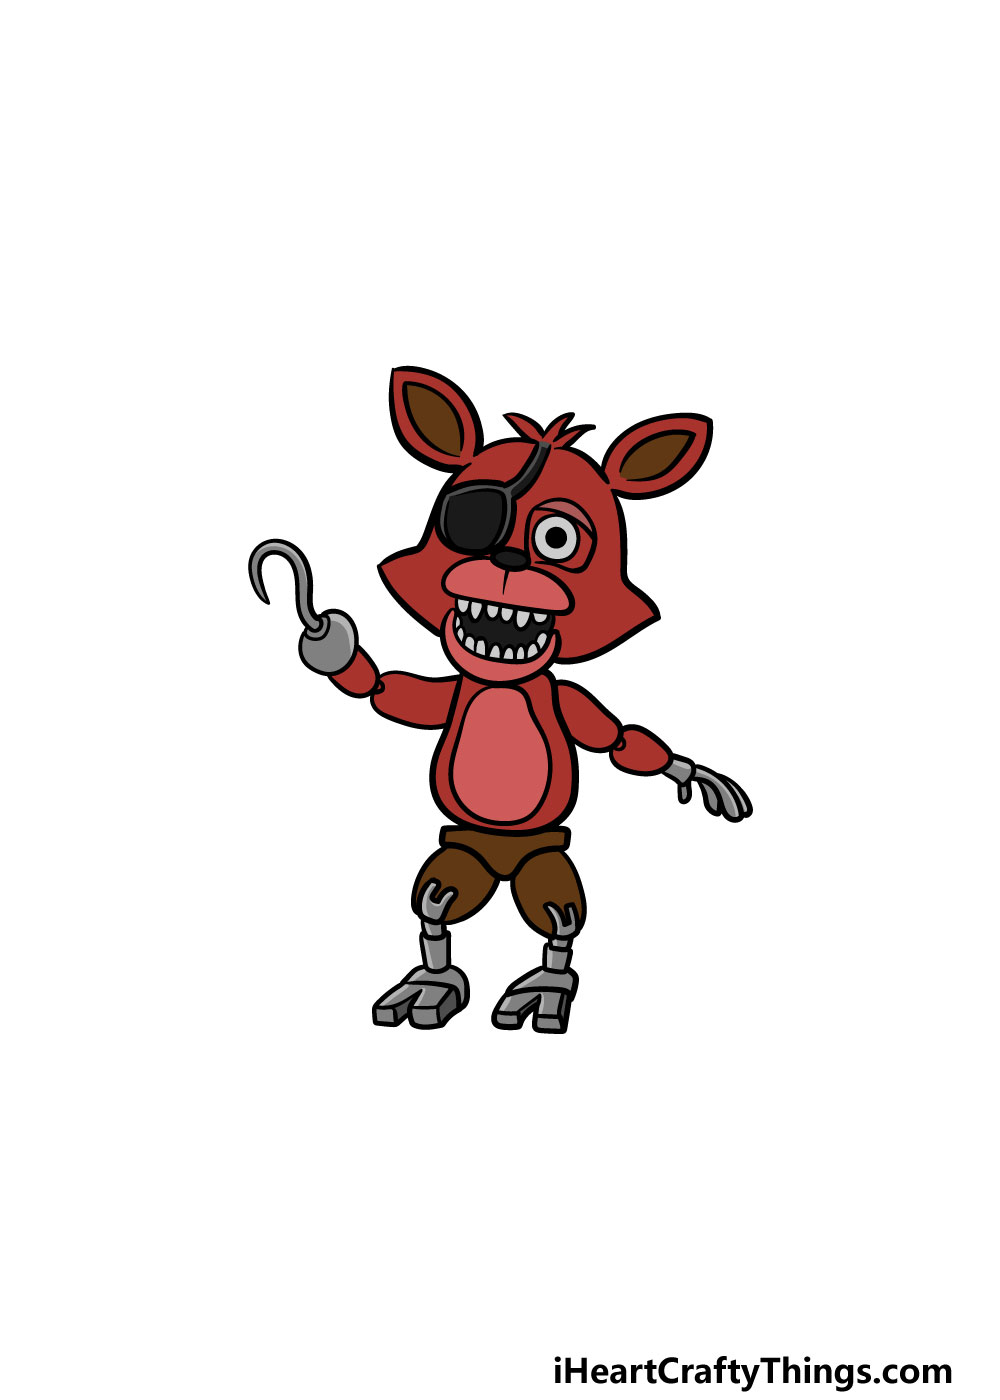
Foxy is one of the scariest characters in the games, but he’s still many people’s favorite character!
This leads many of his fans to wonder how they can learn how to draw Foxy themselves to put him into their own fan artwork
Luckily, this guide can help out any fans of the fearsome fox!
This step-by-step guide on how to draw Foxy will show you how you can recreate this character.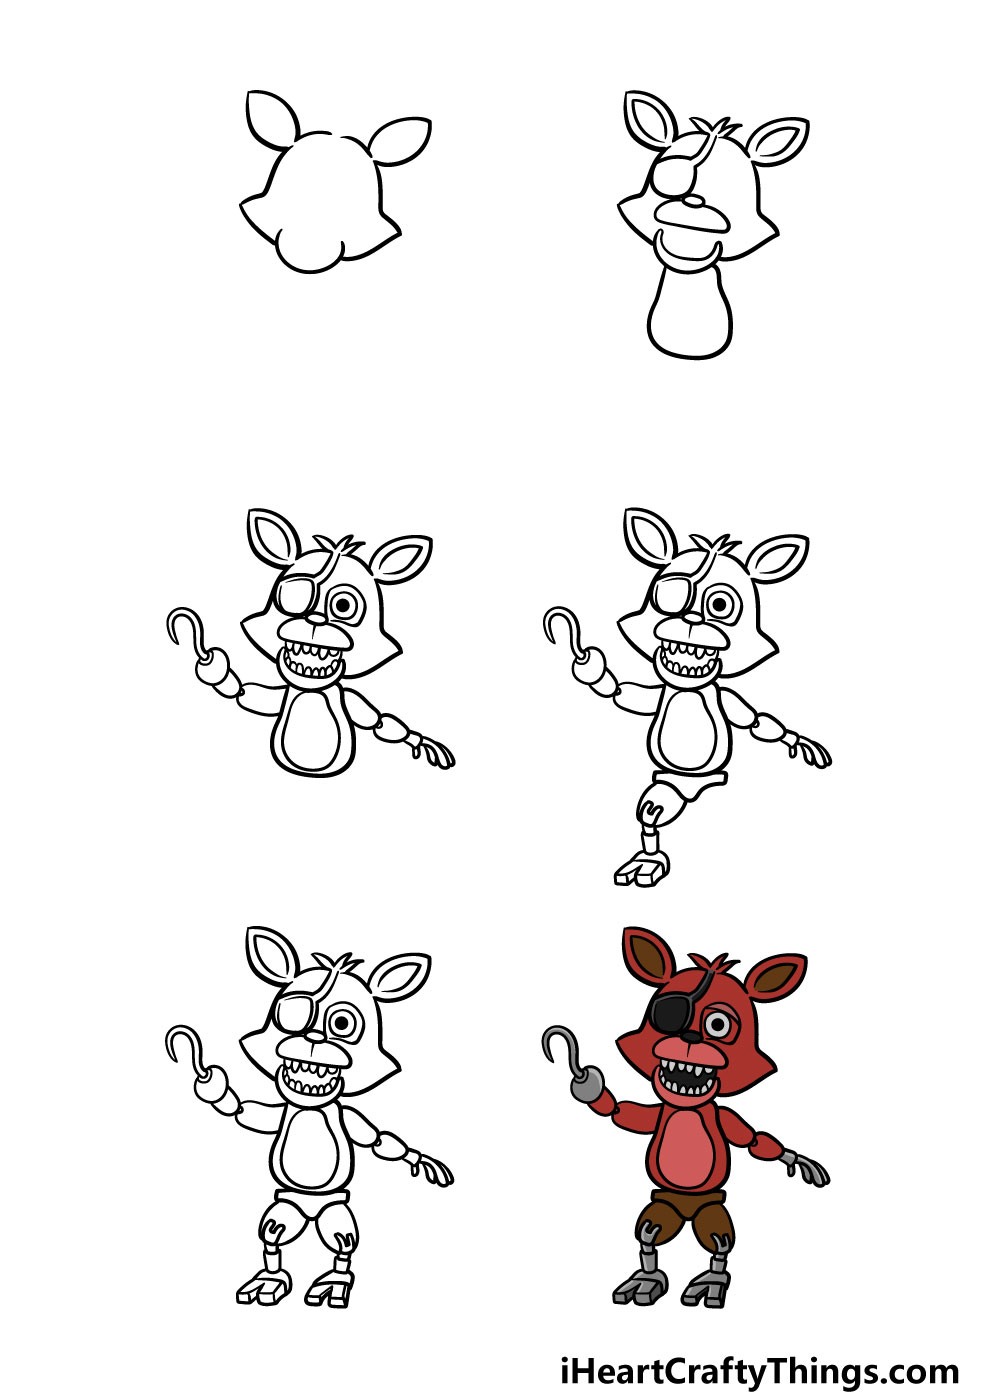
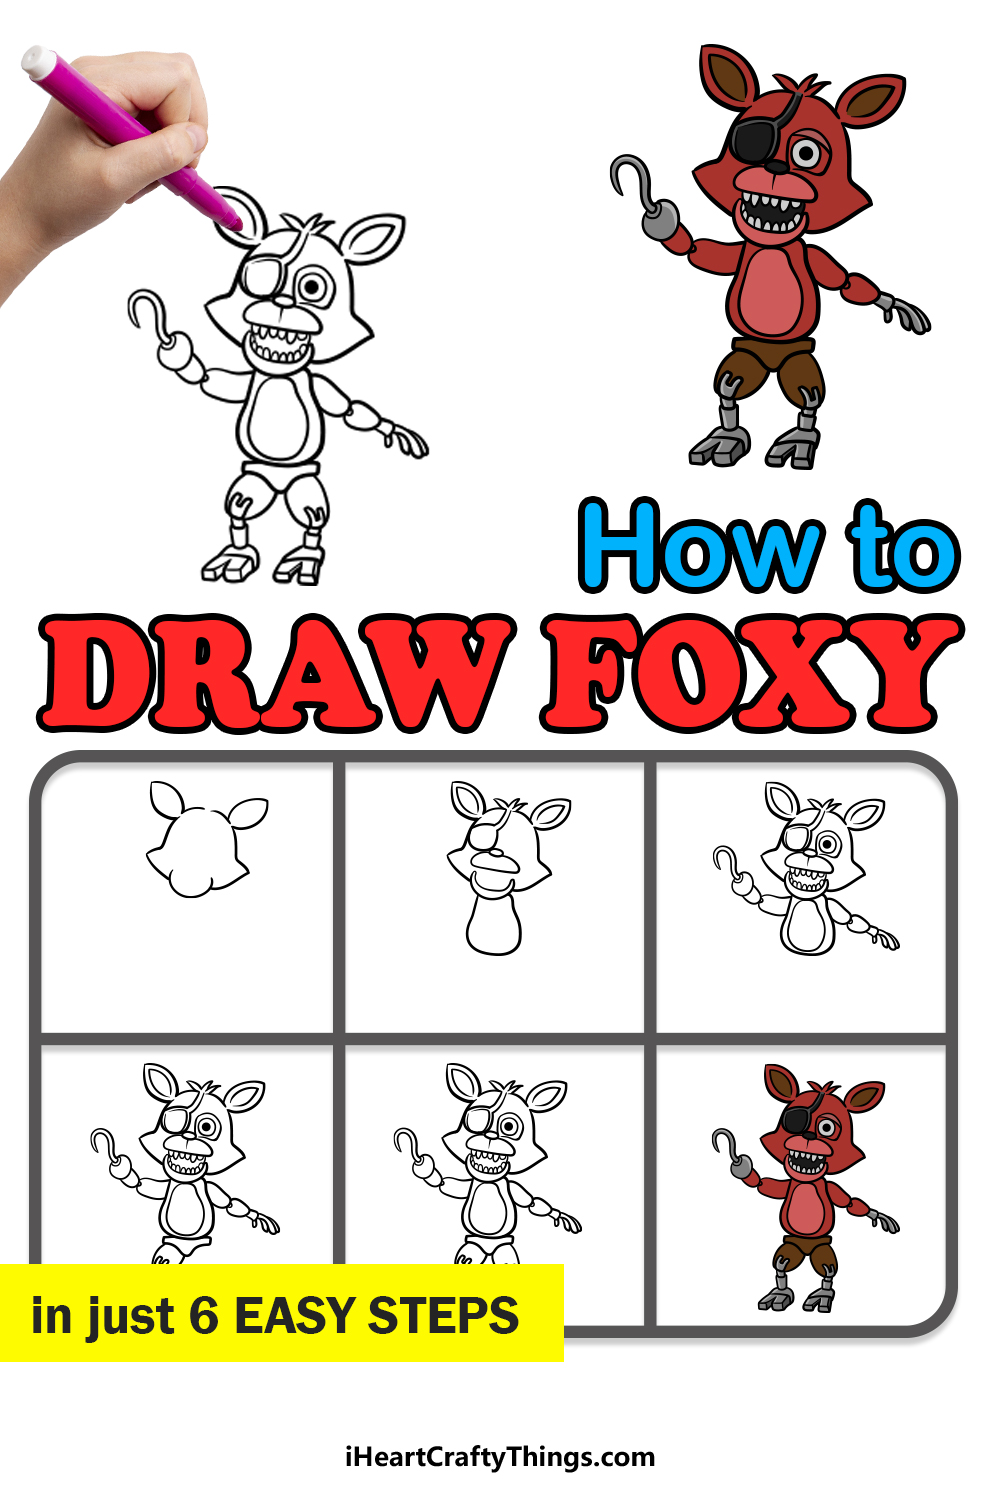
How to Draw Foxy – Let’s get Started!
Step 1

In this first step of our guide on how to draw Foxy, we will be starting with his head and ears. For now, we will be working on the outline of the head and will add some detailing later on.
The top of his head will be quite rounded, and it will have a small gap right at the very top of it where a tuft of hair will go.
Then, the sides of the face will be a bit more pointed with a round portion at the bottom for his chin.
Finally, you can draw his ears with some pointy oval shapes attached to the top of his head. That’s all there is to it for this step, and you’re ready to move on!
Step 2 – Start drawing his facial details

Now that you have the outline of the head of your Foxy drawing done, you can start to add some inner details to it in this step.
Firstly, start by drawing some shapes inside of the ears to form their inner portion. Then, draw three sharp shapes above the gap that you left on top of the head in the previous step.
Under that, you can then extend two lines that will converge on his eyepatch over the eye on the left.
Then, you will be drawing a small oval for his nose beneath the patch and then use some more rounded shapes for the two halves of his mouth.
Finally for this step, you can finish off by drawing his pear-shaped body beneath his head.
Step 3 – Now, draw more details and add his arms
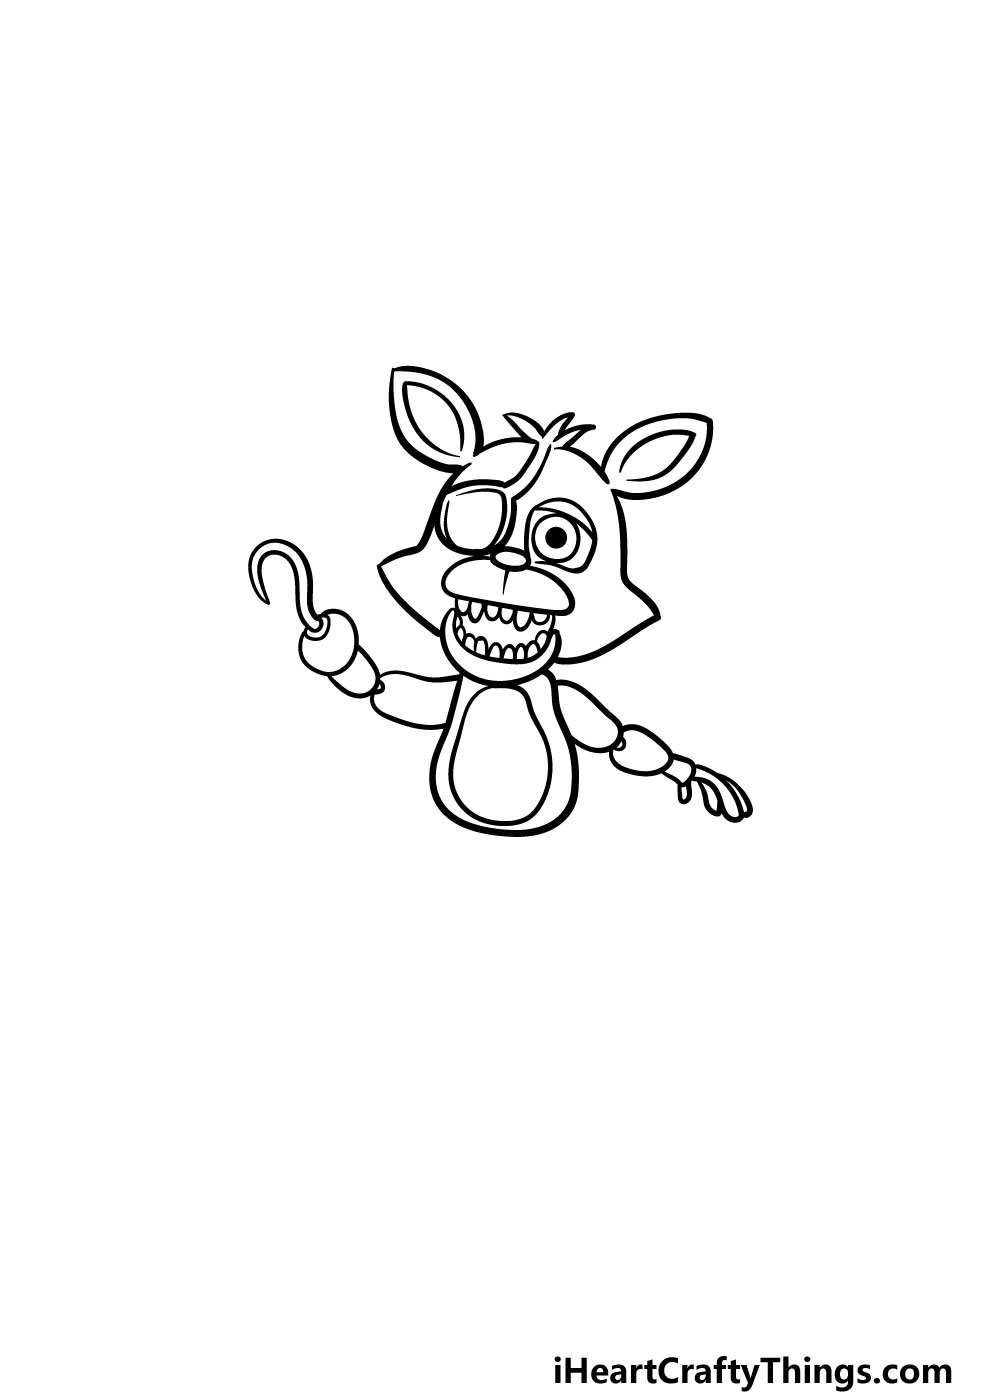
This third step of our guide on how to draw Foxy will see you adding some details throughout the drawing as well as his arms.
First, start by adding a circle with a dot within it for his eye and then draw his eyelid drooping down a bit. Then, you can give him a row of sharp teeth into the top and bottom of his mouth.
For his body, you can draw a rounded shape into his belly as shown in the reference image. Then, you can finish off this step by drawing his arms.
They are made up of several smaller segments, and the one on the left will have a hook at the end to show that Foxy has a pirate theme going on.
Step 4 – Draw the first of his legs in this step

Your Foxy drawing is already looking great! He needs some legs to get around, however, so we will start adding his legs in this step. First off, you can draw his waist underneath his chest as shown in the reference image.
Then, a rounded shape for his hip will be drawn which will then attach to his angular foot. The foot can be a bit tricky to draw, so be sure to follow the reference image closely as you draw it.
Step 5 – Now, you can finish off his other leg and add any details
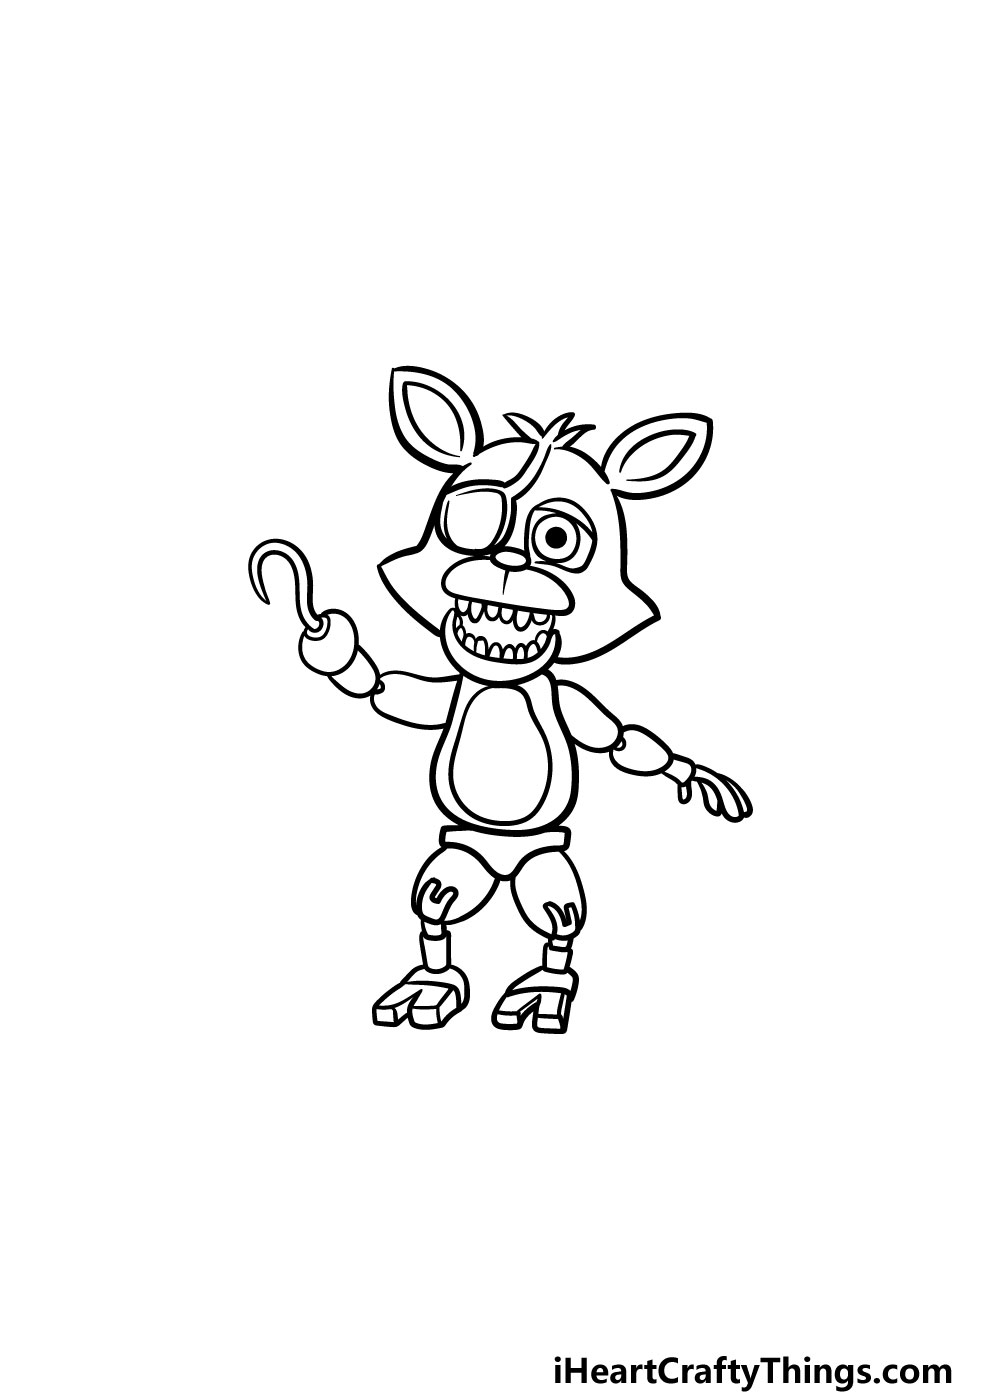
Before you start adding some amazing colors to your picture, you have just a few final details to add in this step of our guide on how to draw Foxy.
First, you’ll need to add the other leg for Foxy. luckily, this leg will look very similar to the previous one that you drew!
Once you have that leg drawn, you have pretty much finished all of the steps in this guide! Before you move on, however, you can add any details of your own that you may like.
One idea to try would be to draw a background that will recreate your favorite (or most feared) scene from the games. You could also add some other characters from the games to really finish the scene!
Step 6 – Finish off your Foxy drawing with some color
This final part of your Foxy drawing will see you adding some amazing colors to your Foxy drawing.
In our reference image, we went with Foxy’s regular coloring of reds, browns and greys for his more metallic parts.
You can use this as a reference if you wish to keep his colors typical to his usual appearances, but even if you do there are a lot of ways that you could incorporate your favorite colors!
If you drew a background or added more characters or details then you can experiment with some more colors for these elements.
You could also get some variation by experimenting with different art mediums and tools to really bring the colors to life.
Here’s how you can make your Foxy drawing even better…
Make this Foxy sketch look even more fearsome with these fun tips and tricks!
This drawing of Foxy that we created in this guide is done in a fairly cartoony style. This is something you could play around with for your own version, or if you want to make a few variations.
One way to do this would be by making the portrayal of Foxy look more like he does in the games. Or, you could try to make him look as horrifying as possible by adding lots of scary details!
The character of Foxy is one of many that hunt you in the game series. You could add some of the other animatronic characters to make the drawing even more terrifying.
Which characters you add would depend on who are your favorite (or most feared) from the games. They could be drawn in a similar style to the one that you used for Foxy.
Which characters would you potentially like to add?
In the games, there are many iconic locations that you will get to see. You could use some of these places as a background for your Foxy drawing!
You would certainly have many amazing locations to use if you were to do this. You could use the game or look up images online of some of the locations to help you as you draw.
Another option would be to design a brand new location for Foxy to be in. That would be a great way to show off what your own Five Nights At Freddy’s level may look like.
Earlier, we mentioned adding more characters from the games to your Foxy sketch. Another idea would be to design a unique character that you could add to the roster of villains.
Each character tends to be based on an animal, so that would be a great way to start.
Think of an animal that hasn’t been used in the games, and then you could adapt it into your very own Five Nights At Freddy’s villain and pose them with Foxy!
Your Foxy Drawing is Complete!
With the final details added and all of your colors finished, that means that you have reached the end of this guide on how to draw Foxy!
We hope that this guide made it not only much easier than expected to draw this character but that it was lots of fun too!
Whenever you break down a picture into smaller, more manageable steps it can make the process so much more enjoyable and easy to do.
Now you can take over and show us how creative you can be! We mentioned a few ways that you could do this, like drawing a background or adding some details of your own to finish it off.
This along with the colors and art mediums you use gives you a lot of creative freedom!
You don’t have to stop here, though. We have many amazing guides for you to enjoy on our website and we upload new ones all the time!
When your Foxy drawing is done, we also hope that you will share it on our Facebook and Pinterest pages for us to enjoy!