


There are many different flowers to appreciate in nature, and many of them have become household names with anyone who knows even a little bit about flowers.
There is a flower that is very popular around the world, and it is called the Myosotis. That name is a bit of a mouthful, so it is more commonly known by forget me not.
The unique name of this flower is just a part of the charm, as it is also a really delicately pretty flower.
Learning how to draw a forget me not is a great way to create some lovely artworks featuring this flower.
If this sounds like something you would like to do, then be sure to read all the way through this tutorial!
Our step-by-step guide on how to draw a forget me not will show you how you can easily draw this famous flower.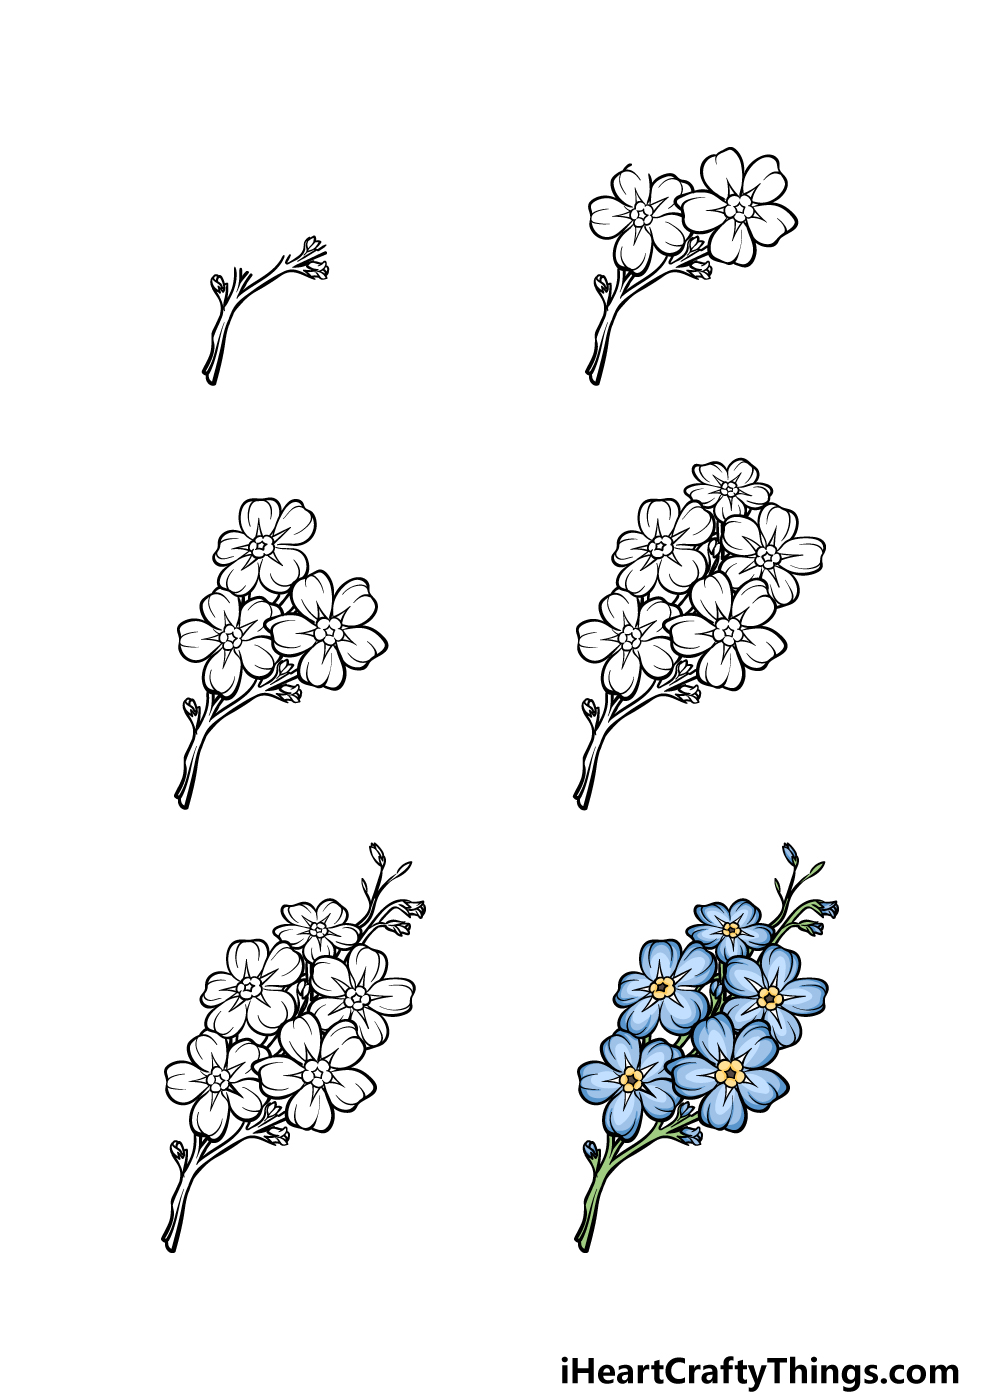
How to Draw A Forget Me Not – Let’s Get Started!
Step 1
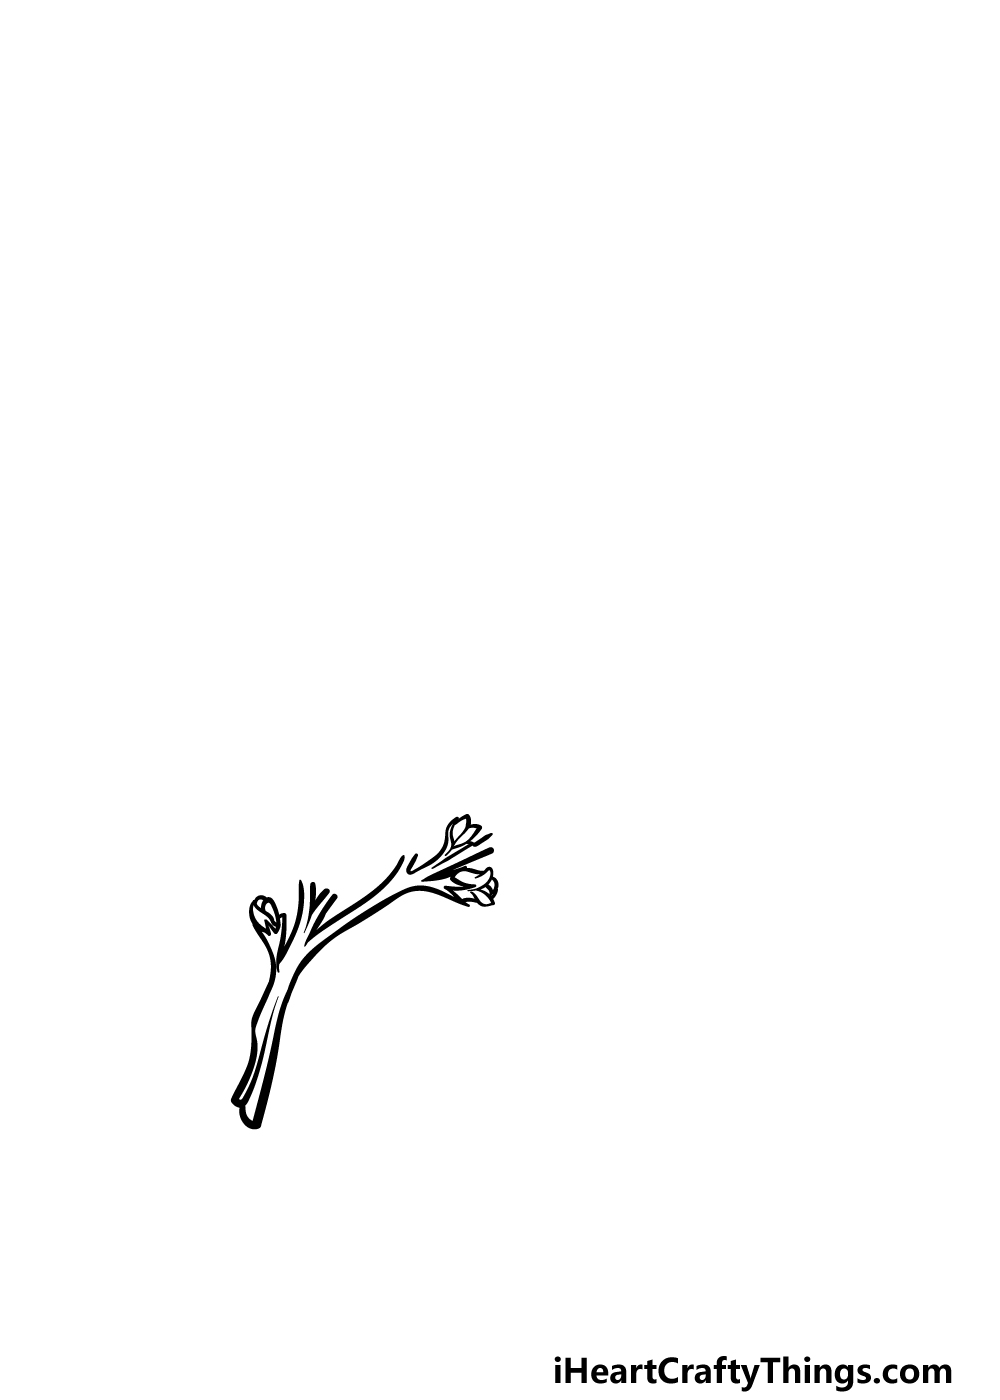
In this first step of our guide on how to draw a forget me not, we will start not with the flowers but with the stem they will be attached to.
The stem will be fairly thick, and it will be drawn using some curved lines connecting to one another. There will be the main stem portion, and this will branch out into two smaller stems.
You can also draw some small rounded buds on the stem to show where new flowers will be growing soon.
Once this stem is drawn, we will then be moving on to the flowers themselves in the next step of the guide.
Step 2 – Now, draw the first flowers
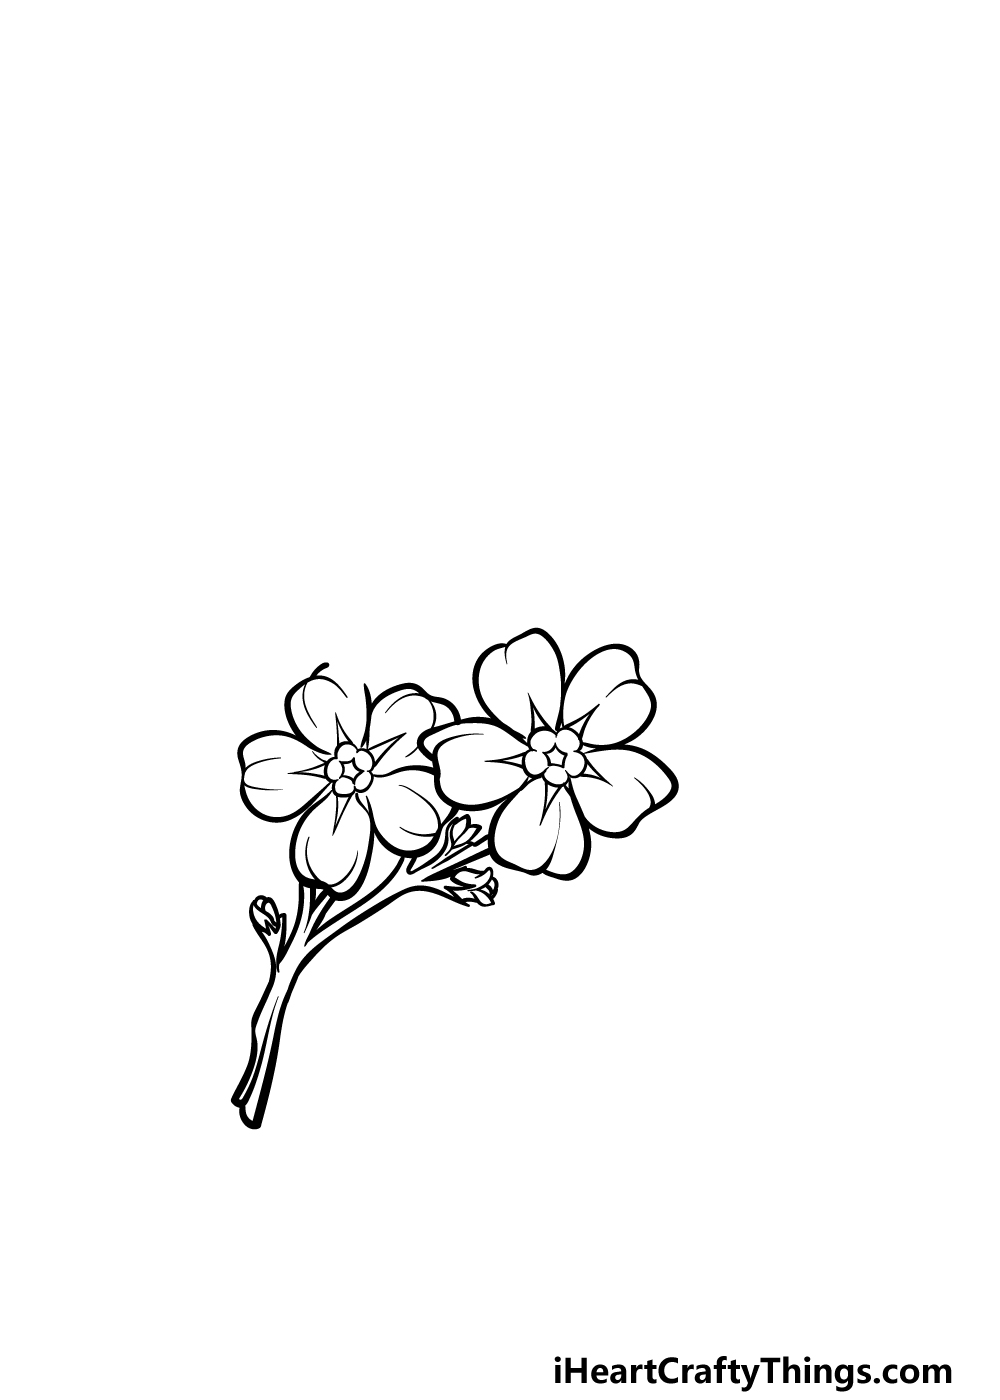
Now that you have the stem of this forget me not drawing done, we can start to draw some of the actual flowers attached to it.
The forget me not flower has a central portion made up of several rounded shapes, and then it is surrounded by large petals that are rounded but also in a bit of a square shape.
Draw the small star shape at the very centers of the two flowers we’re drawing now, and then use some curved lines to draw the rounded shapes around this central shape.
Then, each flower will have five petals around the center. As mentioned, they will be drawn with some curved lines that have a slightly flatter outer edge.
Add some line details inside of each petal, and then we shall be ready for the third step of the guide.
Step 3 – Draw a third flower for the composition
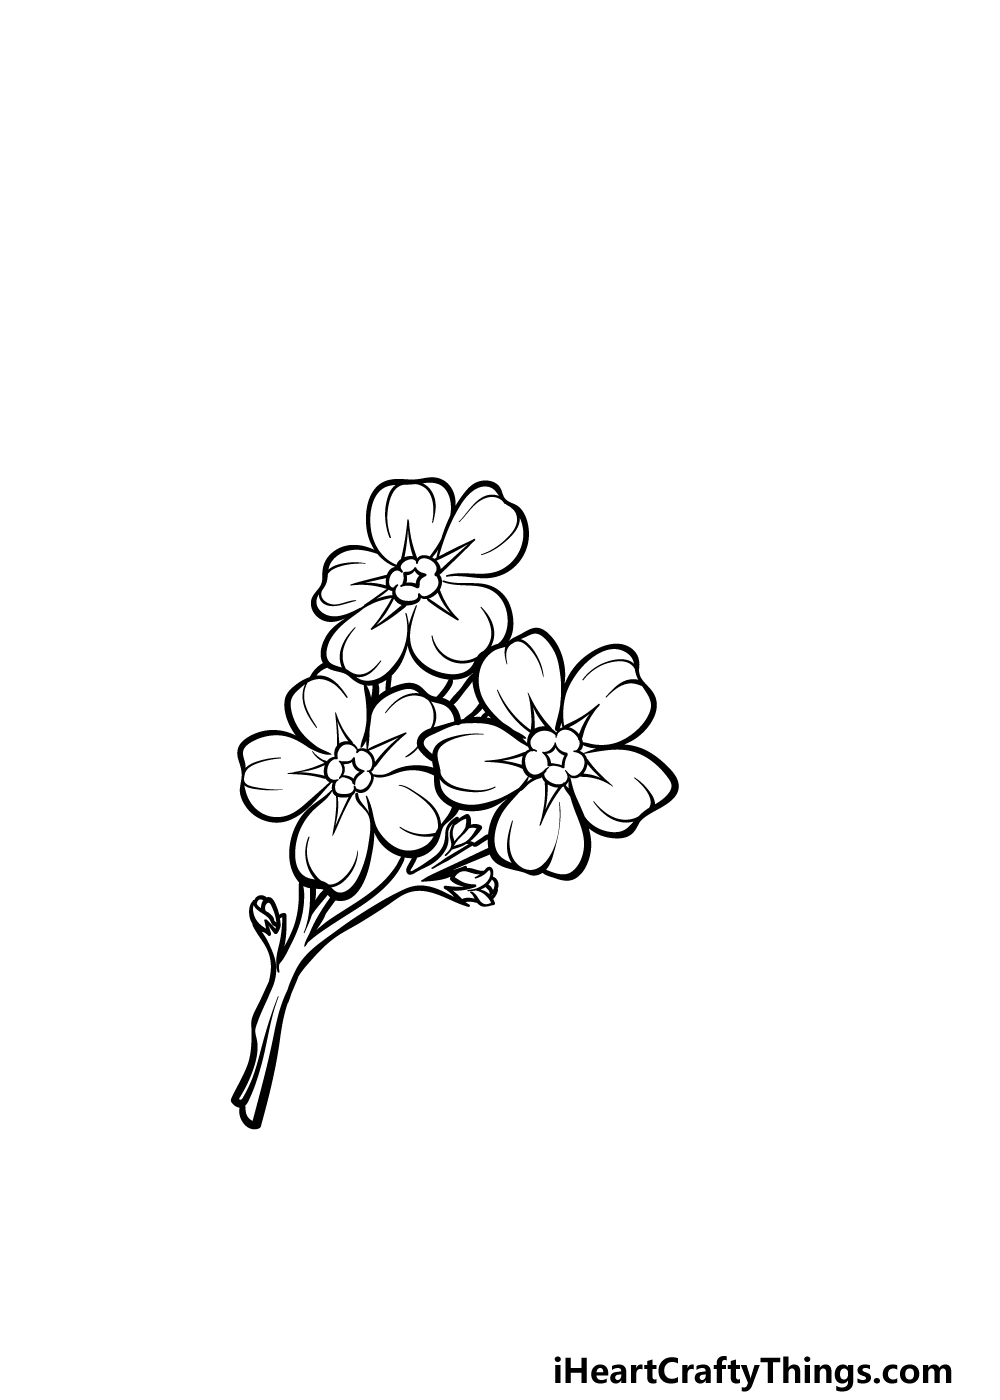
You’ve drawn two flowers so far in this guide on how to draw a forget me not, so drawing a third one should be a bit easier now!
This third flower will go on the upper left-hand side of the stem, and while it will be at a slightly different angle from the others it will essentially look the same.
That means it will have the same inner shapes, and then will be surrounded by five petals. That’s all there is to it for now, so let’s move on to some more flowers in the next part.
Step 4 – Next, draw some more flowers for the picture
There are just a few more flowers to add to your forget me not drawing before we move on to the final details in the next step of the guide.
These ones will once again look like the others, however to show perspective we will make them progressively smaller.
The first flower will only be slightly smaller than the others, but the second one will be qui7te a bit smaller.
This second one will also be drawn at a slightly different angle, as shown in our reference image. Then you will be ready for those final details as we move to the next step!
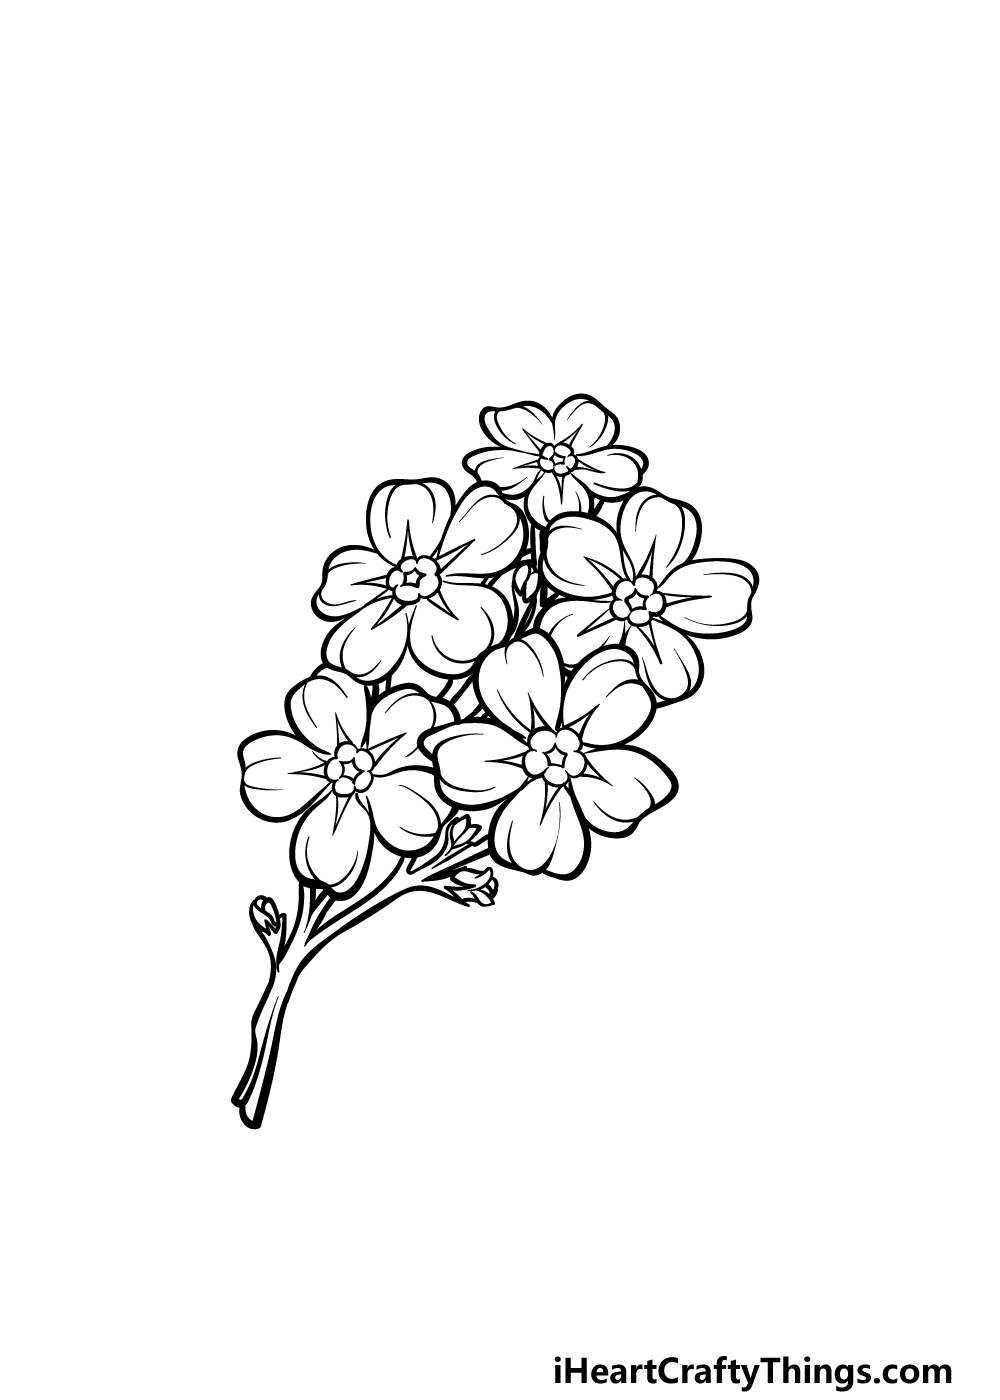
Step 5 – Add the final details to your forget me not drawing
You have drawn all of the flowers that we will be including in this guide on how to draw a forget me not, so now you can finish off with the final elements.
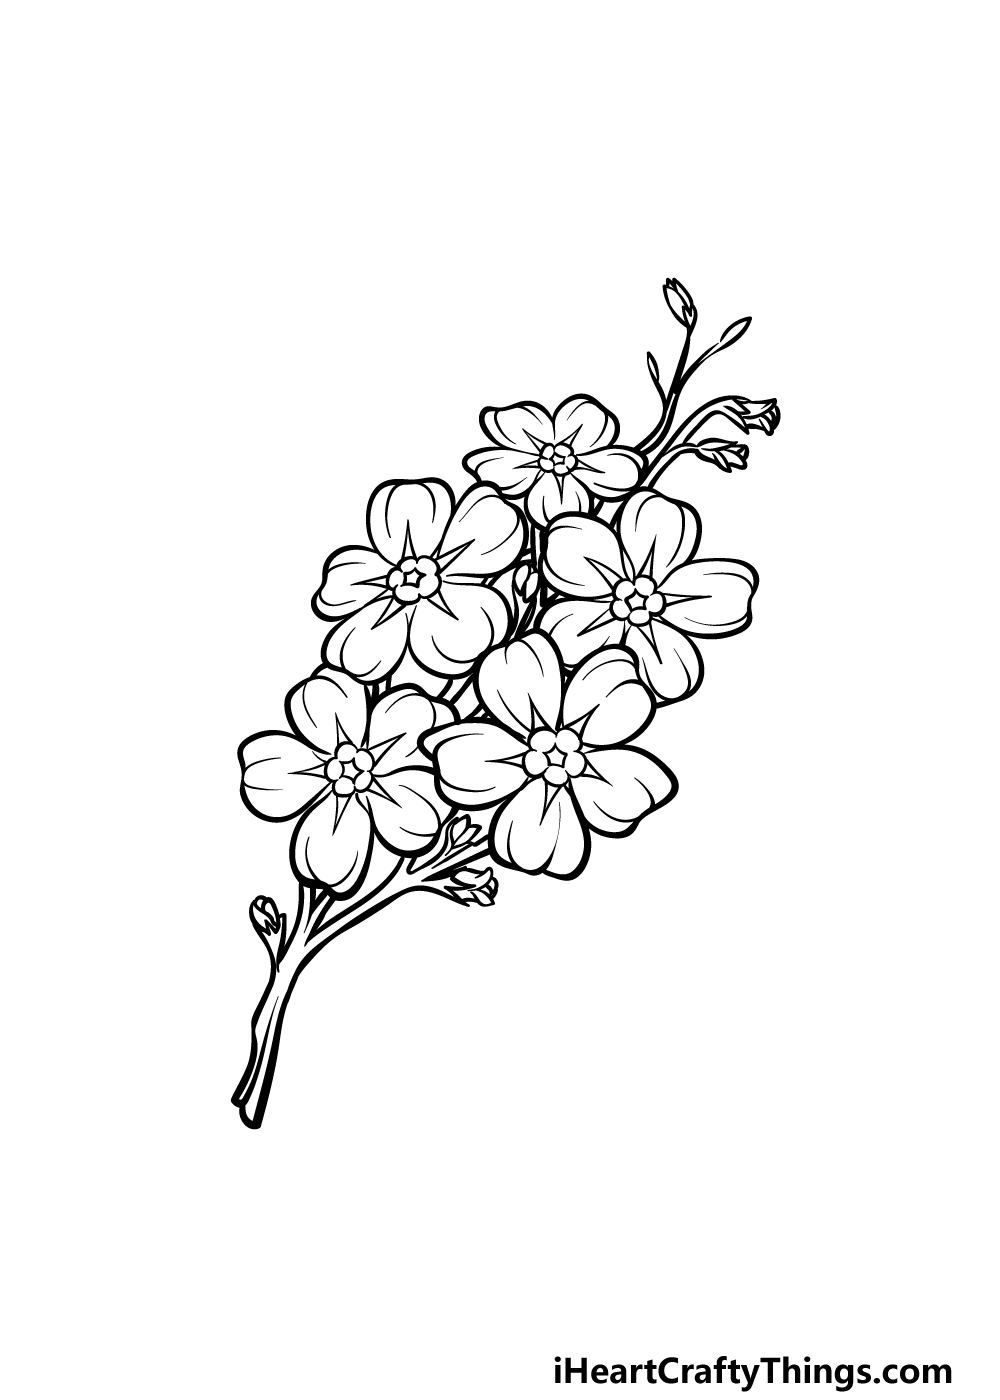
As shown in the reference image, we will be extending the stem up from the flowers. This portion of the stem will be thinner than the base and will branch off in a few places.
You can also add some more small buds to the ends of these smaller branches, and then you’re ready to move to the final step!
Before you proceed, be sure to add any additional touches of your own. These touches could include some more flowers, details or even a background. How will you finish off this composition?
Step 6 – Finish off your forget me not drawing with color
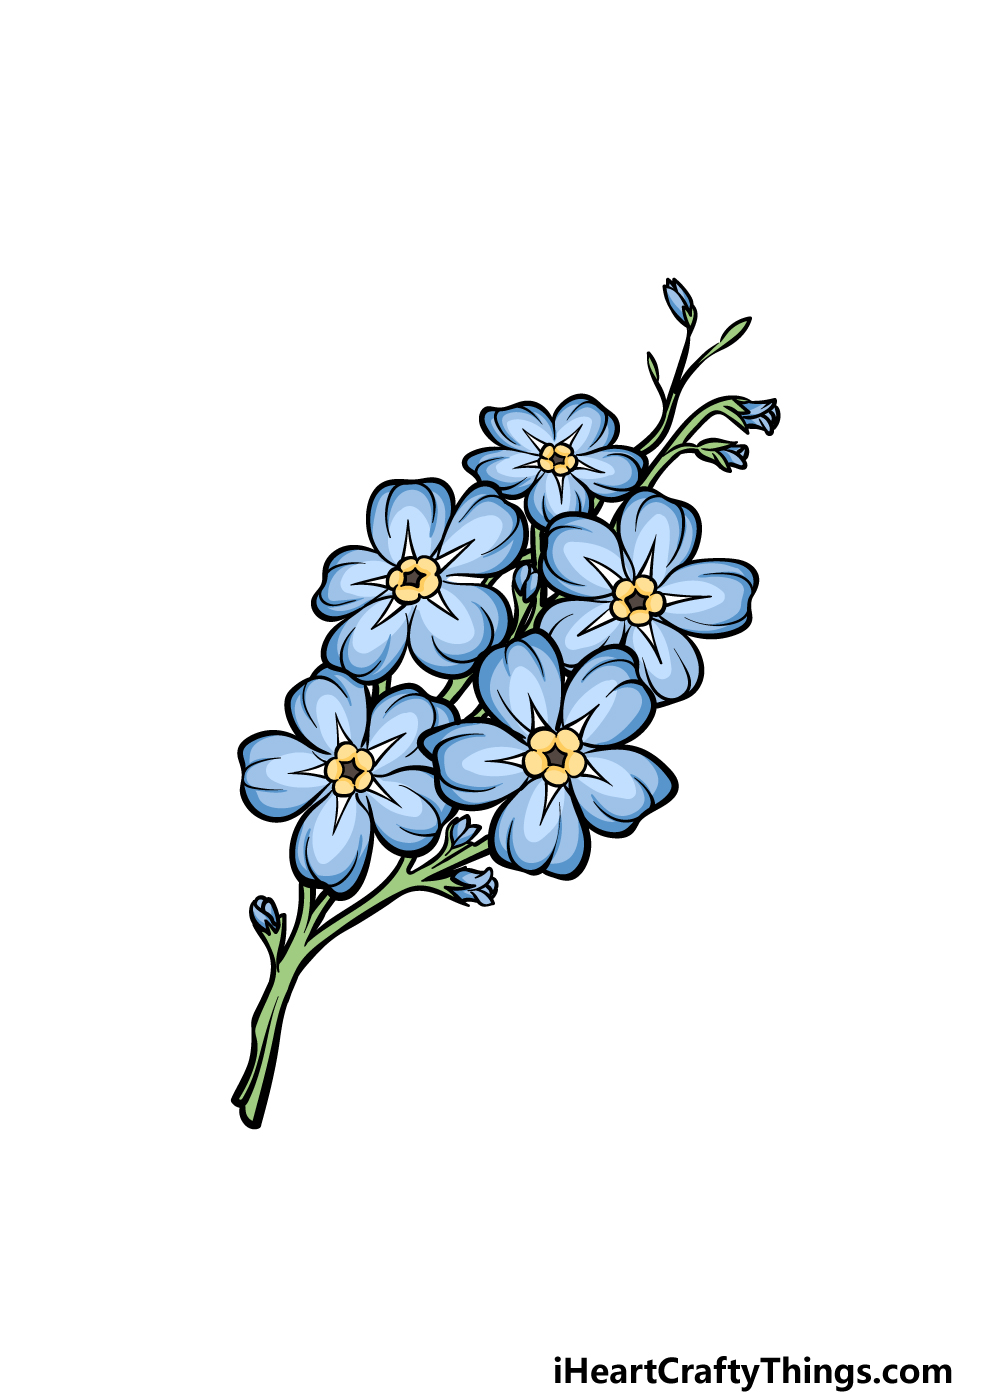
This final step of your forget me not drawing will see you finishing off with some color. In our reference image, we went with the classic colors for this beautiful flower.
That means that we used some light yellows for the centers of the flowers, and then finished off with mild blues for the petals.
You could use similar colors for an accurate portrayal of these forget me nots, but you should also feel free to use any additional colors you like for your own variation!
What colors and art mediums will you choose for this image?
3 More tips to make your forget me not drawing easy!
Here are 3 fun tips to make your easy to draw forget me not even easier to do!
We made this forget me not drawing quite detailed while including a nice bunch of these lovely flowers.
The more you add to a drawing the more complex it gets to recreate, so you can simplify the design in a few ways.
One would be to remove some of the smaller texture details on the flowers and leaves. These won’t ruin the image by any means, and it could result in a more enjoyable drawing experience for you.
While you get the hang of the drawing, you could also focus on a single flower. Once you can do that easily, you would then feel more confident about adding some more to the bunch.
These are just a few small changes you can implement to make this forget me not drawing easy!
Next, you can use some art tools and techniques to make this forget me not sketch a bit easier. One of the best tools you can use to make it easier is the humble pencil.
Using a pencil, you can draw basic shapes and outlines in order to start building up the drawing. The more layers you add the more details you can start to work in.
This can be a great way to map out and plan your drawing, and before you know it you will have a completed drawing!
Finally, you can use the real thing to make your drawing of a forget me not even easier. If you can get your hands on a real forget me not flower, that would be the perfect model for your drawing.
If you don’t have one on hand, then you can find plenty of pictures online in order to help you with the proportions and smaller details.
Using these extra sources along with the steps in our guide can make it so much easier. These can also help you to overcome any drawing challenges you may be having with this design.
Your Forget Me Not Drawing is Complete!
This is one of the prettiest and most well-known types of flower in the world, and we hope that you had a great time recreating it in this guide on how to draw a forget me not!
In this guide, we aimed to break it down into smaller chunks so you could see how easy it is to draw when you know what to do!
Now it’s your turn to show off your skills as you finish off the final details and touches.
We went over a few ideas for how you could finish this off with your own ideas, but what else can you think of to finish it off?
Then, be sure to head to our website to enjoy the many awesome drawing guides we have waiting for you there. We bring new guides out often, so be sure to keep checking in!
Please also remember to share your finished forget me not drawing on our Facebook and Pinterest pages. We would be thrilled to see how it came out!