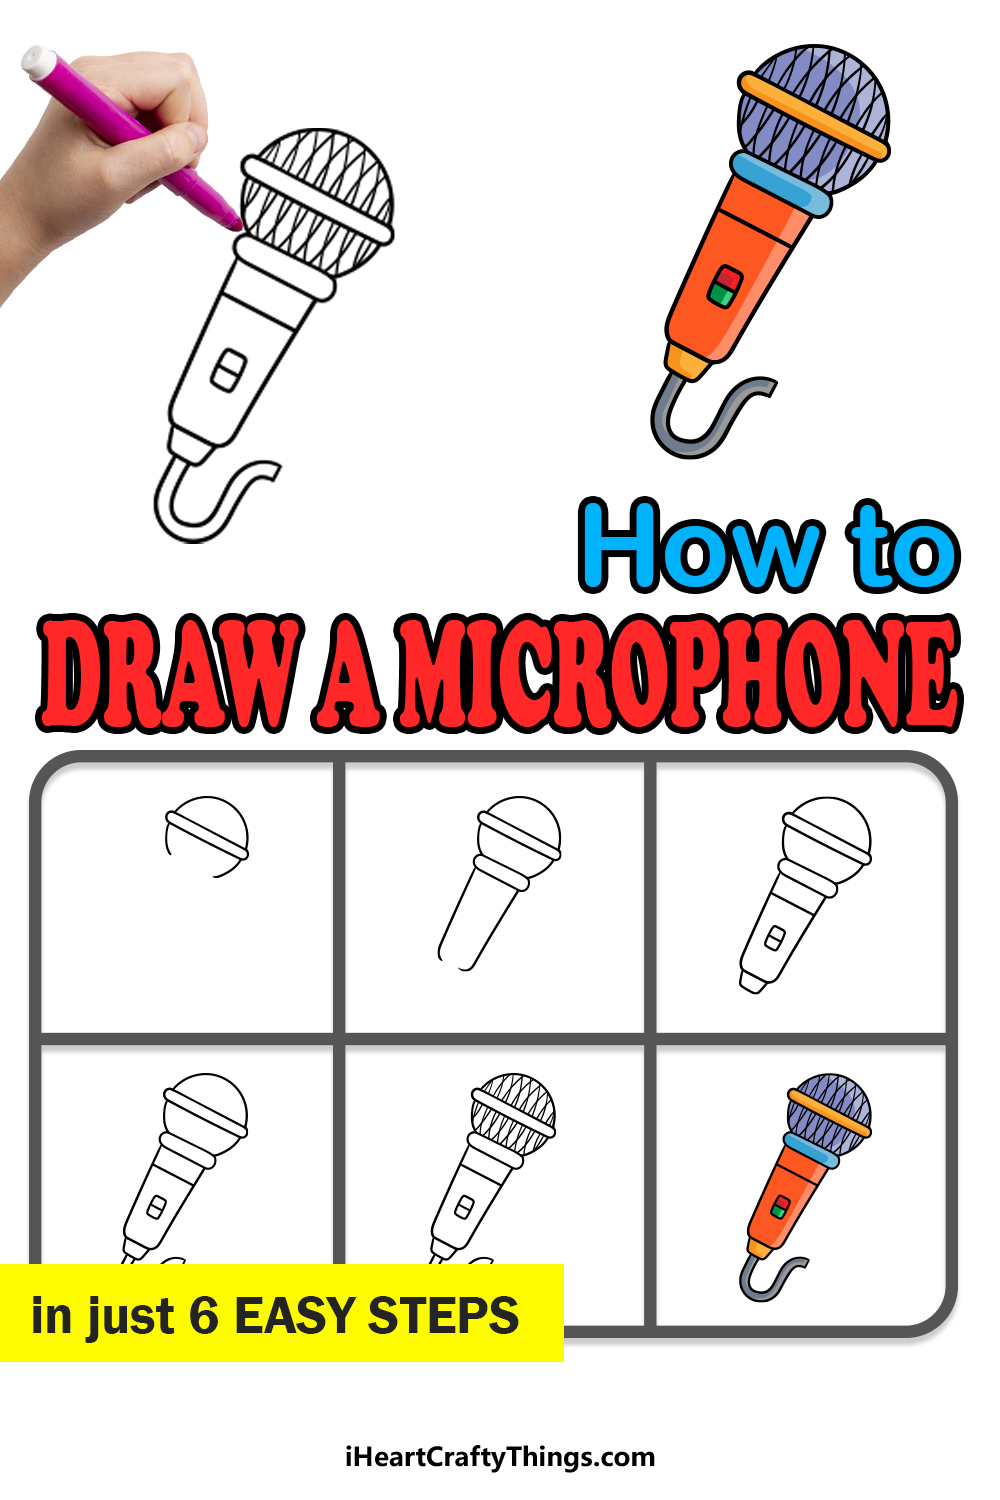
Anyone can learn how to draw a microphone when they follow this guide for kids! Check out these simple steps to make your very own cartoon microphone.
Microphones are not just a tool for capturing and projecting sound. They have become a symbol of musical creativity and stardom, and the mere sight of one can make someone think of living out a dream of being a superstar!
That’s why it’s common to feature microphones in music-themed art. If you want to create such art yourself, then this guide will provide you with a valuable skill.
You will be able to easily make this microphone design, and then what you do with it is up to you. You can add some of your own ideas and additions to create some really incredible pictures.
So put on some of your favorite tunes and let’s see how to make this awesome design.
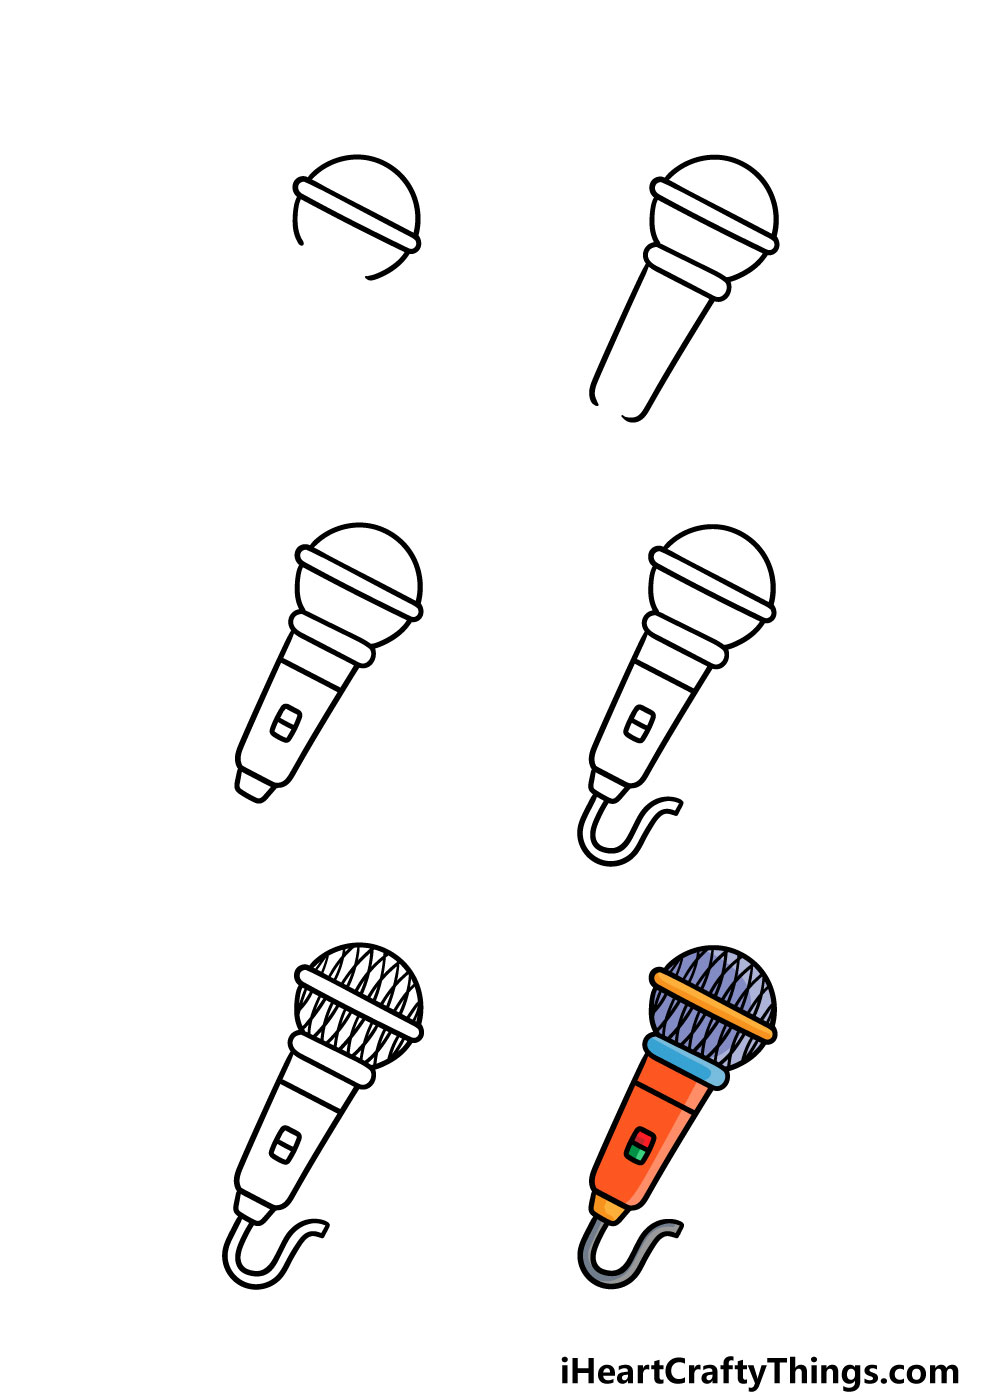
Make Your Microphone Drawing By Watching These Steps
How to Draw A Microphone – Let’s Get Started!
Step 1

To kick off this guide on how to draw a microphone, we will be starting with the head of the microphone.
As you can see in the reference image, this will be a round shape with a thin band around it. To do this, you can carefully draw a circle shape, but try to make it a little bit more flat than a proper circle.
Also, be sure to leave a large space at the base of it!
Then, you can draw the band going around it, as seen in our picture. One way that you could make this step easier for yourself would be to use a drawing compass and a pencil to draw a perfect circle.
You could then erase small sections on the side where the band will go and then erase the section at the bottom. You could then use your pen to go over the lines that haven’t been erased yet.
Once you have this shape then you’re ready for the next step!
Step 2 – Start drawing the body of the microphone
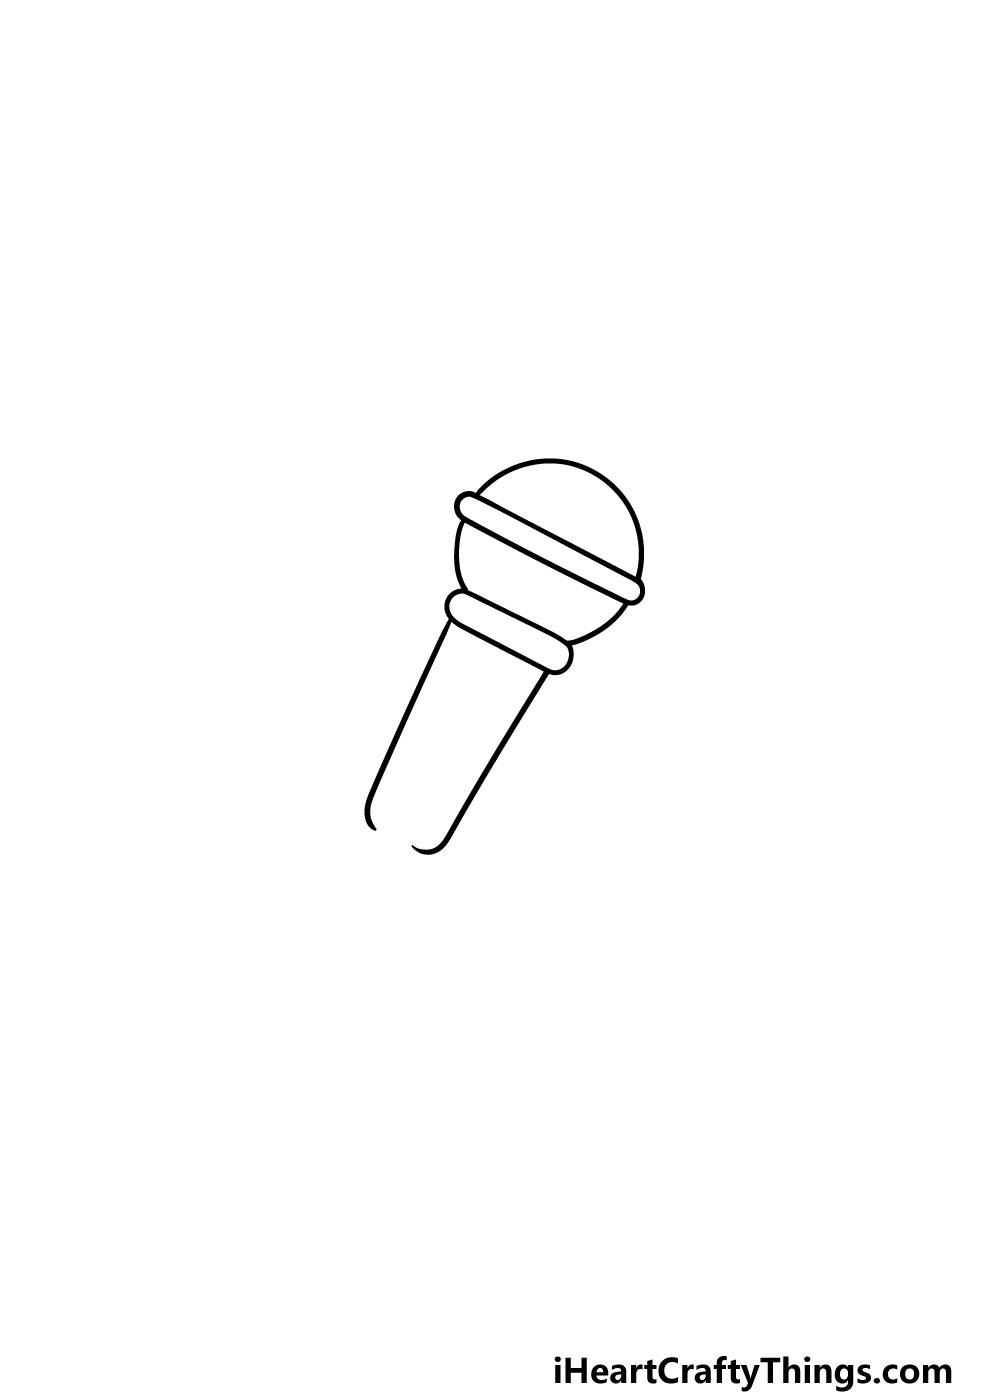
In this part of your microphone drawing, you will start to draw the body of the microphone. First, start by drawing a flat and rounded shape at the base of the head of the microphone.
This will also fill up the space that you left at the bottom there.
Then, extend a curved line down from each side of this shape to create the outer edges of the body of the microphone. That’s all there is to it for now, so you’re ready to proceed!
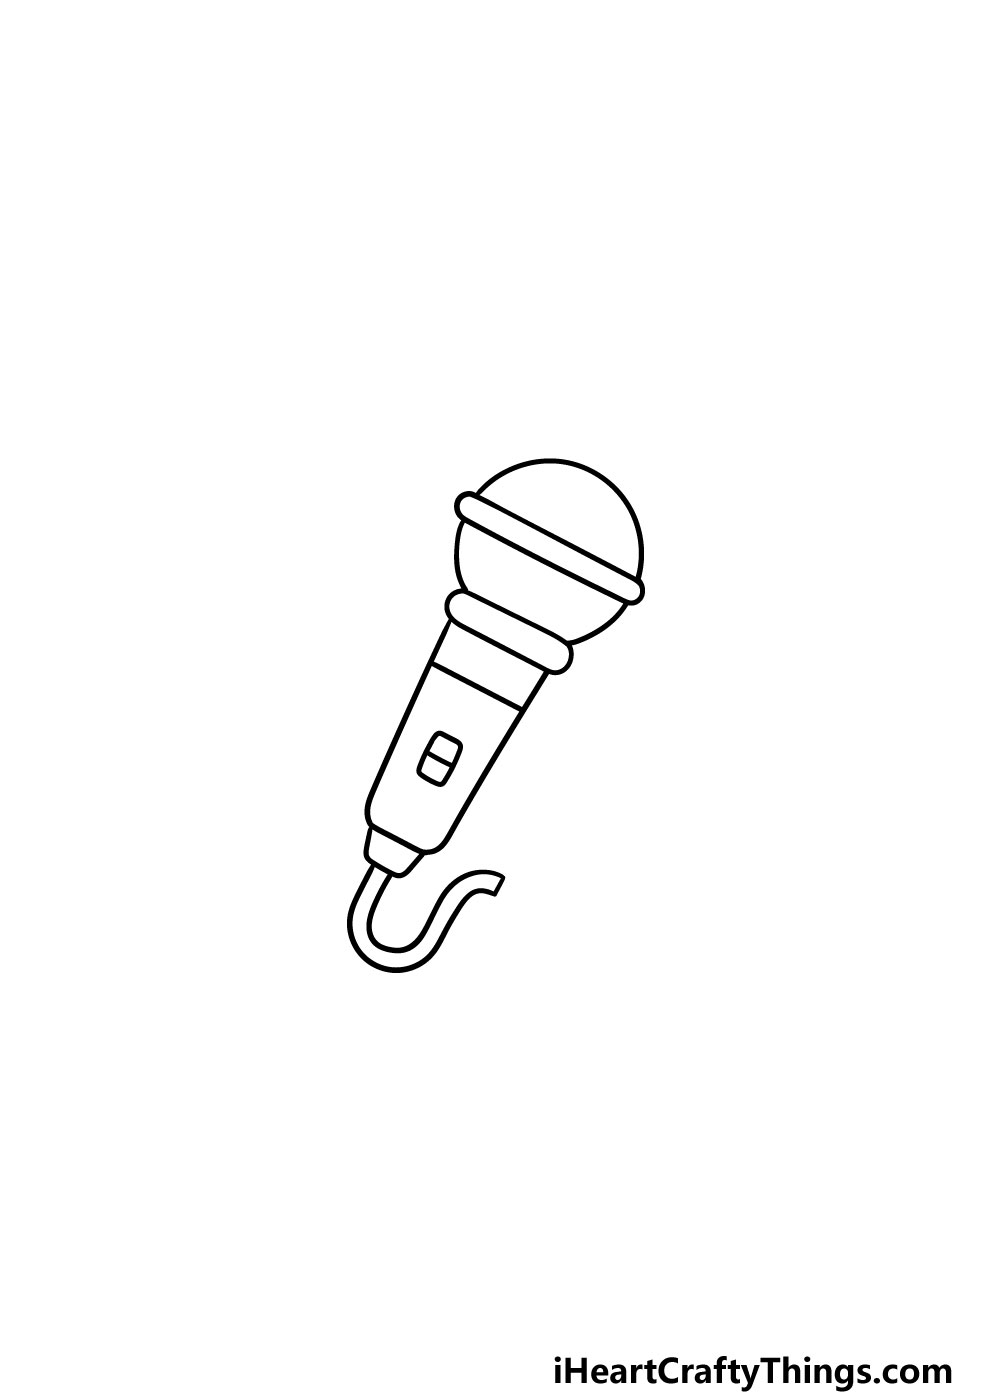
Step 3 – Now, draw some details for the microphone
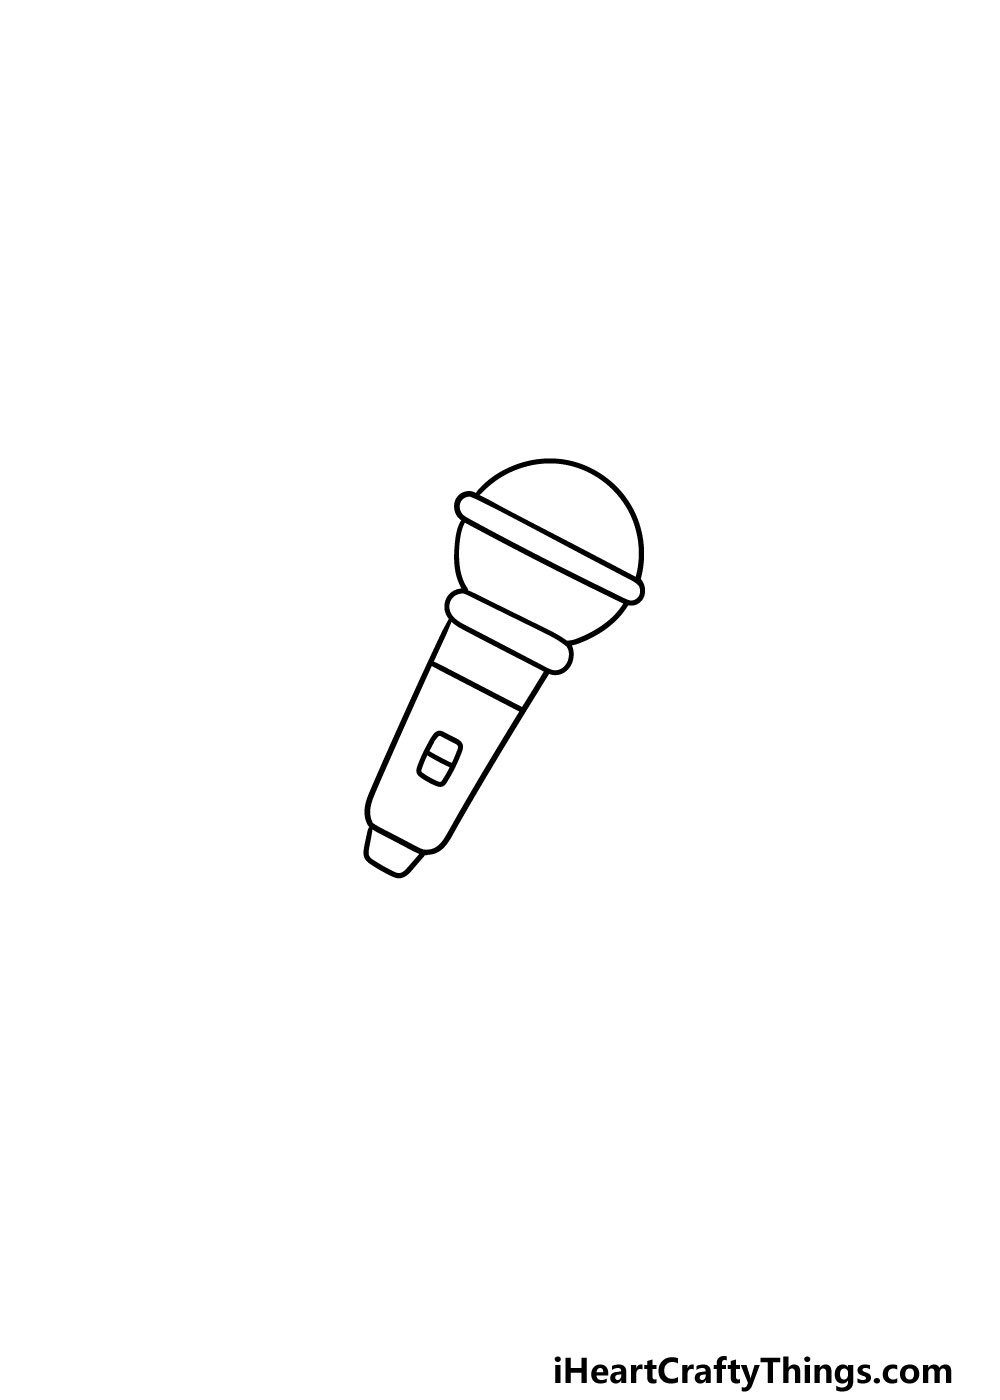
Now that you have the outline of the body of the microphone drawn, we can start to add some details in this step of our guide on how to draw a microphone. The first step will be to draw a switch onto the microphone.
To do this, simply draw a small rectangle shape onto the body of the microphone and then add a line going across it.
Then, you can also add a straight line going across the body of the microphone near the top of it. Finally, you can add a small shape to the base of the microphone for the part that the cord will attach to.
Step 4 – Next, draw the cord of the microphone
We mentioned the cord of the microphone in the previous step, and we will be drawing that in this step of your microphone drawing.
To do this, simply extend some curvy lines coming from the little shape that you drew at the base of the microphone in the previous step.
We kept this cord quite short, but you could make it much longer if you would like!
Step 5 – Now, you can finish off the final details of your microphone drawing
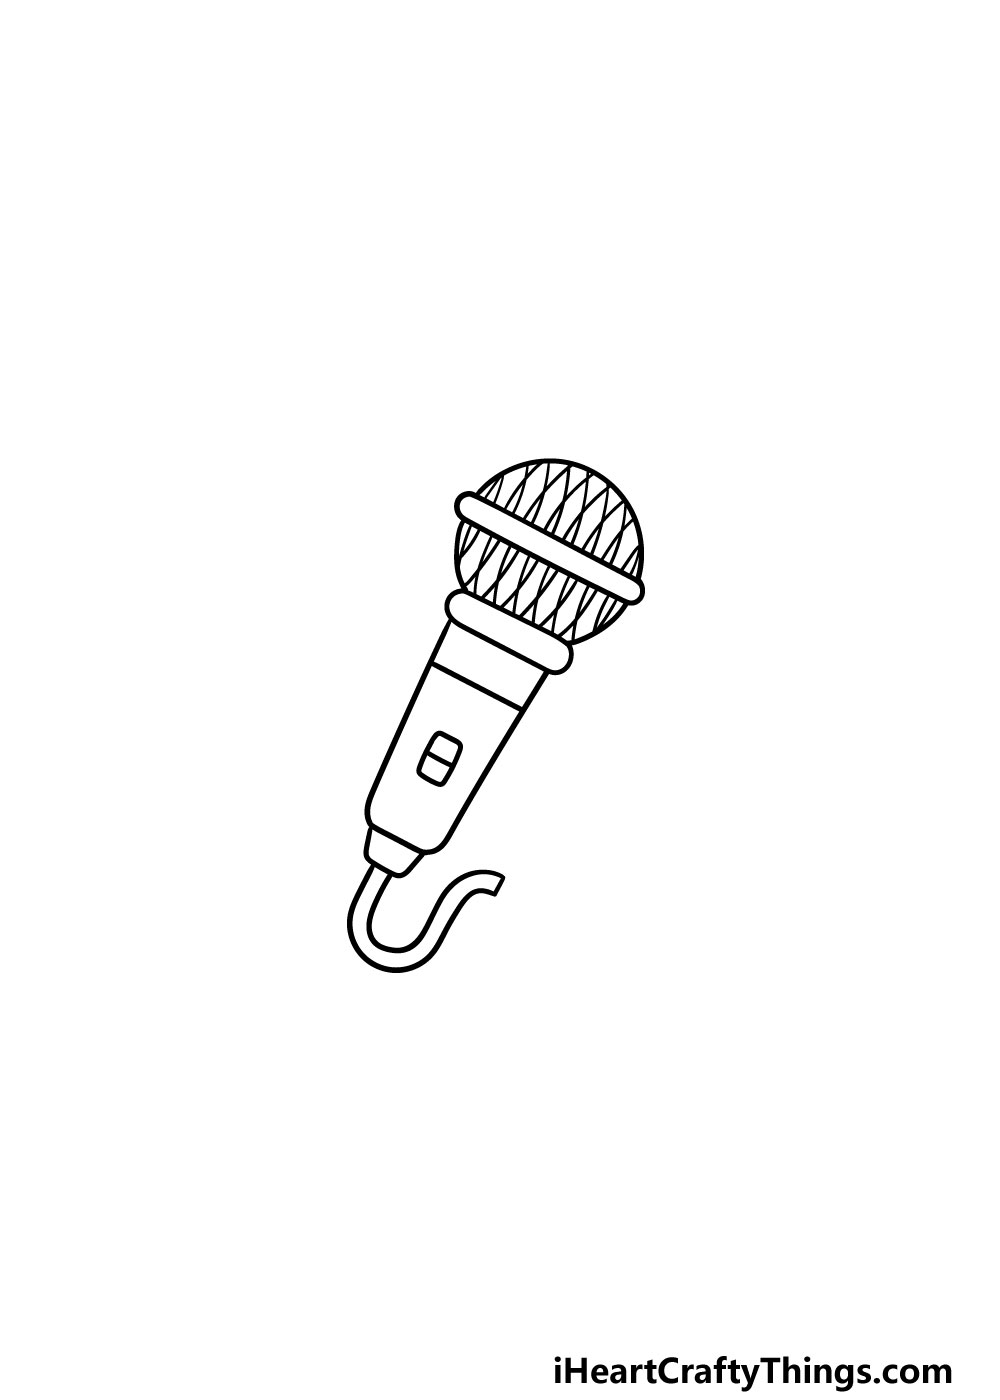
This fifth step of our guide on how to draw a microphone will be all about adding some final details before you add some amazing colors to it in the final step.
The main element that we will be adding in this step will be to put some texture detail on the head of the microphone.
To do this, you can draw some curved lines that cross closely over one another to make the pattern that you see in our reference image.
It may look like a complicated pattern, but when you closely examine the reference picture you will see that it’s not as complex as it looks!
Before you move on to the final step, you can also add any extra details of your own that you may like!
Perhaps you could extend the drawing to have this microphone in a stand on a stage with a spotlight on it! You could even draw yourself singing into the microphone if you’re feeling creative.
These are just a few ideas you could go for, so how will you finish off this picture before the final step?
Step 6 – Finish off your microphone drawing with some color
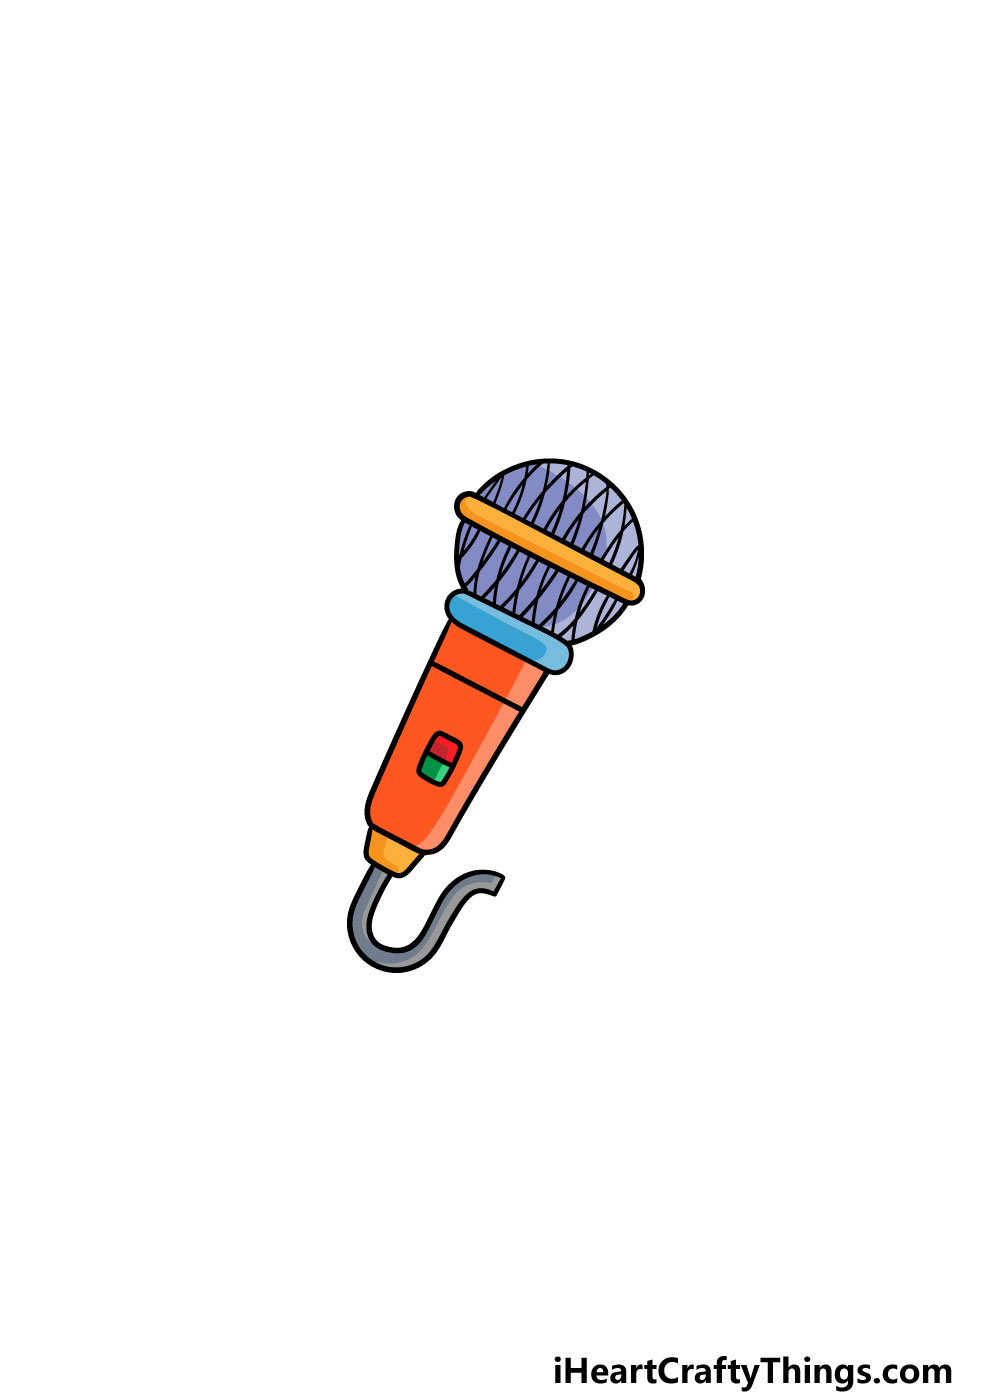
In this final step of your microphone drawing, you will get to have fun bringing it to life with color!
We used a lot of different colors for our reference image, so you could replicate that if you like the style or use any colors that you love instead!
You could make this microphone as bright or as muted as you like, and once you know how you would like to color it in you can also have some fun with your favorite art mediums.
This is your chance to show how creative you can be, so be sure to have fun with it and see what happens!
Do this to take your microphone drawing to the next level
These tips on how to make your microphone drawing great will be music to your ears!
Microphones may all serve essentially the same function, but they can come in many shapes, sizes and designs. This microphone sketch shows off a fairly standard design, but you could change it up a bit if you like!
You could look up some real microphones online to see all the different kinds that you can get. Then, by changing just a few details you could turn this microphone into one of those real ones.
The new design doesn’t have to replace this one, as you could also have two microphones on the same page!
At the moment, this drawing of a microphone shows one just floating there, but you could really make this drawing even better by adding some context. For example, you could show what the microphone is being used for.
It could be used by a pop star on a big stage, or you could draw a cartoon political giving a rally. These are just two ideas, but there are so many fun scenarios you could create!
While microphones can be used for many things, most people will first think of singing songs when they see one. For that reason, it could be fun to give this microphone drawing a musical theme.
For instance, if you have a favorite song, you could use some lyrics from the song around the microphone with some music notes.
That would make it look like the microphone is being used for that song!
Microphones are also usually used with a multitude of different equipment, so that’s something else you could add. These could include amps, speakers or even just the cord for the microphone.
You could also look up some of these objects online to help you out! You could even draw guitars or other musical instruments to show what kind of music this microphone could be used for.
What is some other musical equipment you could use for this microphone sketch?
Your Microphone Drawing is Complete!
We really hope that you had a lot of fun working on this guide on how to draw a microphone!
Our aim with this guide was to make sure that this drawing would be not only easy for you to do but that it would also be a lot of fun as well!
Hopefully it achieved both of those goals for you so that you could have a great time while learning to draw a microphone.
Now that you have learned this drawing, you can keep the fun going with your own details and elements.
We mentioned some ideas like drawing the microphone in a stand on a stage, but there are many other ideas you could go for as well. We can’t wait to see what you do!
We have lots of guides covering many different objects, famous characters and other subjects on our website for you to enjoy.
We upload new ones all the time as well, so we hope to see you there often!
Once you have finished your microphone drawing, we hope you will share it on our Facebook and Pinterest pages so we can see what a drawing rockstar you are.
Here Is A Quick Microphone Sketch To Inspire You!

Microphones come in all shapes and sizes, and they allow us to record voices, music and any other sounds we need to capture.
Even though they can come in many varieties, this quick microphone sketch captures the classic look of one.
This drawing was done by our artist Freddy to give you some help as you work on your own design.
He really captured the shape and the form of a microphone while keeping the details quite simple. Freddy also used thick lines to give it more of a stylized look.
If you would like to make your drawing look a bit like that, then you can use thicker drawing pens, markers or even paintbrushes.
Even if you were to make the lines thinner, you could still maintain the design.
Will you add any other sound equipment to the scene?