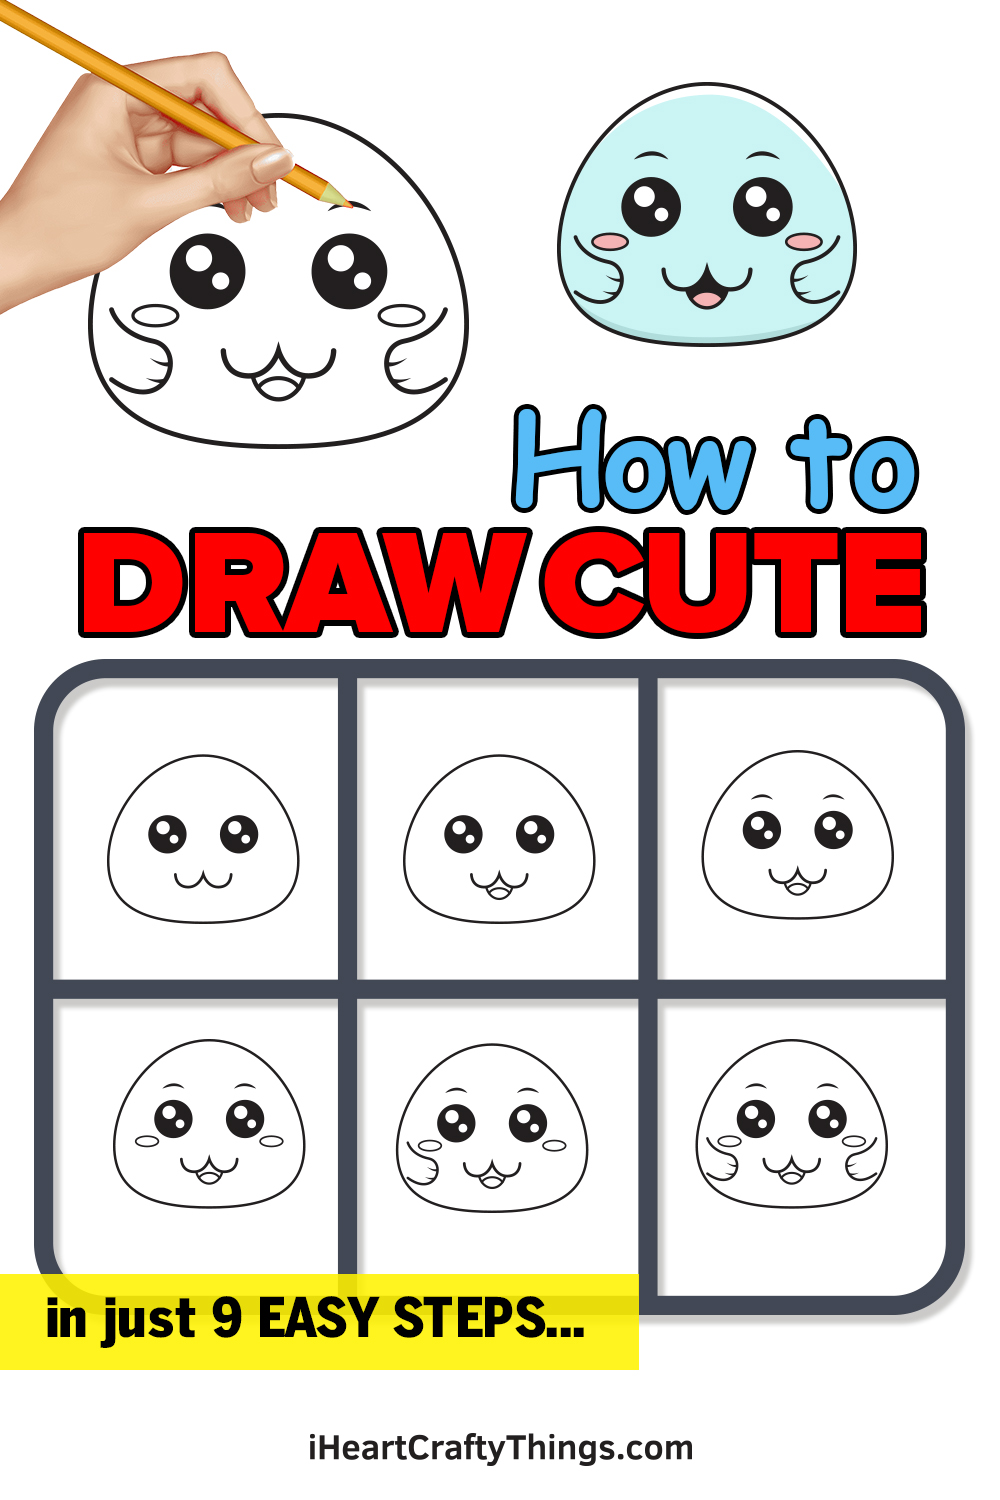
Everyone loves adorable things, and learning how to draw a cute character is so much fun when you know how! Kids and adults alike will love learning how to create this lovable little fellow.
Cute things will bring a smile to pretty much anyone, and this is supported by the popularity of the Kawaii and Chibi art styles which make everyday objects and animals more delightful than ever. With this simple, fun guide, I will take you through the steps of creating a wonderful little character.
While simple in design, learning how to draw this cute character will allow you to take this design further and apply the style to many other ideas. It would also be fun to populate the page with other little characters and a background setting to tie it all together!
You’ll be melting hearts and eliciting an ‘awwwwwww’ from anyone who looks at this drawing in no time. All you need to do is follow the intuitive steps of the guide and you’ll learn quickly! Without further ado, let’s get you creating your new little buddy right now.

Follow These Simple Steps On How To Draw A Cute!
How to Draw Cute – Let’s get started!
Step 1
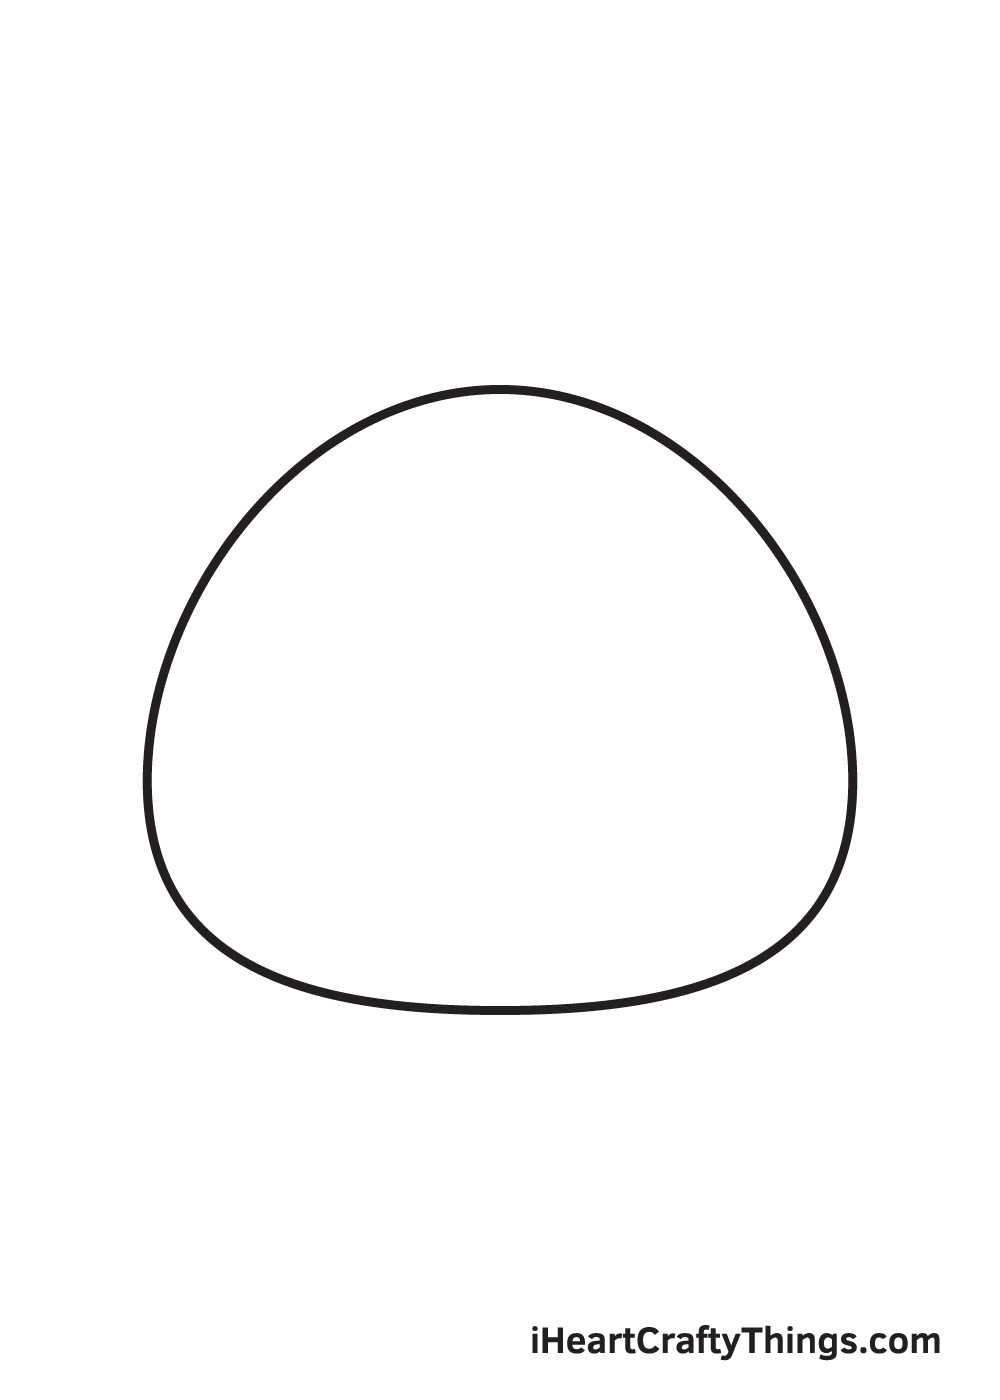
Start by drawing an irregular circle shape in the middle of your paper. Keep in mind that the bottom part of the figure must be relatively wider than the top part.
Remember, draw with light strokes when creating an outline. Avoid pressing down too hard with your pencil so you can easily erase some parts of the outline that you no longer need later on.
Make sure that the figure will be drawn in the center of your paper. To ensure this, you can create reference lines by drawing an intersecting horizontal and vertical line across your paper.
The point where the two lines meet marks the center point, which is where you should draw the outline.
Step 2 – Draw the Left Eye of the Cute Character
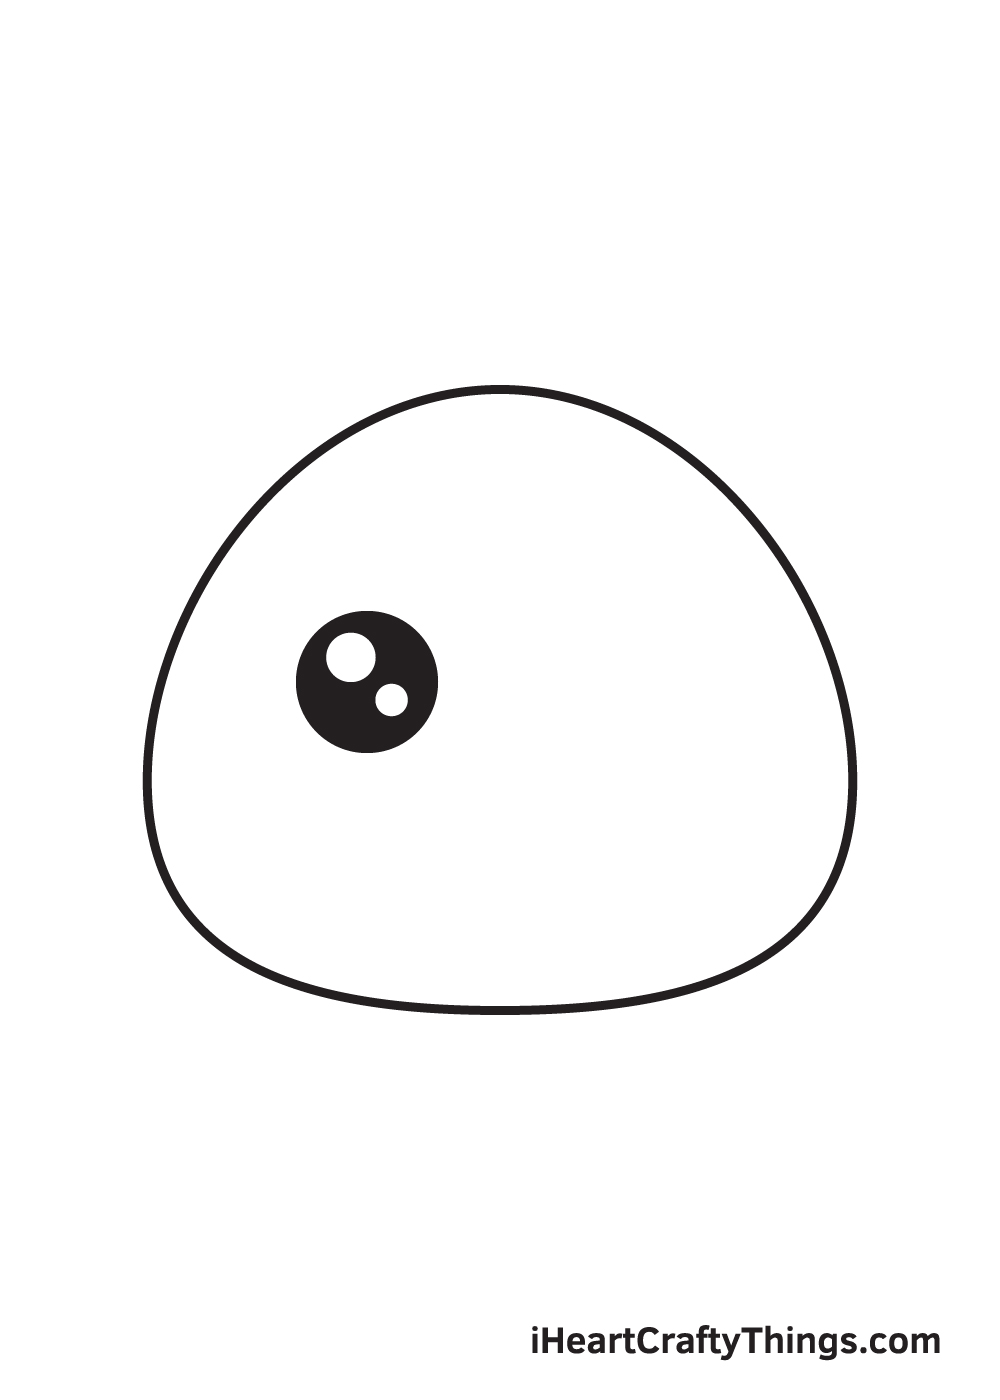
Draw a small circle shape on the upper left side of the figure that we drew in the previous step. This forms the outline of the left eye.
Afterwards, draw two smaller circles within the eye. Now, shade the entire eyes except for the two tiny circles to create a dramatic “sparkling eyes” effect.
Step 3 – Next, Complete Both Eyes of the Cute
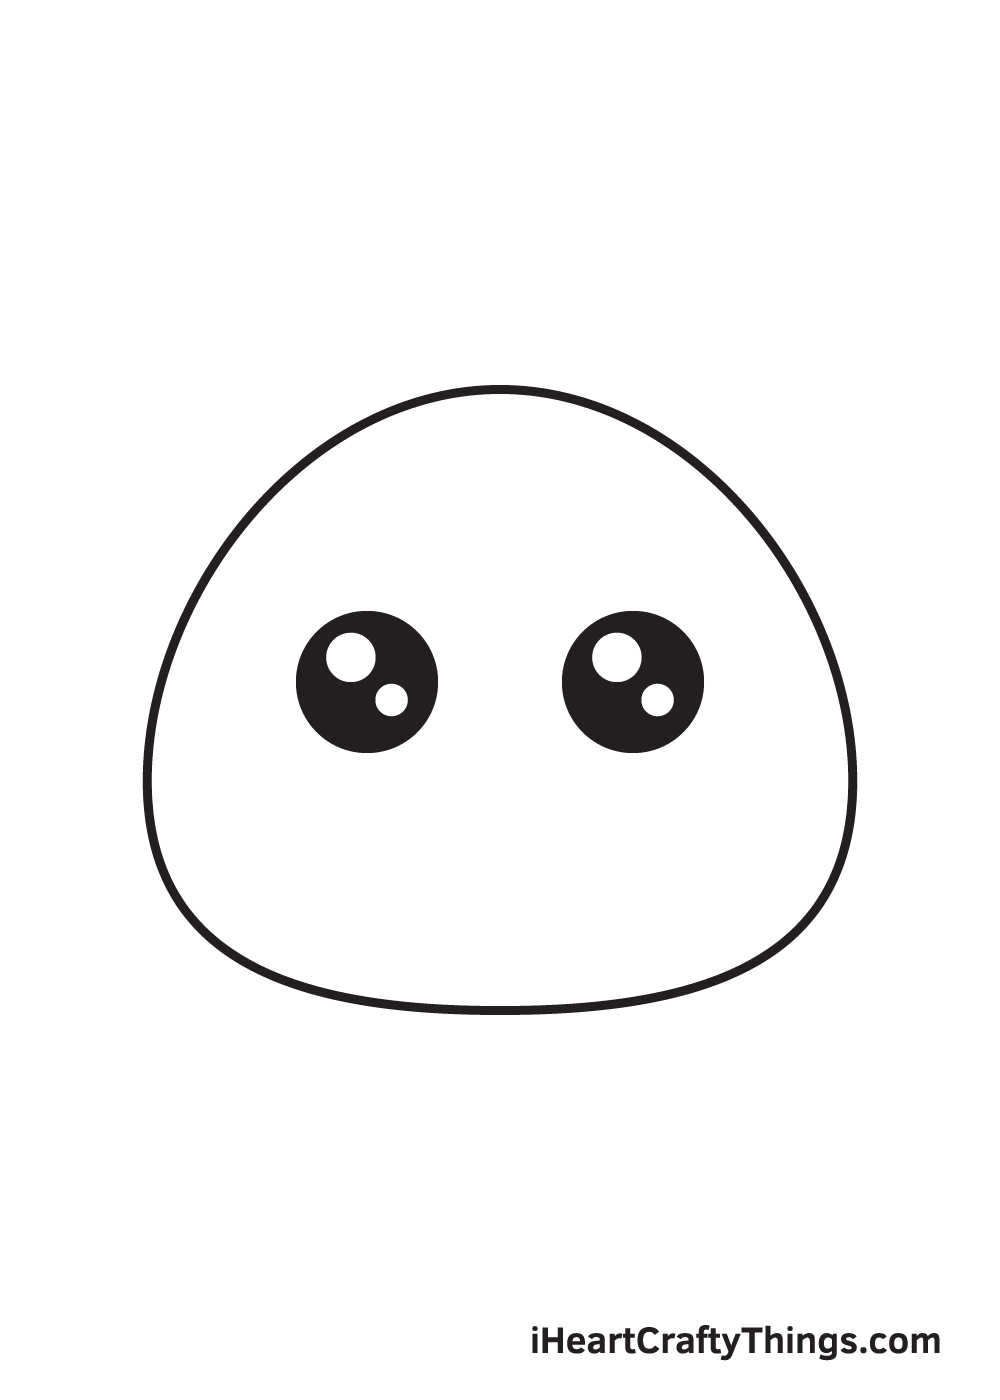
Repeat the previous step on the opposite side of the character’s face.
At this point, both the left and the right eye of the cute character should be complete.
Step 4 – Afterwards, Form Cute’s Upper Lip
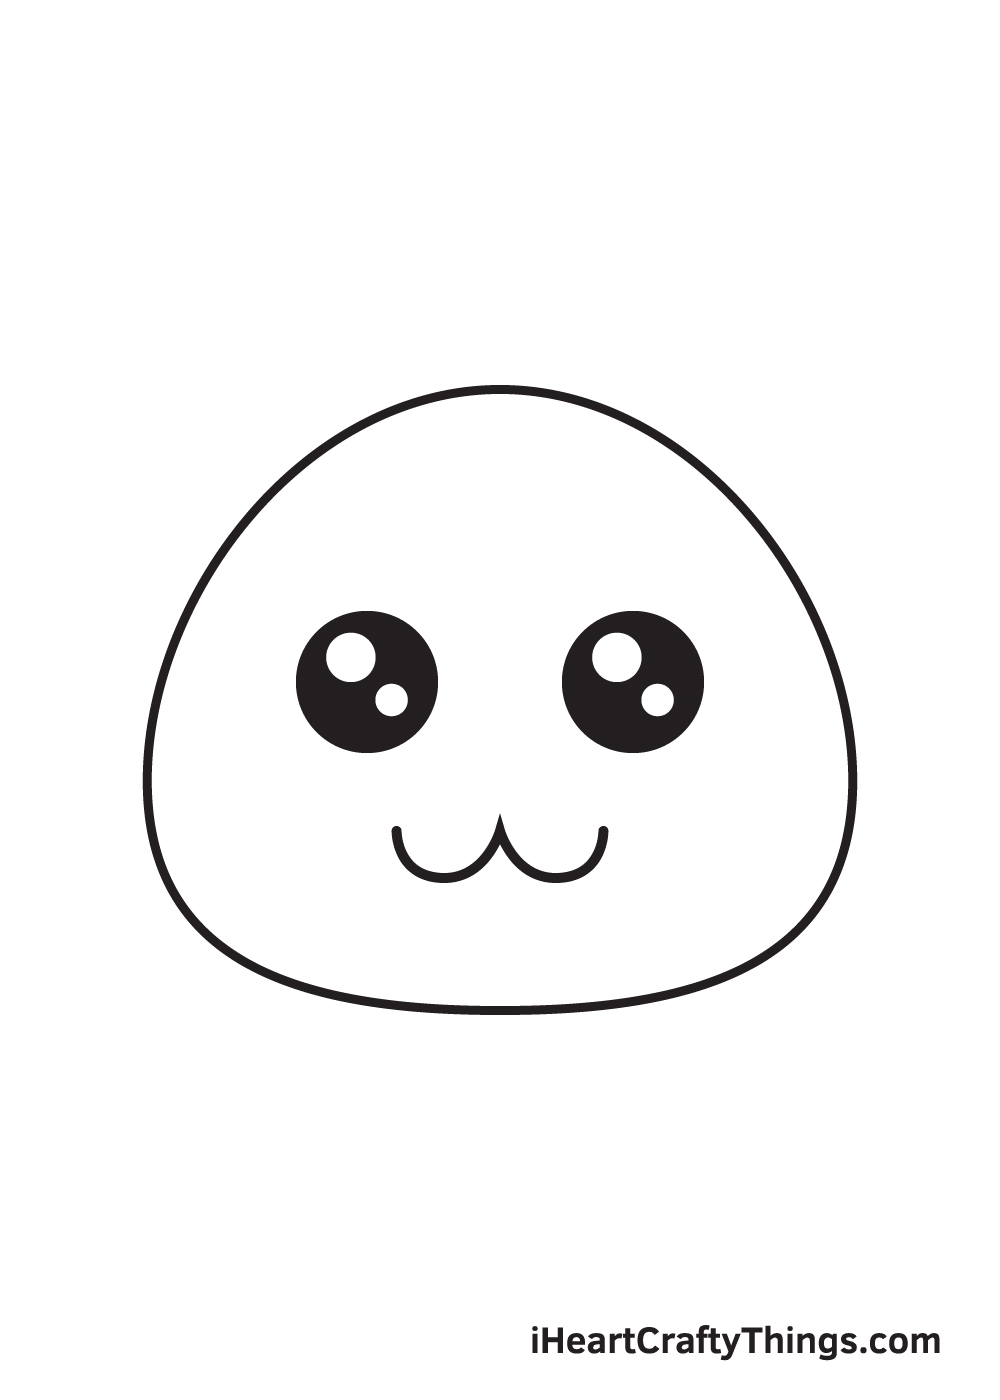
Draw two connected curved lines side by side below the eyes to form the upper lip.
Make sure that the lip is drawn on the center of the bottom part of the figure.
Step 5 – Then, Put a Huge Smile on its Face
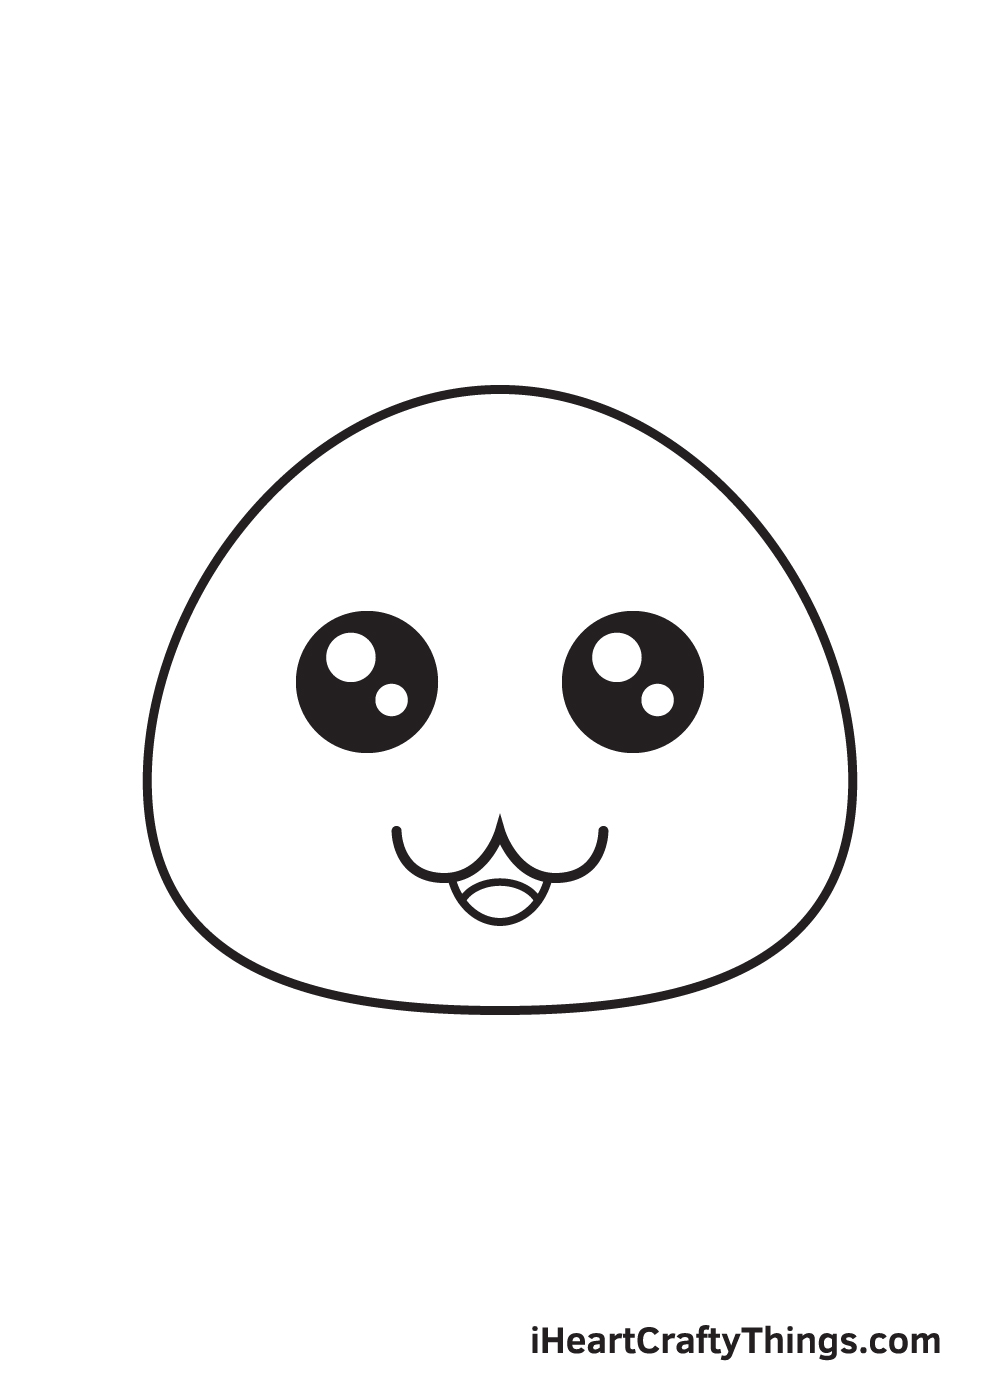
To create the entire mouth, draw a U-shaped line right underneath the upper lip. This forms the lower lip of your character.
This makes the mouth appear like its wide open, making your cute character look extremely happy!
Don’t forget to add a downward curve inside the mouth to create the tongue!
Step 6 – Draw the Eyebrows of the Cute Character
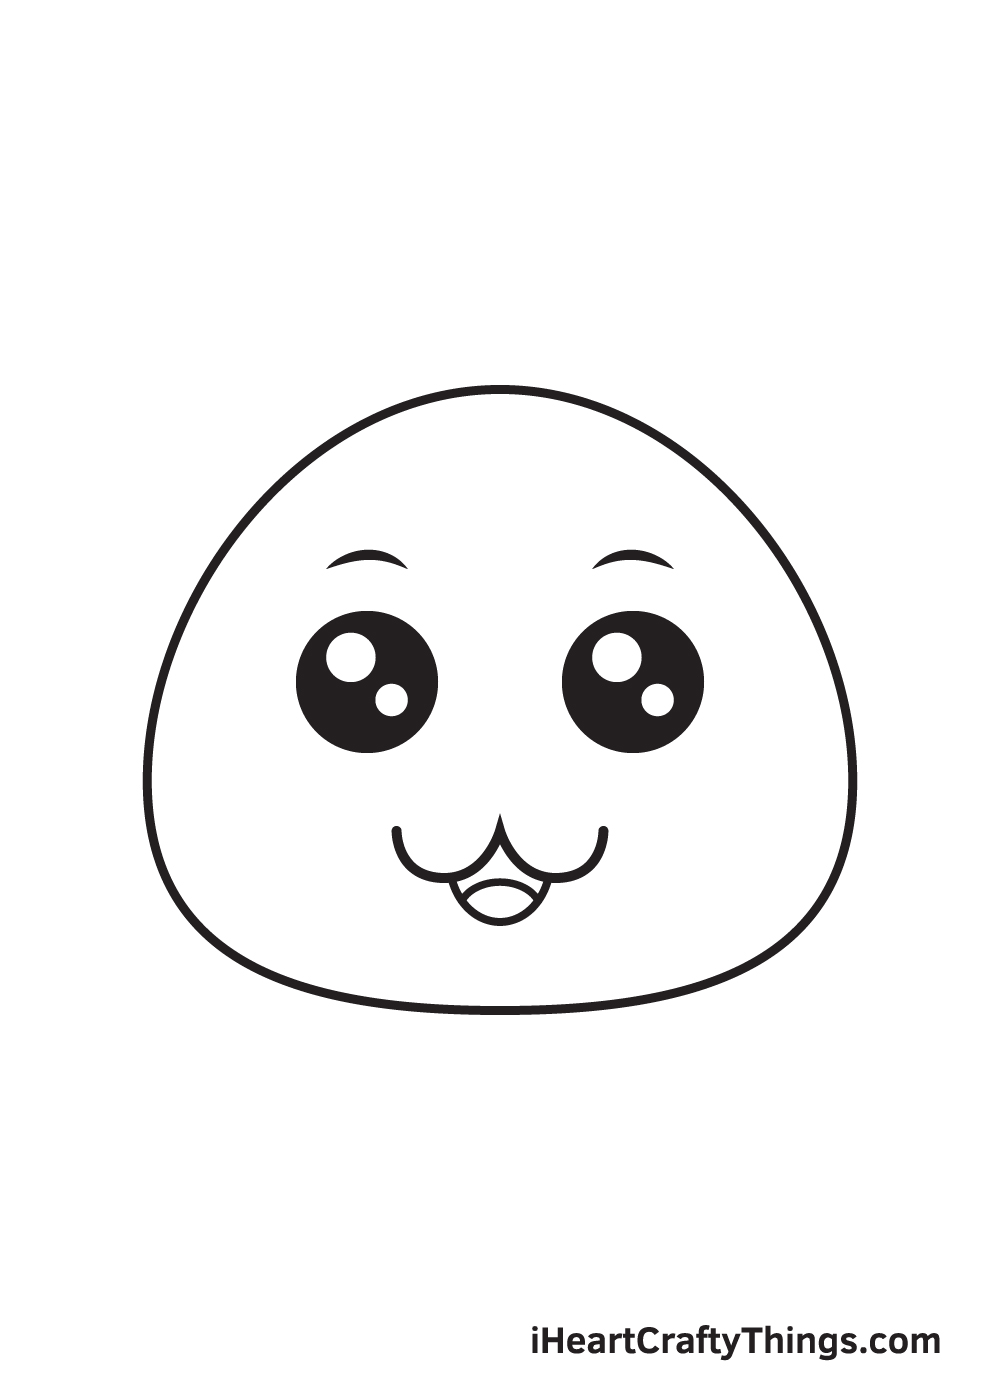
Draw a short downward curved line right above each eye to create the eyebrows. Make sure that the form of the eyebrows are uniform and drawn within the same level.
After finishing this step, the pair of eyebrows of your cute character should now be complete.
Step 7 – Next, Create a Blushing Effect on the Cheeks
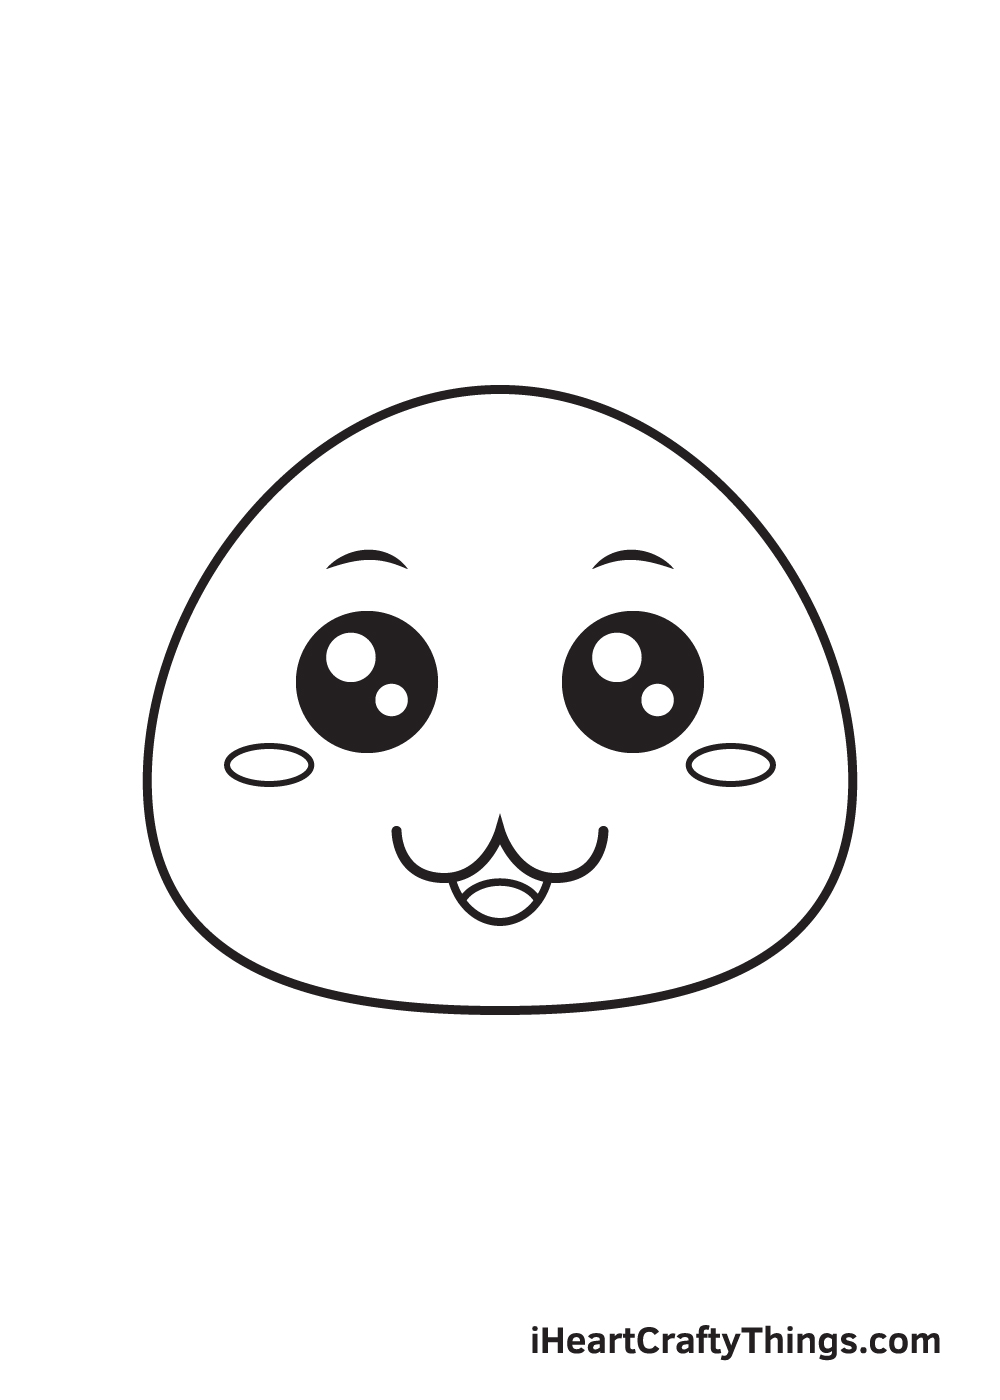
Draw a sideways oval shape on each cheek below the eyes of the character. This makes the cheeks appear flushed or like it’s reddening.
This also adds a dramatic “blushing effect”, making your cute character look even more adorable!
Step 8 – Draw the Cute Character’s Left Arm
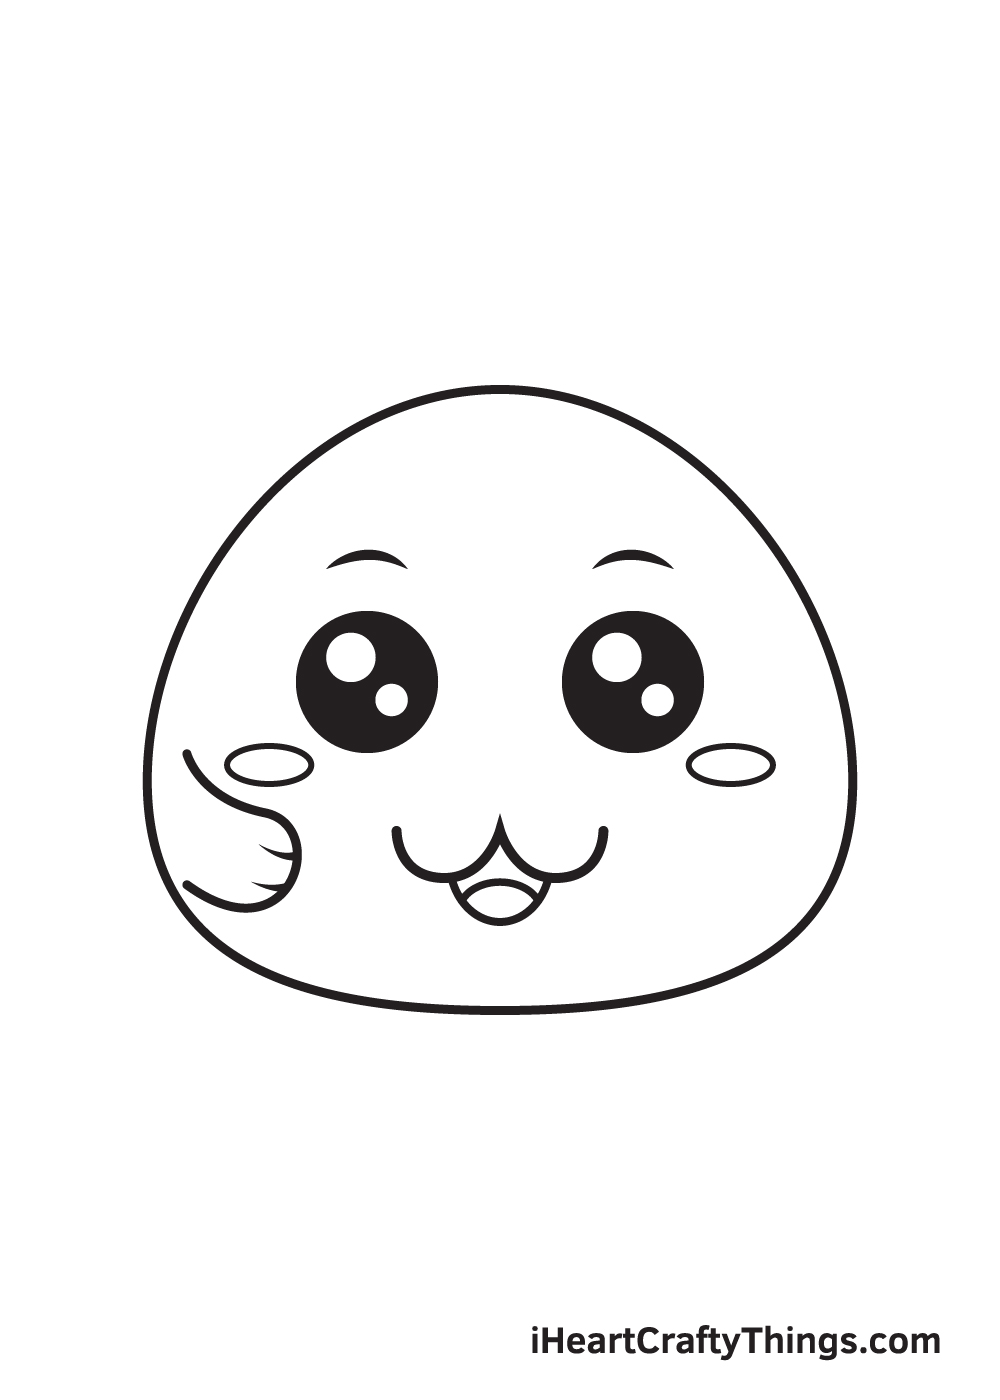
On the left side of its body, draw a sideways U-shaped curve right underneath its cheeks.
Afterwards, draw two short curved lines on the bottom of the figure. This forms the left arm of the cute character.
Step 9 – Draw the Other Arm on the Opposite Side
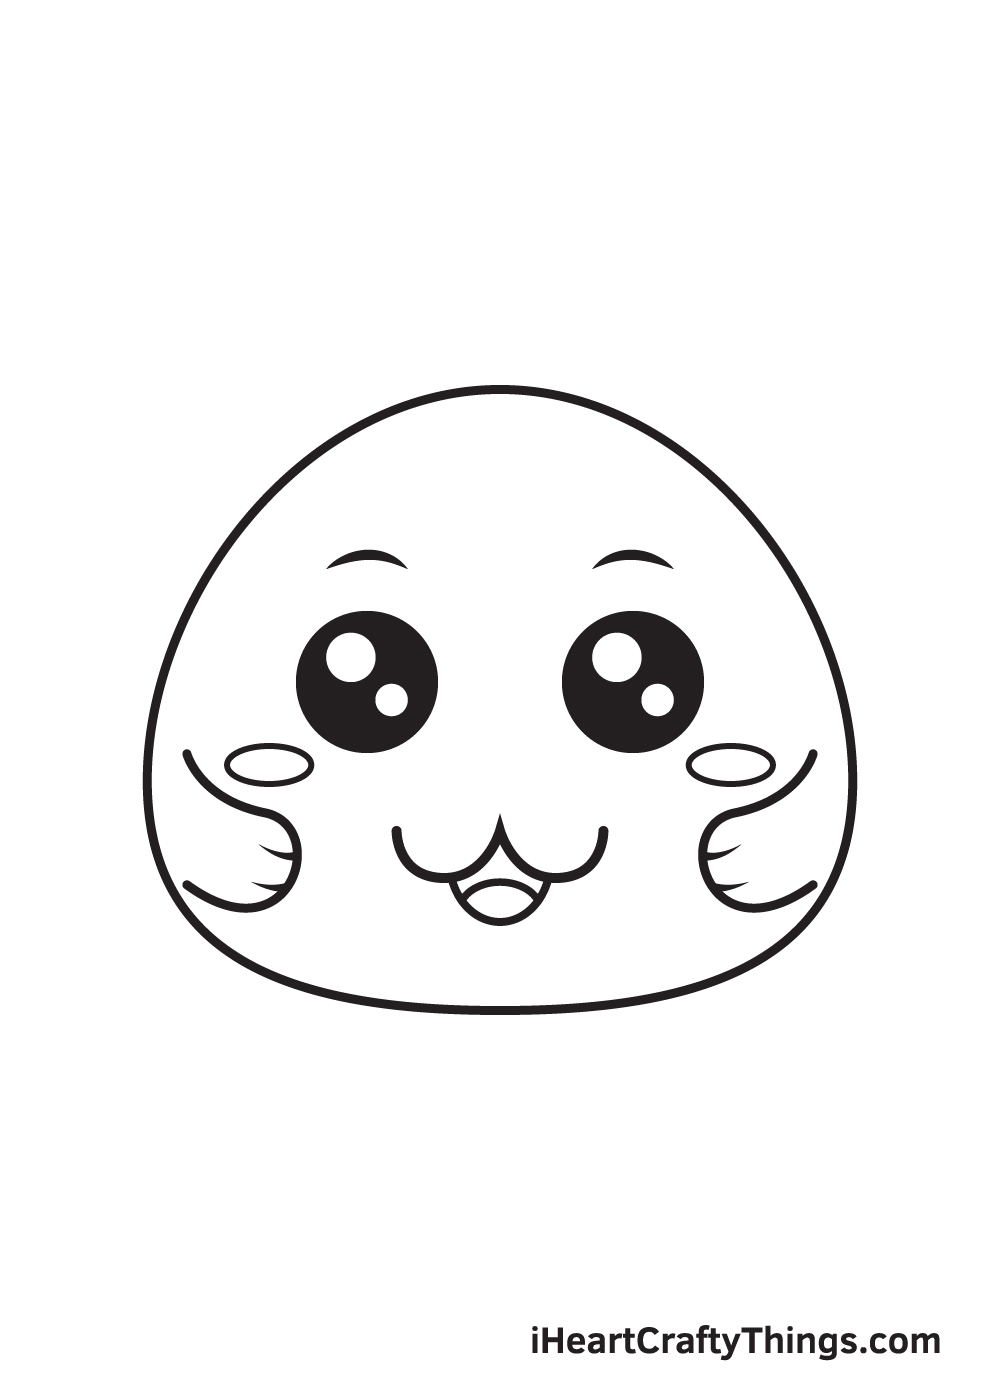
Repeat the previous step on the opposite side of the cute character’s body to form the right arm.
At this point, the cute character should now have a pair of arms.
After drawing a cute character, it’s finally time for the part you’ve probably been waiting for, which is coloring your drawing!
Take this opportunity to showcase your artistic skills, especially your ability to mix and match colors.
As you can see in the illustration, we’ve kept the colors plain and simple. We colored the entire body of the cute character with color blue while its flushed cheeks and tongue is pink.
You can opt to color your drawing similar to how we’ve done ours or handpick a unique set of colors.
We recommend doing the latter so you can customize your artwork and make this experience a lot more fun! And while you’re at it, why not try experimenting with various coloring materials as well?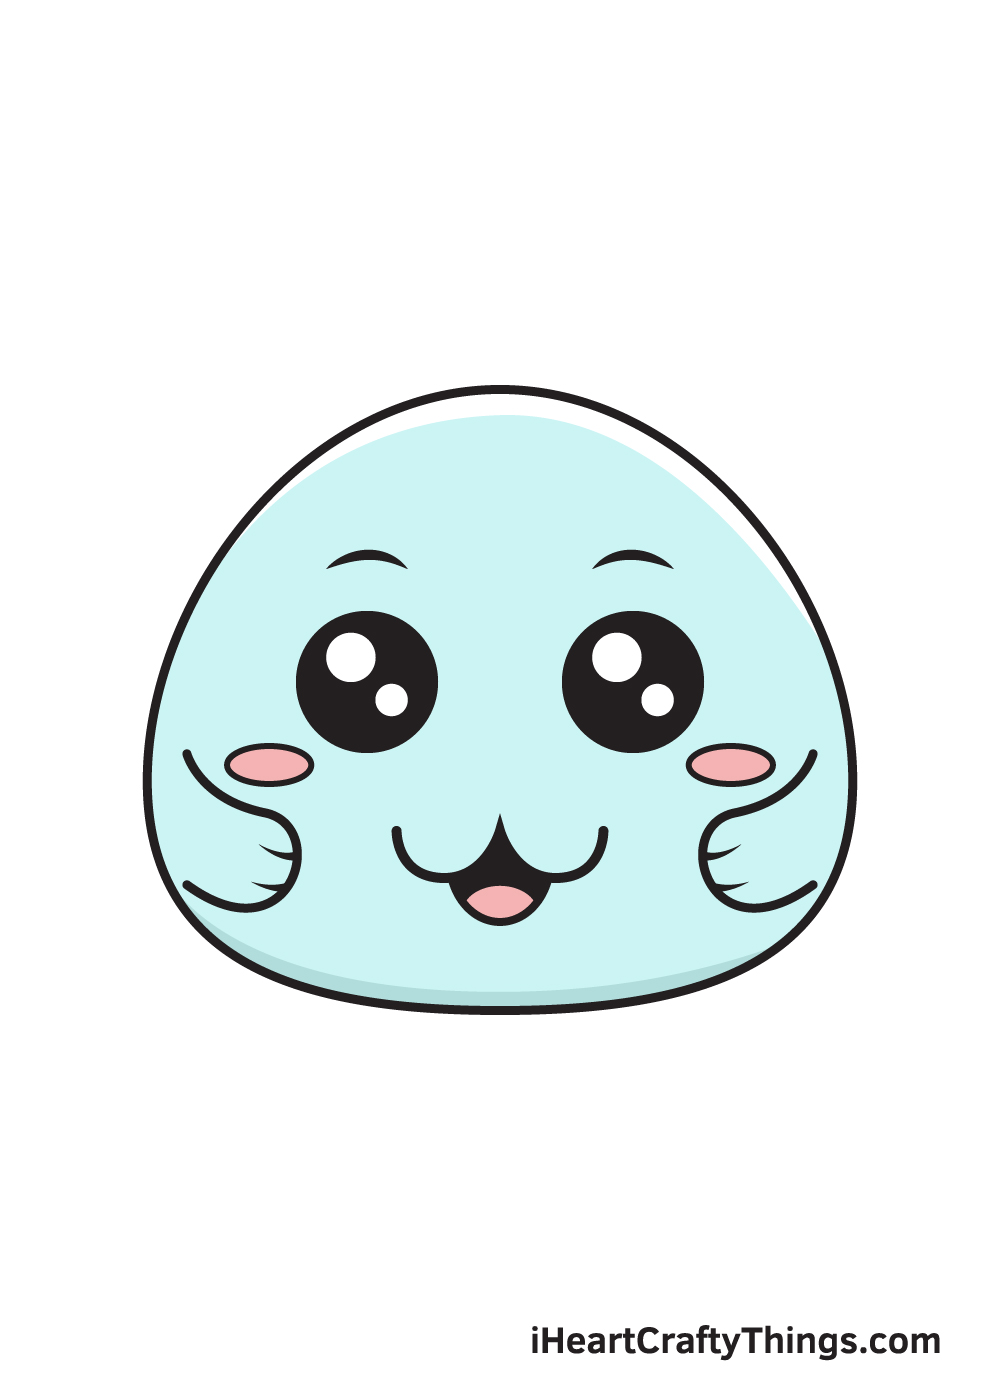
4 More Ways To Make Your Cute Characters Drawing Unique
Make your own adorable cute characters with these fun tips!
This cute characters drawing you have created gives you a great starting point for your own characters. We mentioned in the guide that you could turn this into anything you want!
This can be done with minimal changes, too. For example, you could add a little tail poking to the side to turn this into a seal.
Or you could go for an entirely new body shape and then draw the face onto it. What animals would you like to create?
We kept the design simple to make this cute characters drawing easy to learn, but now you can add to it. If you wanted, you could add different facial features such as a nose or ears.
Drawing a nose could be as simple as adding two dots, but it will dramatically change the appearance of the creature.
Another option would be to change the facial expression by changing the position of the eyebrows and eyes. These are all simple yet effective ways to personalize this drawing!
We also think it would be fun to add some accessories to this cute characters sketch. It could be using an umbrella, or maybe you could draw it holding a mug.
Adding any accessories you can think of will help to give the character even more personality. They can be drawn in a style that’s as cute and simple as the character itself, so it will be fun and easy to do. What are some accessories you would like to add?
Finally, we think you may want to consider adding a background to this drawing of a cute character. This could be a setting like a park or a party, but you could also keep it vaguer.
For example, you could simply color the background one color and then add polka dots. It really depends on your preference, and either approach would look great in its own way.
You simply need to figure out what would look best for your interpretation of the drawing.
Your Cute Drawing is Complete!
Hopefully, you enjoy this step-by-step cute drawing. Now that you can draw a cute face, did you know that you can incorporate this when drawing characters, animals, and even objects?
You can make anything cute by animating pretty much anything with this cute face!
If you had a good time drawing a cute character, then you might also be interested in drawing cool things or perhaps an emoji?
Check out our “How to Draw” catalog to explore many more fun drawing tutorials like this!
After you’ve finished drawing and coloring the cute character, don’t forget to show off your masterpiece!
Take a picture of your colored drawing and share it on our Facebook Page and on Pinterest. Don’t be embarrassed—you’ve worked hard for it so we’re sure it’s awesome!
We would love to see how adorable your drawing is!