A human’s face is a frequent subject in many artworks, and drawing is no exception. For beginners and experts alike, learning how to draw a human face is essential.
However, once you’ve learned how to draw a human face facing straight ahead, the learning doesn’t stop there.
You also need to learn how to draw a face from a side view. This will enable you to draw a human face in different positions.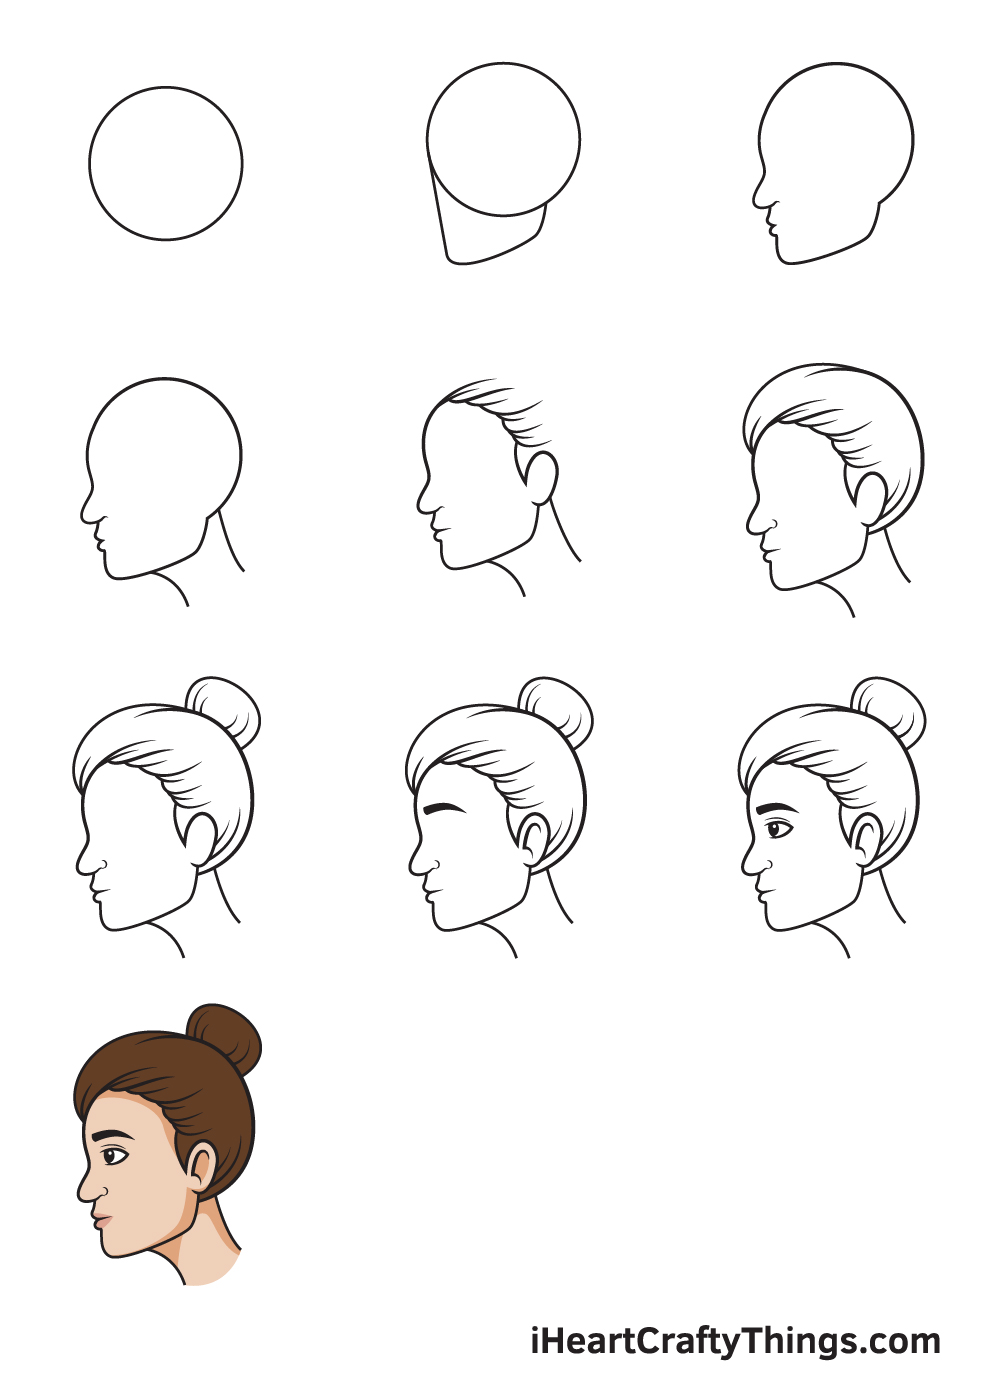
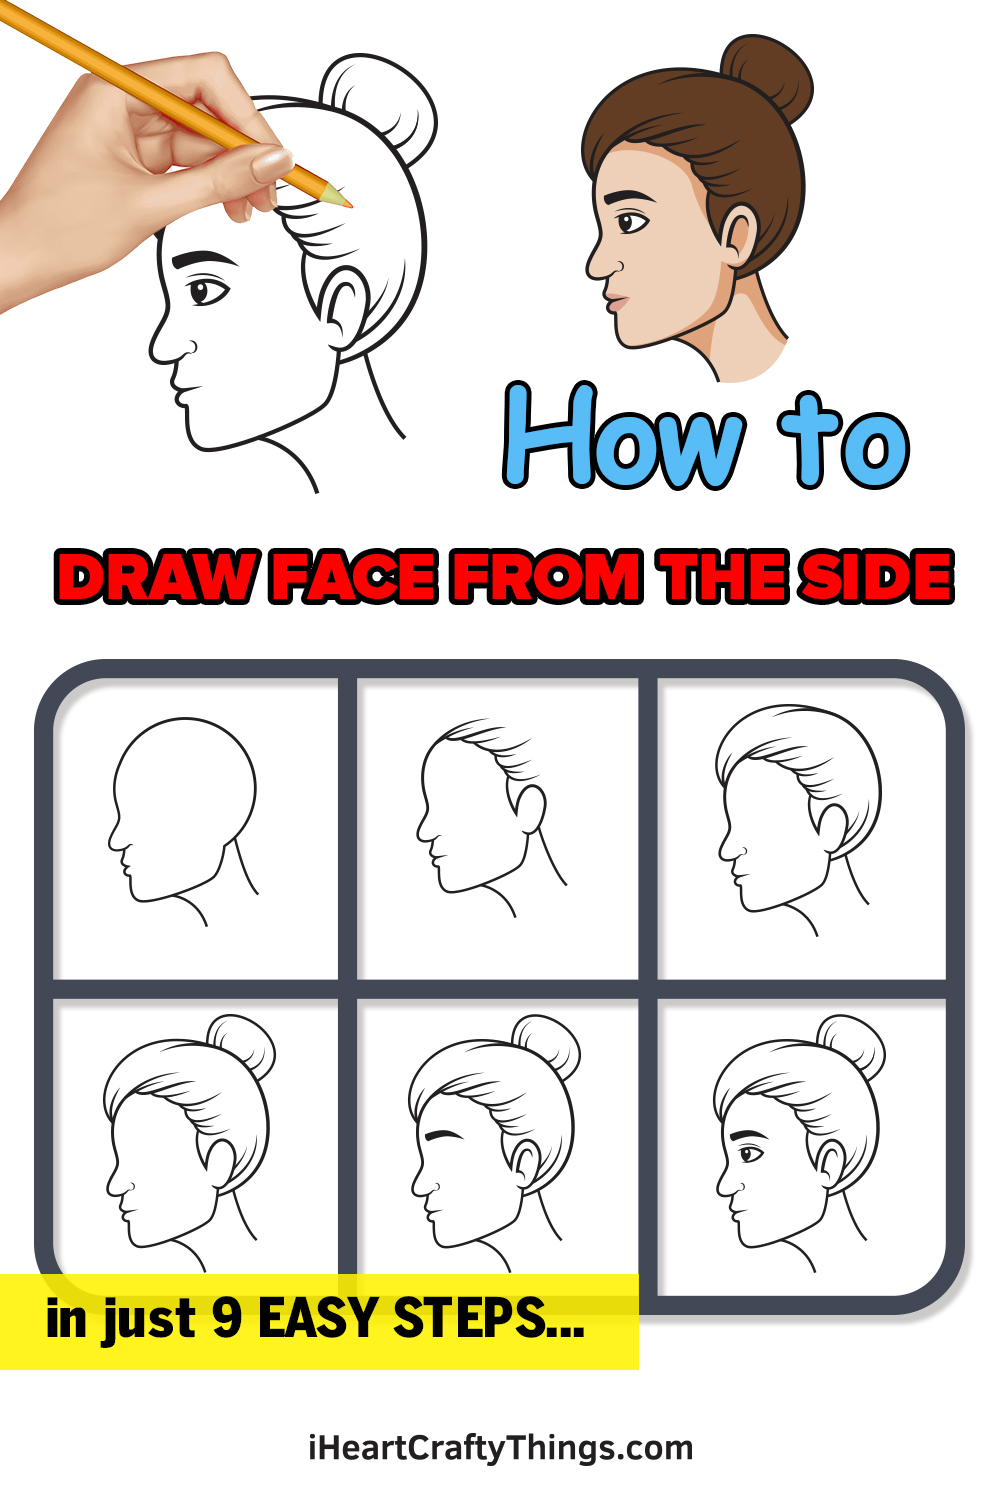
Fortunately, we have created a step-by-step tutorial on how to draw a face from the side, summed up in 9 quick and easy steps.
What’s more, each instruction comes with an illustration to make the steps a lot easier for you to follow!
Have fun and use your artistic skills to draw a side view face!
How to Draw a Face From the Side – Let’s get started!
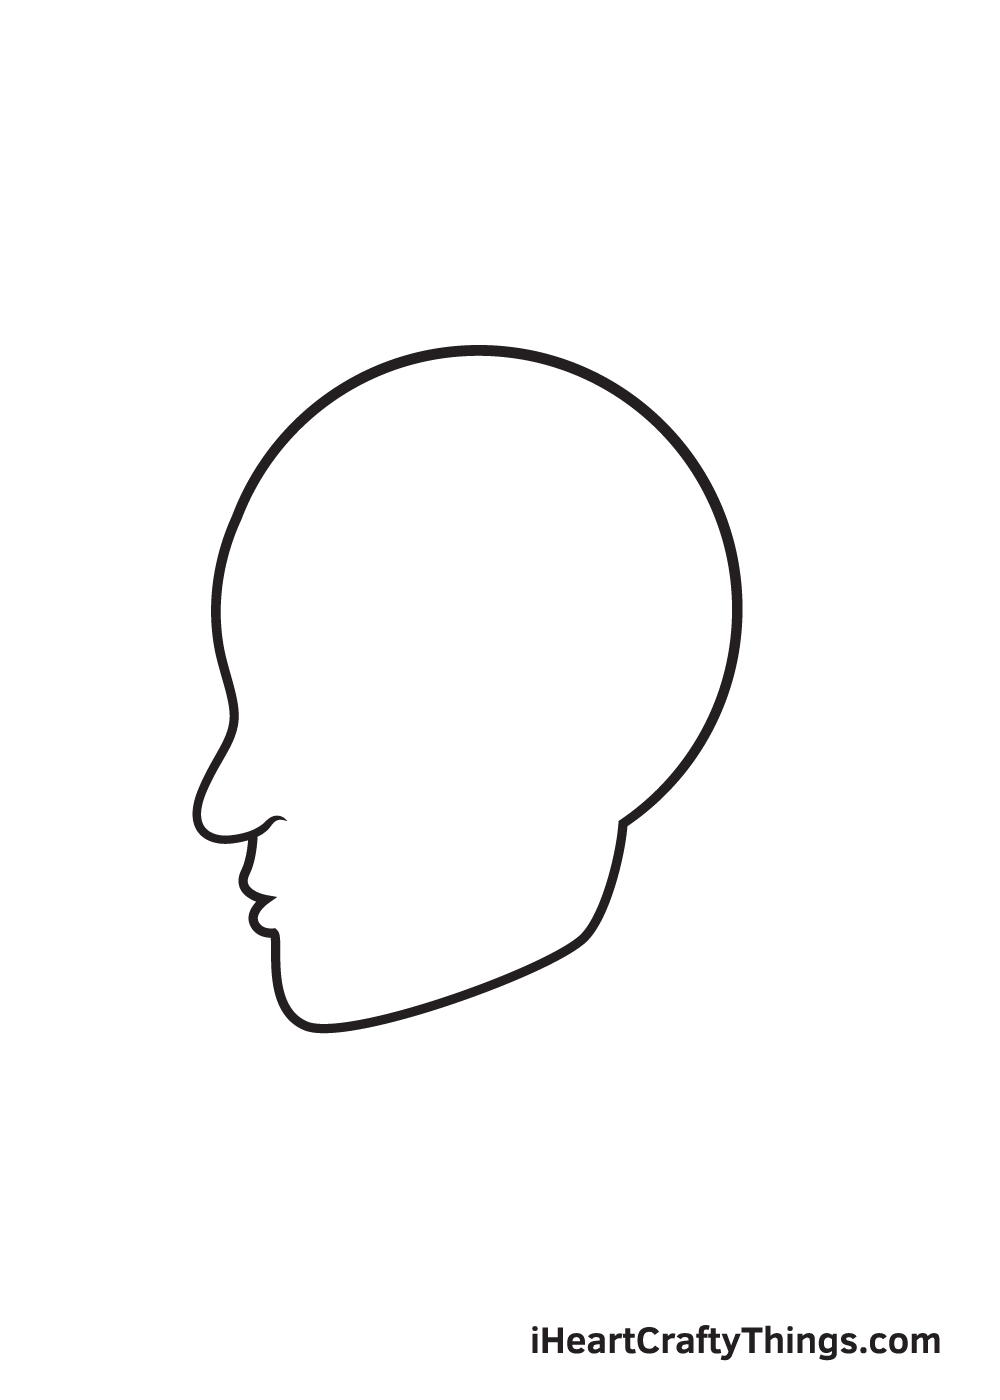
Step 1
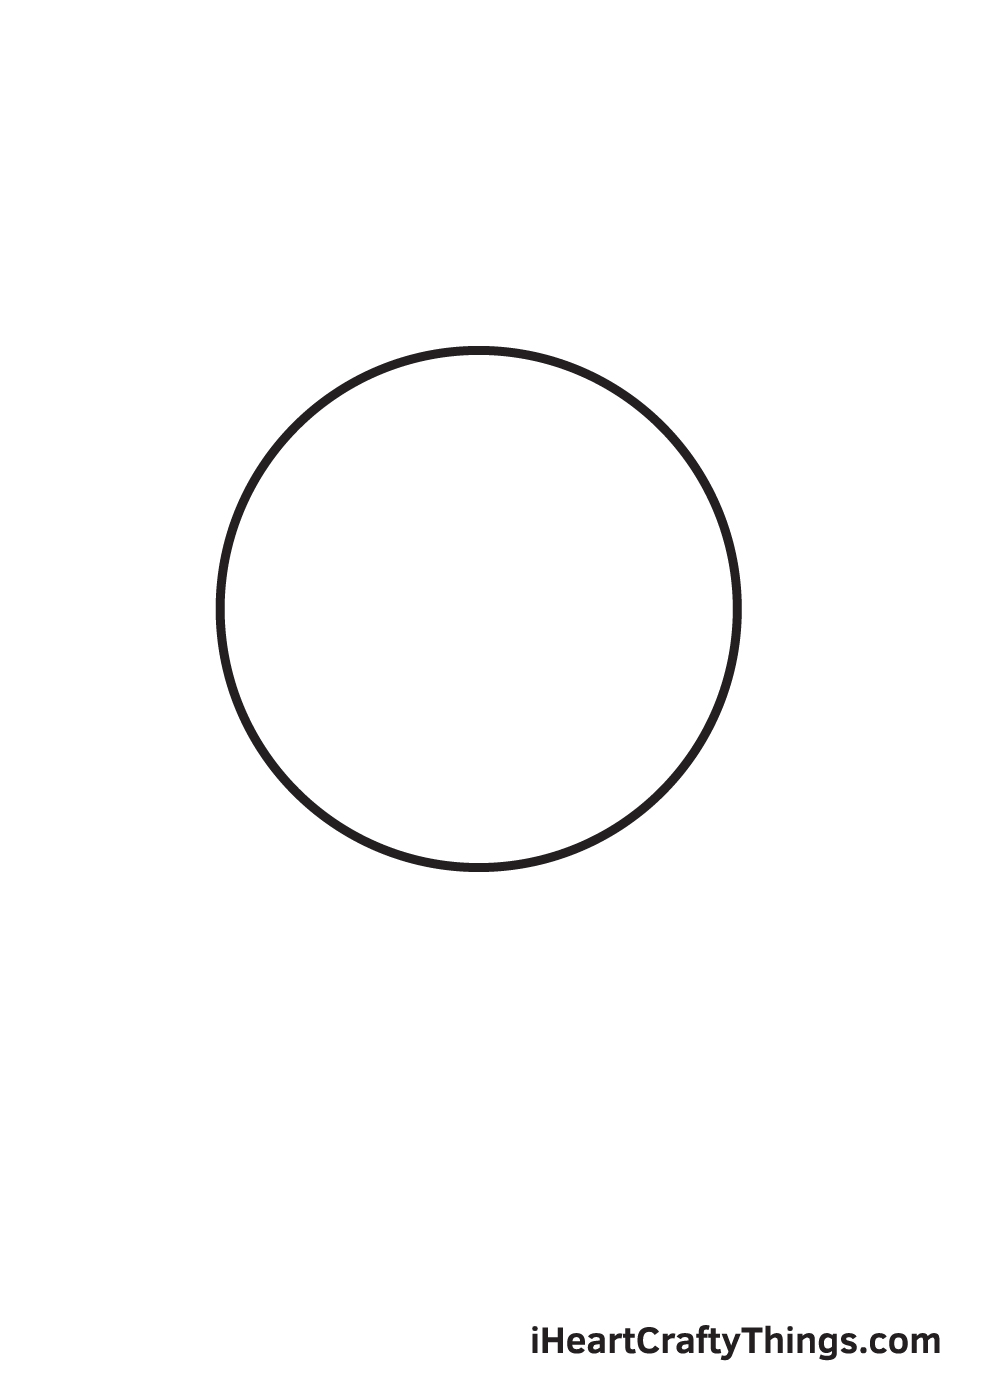
Start by drawing a perfect circle shape to outline the head of the character. Remember, use light strokes when drawing a rough sketch.
Avoid pressing down too hard with your pencil so you can easily remove some parts of the outline you may no longer need later on.
As you can see in the illustration, the circle is off-center and it’s slightly on the upper part. Don’t worry because that’s how it should be! This leaves sufficient space for the character’s chin and neck.
Step 2 – Create an Outline of the Head
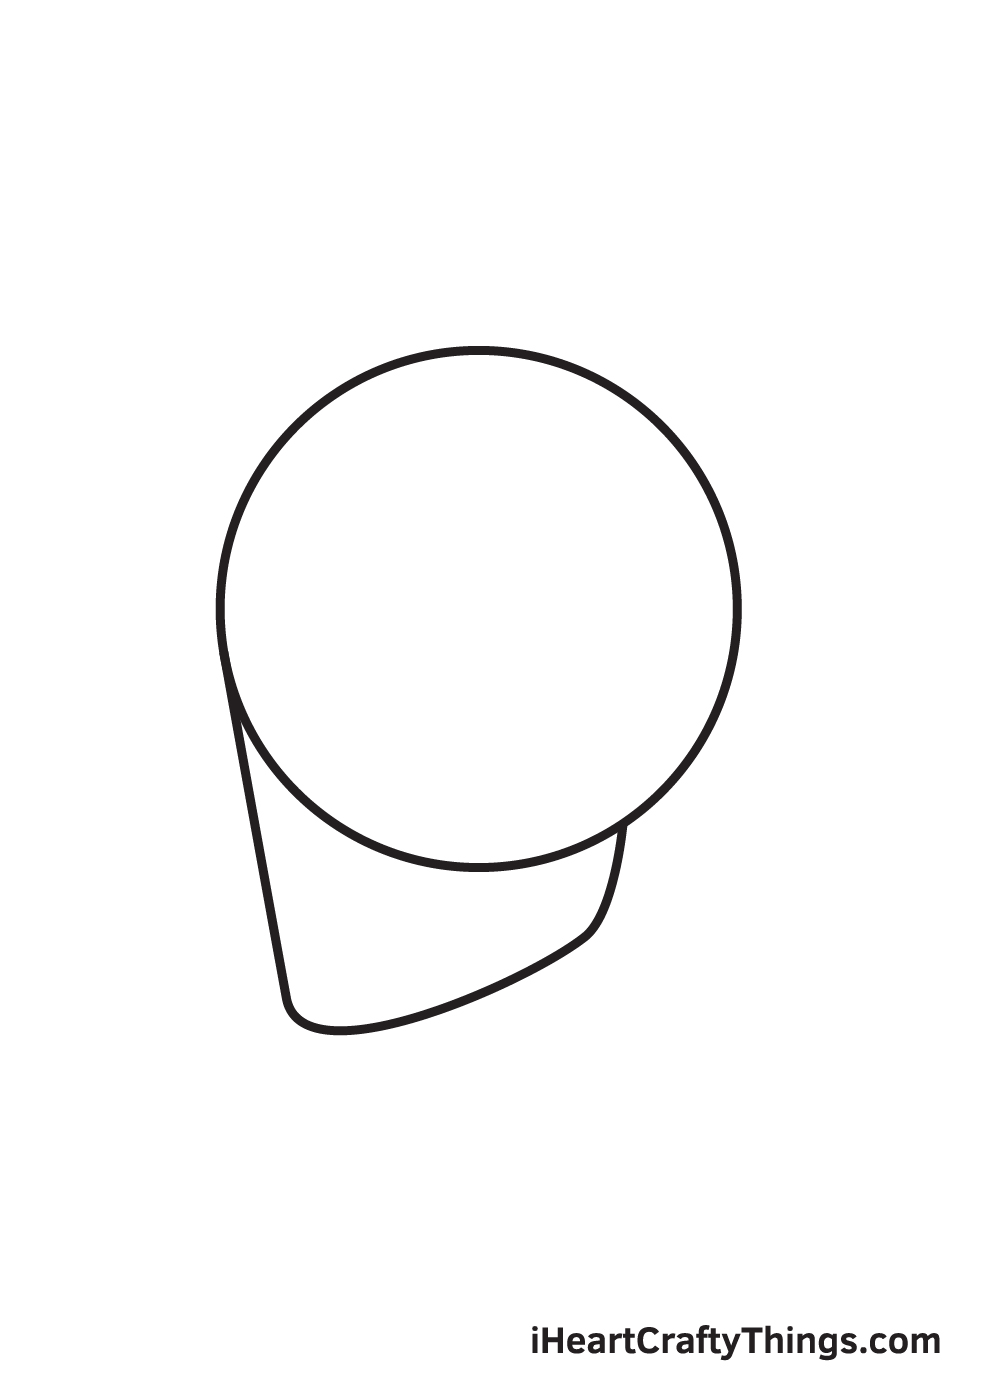
Right underneath the circle shape, draw a diagonal line on the left side aligned with the edge of the circle shape. This forms the bottom part of the face.
Once you reach the desired length, bring the diagonal line slightly upwards heading to the right.
Afterwards, bring the line upwards until it touches the circle shape we drew previously. This creates the form of the character’s chin and jaw.
The outline may look confusing at this point, but it will come together once we polish it up.
Step 3 – Refine the Outline of the Head
Get rid of the bottom line of the circle that overlaps within the outline of the head using an eraser. Be careful when erasing the line, you don’t want to accidentally remove any essential lines.
Now, erase a portion of the left edge of the outline where we will be drawing the nose and the mouth. Draw an elongated curve for the nose and two consecutive curves to form the mouth on the spot where we erased the line.
As you can see in the illustration above, the form of the head is now more visible.
Step 4 – Afterwards, Draw the Neck
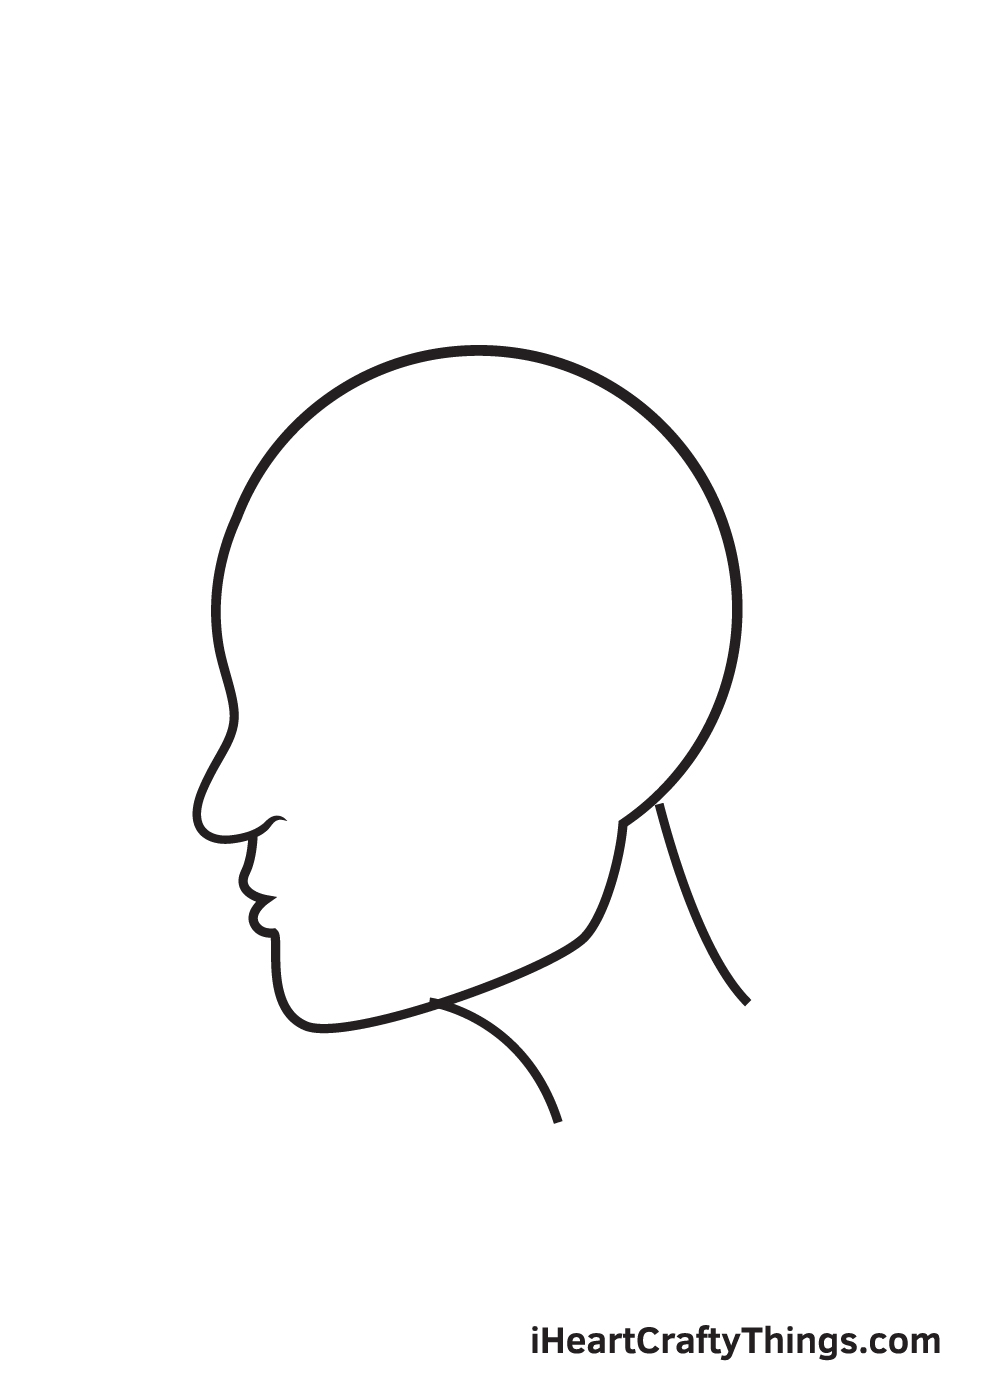
Right underneath the character’s jaw, draw two curved lines leaning towards the opposite direction. This forms the neck of the character.
Remember, the bigger the gap between the two lines, the wider the neck will appear to be.
Step 5 – Next, Draw the Hairline
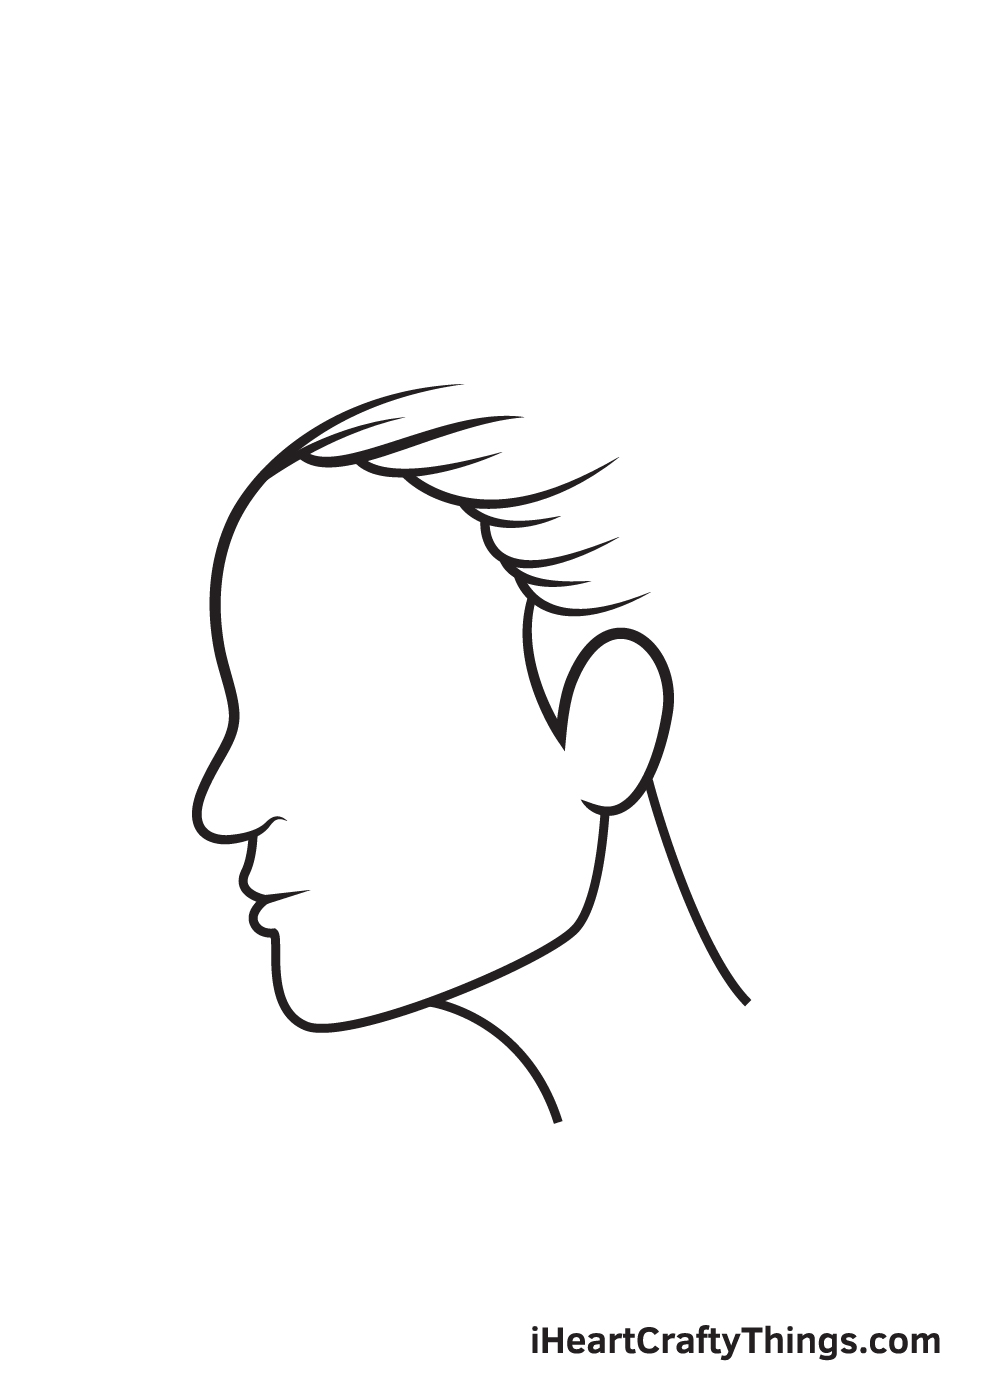
Draw multiple overlapping curves right above the forehead. This creates the hairline of the character.
Once the hairline reaches the spot above the jaw, draw a tilted oval shape with the bottom directly connected to the jaw. This forms the character’s ear.
Don’t forget to erase the outline of the back of the head! By doing this, you’ll have enough space to complete the hair.
Step 6 – Finalize the Character’s Hair
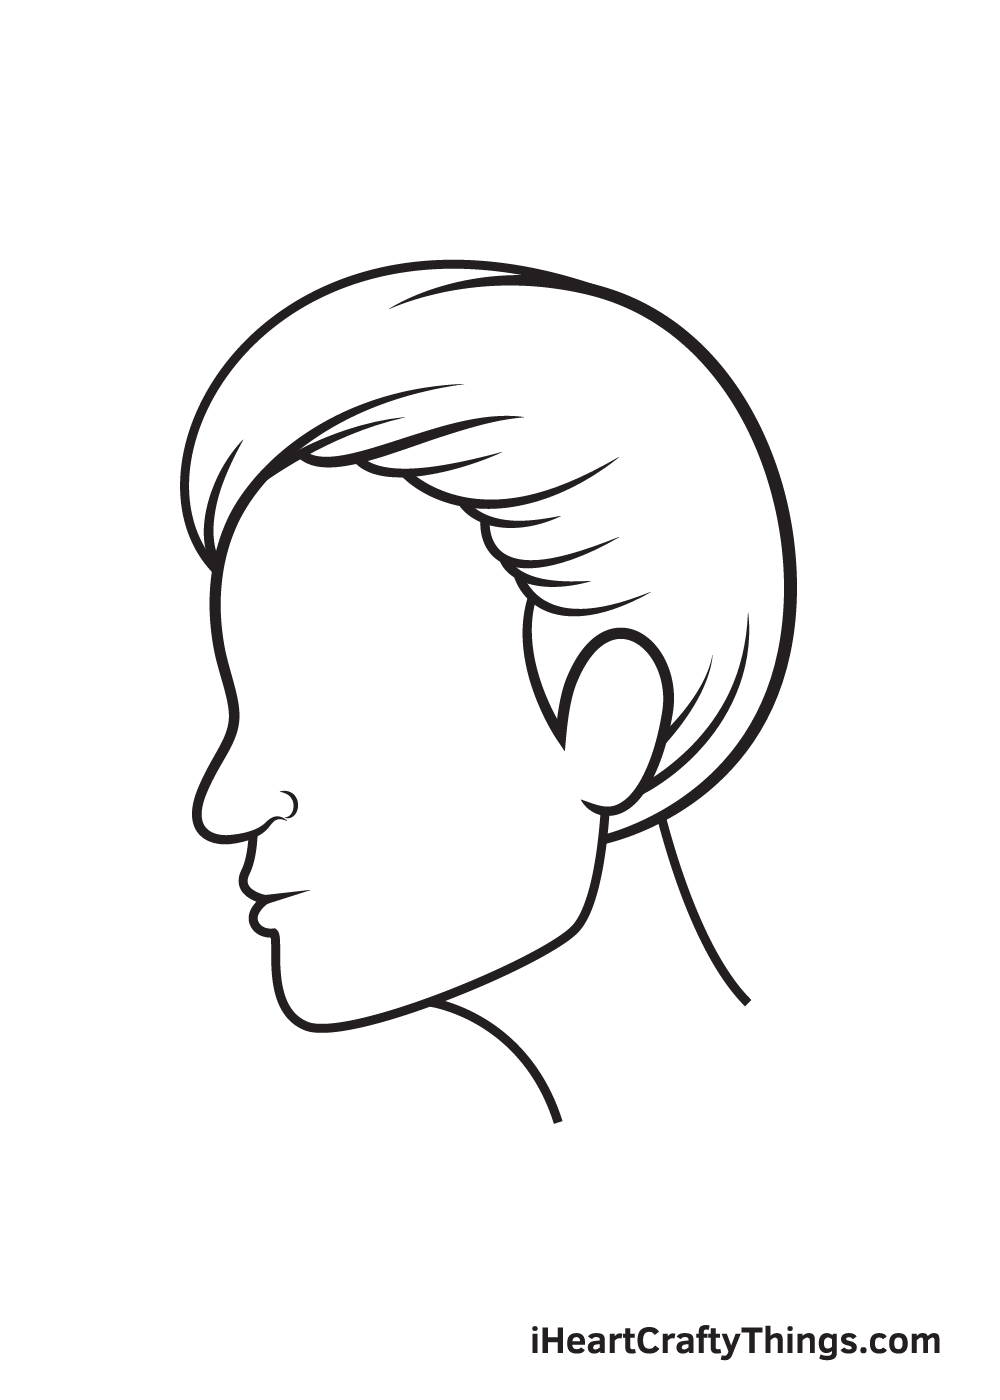
Draw a semicircle shape beginning from the forehead all the way down to the back of the neck. This forms the entire hair of the character.
Make sure to add some lines on the surface of the hair. This adds texture on the hair, making it look soft, and most importantly, realistic.
Step 7 – Then, Put the Hair on a Bun
Draw another semicircle at the top of the head. This forms the hair tied in a bun. Don’t forget to add a few lines to add texture on the hair!
As you can see in the illustration above, we kept our character’s hair plain and simple. However, feel free to draw any hairstyle you like!
You can draw the hair down and make it wavy or draw a short pixie haircut. It’s all up to you!
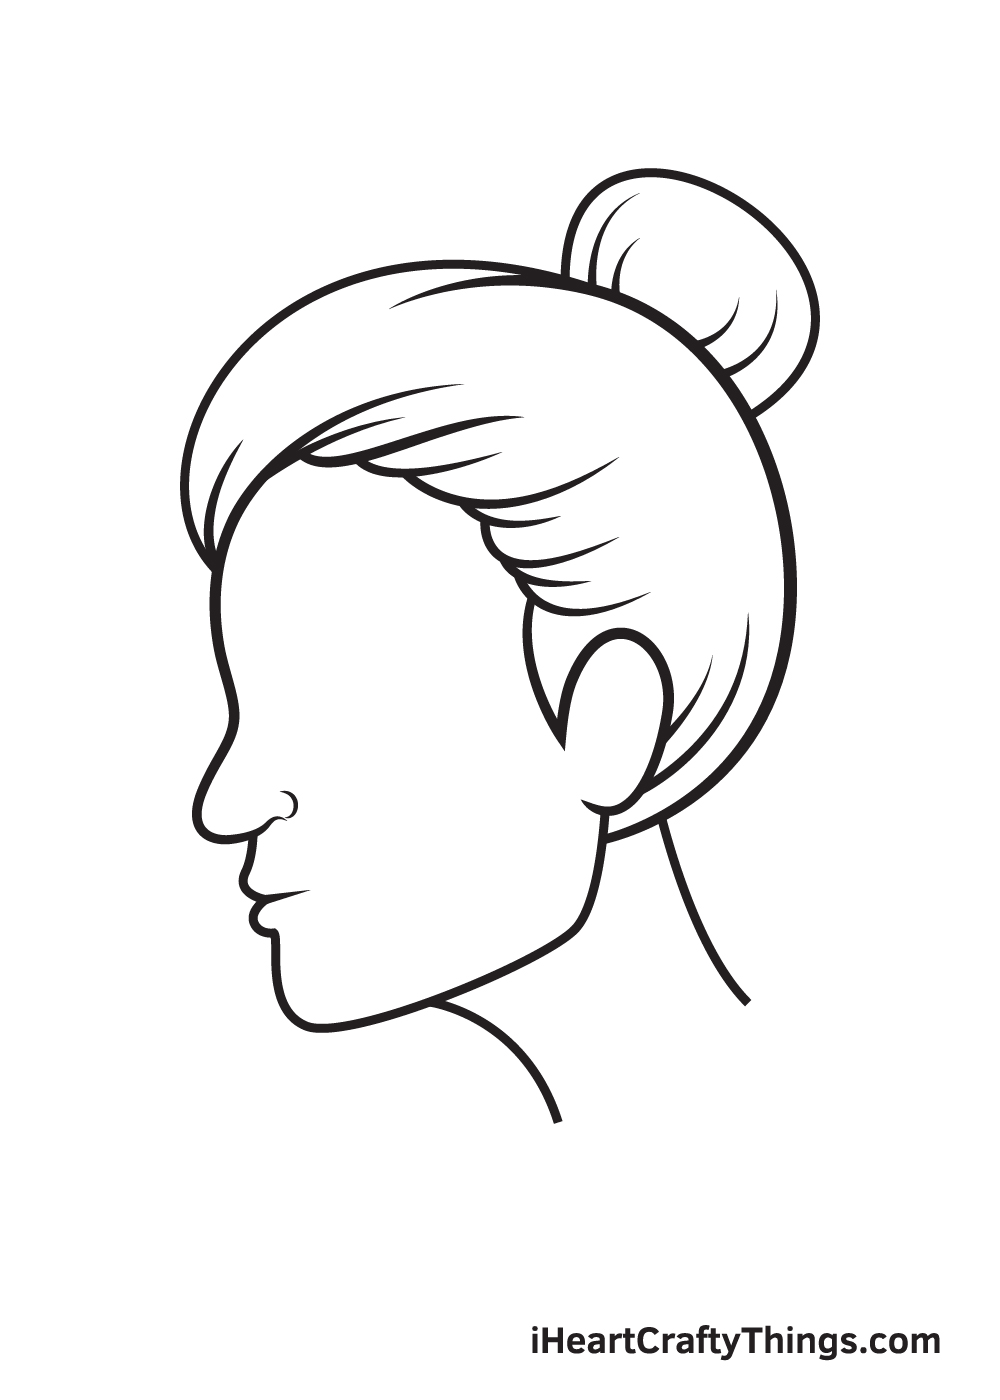
Step 8 – Form the Visible Eyebrow
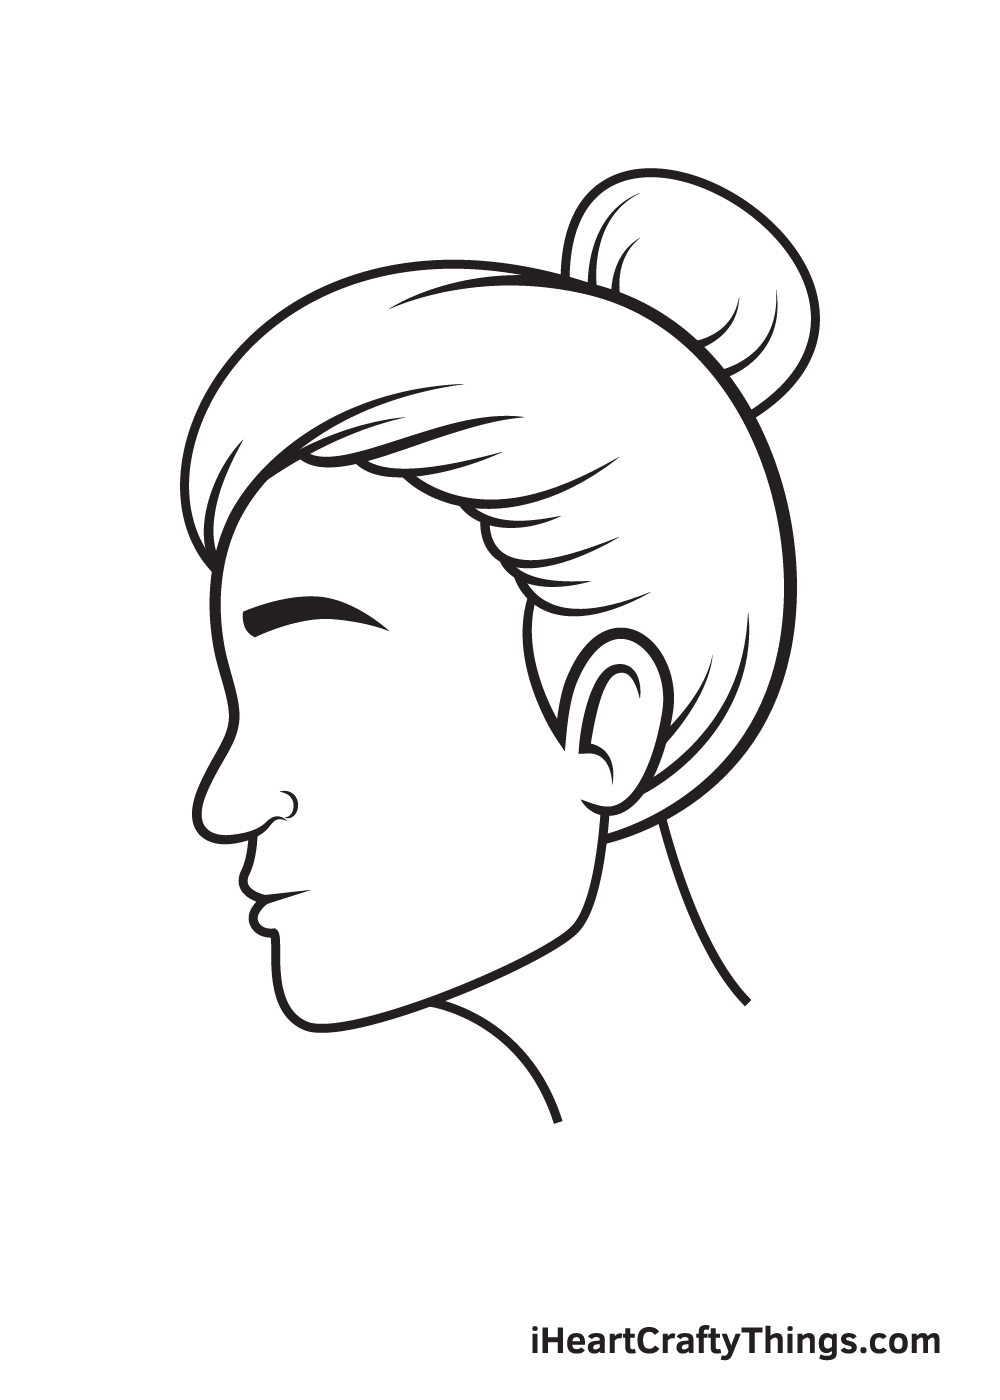
Draw a curved line with a straight edge on the left and a pointed tip on the right. This forms the arched eyebrow of your character.
Make sure to fill in the entire eyebrow with jet-black shade to make the eyebrow more refined.
Step 9 – Draw the Eye to Finish the Look
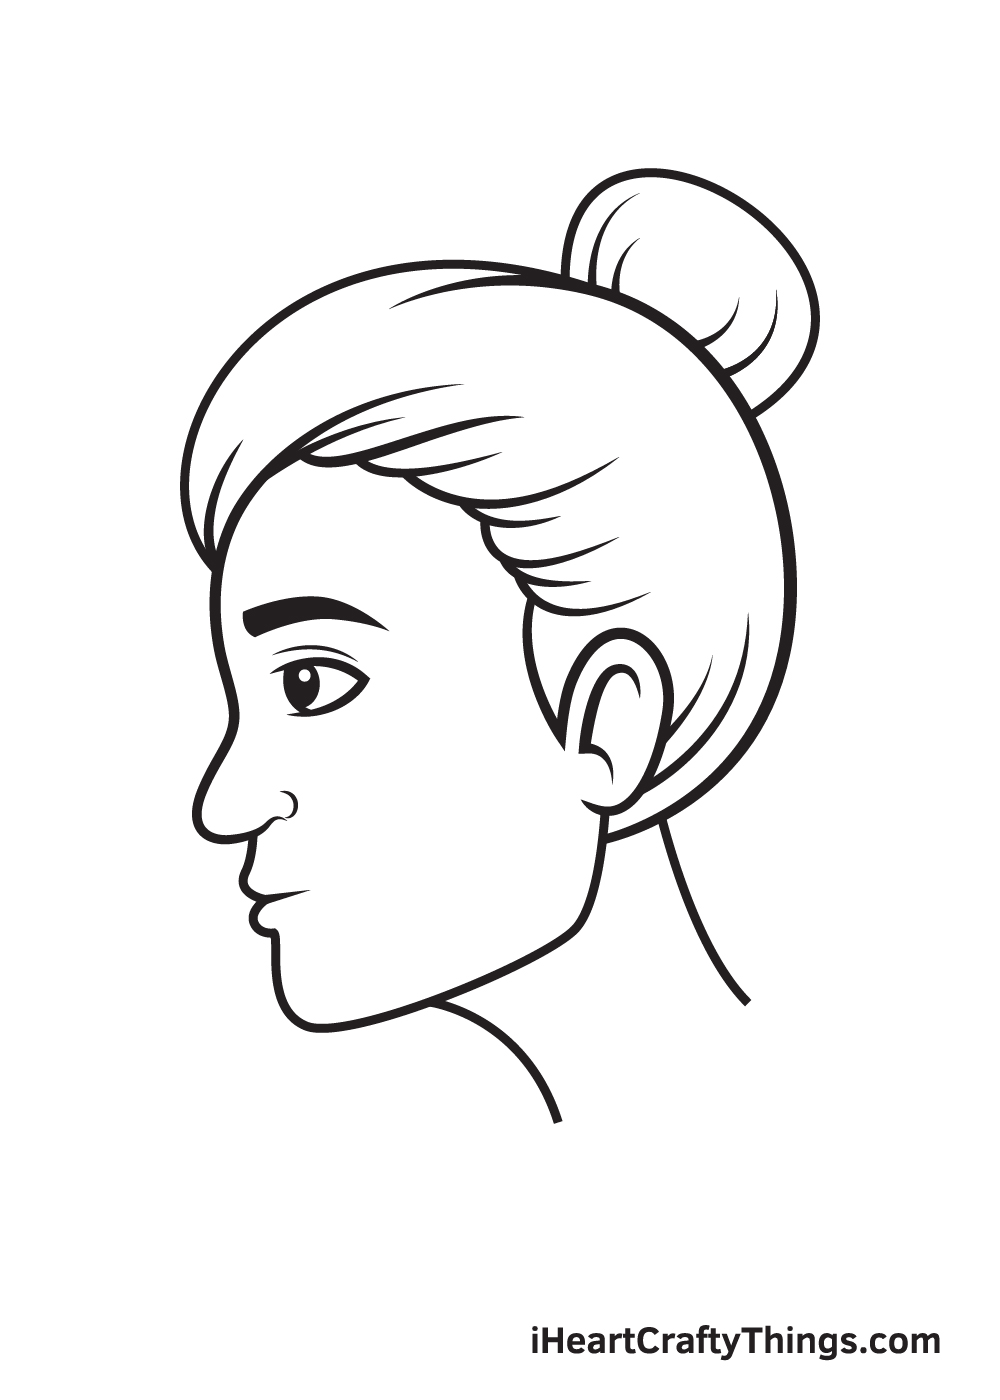
To create the eyes, start by drawing a sideways V-shaped line with the pointed end on the right side. Then, draw a standing oval shape on the opening of the V-shaped line on the left side.
This forms the pupil of the eye. Afterwards, draw a tiny circle inside the pupil to create the iris. Shade the entire pupil while leaving out the iris unshaded. This creates a dramatic “sparkling eyes” effect.
Don’t forget to add a line right above the eye to create the illusion of creases or folds, making your drawing look real!
Now that we’ve successfully drawn a face from the side, it’s time for the most exciting part. In this final step, we’ll be curating a unique set of colors and coloring the face.
Take this opportunity to showcase your artistic skills, especially your ability to mix and match colors.
The colors you will be using for the face is entirely up to you! But here’s a tip you may find useful: mix the colors white, yellow, red, and blue to create a customized skin tone color.
Depending on the complexion you’re trying to achieve, you may need to add more of any of the colors.
Have fun playing with colors as the face ultimately comes to life!
Here’s how you can make your face from the side drawing even better…
Take a look at these tips we have for making your face from the side sketch even greater!
We focused on the structure of the face for this face from the side drawing, and we didn’t add much in the way of extras. That being said, you could add some of your own!
There are a few examples of what these could entail. For example, you could add some makeup or jewelry.
These could be subtle, but they will still be effective! How could you personalize this face?
Another way to put your own spin on this drawing of a face from the side would be to change the facial features of the face.
This could be the structure of the facial features or maybe the eyes, mouth and nose.
You could base these changes on a real person you know, but you could even try out making a unique face! If you use an existing person, it could be someone you know or are related to, or maybe even a celebrity.
Next, when you have changed the face, you could also add to this face from the side sketch by changing the hairstyle. This is another aspect that could be changed quite drastically with just a few changes.
There are so many different hairstyles you could use, and there are many people you could look to for inspiration. The same examples we mentioned in the previous step would apply, but you could also experiment with your own hair creations!
Finally, you could make this a more complete character by adding some more of her body and a background.
We focused on just the head and neck for this face from the side drawing, but you could add a lot more!
It could be her shoulders and chest, or you could add the entirety of her body.
Once you have decided on how much you would like to add, you could finish off by drawing a background setting or location.
Where would your character be hanging out?
Your Face From the Side Drawing is Complete!
Hopefully, you have a good time drawing a face from the side. If you had fun with this, then you might be interested in drawing a cartoon face too!
Check out our “How to Draw” catalog to explore many more enjoyable drawing activities like this!
Once you’re done drawing and coloring a face from the side, make sure you show off your masterpiece! Take a photo of your colored drawing and post it on our Facebook page and on Pinterest!
We’re excited to see your incredible face from the side drawing!