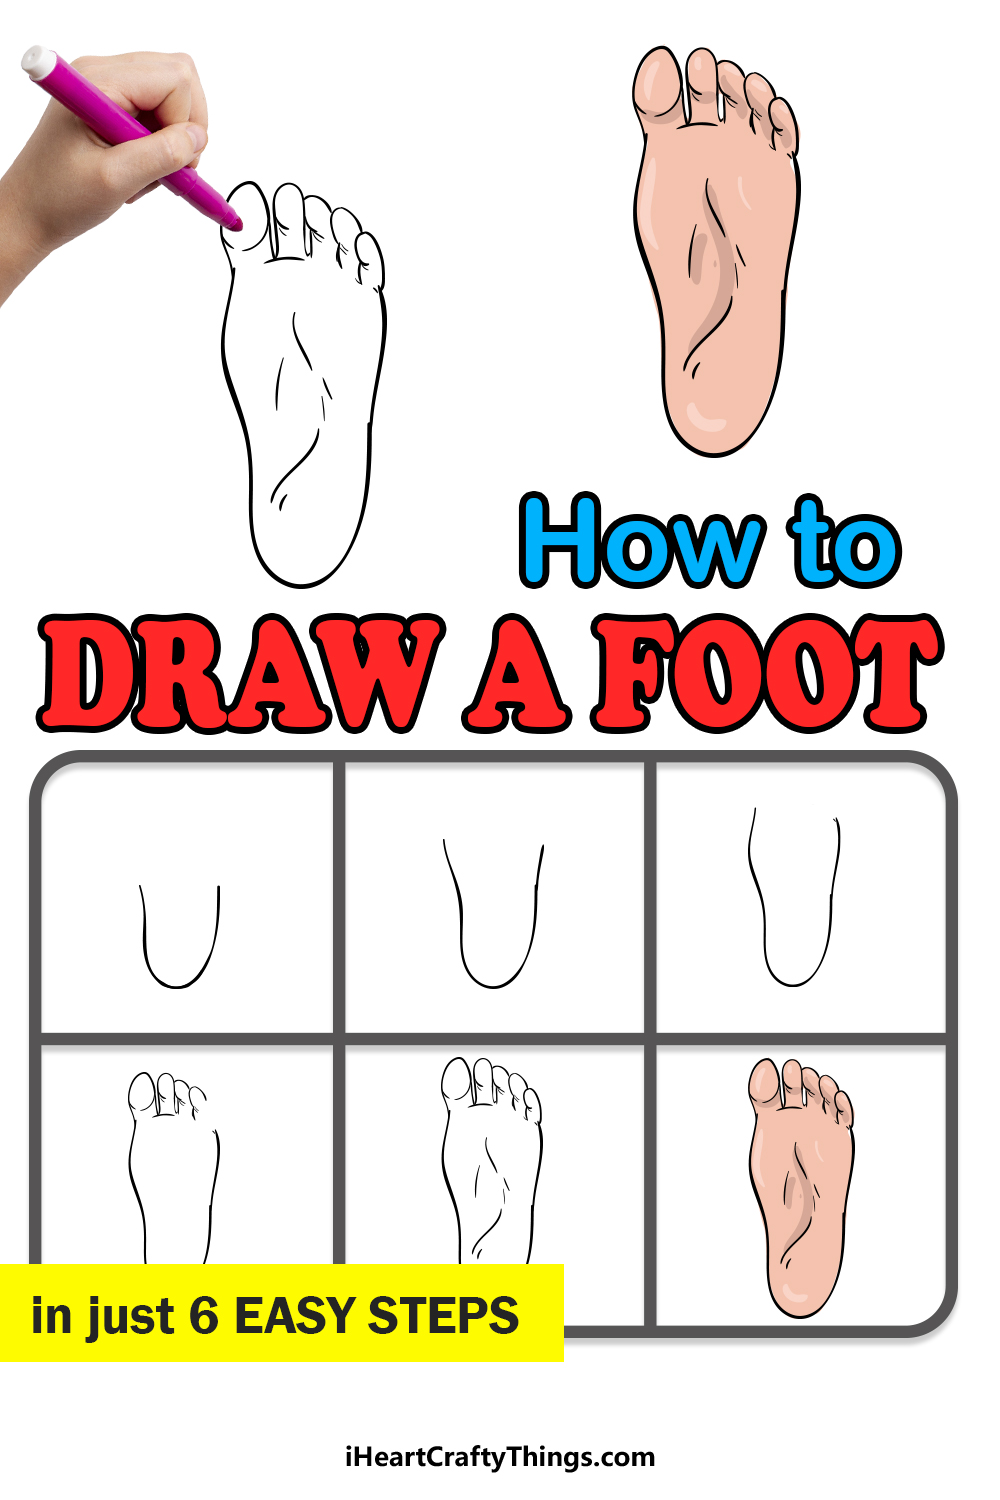
Take your first step toward seeing how to draw a foot! This guide for kids will make it easy for anyone to make this drawing.
Until you’ve tried to do it, you may assume that drawing a foot would be as easy as anything. After all, we all have feet that we can consult and we see them every day.
It’s not as easy as all that, as you will find that drawing any part of the human body presents challenges. It’s because we’re so familiar with these things that it becomes difficult, as we can spot when it doesn’t look right even a little bit.
This guide will walk you through each step of the design and I will explain how to depict all of the details. Once you finish it, you could reverse the process in order to make the other foot as well!
Watch This To See How To Make Your Foot Drawing
How to Draw A Foot – Let’s get Started!
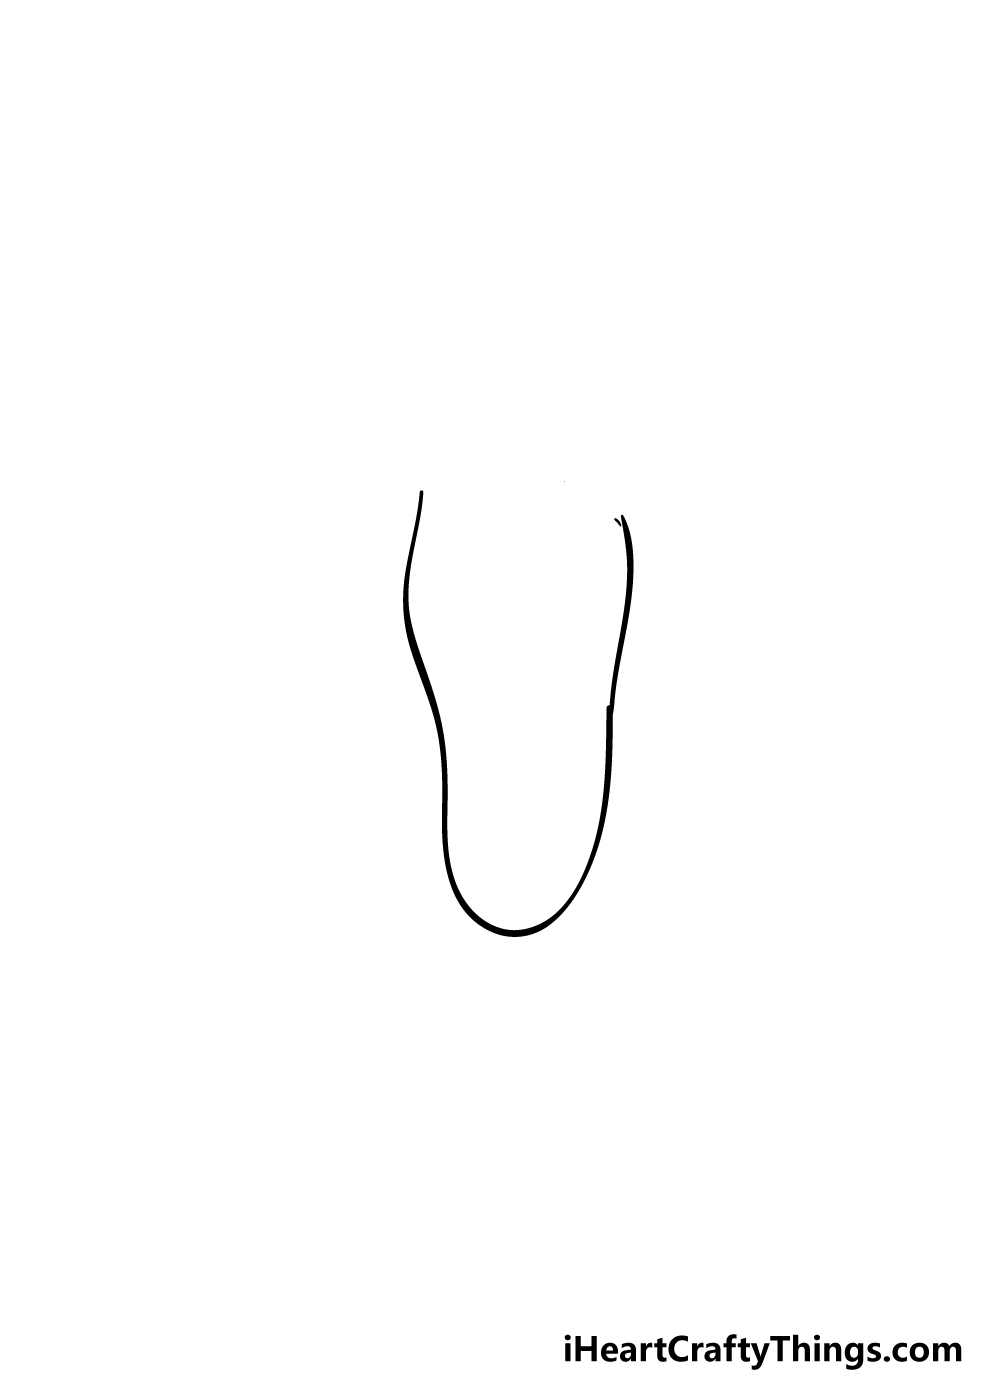
Step 1

To kick off this guide on how to draw a foot, we shall start with the heel of the foot. This will be drawn using a simple curved line like the one that you can see in our reference image.
It will be curving slightly to the left, as this is the left foot seen from the bottom. Once you have the heel drawn, we can add more on to it in the next step.
Step 2 – Keep adding to the foot in this step

This part of your foot drawing will be simple yet important! We shall be drawing the middle section of the foot for this part, and it will be very helpful to refer closely to the reference picture as you draw.
As you draw these lines up, they will curve outwards slightly, which we will be adding to in the next few steps.
That’s all there is to it for this step!
Step 3 – Now, draw the top of the foot
We will be working on adding the top of the foot in this third step of our guide on how to draw a foot.
To do this, you can continue on from the lines that you drew in the previous step and have them curve inwards again.
The line on the left-hand side of the foot will be slightly longer and straighter than the one on the right, so be sure to follow the reference picture as you draw.
Step 4 – Start adding some toes to your foot drawing
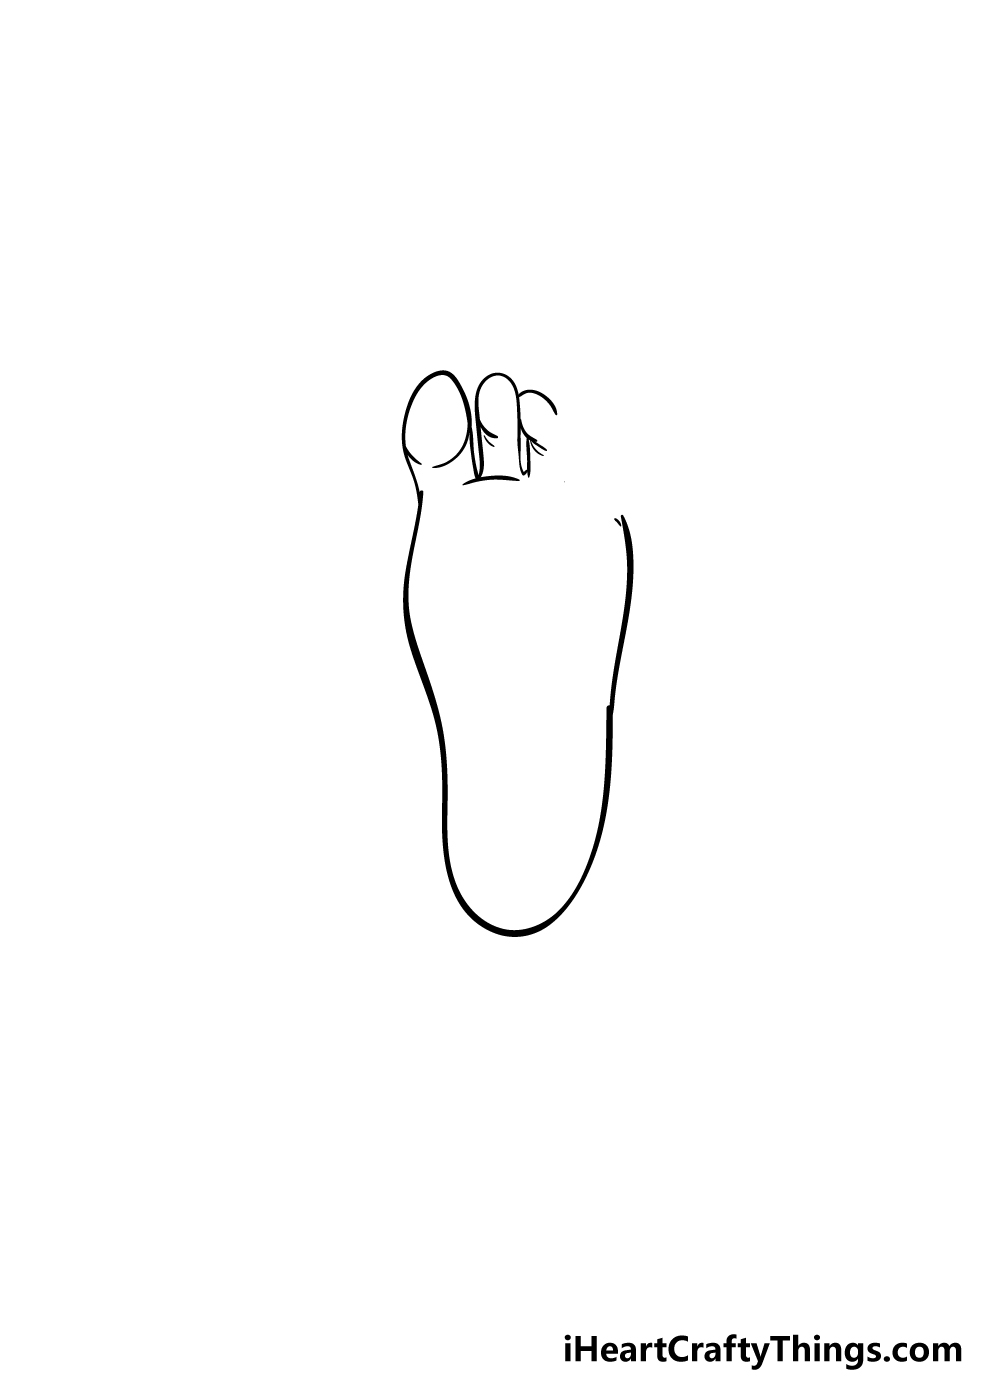
A foot is never complete without some toes, so we shall begin adding some to your foot drawing in this next step.
Starting with the big toe, it will have a base of two small, straight lines. Then for the rounded part, you can draw a shape that looks like an oval with a small gap at the bottom of it.
Then, you can draw a small, curved line from the right-hand line of the big toe that will extend under the next toe.
This next one will be much thinner, and will have two straight lines with a thin oval on top of it.
Finally, the next toe will also have a rounded top, but it will be leaning a bit to the left, as can be seen in our reference picture.
Once you have these toes drawn, we shall add the rest in the next step.
Step 5 – Now, you can add in the rest of the toes and final details
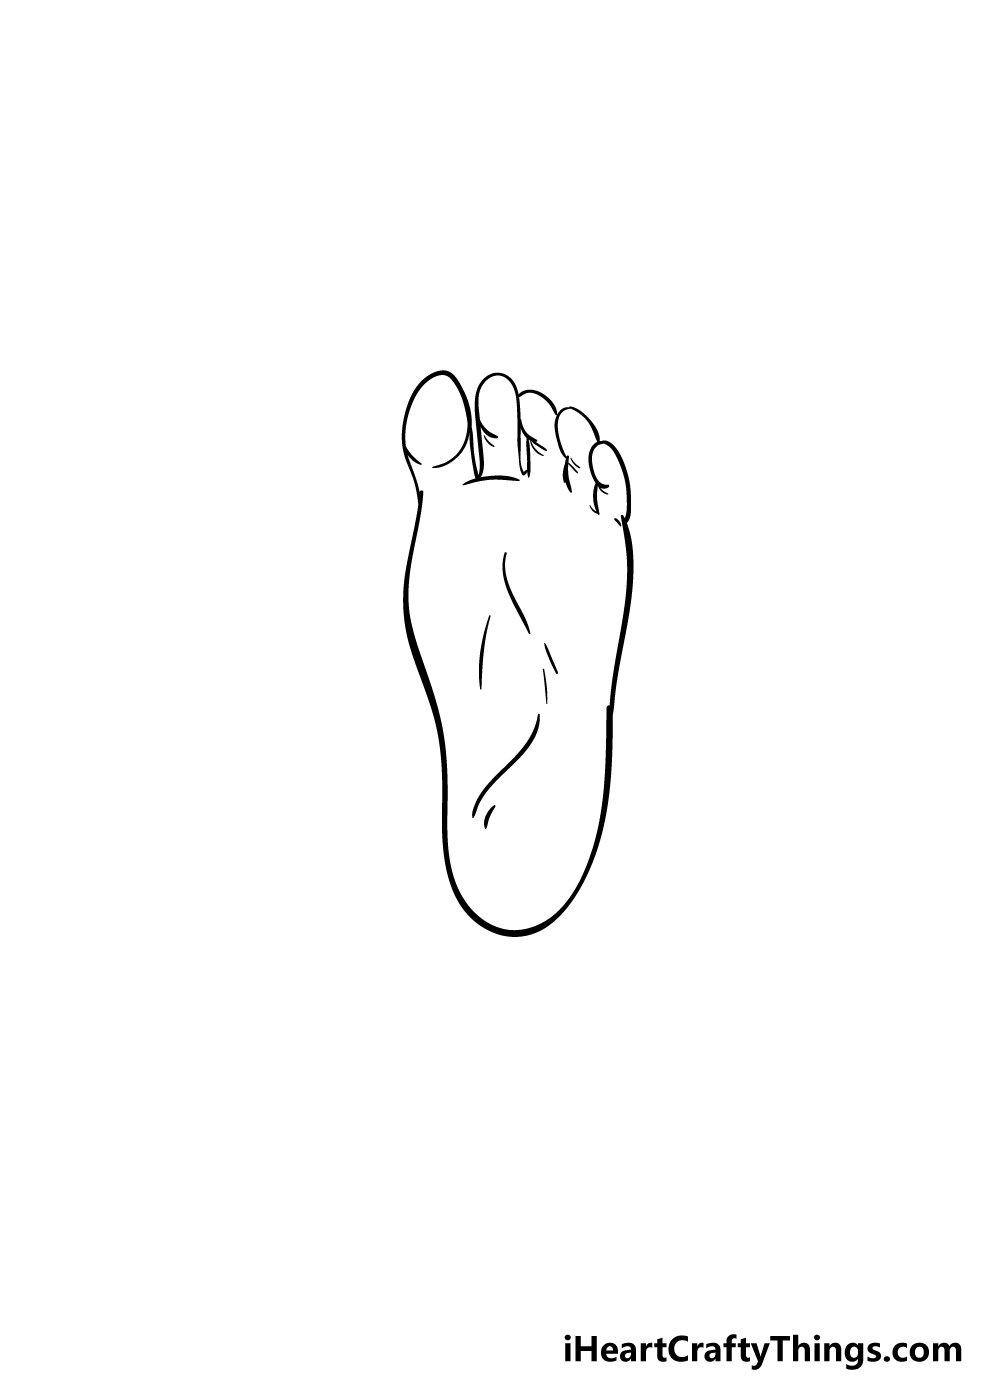
For this part of our guide on how to draw a foot, we shall focus on the remaining toes and final details before moving on to the last step.
The next two toes will look very similar to the more bent one they will be going next to, however each subsequent toe will be a bit smaller than the last.
That will do it for the toes, and the final details will be adding some slightly curved lines underneath the foot as shown in our reference image.
With that, you are ready to move on to the coloring stage of your drawing!
Before you do, feel free to add any of your own details that you would like. One thing you could do would be to reverse all of the images in this guide so that you can draw a matching foot!
You could also remove a few details to make this look like a footprint in the sand. These are just a few ideas, but how many more can you come up with to finish off this foot drawing?
Step 6 – Finish off your foot drawing with some color
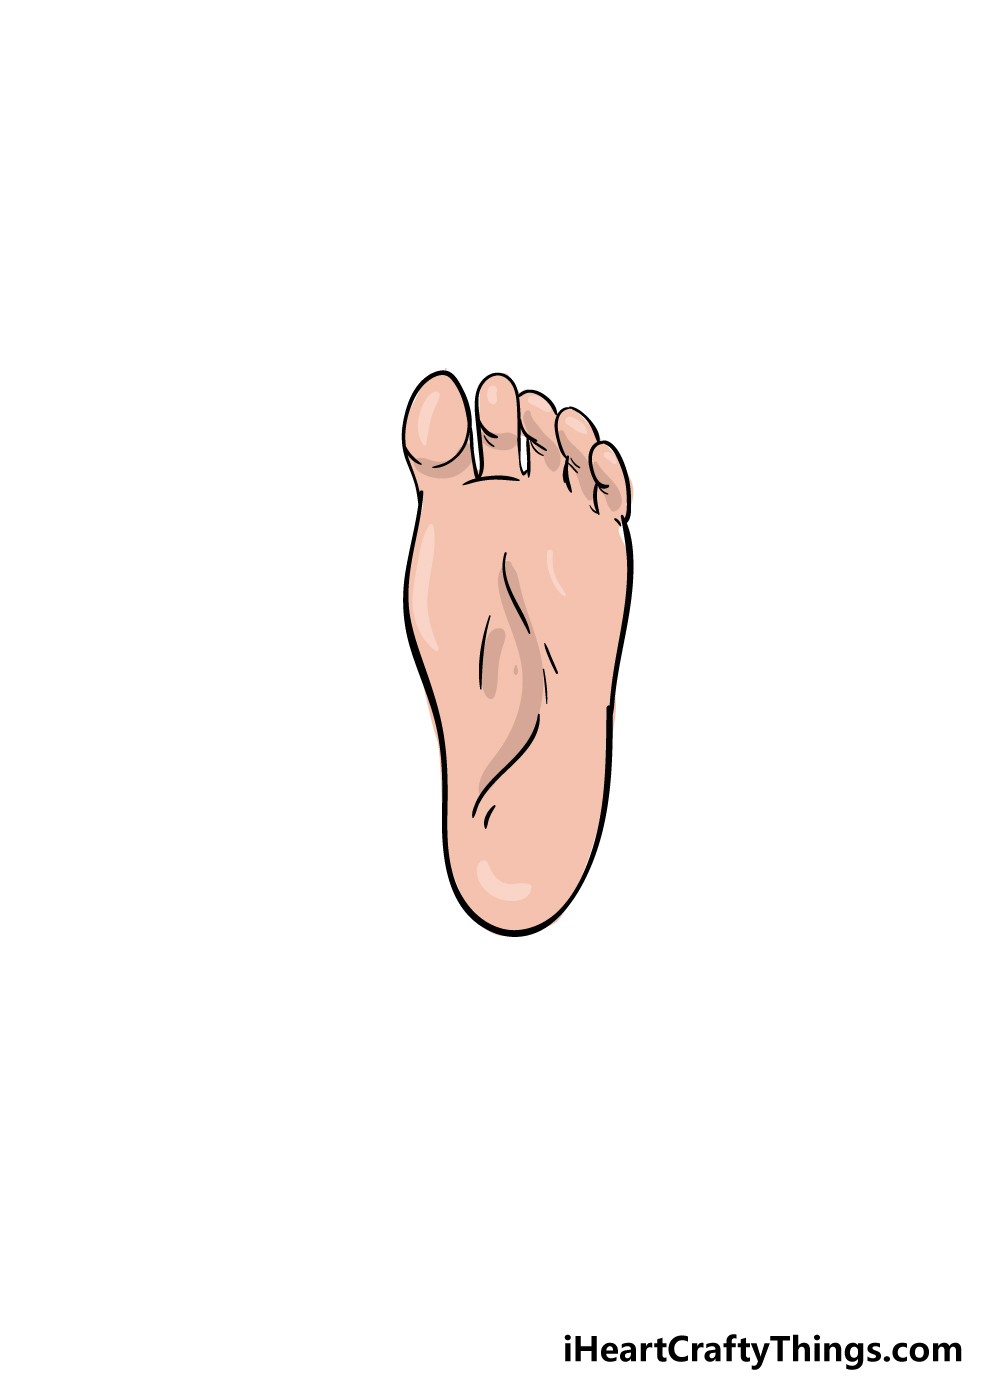
Now that you have completed your foot drawing, you can now have some fun adding some color to it!
You have a lot of options to choose from for how you color it in. You could try to match your own skin tone with your coloring tools to make it look like your own foot, for an idea.
You could also go for a more stylistic look and use some brilliant and bright colors to finish it off.
Another idea would be to draw a tattoo design onto the foot!
These are some of the many approaches you can take, so get creative and show us what you can do!
You can also have some fun choosing some art mediums, from paints like acrylics and watercolors to others like colored pens, pencils and markers.
There are no wrong ways to color in, so let your creativity flow!
3 More tips to make your foot drawing easy!
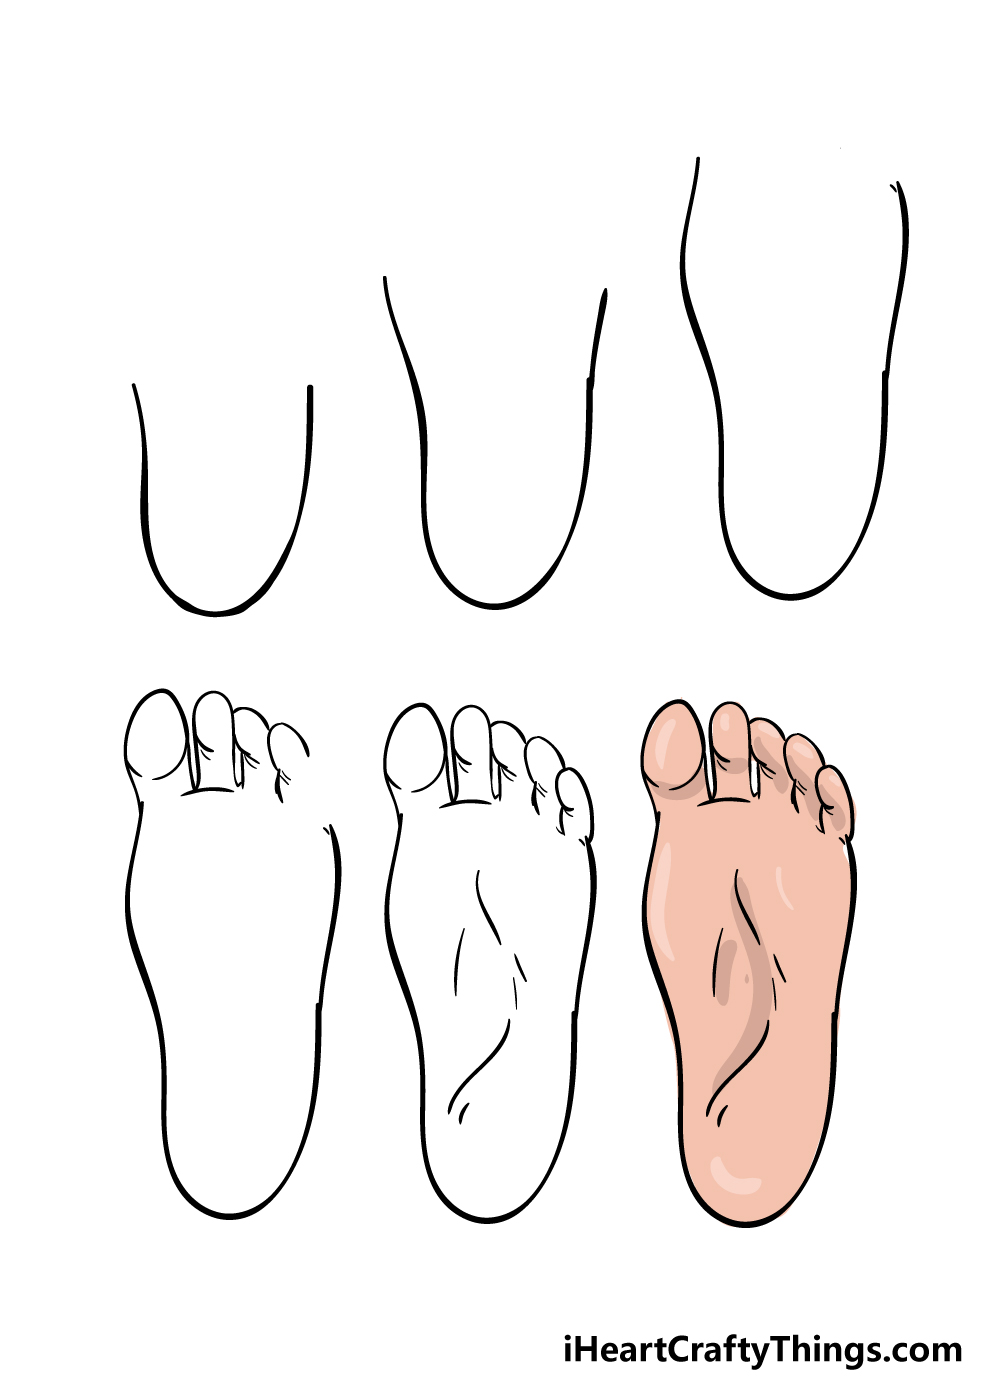
Take 3 more steps as we make this foot sketch even easier than it already was!
This drawing of a foot shows it from the underside of the foot. This is a great view, but there are some tricky details to portray.
If you wanted to make this foot easier to draw, you could try to draw it from a different angle. This could not only make it easier, but it could also result in a more unique picture.
You could use any angle of this foot that you like as long as it would make it simpler or more interesting for you to draw.
Another way that you could make this foot drawing easy would be by changing the style of the drawing entirely. Right now, the one we created is a mix between being detailed and cartoony.
You could make it lean more to either end of that spectrum depending on your own preferences for drawing.
If you like to draw in a more stylistic, cartoon style then you could adapt this foot to suit that style.
If you would be more comfortable drawing it in an even more realistic style then you could do that as well. It’s all about playing to your strengths, and you can use what you’re comfortable working with.
What is a style you could use to make it easier?
Finally, if you want to keep this foot sketch as it appears in our reference image, you could look up other images to help make it easier. When it comes to drawing, the more references you use the better!
You could look up various images and diagrams of a foot’s underside to help you. Otherwise, you have the perfect models at the ends of your shins!
Looking at your own feet while you draw would be tricky, so you could get someone to photograph the undersides of your feet so that you can use them as a reference.
Or, you could get a friend or a family member to pose their feet for you to use.
Your Foot Drawing is Complete!
You have reached the end of our step-by-step guide on how to draw a foot, and you should be very proud of this accomplishment!
If you follow the steps in this guide, try your best and take it slow, we’re sure you’ll find that drawing a foot can be as easy as counting toes! We also really hope that you had a lot of fun working with us on this tutorial.
Now you can get creative with it and personalize your foot drawing with some extra details, a background or with the incredible colors and art mediums that you use!
The possibilities are endless and we can’t wait to see what you do.
We have so many amazing drawing guides on our website, and we hope you will visit us there for more fun! We also upload new guides all the time, so be sure to check in often!
Once you have completed your foot drawing, we would love to see it! You can show us your artwork by sharing it on our Facebook and Pinterest pages.