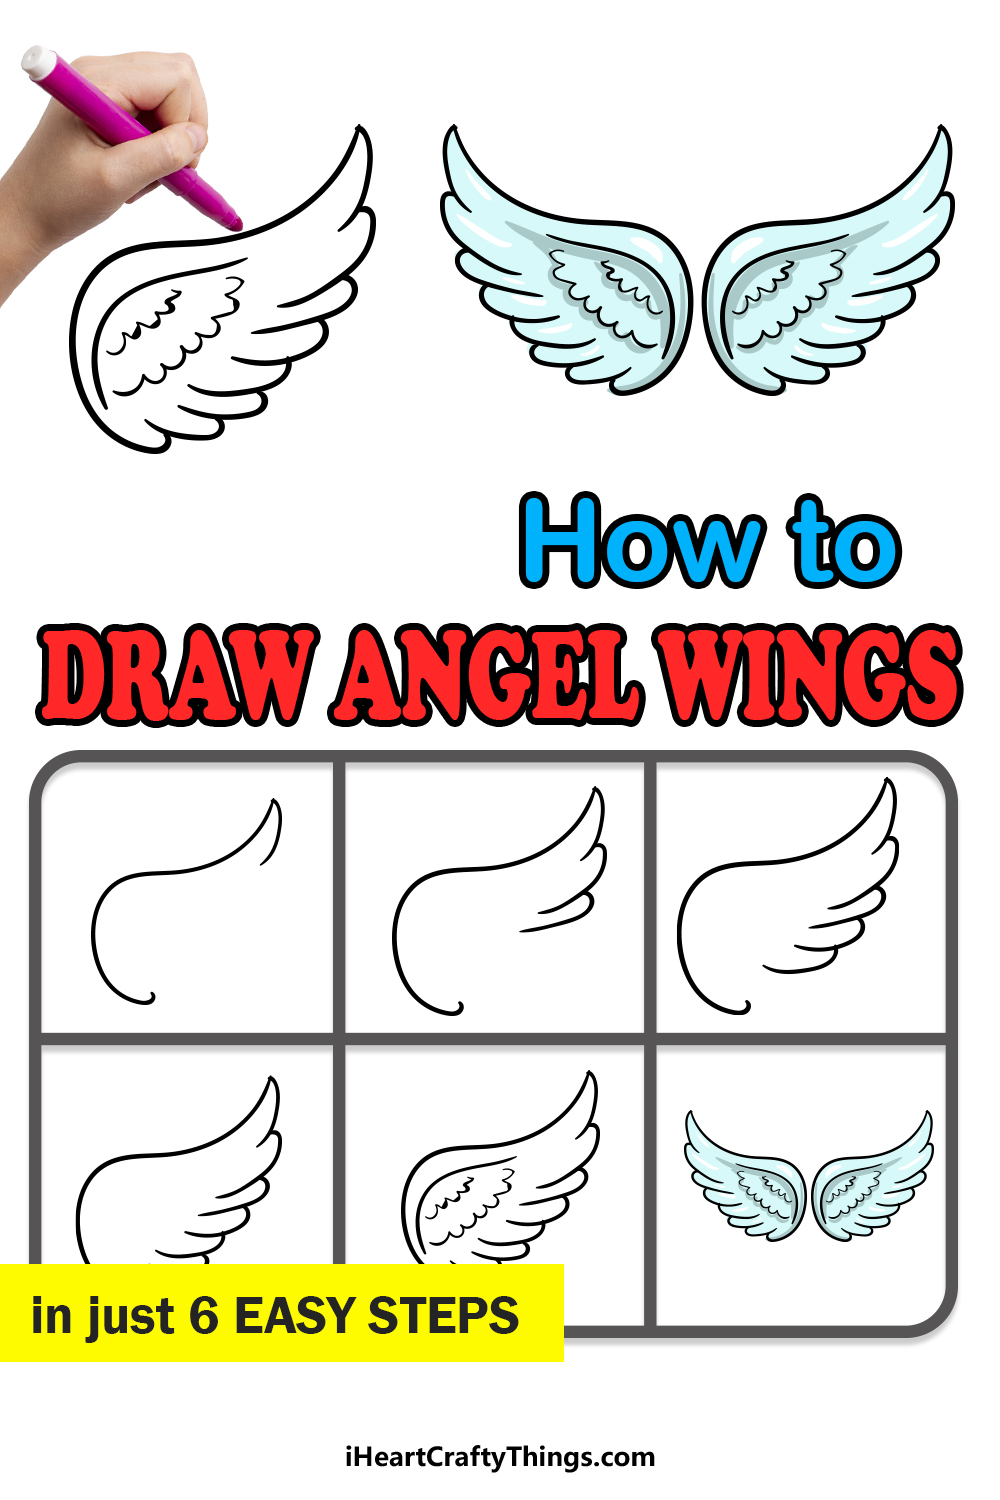
Angels play a huge role in various cultures, religions and myths throughout the world.
These heavenly beings are known to be guardians, to provide comfort and are often associated with holidays such as Christmas.
Angels also have been richly represented in various art forms, from classic Renaissance paintings to portrayals in film and literature.
These various representations have created a common representation of angels as majestic beings with large wings.
This last element can be especially difficult, leaving many people to wonder how to draw angel wings.
This step-by-step guide on how to draw angel wings will have you creating your own beautiful angels in no time!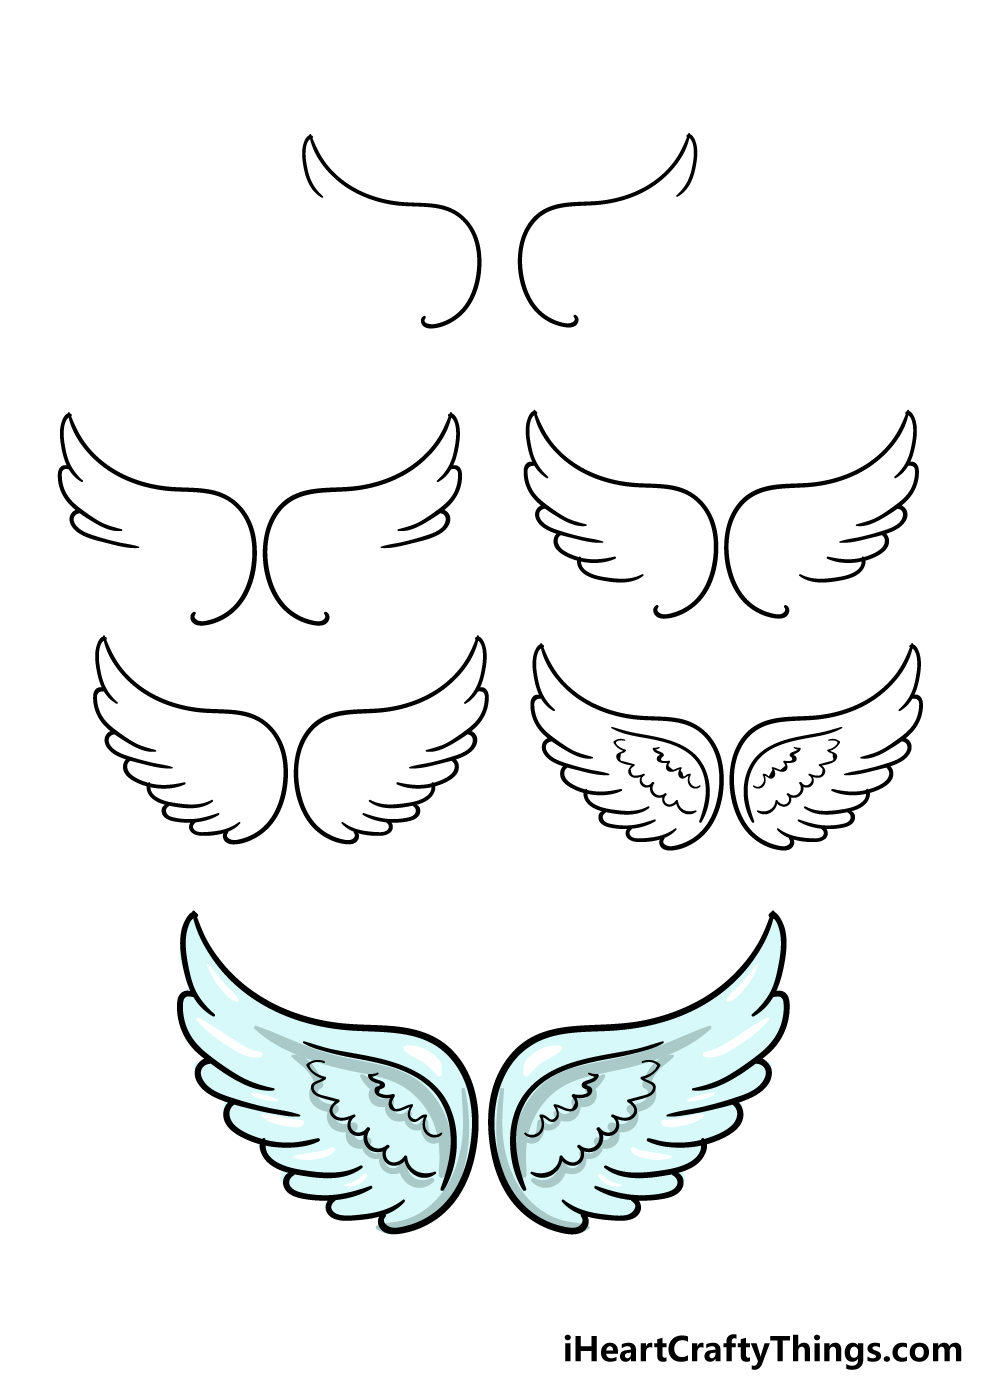
Easy Angel Wings Drawing Video Tutorial for Kids
How to Draw Angel Wings – Let’s Get Started!
Step 1

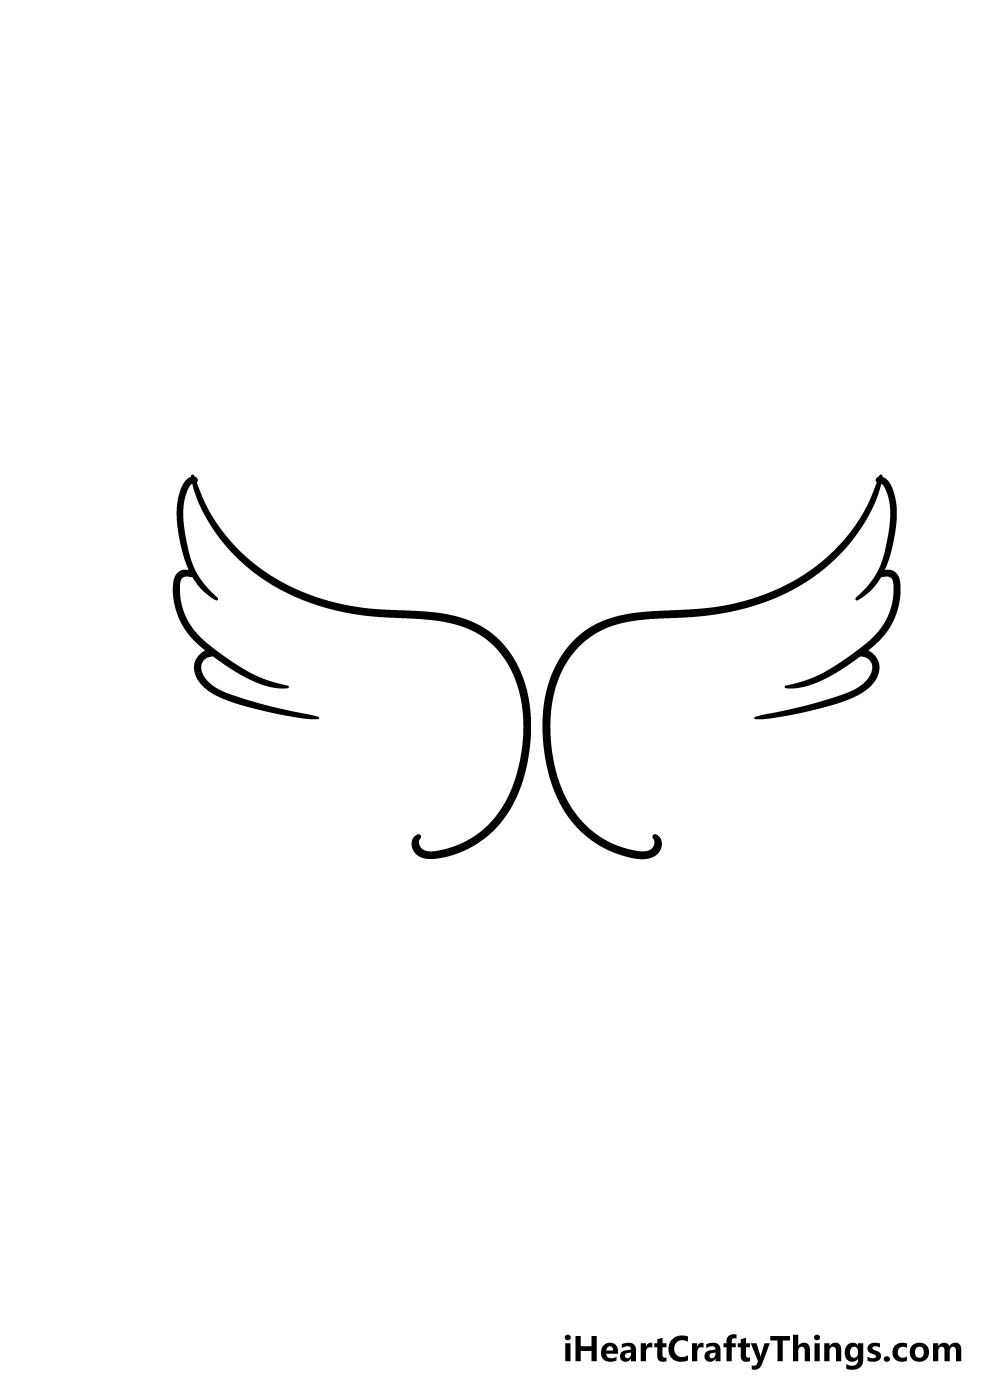
For the first step of this guide on how to draw angel wings, we shall be starting with the outline of the wings.
When drawing these angel wings, try to think of them as large dove wings. To start drawing, simply draw some curved, rounded lines with sharp points at the end to start creating the outline of the angel wings.
If you find yourself struggling with this step, you could use a pencil for now while following the reference image closely. Then, you could go over it with a pen when you’re happy with it!
Step 2 – Draw some feathers for your angel wings drawing
Wings are always better and more effective with some feathers on them, so let’s add some to your angel wings drawing in this next step! To do this, you can keep adding on to the outlines that you drew in the previous step.
The feathers will curve sharply back into the interior of the wings, as you can see it in the reference image. When drawing the feathers of the two wings, try your best to keep them looking symmetrical as best you can.
Step 3 – Now, continue adding feathers to the wings
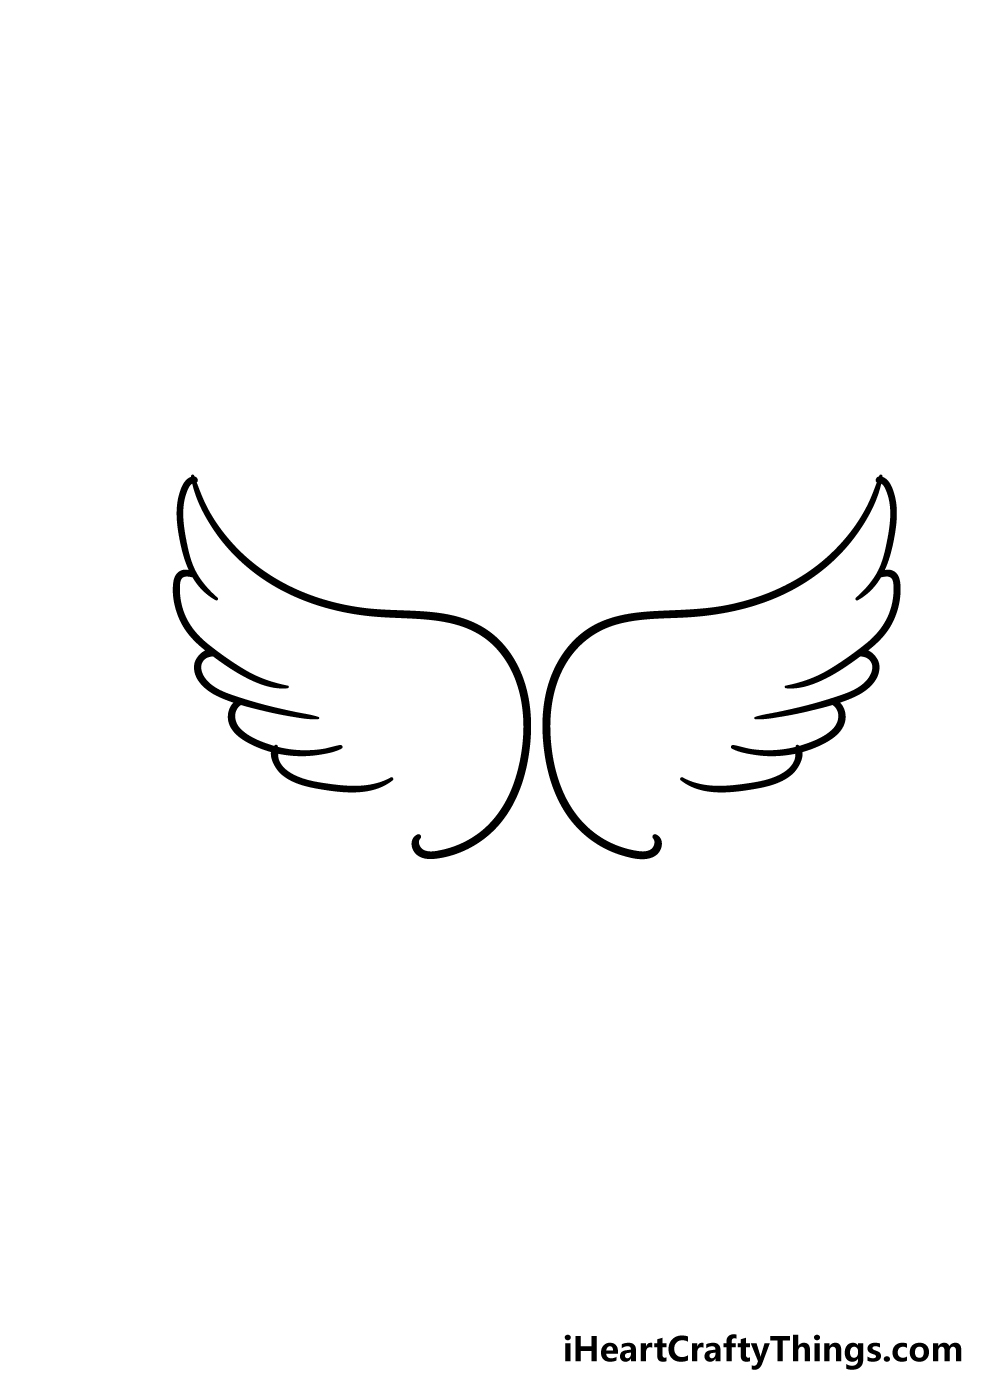
You’re getting the hang of the feathers portion of your drawing now, so we shall continue adding some more in this next step of our guide on how to draw angel wings.
Simply draw two more feathers on each wing using some more of those curved lines that you’ve been drawing.
There should only be a small gap left at the bottom, which we will be filling in shortly.
Step 4 – Add the final feathers to the wings
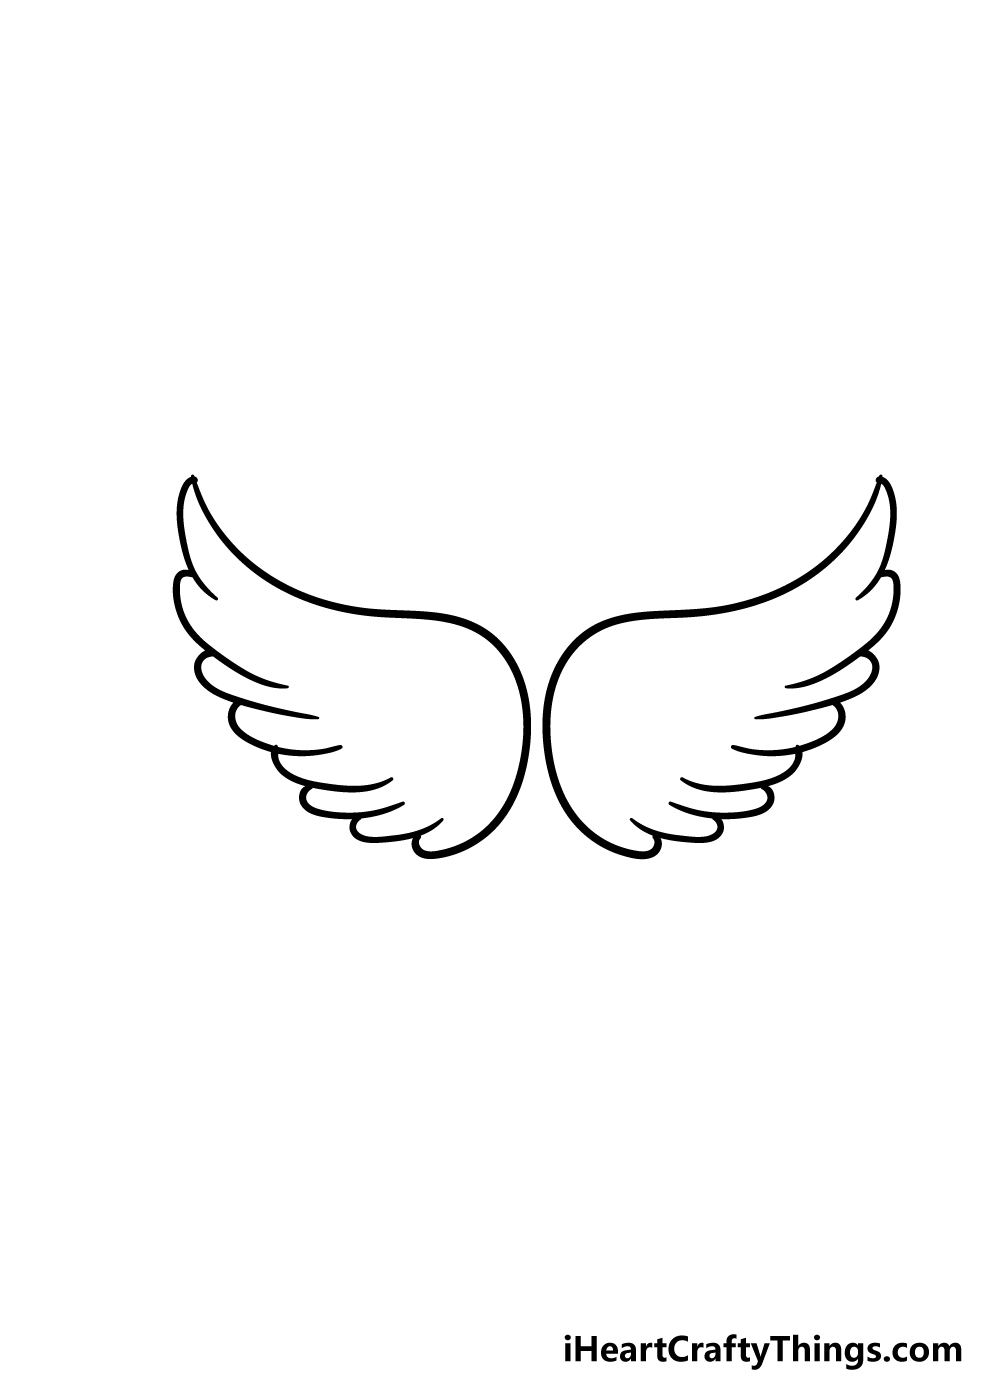
We mentioned the gap at the bottom of the wings in the previous step, and as promised we shall fill them in for this part of your angel wings drawing!
Simply draw two more curved lines to add the final rows of flowers to the wings. Once you have filled in all the feathers, you’re ready for the final details!
Step 5 – Now, you can draw the final feathery details
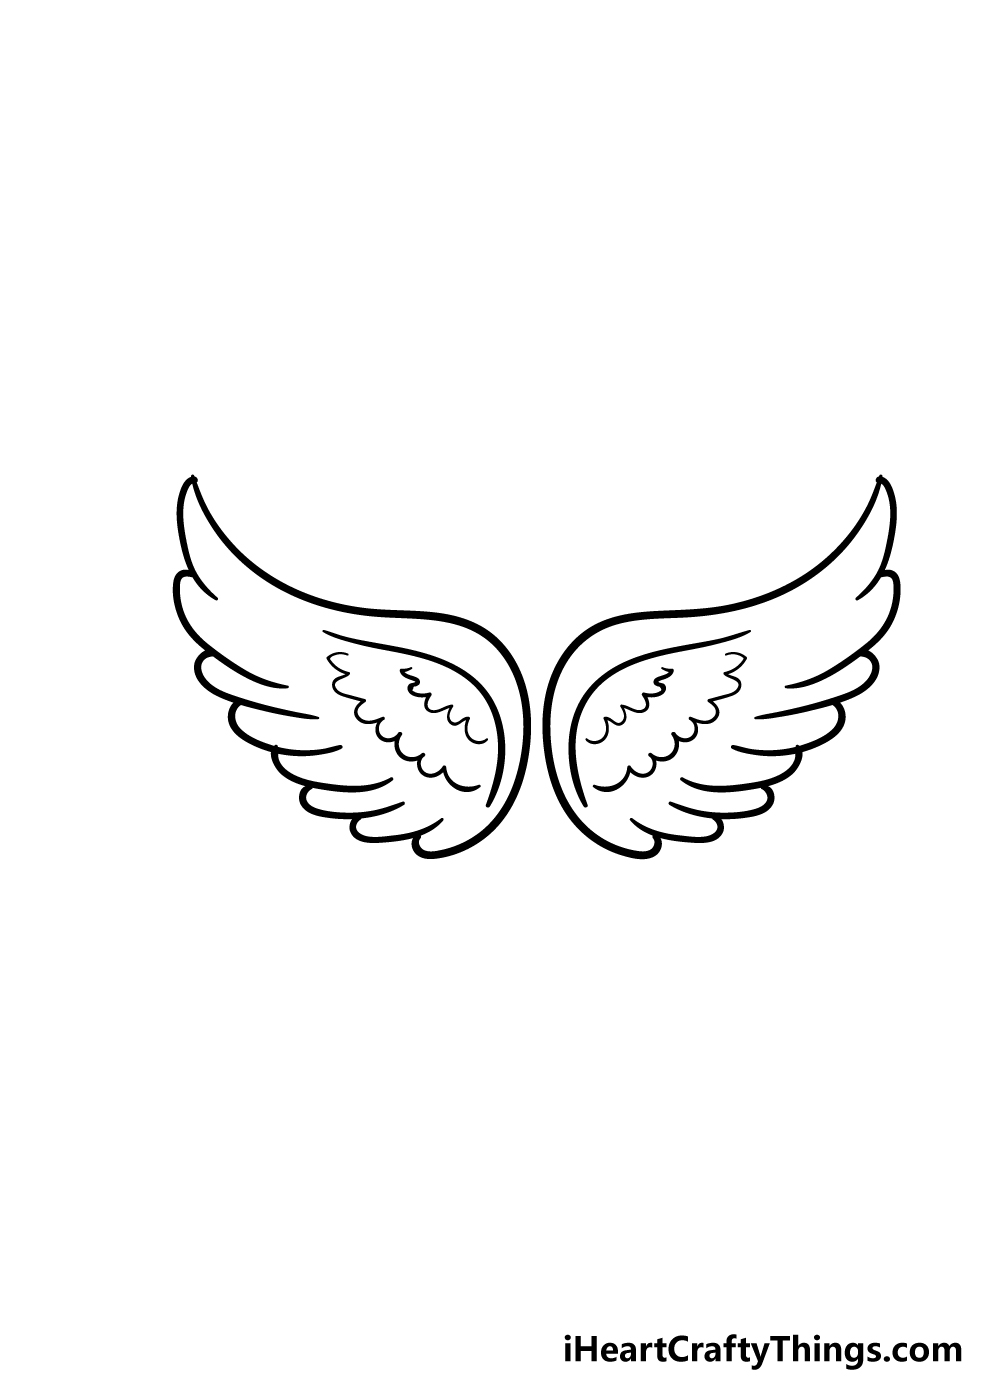
Before we move on to the colors for your angel wings drawing, we have a few more details to add to the interior of the wings.
Simply draw a curved line inside the wing interiors, and then add some small, curvy lines underneath them for even more of a feathery effect.
And with that, you are ready to move on to the next step! Before you do, however, be sure to add any extra details that you would love for your drawing!
If you’re feeling extra creative, you could draw the body of the angel between the wings. Another way that you could personalize this drawing would be to draw a beautiful background.
Maybe there could be some big, puffy golden clouds as a backdrop to your angel wings!
How will you finish off this drawing before moving on to the final step of this guide on how to draw angel wings?
Bonus: Try Out Some Crafts To Make These Angel Wings Even More Heavenly
We’re about to finish off this drawing of angel wings with some colors, but before we add them we wanted to give you some ideas regarding some crafts that could be used to make it look even better.
These crafts could be used along with more traditional coloring methods, or you could use them to color the wings entirely! Let’s look at some of the ideas you could use.
One would be to use some fake feathers. You can buy these at some art and craft stores, and you will have a bag of fluffy white feathers to use.
Once you have these feathers, you can use some glue to stick them to the wings, making a 3D look. This should be done fairly carefully, as it can look a bit chaotic and messy if you stick them haphazardly.
If done right, it would look like a real bird or angel wings, and it can be super effective! When we think of angels, we often think of glowing light, and this could be portrayed in a few ways.
You could use some transparent gold craft paper and then cut it into columns to come from the wings, making them look like shafts of light. Another easy way to do it would be to spread a thin layer of glue and sprinkle glitter over it.
This would make the wings sparkle and shine, creating an angelic effect in a subtle way! These are just a few of the crafts that you could use, but feel free to use anything else.
The more creative you get, the more unique it will be! For now, we will cover how you can color it in more conventionally in the next step.
Step 6 – Finish off your angel wings drawing with some color
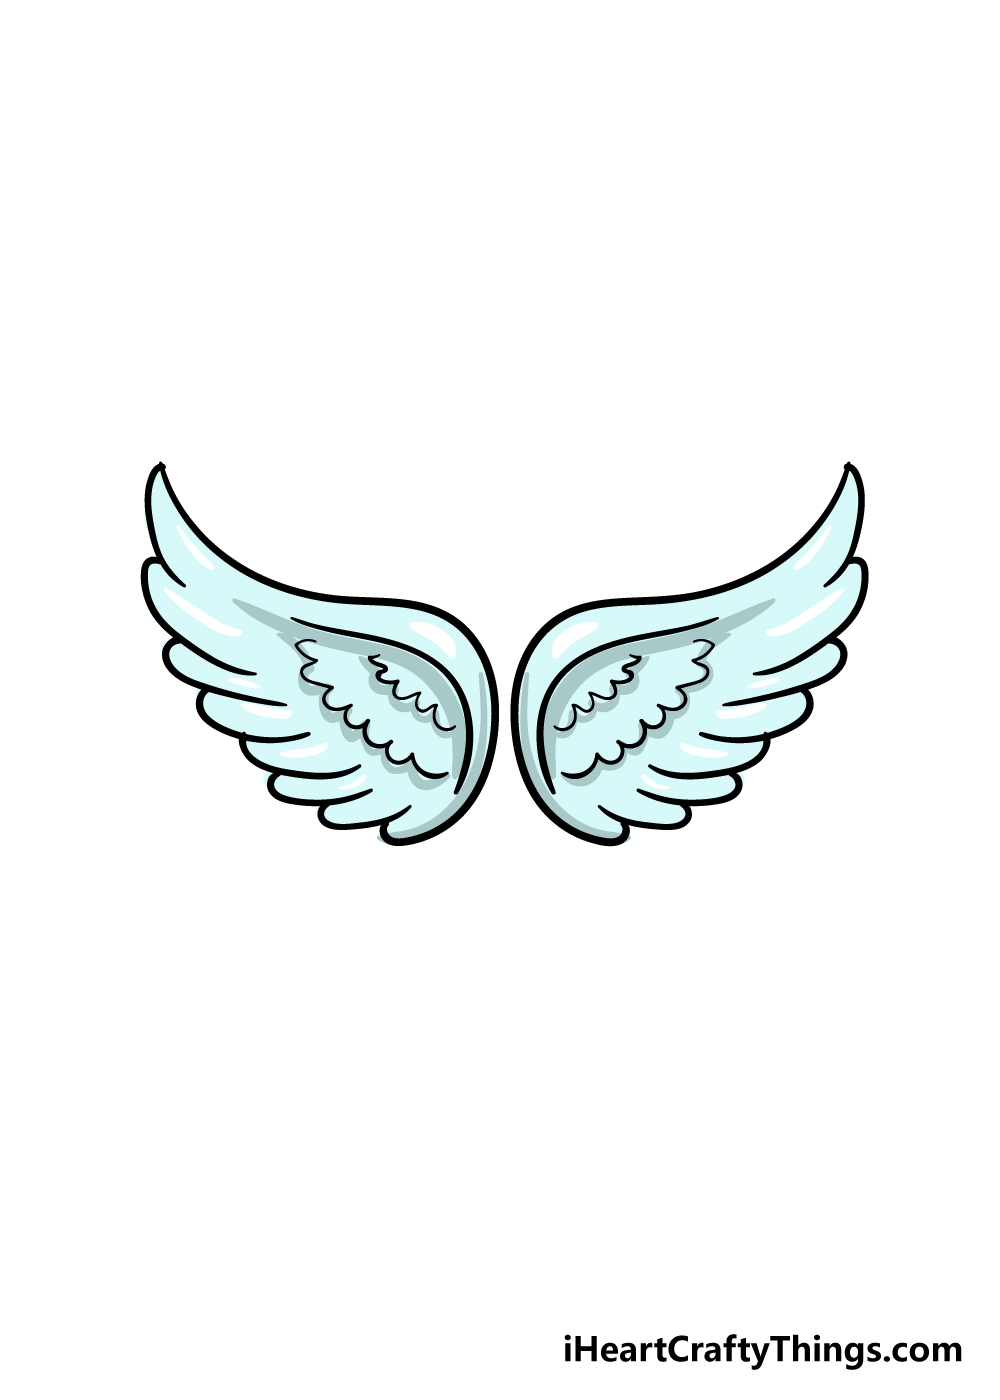
Now that you have finished up your angel wings, added the last details and added any elements that you would like, you can kick back with some coloring fun!
We used a nice, mild blue for the wings in our reference image, however for this step you should use any colors that you love. This is your drawing, so how you finish it is up to you!
You could go for some lovely bright gold and yellow for this image, keep the colors a bit more muted or go for bright rainbow colors to really make it pop.
These are just a few ideas out of many that you could go for, so be sure to let your imagination run wild!
When coloring in, remember that choosing colors is just half of the process. You can also create wonderful looks and styles for your drawing with the art mediums that you use.
If you want to go for a bright look, you could use some acrylic paints or colored pens to make the colors pop!
If you prefer a more muted look, then something like watercolors or colored pencils would be the way to go.
If you’re feeling extra crafty then perhaps you could even incorporate some gold glitter to make it sparkle!
5 Ways To Make Your Angel Wings Drawing Unique
Learn how you can make this angel wings drawing even more heavenly with these 5 tips!
- Add an Angel Between the Wings. These angel wings already look beautiful, but imagine if they were connected to an angel! This is the first suggestion we have for this angel wings sketch, as you could draw an angel design between the two wings.You could go for a really classic design for the angel, but you could also try something fun like making it look like you or someone you know! This is just one way to make it look even more stunning.
- Extend the Wings with More Feathers. Next, we think that this design could look really pretty if the wings were made a bit larger. You could do this by drawing more feathers poking out to extend them and give them an even more impressive wingspan.
- Enhance the Interior with Feather Details. As for the interior, if you’re happy with the size of the wings, you could focus on adding some more minor feather texture details inside. These additions may seem small and simple, but they can really take these wings to a new level!
- Create a Heavenly Background. So far, we have spoken about adding an angel body and some extra feathers for the wings of this angel wings drawing, and now we will cover adding a background. If you were to add a background, you could create a heavenly scene by drawing lots of puffy clouds and a shining sun behind the wings.This would be such a stunning background, but maybe you can think of a few other ideas you could do instead.
- Draw Angel Wings on a Person. You could also draw angel wings on a person to make your artwork more dynamic and meaningful. This can add an extra layer of personality and creativity to your design, especially if you base the person on yourself or someone you know.
This drawing of angel wings is looking great now that you’ve followed the guide and tried out some of these tips, and now we will finish off with some color. Different mediums can be great for different looks, and we think softer colors would be perfect for this heavenly scene. If you agree, then some watercolor paints would create a lovely soft look for this picture that we think would be perfect. What will you choose as you add more color to the brilliant image you have created?
Your Angel Wings Drawing is Complete!
That brings us to the end of this guide on how to draw angel wings. You set out with the goal of learning to draw some beautiful wings, and you have certainly achieved that goal!
We created this guide to show you how to make this drawing easy and enjoyable to work through, so we hope that you had a great time while working on it.
Now that you have finished drawing your angel wings, it is your turn to take over and show us your creativity.
You could do this with anything from a beautiful background, to something like an earlier suggestion of drawing a body for the angel.
These ideas along with the colors you use are just a few that you could use to rally make this drawing your own!
Please be sure to check out our website to see all of the awesome step-by-step drawing guides we have for you!
We upload new guides constantly, so make sure to check in often to make sure you never miss out.
We are very curious to see how you completed your amazing angel wings drawing, so once it is done we hope that you will share it on our Facebook and Pinterest pages!
We can’t wait to see what incredible creativity you have to show us.
Here Is A Cute Angel Wings Drawing To Inspire You!
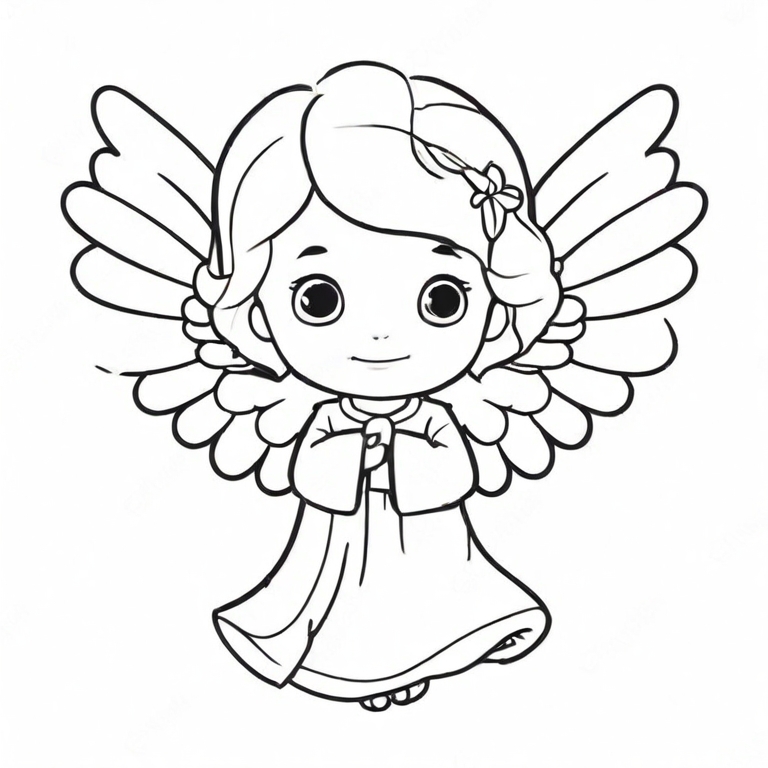
This picture drawn by our artist Amanda really captures the beauty and elegance of a classic angel. She has crafted this cute angel wings drawing for kids to give you something to aim for.
Now that you can see how this drawing can look when it’s done, you have an end goal in mind and can even add your own details.
While the focus is on the angel wings, we also get a good look at the angel character.
You’ll see that the wings have been separated into long, thin sections to represent the individual feathers of the wings.
You could even add some more of these sections if you want them to look thicker.
So many ways to customize this drawing! We’re sure you will do an amazing job no matter what you choose to do for it.