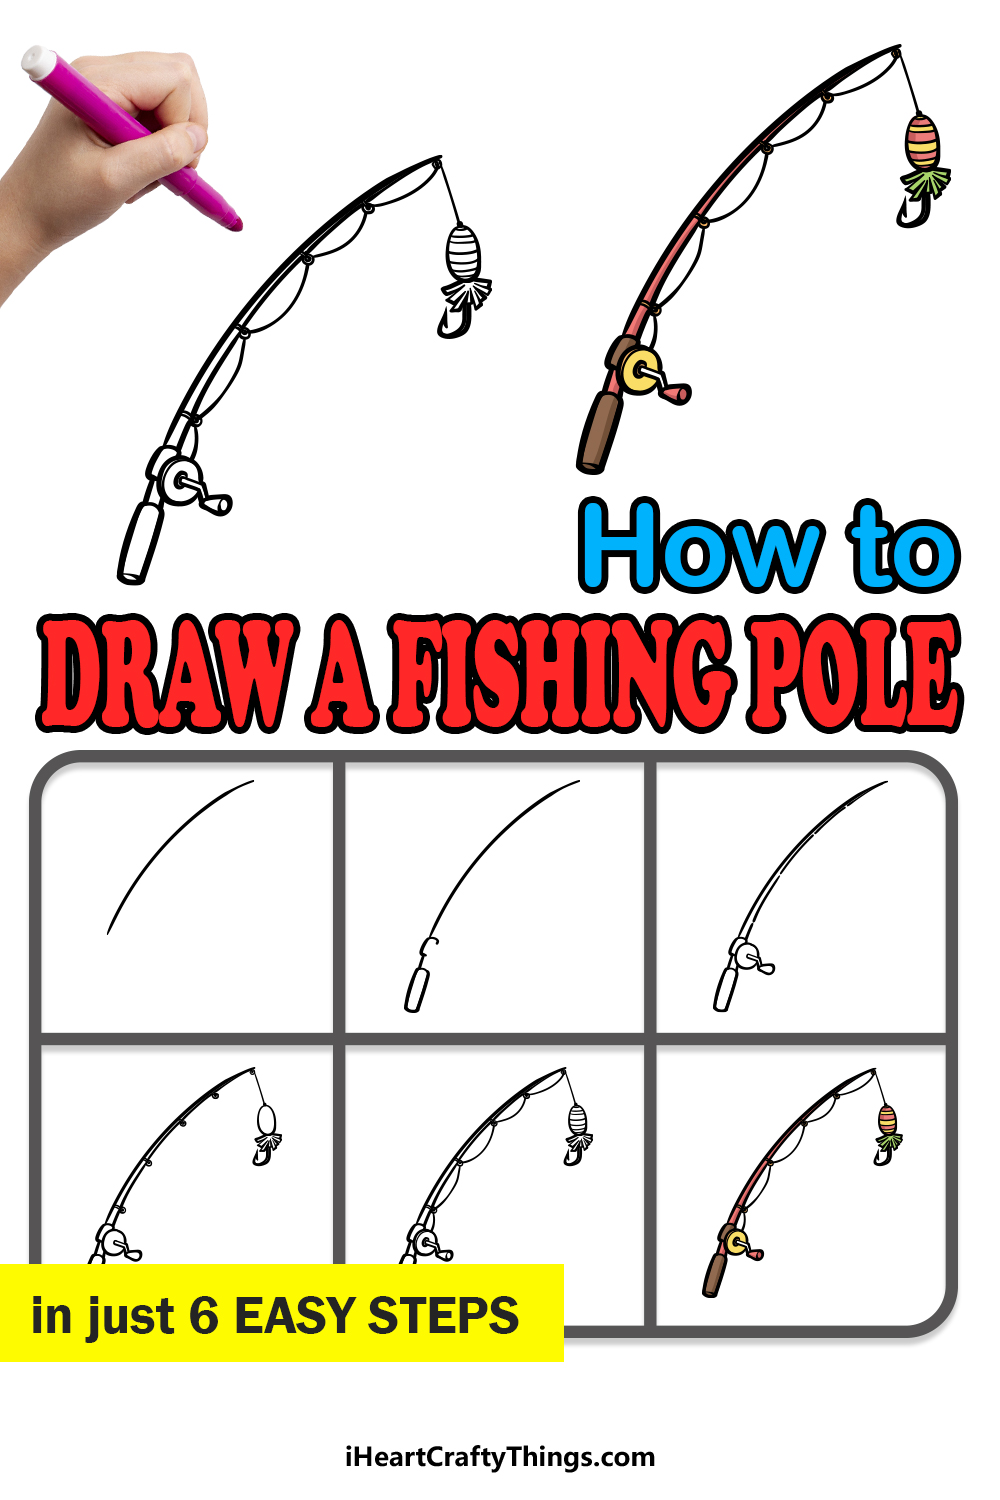
Fishing is one of the most relaxing ways to spend an afternoon. There are many different environments and locales where you can set up your gear, cast your line and see what happens.
There are also many different fishing poles that you can use, and different varieties can serve different purposes.
It’s hard to find something as fun and relaxing as fishing, but learning how to draw a fishing pole comes close!
If you would like to know how to recreate this tool, then you’re in the right place. Even though fishing poles are simple in their structure, there are still challenges presented when learning how to draw one.
This step-by-step guide on how to draw a fishing pole will show you everything there is to know about drawing one with ease!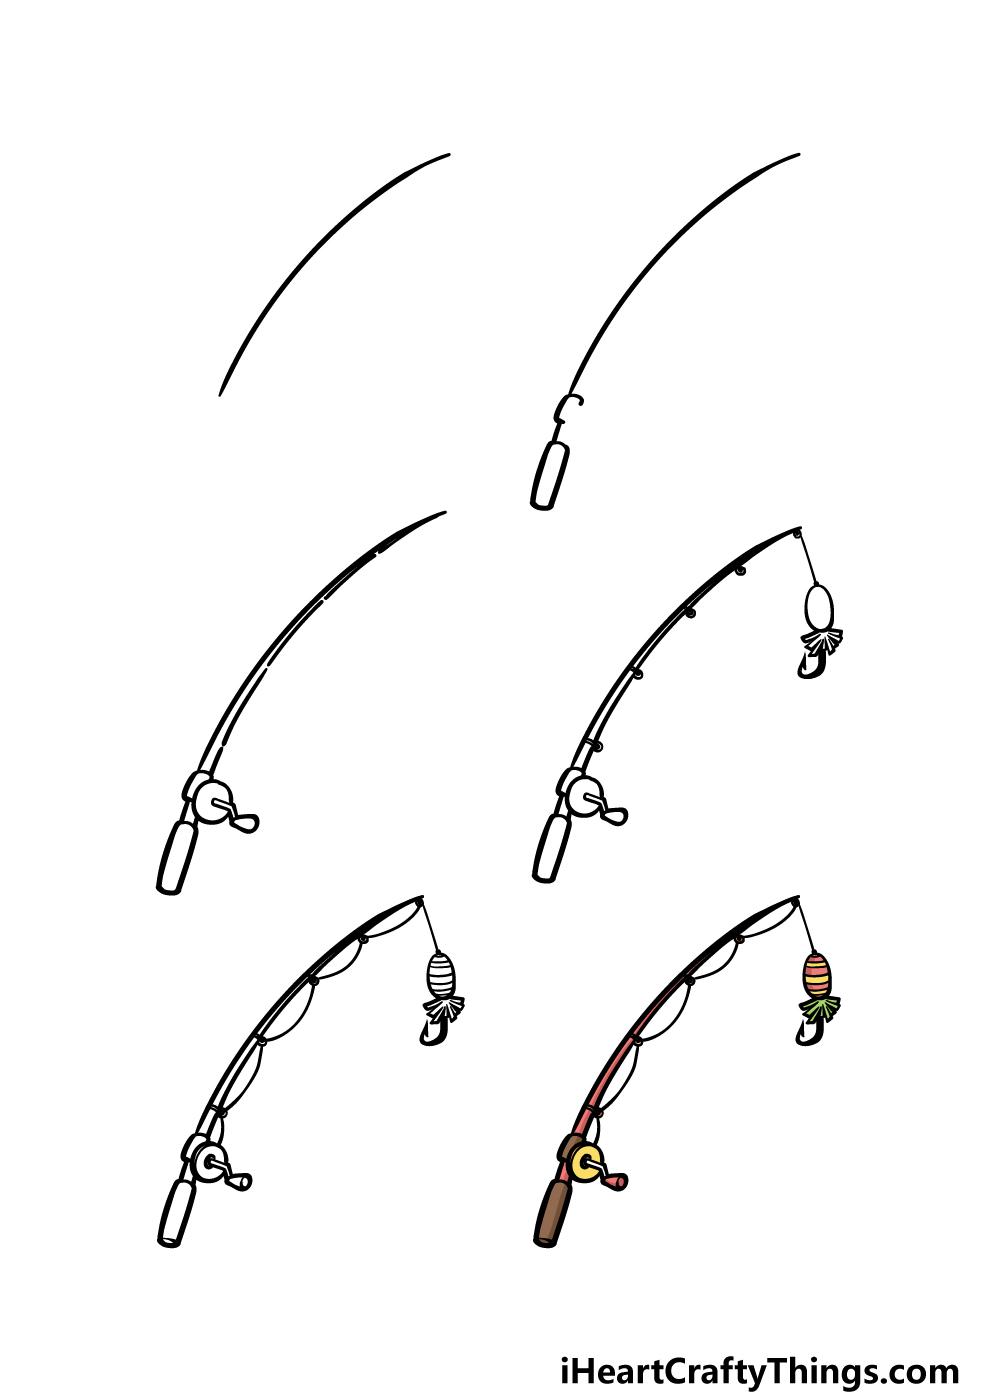
How to Draw A Fishing pole – Let’s Get Started!
Step 1
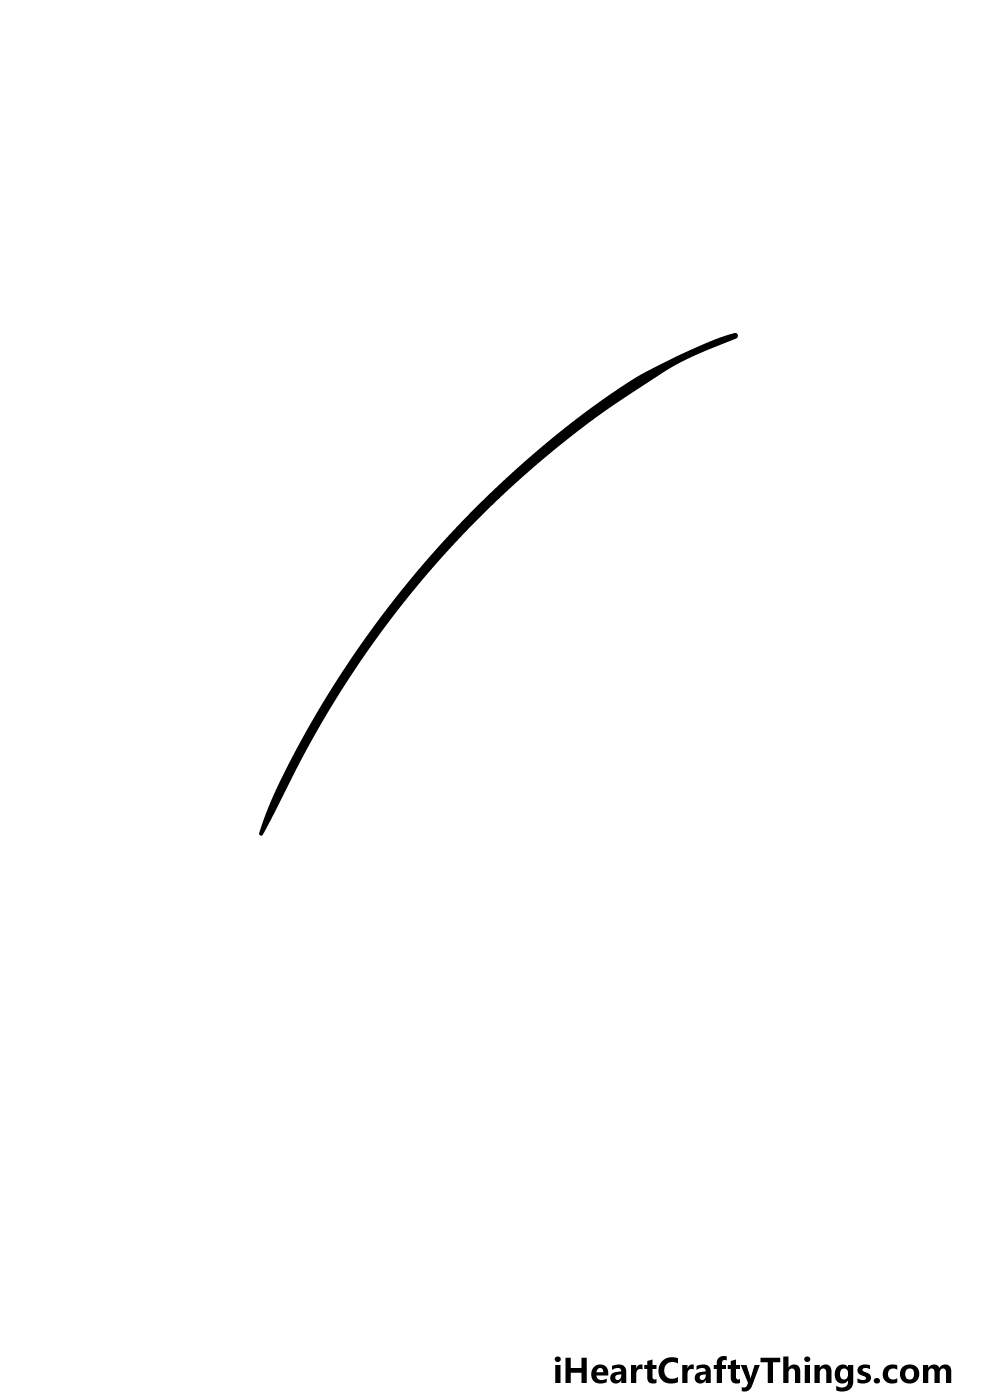
We will keep things nice and simple for this first step of our guide on how to draw a fishing pole.
As we mentioned in the introduction, drawing even simple objects like a fishing pole can be surprisingly tricky, so the best way to avoid this is by breaking it down into smaller steps.
For this first part, we will be drawing the start of the outline for the rod portion of the fishing pole. To do this, all you need to do is draw a smooth, slightly curved line.
If you will be showing that this fishing pole has caught a fish, then you may want to draw the line at a sharper curve. Once you have drawn this, we can continue to step 2!
Step 2 – Now, draw the start of the handle and reel
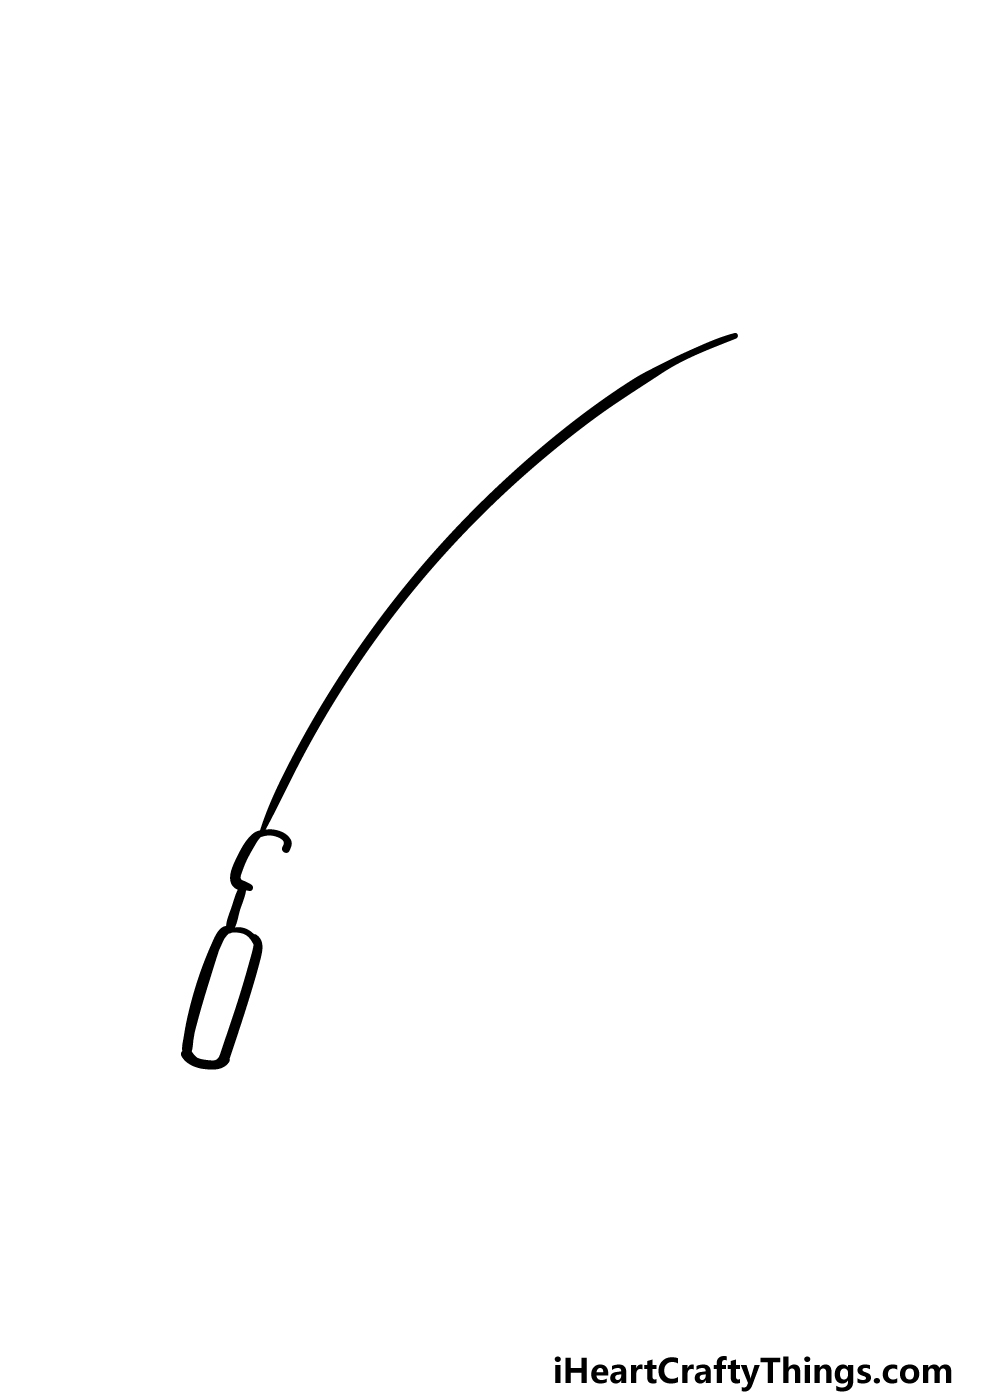
Before you start drawing more of the rod portion of your fishing pole drawing, we will first start drawing the handle and rod portion.
First, draw half of a small, rounded rectangular shape at the base of the rod. We will only be drawing half of this shape as the reel will be going into the empty space when we draw it in the next step.
Before we do that, we will also be drawing the handle of the rod. To do this, add a longer rounded rectangular shape attached to a smooth line.
That’s all there is to it for this step, so let’s proceed to the next one.
Step 3 – Draw the reel of the fishing pole
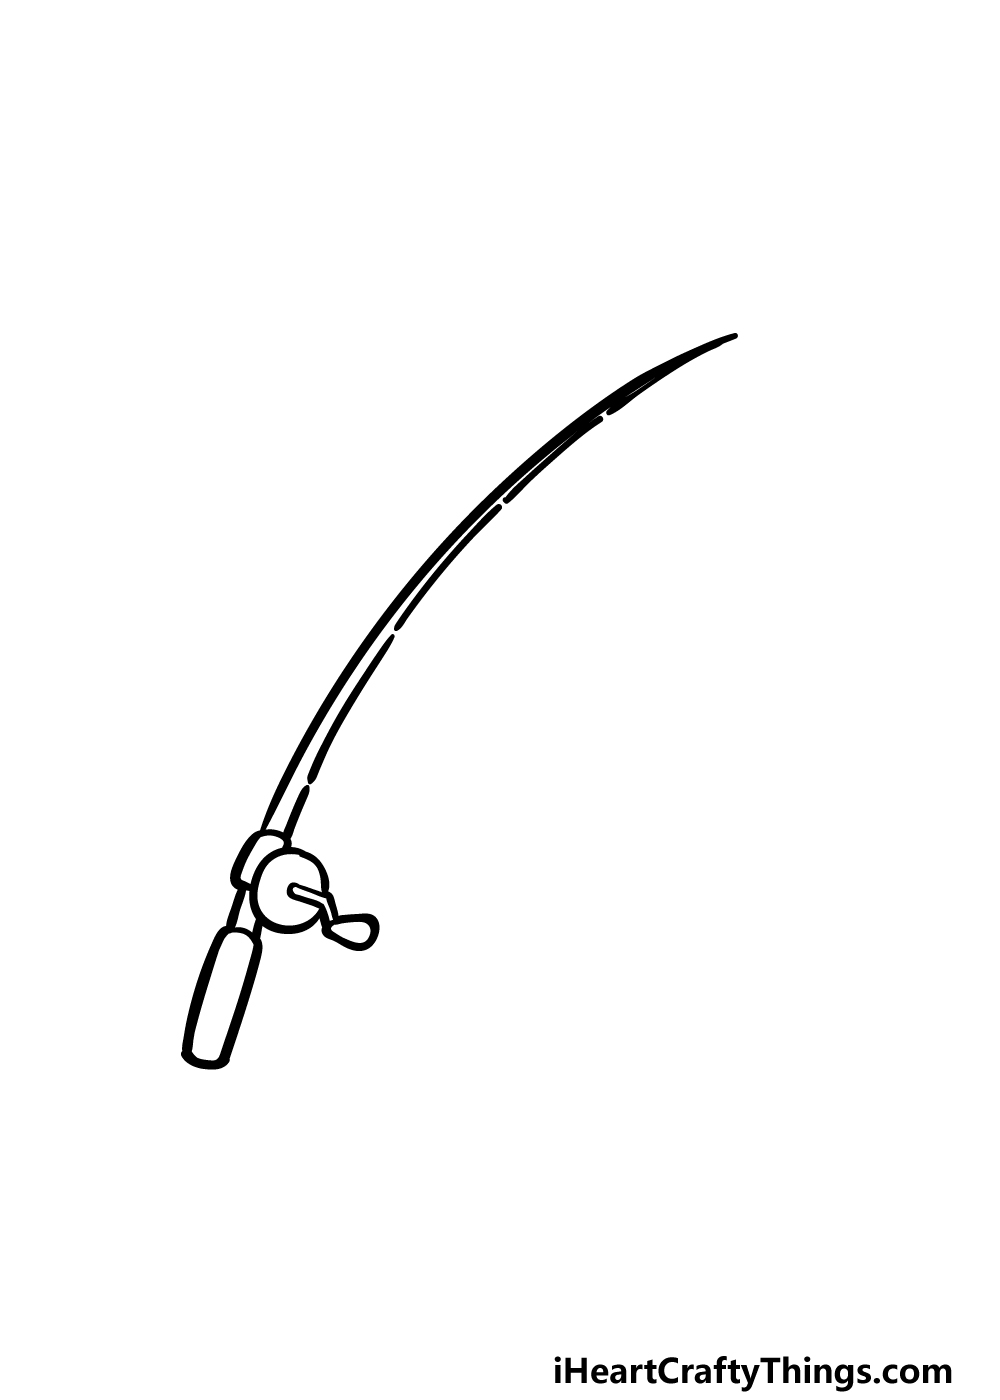
Next in this guide on how to draw a fishing pole, we will be drawing the reel as well as the rest of the rod outline. First, let’s start with the reel.
This will be drawn with a circular shape for the main portion of the reel. Then, we will draw a thin angular shape poking off of it for the handle of the reel.
This handle will also have a small round shape at the end of it. Once you have drawn this reel, we can turn our focus back to the rod of the fishing pole.
Unline the outer edge of the rod, we won’t be using a solid line for the inner portion. Instead, we will be leaving some small gaps where we will draw the rings that the line loops through later on.
Try to replicate this line as it appears in the reference image, and then we can move on!
Step 4 – Next, draw the rings for the fishing line
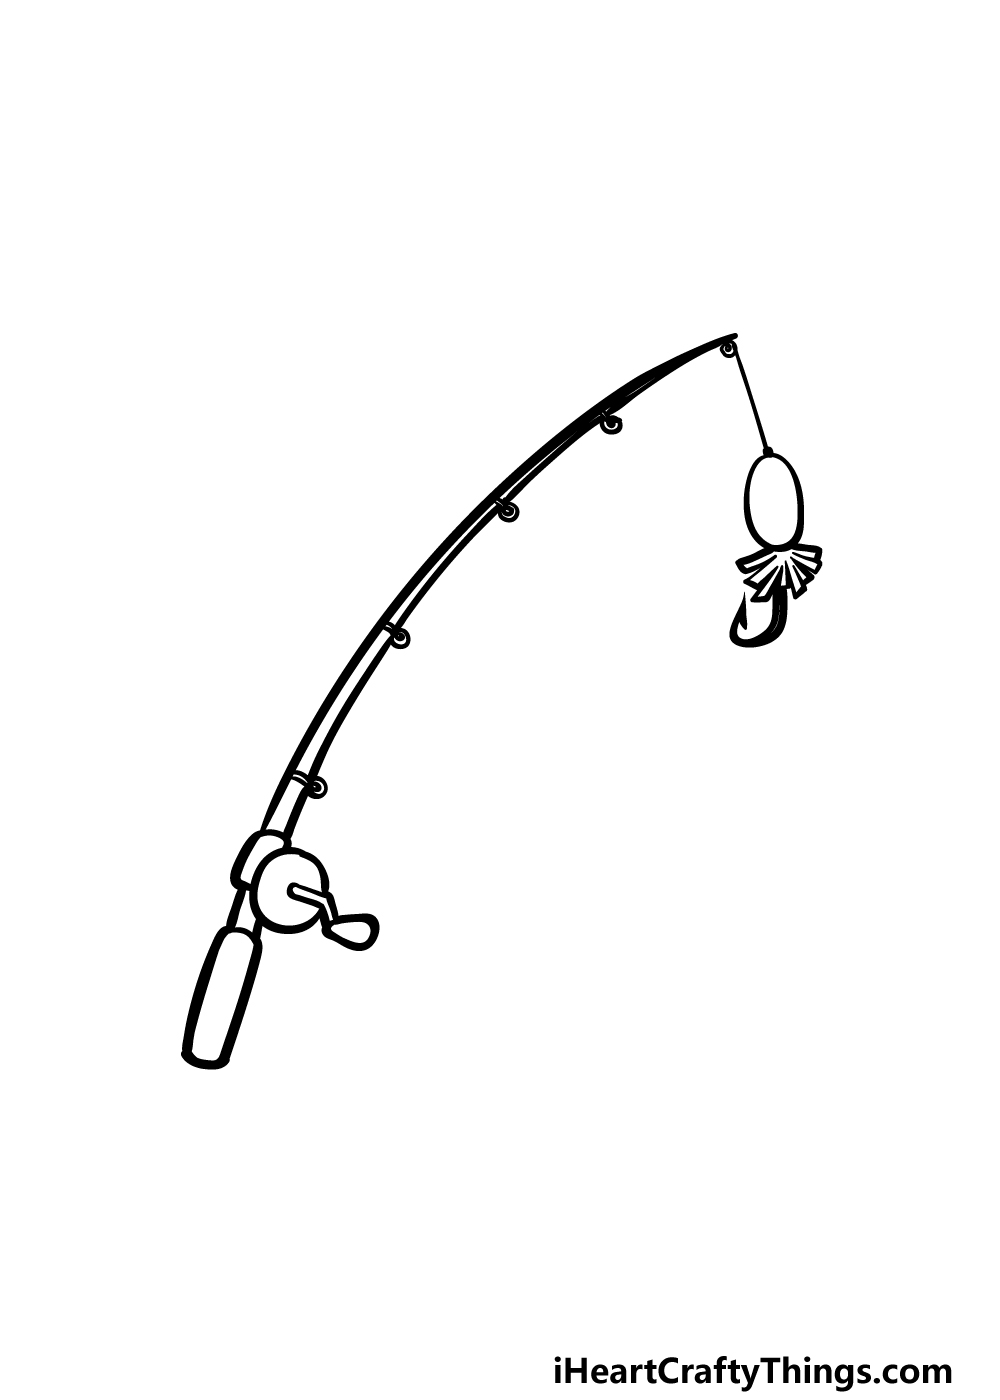
On a real fishing pole, the line from the reel will loop through several small rings, and these are what we will be adding to your fishing pole drawing now.
Simply draw some small little rings onto each gap you left on the rod to add them. Once these are drawn, we will then draw a straight line coming down from the tip of the pole.
Then, to draw a lure you can add an oval shape that has several small, thin shapes poking off the base.
Finish off by drawing a curved hook attached to this, and then you will be ready to add some final details in the next step.
Step 5 – Add the final details to your fishing pole drawing
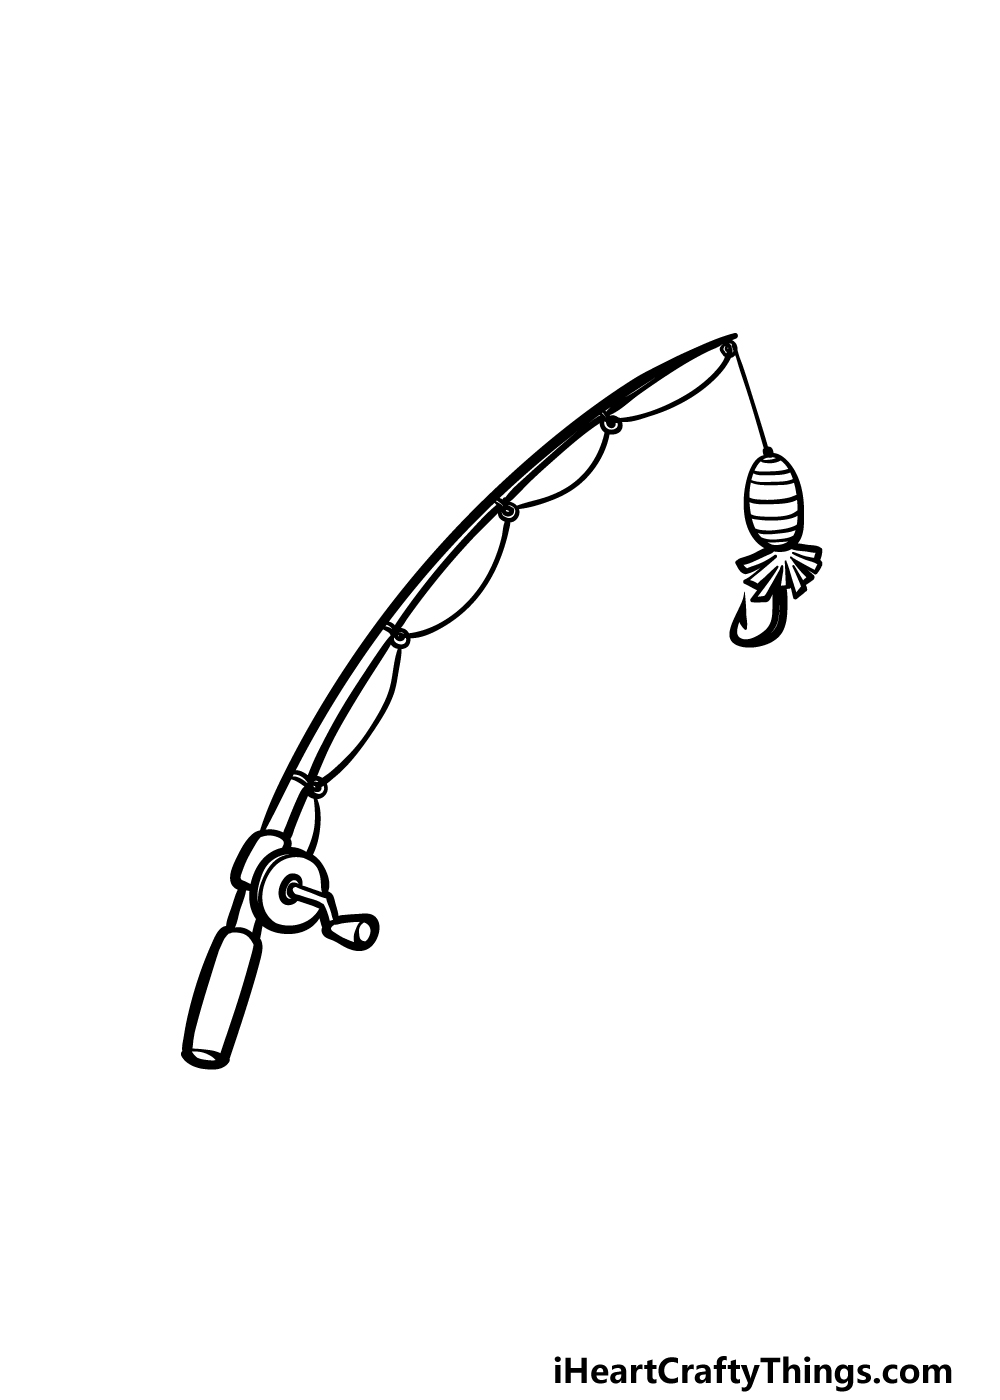
This picture is already looking great, but in this step of our guide on how to draw a fishing pole we will be finishing off with some small details that will make it look even better!
Start by drawing some curved lines across the oval part of the lure to add some more details to it. Then, we will be drawing the fishing line itself.
Use some curved lines to have it looping through the rings until it connects to the reel.
Speaking of the reel, you can also put some more details onto it and the handle. Once these details are drawn, what else will you add? Maybe you could draw a fish at the end of the rod!
Step 6 – Finish off your fishing pole drawing with color
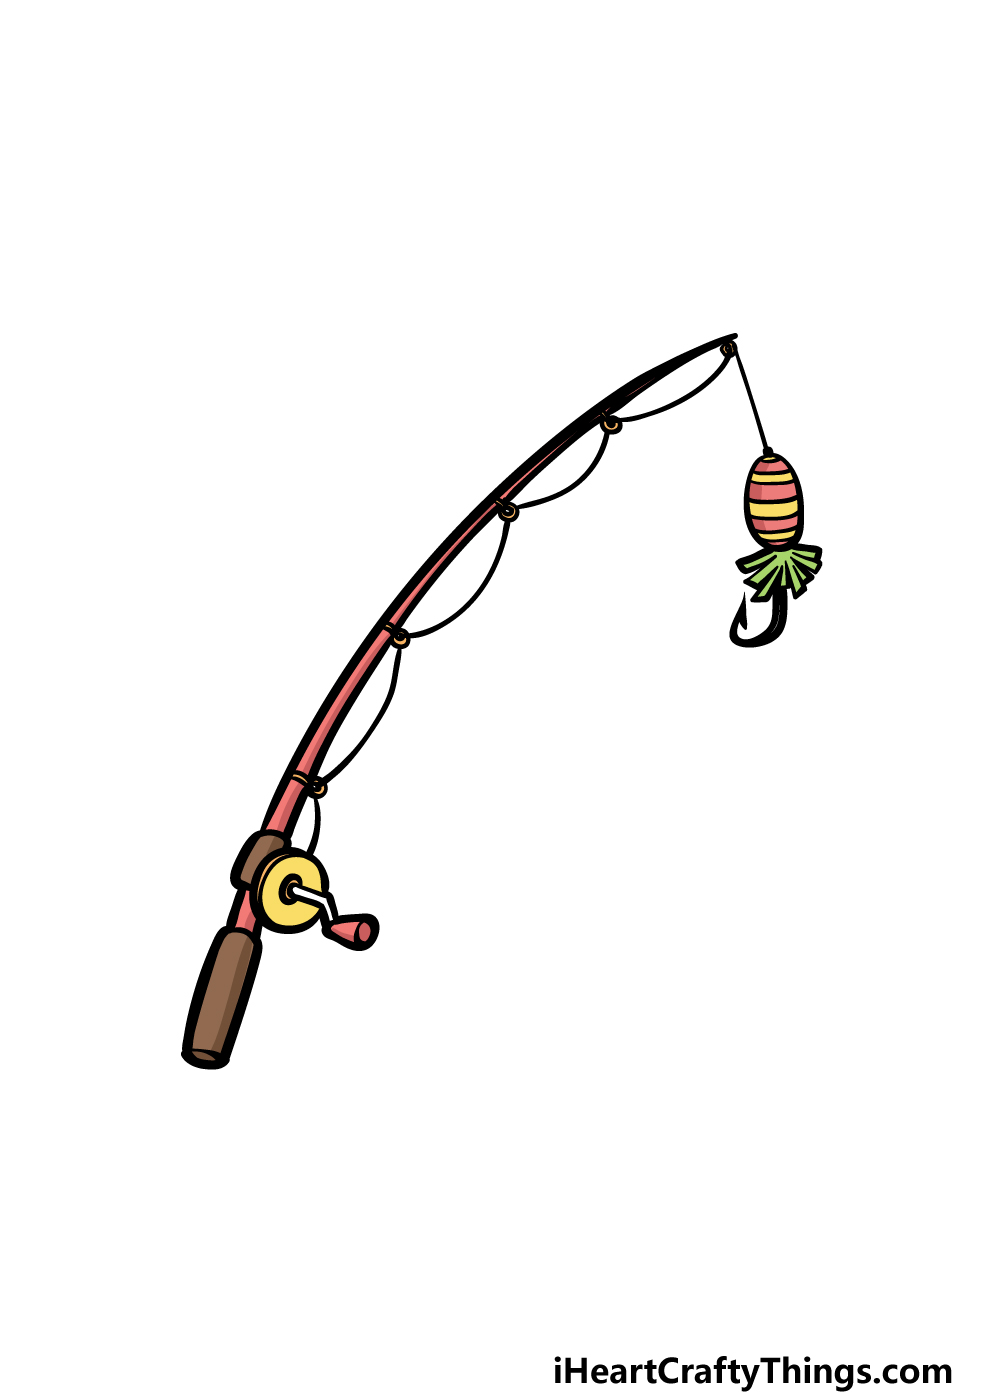
In this final part of your fishing pole drawing, you can finish it off with some color.
We kept the colors of the fishing pole itself a bit more muted in our reference image, as we used some browns and reds for the most part.
For a bit of contrast, we incorporated colors like yellows and greens to small details on the reel as well as on the lure.
Will you use similar colors for your own picture or will you rather go with some unique colors? We can’t wait to see what you decide on!
5 Tips To Make Your Fishing Pole Drawing Even Better!
Catch some amazing tips for this fishing pole sketch we have for you!
A fishing pole isn’t much use if there is no one to use it! For that reason, it could be fun to add a human character to this fishing pole drawing.
There are many options you could choose for this! The person could be drawn in any style you like, and could be based on anyone you may or may not know.
Who would be using this fishing pole?
Any fisher will tell you that there are many weird and wonderful fishing lures you can use when fishing.
We showed you one kind of lure you could use for this fishing pole, but you could replace this with any lure you like.
It could even be a worm or maybe a kind of food for some variety!
Adding a lure would be one way of making this drawing of a fishing pole better, but there is something else you could add. A fishing pole is used to catch fish, so you could add a big fish to the end of the line!
There are so many fish that you could choose for this purpose. If you enjoy fishing, maybe you could use some fish that you have caught as inspiration.
Or, this could be a great chance to show the fish you’ve always wanted to catch!
There are also many different kinds of fishing pole that can be used for the right circumstances. This fishing pole sketch shows off one of these variations, but you may want to change some details.
You might already know of a few variations, but you could also look some up!
Finally, once you have finished adding all your own touches, you can finish off with some background details. There are so many places you can have fun fishing, so you would have tons of locations to choose from.
It could be the deck of a boat, or maybe a calm stream with fish jumping out. What background would suit this fishing pole drawing?
Your Fishing Pole Drawing is Complete!
That brings you to the end of this guide on how to draw a fishing pole!
As we mentioned earlier, drawing objects like this isn’t always as easy as it appears, so we hope that the steps in this guide made it easier and even more fun for you to do.
Now you can make this drawing even more personalized as you add some of your own extra details and ideas! How will you finish off this picture?
When you want a new drawing challenge to take on, you can visit our website for many more drawing guides to enjoy. We upload new ones frequently, so keep checking in!
Please also be sure to share your completed fishing pole drawing onto our Facebook and Pinterest pages so we can see how it turned out.
Here Is A Sketch Of A Fishing Pole To Inspire You!
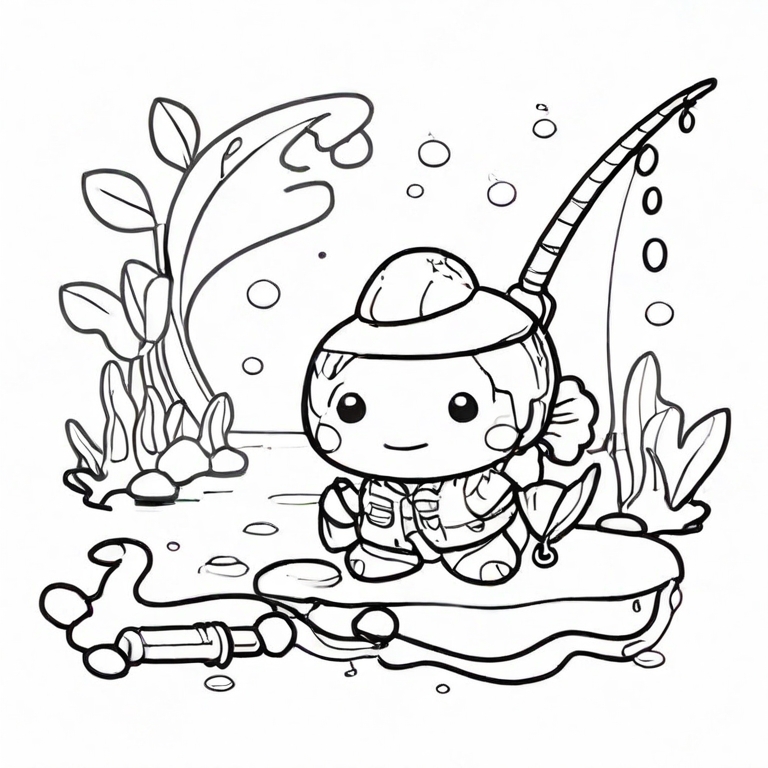
Is there anything more relaxing than a day of fishing outside? Perhaps making a drawing of such a day could be considered as relaxing, and that seems the case with this sketch of a fishing pole.
Drawn by our artist Freddy, this drawing is here to help you with your own artwork. Freddy has drawn a cute little character enjoying a day out fishing.
Now that you have this to work with, you can use it to guide and improve your own drawing.
This could be a case of closely copying the picture as Freddy drew it, but you can also customize it as you wish.
Adding some details and colors would be a great way for you to make this drawing completely unique to you. What are some details that would represent a day of fishing to you?
