There are few pastimes as relaxing and fulfilling as fishing. This quiet activity allows you to get in touch with nature and explore your own thoughts in blissful solitude.
There are many different types of fishing styles to explore, and it can even be part of high-stakes sporting events.
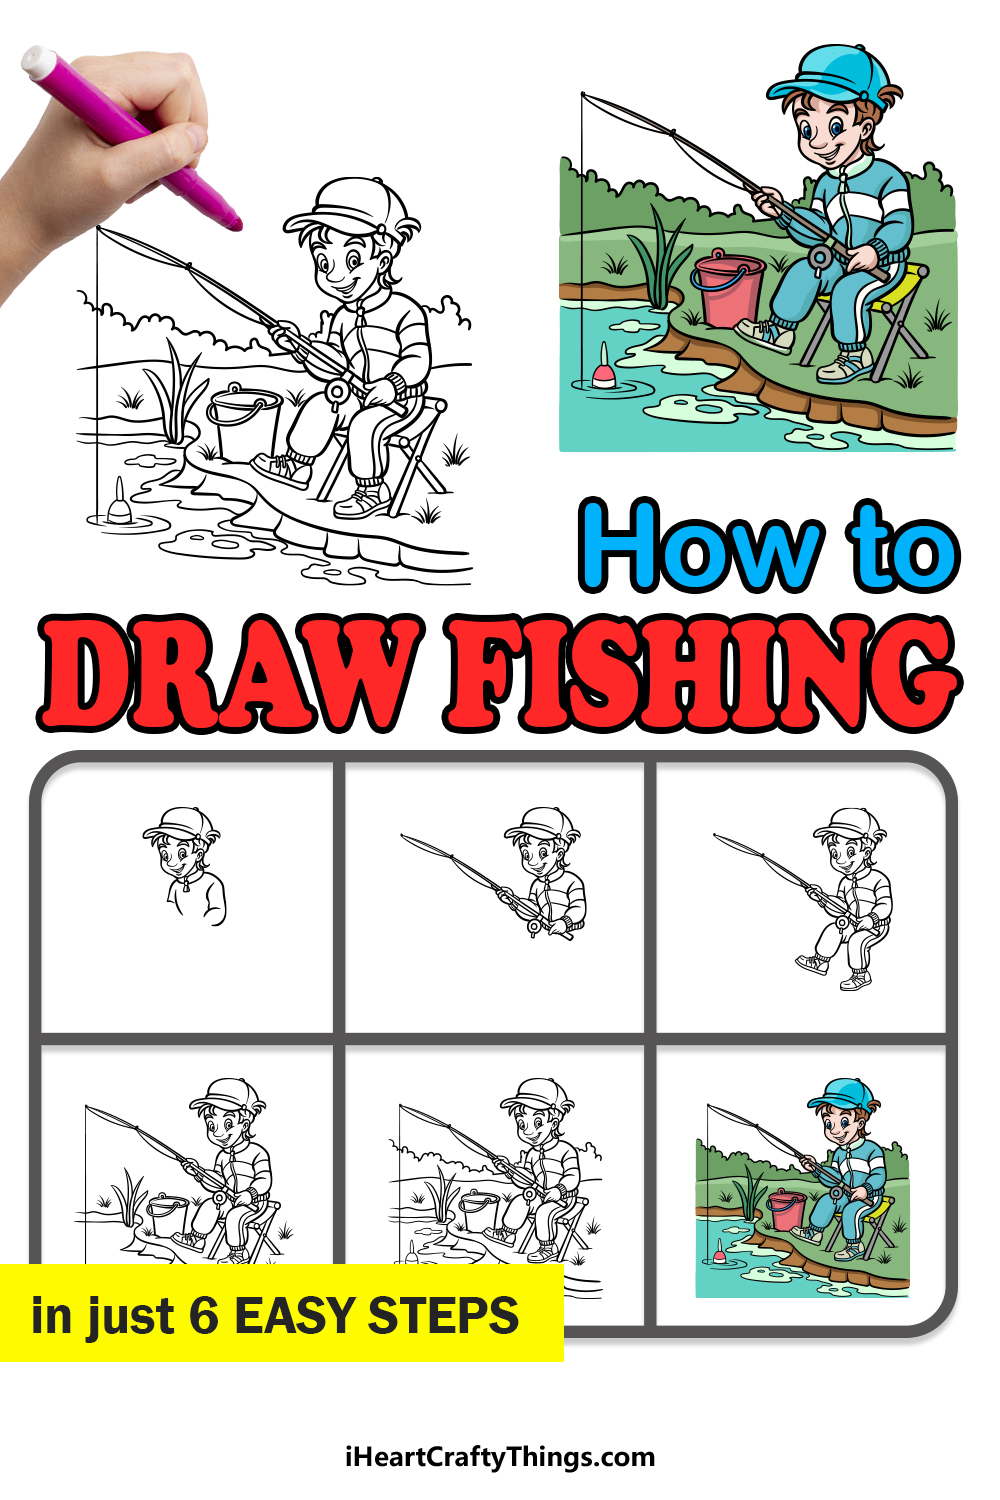
No matter what level you may be at when it comes to fishing, learning how to draw fishing can be a great way to relive the thrills it has to offer!
This is the guide to be on for any fishing enthusiasts who would love to honor their favorite pastime.
Our step-by-step guide on how to draw fishing in just 6 steps will show you how to recreate your best fishing moments.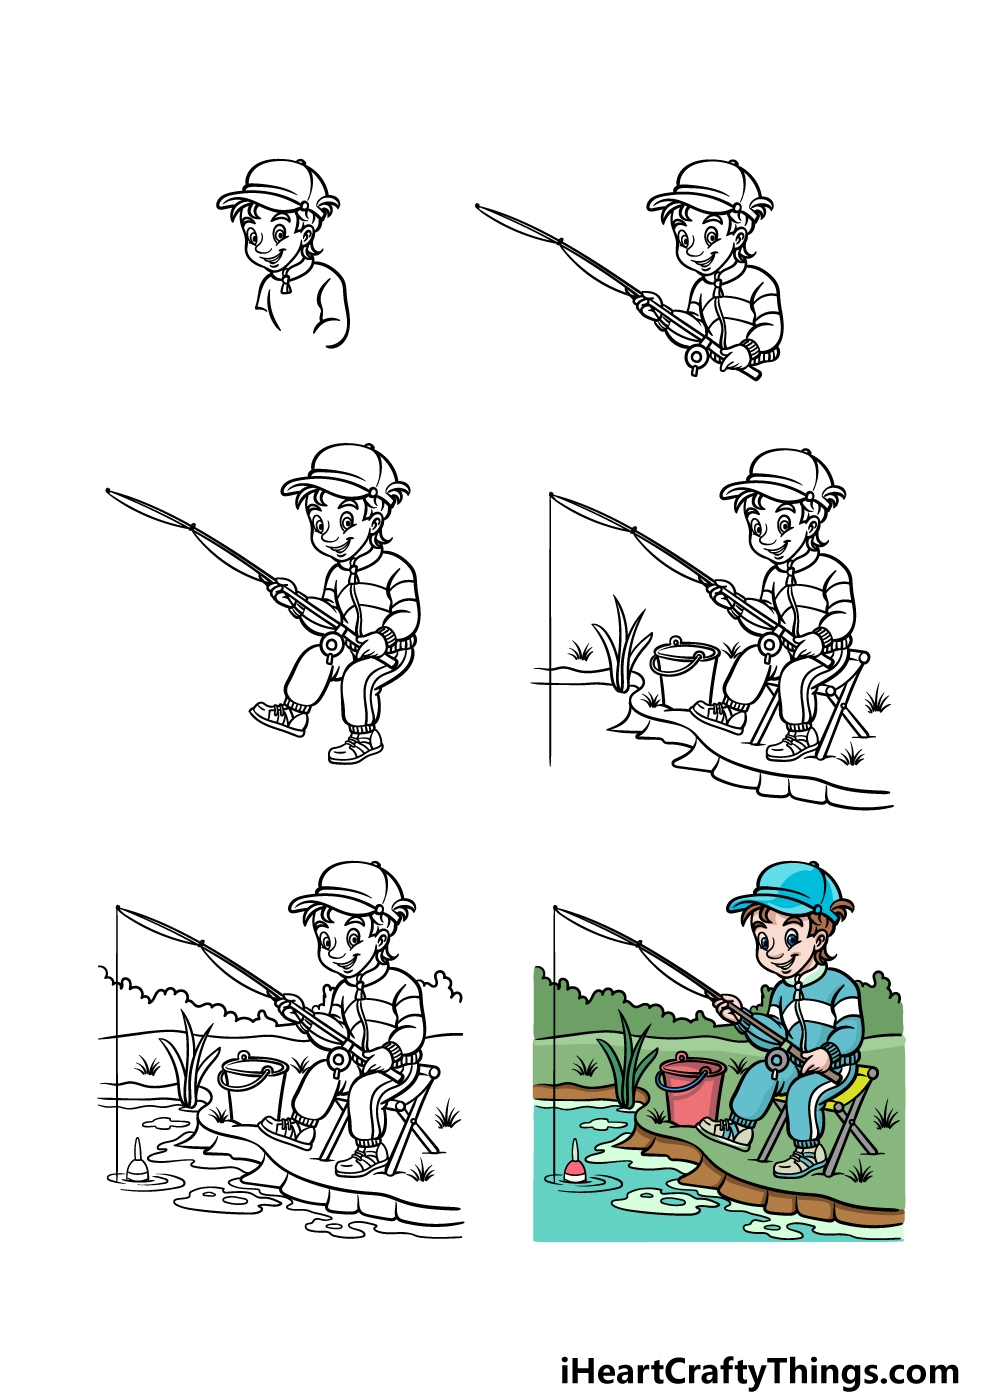
How to Draw Fishing – Let’s Get Started!
Step 1

Throughout this guide on how to draw fishing, we will be depicting a young boy sitting beside a lake with his fishing pole.
If you would like, you could also change the appearance of this kid, perhaps to look more like yourself! For this image, we will start by drawing his eyes.
These will be drawn using some oval shapes with some circular pupils within them. Then, his nose will be drawn as a rounded line between these eyes.
Next, you can draw a cap sitting atop his head using some curved lines. Then we will draw his facial outline, and then add his hair beneath his cap.
Finally, you can start to draw the collar and sleeves of the shirt that he is wearing, and then we can move on to step 2.
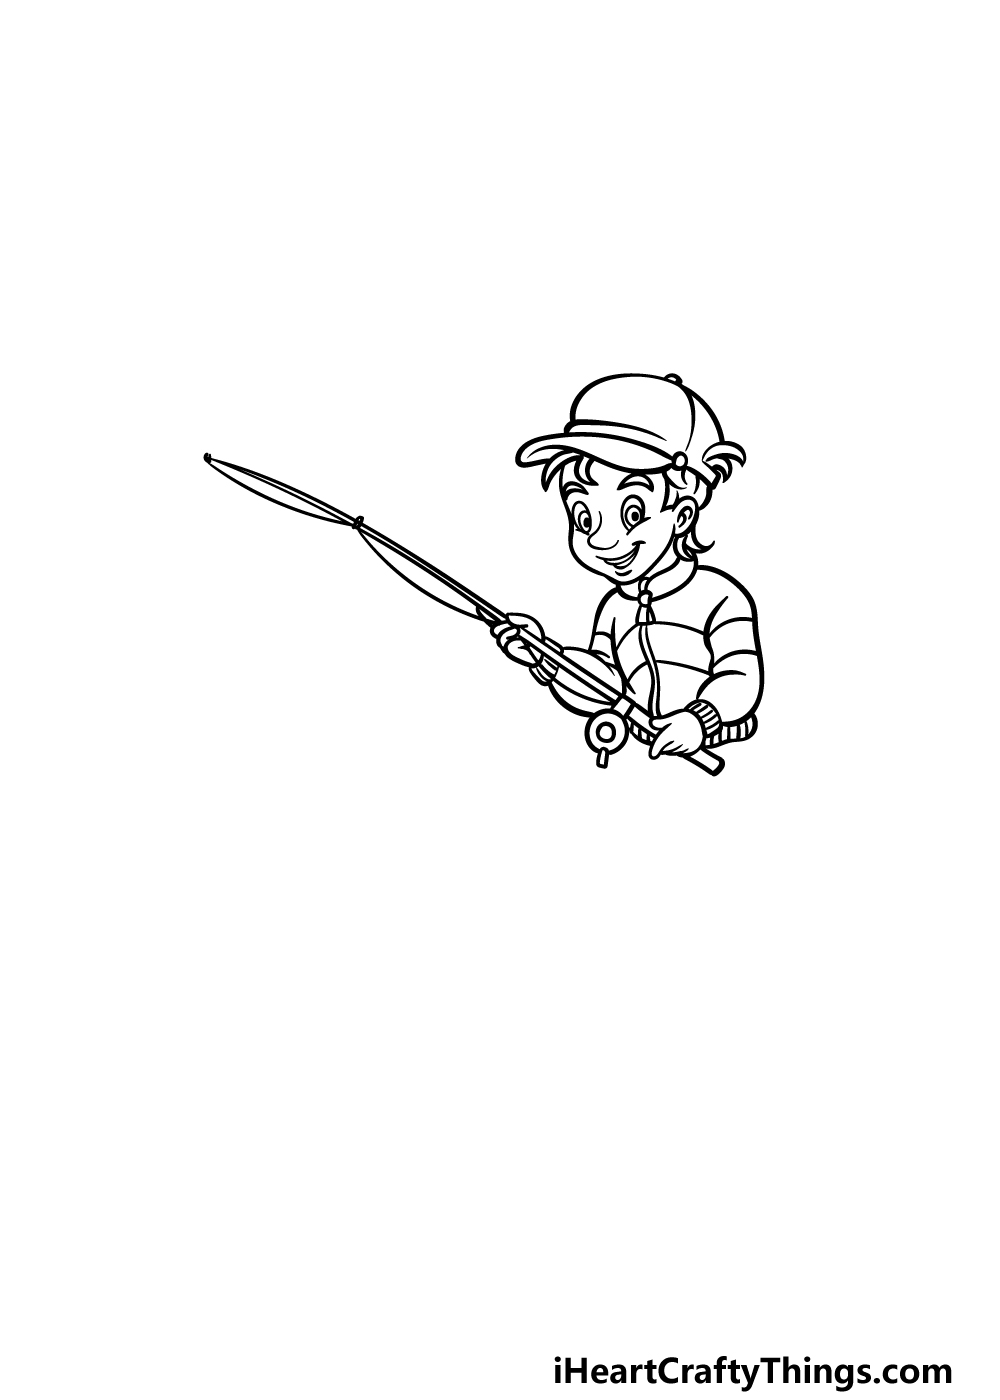
Step 2 – Now, draw the rest of his arms and his fishing pole
As we mentioned at the start of this guide, fishing can take many different forms and styles.
Fishing is most commonly performed using a fishing pole or rod, and that is what we will be adding to your fishing drawing in this step.
Before you do, draw the rest of his sleeve that you started in the previous step and then draw his hand at the end of it.
Next, draw the thin handle of the rod in his hand, and then you can draw the reel using a rounded shape.
Finish off the rod by drawing some thin lines close to one another, and then you can draw his other hand holding it as well.
The last thing to draw for the rod are some looping lines that connect to the rod at various points. This will serve as the line of the fishing pole.
Step 3 – Next, draw the legs for the kid
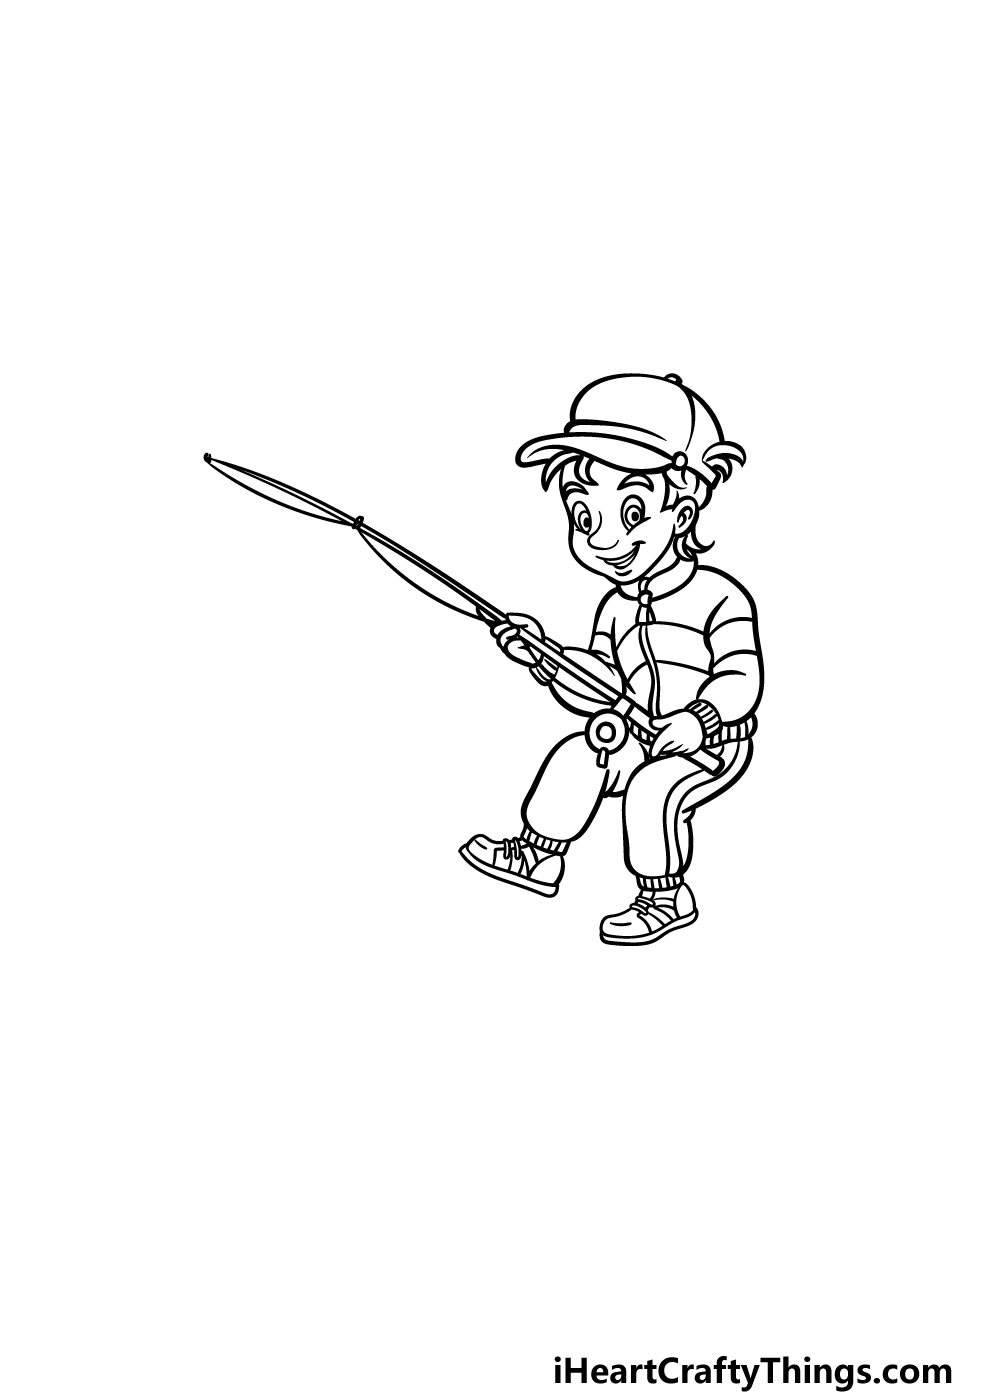
We will be finishing off the boy in this step of our guide on how to draw fishing. To do this, we will be drawing his legs below him.
Also bear in mind that he will be sitting upon a folding chair as he fishes, and that is why we shall be positioning the legs in the way that we show in our reference image.
The legs will be drawn with some curved and rounded lines, and we will add a stripe going down the side of the leg on the right.
Finally for this step, you can draw his sneakers at the base of his pant legs. Then we’re ready to move on to step 4!
Step 4 – Add some background details for the image
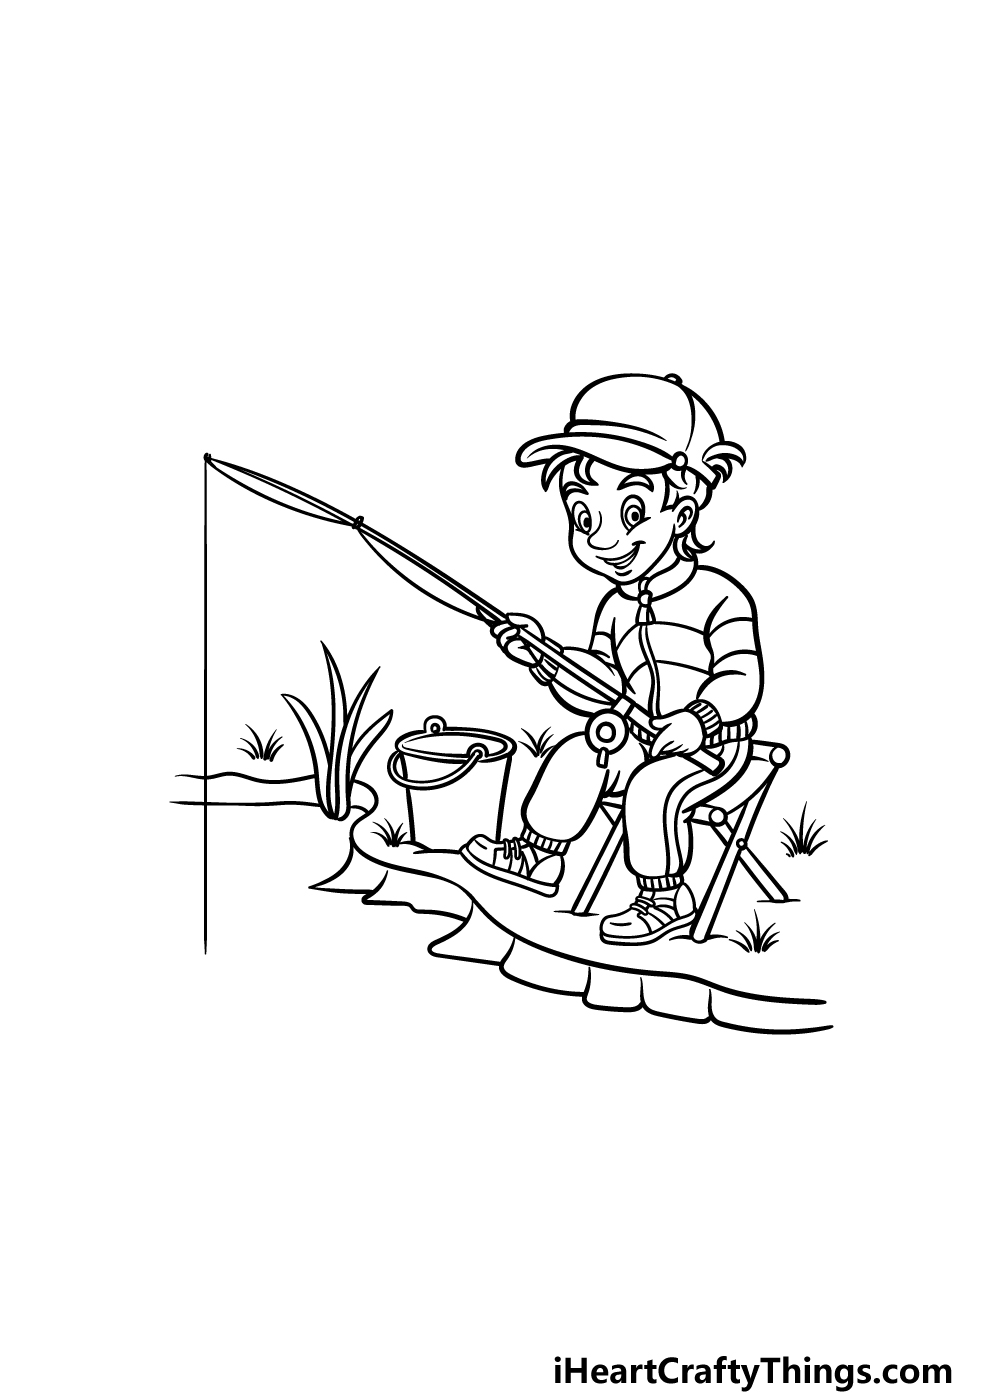
You have finished drawing the boy for your fishing drawing, so for this and the next step we will finish off by drawing some background details around him.
First, you can use a combination of rounded and straight lines for the folding chair beneath him.
Then, the next thing we shall be drawing is the bucket beside him. This will have some straight edges with an oval-shaped rim at the top of it.
You can then use a curved, wavy line for the edge of the lake, and then use some more lines beneath it to show it sticking into the water.
Finally, add some details like grass poking out of the ground, and then draw a straight line down from the tip of the rod and into the water.
Step 5 – Add the final touches for your fishing drawing
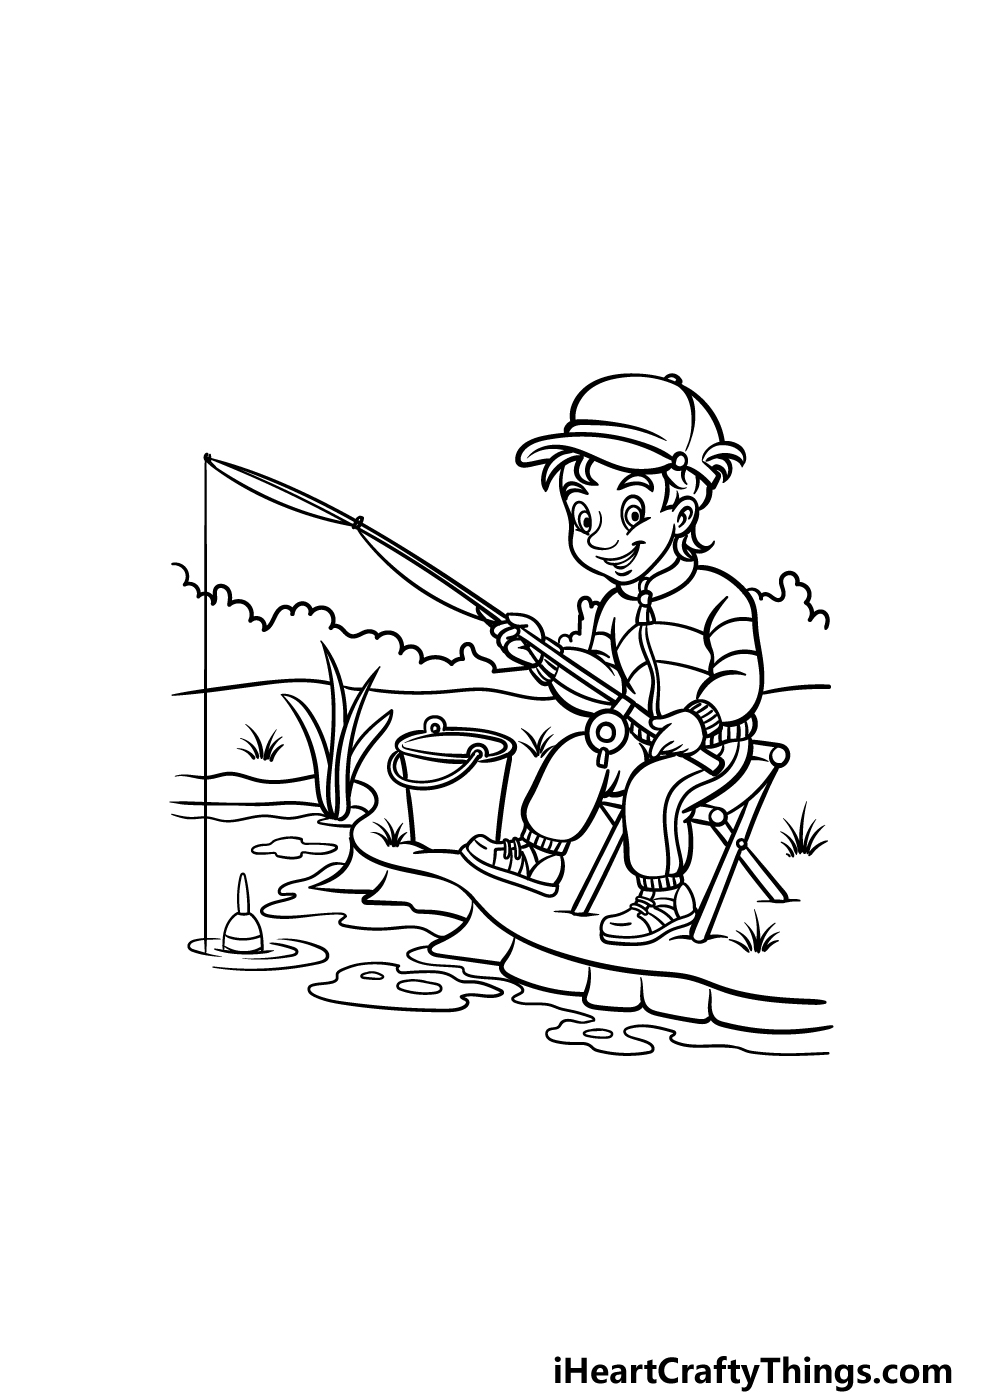
Now you’re ready to add the final details in this step of our guide on how to draw fishing! These details will be simple, but they will make a huge difference in bringing this image to life.
First, draw a thin, rounded shape near where the line is in the water. This will serve as the floater that he is using for his fishing.
Then, add some curved and wavy lines onto the surface of the water, and then add a row of trees into the background behind the boy.
These are the details that we chose, but what else can you think of to finish off this awesome picture?
Step 6 – Finish off your fishing drawing with some color
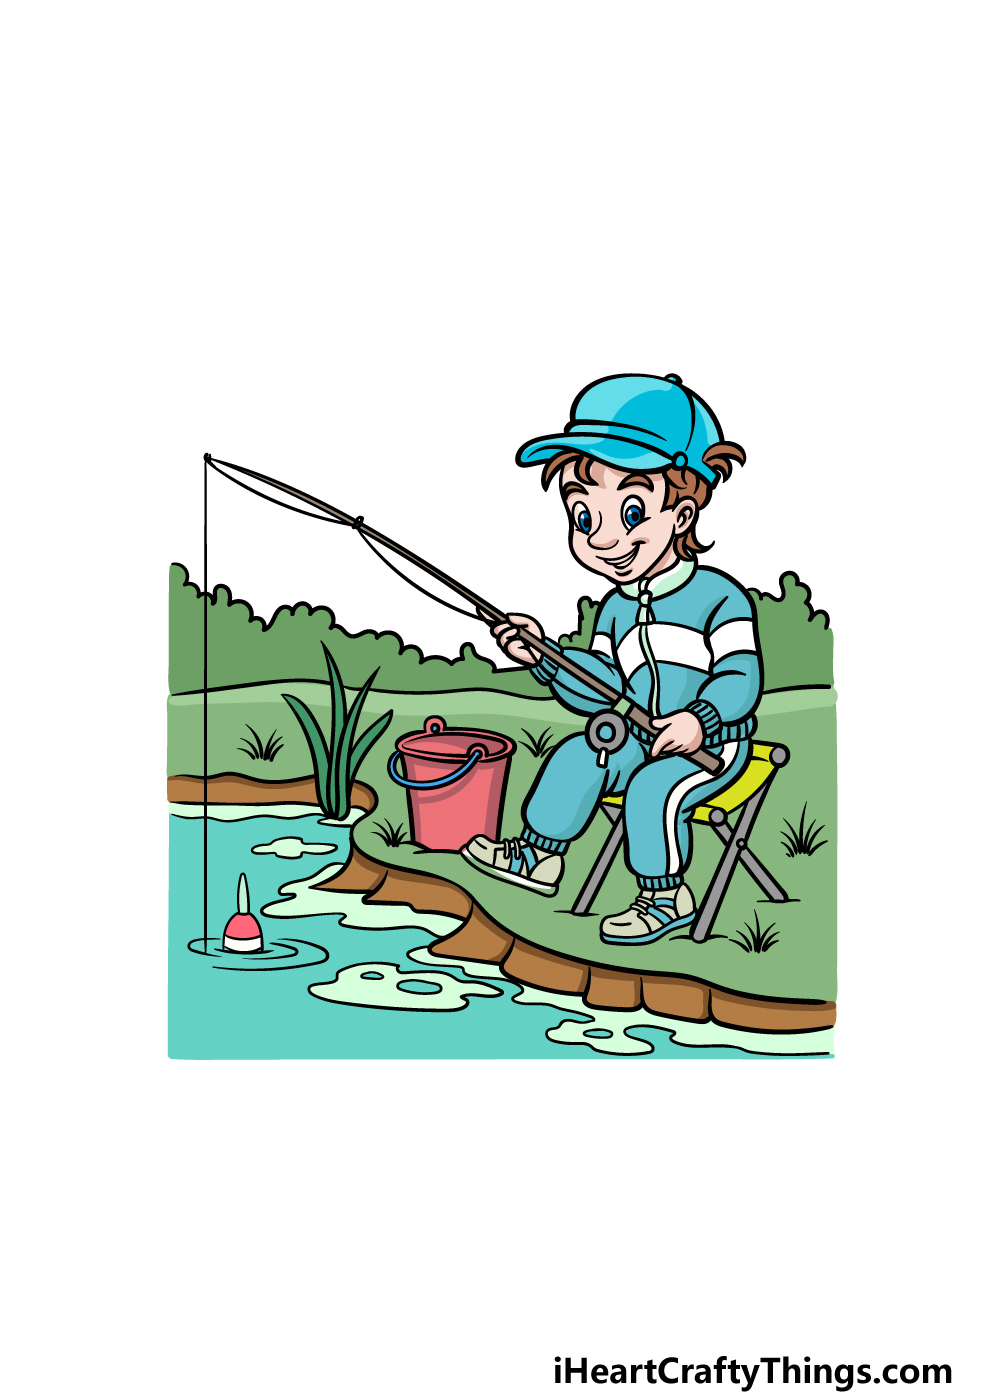
This final step of your fishing drawing will see you adding some colors to really finish it off. In our example image, we used lots of blues and greens for the water, grass and the outfit that the boy is wearing.
You could go for a similar color scheme in your own picture, but this is also your chance to incorporate all of your favorite colors!
Which colors, shades and art mediums do you think would best suit this fun fishing scene? We can’t wait to see what you go for!
Here’s how you can make your fishing drawing even better…
You’ll definitely want to catch these tips that we have for your fishing sketch!
There are many aspects of this drawing of fishing that could be changed or customized to better suit your preferences. One would be how the character is dressed, and there are many possibilities!
You could show off what you would like to wear on a fishing trip by dressing this character in the outfit.
Maybe they could be wearing overalls with a fishing hat, for one suggestion. What would you like to wear on a fishing trip?
Next, you could change the character himself to personalize the drawing even more. One fun idea would be to use yourself as a model and turn yourself into a fishing cartoon character!
That is one way to do it, but you could turn other people you know into characters as well. Once you have decided who to model the character on, you could have them in other interesting poses as well.
Trying out different art styles for the character could also be fun!
We left the sky blank for our version of this fishing drawing, but you could add a sky above the character to complete it. There are a few ways that you could do this.
One would be to create a beautiful bright blue sky for this character to enjoy. Or, you could add some grey clouds to make it look more overcast and moody.
What would be your ideal weather conditions for a day of fishing?
The main objective of a fishing trip is to catch fish, of course! You could add a fish to this fishing sketch to capture the excitement of a catch!
If you have caught a fish that you were really proud of, then you could use it as inspiration. Or, you could use the fish that you dream of catching one day and add it to the end of the fishing line.
When drawing a fish, you could look up pictures online to help make it more realistic.
Your Fishing Drawing is Complete!
Hopefully this guide on how to draw fishing was as fun and relaxing as enjoying a day out actually fishing! We aimed to create a fun and detailed image that really captured the feeling of the sport.
Not only that, but we wanted to make sure that it would be an easy and enjoyable experience to work through, so hopefully we succeeded in that regard.
Now it’s up to you to finish off this image with your own details, colors and art mediums!
If you had fun with this guide, you’ll want to check out our website for more amazing drawing guides. We have more on the way, so keep on the lookout for those!
We would love to enjoy your fishing drawing when it’s done, so please show us by sharing it on our Facebook and Pinterest pages.