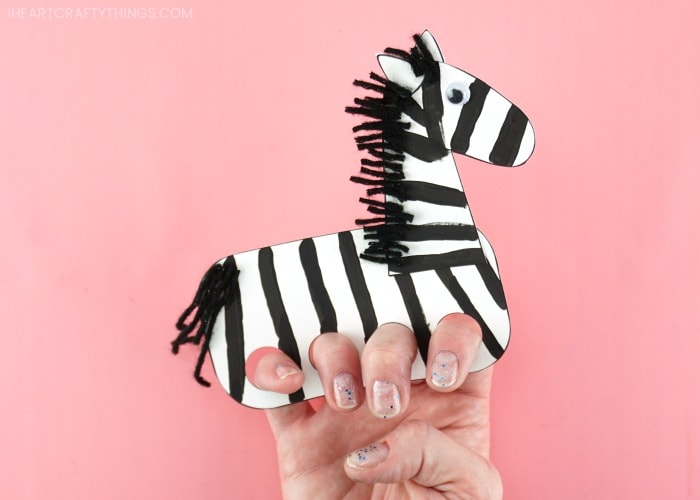
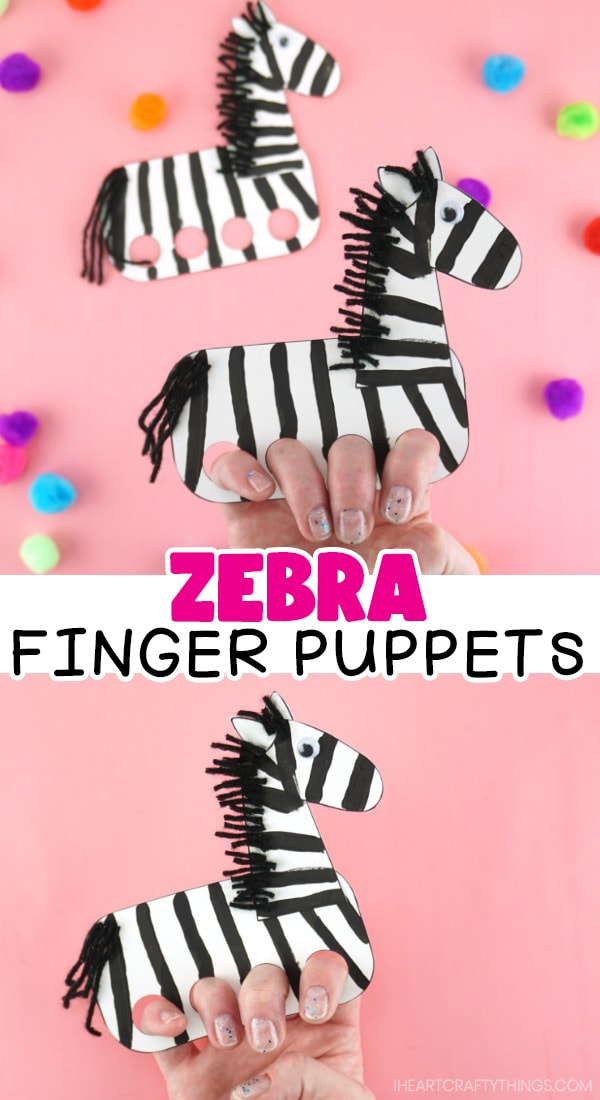
With the huge amount of animal crafts we have made here at I Heart Crafty Things over the years I am sure you can tell I am a big animal lover. I’m constantly thinking of fun new ways to create my favorite animals in craft form and our latest craft project is this finger puppet zebra craft.
My kids love playing with finger puppets and the way this cute zebra can gallop around makes it a new favorite at our house. I think your kids will enjoy it too!
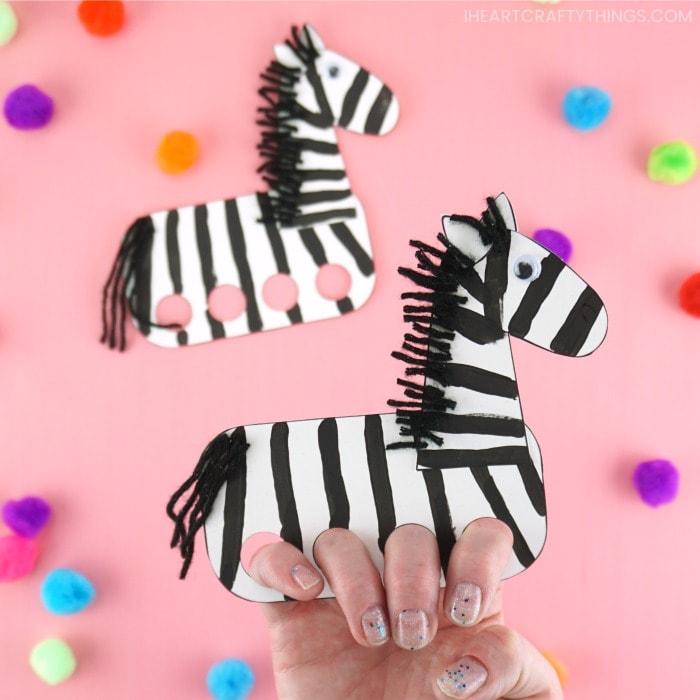
These zebra puppets are a fun craft for preschoolers and kids of all ages to make. As a bonus, kids using their fingers to play with their puppets after making them is a great fine motor activity too.
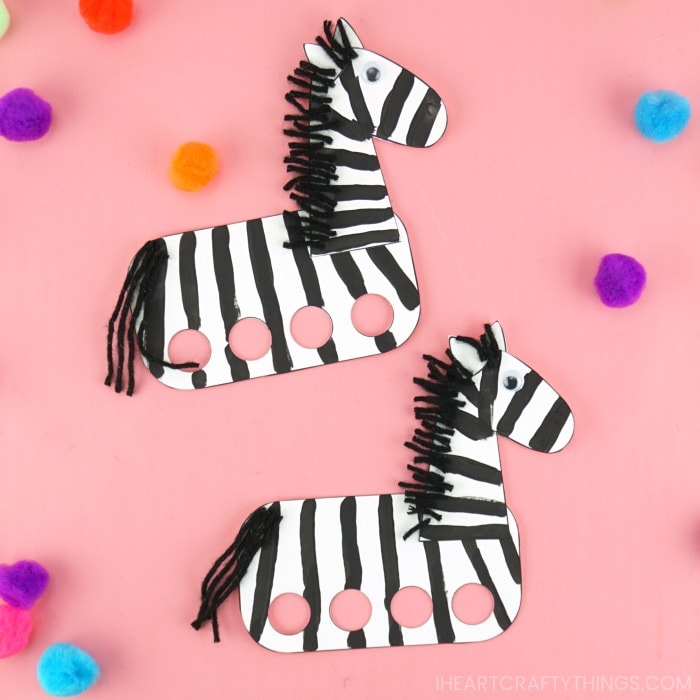
We’ve recently updated this post with a zebra craft template to make this craft even simpler for kids to make. Read our step-by-step tutorial below for how to make your own cute zebras and make sure to watch our how-to video inside this post before you get started.
This post contains affiliate links to the products mentioned. Read our disclosure policy for more information.
Supplies Needed:
- Zebra Printable Template <— Get the Printable Template HERE
- heavy weight white cardstock paper
- 3/4″ circle hole punch
- black paint
- paintbrush
- black yarn
- googly eyes
- scissors
- black marker
- tacky glue or extra strength glue stick
Tutorial:
1. Print out & paint your template
Download and print out the zebra craft template on heavy weight cardstock (we used 80 lb.). Pour a small amount of black paint on a small paper plate. Paint black and white stripes all over your zebra body, neck and face with a small paintbrush. Let the paint dry completely.
2. Cut out your shapes
After the paint has finished drying, cut out the rounded rectangle shape for your zebra body, the zebra neck and head shape and both of the ears from the template.
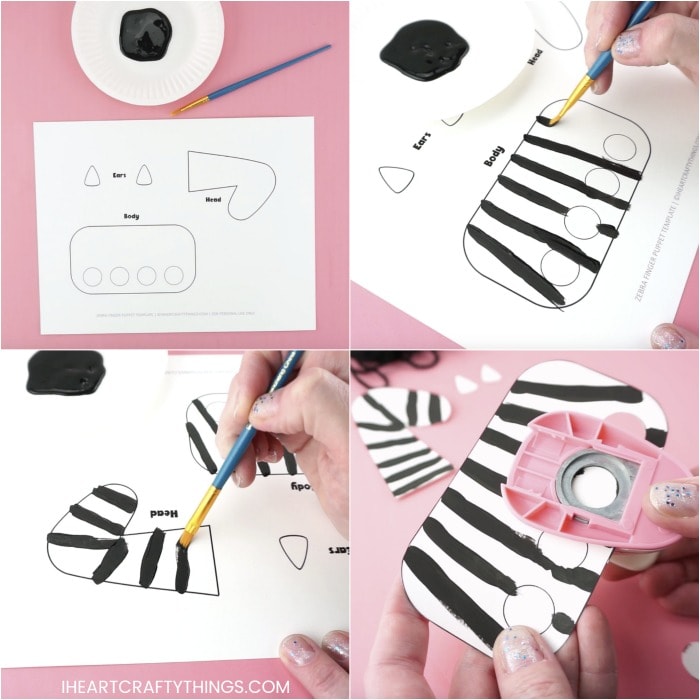
3. Make holes on body shape
Punch four holes into the bottom of your zebra body with your 3/4-inch circle cutter. These will be the finger holes to make your zebra a finger puppet.
4. Attach body parts together
Glue your zebra neck and head onto your zebra body. Then glue your ears onto your zebra, one in front and one on the back of the head.
5. Add eyes and draw nostril
Glue a googly eye onto your zebra face. Then use a black marker to draw a nostril on the end of the zebra face.
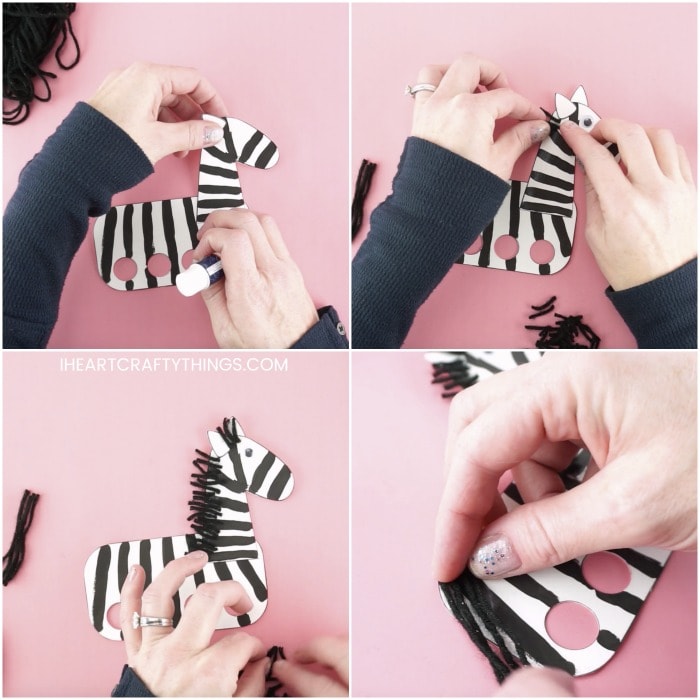
6. Finish with gluing hair and tail
Cut out small strands of black yarn and glue them along the back of the zebra neck and a few on top of the zebra’s head. Now cut off about four strands of yarn for the zebra tail. Glue the strands on the end of the zebra for a tail.
Once your glue is dry, your zebra is all ready for play. Simply place four fingers into the finger holes and you can have fun galloping your zebra around.
