Ferrets are some of the cutest little rodents that you can find! These adorable creatures are known for their quirky personalities and sense of mischief, and because of this they are popular as pets.
Many people around the world have fallen for these wily little rodents, and this popularity has led many people to want to learn how to draw a ferret.
If you love ferrets as well and would like to learn how to draw one yourself, then you’ll want to read all the way to the end of this guide!
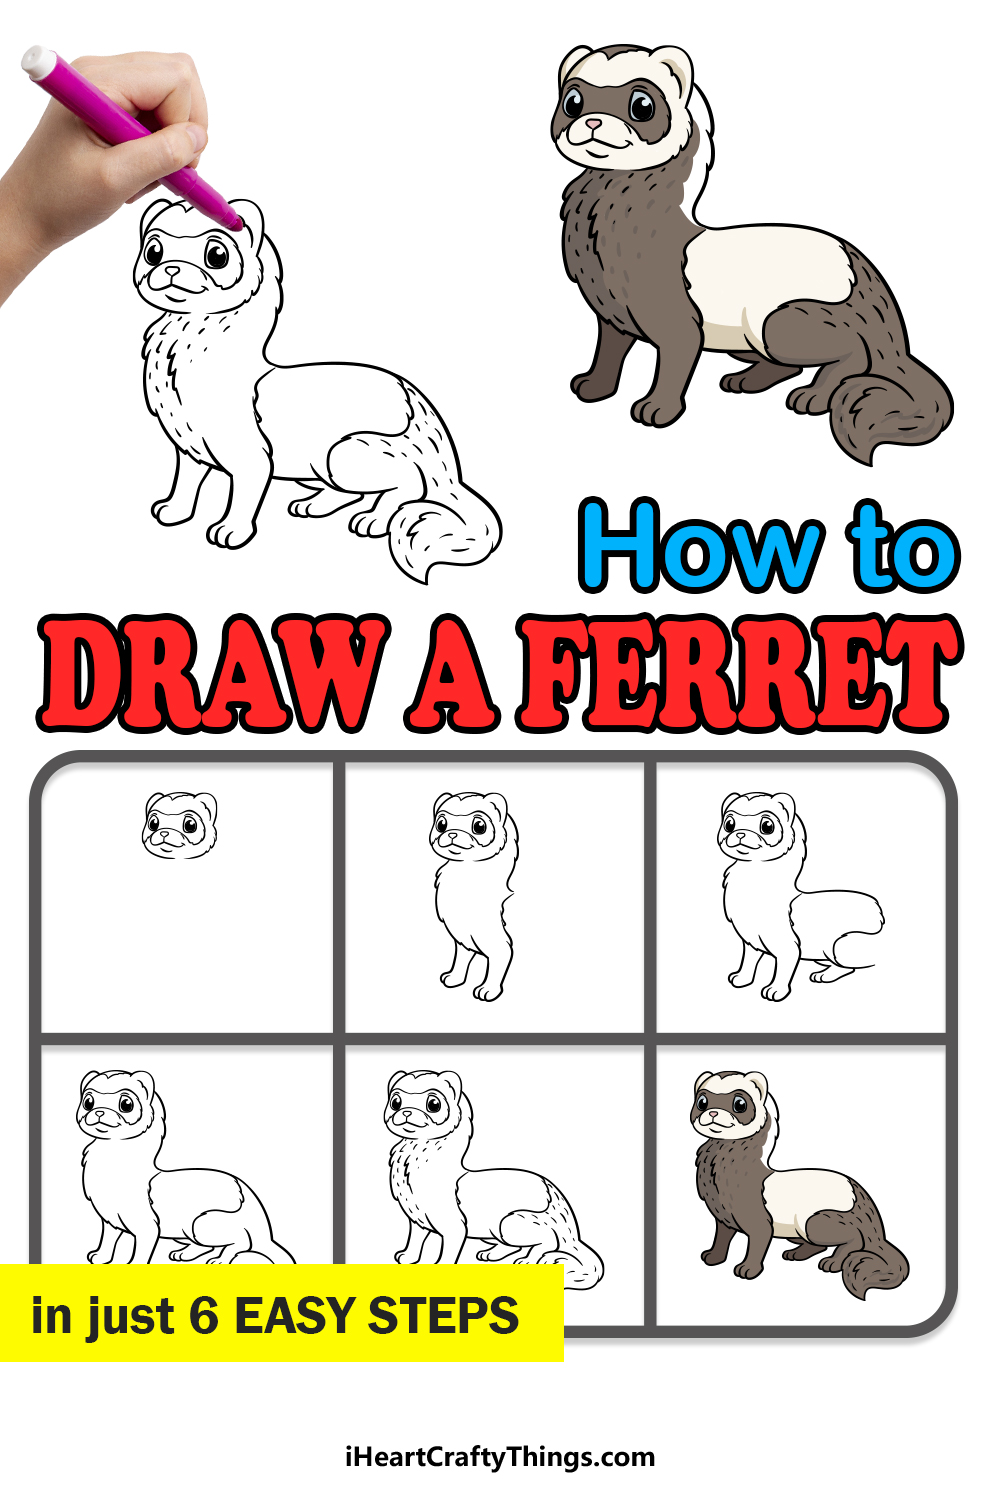
Our step-by-step guide on how to draw a ferret will show you how you can draw one of these cute little guys and have lots of fun doing it!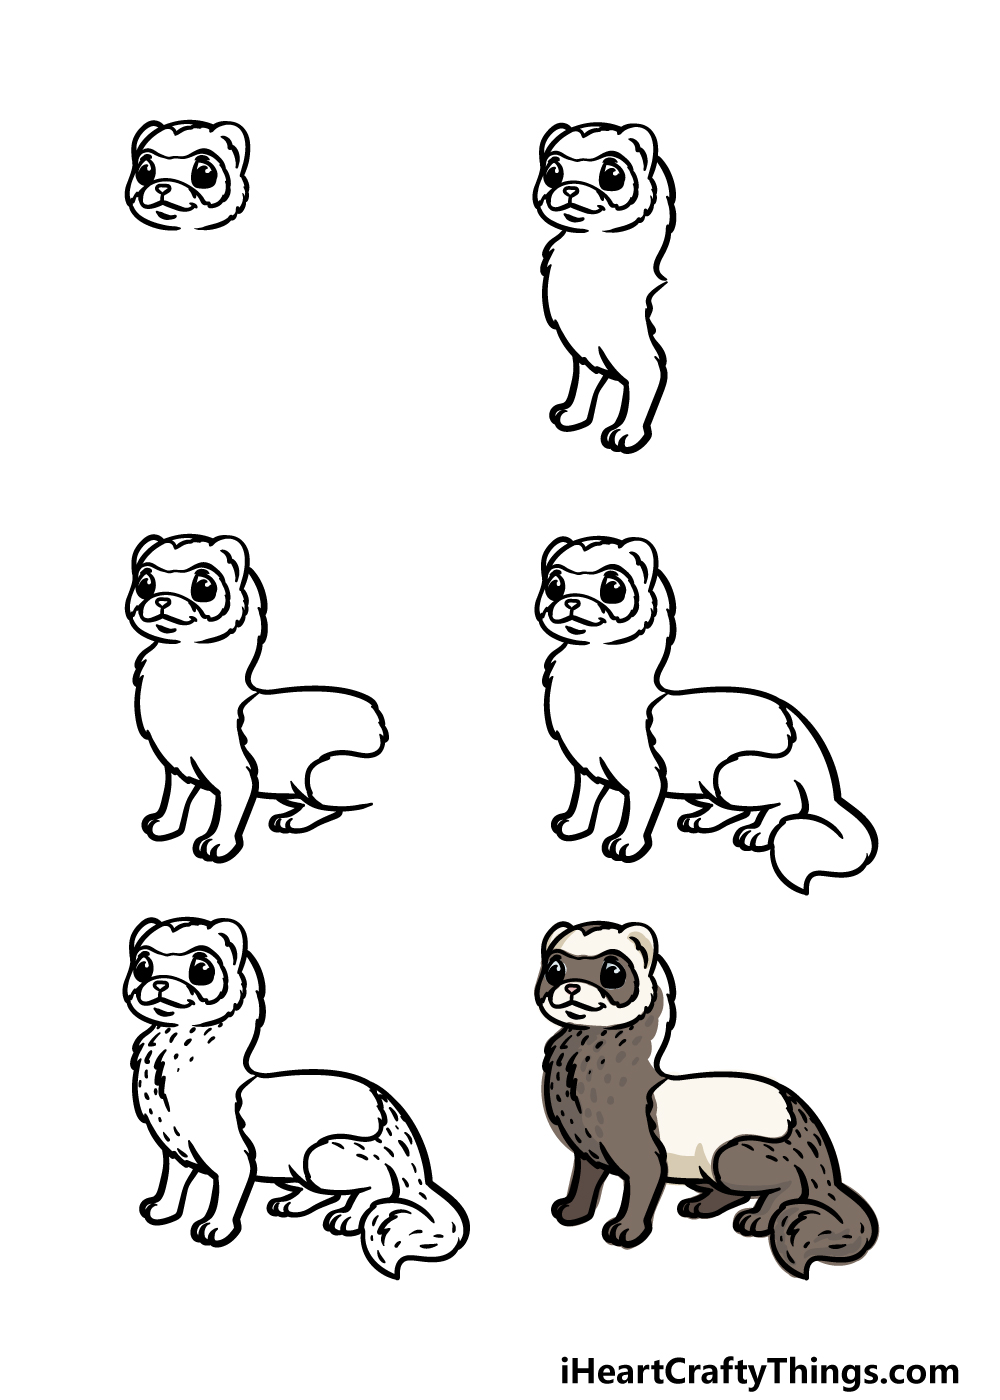
How to Draw A Ferret – Let’s Get Started!
Step 1
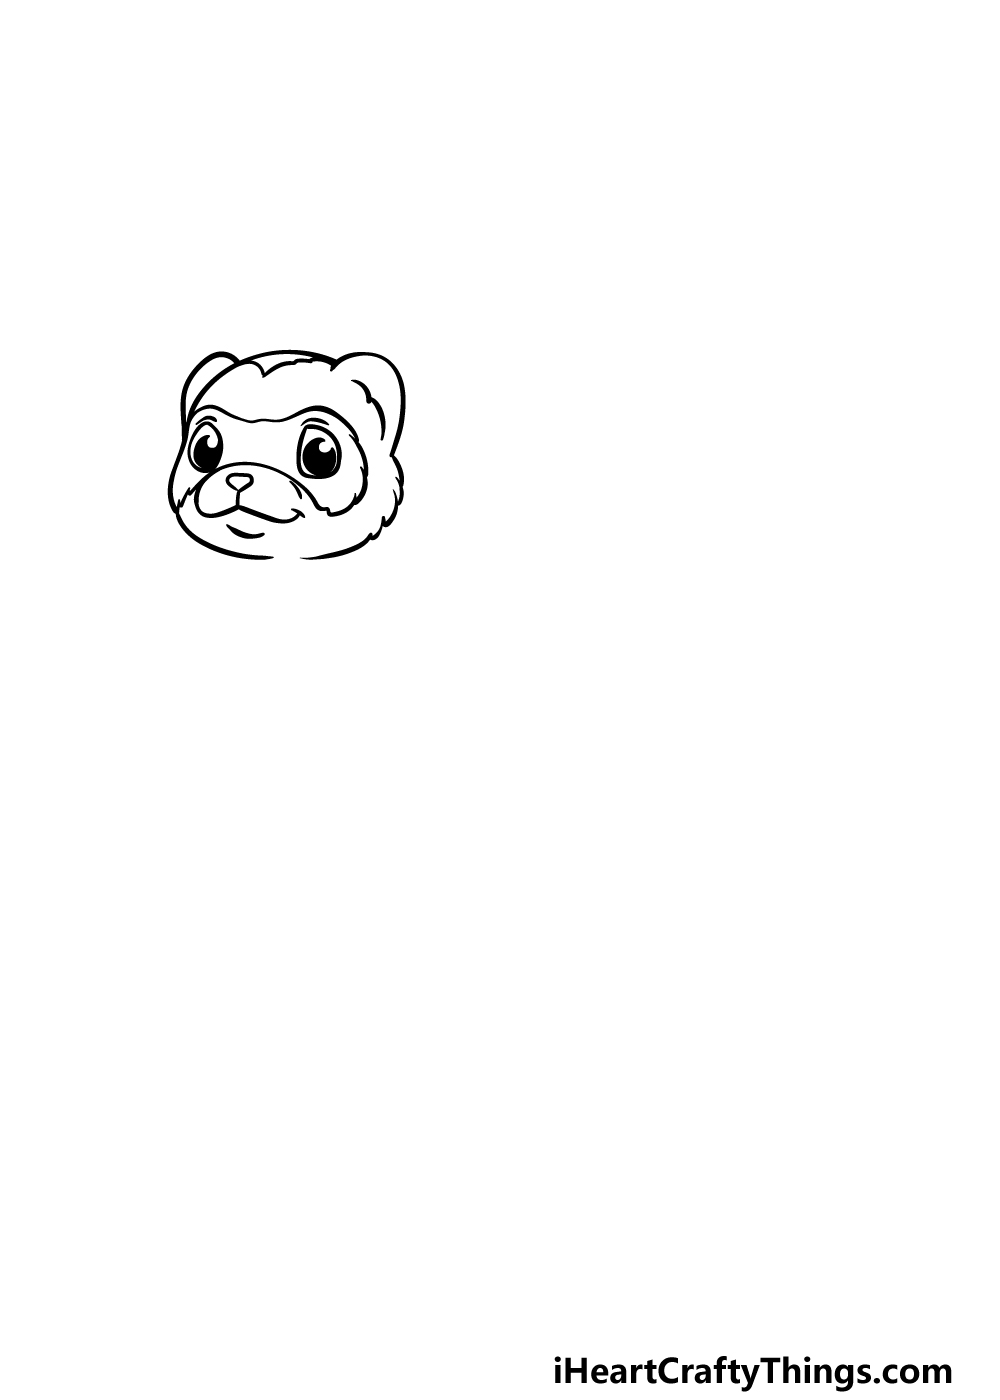
The ferret that we will be creating in our guide on how to draw a ferret will be created in a cute cartoon style.
To get this drawing started, we will begin with the head of the ferret. You can start by drawing two rounded shapes for the eyes. Then you can draw some large pupils inside of the eyes for extra cuteness!
There’s then going to be a shape around the eyes that almost looks a bit like a burglar’s mask! Then the nose will be small and triangular, with some rounded lines for the mouth below that.
Finally, we will use some more rounded lines for the outline of the face and add two more curved lines for the short little ears.
Step 2 – Next, draw the front legs of the ferret
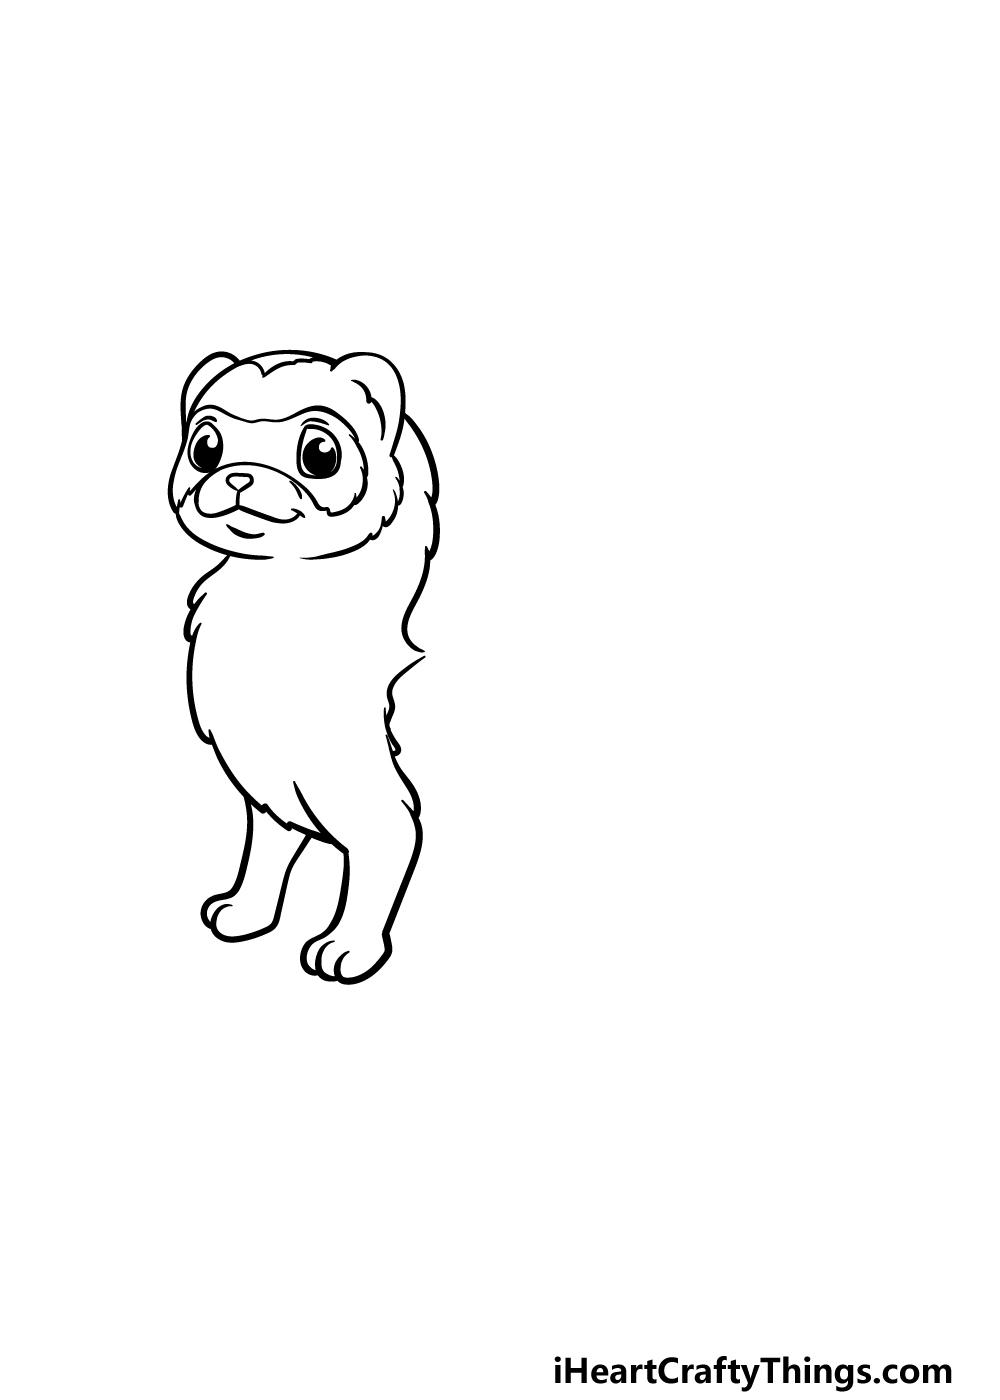
For this next part of your ferret drawing, we will be working on the front legs.
The way we are drawing this ferret will make it look like it is made of three separate sections, but this is just the way that the ferret is patterned.
For now, use some bumpy lines for the long neck that leads into two short legs. We will be using some bumpy lines to make the ferret look even furrier.
Then, you can finish off this step by drawing yet more bumpy lines from the back of the head and down to the leg on the right.
This will finish off the first section of the ferret’s body, and then you’re ready for step 3!
Step 3 – Draw the middle section of the body

In this third step of our guide on how to draw a ferret, we will be drawing the middle section of the body.
Ferrets have long bodies with short legs, so we will be using some longer lines for this middle section. Simply extend a line backward from the base of the neck and then another from the back of the front leg.
Then we will use some curved lines to start drawing the beginning of the legs for the ferret, and then we can finish them off in the next step.
Step 4 – Now, finish the outline for the ferret
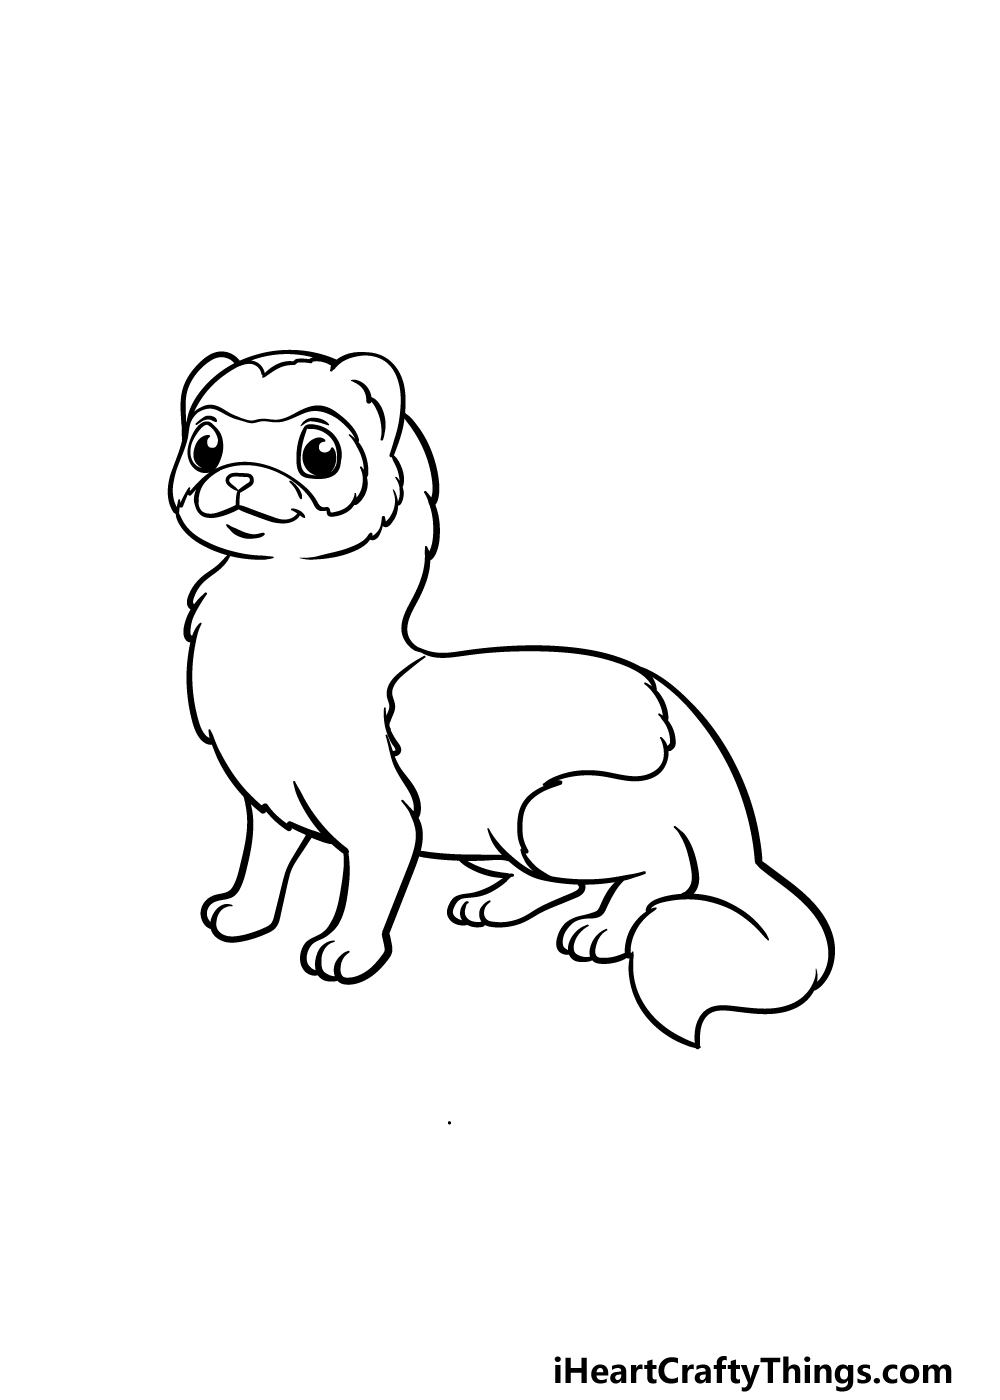
Now we can finish off the ferret drawing outline to prepare you for some final details and colors in the next steps.
For this step, we will finish off that outline by drawing the third and final section of the body.
Use some more curved and rounded lines for the bushy tail twisting around the body, and then you can draw the final two squat little legs at the back.
Once you have replicated this outline as it appears in the reference image, you will be ready to move on!
Step 5 – Finish off your ferret drawing
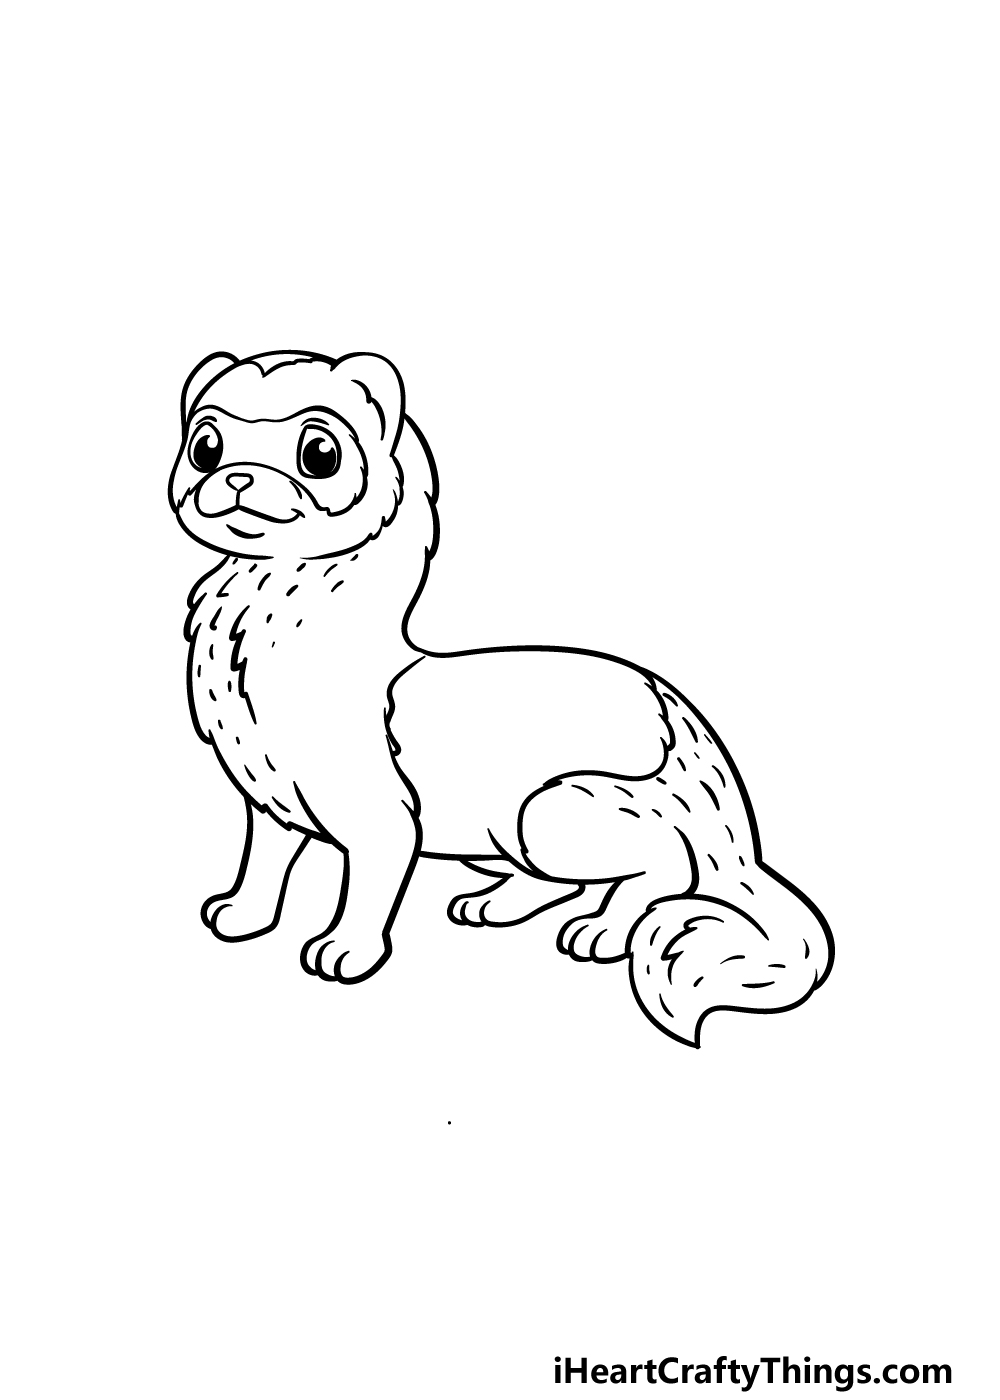
Before we move on to coloring in your picture, we will add some final details and touches to it. You will also have a chance to add some cool details and elements of your own!
For now, we will be adding lots of small little lines throughout the ferret to make it look even furrier! Once you have these lines drawn then you’re ready to move on to the final step.
Before you do that, feel free to add any touches and final elements of your own that you may like! It could be fun to draw a background, as that would show where this cute little ferret is hanging out.
If you have a ferret as a pet or would like one, maybe you could draw some more pets you own or would like to own beside it!
These are just a couple of suggestions, but what else can you think of to finish off your adorable ferret?
Step 6 – Finish off your ferret drawing with some color
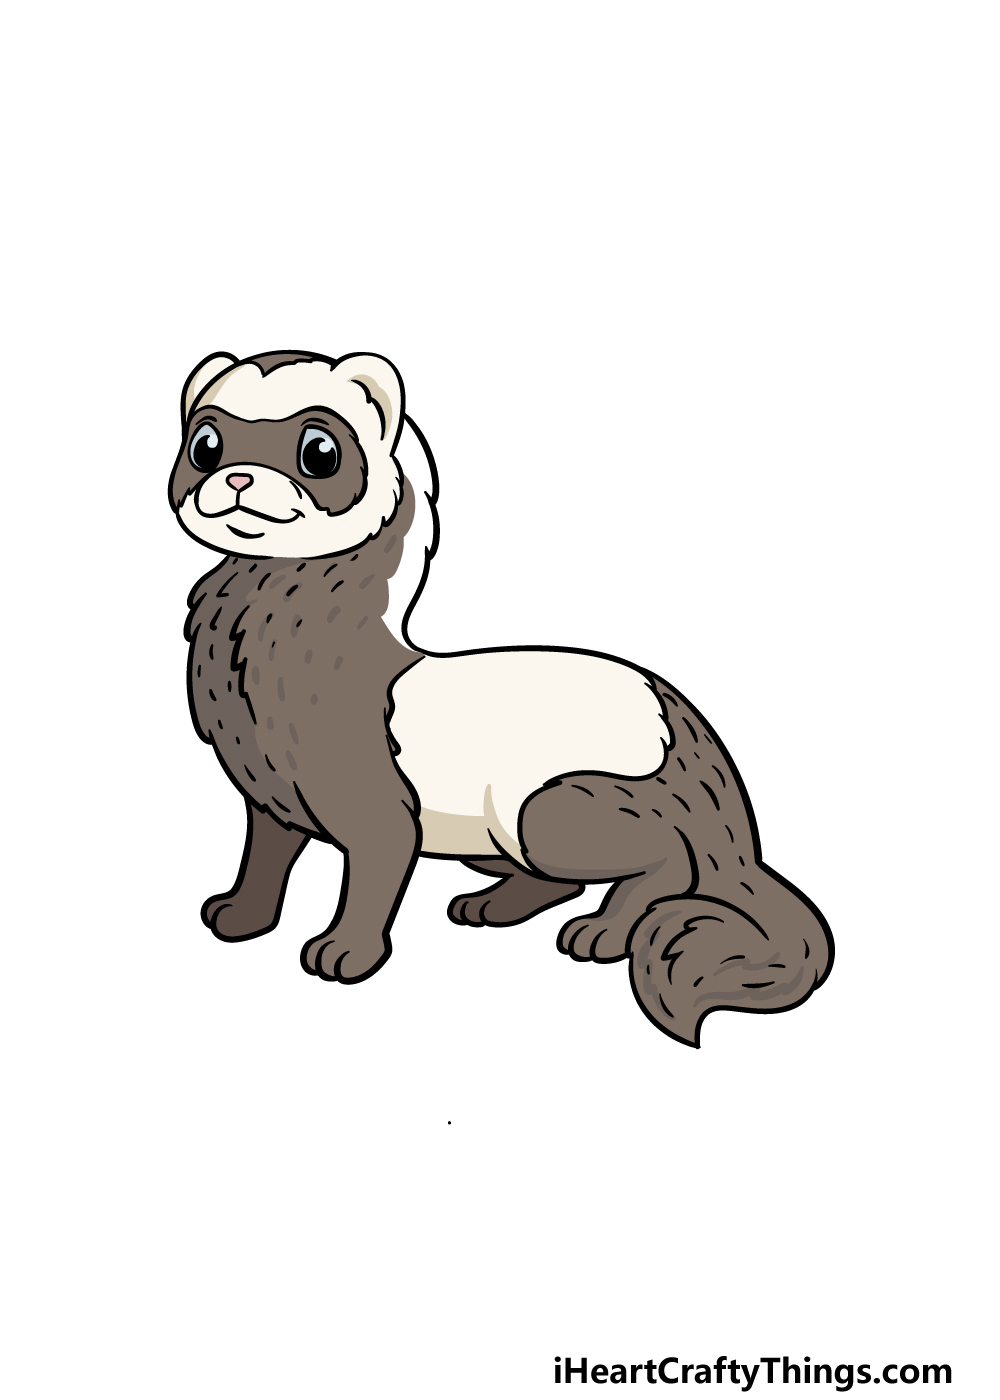
This is the final step of your ferret drawing, and in this one we will complete it by adding some colors! In our reference image, we went for a dark brown and white color scheme.
These alternating colors help to emphasize the various sections of the ferret. Ferrets can come in all manner of different colors and shades though, so you should feel free to use any other colors that you love!
Then you can have some fun picking which art mediums you will use for these colors.
Will you go for some painterly mediums like acrylics and watercolors or perhaps some colored markers and pencils? There are so many possibilities, and we can’t wait to see what you choose!
3 More tips to make your ferret drawing easy!
Make your easy to draw ferret even easier with these fun tips we have for you!
If you find yourself having a hard time with this ferret sketch, you could change the design a bit. This would depend on what you’re having the hardest time with!
For example, you may be struggling with the legs and feet of the ferret. If that’s the case, you could show it lying down instead.
That would give you a great excuse to hide the legs so you don’t have to draw them! That’s just one way of changing the design to make it easier for yourself, but there are many other options for parts you struggle with.
Another way to potentially obscure parts of this ferret drawing you’re struggling with would be to add some background elements. Once again, this would depend on what part of the drawing you’re having the hardest time with.
These background elements could be as simple as adding some grass or maybe some small plants. They could be strategically placed in order to cover up parts you can;t get the hang of.
When adding these kinds of elements, they can be any style you like. If you feel more comfortable drawing in a cartoon style then that would work perfectly!
It would also have the added benefit of making your drawing even more interesting to look at.
Finally, you can make this ferret drawing easy to do if you use a reference to help you out. If you happen to know someone with a pet ferret then you’re ready to go!
Using a real ferret would be the best option, but there are other ways if that isn’t viable. Using pictures is definitely the next best thing, and you can find these easily.
One way would be to get some nature books from your local library. If that doesn’t work, then you can find plenty of ferret pictures online.
Once you have some sources to use, you can use them as you work on your ferret drawing to make it the best it can be!
Your Ferret Drawing is Complete!
You have finished all six steps of this guide on how to draw a ferret, and you have ended up with an adorable new friend at the end of it!
We hope that our guide made drawing this cute little guy not only much easier but also even more fun than you expected.
Now that you have done such a great job on this guide, remember that the fun doesn’t have to end here!
This is your drawing, and you can add a whole bunch of extra touches and features to it if you wish. We mentioned some ideas you could try like drawing a background or more pets, but what else can you think of?
Another way to keep the fun going is by heading to our website to find your next awesome drawing guide! We have tons there and we upload new ones frequently for you to enjoy.
Once your cute ferret drawing is finished, please do share it on our Facebook and Pinterest pages for us to enjoy!