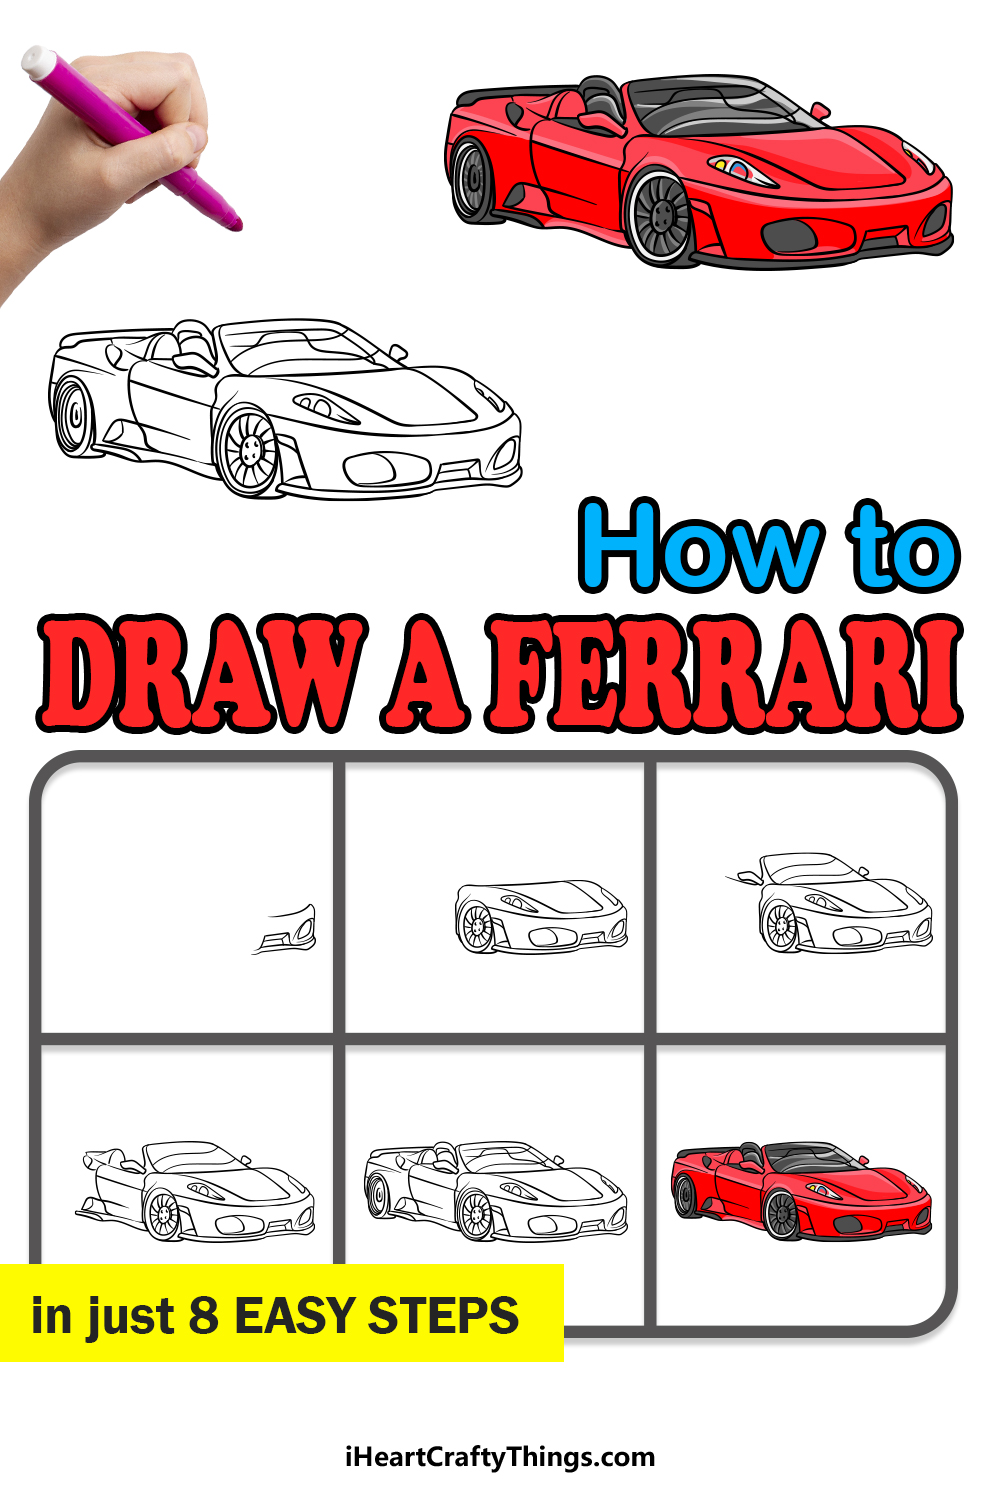
Few sports cars are as iconic as the famous Ferrari. These stylish and speedy machines are definitely works of art in the world of cars!
Their speed and style have won these incredible cars millions of fans around the world who dream of owning one themselves. We may not all get to own one, but learning how to draw a Ferrari can be the next best thing!
By the end of this guide, you will be able to do just that!
We hope that you enjoy this step-by-step guide on how to draw a Ferrari in just 8 easy steps.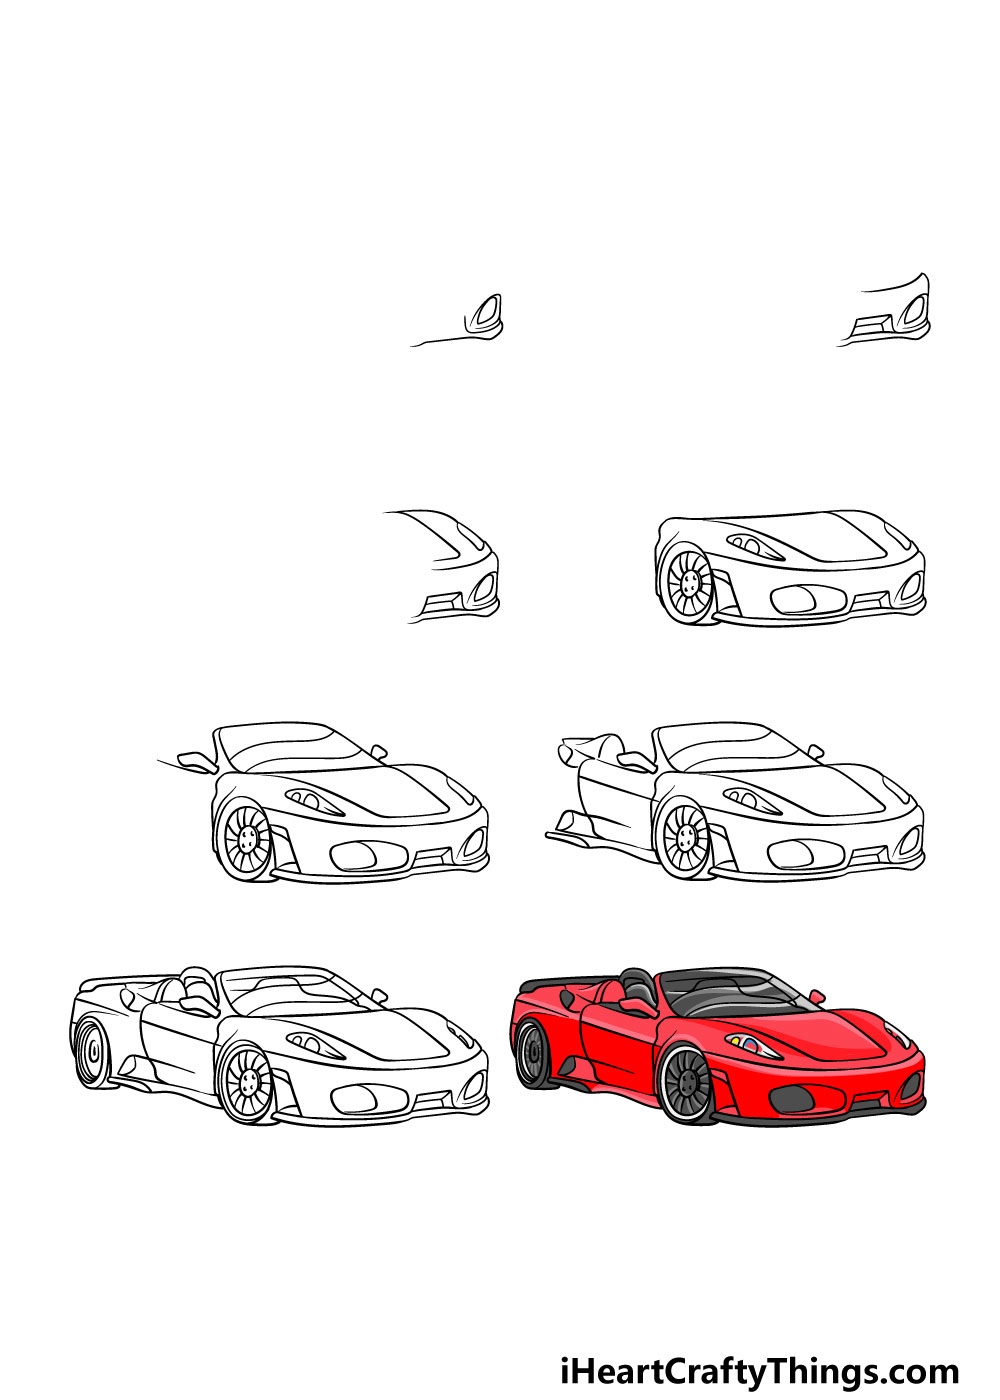
How to Draw A Ferrari – Let’s Get Started!
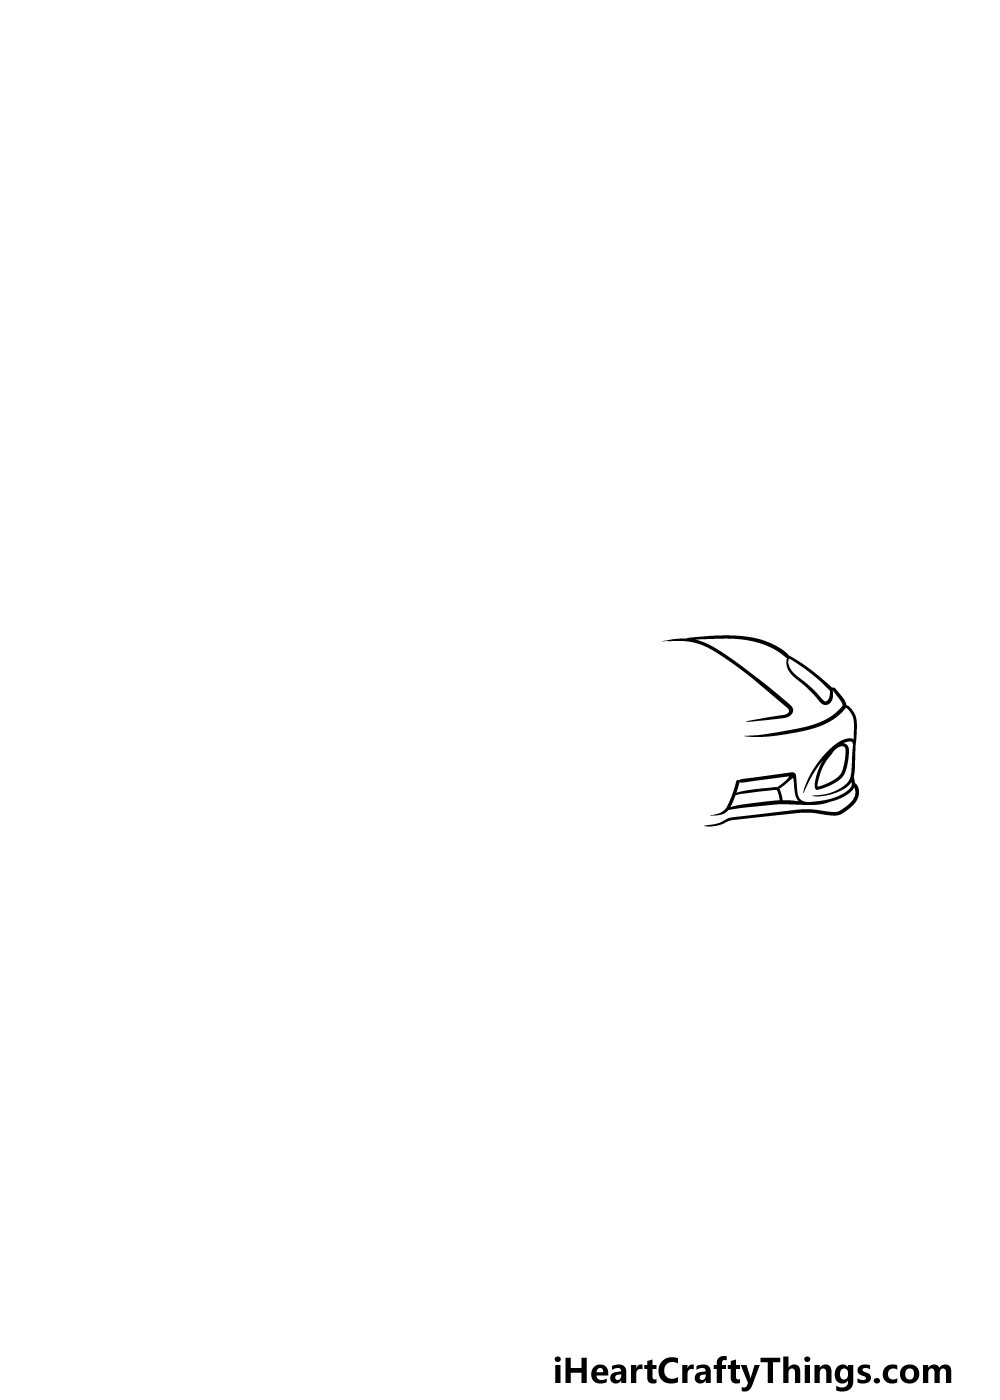
Step 1
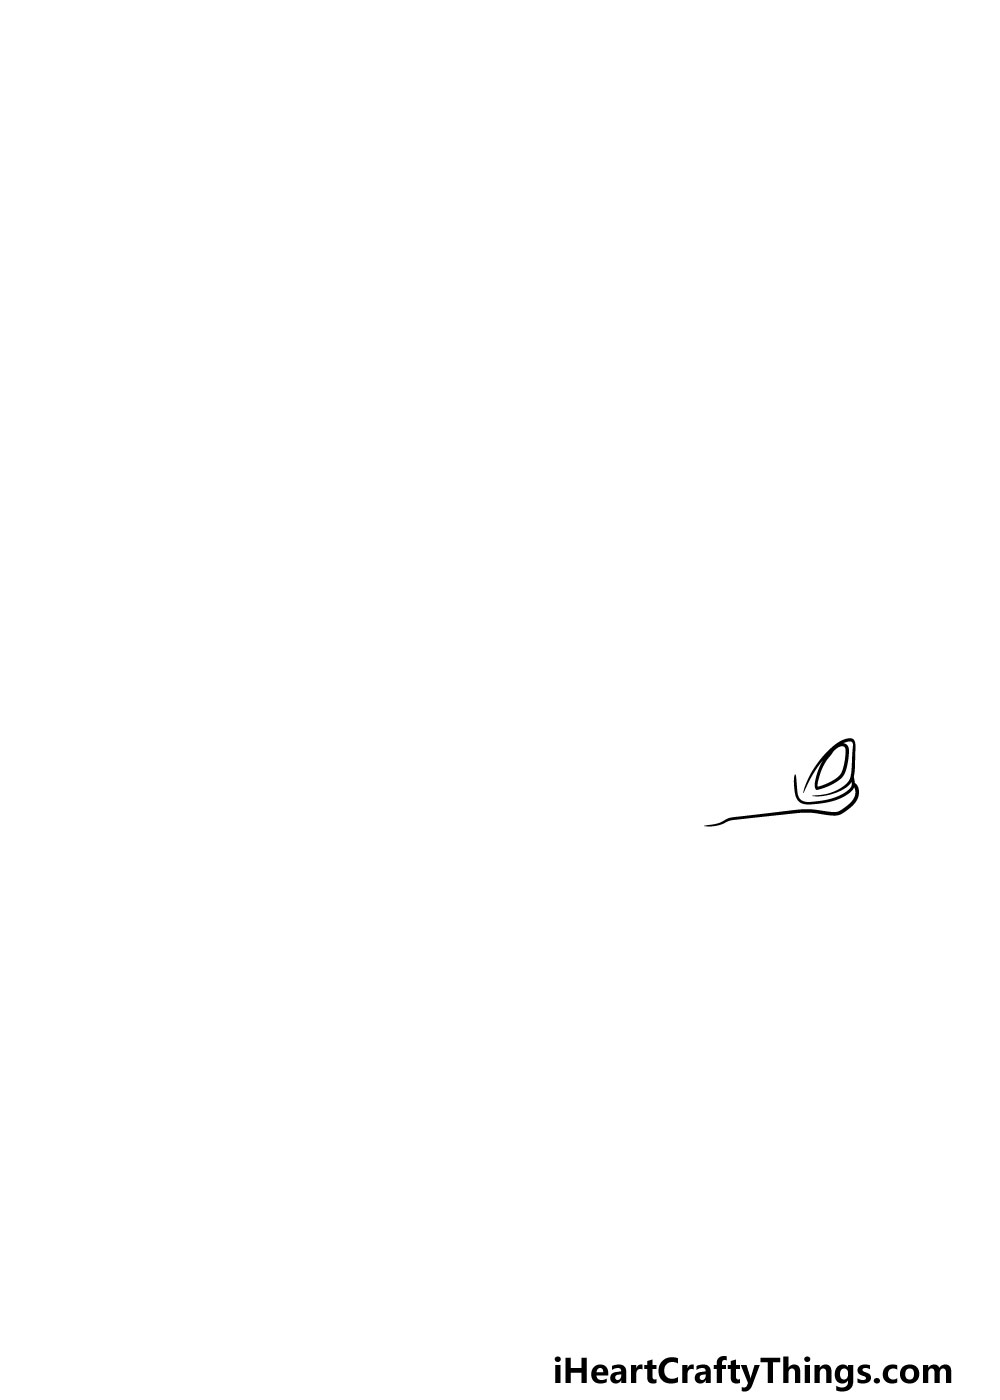
This first step of our guide on how to draw a Ferrari will see you drawing the first headlight of the Ferrari.
There are going to be a lot of details that you will be working with in this guide, so unlike the Ferrari itself you should definitely take it slowly as you draw!
The inlays on the bumper will be a rounded shape, and then you can use some curved lines to draw the setting that it is sitting in. That’s all there is to it in this step, and now you’re ready for the next part!
Step 2 – Next, draw some more of the front of the Ferrari
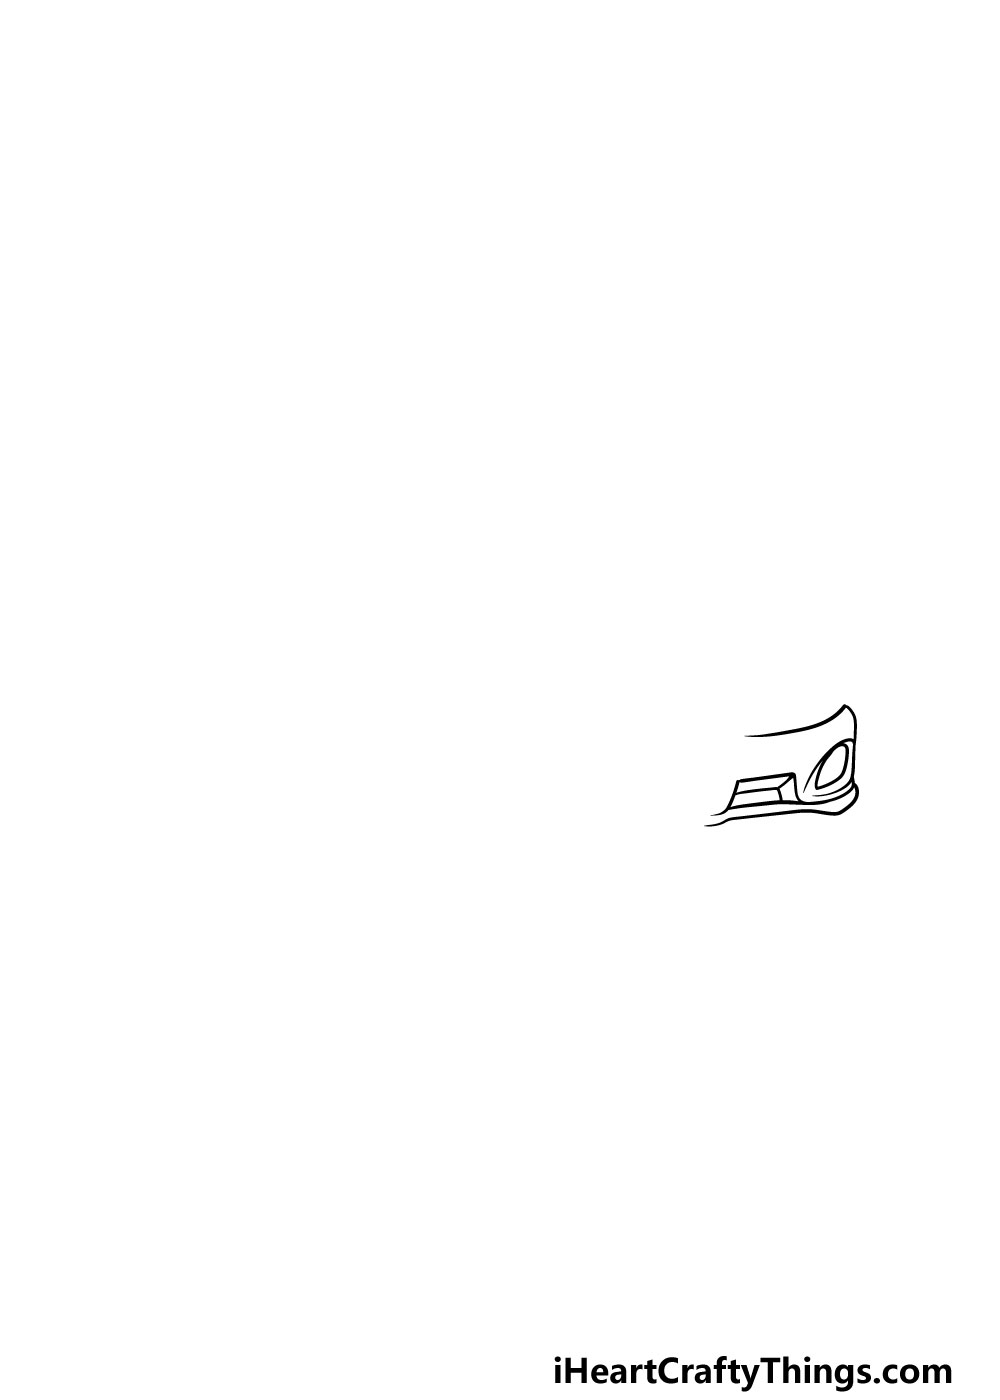
In this part of your Ferrari drawing, we will be drawing some more of the front bumper of the car. To do this, you will be using some more curved lines to draw the front bumper of the car.
It may seem like we’re moving very slowly, but it will pay off in the end! Taking it slowly is the best way to overcome a drawing that has lots of small and specific details.
Step 3 – Now, start drawing the hood of the car
For this third part of our guide on how to draw a Ferrari we will be starting on the hood of the car. To do this, we will be using some more curved lines to create the different sections that make up the hood.
We will just be drawing the right-hand side for now, but rest assured that we will be building on to it in the next few steps.
Step 4 – Next, draw the rest of the hood, bumper and first wheel
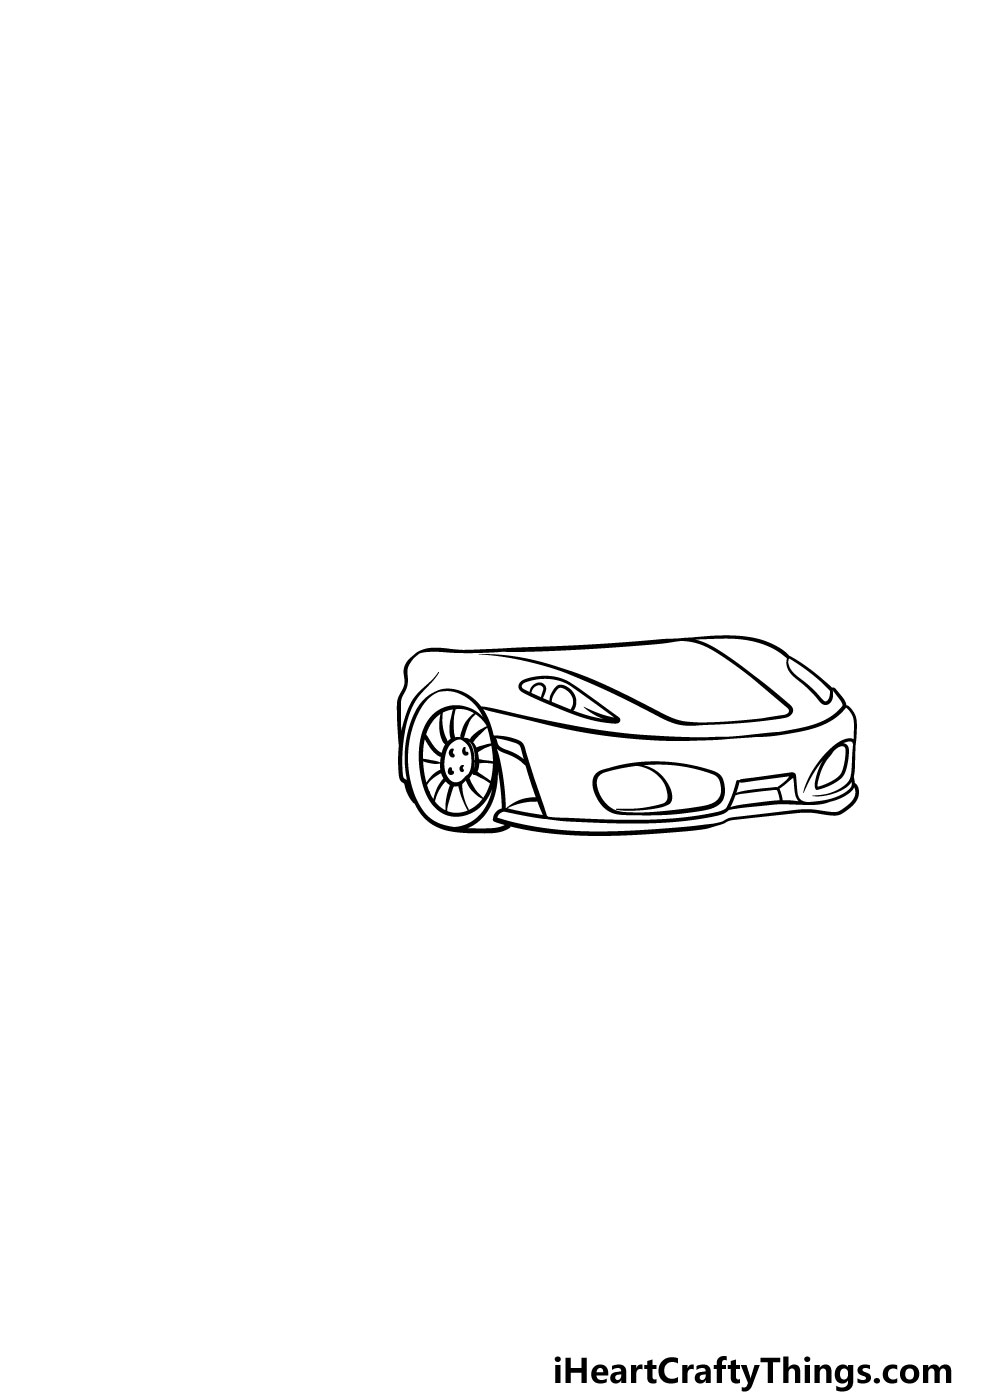
In this third step of your Ferrari drawing, we will be adding quite a lot to the front of the car. You can add some more for the front bumper, and that will include the other bumper inlay.
Then, you can use a circular shape with lots of curved lines inside of it for the front wheel. Then, you can finish off this step by drawing the rest of the hood.
Step 5 – Now, start the windscreen of the car
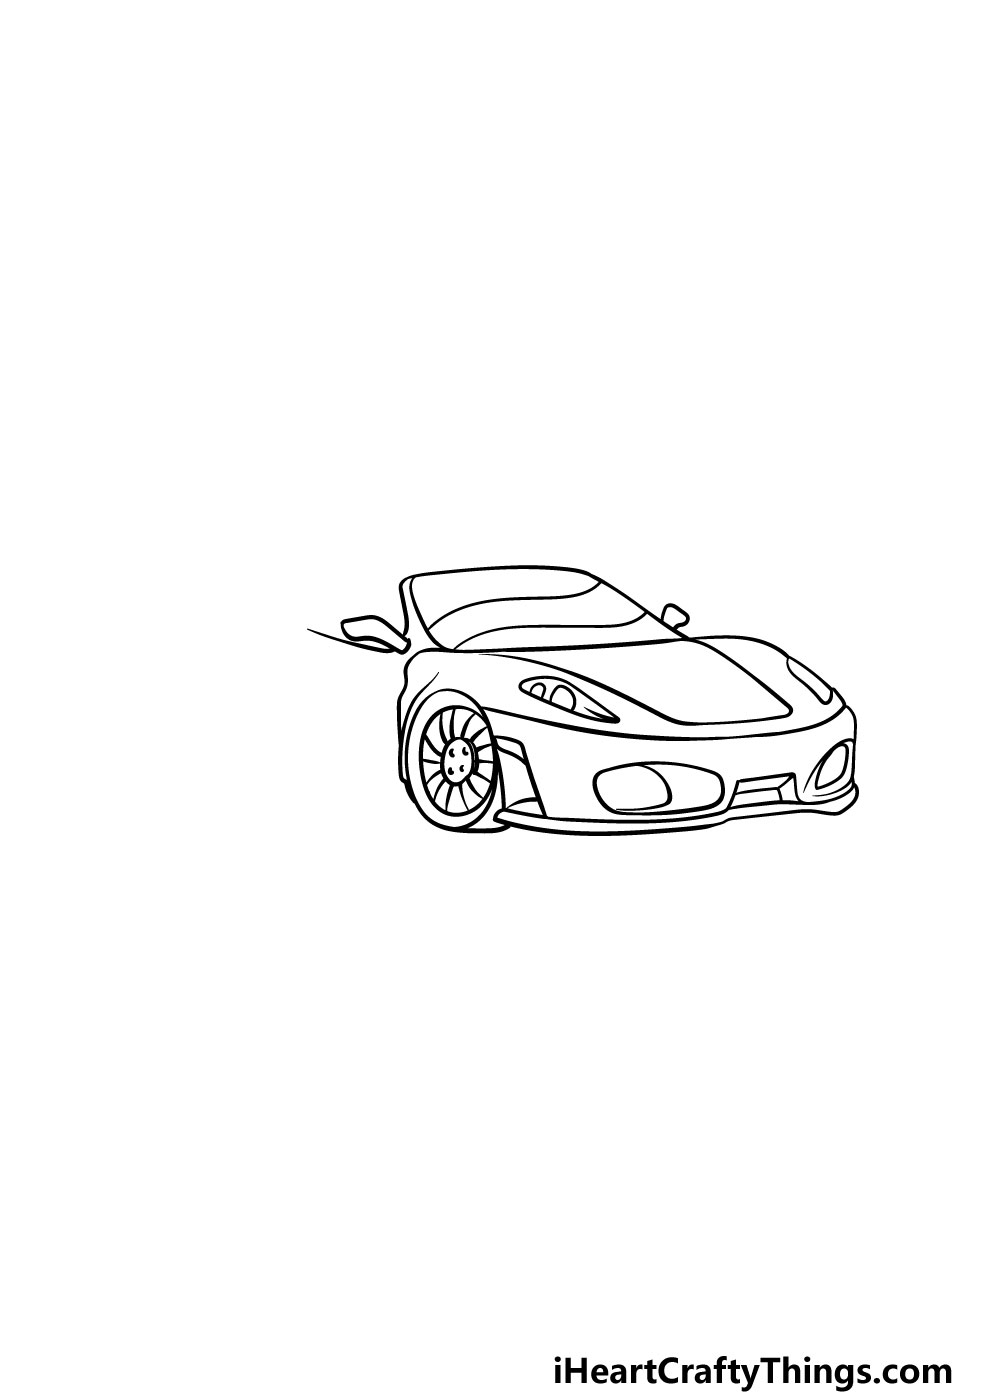
Continuing on, we will start on the windshield for this step of our guide on how to draw a Ferrari. To do this, we will be using some curved lines to draw the windshield sticking up.
Then, you can add some more curved lines inside of the windshield to create a shiny look for the windshield. Finally, draw some small shapes for the mirrors of the Ferrari
Step 6 – Next, draw the door of the Ferrari
The front of your Ferrari drawing is pretty much done now, so we shall start moving backward on the car to draw the side door.
This will be drawn with a combination of curved and straight lines, and it will be in two sections, as shown in the reference picture.
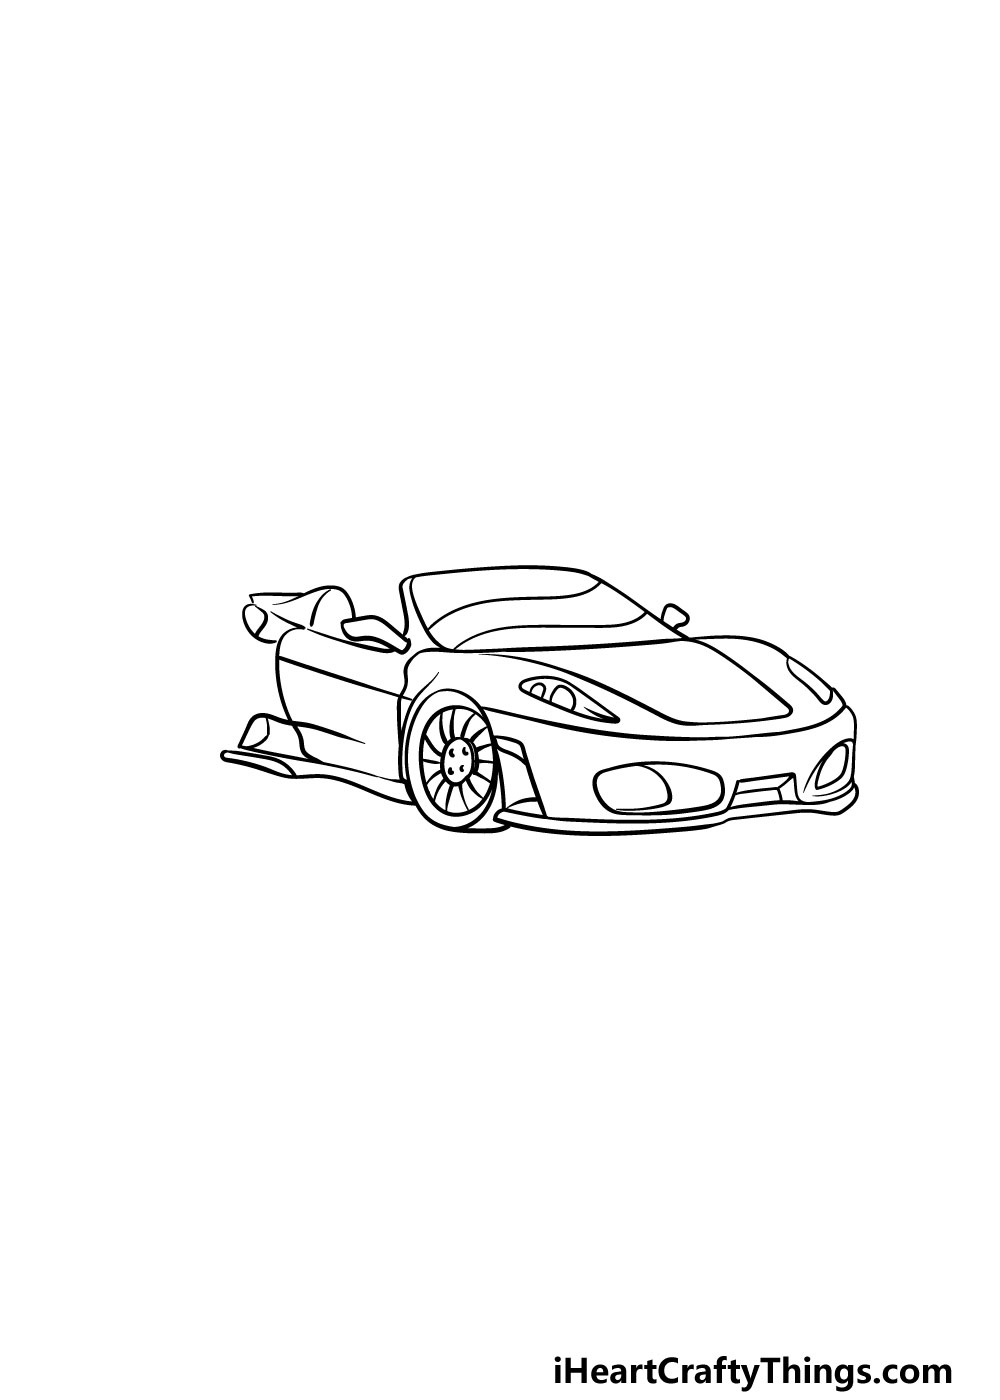
Step 7 – Draw the final details of your Ferrari drawing
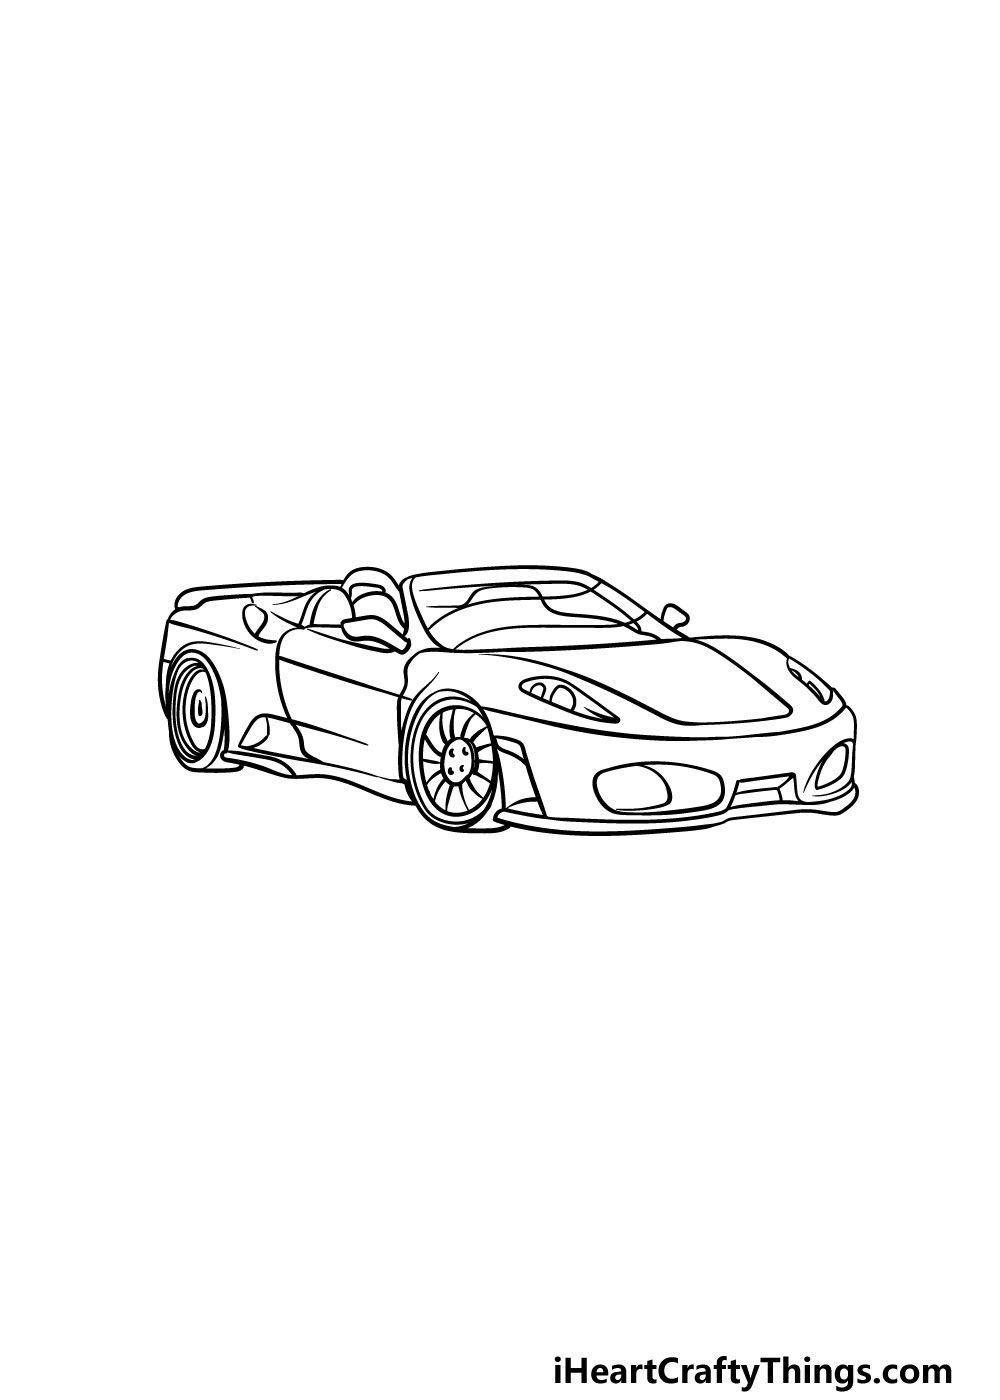
It’s almost time to start adding some amazing colors to your Ferrari drawing, but first we have some final details to add first.
These details will include the back of the Ferrari, as well as the back wheel. You will also be finishing off the interior details of the car.
Be sure to follow the guide closely as you draw, as there will be a lot of small details to add!
Then, once you have added all of the final details then you’re ready to move on to the final step!
Before you move on, however, be sure to add any other details or elements of your own that you may want! How will you finish off this drawing before adding some color to your picture?
Step 8 – Now finish off your Ferrari drawing with some color
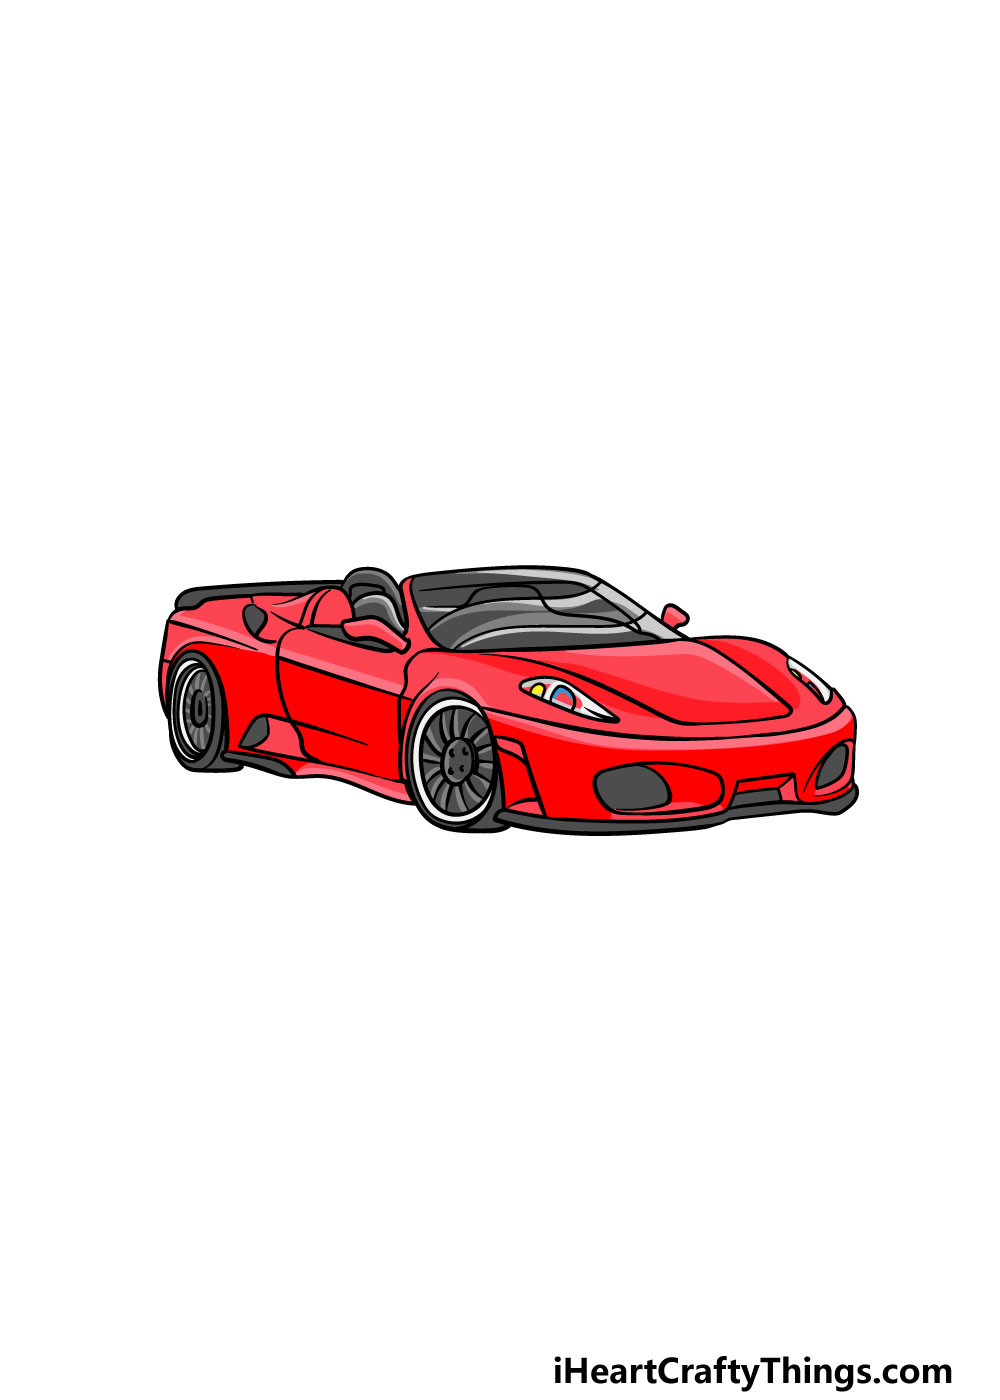
This final step of your Ferrari drawing will be all about adding some amazing colors to it so that you can finish off your picture in style.
In our reference image, we used a classic red and black color scheme for it. Ferraris are often associated with a red color scheme, so you can go for that to maintain a classic look for the drawing.
That’s just one way that you could color in this image, however, and you could use any of your favorite colors that you love in order to create your dream car.
What do you think you will use to finish off your drawing?
Here’s how you can make your Ferrari drawing even better…
You’ll want to slow down and not race through these tips we have for your Ferrari sketch!
This drawing of a Ferrari shows this incredible car in the classic red color scheme that Ferrari is famous for.
This is the obvious choice for a Ferrari, but you could still customize it with your favorite color.
For example, you may prefer a bright yellow for this Ferrari, and that would look amazing in its own way! Will you try out a different color or stick to the classic red?
The Ferrari in this image has a convertible roof which is always a cool feature to have. Even so, you may prefer a solid roof, in which case you could alter the drawing a bit.
If you want to do this, then you could look up a picture of a Ferrari with a solid roof and then use it to help you customize this particular model.
Are there any other features you would like your very own Ferrari to have?
Many Ferrari fans would love to own one, and you could show what that would be like by adding yourself to this Ferrari drawing.
This could be as simple as showing you sitting in the car or you could be standing next to it.
Or, you could draw a professional racer that you admire or someone that you think would look cool in a Ferrari. Who would you like to have as the owner of this beautiful car?
What good is having an awesome car if you don’t have somewhere to drive it? You could show where you would like to take this Ferrari for a spin by adding a background to your Ferrari sketch.
We think that such a majestic car deserves an equally majestic backdrop. If there is a stretch of road near you that looks amazing then you could use it for your drawing.
Otherwise, you could pick a famous road or track and then use that as your inspiration for the background.
Your Ferrari Drawing is Complete!
With that, you have finished this step-by-step guide on how to draw a Ferrari! We really hope that this guide made it much easier for you to finish this drawing.
Also, we hope that it was lots of fun as well! Even for a more detailed drawing such as this, you can make it so much easier if you break it down into more manageable steps and take it slowly.
Now that you have finished this guide, you can take it even further with your own details and elements.
These could include a background, extra details or even the amazing colors and mediums that you go for. Perhaps you could also draw yourself sitting in this car!
When you’re ready for more drawing fun, we hope to see you on our website! We have many amazing guides for you to enjoy, and we upload new ones all the time for you as well, so be sure to visit often.
Once your Ferrari drawing is done, we would love to see your amazing artwork! You can share it on our Facebook and Pinterest pages for us to enjoy.