The letter V is the twenty-second letter in the alphabet, and it’s one of the most infrequently used letters in the English language when you look at how many words it appears in.
Just because it’s not used as much doesn’t mean that it’s not important to learn how to write it, however! Luckily, both the lowercase and uppercase versions of the letter are fairly simple.
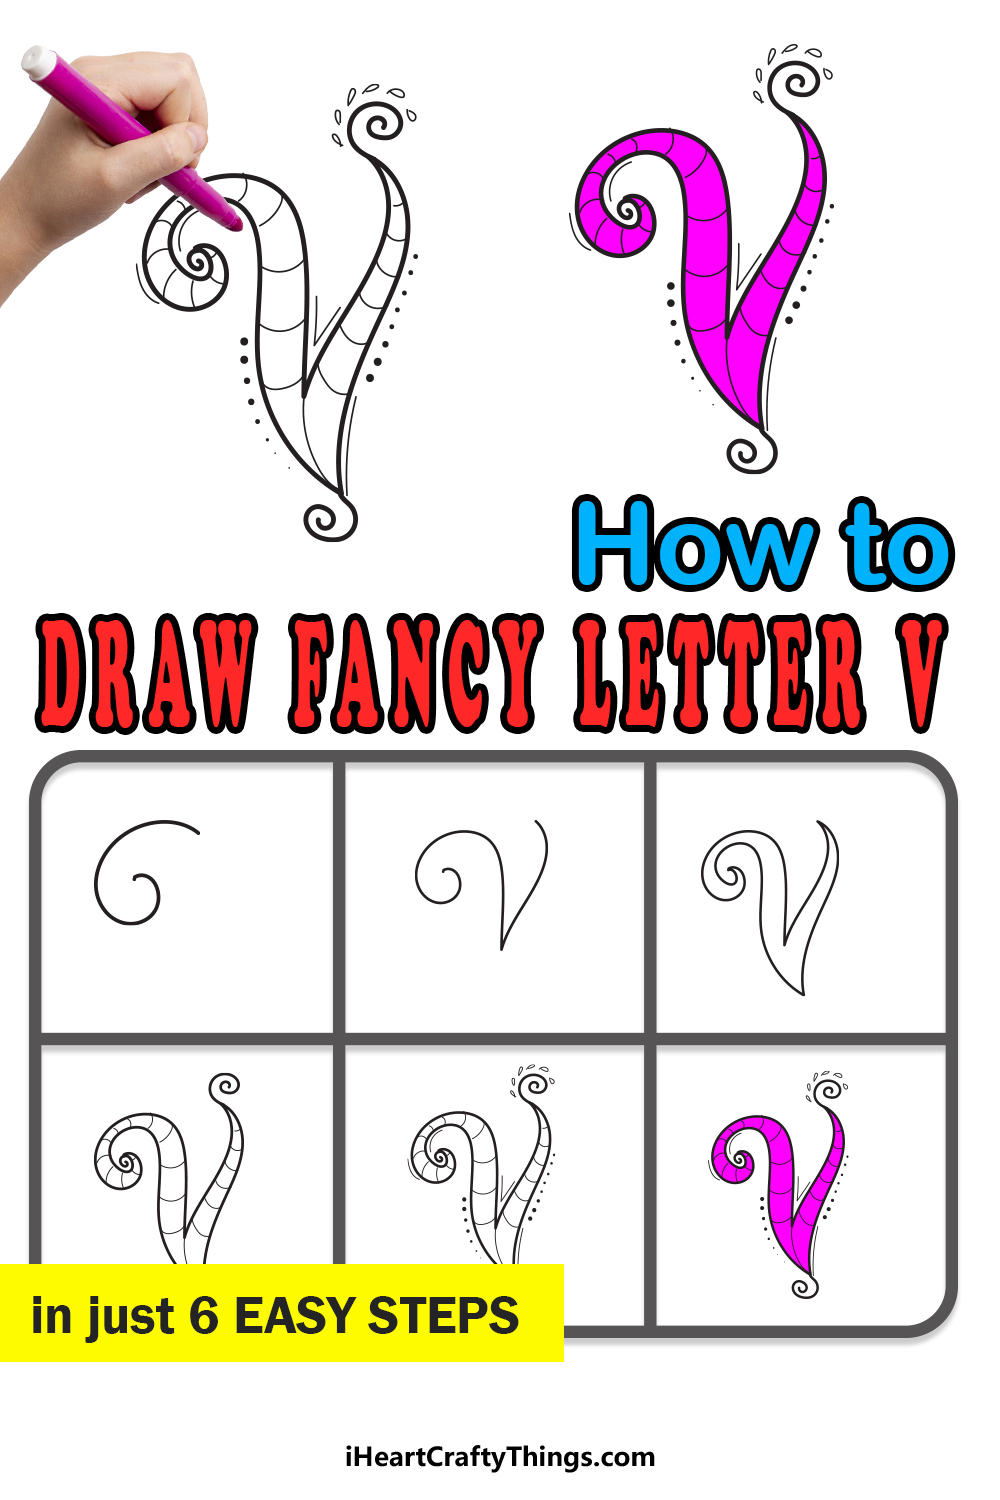
We’re not here to learn the simple versions of the letter, though! Instead, we will be focusing on learning how to draw a fancy letter V.
This will happen over 6 fun and easy steps that will allow you to get creative with it as well. Not only will you find out how to draw this letter, but we will also go over some ways to color it in.
So let’s get started and see how you can draw this super fancy version of this letter!
Let’s Get Started
STEP 1:
A regular letter V is a simple one to write, as it is merely two diagonal straight lines connected at a point at the base.
For this design, we will be avoiding using any straight lines, as the curved outline will help to make the letter look even fancier.
Even though we won’t be drawing a regular letter V, you can start off by drawing one with your pencil. Doing that will allow you to visualize the shape of the letter before drawing.
Planning it out with your pencil will also allow you to decide the size of the letter before you use your pen to draw the final lines.
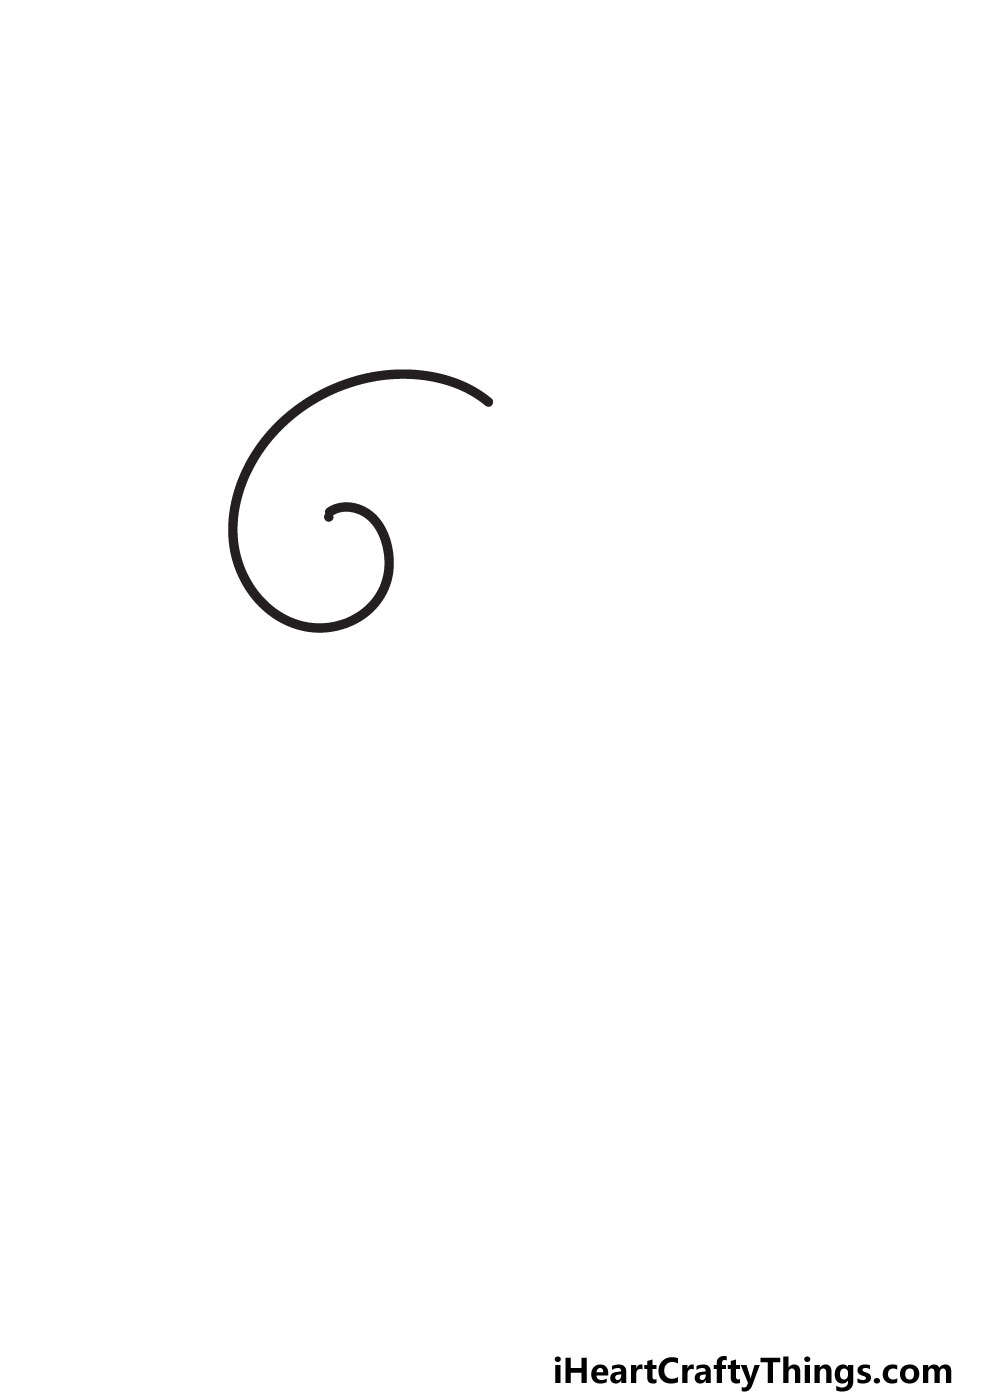
With that out of the way, we can draw the first part of this letter. Specifically, we will actually be drawing a spiral shape attached to the left tip of the letter.
We will start really simply with this first spiral shape. All you need to do is draw a twisty line like the one in our reference image.
It will be shaped a bit like a number 6 that has a gap at the center. It may not look like much now, but you will see how it works in the design soon!
For now, let’s move on to step 2 of the guide.
STEP 2:
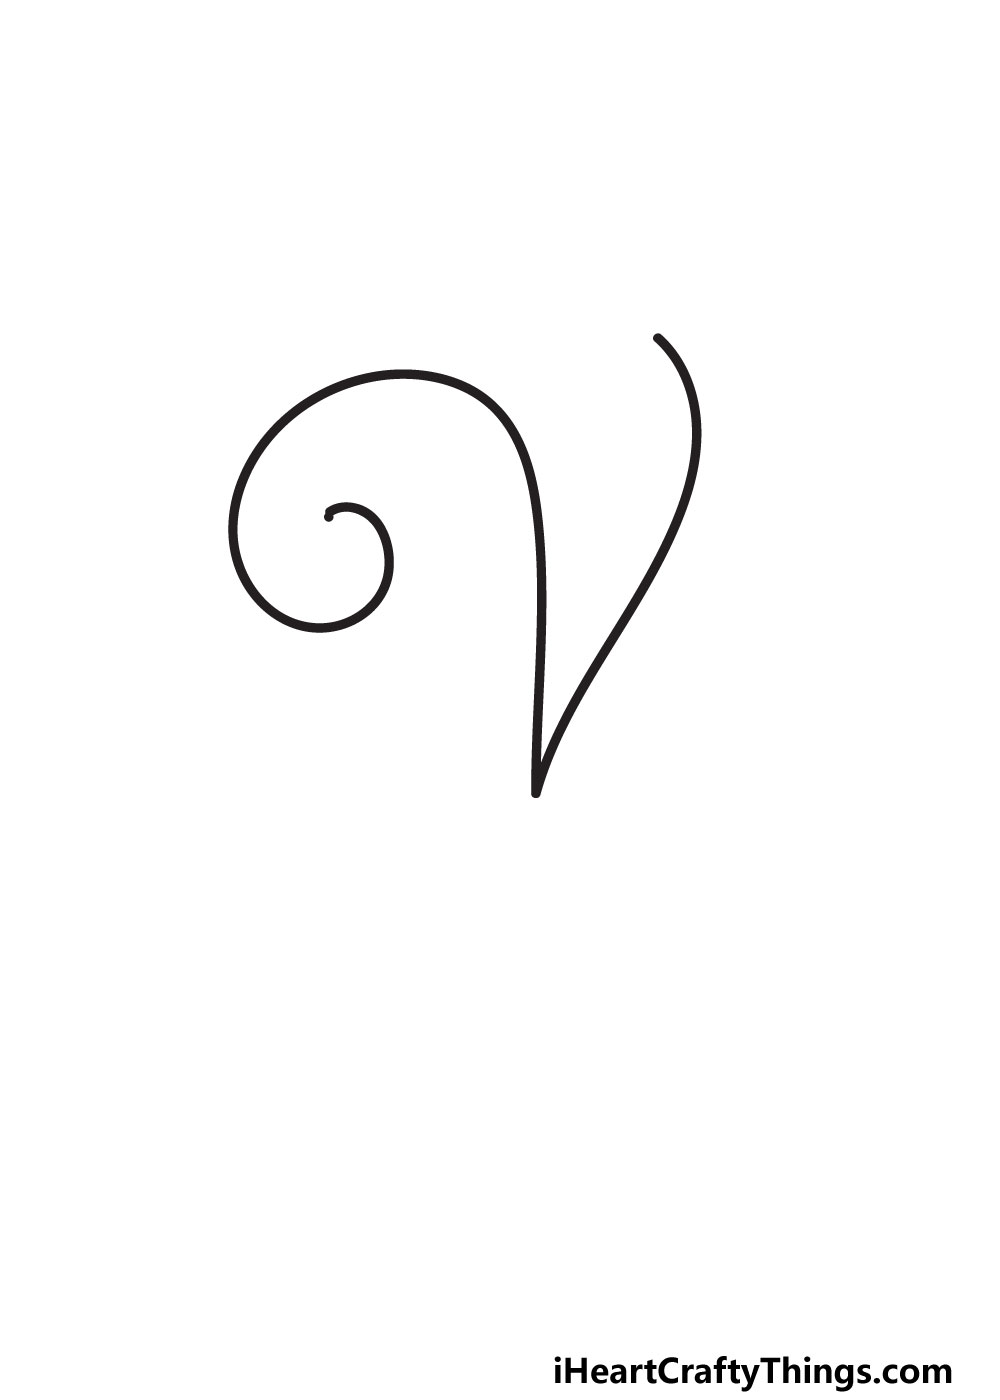
By the end of this second step, we will have what already looks like a fancy rendition of the letter V! This one will be a line drawing, however, and we will be adding more depth to it later.
For now, we will continue the line that you started in the previous step of the guide. Begin where that line ended by drawing a horizontal, very slightly curved line.
That line will end at a pointy tip at the base of the letter. That pointy tip will then shoot up in another horizontal angle, as shown in our reference image.
In a normal letter V, these lines would normally be perfectly straight. While we want them to be slightly curved, they should still be straight enough that you can see what they’re meant to be.
So now, it looks like a curved letter V with a spiral poking off the left-hand side. Now that we have this part of the letter, we can add the rest of the outline in the next step.
STEP 3:
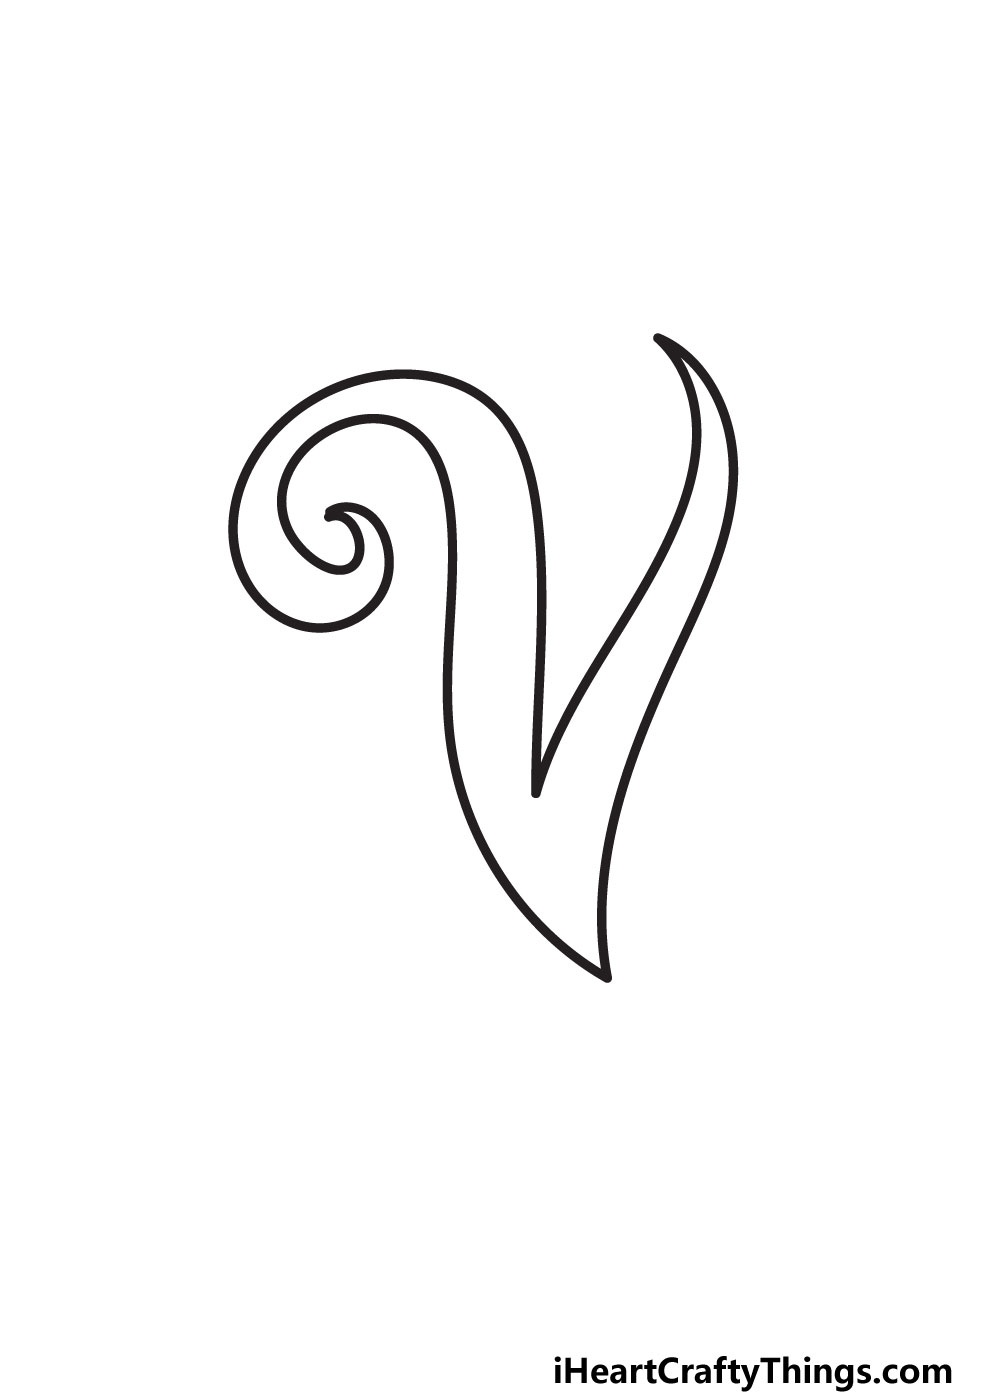
Everything that we have done so far in this guide so far will make sense by the end of this third step of our guide on how to draw a fancy letter V!
We will be adding a lot in this step, so let’s take it one step at a time and start at the point on the right-hand side of the letter.
There will be quite a sharp tip at this point that plunges down in a slightly wavy line. It should run mostly parallel to the line that you drew in the previous one.
Then, there will be a very pointy tip at the bottom of the letter. This point will then slope up sharply in another slightly wavy line with a curve to it.
As this slope reaches the top of the letter, it will slope out and join the spiral that we drew all the way at the beginning of the guide.
And then, your outline for this letter is all done! Now you can erase the pencil lines we suggested if you decided to use them.
It would also be a good time to neaten up the outlines and go over them with your drawing tool of choice. Next, we will add some interior details to the letter.
STEP 4:
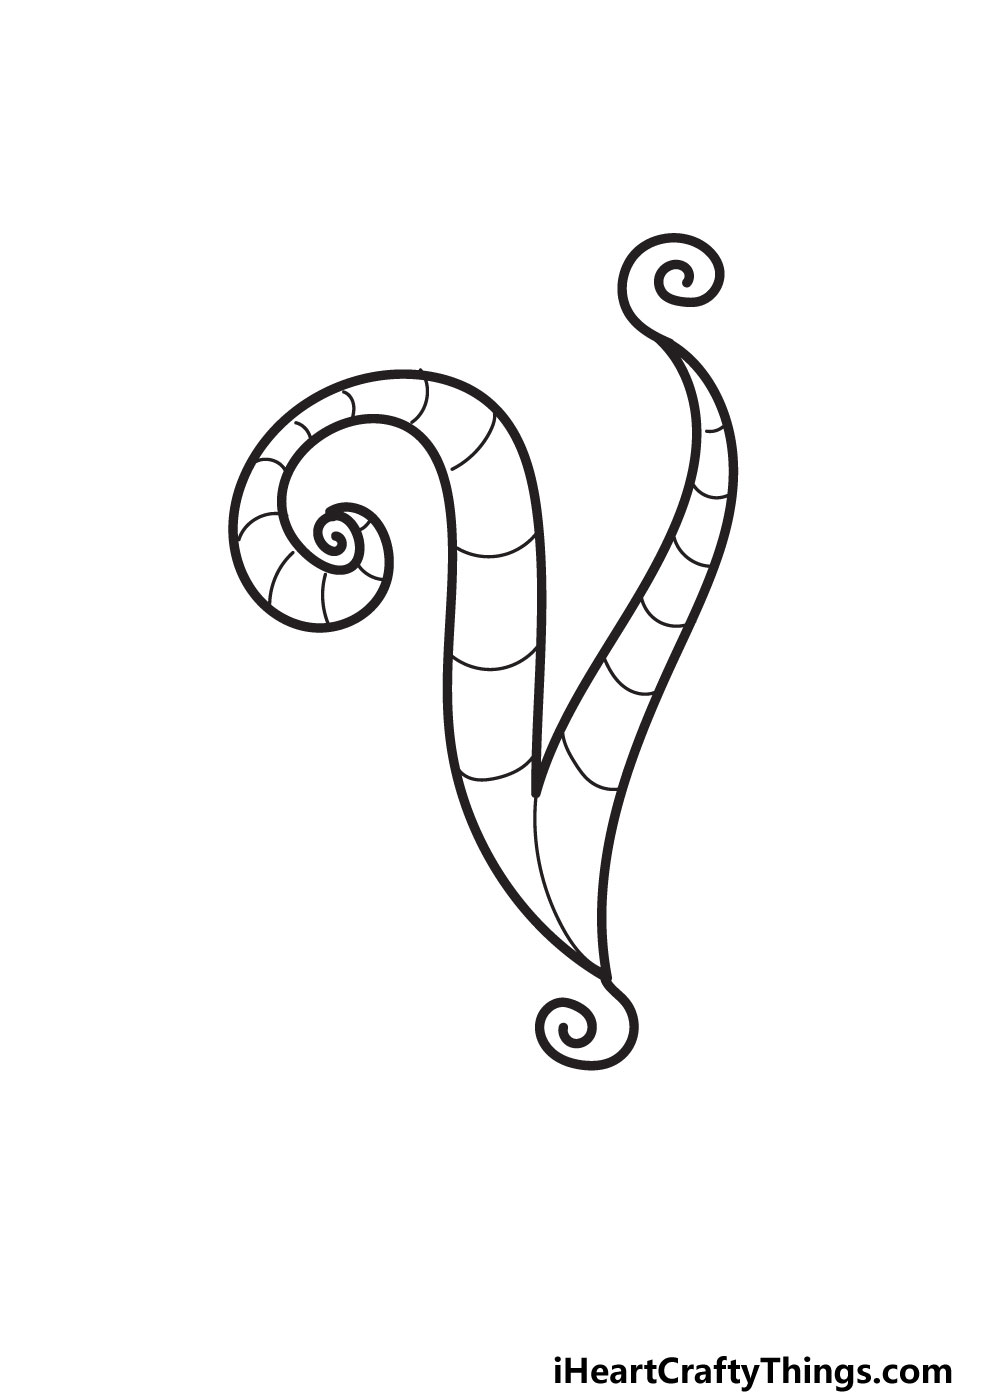
The previous three steps were all about creating the main body of the letter V, but this one will focus on some interior details to make it look even cooler.
The details are simple, yet they will make a big difference to the design. First, we thought that this design could use a few more spirals.
To fix this problem, we added some spiral shapes poking out from each tip of the letter. This already makes the letter look fancier, but we’re not done yet!
We will also add a pattern to the letter to give it some texture. To do this, we drew some slightly curved lines across the letter all throughout it.
It’s such a simple touch, but it makes it look even more visually interesting. If you would prefer a different pattern for your particular version of this letter, then you can play around with all sorts of line details!
Then, we will head on to step 5 of the guide where we will add some extra details around the exterior of the letter.
STEP 5:
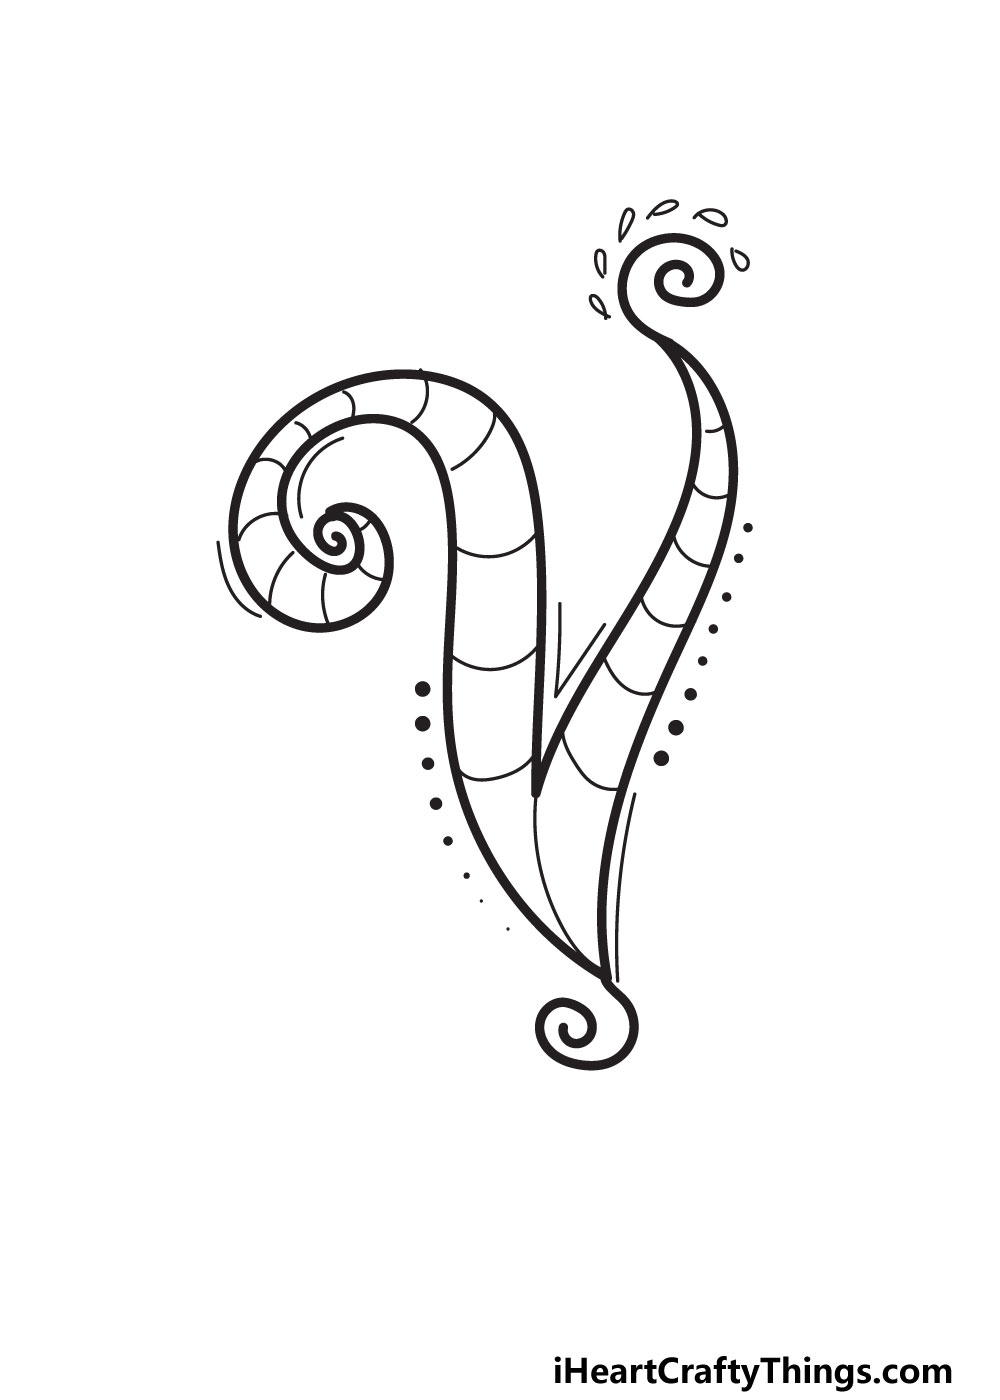
The interior of this letter is all nice and decorated, so now we can add some details to the exterior of the letter to make it look even more interesting.
To start, we added a series of dots varying in size along the outline of the letter. These are on opposite edges of the letter, as shown in our reference.
You don’t have to place them in the same place if you have a different idea, however! Next, we added some small teardrop shapes around the spiral line at the top.
These are so simple but add some life to the design. Finally, we added a few simple straight lines next to the outlines of the letter.
As with the other details, you could change them around as you like! Of course, you could also add some detail ideas of your own.
Then, you could also add to the background to make it look even more interesting. This could be in the form of some shapes, patterns or even other letters.
You can get imaginative with the background, but we will cover this topic again after the final step.
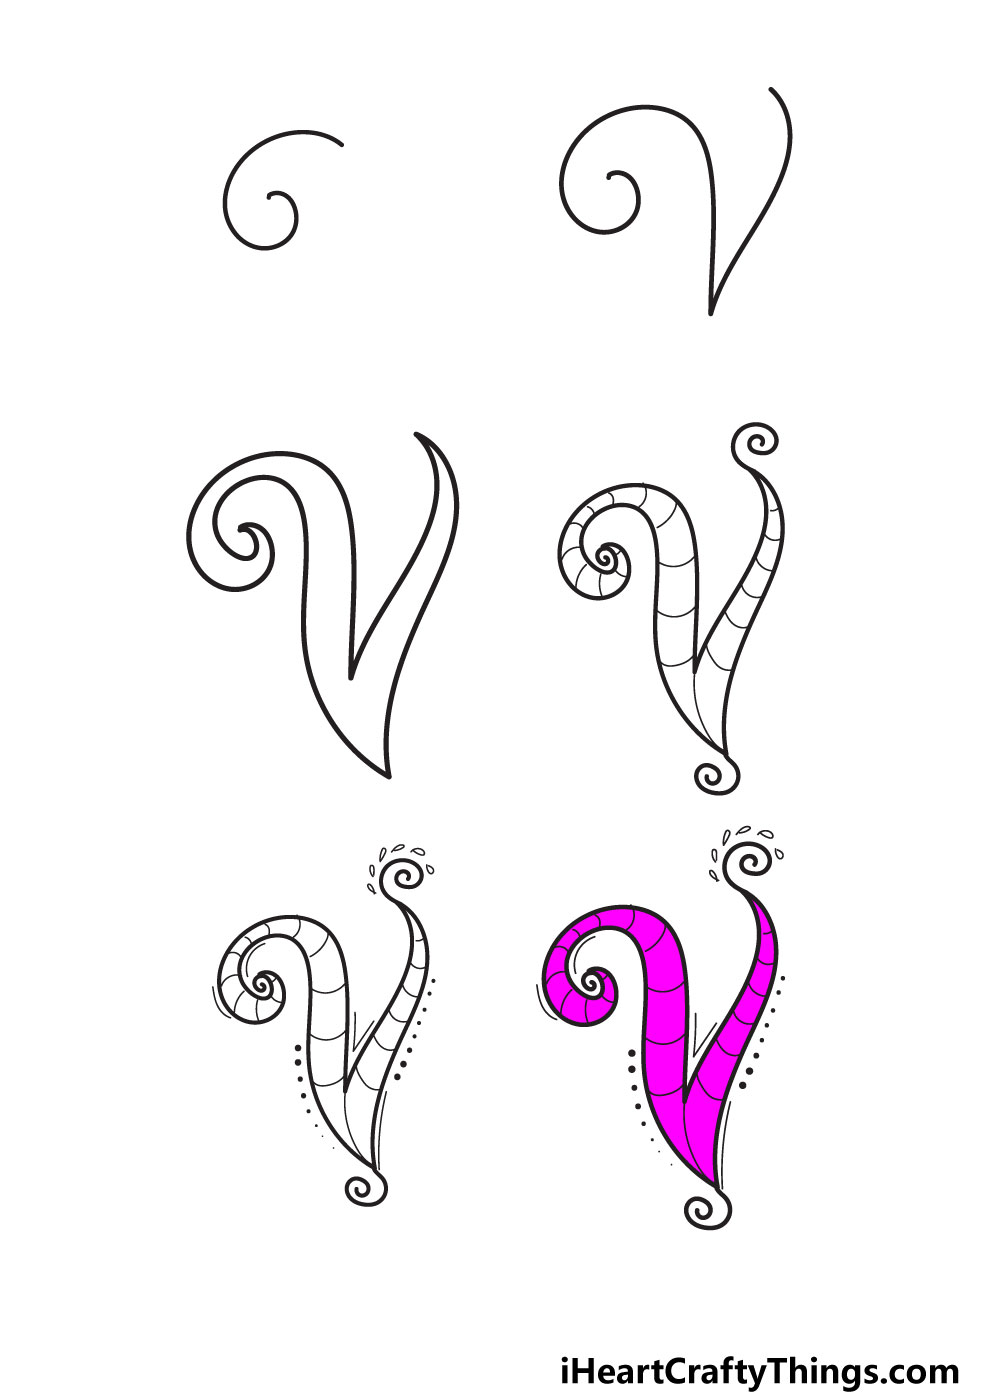
STEP 6:
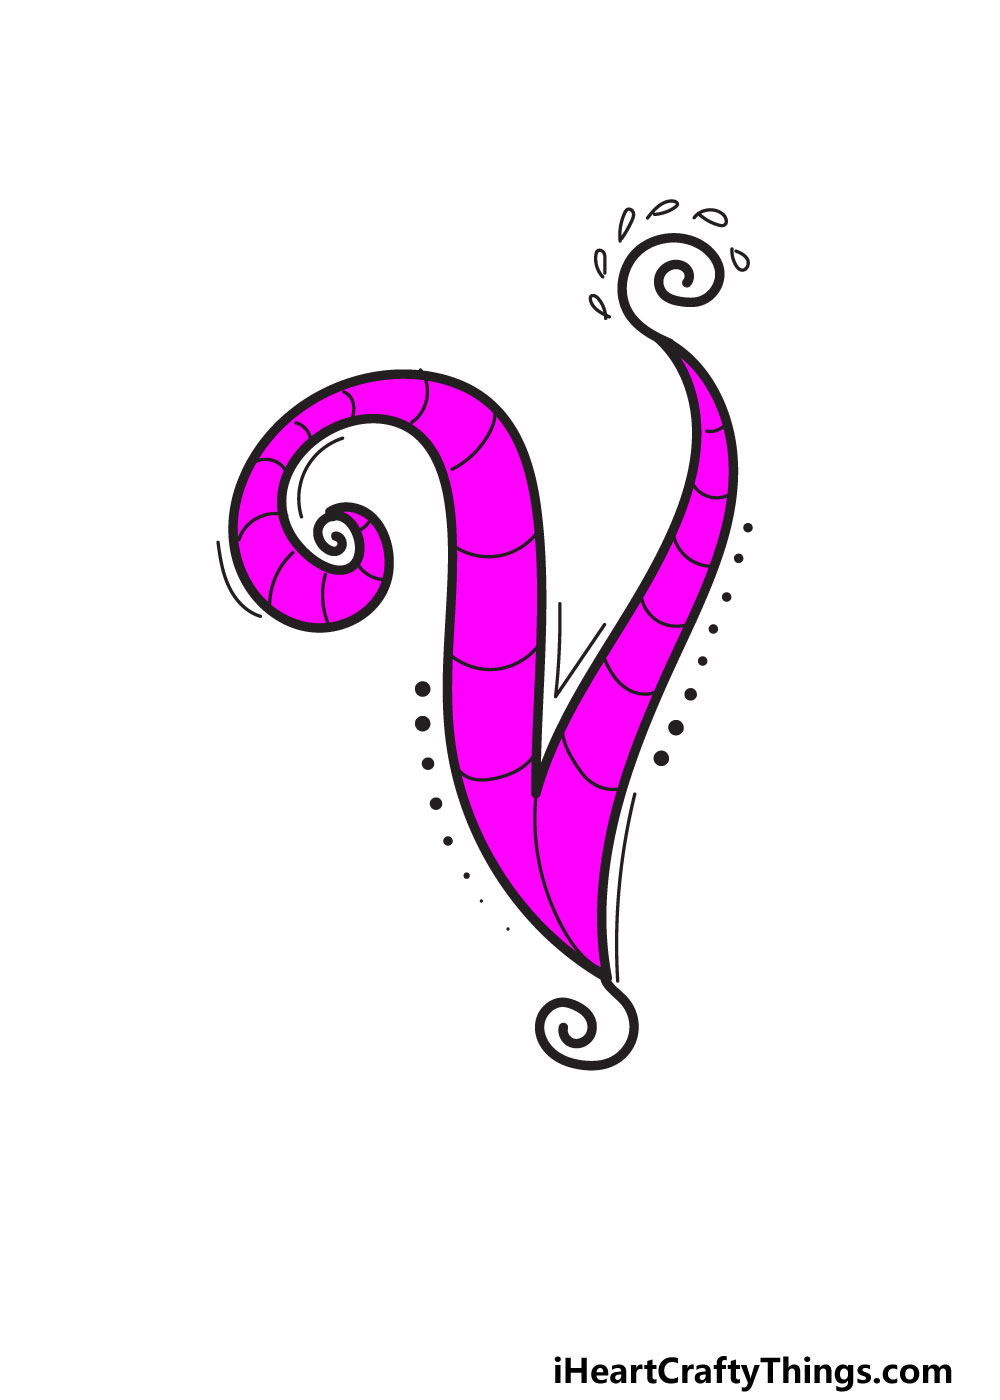
Right now, the only thing that could make this fancy letter V more fancy would be to add some color! That’s exactly what we intend to do in this final step.
In our reference image, we show you one way that you could color in your letter V. We chose a gorgeous bright purple color to make it look really pretty.
If you love purple, then you could use it for your own drawing to match our one. Otherwise, you can go for any other colors you love instead!
Choosing the colors you use is just a part of the fun, and you can experiment with different art mediums to make the colors pop in different ways.
Don’t forget the background, as you can add color there as well to make this an even more stunning image. Which colors and art mediums will you choose to finish it off?
My Final Tips To Make Your Fancy Letter V Drawing Even Better!
Before we close off this guide, we wanted to go over a few more ideas on how you can make your artwork look even better.
The main way we would suggest you do this is by choosing a theme for your drawing. The easiest way to do this is to choose a word that starts with V.
For example, you may choose the word violet. You could draw out the rest of the word in the same fancy style we used for the letter V.
Then you could use violet to color the letter. Then, you could draw some violet flowers in the background.
It’s just one idea of how you can create a theme with a single word! The same could be done with a name.
If you have a friend named Virginia, for instance, you could write their name and fill the background with things that your friend loves.
What other words or names could be used to create a theme?