The letter T is the twentieth letter of the alphabet, and it is a pretty common one that appears in many words. You can see that already with how many times it has appeared in this first paragraph!
It’s a fairly easy letter to write normally, and this is the case whether it’s the upper or lowercase version. In both cases, it is basically two lines crossing one another.
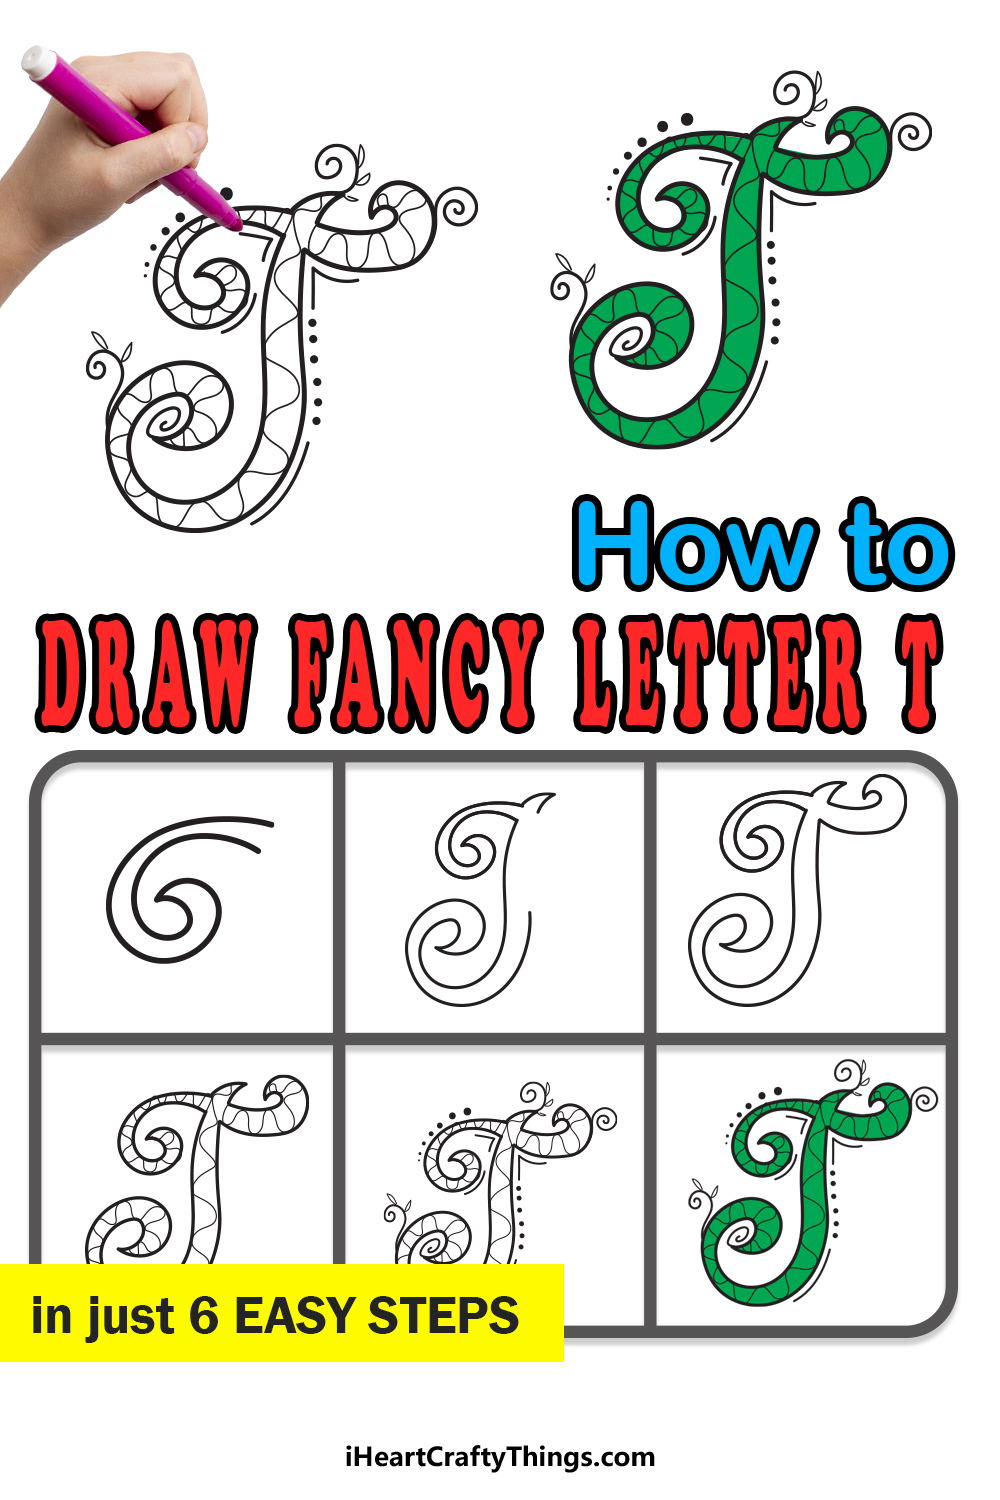
In this guide, we’re not aiming to make an ordinary version of this letter, however! We’re aiming to make it a fancy letter T, and this makes it a bit more difficult.
There’s no need to fear, however, as we have 6 steps to make it so much easier! We will also go over a few ways that you can decorate and make your drawing even fancier.
Let’s begin with step 1 of the guide and see how we can create this super fancy version of this common letter.
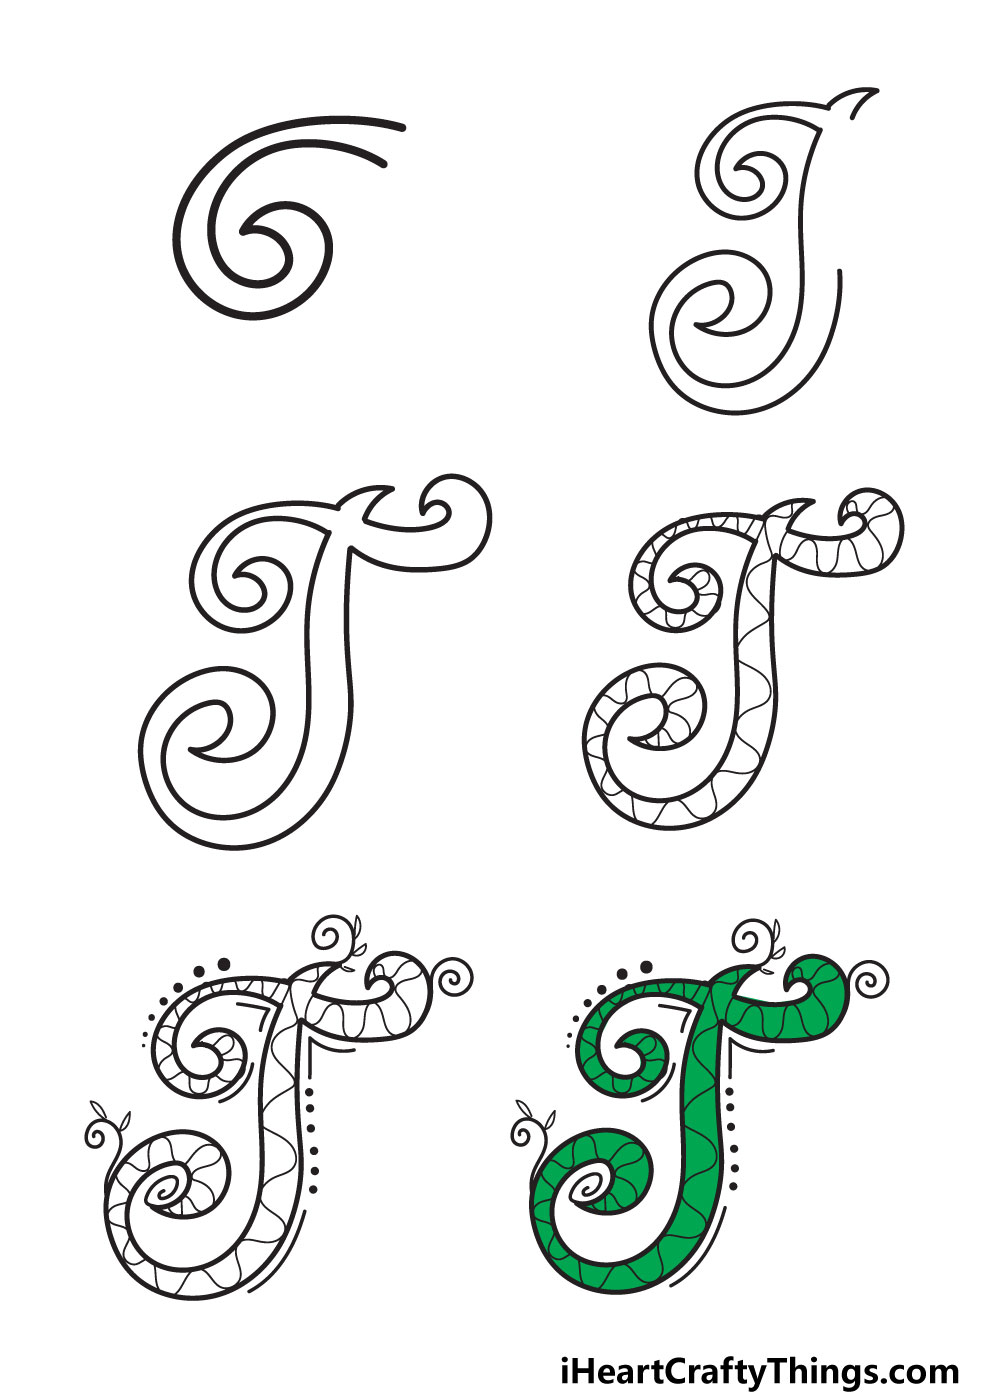
Let’s Get Started
STEP 1:
Before we begin, you should first look at this regular letter T. As we touched on earlier, it is basically one small horizontal line on top of a straight vertical line.
This is how it is done normally, but we aren’t aiming for a normal interpretation of the letter. Instead, we will be using some curved, rounded lines instead of straight ones.
Despite this, you can still prepare for the drawing using a regular letter T. Using a pencil, try drawing out a regular letter T.
You can do this quickly, as it is merely used to keep the shape of the letter T in mind as you draw this interpretation. Then, we can draw the first part of the fancy version.
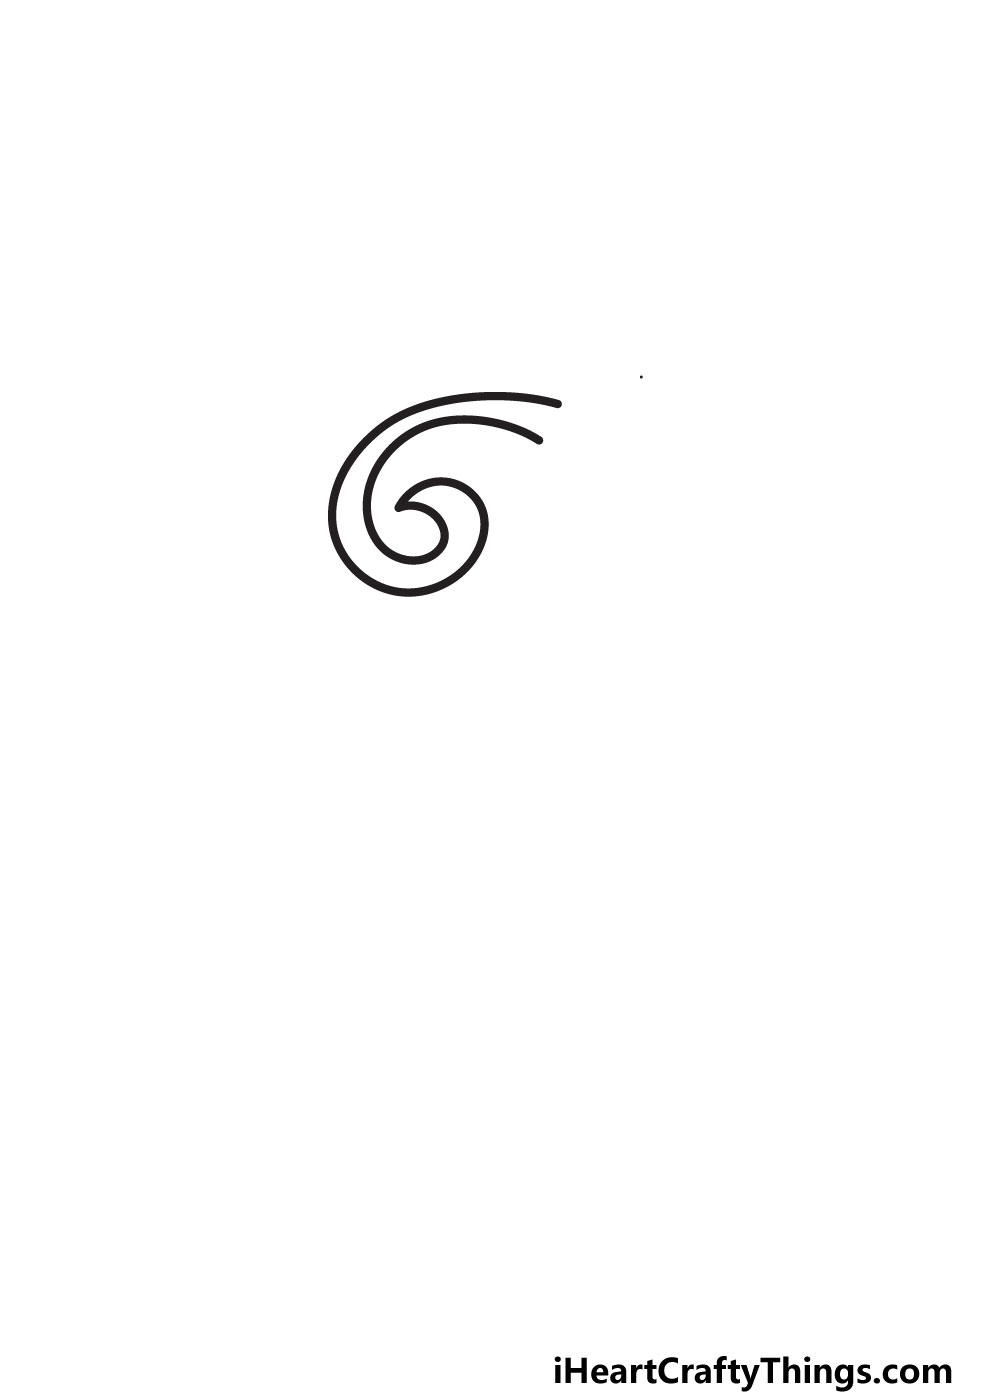
To begin with, we will draw the upper left part of the letter. Instead of a straight line, we will instead draw a spiral shape.
This spiral shape is a simple one, but it might still take a few attempts. It can be quite rounded, but it should still be fairly vertical.
Once we have this first part of the upper line of the letter, we can proceed to step 2.
STEP 2:
In this second step, we will be adding a lot more to your drawing. To start, let’s keep things simple.
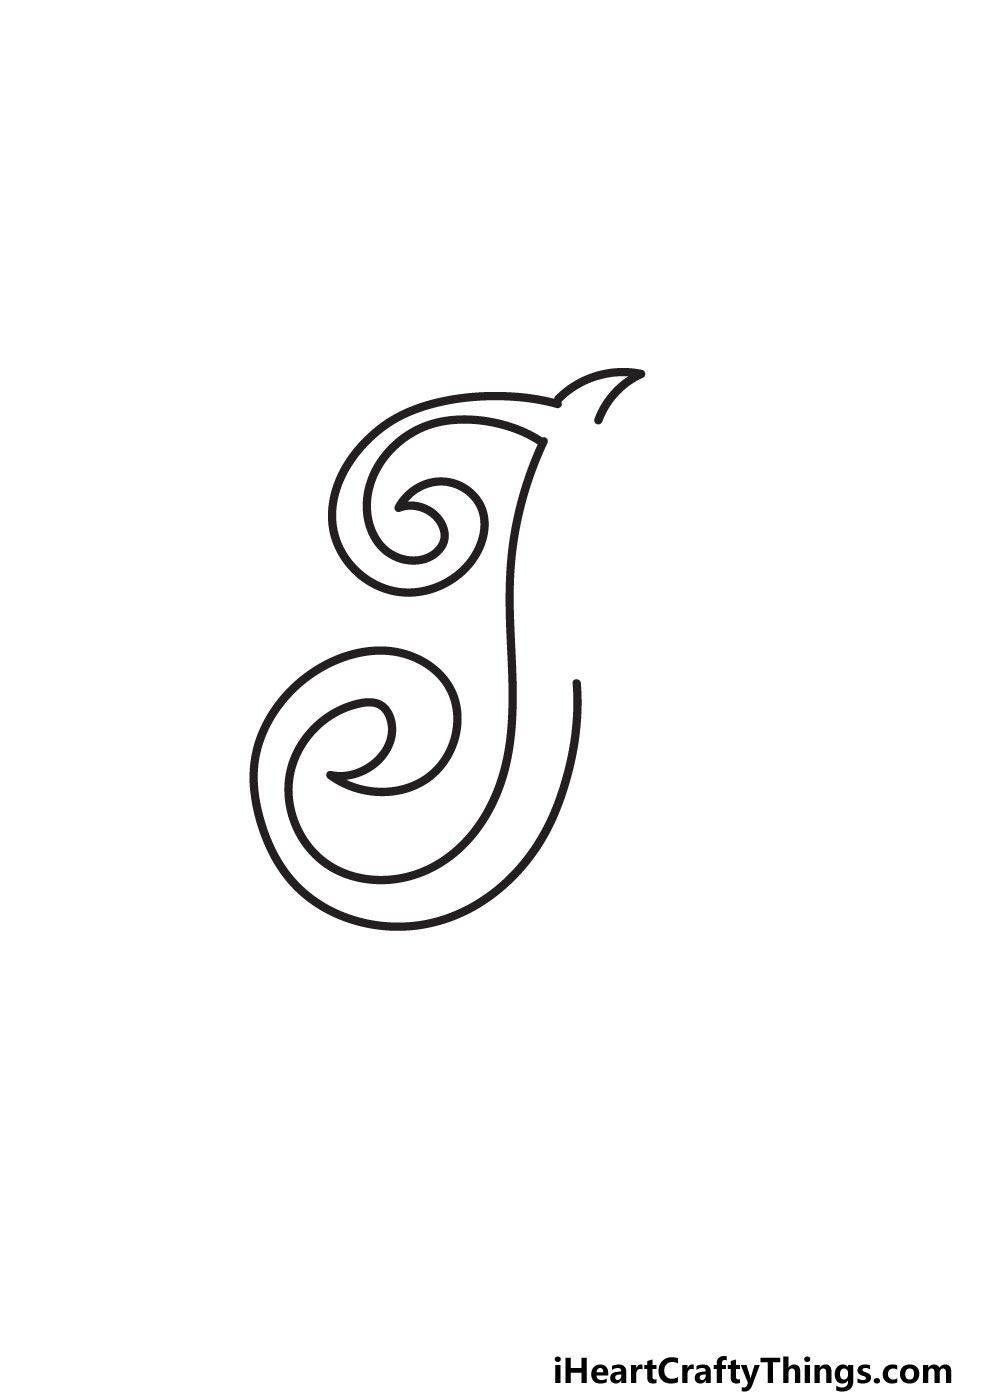
We will do this by drawing a small pointy bit at the top of the letter. This will be shaped a bit like a thorn, and it should connect to the top of the spiral shape from earlier.
We can leave that part for now, and focus on the rest of the left side of the letter. First, draw a long, vertical line down from the base of the spiral shape.
This vertical line should be fairly straight, but you can add a slight waviness to it as well. This section will form the main vertical line of the letter.
At the base of this section, it will curve to the left to form another spiral. This spiral will be a bit larger than the first one, but will be swirling in the opposite direction.
The spiral will curve back to the right-hand side of the drawing and begin to head up again. You can stop there for now, and we will finish off the outline in the next step.
STEP 3:
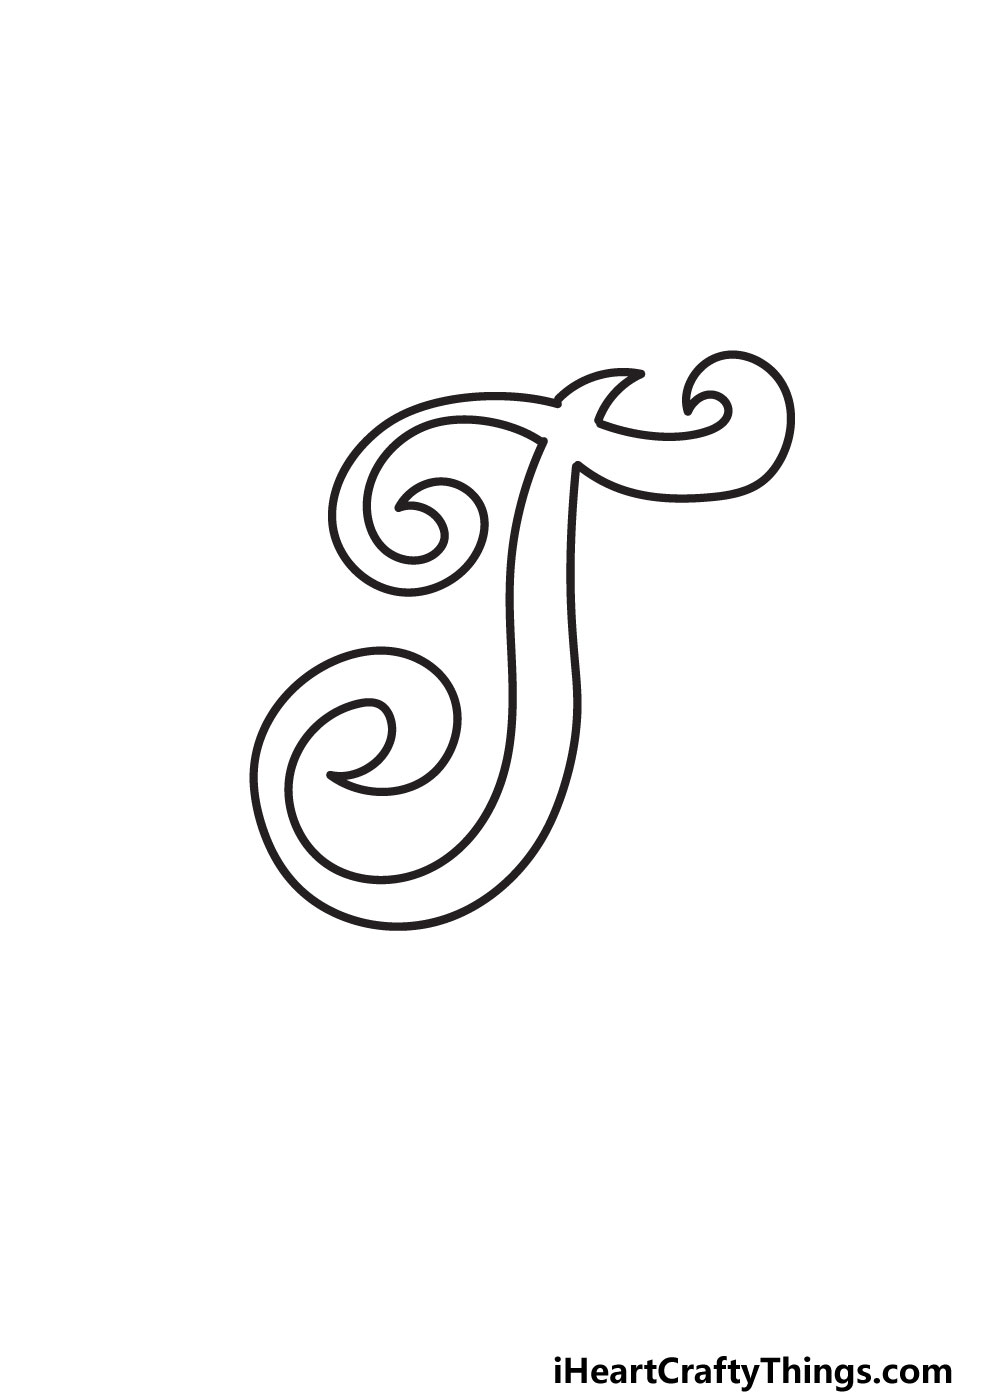
We’re ready to add the rest of the outline of this fancy letter T. To begin this process, simply continue drawing up from where the line ended earlier.
This line will then veer off sharply to the right to form a curved, horizontal shape. It will finish off the top line of the letter, and it will connect back to the other side.
With that, your outline is complete! Now that it is drawn, you can neaten up all the lines and make sure you’re happy with how it looks.
At this point in the drawing, you can also go ahead and remove any pencil lines that you drew to help you at the beginning of the guide.
We won’t be needing them anymore, as the next two steps will be based on adding some interior details to the drawing. So when you’re ready, let’s do just that and move on to step 4!
STEP 4:
This letter T is already looking incredibly fancy! But the fanciness doesn’t have to end with the outline, as there are so many cool details that we can add.
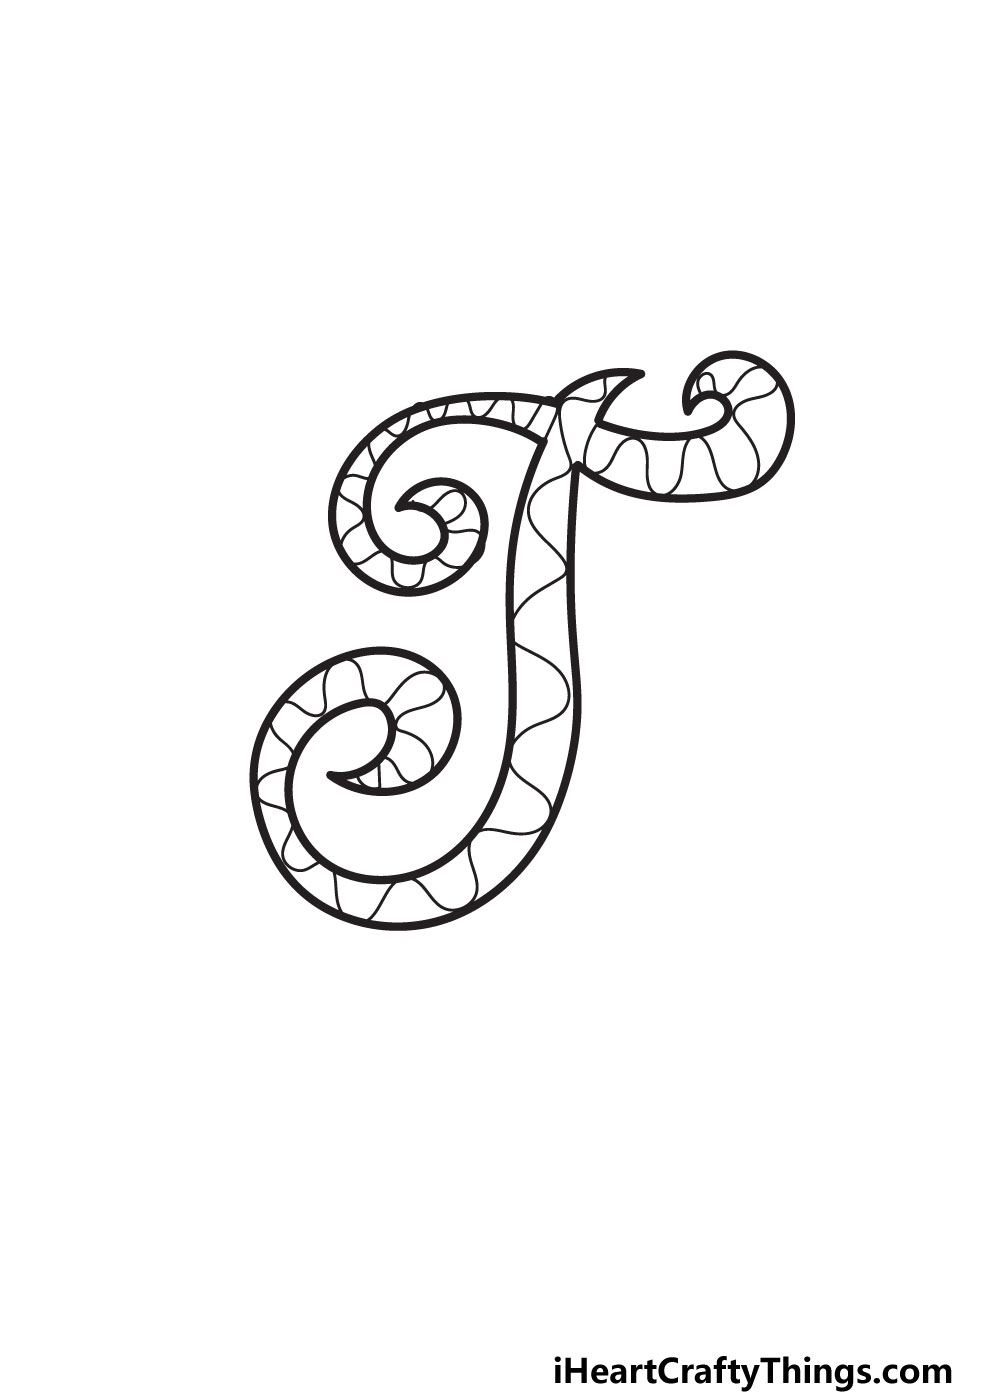
In this particular step, we will focus on the interior of the letter. We kept this simple by drawing some wavy, curved lines all throughout the interior.
Even though they’re simple, they help to make the drawing look a lot more visually interesting. Of course, you could create a different kind of pattern instead.
There are really no wrong ways to do this, and it can all depend on your personal taste and preferences. They could be straight lines, or you could fill the letter with polka dots.
Those are just two simple ideas, but there are infinite possibilities! We will add color later, so you could keep the interior blank to focus on the colors later if you prefer as well.
Once we have finished adding any interior details we want, we will then add some exterior details in the next step of the guide.
STEP 5:
Our letter T, while looking even fancier with the interior details, still isn’t quite there yet. That’s why we added a lot more details on and around the letter to finish it off!
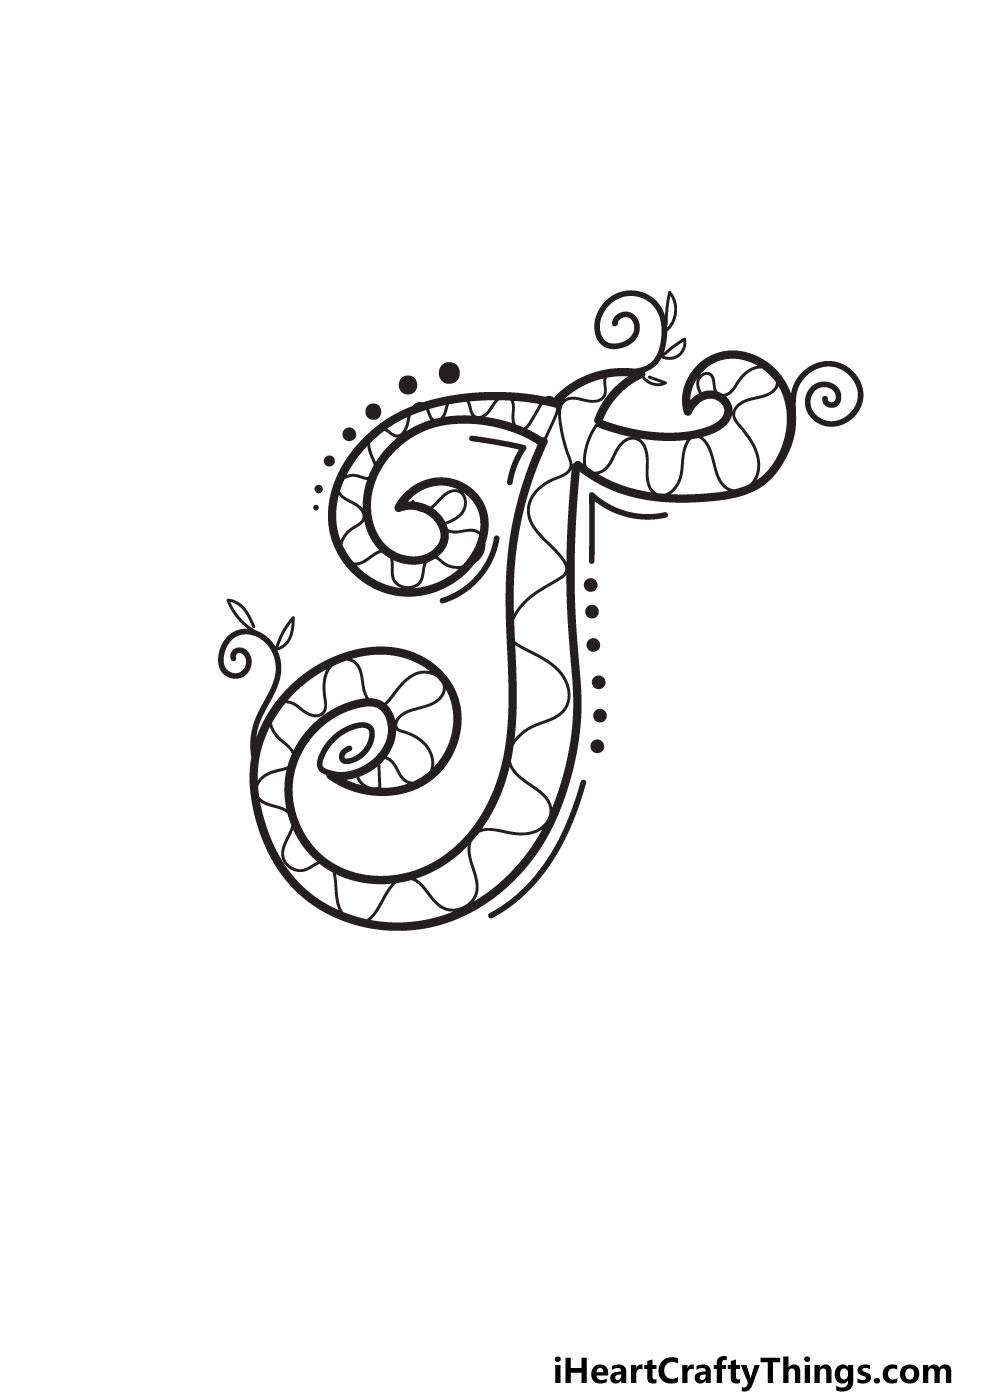
First, we drew some spiraled lines poking off the letter. These look a bit like vines poking off the letter, and to make this even clearer we added some small leaves on the vines.
We chose to add three of these spirals, but you could add a few more if you like! Next, we added a series of dots close to the outline.
These vary in size, and they help to add a lot of personality to the design. Finally, we finished off with some lines running parallel to certain parts of the outline.
All of these details are simple, yet effective! The best part is that you can take or leave them as you wish.
You could add more, leave some out or keep it exactly as we did it in our example. It’s up to you, and you could add any other details you can think of as well.
In the final step, we will finish off this very fancy letter with some colors to bring it to life.
STEP 6:
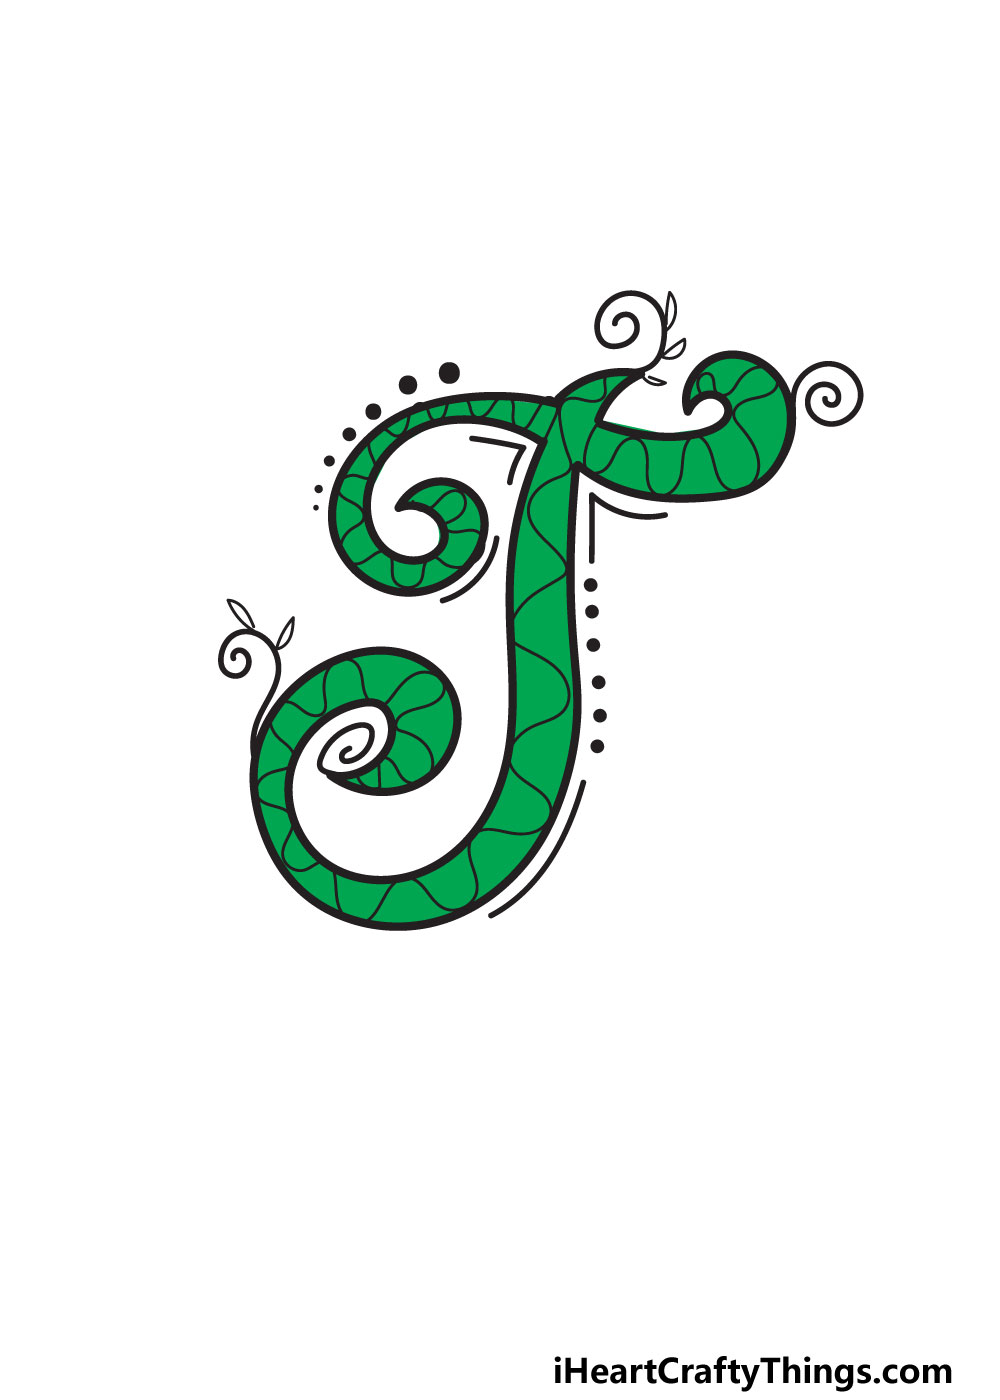
It’s the sixth and final step of your fancy letter T, and now it’s time to have some fun coloring in! In our example, we show you one of the many, many colors you could choose.
We went with a beautiful green color for our example. It’s a darker shade, but still quite eye-catching.
This green shade also goes well with the little vines that we added in the previous step. It makes it look a bit like this letter T is made of a vine!
If you have another color in mind, then you should absolutely go for that color. You could alternate a few colors if you like, too!
Then, you can also think about how you should fill in the background of the image. It could be a color that compliments the color of the letter, or one that contrasts it.
Using different art tools, mediums and techniques can also be a great way to shake things up. Now it’s up to you to see how you want to color in your letter T artwork!
My Final Tips To Make Your Fancy Letter T Drawing Even Better!
You may have finished the six steps of this guide, but there is more to do with this artwork! We wanted to give you a few tips on how to make it look even more incredible than it already does.
First, we think it would look amazing to use some crafts on this drawing. It would look so cool if you stuck glitter, beads and other similar crafts to the drawing.
These would help to add some colors that pop and give the picture some more depth. You could also try to write out full words in this fancy style.
There are so many words starting with T that would be perfect. Many names also start with T, and you could write the rest of the letters in the style.
It would be a challenge, but if you adapt the steps of this guide to the other letters, we know you can do it! Then, you could finish off with little pictures and shapes in the background that relate to the word.