If you look around the room you’re in, chances are that you will be surrounded by various objects.
There’s an even greater chance that these objects were assembled in some kind of factory, and that’s why it’s easy to see why these factories are so important.
They can create anything from candy to aircraft, and learning how to draw a factory is a great way to imagine what your own personal factory may create!
If you would like to know how to design your very own one, then read on!
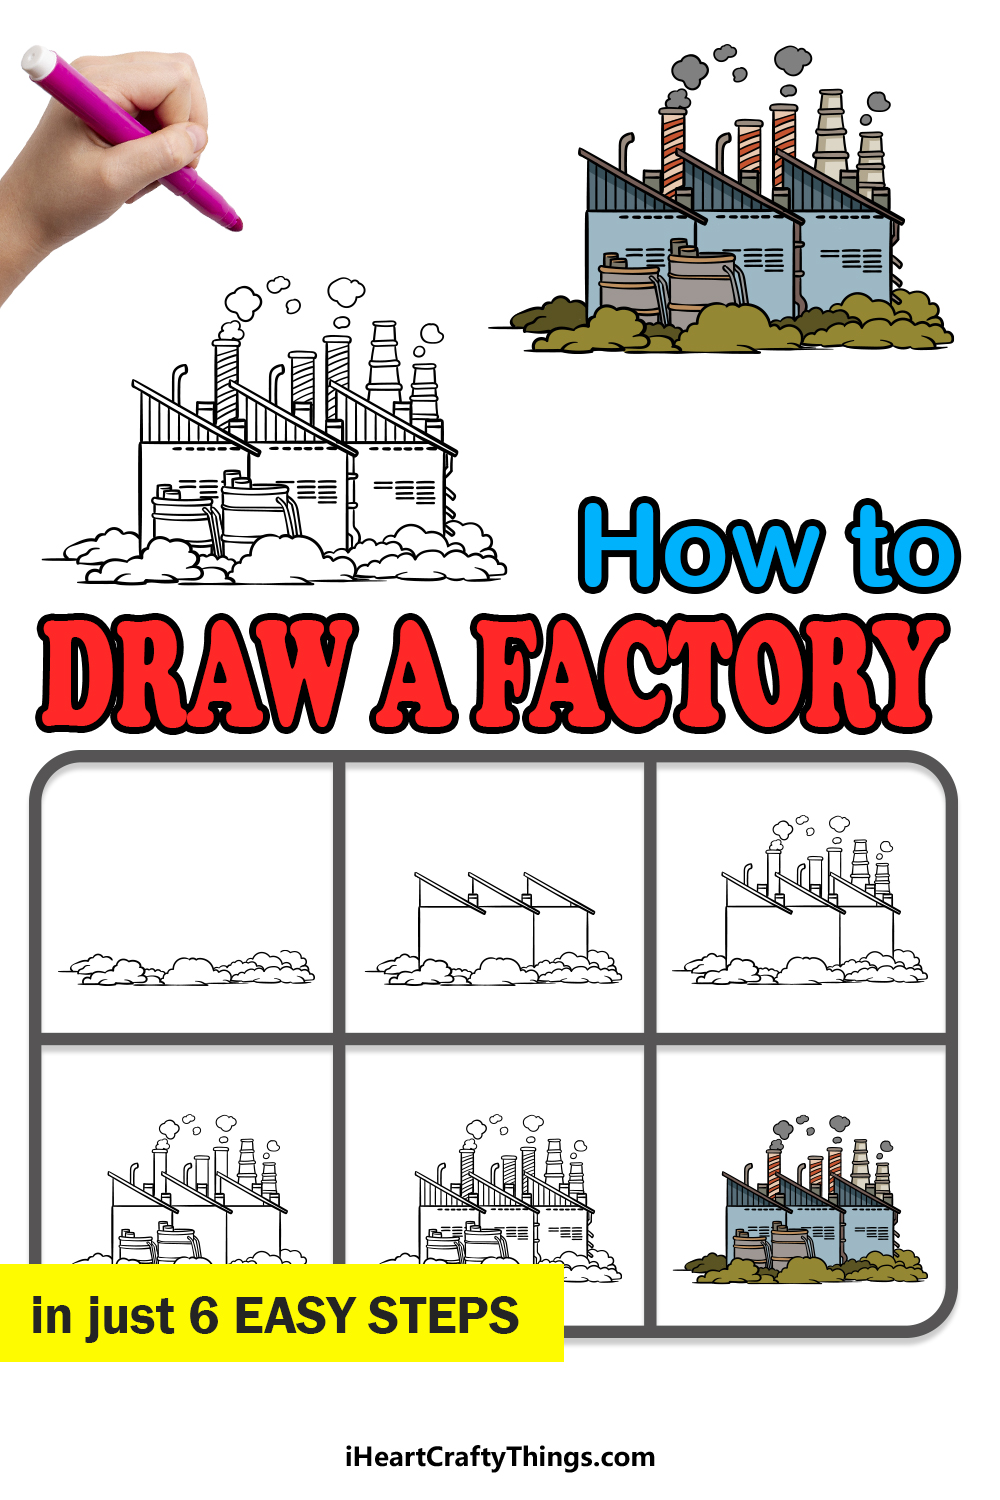
Our step-by-step guide on how to draw a factory in just 6 steps will show you how to assemble your very own factory.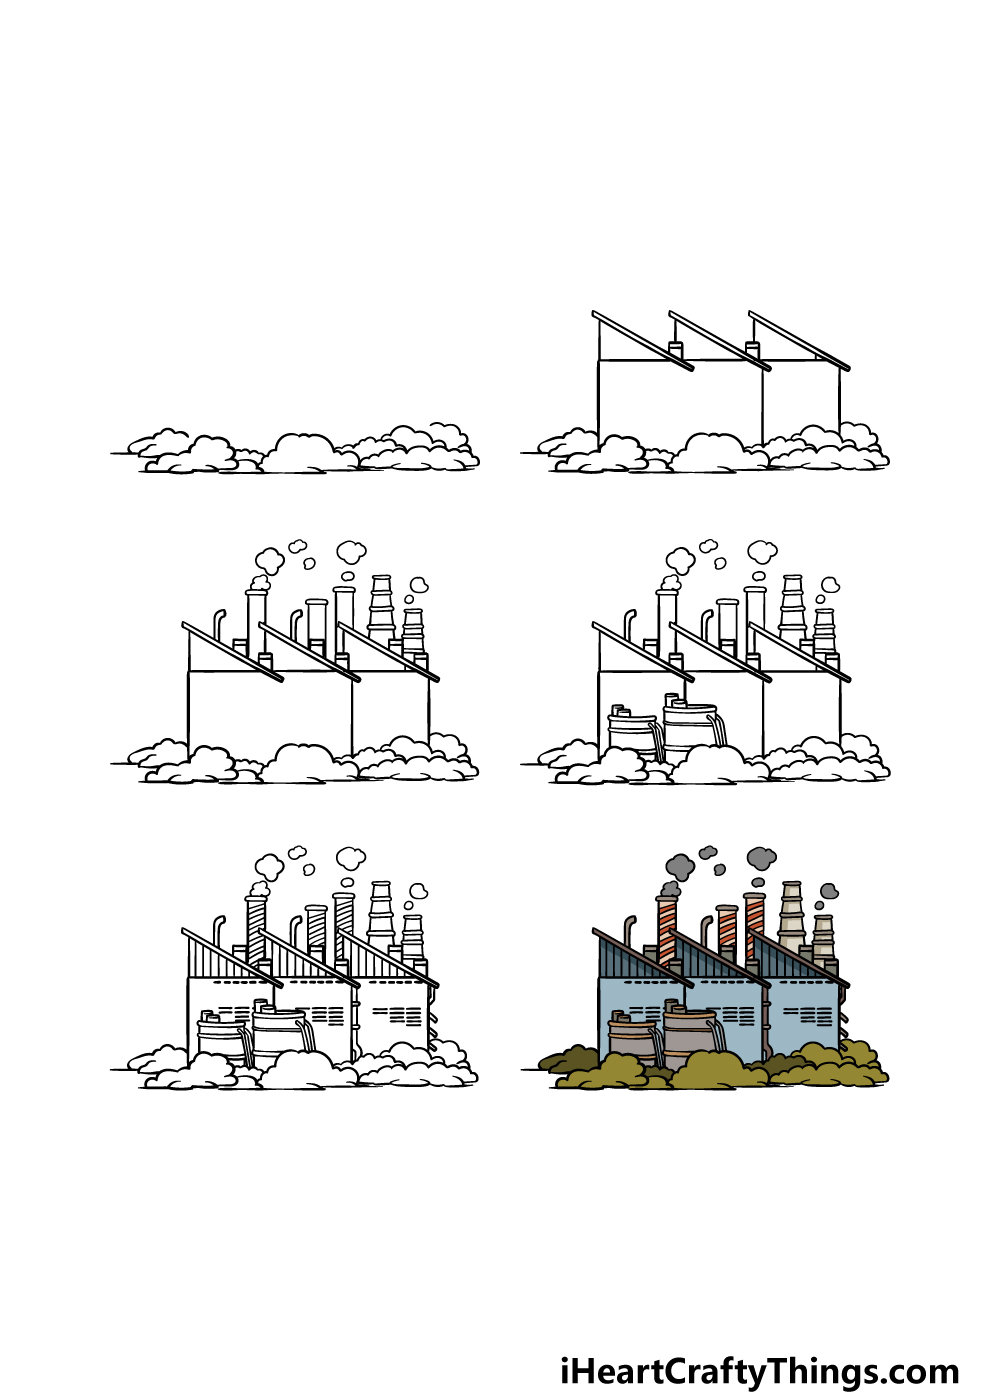
How to Draw A Factory – Let’s Get Started!
Step 1
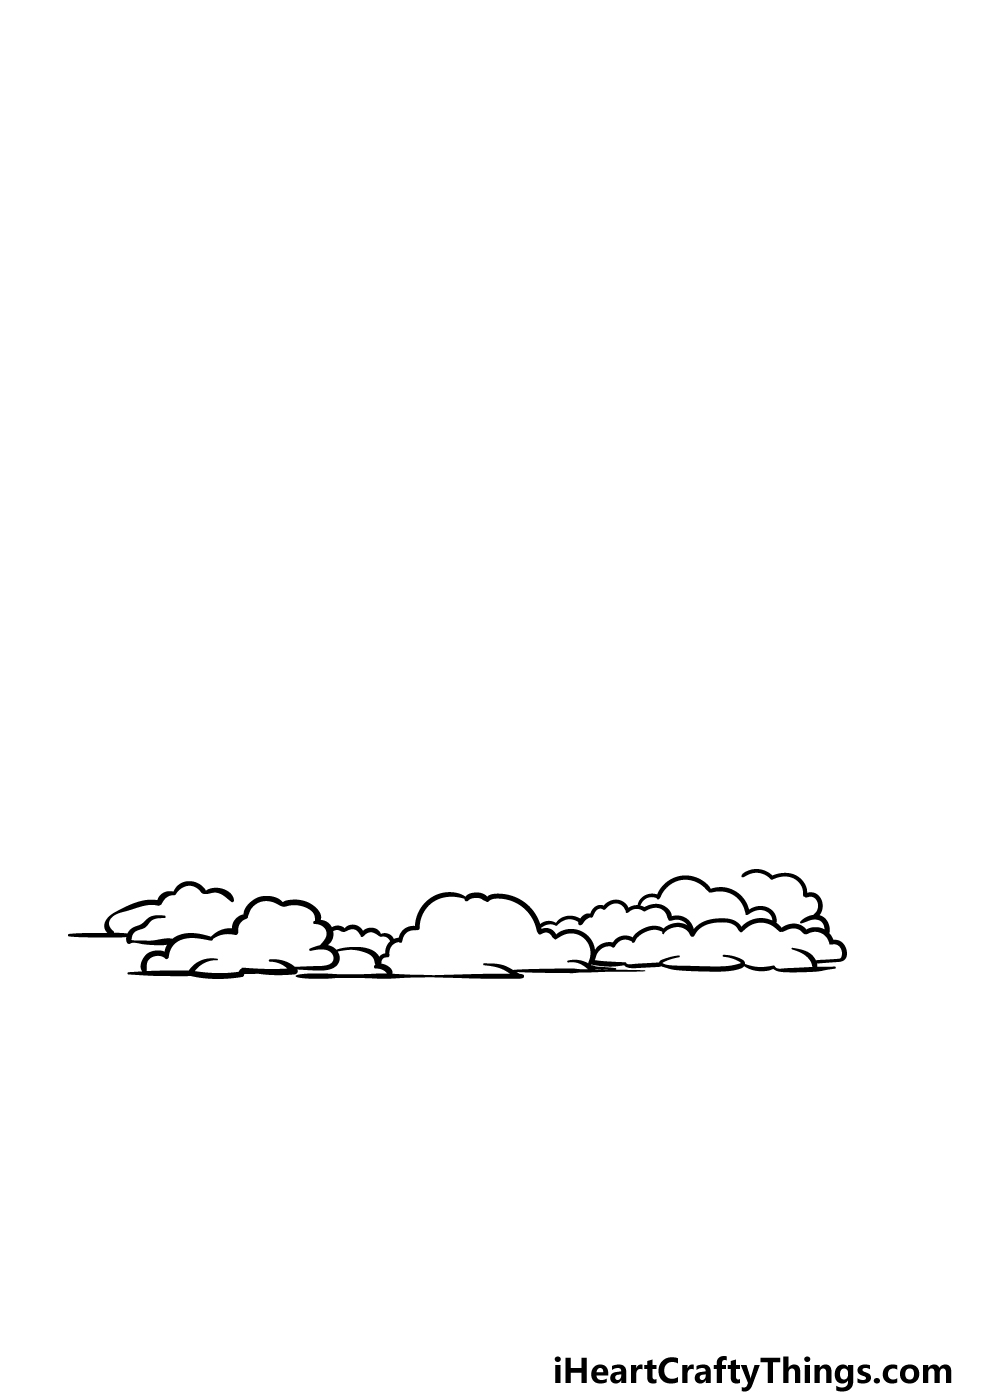
To begin this guide on how to draw a factory, we will be starting not with the factory itself, but rather the ground surrounding it.
Specifically, we shall be drawing some bushes at the base of the factory. To draw these, we will be creating several shapes using some bumpy lines. These shapes will almost look a bit like fluffy clouds connecting to one another.
Once you have drawn all of these bushes, we will then be ready to start drawing the factory itself, so let’s proceed when you are ready!
Step 2 – Next, draw the outline of the factory
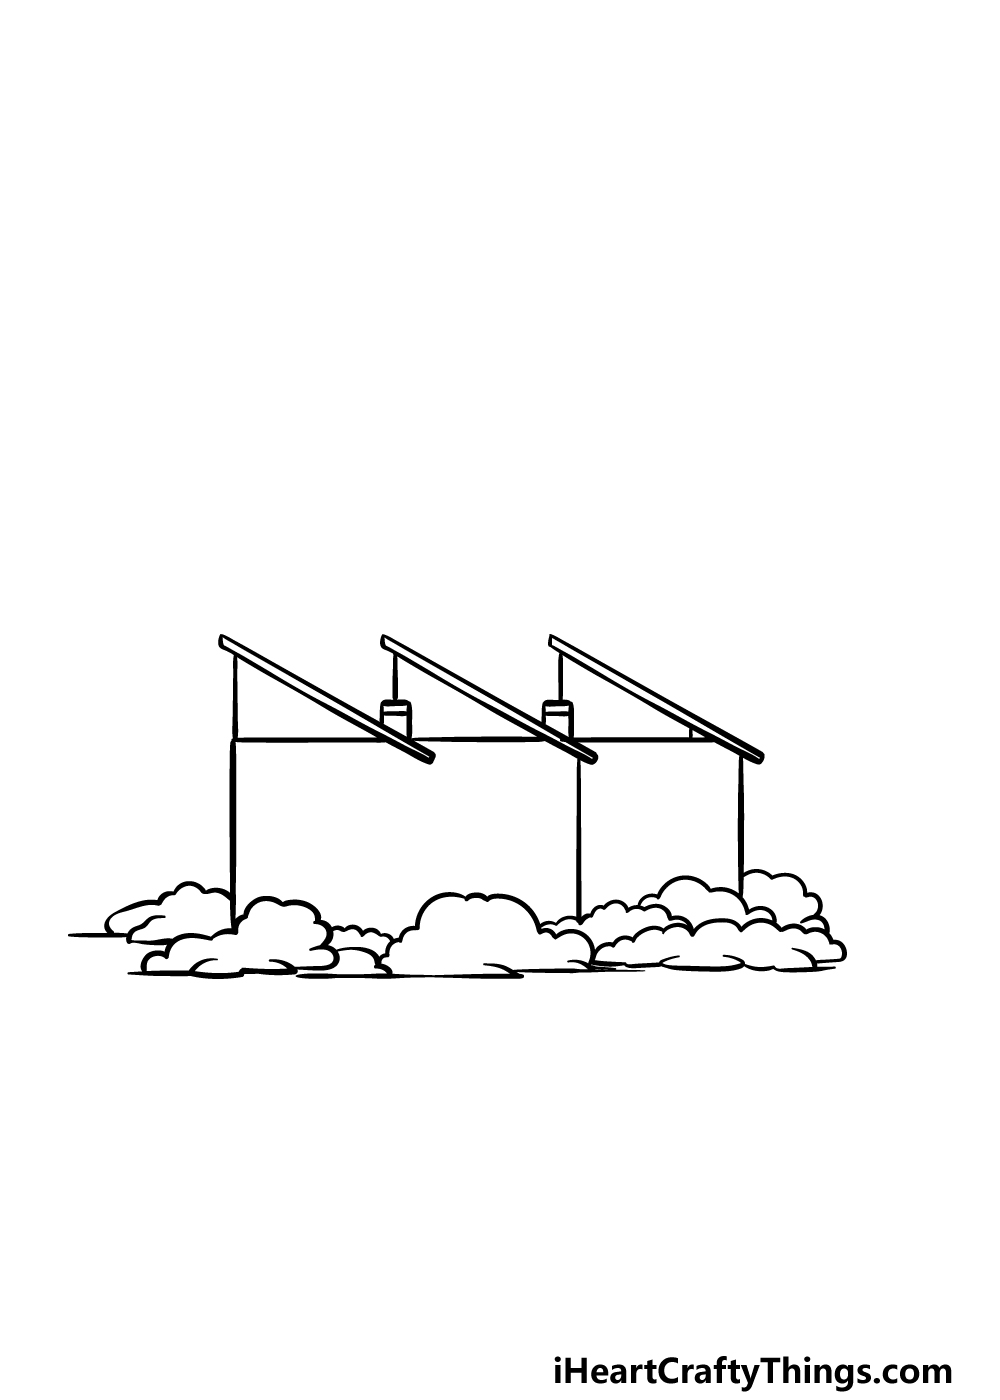
For the next few steps of your factory drawing, you will find it much easier if you have a ruler on hand to use.
The reason for this is that we want the walls and roof sections to be as perfectly straight as possible! Once you have your ruler, we will be drawing a large rectangle shape. Then, connected to it we will be drawing a shorter square shape.
These will form the front walls of the factory, and once you have those drawn we shall then draw the roofs of the factory.
These will have a straight, vertical line on the left-hand side of each one, and then the roof will slope on each one. For this slope, carefully draw a very thin rectangular shape on the surface.
Finish off by drawing some small chimneys underneath these sections, and then it’s time for step 3 of the guide!
Step 3 – Now, draw some chimneys for the factory
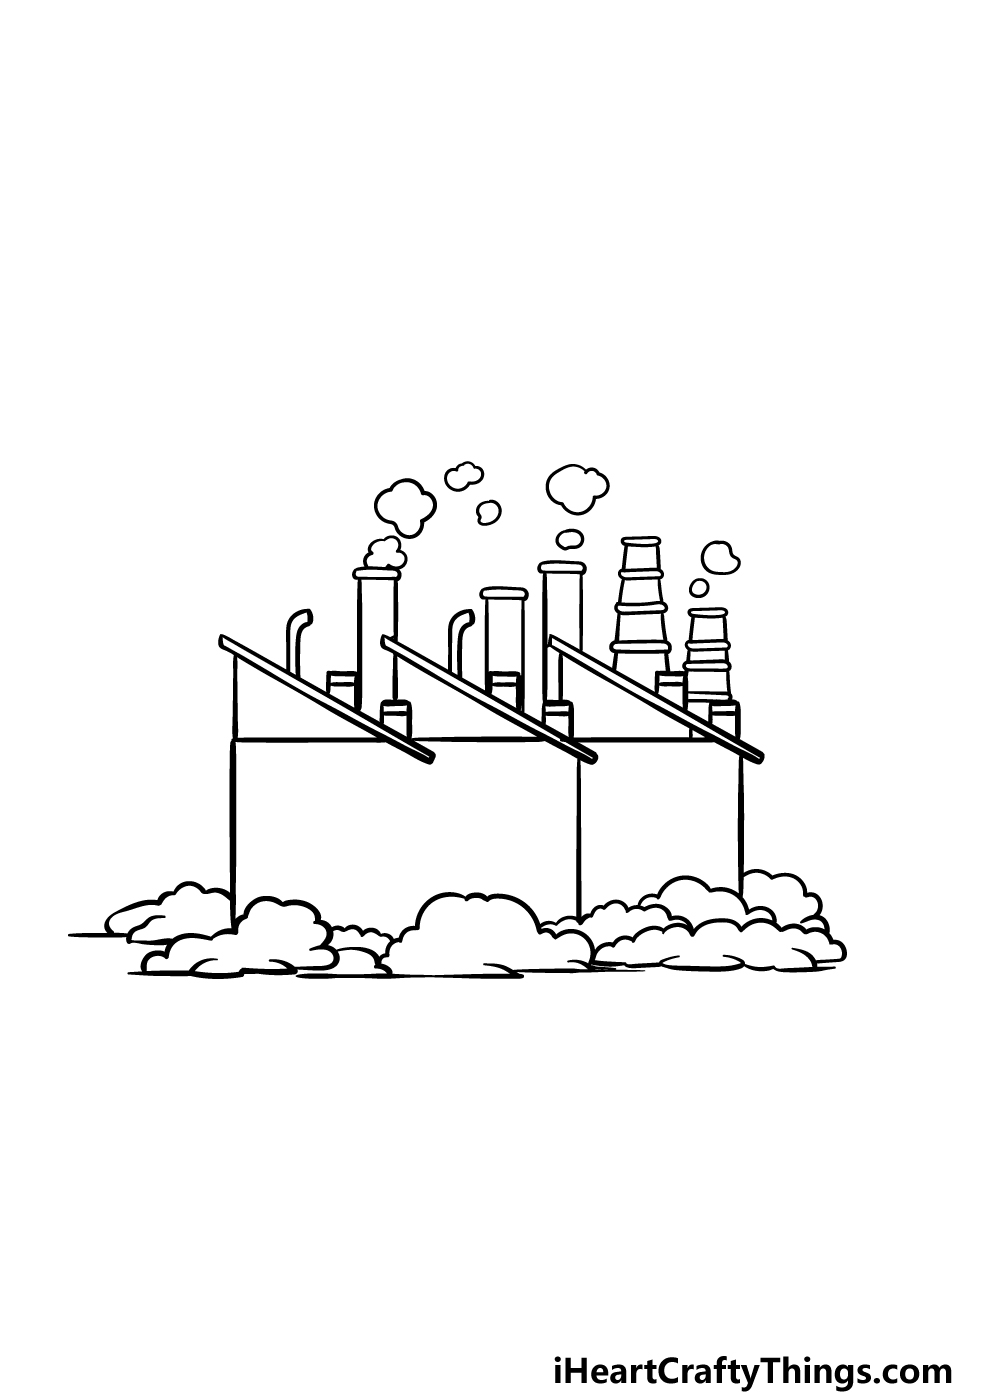
Factories will usually have many chimneys and smokestacks that emit smoke from various production stages.
We will be adding a load of these chimneys in this third step of our guide on how to draw a factory.
To make it more visually interesting, we won’t be using the same shape for each chimney. Most of them will be vertical rectangle shapes, and each of these will also have a small rim on top.
For the others, we will be drawing some thin, curved pipes, and for the others we will draw chimneys made up of several connected sections.
The sections will get thinner as they move up, and then you can finish off by drawing some puffs of smoke emerging from the chimneys.
Step 4 – Next, draw some silos to the factory
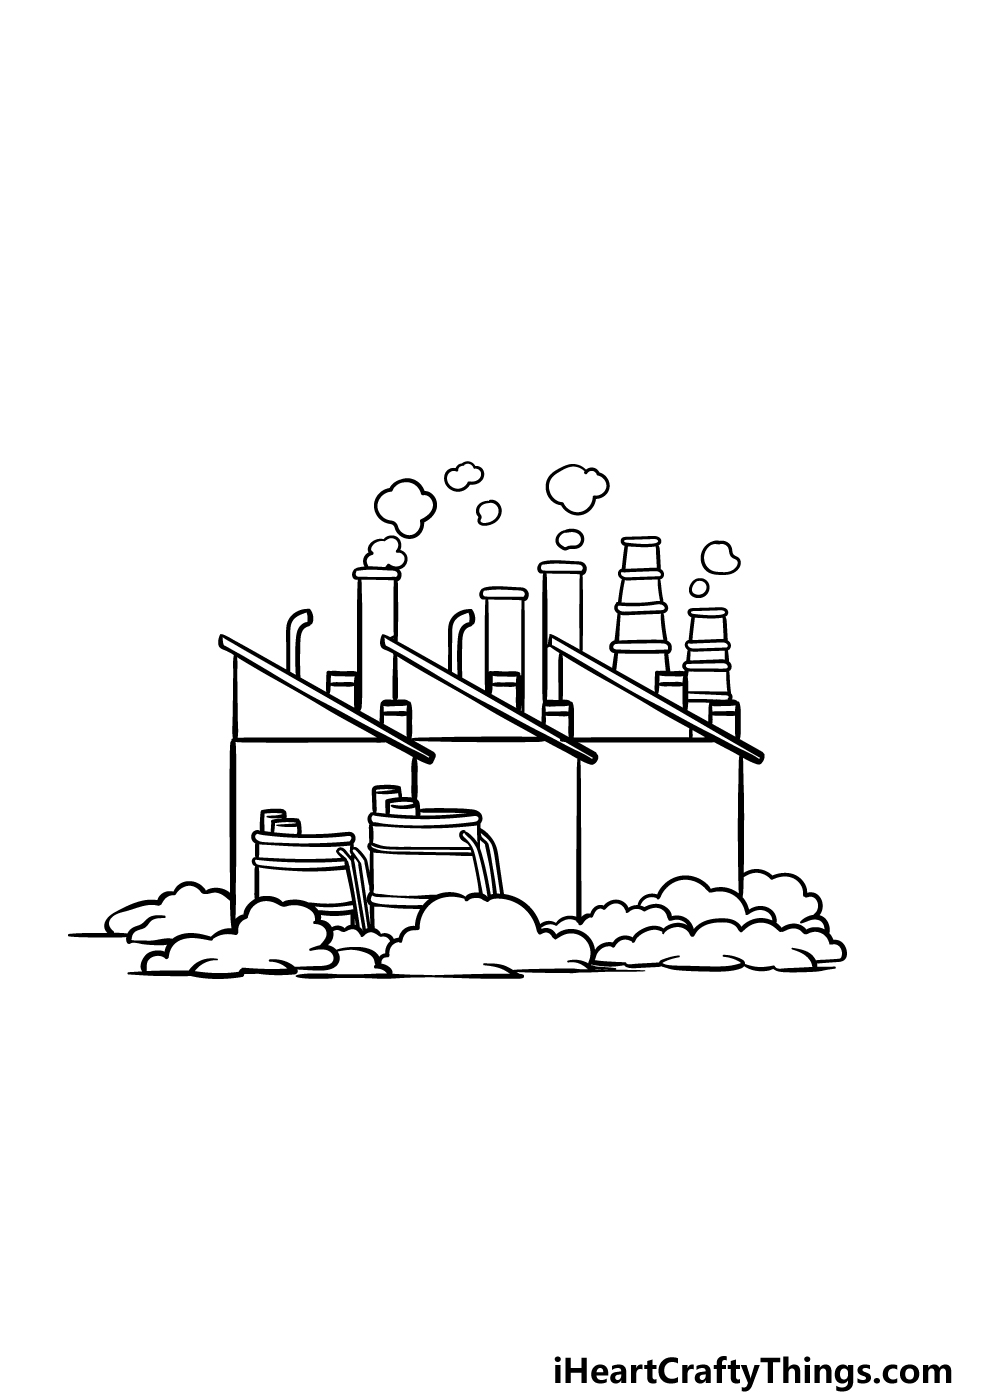
In this part of your factory drawing, we will be adding some large silo structures to the foreground of the factory.
These will be quite rectangular in shape, but they will be made up of several sections that you can draw with more thin rims.
There will also be some thin, curved shapes coming down from them to show the ladders attached to them.
Finally, you can draw some small rectangle shapes onto the top of these silos to finish them off.
Once that is done, we can then move on to the final details and touches in the next step of the guide!
Step 5 – Add the final details to your factory drawing
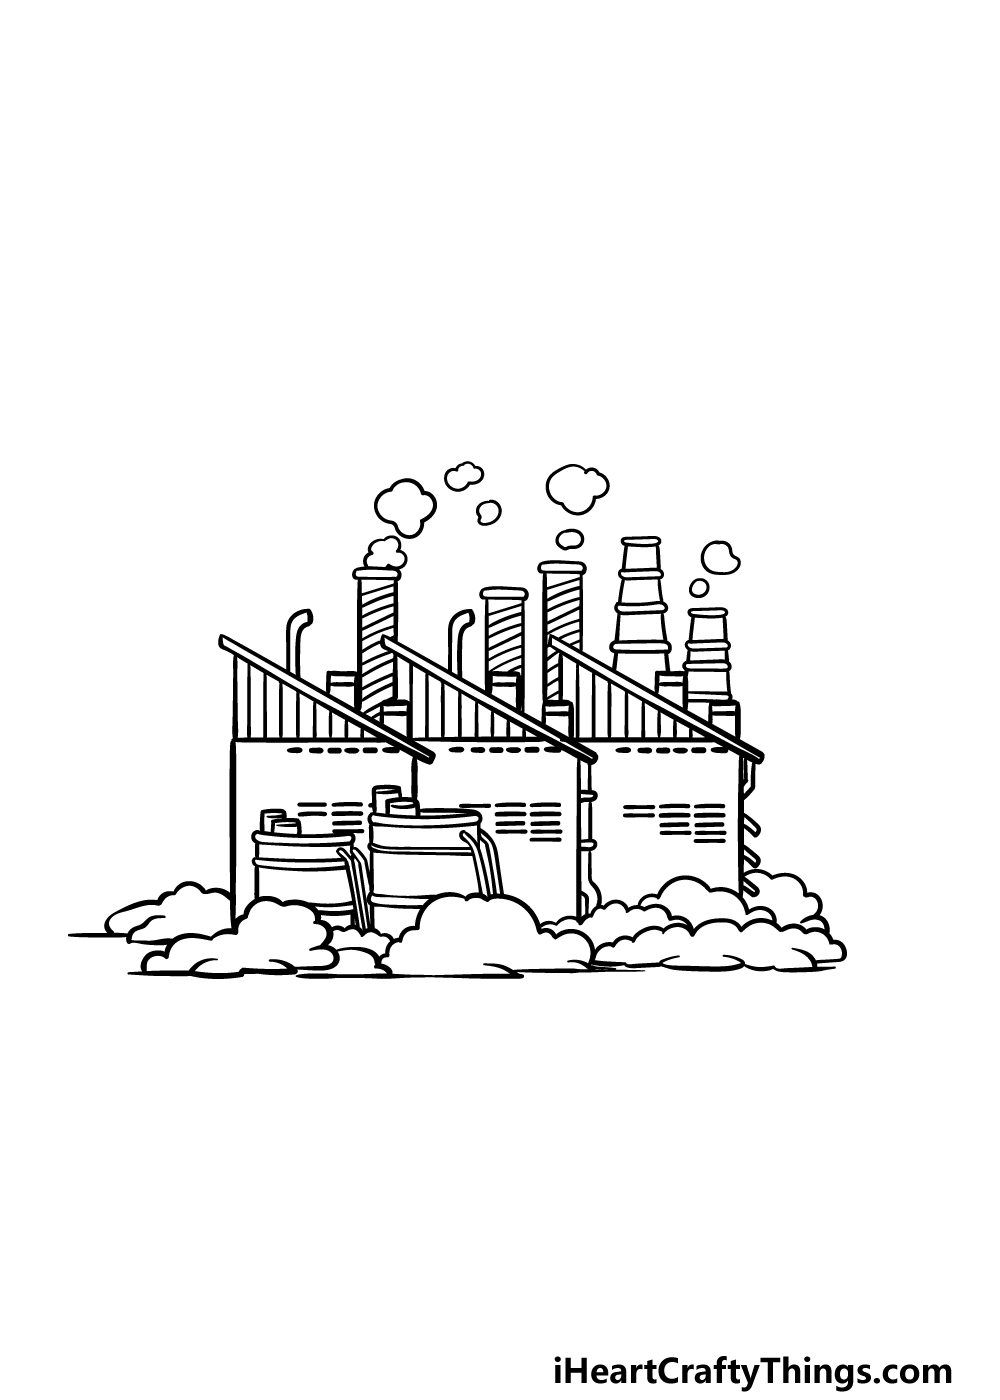
Before you get to the final step of this guide on how to draw a factory, we shall first finish it off with some final touches.
These details will be smaller, but they will make a big difference in bringing it all together! You can start by drawing some lines across some of the chimneys to make them look more textured.
Then, we shall draw some vertical line patterns underneath the sloping roofs that you drew earlier in the guide.
Finally, you can then finish off with some smaller line details on the front wall of the factory. Once these are drawn, you can also add some final touches of your own!
What do you think this factory would be manufacturing? Maybe you could draw whatever you think would be made here next to the factory for us to see!
Step 6 – Finish off your factory drawing with color
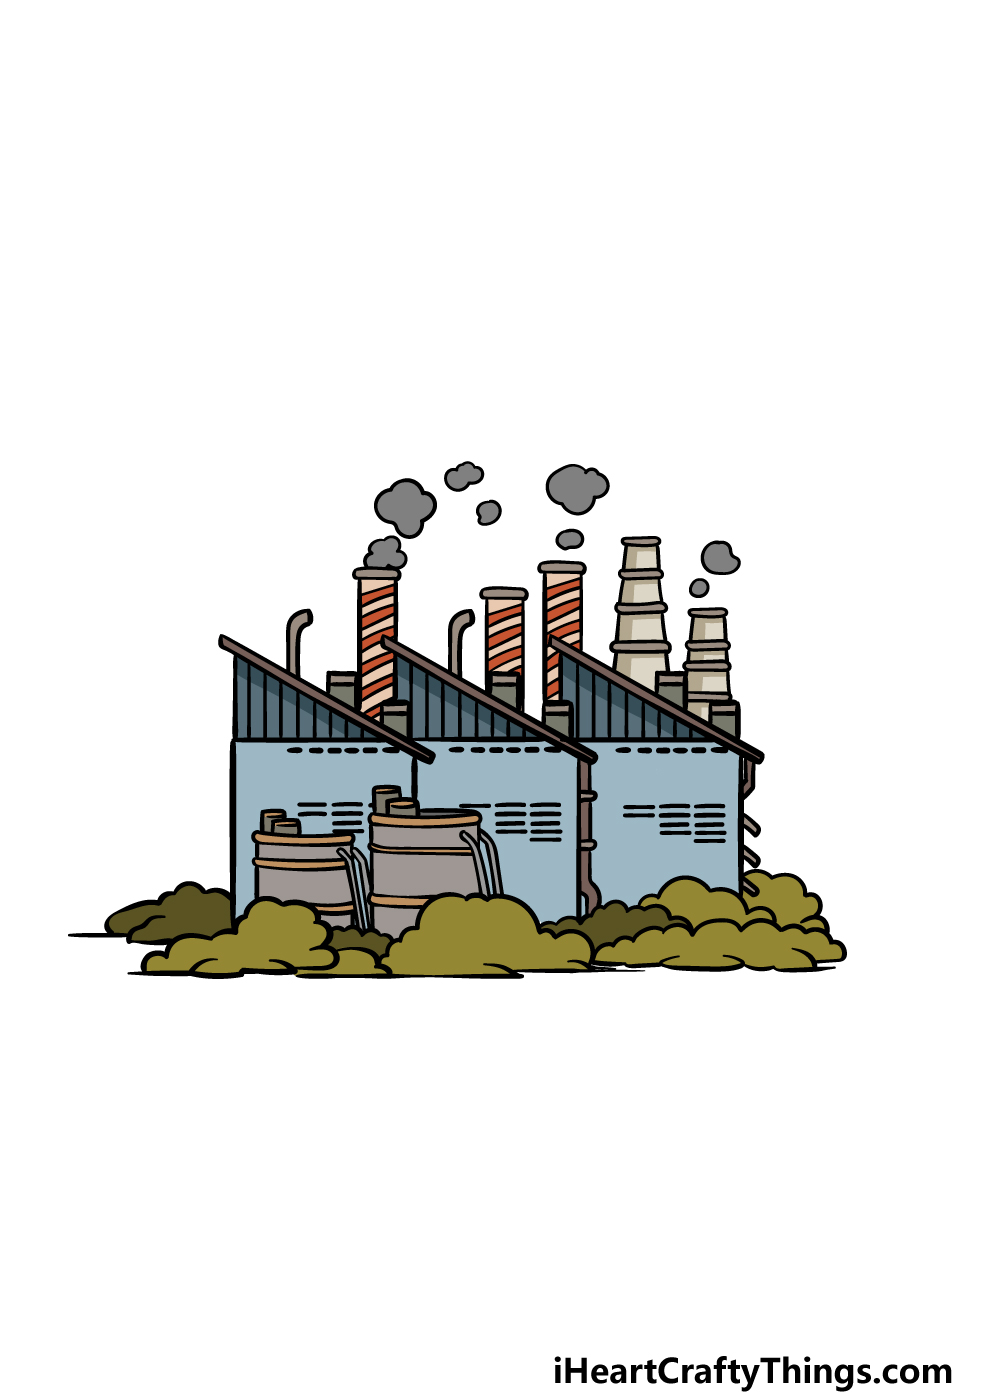
Now you have arrived at the final step of your factory drawing, and in this one you can finish it off by adding some color to it!
In our reference image, we showed you just one way that you could go about coloring it in. We used some more muted colors for the factory, utilizing colors like browns, reds, blues and more.
Will you use similar colors for your own drawing, or will you shake it up with some different choices? We can’t wait to see what you choose!
3 More tips to make your factory drawing easy!
We’ve assembled 3 tips for you that should make this factory sketch even easier to draw!
Drawing any kind of building or structure is difficult in the best of times, and that is even more so when there is a high level of details.
These details are some of the first aspects of this drawing of a factory you can scale back.
If there are some small details that are proving too overwhelming to take on, then you could simplify them or leave them out.
This could be something you could do by focusing on the basic structure of the factory.
Then, as you get the hang of it you can start adding in more of those details.
This factory drawing may look complicated, but there are a few ways that you can simplify it. Instead of thinking of it as a complicated building, rather try to break it down into simple shapes.
Then, use a pencil to map out these simple shapes and how they interact with each other on the page. This can be used for the chimneys, main structures and any other aspects.
Once you have the basic shapes drawn, you can start refining the design with further layers of details.
When you have the factory looking closer to the final image, you can then draw the final lines with your pen.
Finally, if you need a bit of extra assistance, you could look up some pictures of real factories to help with your factory sketch.
If you can find some photos of factories that look like our example then all the better!
Even if they are quite different, looking at real factories can help to give you a sense of how these structures are designed.
If you happen to live near to a big factory in real life, then you could visit that place to get an even better sense.
Using real factories can not only make it easier but can also help if you want to create some unique touches!
Your Factory Drawing is Complete!
That brings you to the end of this guide, and you have successfully finished all six steps of our guide on how to draw a factory!
Factories can come in all manner of shapes and sizes depending on what they produce, so we hope that you found this guide to be fun and easy as you drew this one.
When you have completed the guide, the fun doesn’t have to stop there! You can keep the fun going by visiting a local factory near you with your family.
There is also more fun to be had on our website! We have a huge variety of guides there for you to enjoy, and we have many more on the way. Keep checking in to make sure you never miss out!
Please also go ahead and share your finished factory drawing on our Facebook and Pinterest pages. We always love to see how your drawings come out and can’t wait to see yours!