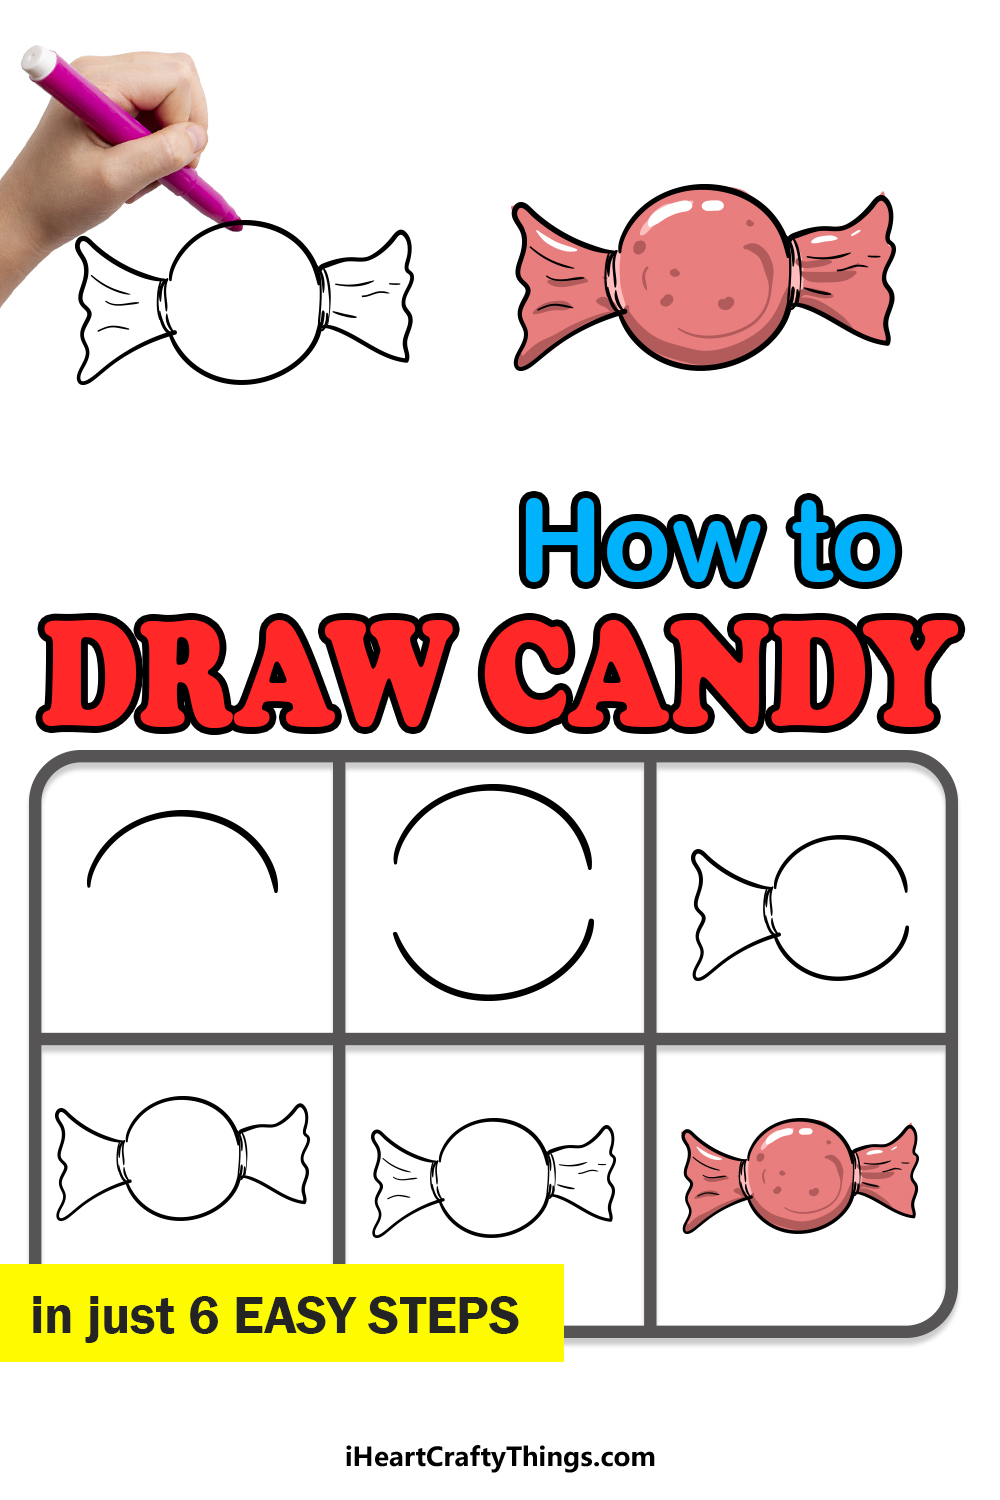
Learning how to draw candy is a great way to create some tasty artwork! You can unleash your inner Willy Wonka and design some amazing sweet treats by following this guide.
Candy comes in many different shapes, flavors and packaging and there is something for every taste. Almost everyone enjoys some kind of candy, and it’s tempting to wonder what it would be like to design candy of one’s own!
This guide will give you a basic candy design to work on, and then you can change the colors and details to create your very own design.
I’ll take you through each step and dhow you exactly what you need to do in order to make this delicious candy. After that, it’s up to you to decide how you will finish off your art, so there is a world of possibilities!
Watch And See How To Make Your Candy Drawing
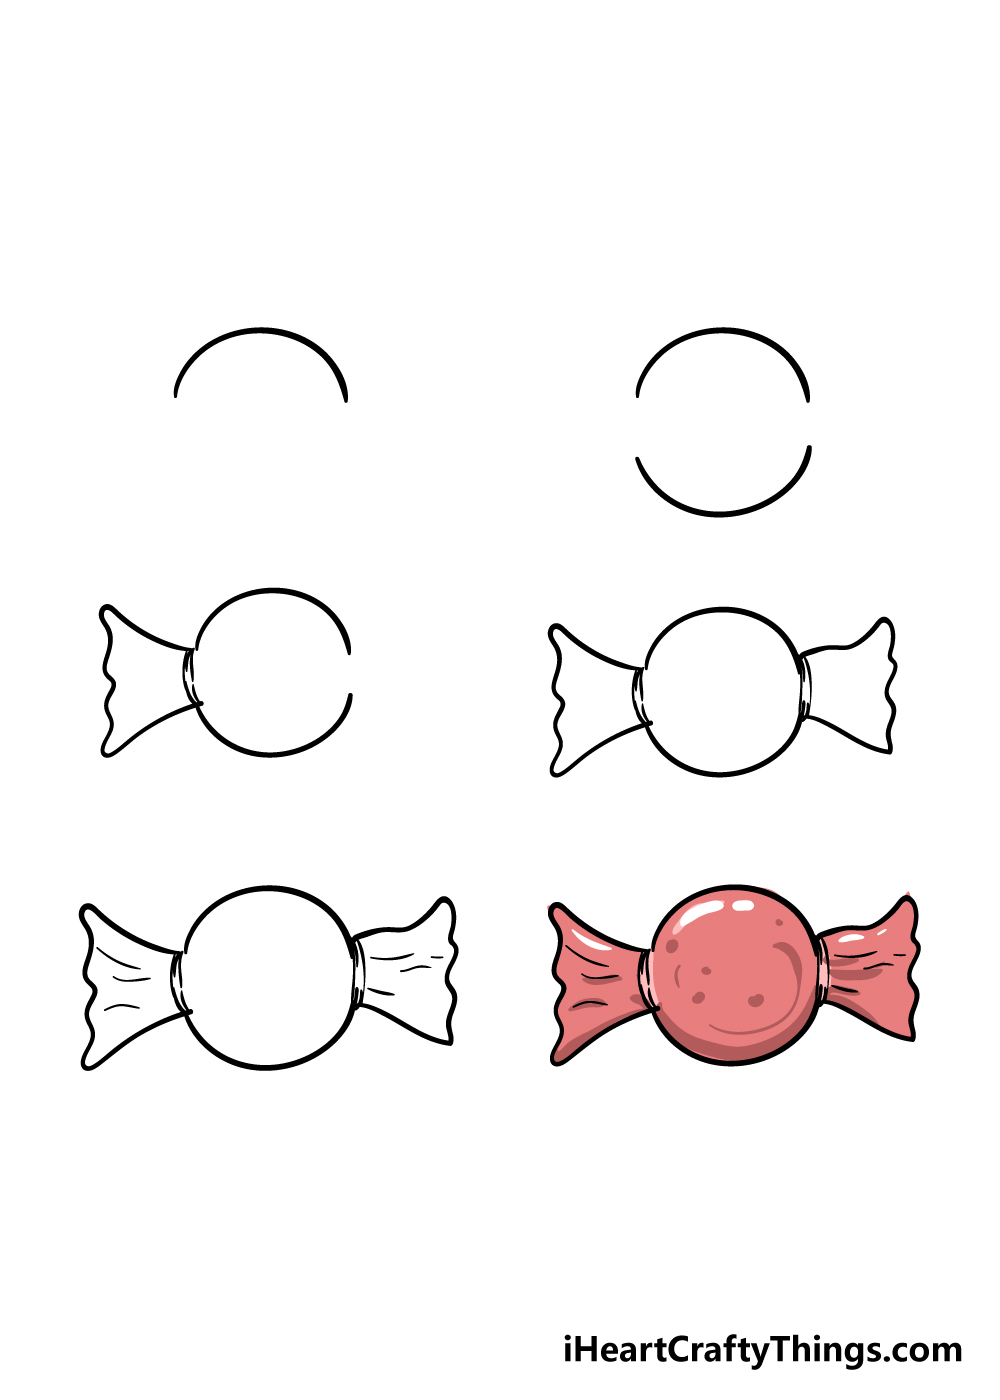
How to Draw Candy – Let’s Get Started!
Step 1
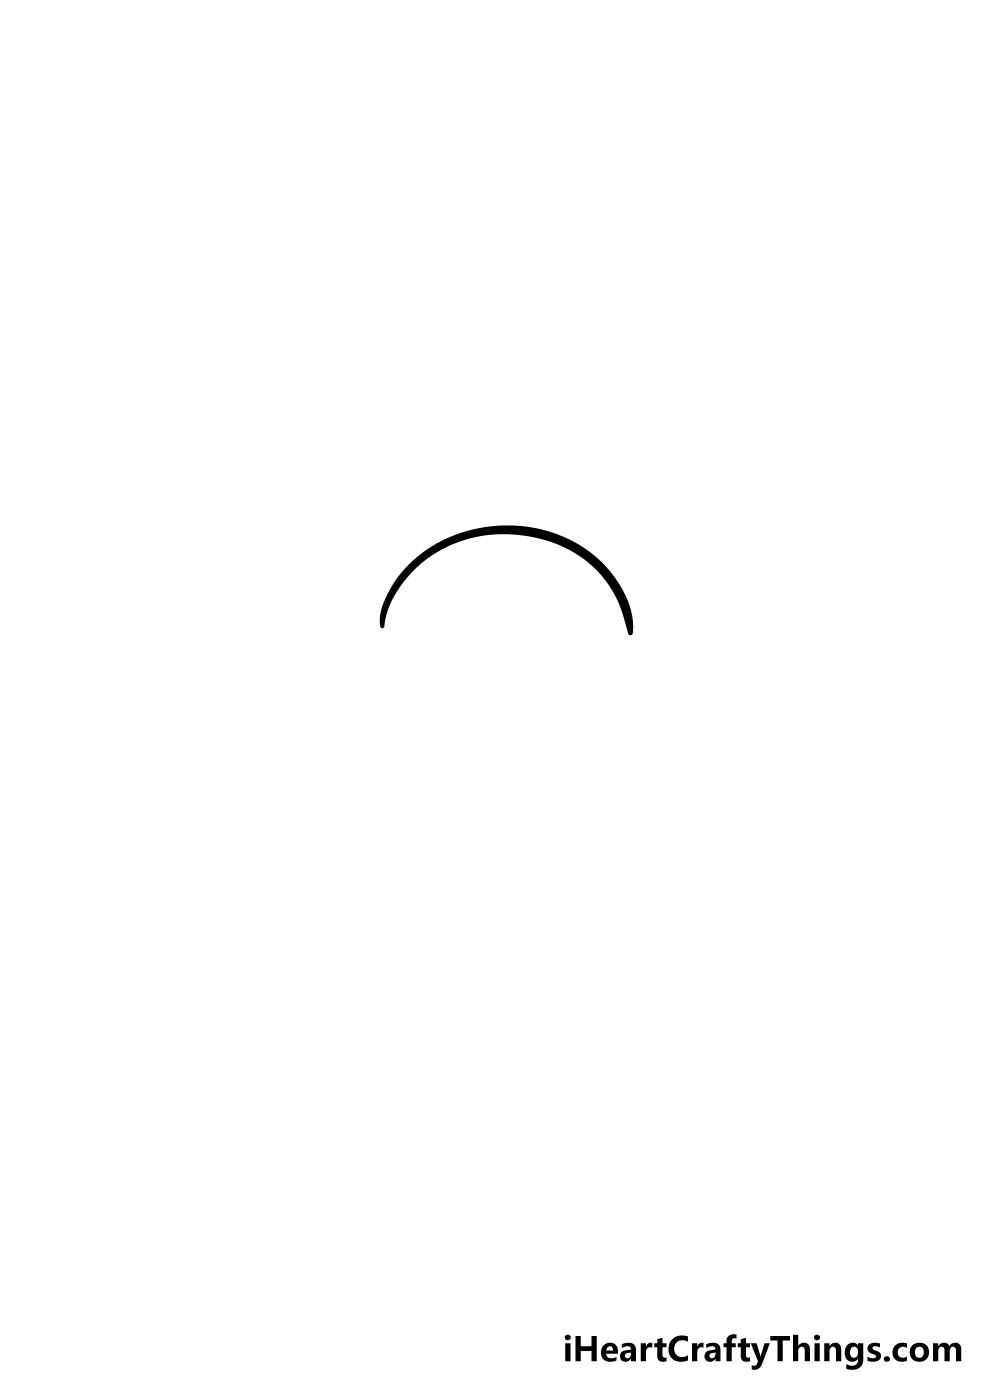
To get this guide on how to draw candy going, we shall begin with the central part of the candy. To do this, you can draw a curved, round line.
This will form the top half of the piece of candy, and we will be adding to it in the next few steps. Once you have the line done, we’re ready for step 2!
Step 2 – Draw the bottom half of the candy
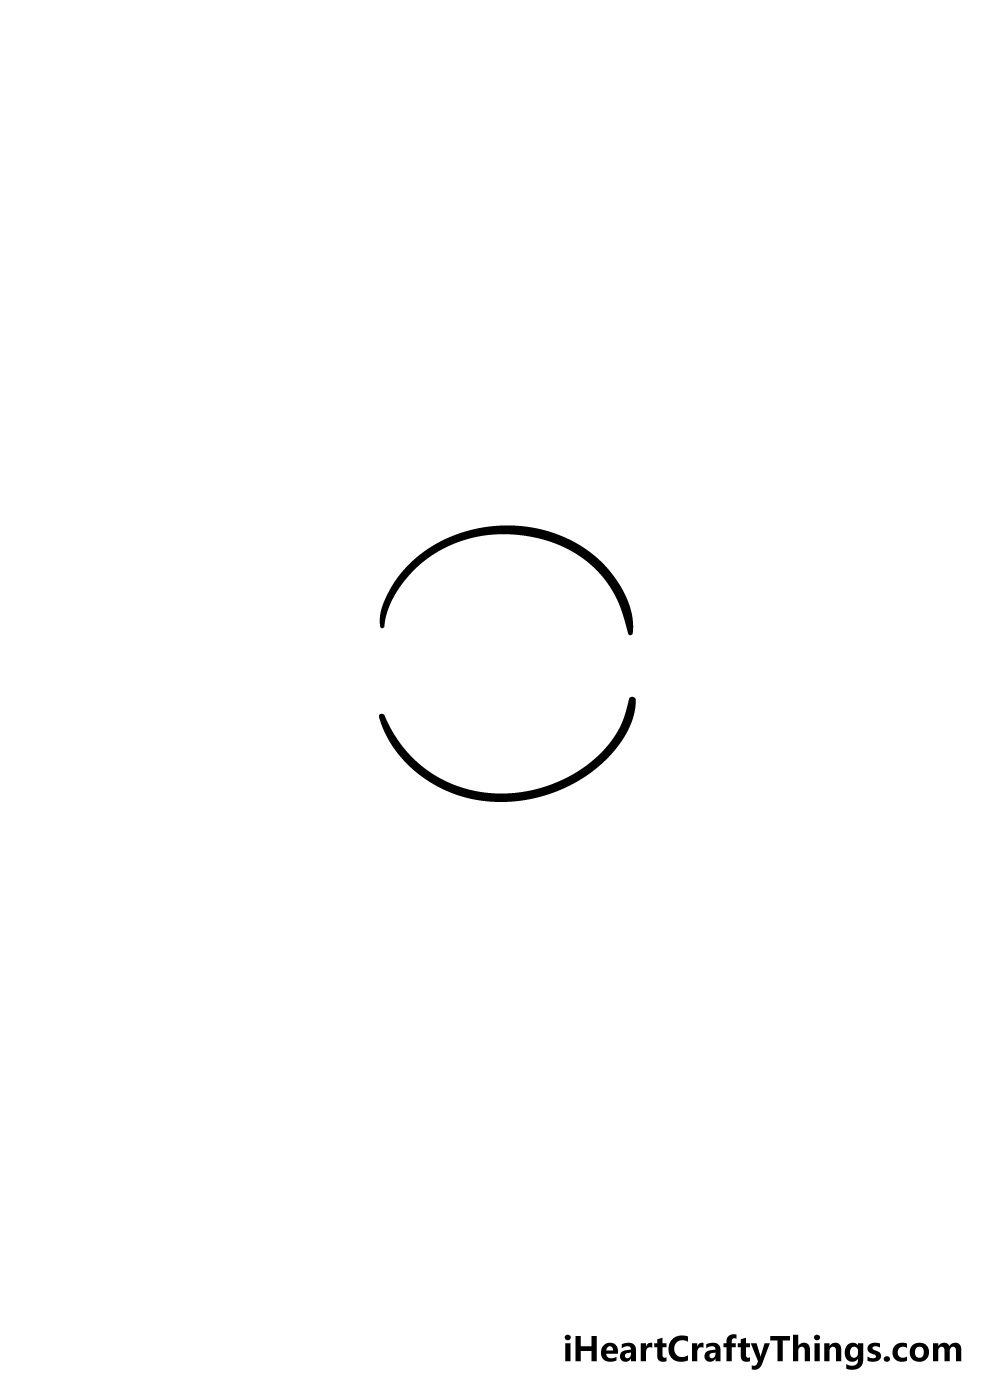
This part of your otter drawing will see you drawing the second half of the piece of candy. This will go underneath the previous one, however it won’t be drawn to create a perfectly circular shape.
This second line should be below the first one that you drew, and as you can see in the reference image it will have a space between them.
This should make you end up with an almost circular shape that has holes on the sides.
Step 3 – Now, draw the first bit of the wrapper
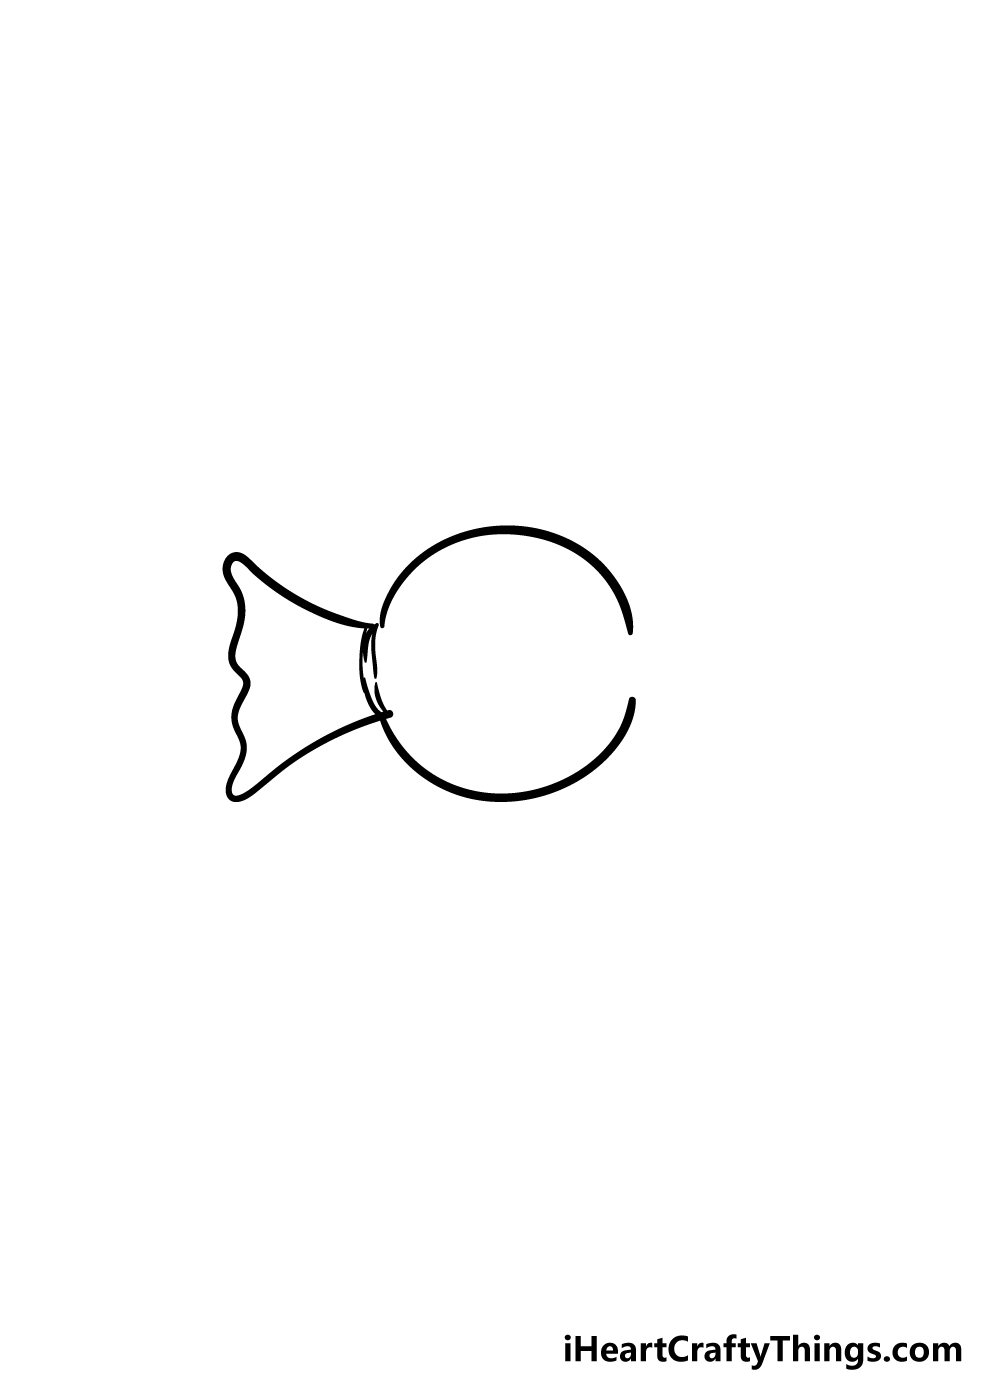
The main part of the candy is now drawn, so for this next step of our guide on how to draw candy you can draw the first part of the wrapper.
This part of the wrapper will fill in the gap that you left on the left-hand side of the candy in the previous step.
To draw this, first you can add a curved line in that gap to show where the wrapper twists around the candy.
Then, you can draw some curved lines extending outward from the base of the wrapper, and then connect these lines with some wavy lines.
That’s all there is to it for this part of the drawing, and we will add the other side in the next step!
Step 4 – Add the other side of the wrapper
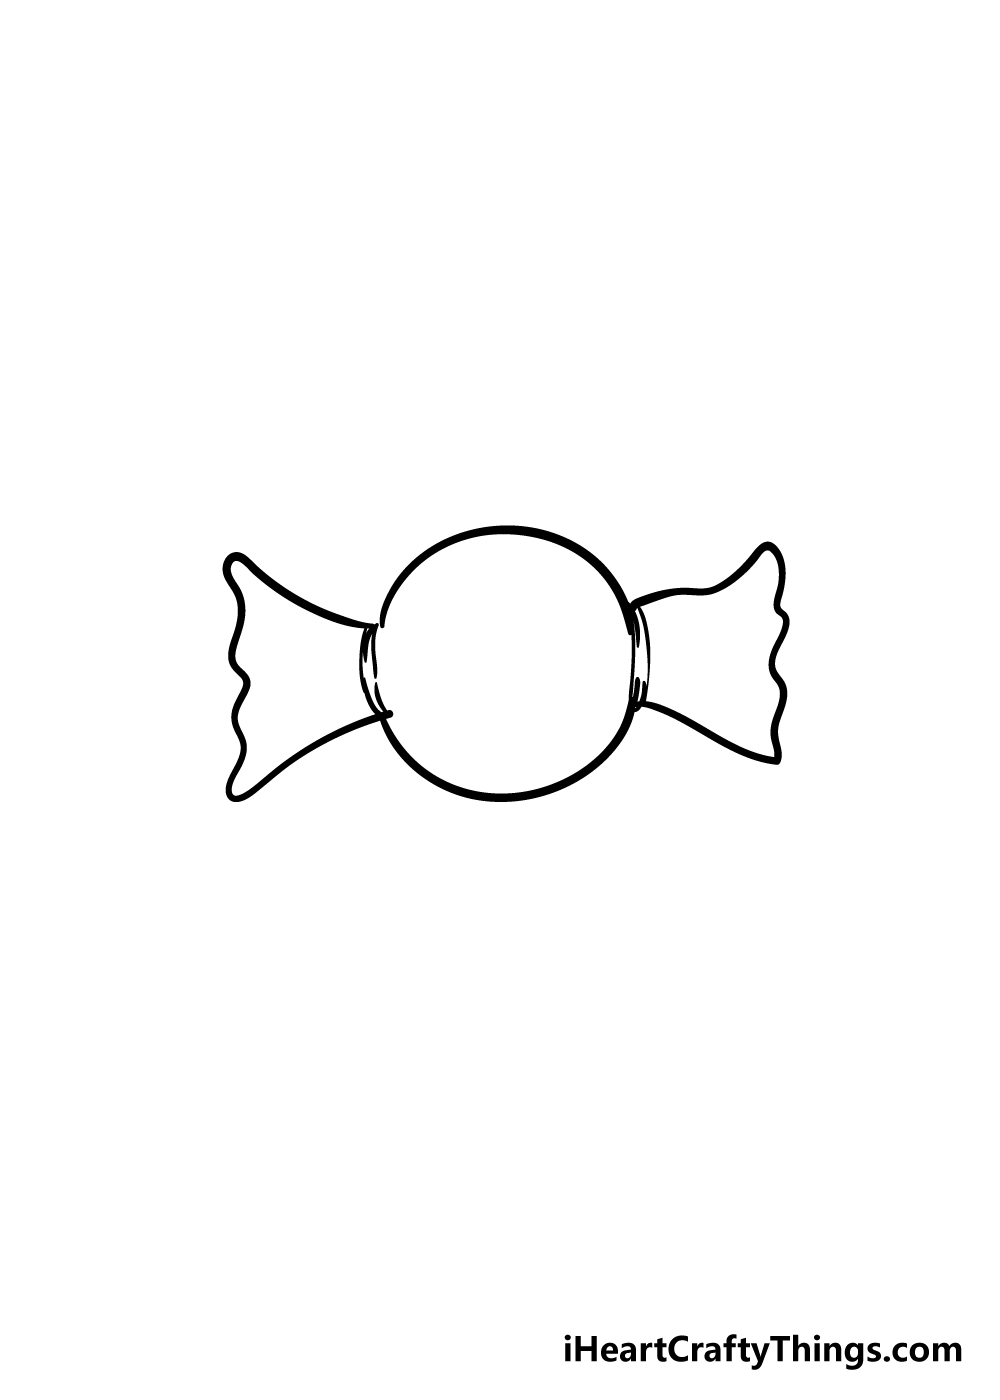
You did a great job drawing the left-hand side of the wrapper in the previous step, so for this part you merely need to mirror exactly what you did, just on the other side now.
Just as you did last time, you can draw a curved line between the gap that you left on the right-hand side. Then draw the wrapper extending outward as you did to finish off this half of the candy drawing.
Step 5 – Now, you can add some final details and your own touches
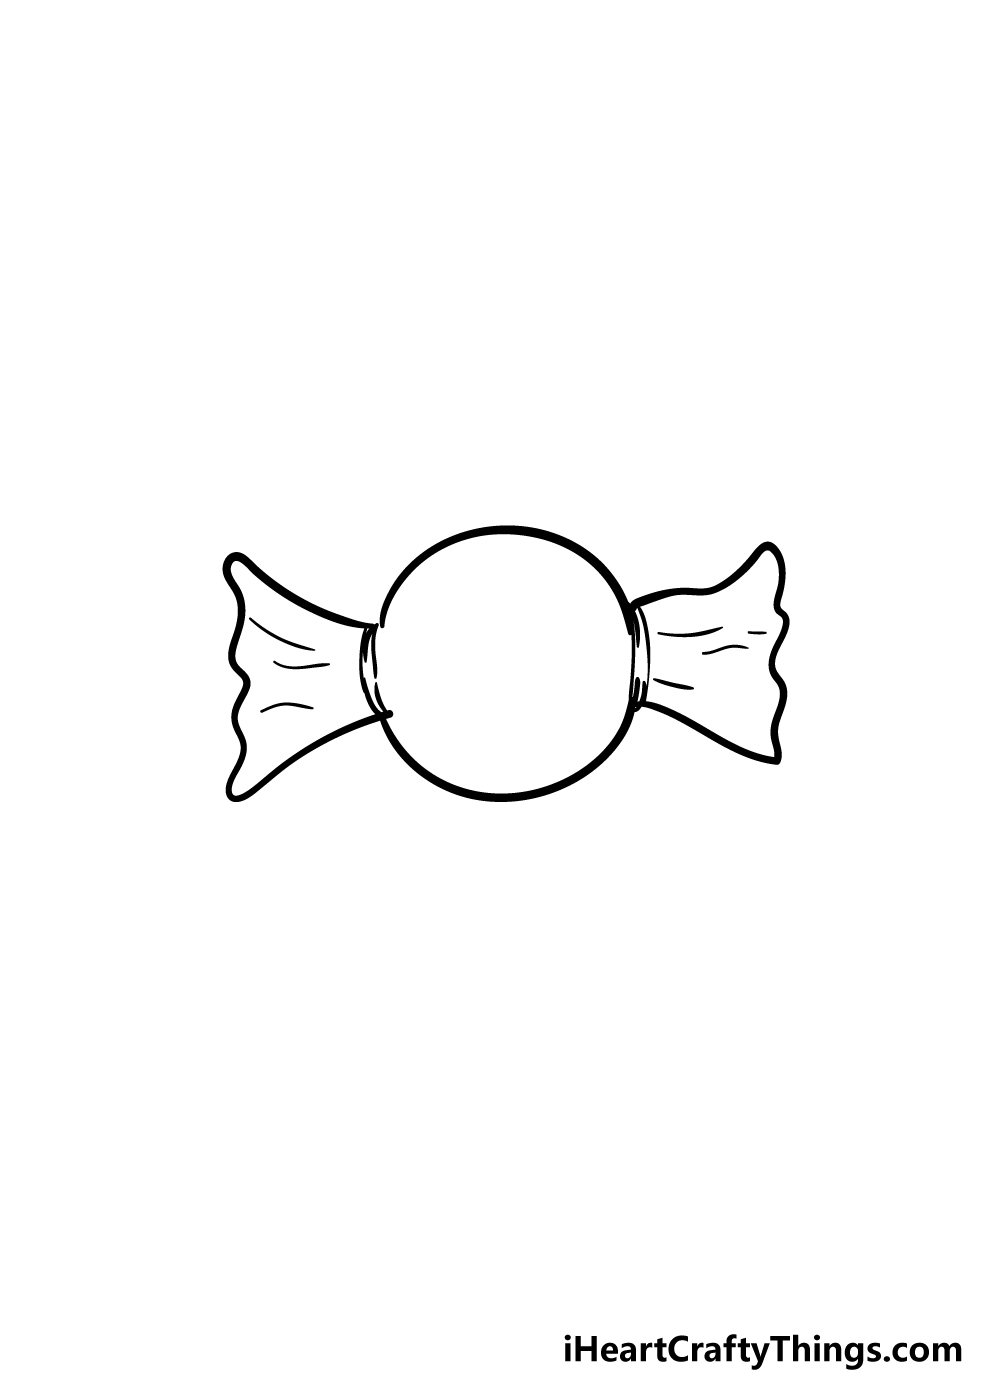
It’s almost time to add some beautiful colors to your candy, but before you do you have the chance to add some final details in this part of our guide on how to draw candy.
For our details in the reference image, we added some lines to the wrapper in order to create a ruffled look to it.
That is what we added, but before you move on you should feel free to add any details or designs that you would like for your candy drawing!
Candy wrappers usually have bright and busy designs, so this is your chance to show off what you think that creative design should be.
You could draw some patterns on the wrapper or even create your own logo! You could also draw a cool background for your picture, and perhaps this piece of candy could be with some other candy designs in a bowl or on a table.
How will you finish off the details of your candy drawing before the final step?
Step 6 – Finish off your candy drawing with some color
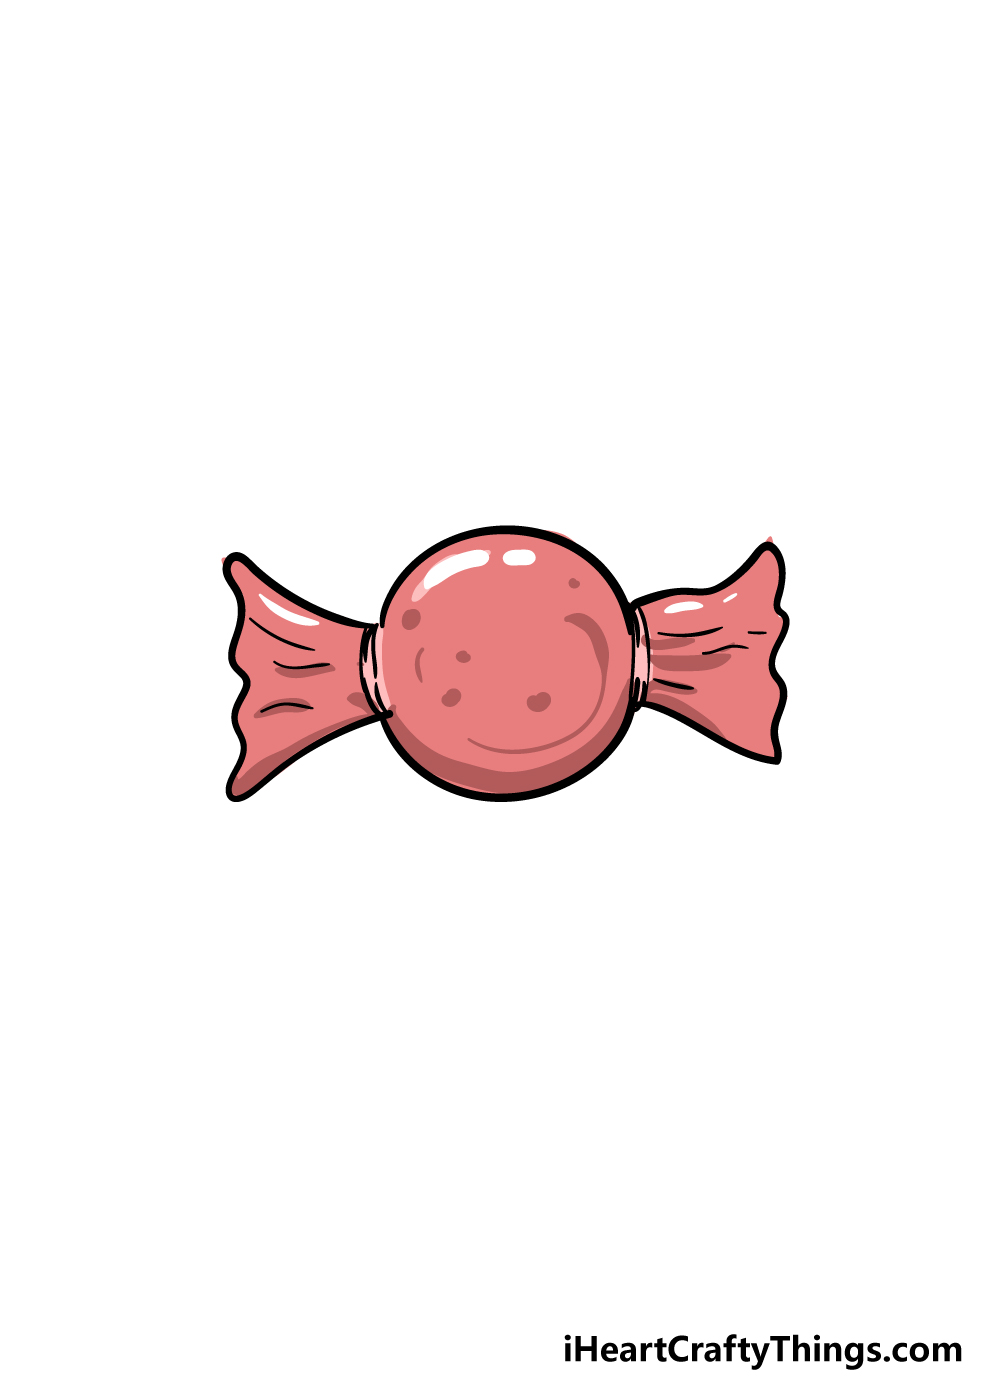
We mentioned earlier that candy wrappers often have bright and vibrant designs, so this is your chance to create an explosion of color for your candy drawing!
Because candy wrapper designs come in so many wild and bright variations there are really no wrong answers when it comes to the colors you can use for your picture.
This is a fantastic opportunity to incorporate some of your very favorite colors to create your perfect candy design!
Whether you want a combination of bright red and green or a more muted blue and purple design or anything in between, the only limit is your imagination!
You can also have some fun choosing some great art mediums for your drawing. This drawing would be especially well suited to some bright and vibrant mediums like acrylic paints or colored pens.
You could also supplement these mediums with some fun craft supplies and glitter pens for a striking, sparkling look!
A more muted and classic look would also be great if you prefer, and for that something like watercolor paints or colored pens would be perfect. It’s all up to you now!
5 Tips To Make Your Candy Drawing Even Better!
Make this candy sketch even tastier with these fun and easy ideas to try out!
We left the details of this drawing of candy fairly blank, and it looks great as it is. However, you could also add some details to it if you wanted to make it more distinct.
This could be the logo of a type of candy you love, or you could create one of your own. What other details could you add to finish off this candy?
When you enjoy some candy, there will usually be a few different kinds that you can sample. You could make this portrayal even tastier by adding different kinds of candy!
The one in our example is circular, but the other ones could take on any other shapes you like to diversify the designs of each piece.
Another way you could add some variety would be by drawing some candy that has been unwrapped. This could be the same type of candy as the one we created or a different one.
Then, you can decide if the candy is made of chocolate or some other delicacy. What kind of candy do you think this could be?
When it comes to coloring this candy drawing, there are some unconventional methods you can use to color it in and add some texture.
One fun idea would be to take the wrapper from a real piece of candy and then stick it inside the outline of the picture. That would make this picture really fun to look at and feel!
You could also use crafts like beads or stickers to make it really pretty.
Finally, once you are happy with how your candy sketch looks, you could also add a background. This could be simple such as showing the candy on a kitchen counter.
Or, you could make a more elaborate scene and show the candy with a Halloween setup behind it to make it look like it was part of a trick or treat haul.
What other backgrounds can you think of?
Your Candy Drawing is Complete!
We hope that you had tons of fun unleashing your inner chocolatier for this guide on how to draw candy!
The great thing about a design like this is that it leaves a lot of room for you to customize it and create your own variations.
We created this guide to leave the finishing touches up to you and your creativity, so you should really let your imagination run wild!
Once you’ve gotten the hang of this drawing, you can take it even further by changing up the design of the wrapper and by creating even more variations for it.
Then you can incorporate a background and also play around with your favorite colors and art mediums. We can’t wait to see what you come up with!
We have tons of amazing guides such as this one on our website for you to enjoy, so we hope you’ll visit us there!
We upload new guides all the time, so be sure to check in often to make sure you never miss out.
Once your candy drawing is complete, we hope that you will share it on our Facebook and Pinterest pages for us to admire! We can’t wait to see your awesome design!