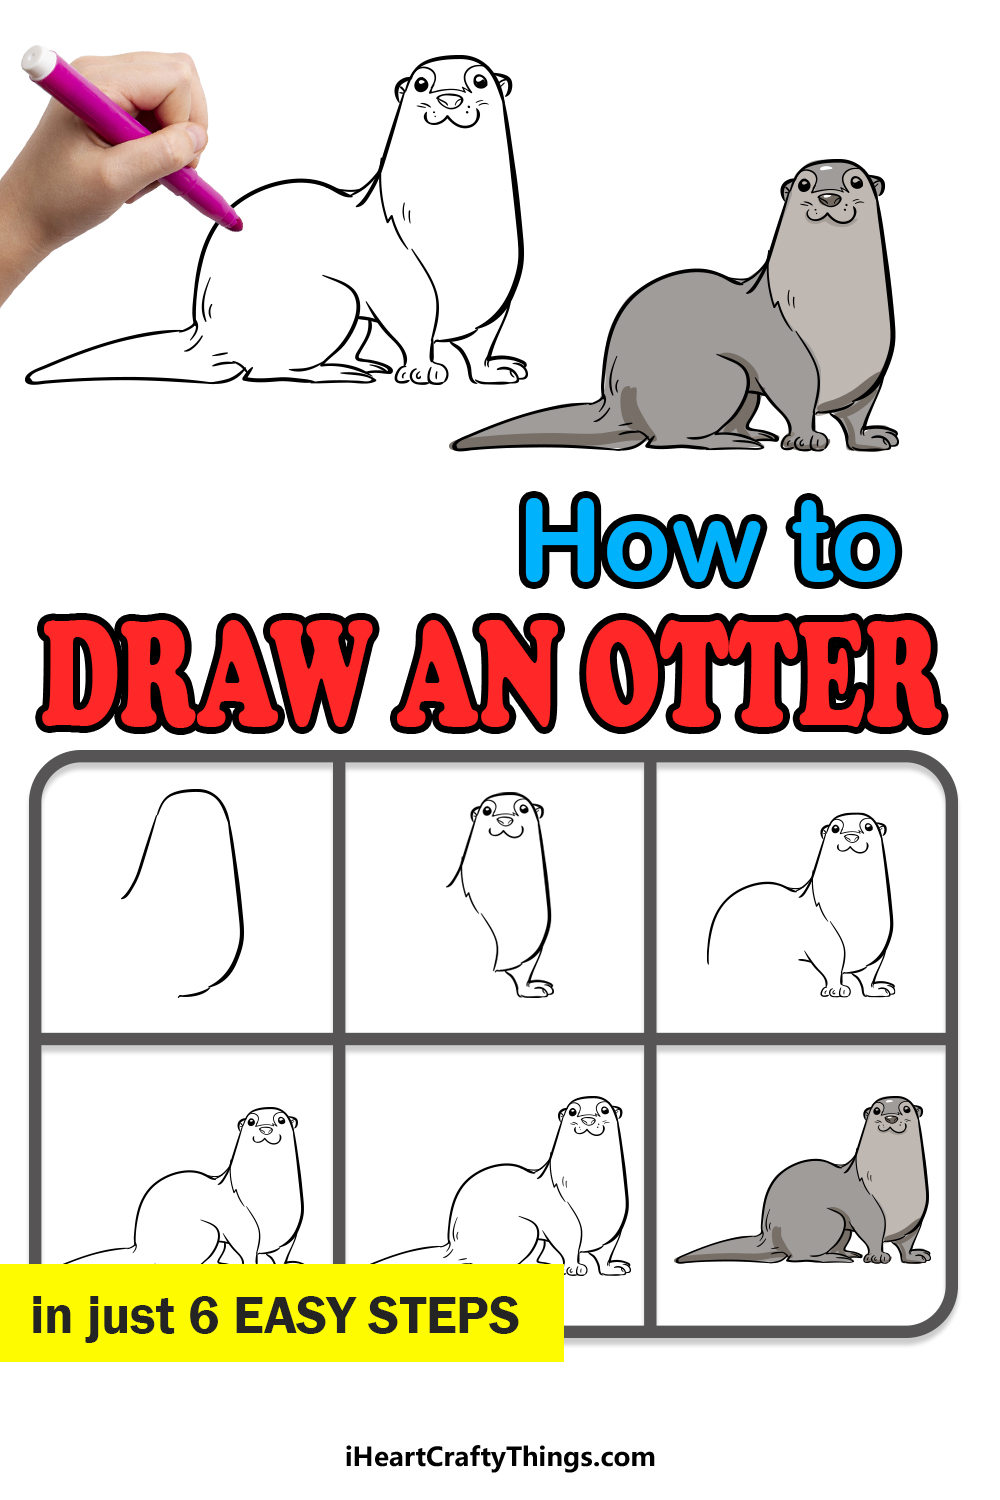
If you want to learn how to draw an otter, then there is no better place to be than here! This guide for kids will make it easy for all ages to follow and enjoy.
Otters are animals that I have always found to be incredibly cute. These aquatic mammals know how to live the good life; swimming around and eating fish all day sounds okay to me!
They also look like water-dogs and have adorable little faces and paws. There are many people who also love otters and want to draw them but don’t know where to start.
If that sounds like you, then you are just a few steps away from seeing how it’s done. Don’t worry, as I will take you through each and every step until you have a cute otter of your very own!
Check Out This Video On How To Make Your Otter Drawing
How to Draw An Otter – Let’s Get Started!
Step 1
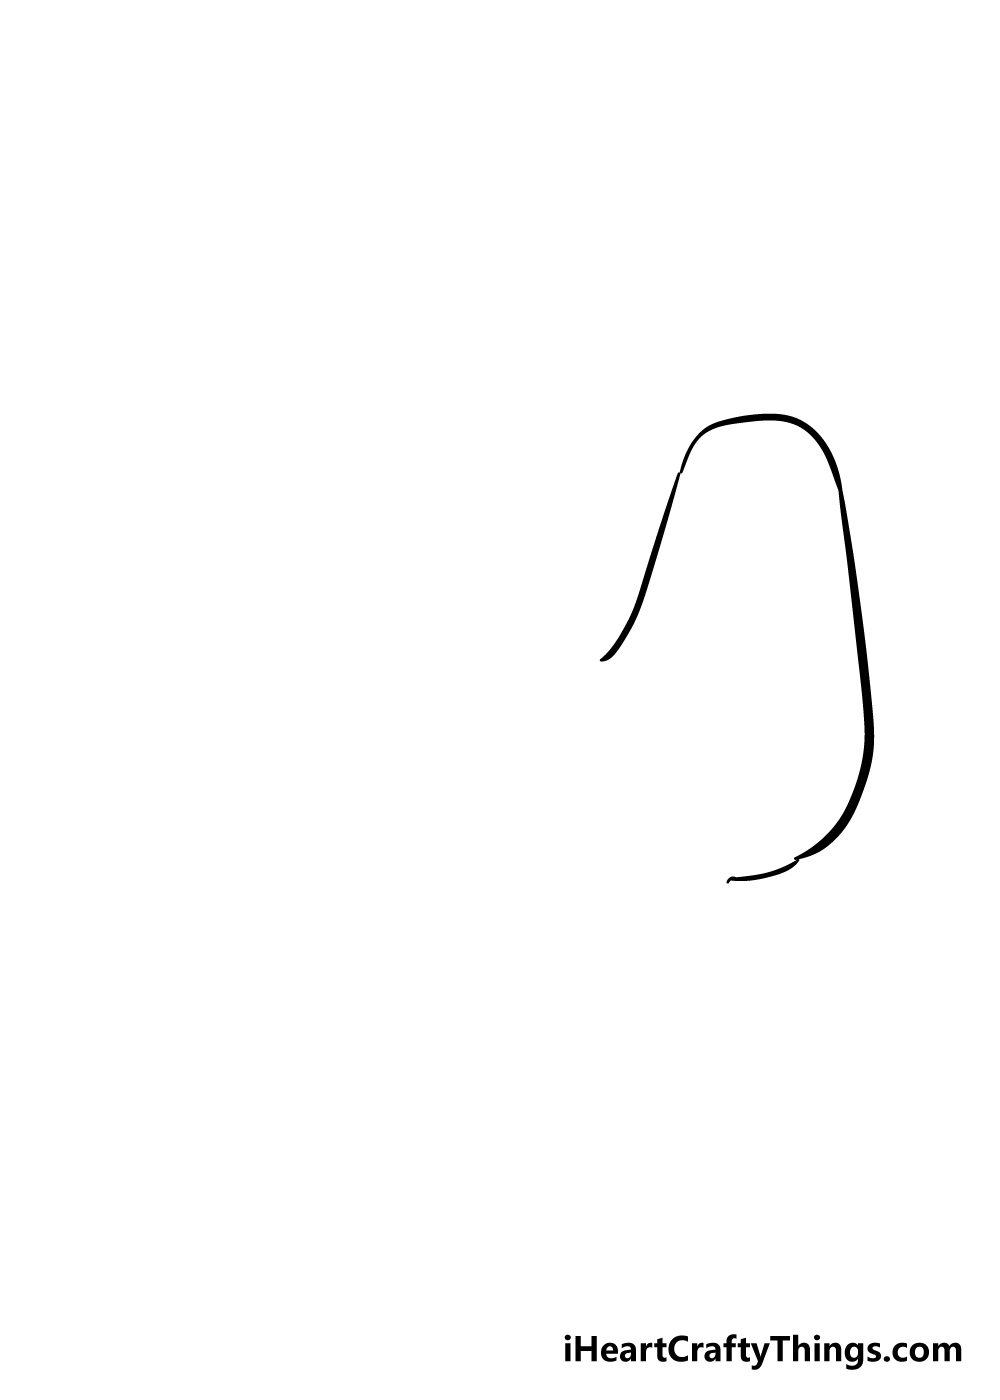
We will get this guide on how to draw an otter started with the head and chest of your otter.
To do this, you can draw a line that is quite curved and rounded to form the start of the shape that you see in the reference picture.
It will be a thinner shape at the top for the head of the otter, but it will then get thicker the lower it goes as that is where we will be adding the body in the next few steps.
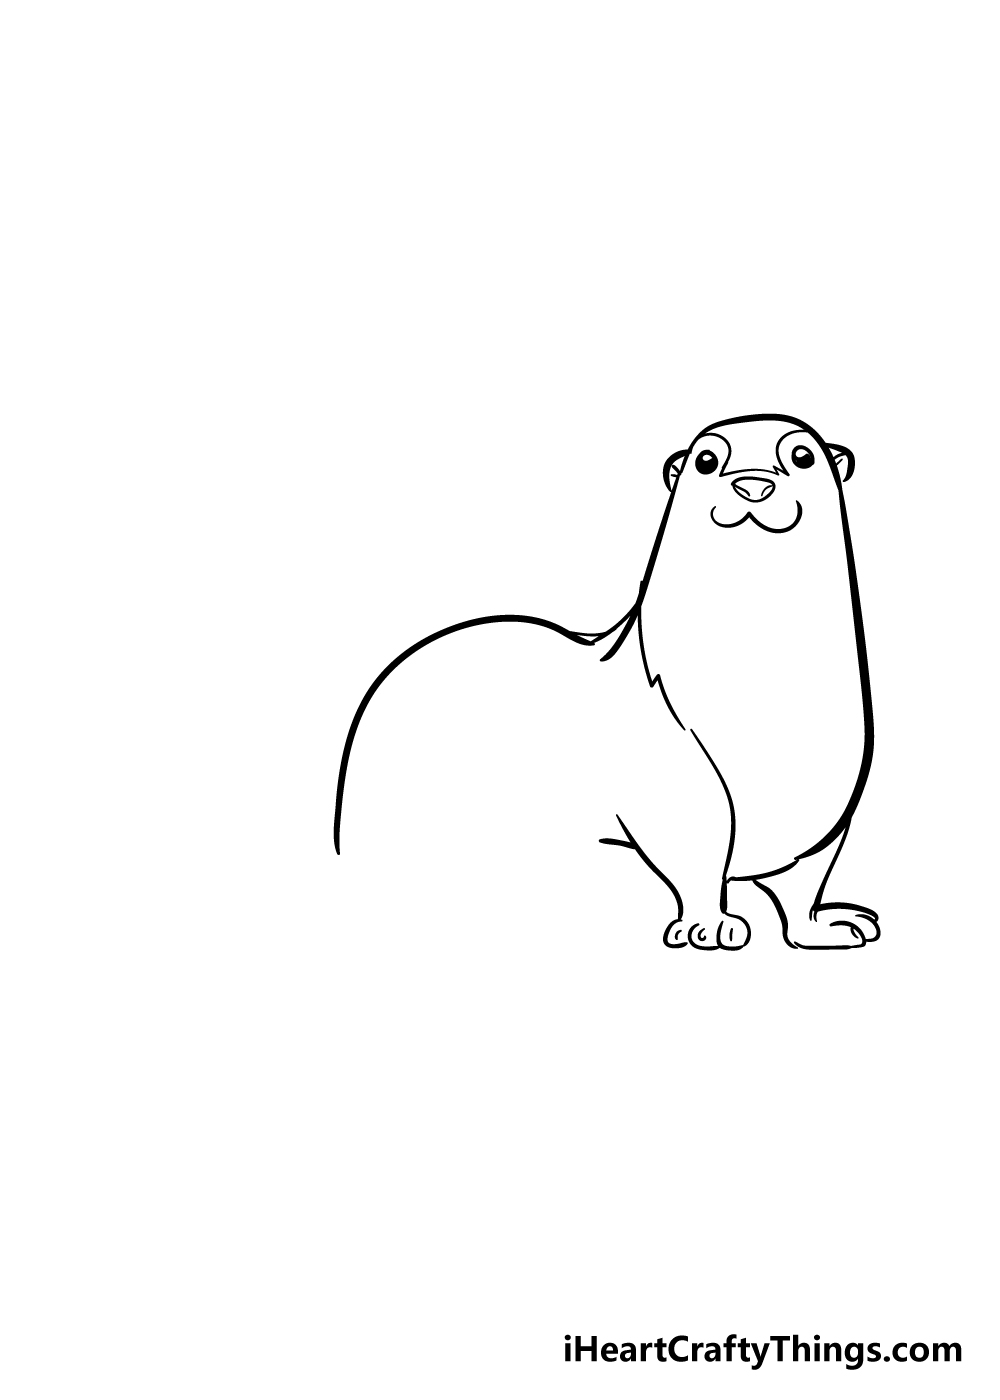
Step 2 – Draw the face and first leg for your otter

In this part of your otter drawing, we will be creating a cute face for it. The eyes of the otter will be fairly far apart, and we will be drawing them with two simple black dots that have a small white spot in them.
Then, you can draw a small triangular shape for the nose, and then there will be some curved lines under that for a smiling mouth.
You can also draw a short leg with a large paw coming off the side of the otter’s body as shown in the reference picture.
Then, you can draw some small shapes on the side of the head for some little ears.
Before moving on, there are a few more lines that you can add to the face and body to add some detailing to the otter’s body. Once you have these all drawn, we’re ready for step 3!
Step 3 – Now, draw the other leg and back of the otter
We will continue adding on to your adorable otter in this third part of our guide on how to draw an otter.
First, you can draw another leg that will look quite similar to the one that you drew in the previous step.
It will also be quite a short leg with a large paw, but due to the angle it will come out from within the body outline this time.
Finally, you can use a sharply curved line for the back of the otter.
Step 4 – Add the back legs and tail
Your otter drawing is already looking great! In this step, we will finish off the body before we move on to the final details.
First, you can draw the back legs for the otter. These ones will look a bit different to the front legs, and there will be a much more curved line above some even longer, thinner paws.
Finally, the tail will be quite long and thick behind the otter and will be drawn with some curved lines.
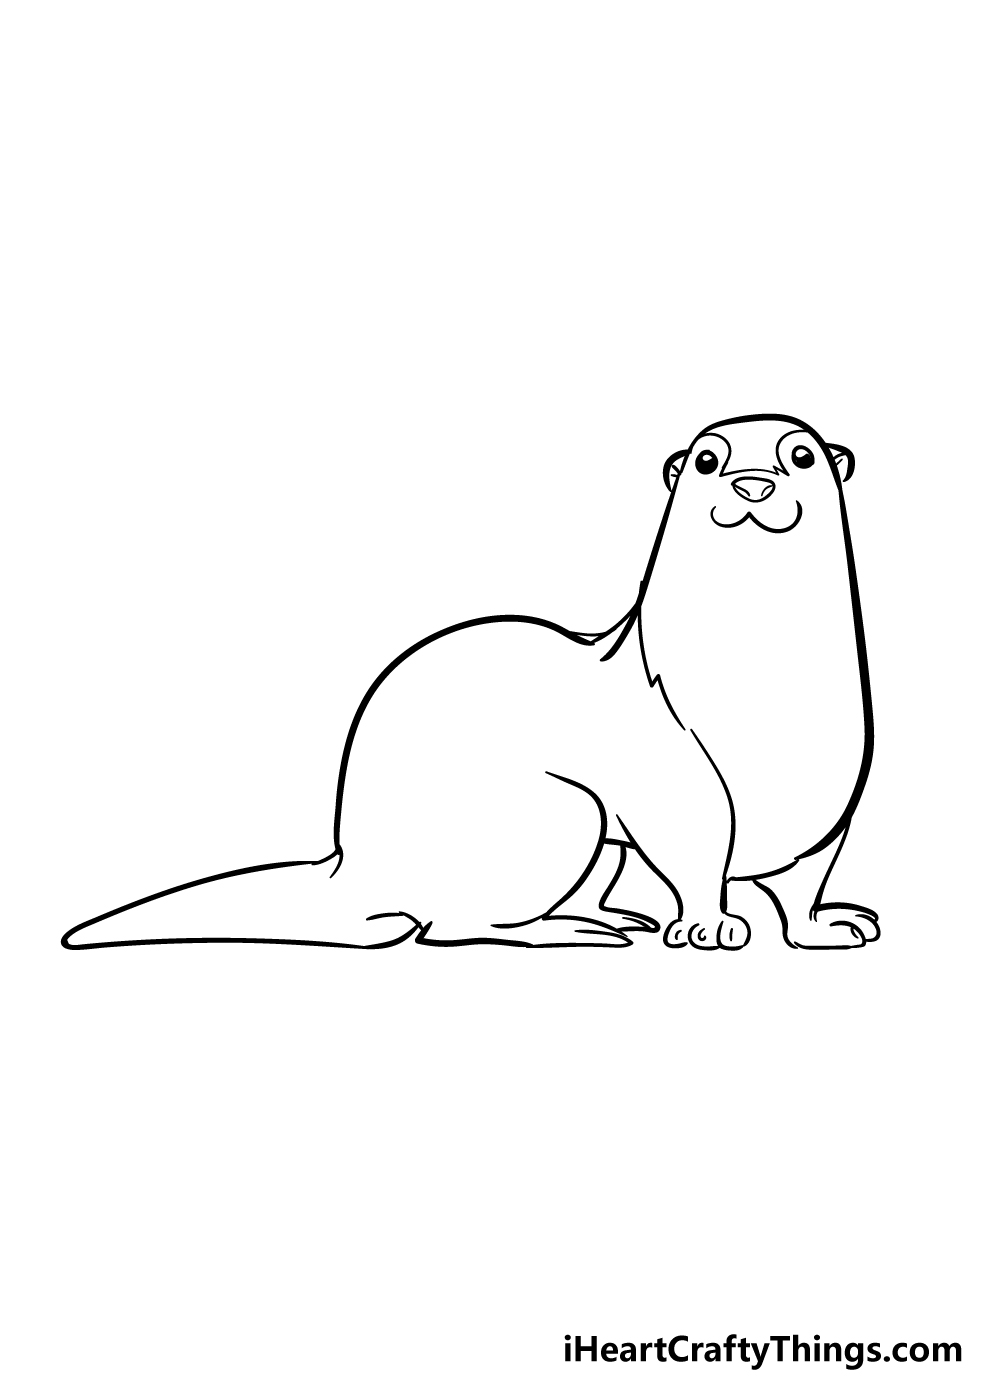
Step 5 – Now, you can add the final details to your otter drawing
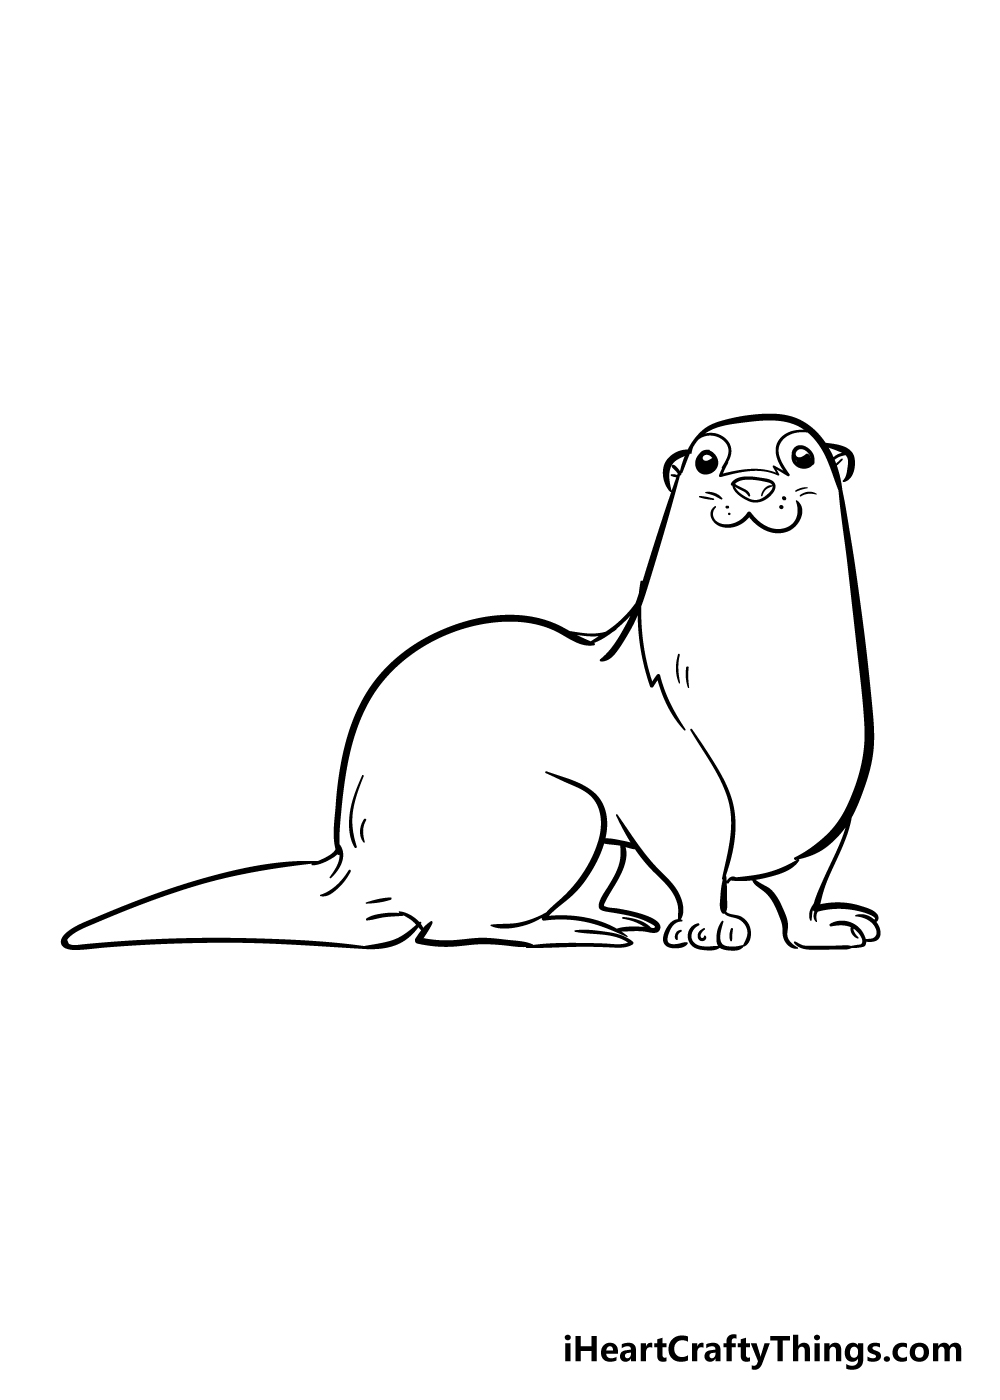
The bulk of your otter is done now, so all you need to do before the last step is add some final details!
In our example we added some small, simple lines to areas like the face, legs and body of the otter.
These details help add some extra touches like whiskers and fur detailing to make the drawing come alive.
Before you move on, be sure to add any of your own details to the image! One thing you could do would be to draw in a nice background for your cute otter.
Maybe this little critter is relaxing by a peaceful stream or a serene lake! What kind of setting would you choose for this otter?
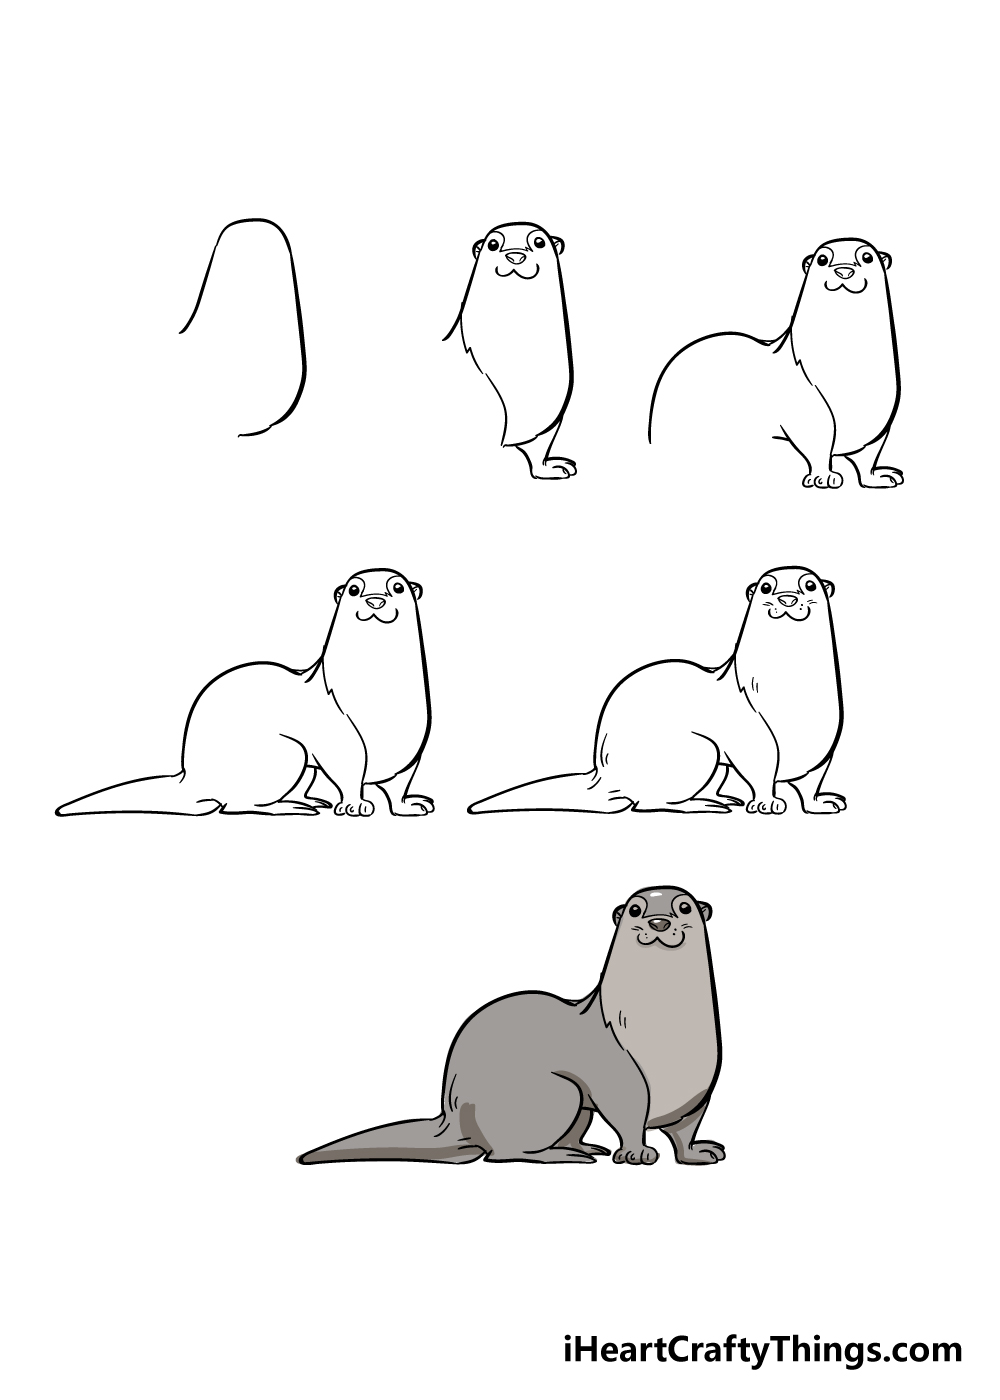
Step 6 – Finish off your otter drawing with some color
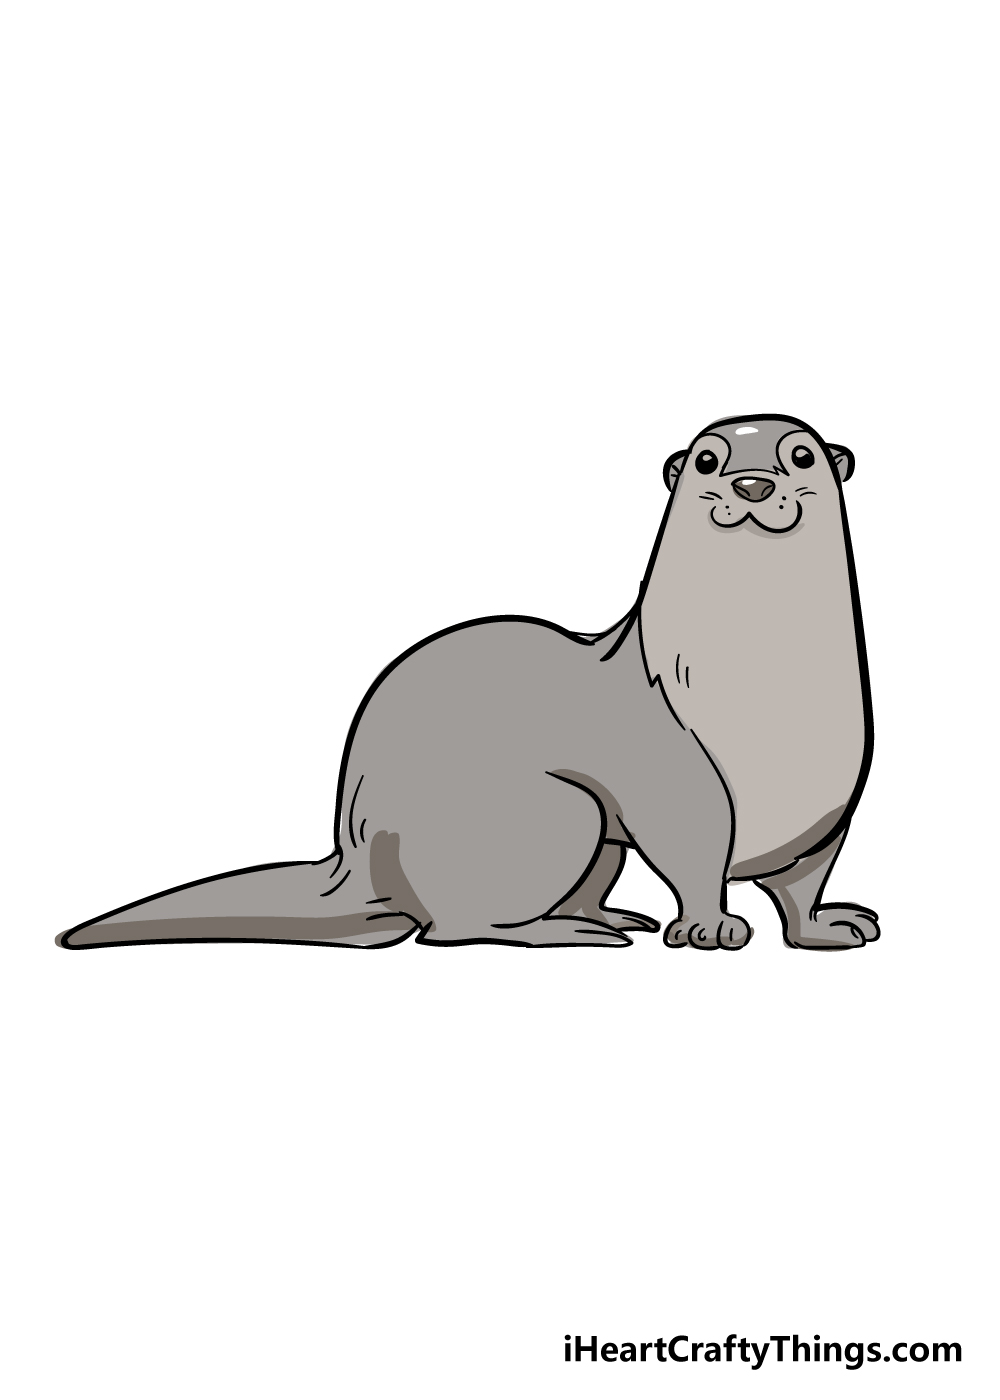
Now that your otter drawing is completely drawn, it’s time to finish it off with some incredible colors!
This is a step where you can really get creative and have a fun time adding your favorite colors. You can also experiment with some fun art mediums to really give the picture some life!
Otters have a few color variations that can come in depending on the species, and for our image we went with a grey color scheme.
This is just one color out of many that you could go for, and you should definitely use some of your favorite colors to finish off this drawing!
You could go for some more realistic shades, but you could also create a more stylistic variation if you prefer.
When you know what kinds of colors you would like to use, you can then have some fun with your favorite art mediums.
If you want more vibrant and bright colors, you could use some acrylic paints and colored pens for the picture.
On the other hand, some watercolor paints and colored pencils would be great for a more muted look. How will you color in your otter drawing?
Do this to take your otter drawing to the next level
Check out these tips we have for making your otter sketch even better than it already is!
Otters are social animals, so now that you know how to draw one you could add a second one to this drawing of an otter!
It would be as easy as simply following through the guide again to give it some friends.
You could add one more or make it an otter extravaganza depending on what you want for the image!
They could have all sorts of fun details to set them apart and create a vibrant scene. What sorts of poses would you like to create?
If you don’t want to add more otters to the image, you could also add other kinds of animals. Otters can be found in both fresh and salt water, so you would have many options for other animals.
These could include animals like a beaver to different kinds of fish. That is just a couple of examples of animals you could add, but you could add any of your favorites!
This otter drawing shows this animal in a fairly neutral pose, but you could also create other fun poses. This would be fun to do especially if you added more otters to the scene.
Otters like to float on their backs in the water, so that would be an easy pose to create here. This would also allow you to submerge any details of the drawing that you’re having a hard time with.
What other kinds of poses could you create?
One final way of making your otter sketch even better would be by drawing a background. As we mentioned, these animals can be found in a variety of different environments.
It could be a lake setting or you could go for a coastal background. If you need some help, you could look up some otter habitats to help you as you draw.
You could also instead draw a zoo setting if you wanted to include other weird and wonderful animals.
Your Otter Drawing is Complete!
We hope that you had tons of fun working through this guide on how to draw an otter alongside us!
When taking on a new drawing, it can be made so much easier once you have some steps to follow, and it can make it more fun than just going in blind.
This guide was made to ensure the process is both fun and easy for you, so we hope it was both of those for you!
Now that the guide is complete, you can take over and keep personalizing the image. You could do this by adding some extra elements or by creating a beautiful background.
We can’t wait to see what you do!
The drawing fun continues on our website, as we have some great drawing guides for you to enjoy there. We upload new guides constantly, so check in often to never miss out!
We would love to see your amazing otter drawing when it’s done, so please share it on our Facebook and Pinterest pages so we can see your adorable artwork!