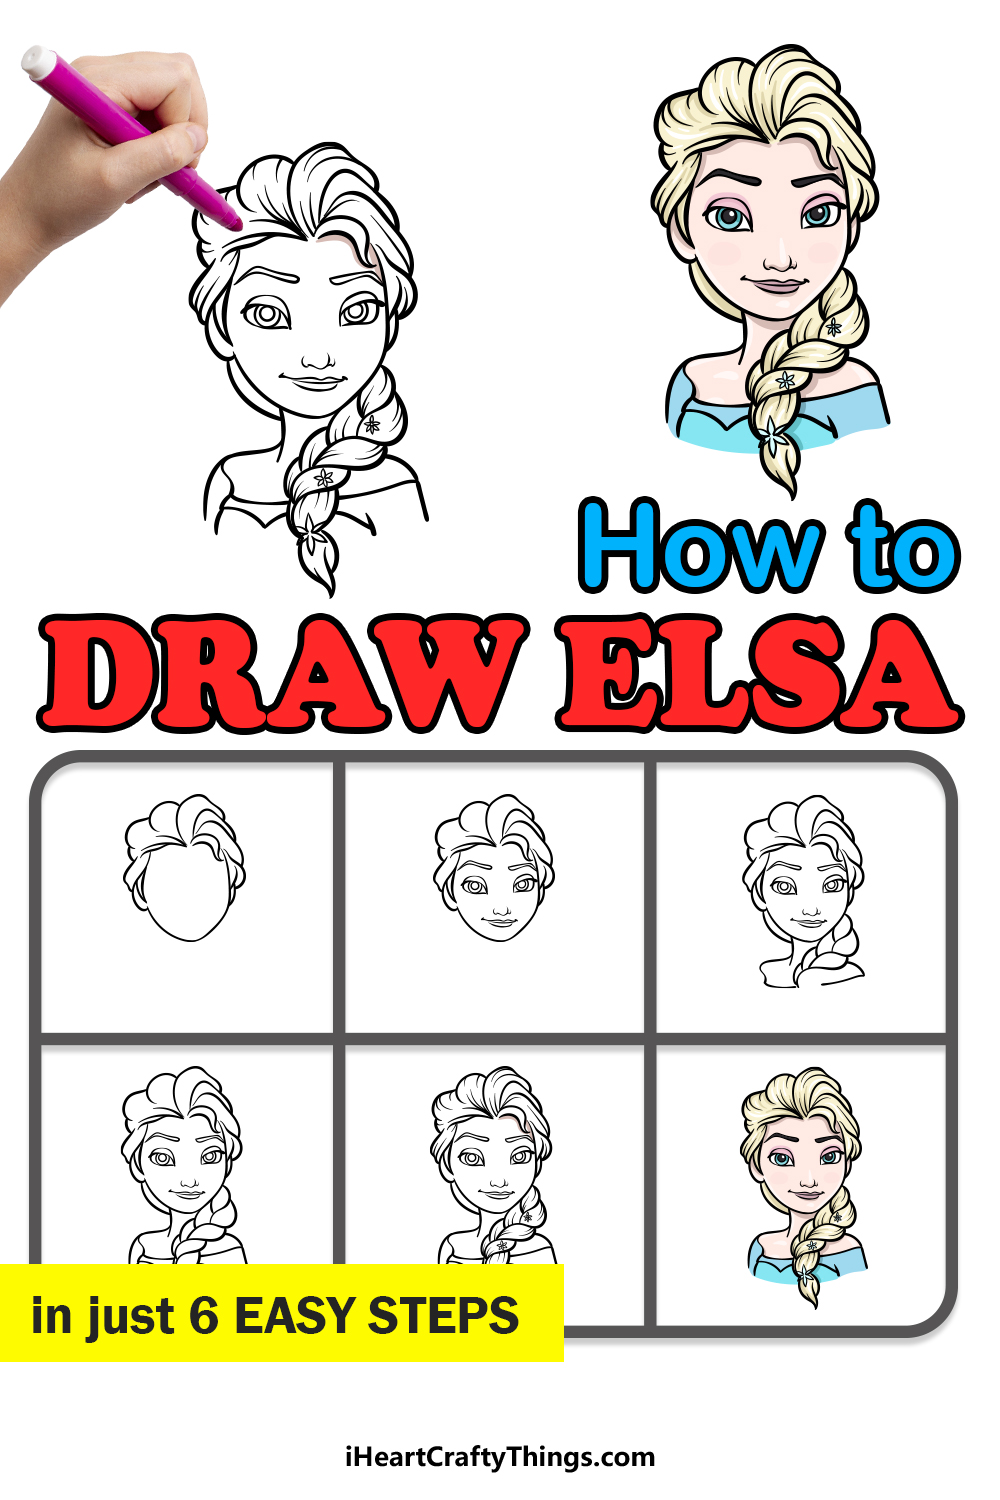
You won’t believe how simple it is to learn how to draw Elsa when you follow these steps! Keep reading to see how you can recreate this iconic character.
Elsa is a relatively new addition to the Disney roster, as she first appeared in Frozen which was released in 2013. She was an immediate hit with audiences, and she’s incredibly popular to this day.
Anyone who loves Elsa has probably wondered how they can learn to draw her, and this guide is the answer to this dilemma. I will carefully take you through each and every step to make it much easier for you to learn.
By the end, the whole process will make sense and you will be able to make a stunning drawing. When you have finished the guide, you can even add your own ideas and turn it into something even more unique.
Watch This To Make Your Elsa Drawing
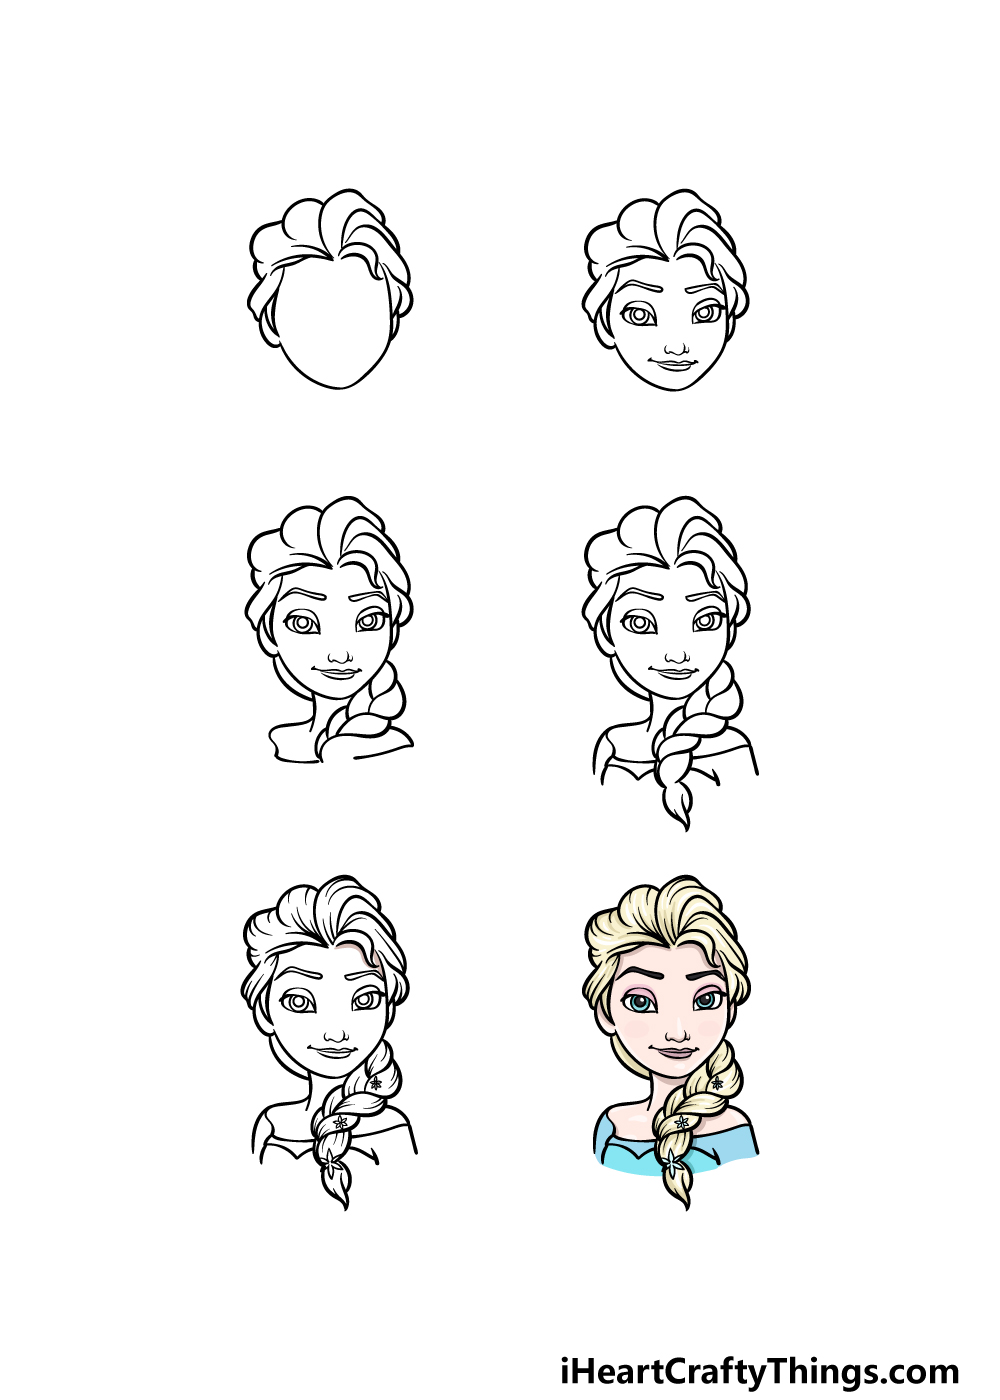
How to Draw Elsa – Let’s Get Started!
Step 1
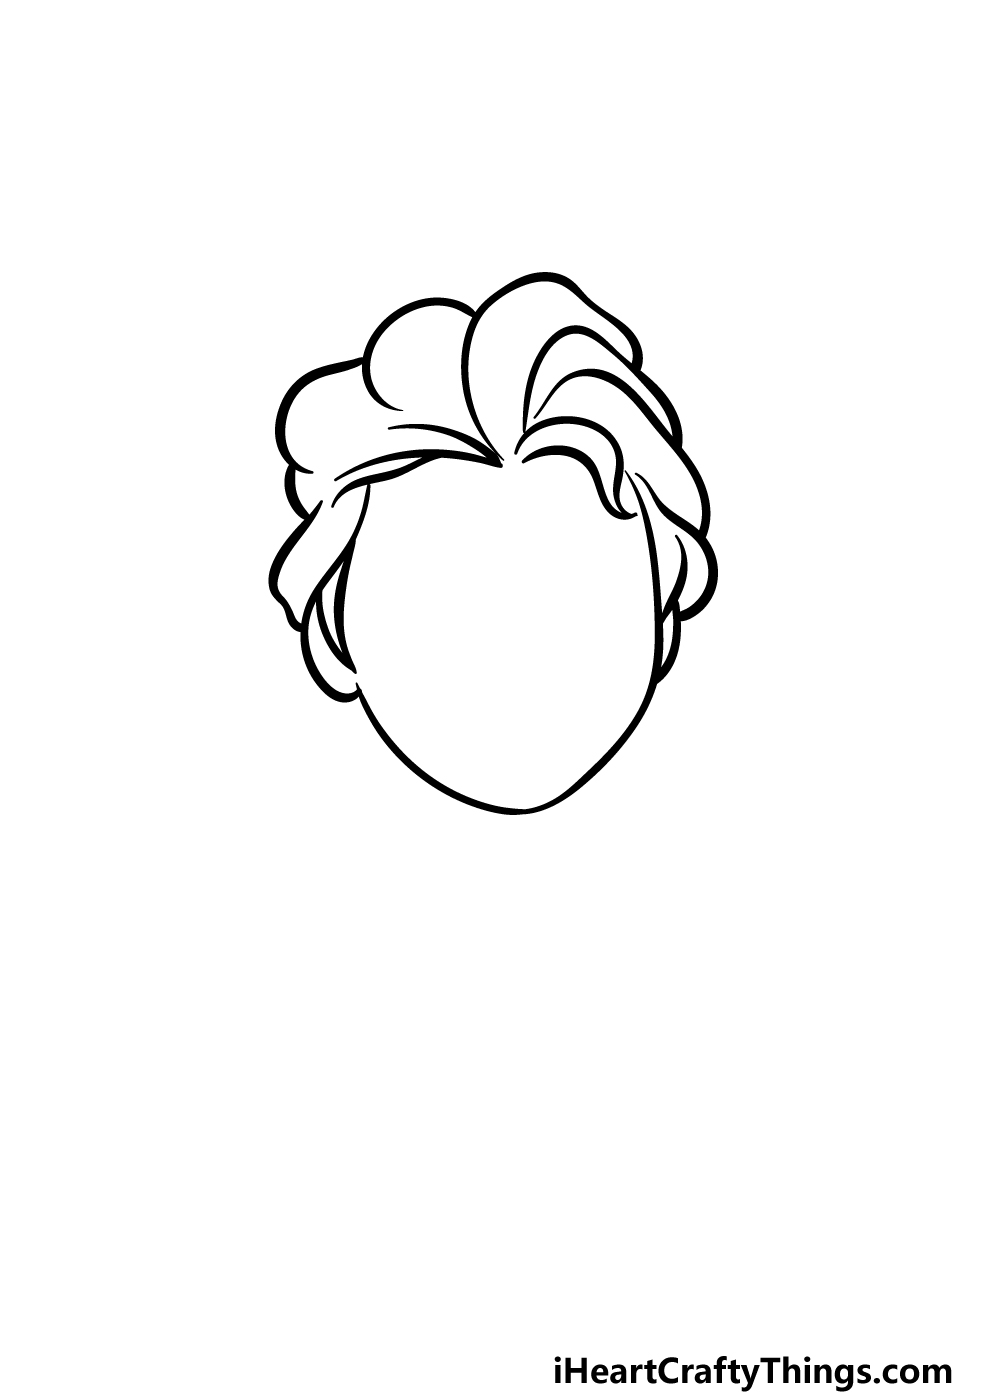
We will begin with the face and hair outline of this character in this first step of our guide on how to draw Elsa.
First, use a smooth, curved line for the outline of her face. You can also add her ears onto the side of her face with some smaller curved lines.
For her hair, we will be using a lot more curved lines that connect to one another. Her hair is tied up, and the way it’s drawn will make it look like it’s separated into sections.
Then you can move on to step 2 of the guide!
Step 2 – Now, draw the facial expression for Elsa
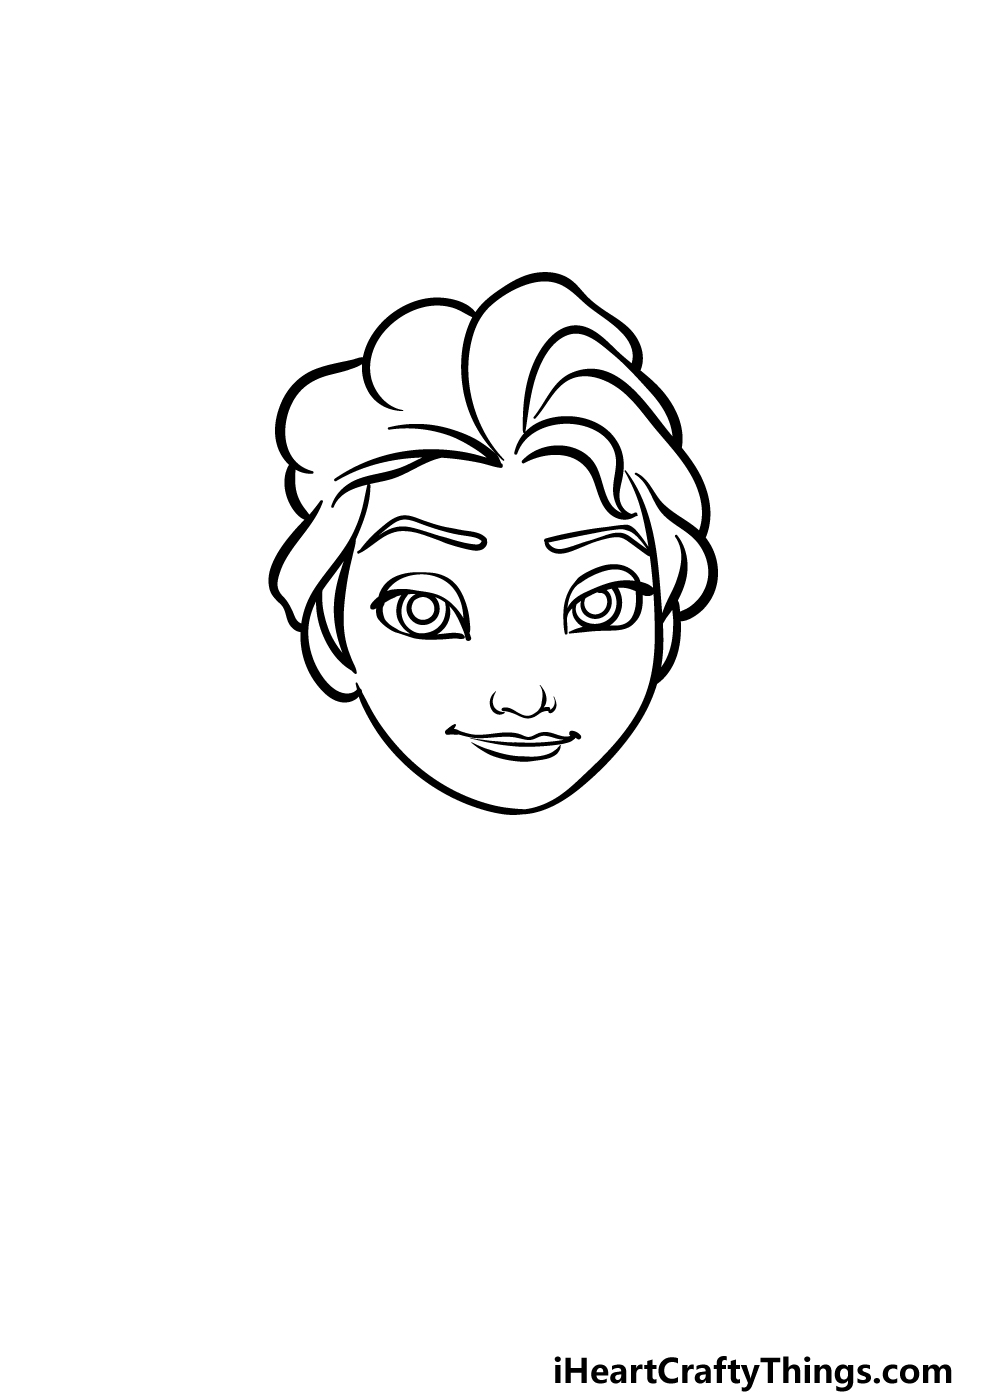
This second step of your Elsa drawing will see you drawing her facial expression. She is a fairly serious, sarcastic character, and this will be reflected in her facial expression.
Her eyes are big and rounded with some pointy tips on either end. Then, there will be some lines across them to make it look as if her eyelids are a bit lowered.
You can also draw some thin, curved shapes above them for her eyebrows! Lastly, use some simple lines for her nose and slightly smiling mouth before we proceed.
Step 3 – Draw her neck and the start of her hair braid
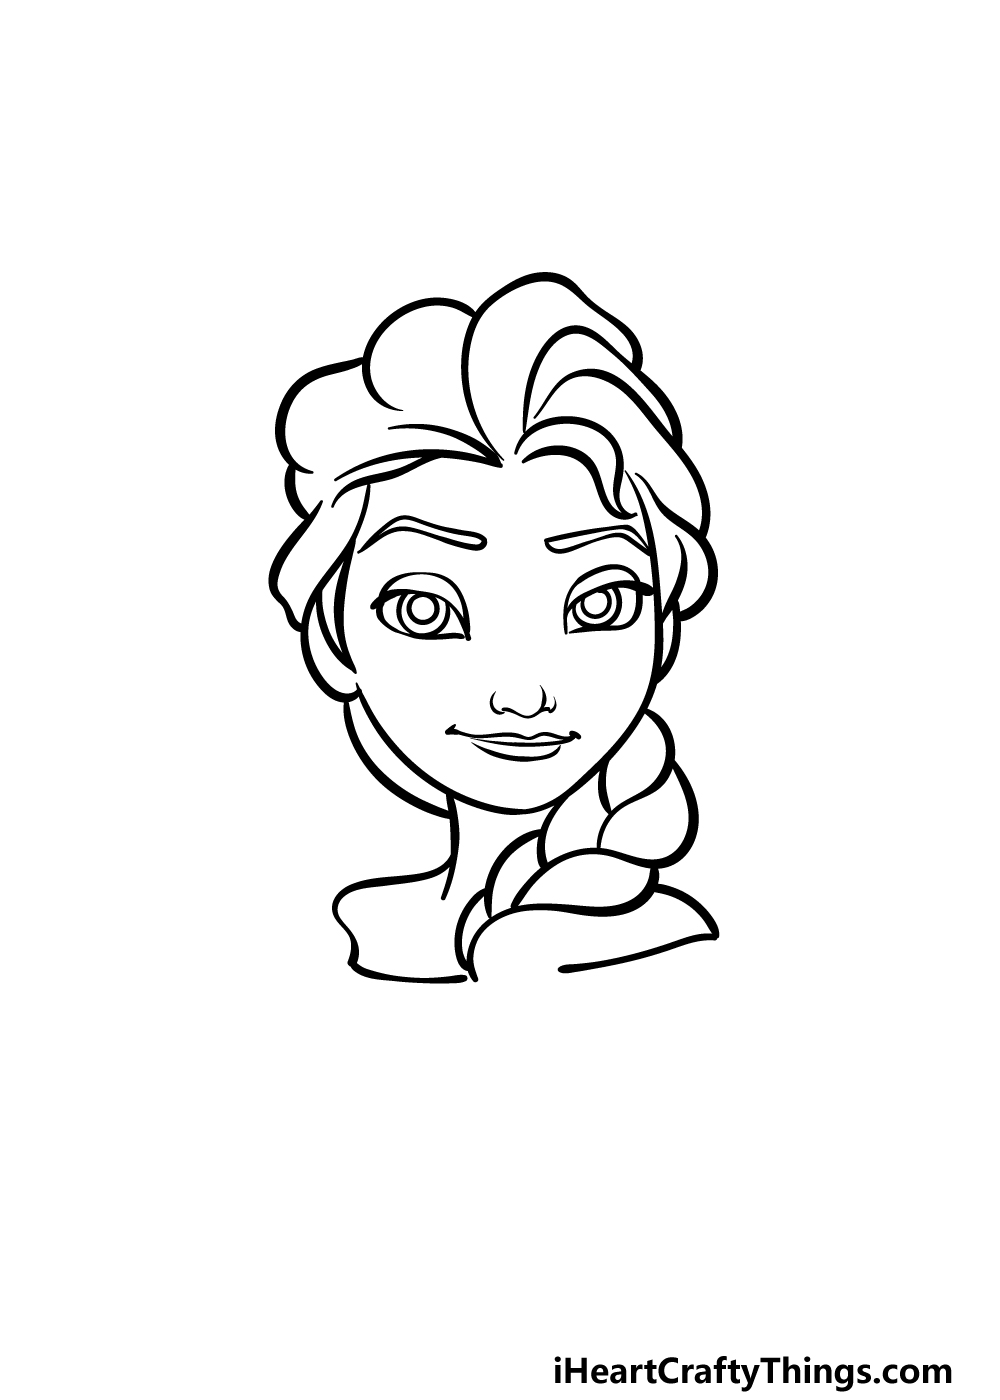
Next in this guide on how to draw Elsa, we will be adding her neck and the start of her thick hair braids.
For her neck and shoulders, extend some simple curved lines down from the base of her head.
The hair braid can actually be a bit of a tricky element to draw, so it may be something you’ll want to replicate closely from our reference image!
It will be drawn using some curved lines that come together to form the individual, twisty sections of the hair. There will be an empty space at the bottom of it, but we will add onto that soon!
Step 4 – Next, draw the rest of her braid and shoulders
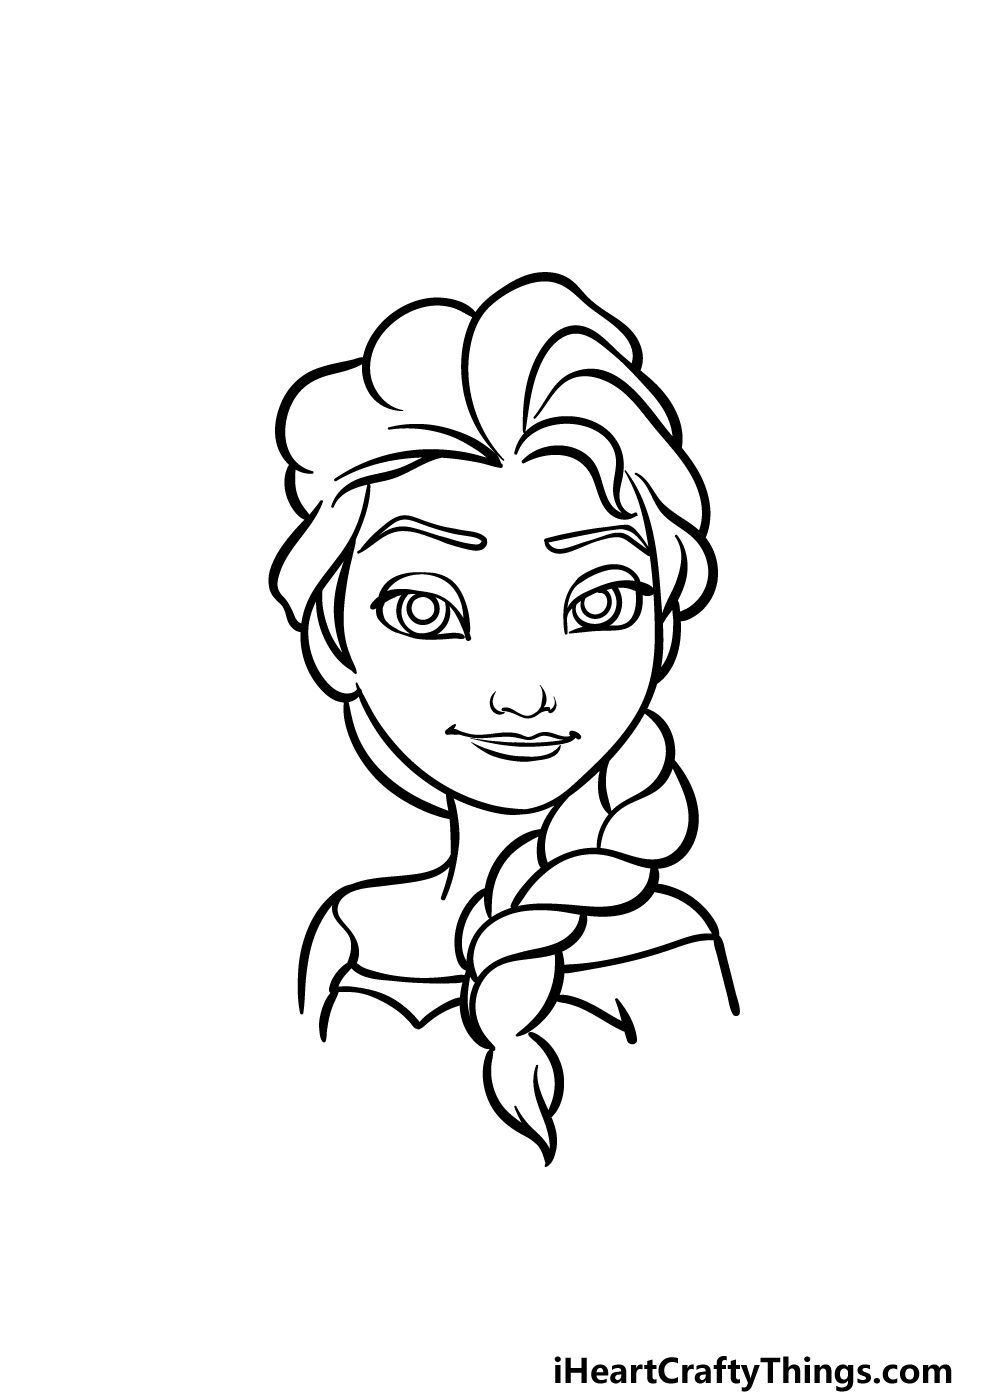
Before you move on to the final details of your Elsa drawing, we will first finish off the outline for the rest of this portrayal.
First, extend some simple lines down from her neck and shoulders to draw the top of her chest and arms. Then, you can finish off this step by adding the pointy end of her braid hanging down.
Once you have drawn these aspects, you will be ready for those final details as we move on to step 5 of the guide!
Step 5 – Add the final details to your Elsa drawing
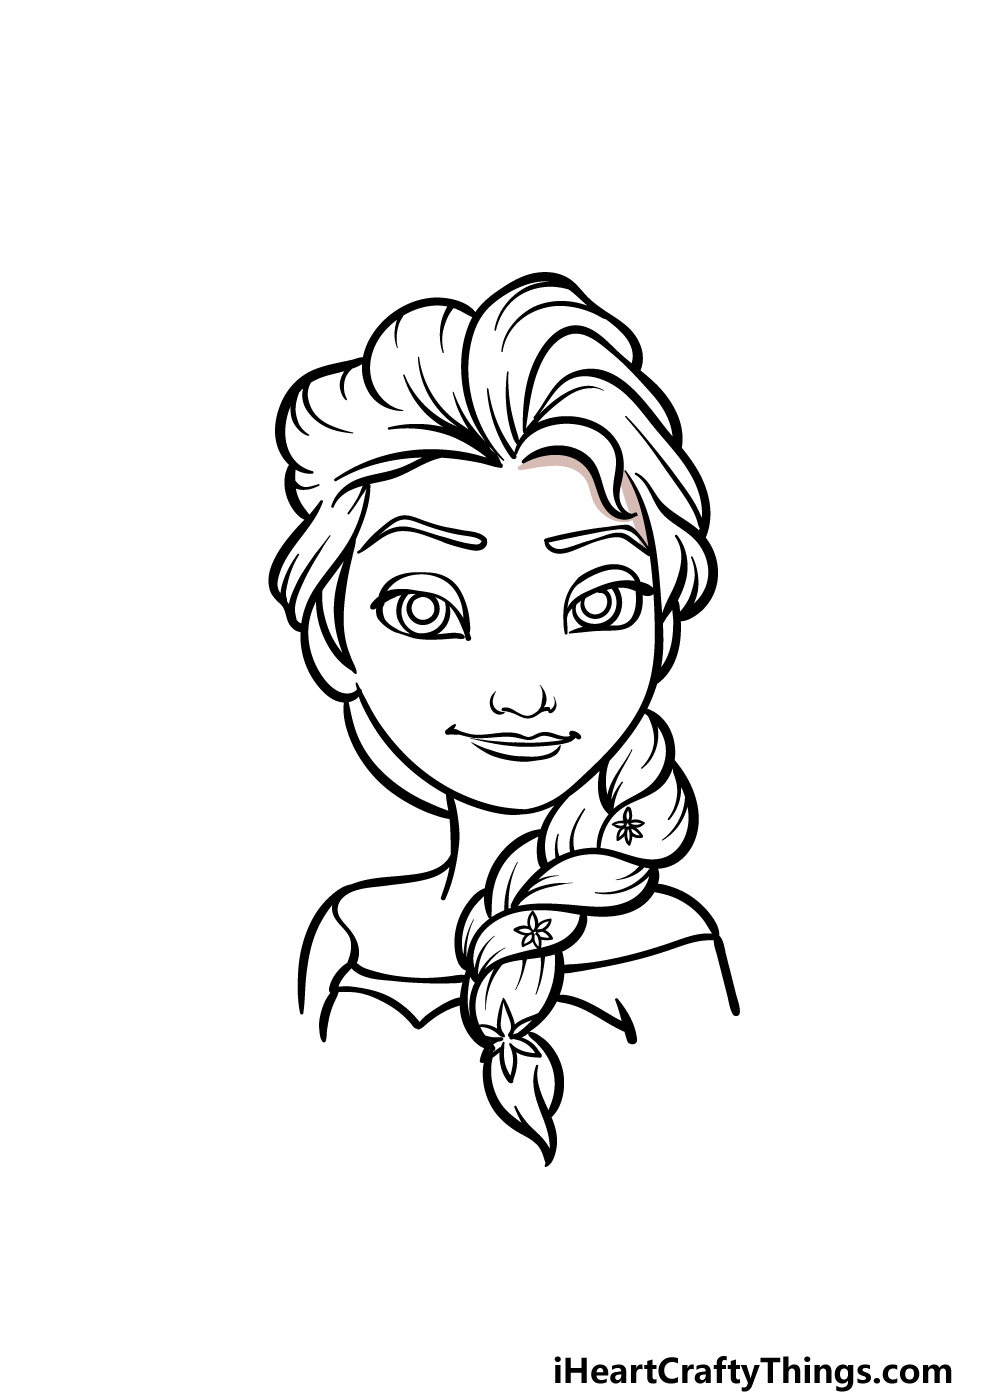
Soon, you will be able to add some colors to this portrayal of this classic character. Before that, we will be adding some final small details to really bring this image to life!
These details will be mainly contained to her hair, and you can begin by drawing lots of curving lines throughout all parts of it.
This will help to make it look as if her hair is made up of many individual strands.
Then, we will also be drawing some small, pretty flowers onto her hair to finish this off. Before you move on, you could also add even more details or ideas to this image!
One idea would be to draw more of her body, but you could also draw a background.
Doing so would allow you to show off your favorite scene from the films or create a whole new scenario for Elsa!
How will you finish off this image before the final step?
Step 6 – Finish off your Elsa drawing with color
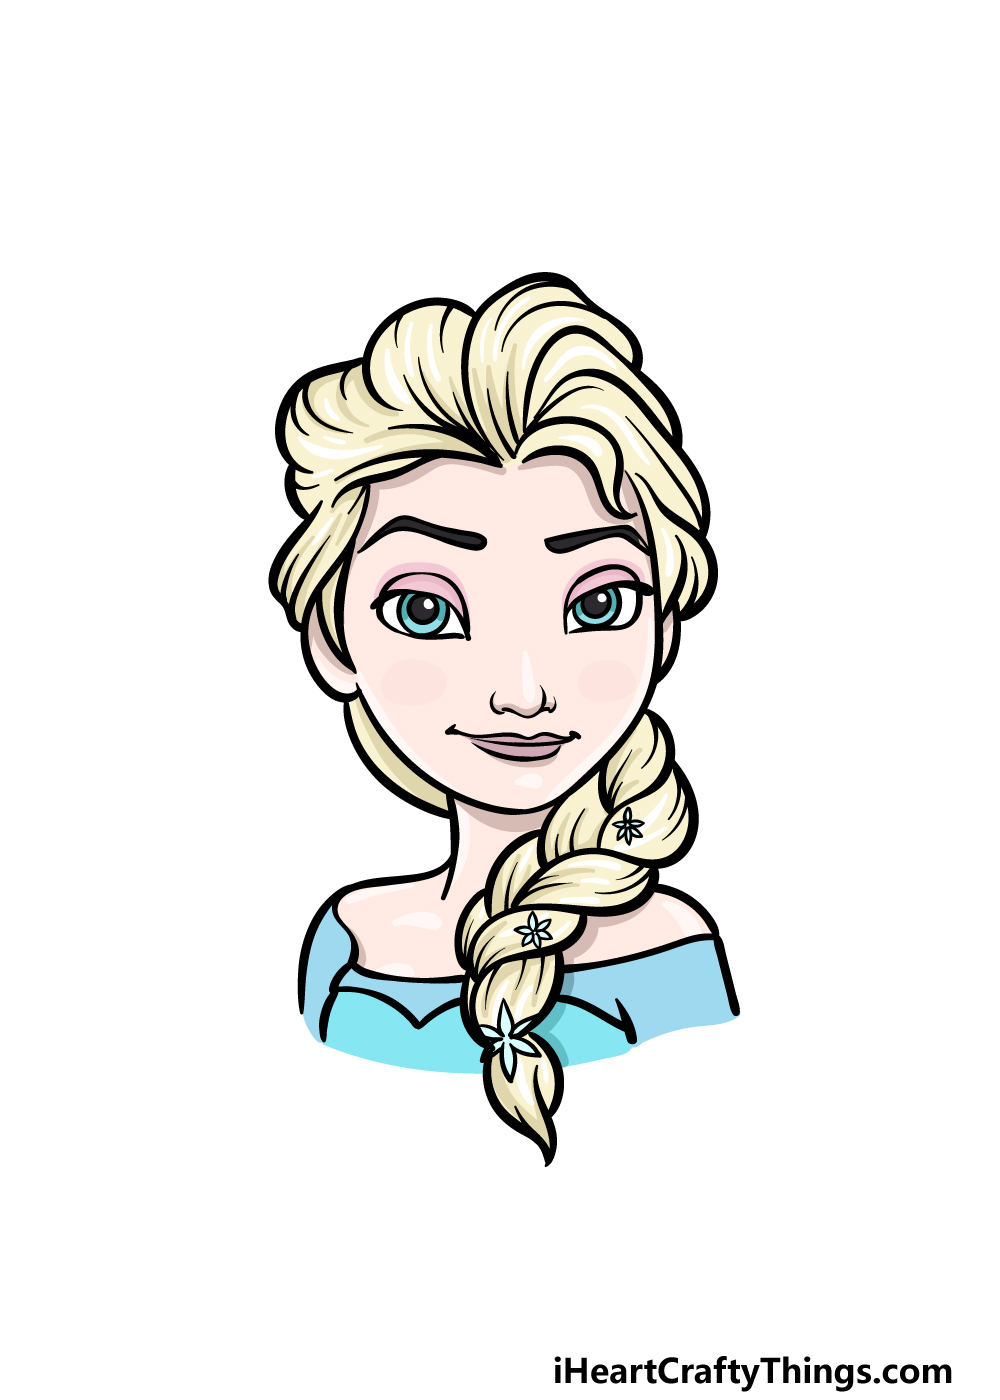
This character has some ice-themed powers, and her color scheme reflects this colder side to her.
We went with the colors she is seen in during her first film appearance for our example image of this Elsa drawing, and you can use it as an example if you’d like to as well!
For Elsa, we used some light yellows for her hair, and then we used some mild blues for her dress.
When coloring her in, we would recommend using some watercolor paints for a cooler look to the colors, but there are plenty of amazing mediums you could use!
Will you stick with her normal color scheme or will you create a unique look for her?
Here’s how you can make your Elsa drawing even better…
Do you want to join us for these tips on making your Elsa sketch even better?
This drawing of Elsa shows just a small portion of this classic character. One way you could expand upon it would be by adding some more of her design!
If you wanted to do this, you could pause the film and then use that to draw more of her body.
Otherwise, you could also look up some pictures of Elsa to help you draw more of her.
What pose would you depict if you were to draw more of her?
This drawing portrays Elsa in her classic look from the first movie. She has a very different look in her other film appearance, so you could adapt the drawing to look more like that.
This is another case where you could use the movie itself or look up some pictures of her alternative looks online. Another fun challenge would be to design a brand new look for Elsa!
What kind of look would you like her to have?
The bond between Elsa and her sister Anna is a core aspect of the films. For this reason, it would be great to add Anna to this Elsa drawing!
If you stuck to drawing just Elsa’s head and shoulders, then you could do the same for Anna. Or, you could draw the entirety of Anna’s body if you did that for Elsa.
What kind of pose would you have the sisters in to create a wonderful portrayal?
In the movies, Elsa has many icy powers that she uses in various ways. You could use some of your favorite art tools and mediums to portray these powers!
She has ice powers in the movies, and using some paints would be a great way to show these flowing ice powers.
Using a larger brush with longer strokes would portray the whooshing ice coming from her hands.
You could even include some stickers and glitter to make her powers seem even more magical.
Your Elsa Drawing is Complete!
That brings you to the end of this guide on how to draw Elsa! When drawing characters like this that are highly detailed, you run the risk of it becoming a frustrating and difficult experience.
We hope that with the help of our steps you found it to be a fun and rewarding experience!
As long as you follow all of the steps we laid out then you should have no problems completing this wonderful portrayal of Elsa.
Finishing the drawing is just the start, however! You can keep the fun going by adding some additional details of your own.
We mentioned a few ways that you could do this, and while you can go with those ideas there are also loads of ways for you to get creative with it.
Then, if you had fun with this guide you can find your next guide to enjoy on our website!
We have a ton of guides to enjoy there already, and we will be bringing new ones out very soon. Keep checking in to catch all the new guides we have coming up!
It would also be great to see how your Elsa drawing turned out, so you can show us by sharing your creation on our Facebook and Pinterest pages.