When it comes to different kinds of clothing, dresses have to be some of the most versatile. They can come in many different styles and designs, and there is a dress to suit literally any kind of occasion.
Some are designed for grand and luxurious occasions and some would be best suited for a breezy pool party.
One thing is for sure, there are many kinds of dresses to admire! Learning how to draw a dress design is a great way for you to get started with designing your very own beautiful dresses.
This tutorial will be perfect for anyone who’s ever wondered what it must be like to be a fashion designer.
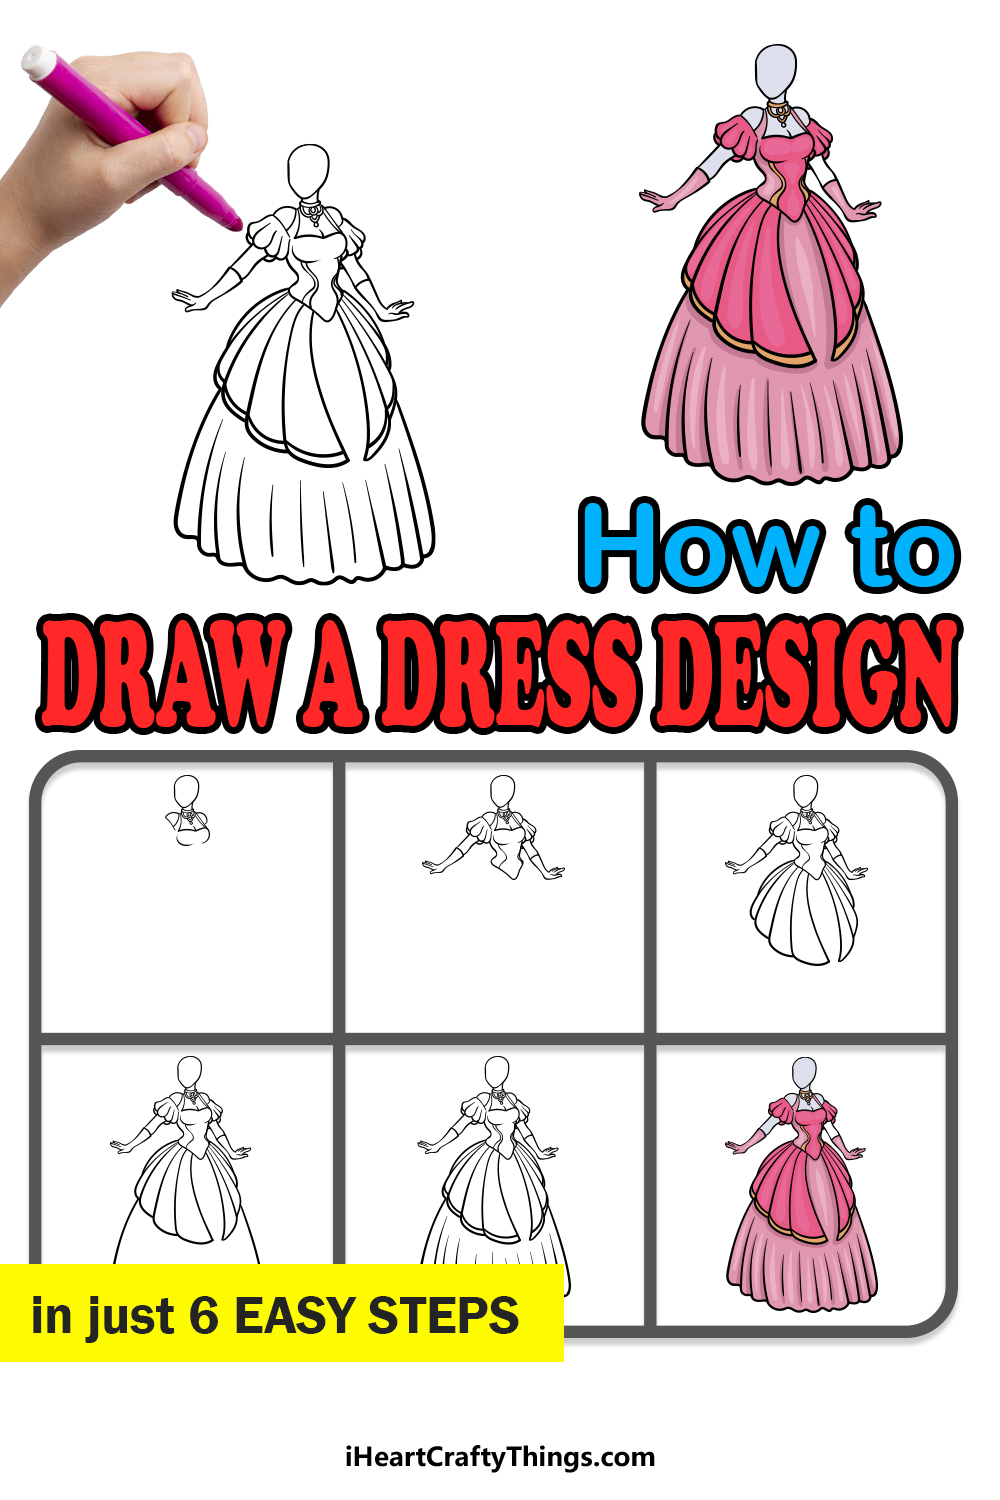
Our step-by-step guide on how to draw a dress design in just 6 easy steps will show you how you can effortlessly recreate this beautiful dress!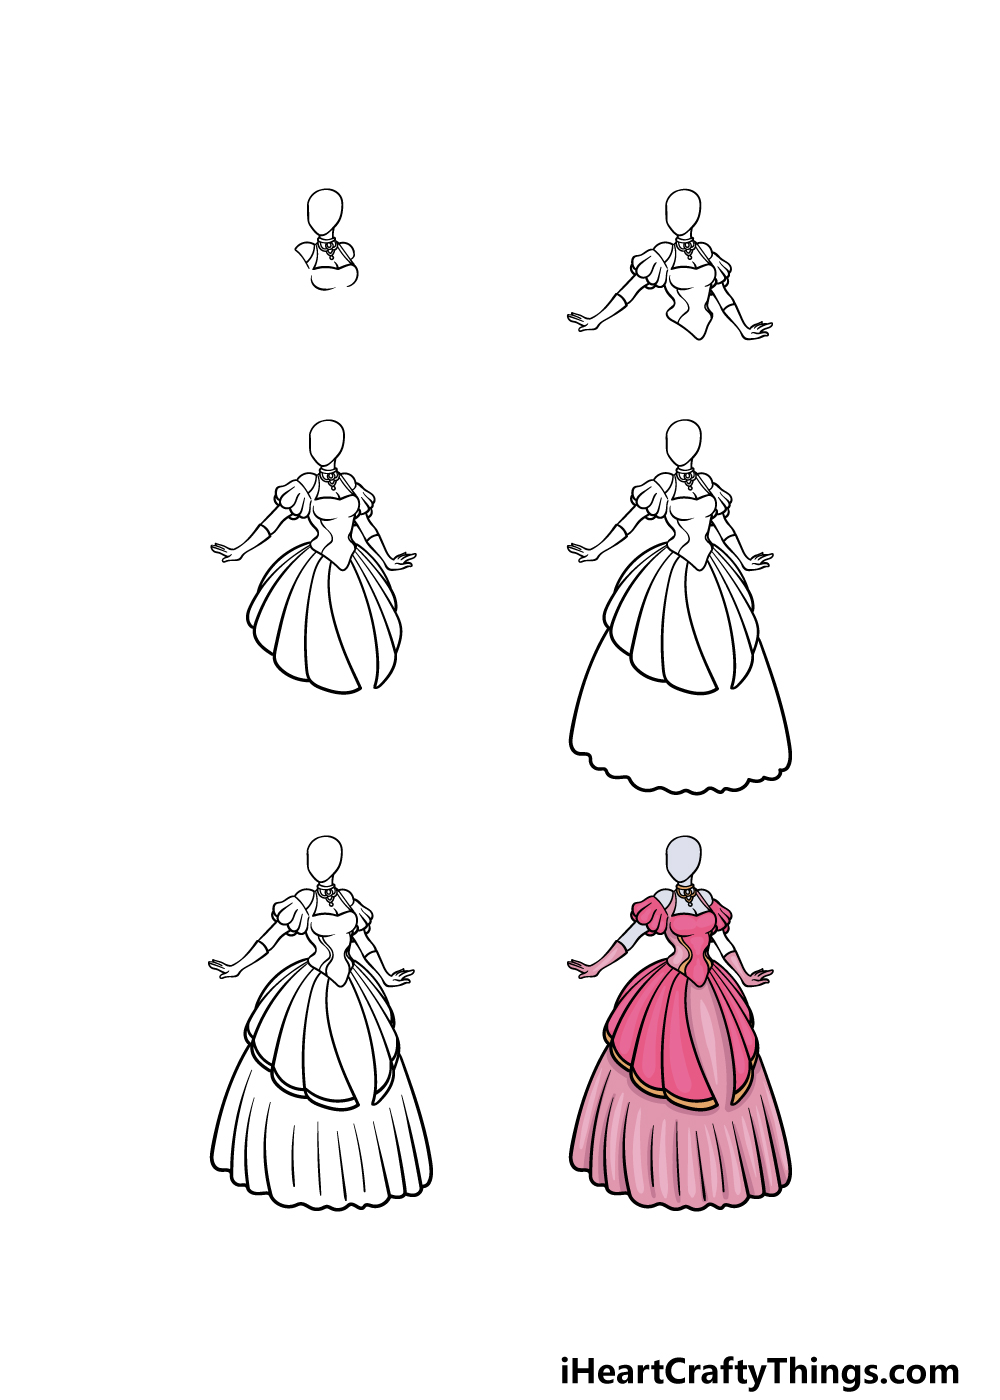
How to Draw A Dress Design – Let’s Get Started!
Step 1
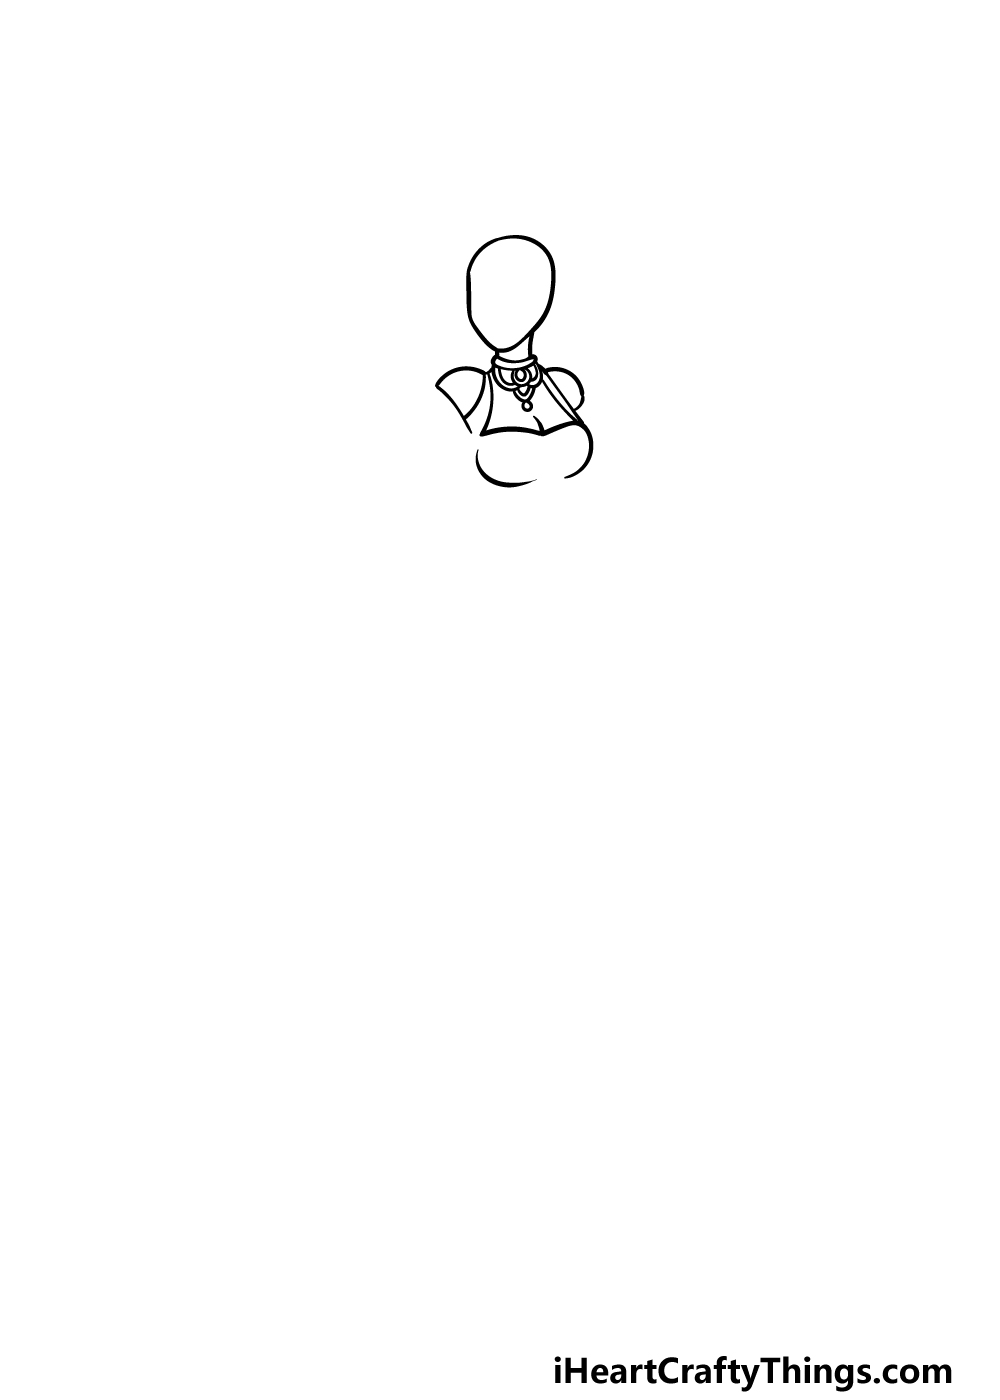
While working on this guide on how to draw a dress design, we will be drawing the dress onto a faceless mannequin.
With that in mind, we will kick off by drawing the head of said mannequin. You can do this by drawing the head shape, and then add a neck beneath it.
Once the mannequin head is complete, we will start drawing the dress itself.
First, use some curved lines for the necklace around the neck, and then draw the straps coming down from the shoulders.
Finally, use some more rounded lines to create the chest area of the dress, and then we can continue to step 2 of the guide.
Step 2 – Now, draw the arms and waist of the dress design
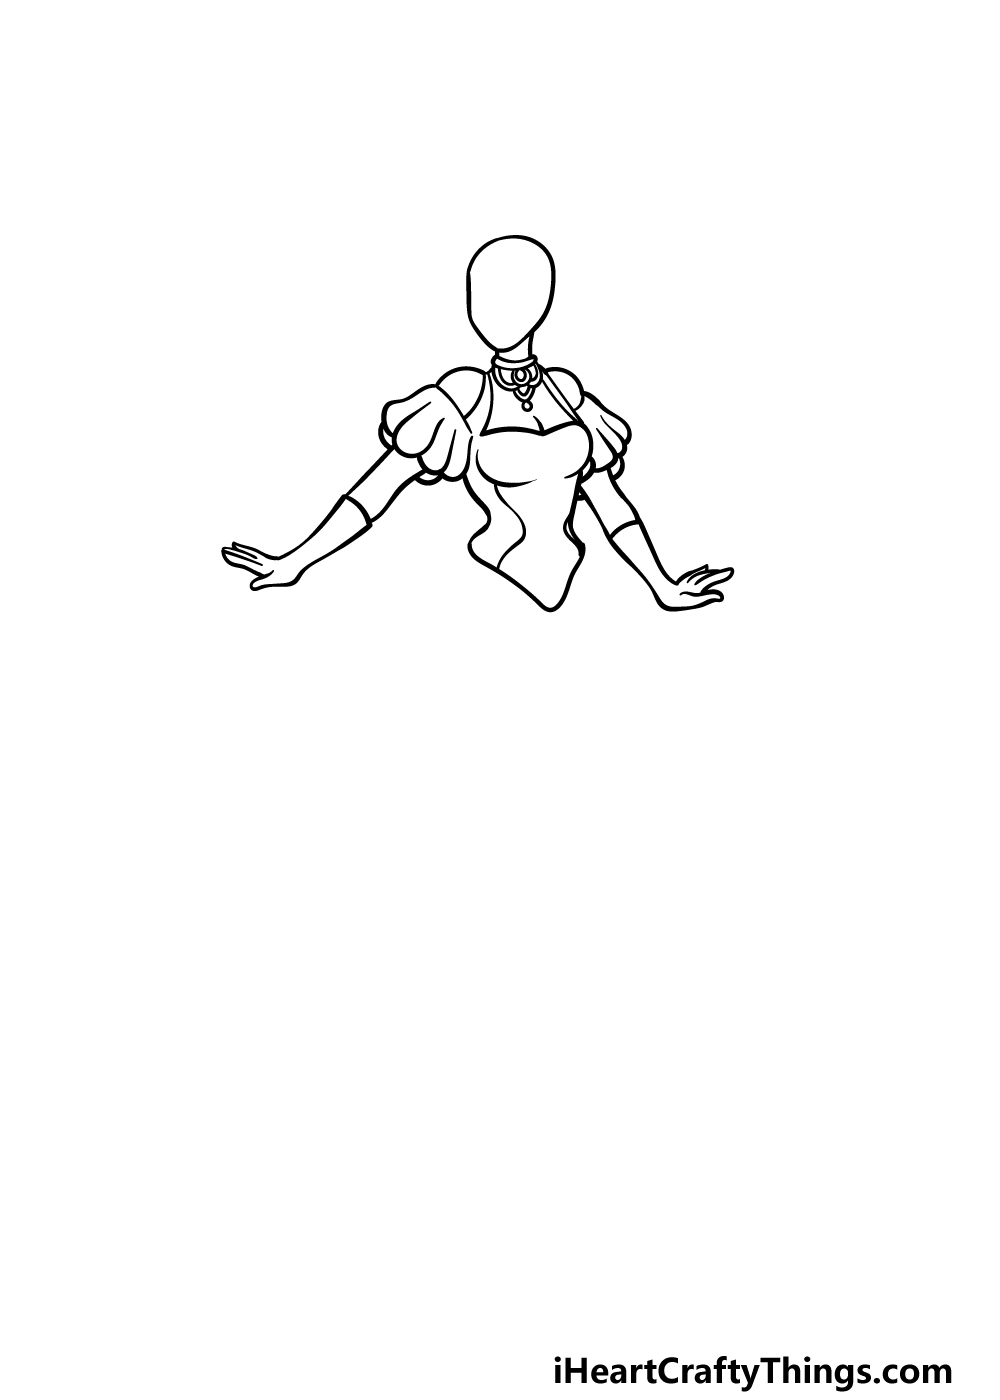
To continue this dress design drawing, we will now be drawing the arms and the waist. First, use lots of curved lines for the thick sleeves of the dress.
The mannequin arms will then extend out from the center of these ruffled sleeves. We will also add some elegant sleeves onto the arms that extend to the elbows.
Finally, we will use some inwardly curving lines for the thin waist of the dress, and then there will be some wavy line details going down the center.
Step 3 – Draw the next section of the dress design
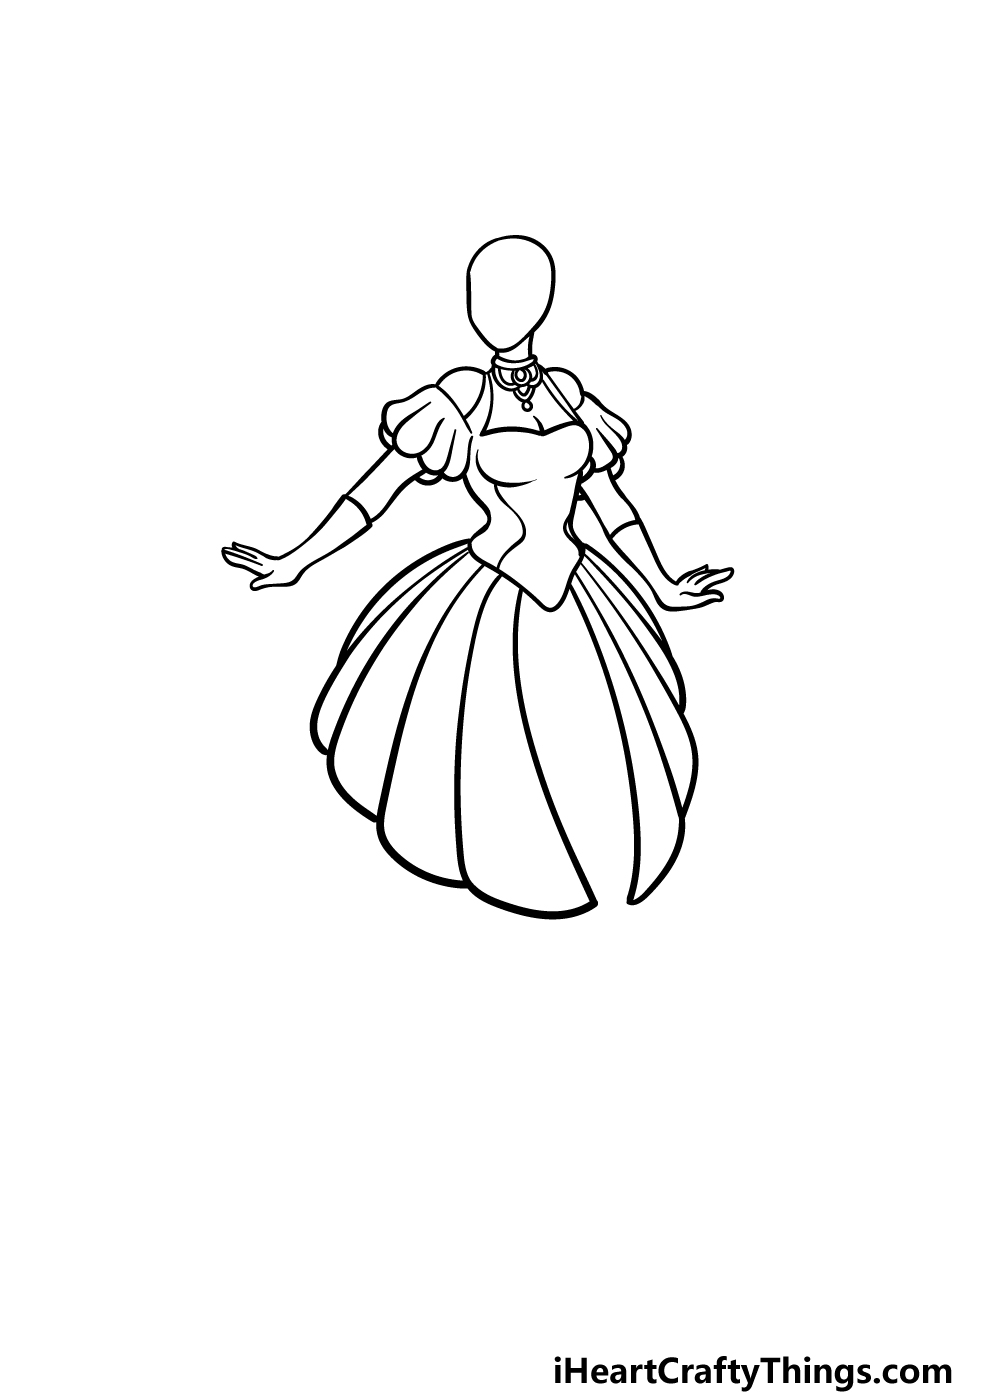
This third step of our guide on how to draw a dress design will see you adding the next section of the dress.
This next part will be extending down from the sides of the waist, and it will be made up of many different sections.
You can use lots of longer curved lines to create these different sections connecting to one another, as shown in the reference image.
This section creates a really elegant look, and we will keep building on the design in the next step!
Step 4 – Next, draw the skirt of the dress design
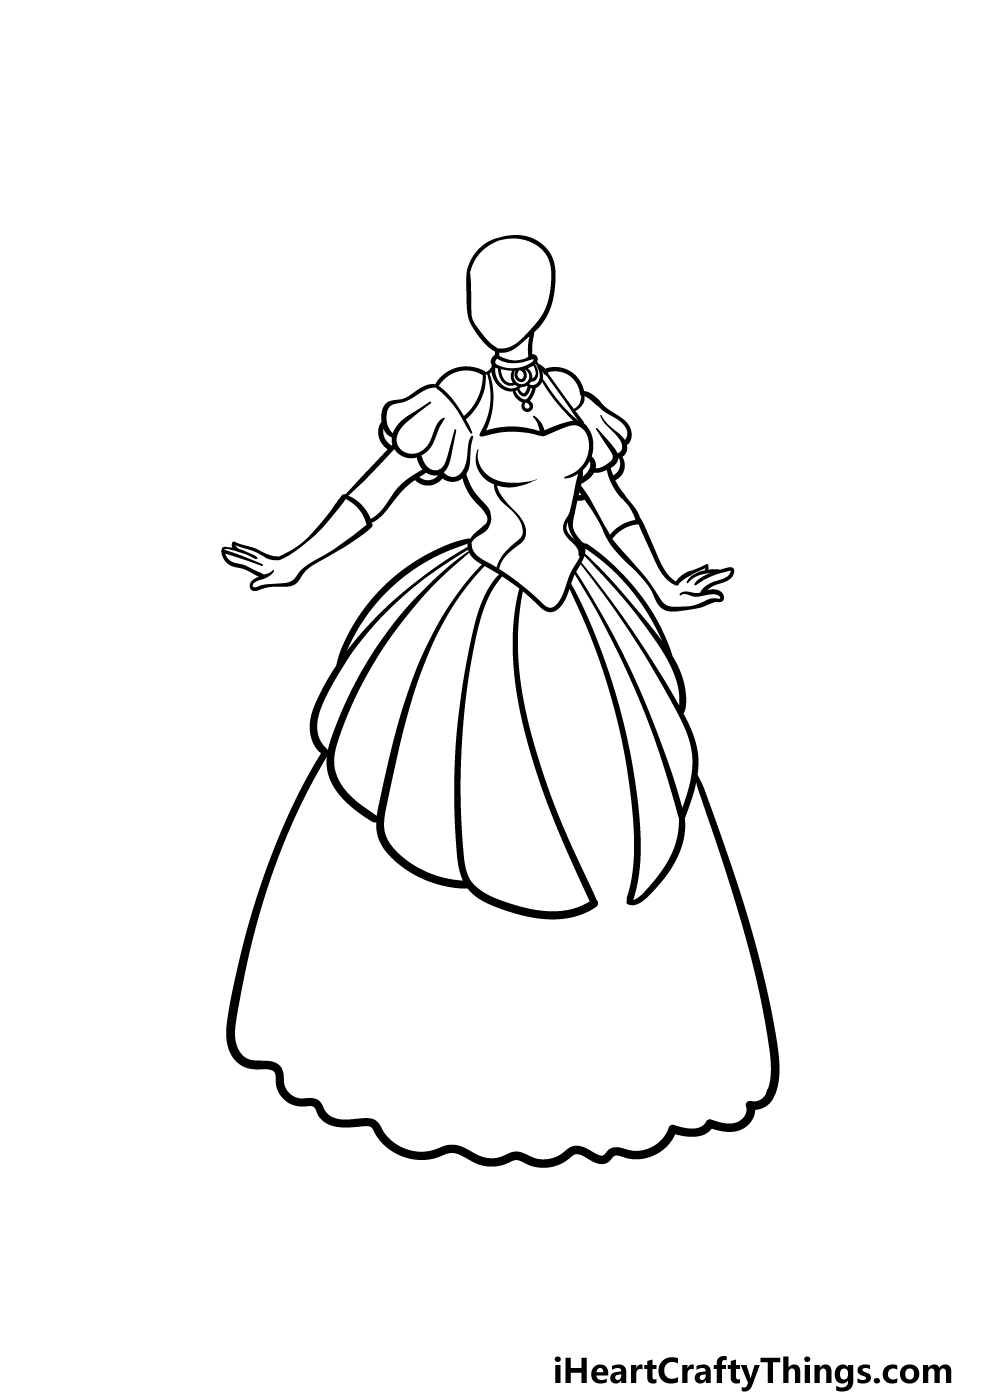
It’s almost time to add some final details to your dress design drawing, but first we will finish up the outline. More specifically, we will be drawing the outline for the skirt of the dress.
Use some curved lines for the sides of the dress, and then add a small wavy line at the base of it.
The reference image will guide you as you draw this, as it should flow outward a bit. ‘It will look pretty bare for now, but we will add some more details to this area in the next step of the guide!
Step 5 – Add the final details to your dress design drawing

This fifth step of our guide on how to draw a dress design will see you adding some smaller details and final elements to really finish it off for the final step!
First, we will be drawing some curving lines running parallel to the lines going down the center of the waist.
Then, you can draw some lines near the ends of the section dropping down from the hips to create a hem for that section.
Lastly, we will draw some lines into the bottom section of the dress. This will help to give the material more texture and flow.
Before moving on, you could also add some of your own unique elements and details, or you could even draw some great accessories to go with it!
Drawing a background would also be great to show what kind of even you think this dress would be suited to.
Step 6 – Finish off your dress design drawing with color
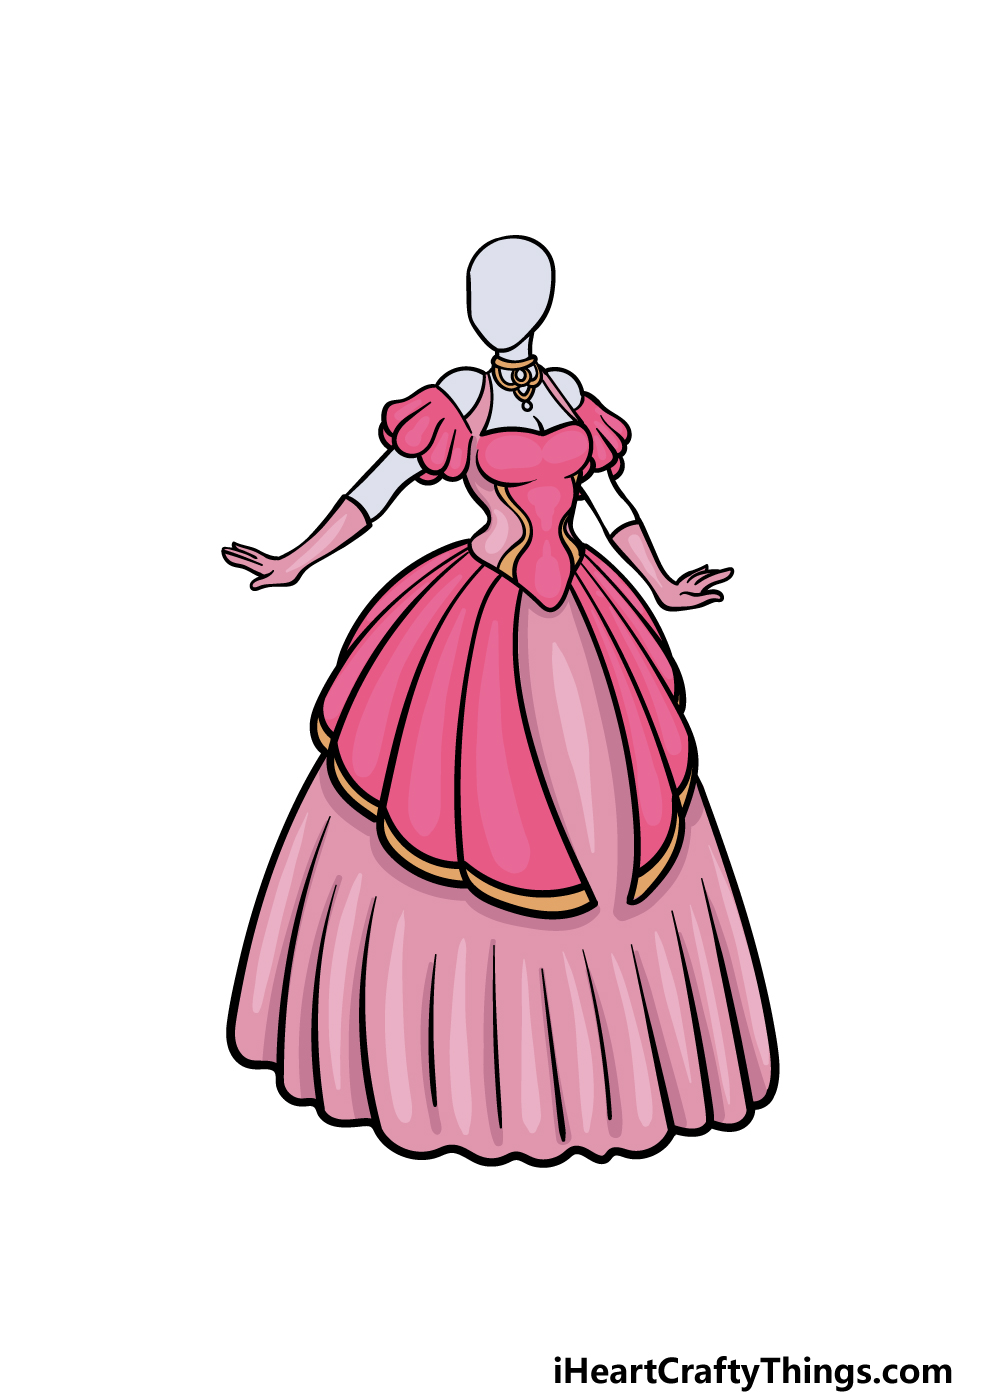
We will be concluding this dress design drawing by finishing up with some amazing colors!
Color plays an enormous role in clothing and fashion in general, so this is really a step where you should feel free to improvise with your own choices if you wish.
In our reference image, we showed you just one of the ways that you could go about finishing up this picture.
We used several shades of some stunning pinks for most of the dress, and we used some gold for smaller details and highlights to add some distinction.
As we mentioned, however, you can also add any other colors you love or even go for a completely unique color scheme!
What colors and mediums do you think you will choose to finish up the picture?
Here’s how you can make your dress design drawing even better…
Make some fashionable art magic with these tips for your dress design sketch!
This dress design drawing we have created is really detailed and intricate. These details look amazing, but you could add, remove and change some of them to suit your own tastes.
Once you have the hang of this drawing, you could change any aspects that don’t really appeal to you. You might want to emulate a different era of fashion, and you could do this by changing just a few of the details.
When it comes to fashion, the clothes you wear aren’t the only things to take into account. For that reason, you may want to add some accessories to this drawing of a dress design!
This could be in the form of some fancy purses and bags or could be subtle like jewelry. If you need some inspiration, you can look online or go through some fashion magazines.
You may be surprised how much these fashionable accessories can alter the look of the design you have worked on!
To finish off the design, you may want to take the focus off of the dress design sketch and focus on the face and hair. This is an extra step that is optional if you would prefer the focus on the dress!
If you do want to add a face, then you could use people you know or your favorite celebrities as models to help you with the design.
Then, finish off with some gorgeous hairstyles and accessories to complete the effect!
Once you have customized this dress design drawing to your own wishes, you can then finish off with a background. It’s up to you to decide where this dress would be worn!
It could be at a fancy ball or maybe a lavish wedding. Where it would be best suited will depend heavily on your chosen style and changes.
You could make the background as detailed or as pared back as you like and it will look great! Where would you wear this dress to?
Your Dress Design Drawing is Complete!
You have completed all of the steps in this guide on how to draw a dress design, and we hope it was lots of fun to unleash your inner fashion designer!
These kinds of drawings can often be rather tricky to complete, so we hope that the steps in this guide made it much easier and even more fun for you to complete!
Now that you have learned how to draw this particular dress, you can keep it going by adding some more awesome details of your own!
You could even take what you went through in this guide and use it to design your very own unique dress. The possibilities are endless, so how will you finish up this drawing?
There are many more drawing guides like this one to enjoy on our website, and we also plan to bring many new ones out soon. Checking in often is the best way to ensure you don’t miss out!
The last thing to do before wrapping up this drawing is to share the finished artwork on our Facebook and Pinterest pages for us to admire!