Doors have become one of the most used and yet most often ignored facets of our everyday lives.
When was the last time that you stopped and considered how much you interact with the doors in your home?
They can also come in many different styles and builds, but they all serve a similar function. On top of being really useful for many purposes, it can also be a surprisingly tricky challenge to learn how to draw a door.
With the help of this guide, you will find that it doesn’t have to be a challenge when you know what to do!
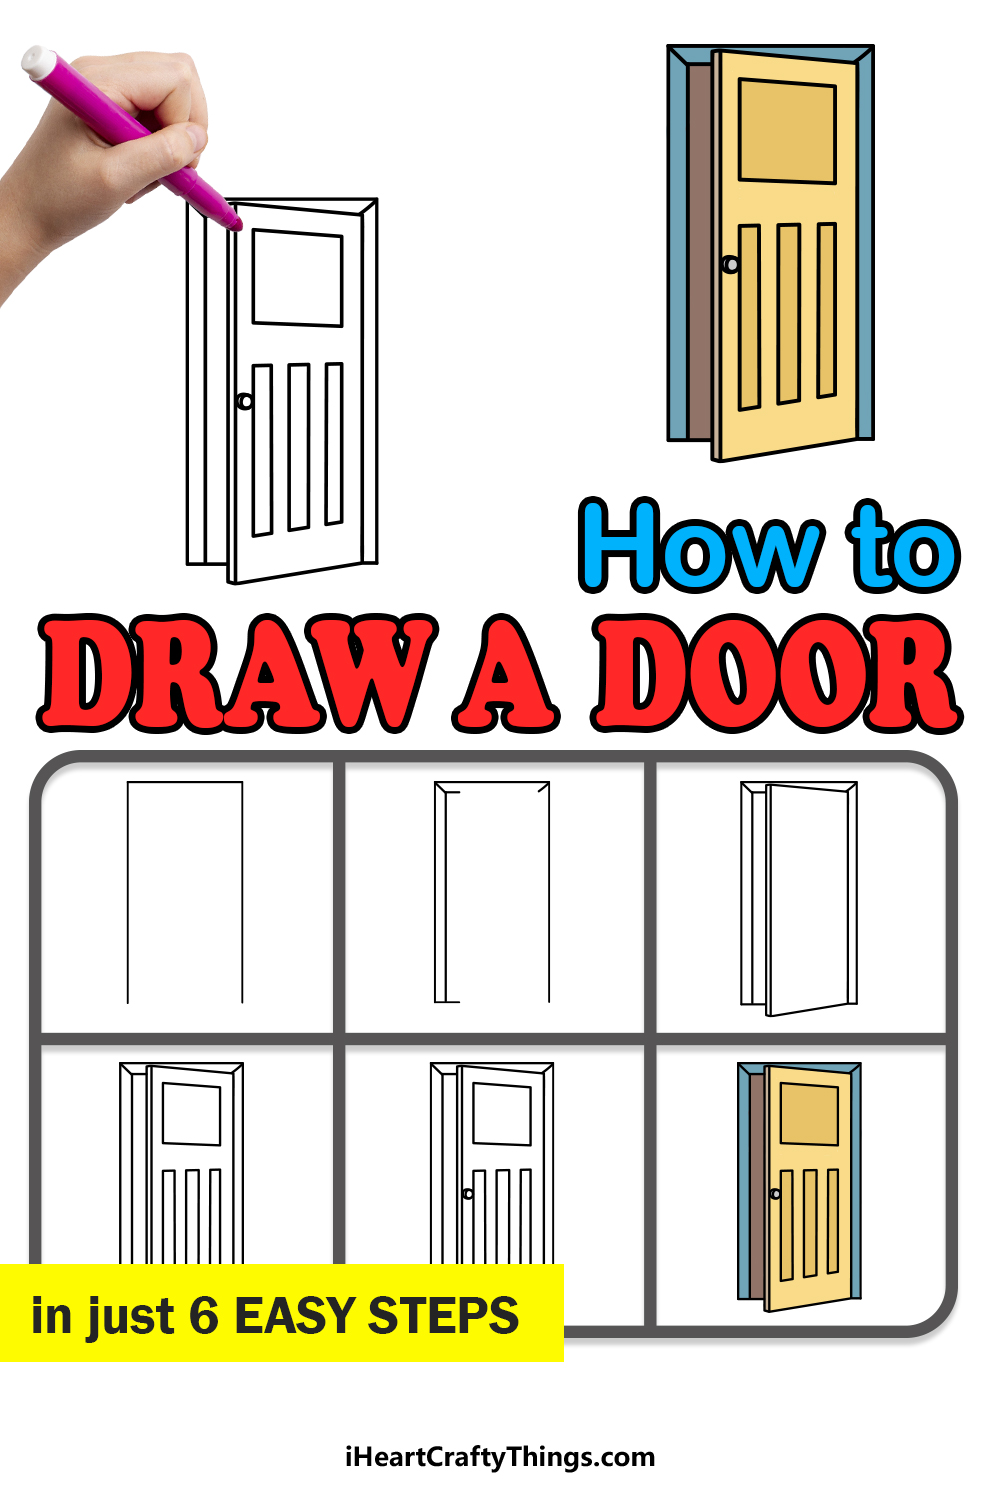
So get ready to open the door on this step-by-step guide on how to draw a door in 6 steps!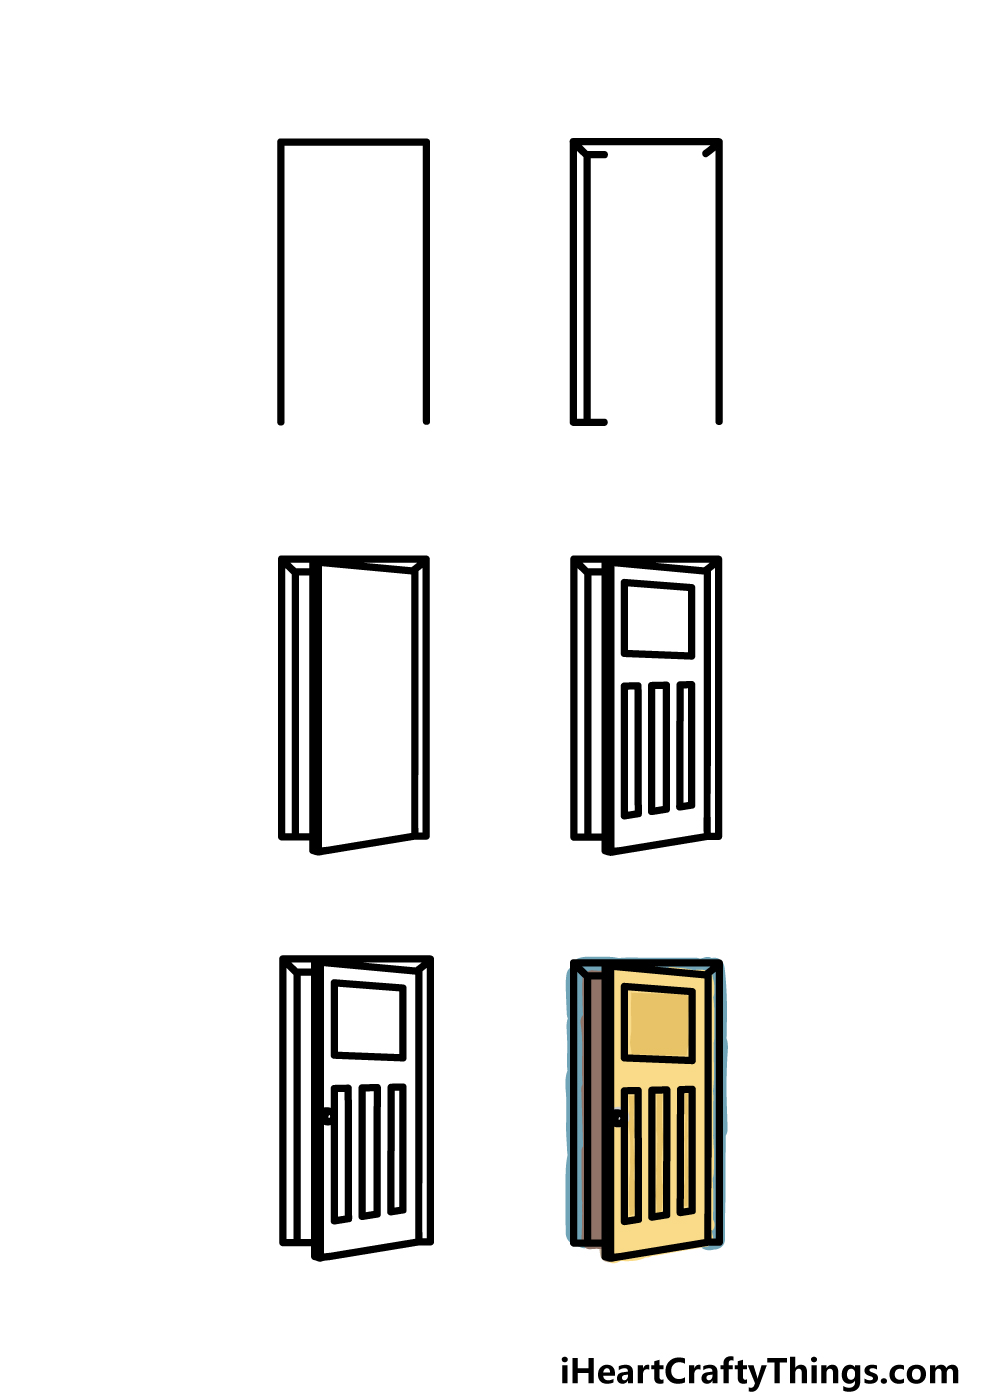
How to Draw A Door – Let’s Get Started!
Step 1
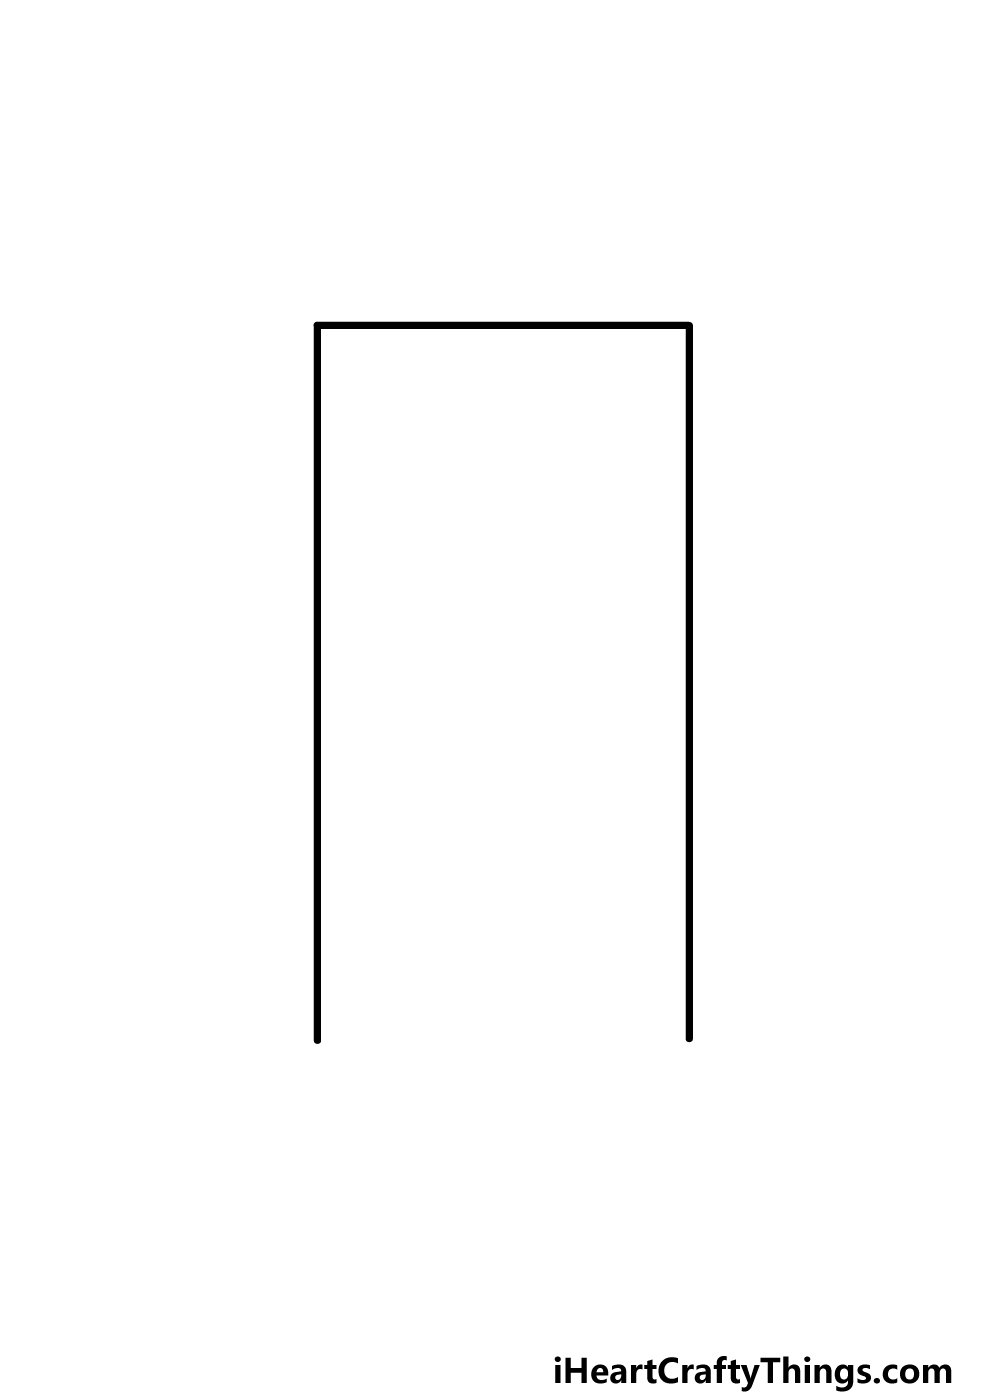
You may suspect that drawing a door would be easy, as a closed door is essentially just a big rectangle with some details on it.
We will be taking this drawing a bit further than that, though, by having it be slightly open in this guide on how to draw a door.
This will make it a bit trickier, but it will be worth it! Throughout this guide, you will be drawing a lot of straight lines. For that reason, you will find this guide next to impossible without a ruler to help you.
Once you have your trusty ruler in hand, you can start on this first step. While this guide may get trickier as we go, this first step should be pretty easy!
You will essentially just be drawing a vertical rectangle with no bottom. You can use various drawing tools to help you get perfect right angles for the door.
Step 2 – Next, draw some more of the door frame
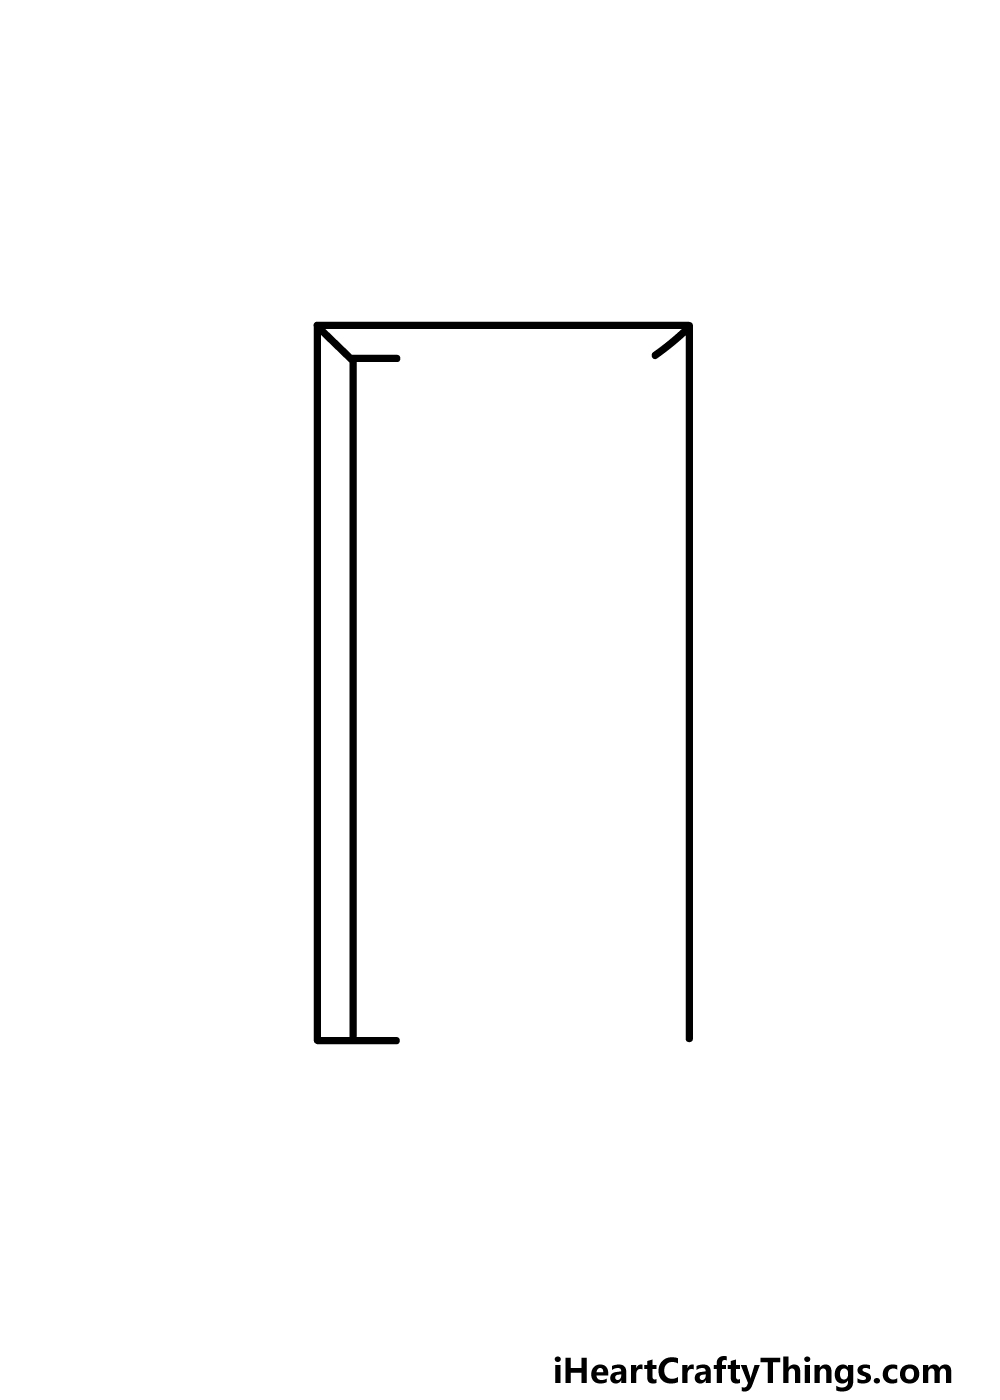
Now is where this door drawing could get a bit more difficult! As long as you follow the reference image closely, then it won’t be a challenge, though.
Using your ruler, draw a diagonal line moving inwards to the door from each of the top corners. Then, draw a straight line down from the top left corner.
You can also draw a horizontal line across from that same upper left line as well. We will leave the rest of the top part of the frame blank for now, as we will be drawing the door into that space later.
Step 3 – Draw the door itself
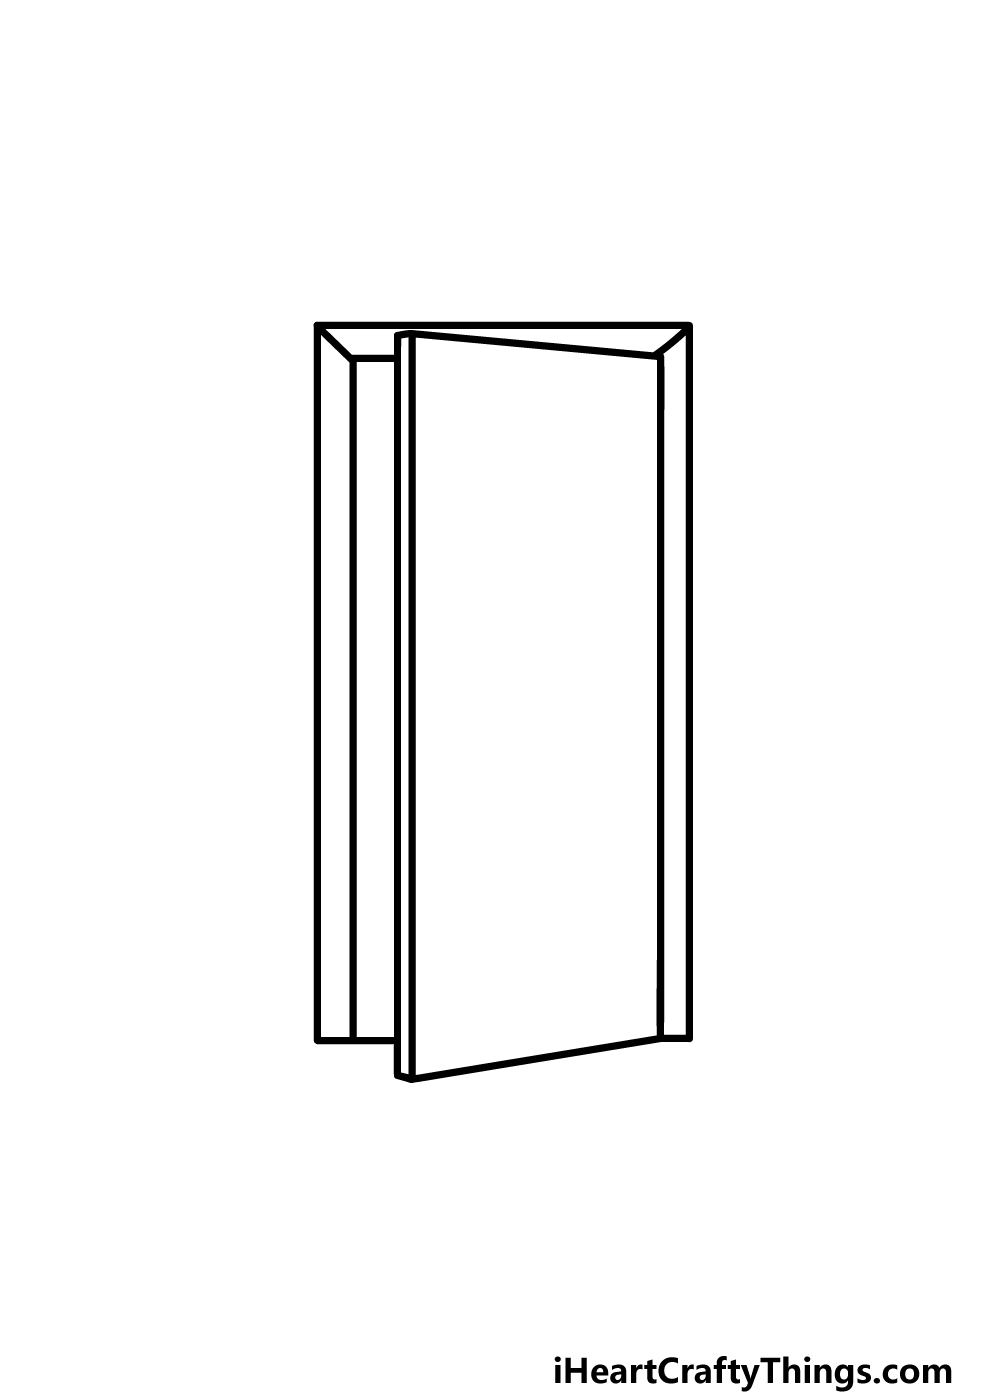
For this third part of our guide on how to draw a door, we will be drawing the door itself. The door will be opening slightly inwards towards us as the viewer.
It will start from the corners on the right-hand side of the frame, and then angle upwards on the top edge.
For the bottom edge, it will angle downward, and then both of these edges will be connected by two straight, vertical lines.
Once you have drawn it so that it looks as it does in our reference image, you will be ready for the next part!
Step 4 – Now, draw some more details for the door
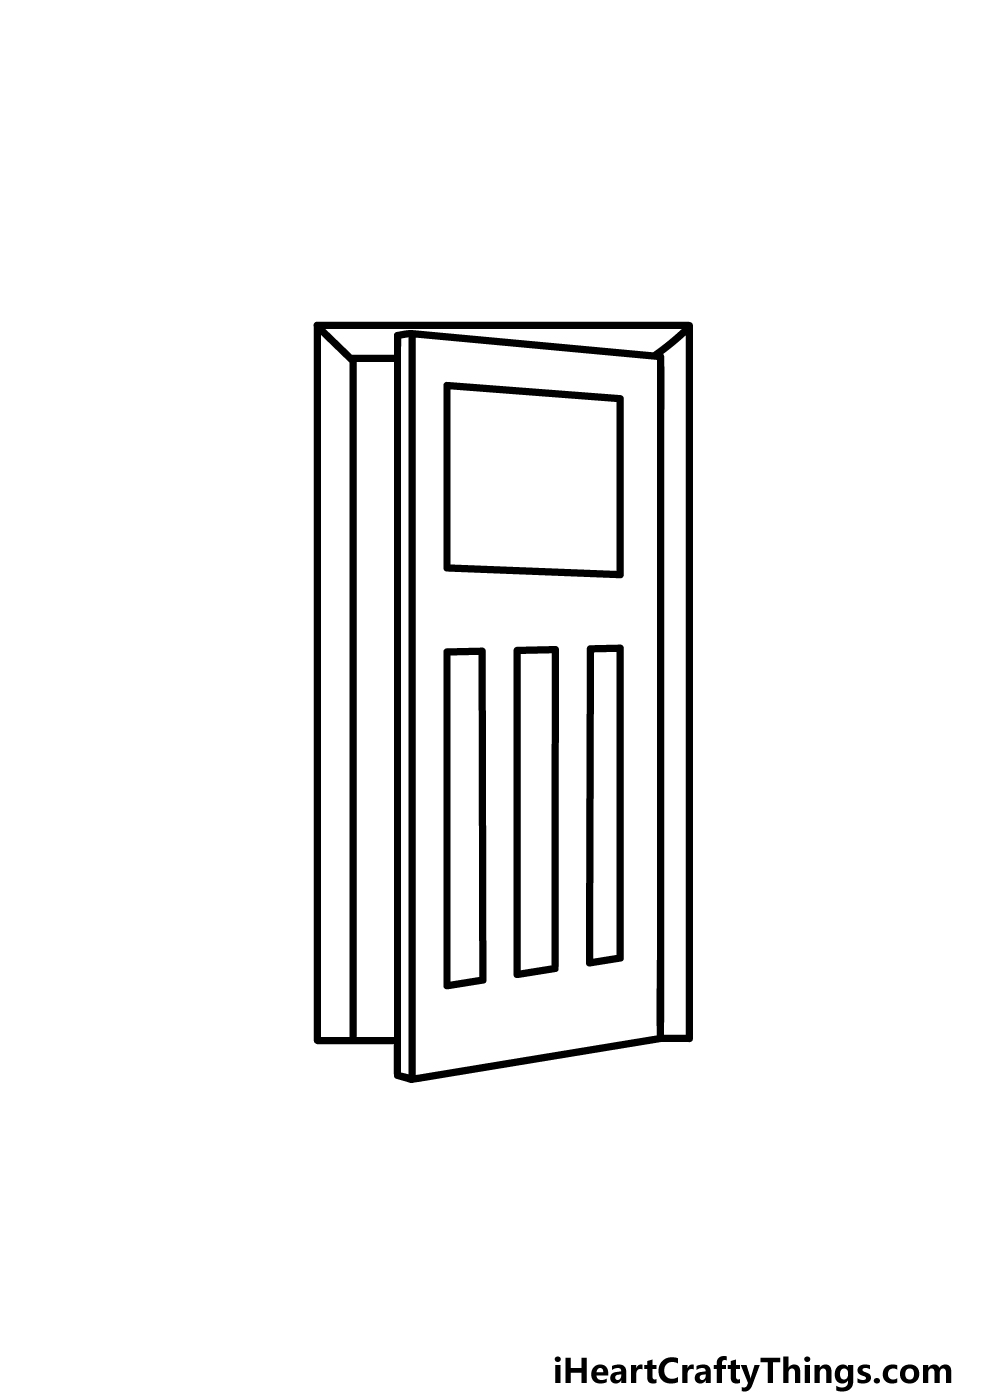
The hardest parts of your door drawing are complete now, so for the final steps we can focus on some detailing for it. You can start by drawing a square in the upper interior of the door.
This square’s top and side edges will go parallel to the outline for the door. Once you have drawn that square, we will then add three rectangles below it.
These rectangles will be long, thin and of equal width and length. As with the square, they will also be parallel to the door outline.
It may sound more confusing than it actually is, but if you follow these instructions and refer to the reference image closely then you should have no trouble getting it right!
Step 5 – Finish off your door drawing
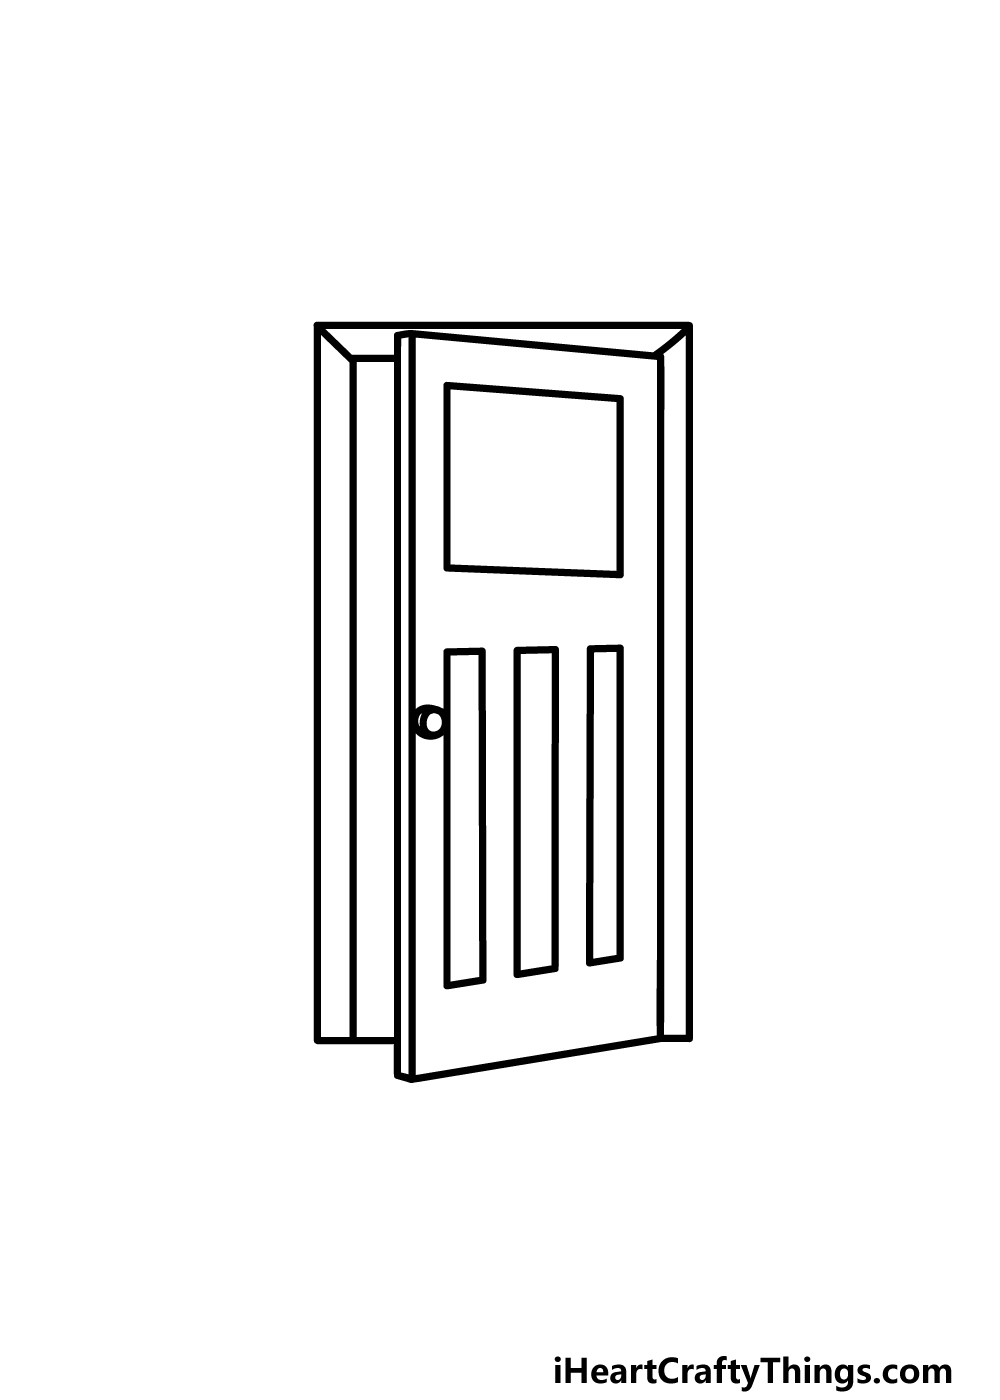
A door would be pretty useless without a handle to operate it, so that is what we shall add in this step of our guide on how to draw a door.
Luckily, this should prove to be the easiest of all the steps in this guide!
All you need to do is draw a small circular shape near the center of the door to give it a handle. Then, simply add a line near the edge of that circle for some additional detail.
Once you have added this final element, you are ready for the final step. If you would like, you could also add some of your own touches to this drawing.
You could draw some decorative elements for the door, or maybe even draw some pictures hanging on the wall beside it.
These are just a few ideas that you could go with, but you can have fun getting creative with it! Maybe you could make it look like a door in your house?
Step 6 – Finish off your door drawing with some color
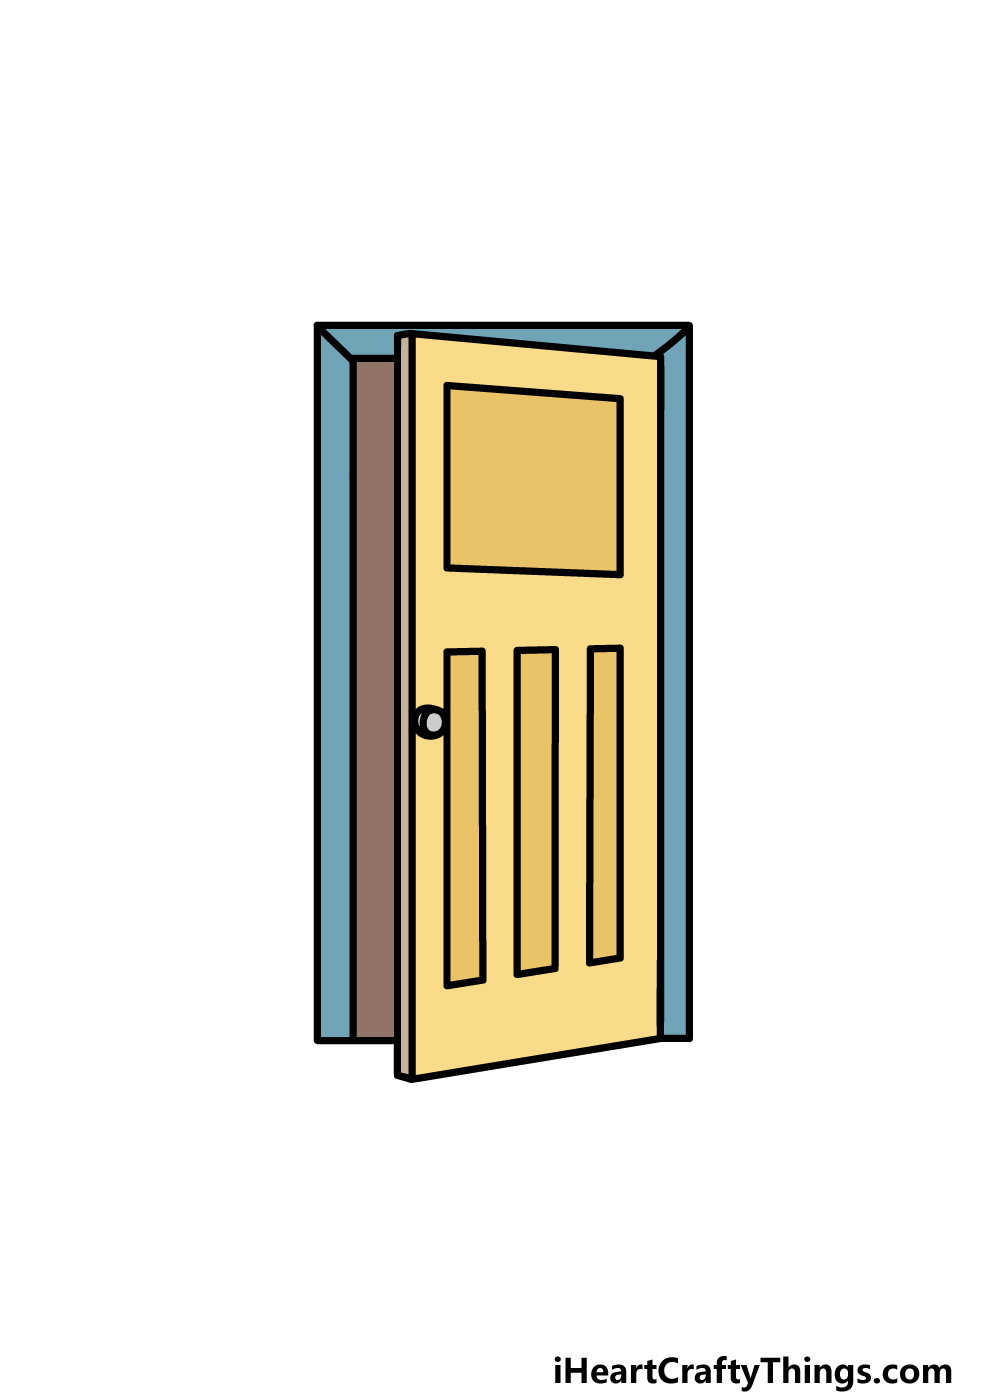
Now it is time to finish off your door drawing with some amazing colors. In our example image, we used some shades of yellow for the door itself, and then we used blue for the frame.
Finally, we finished off with some brown for the door interior.
These are the colors that we chose, but they are by no means the only colors that you could go for!
This is a step where you could really have lots of fun experimenting with the colors that you love to bring this image to life. We can’t wait to see which colors and art mediums you choose!
Do this to take your door drawing to the next level
Open the door to some drawing fun as we show you tips for your door sketch!
We created a rather standard door for this door drawing, but doors can also come in many different styles! If you were to look in your own house or the building you live in, you’re sure to find a few different kinds of doors.
That also means you have some door models you could use if you wanted to change this design!
You could do this by altering a few small details on the door, and these small details can make a big difference.
Even if you want to stick to this design we created, you could add some more features and aspects to it. For example, you could have a small window in the top half of the door.
Adding a feature like that would mean you wouldn’t have to do an entire re-design in order to have a different kind of door! Adding a small window would be one idea, but what are some other features you could use for this door?
A door will always lead to something, and you could give a hint of what this one leads to. This would require you to change the design slightly, as you would need to make the door look a bit more open.
That way, you could show what is behind the door. It could lead to a yard, a house interior or anything else you can think of!
You can also create a background setting by adding details around the drawing of a door we created. This would allow you to let out your inner interior designer as you design a room setting around the door.
There are so many features you could add! It could be as simple as little tables with vases on them, or you could draw a window looking out.
Creating a house setting isn’t the only option, though, and you can really use your imagination here. What setting would you like to place this door into?
Your Door Drawing is Complete!
With all the steps complete, we can now close the door on this guide on how to draw a door! We made this one a bit trickier by having the door be slightly open, but we’re sure you’ll agree it was worth the effort!
Hopefully by following the steps in this guide you found it to be a simple and fun experience. Then you can take over and show us a thing or two by decorating this drawing with your own details and color choices!
When you’ve finished enjoying this guide, you can find many more to love on our website. We will also be uploading more soon, so we hope to see you there frequently!
Once you have completed the final touches of your door drawing, you can show us your artwork by sharing it on our Facebook and Pinterest pages.