Many people dream of moving to a palatial mansion or fancy city apartment so that they can have plenty of space.
While this can be great, there’s something to be said for the simplicity and charm of a smaller cottage.
Sometimes escaping to a quaint cottage in a peaceful setting can be just what one needs, and it can be a great way to unwind!
Learning how to draw a cottage is a great way to imagine what your own idyllic cottage would look like.
If you’ve always dreamed of owning a wonderful cottage of your own, then this will be the perfect tutorial for you to work through!
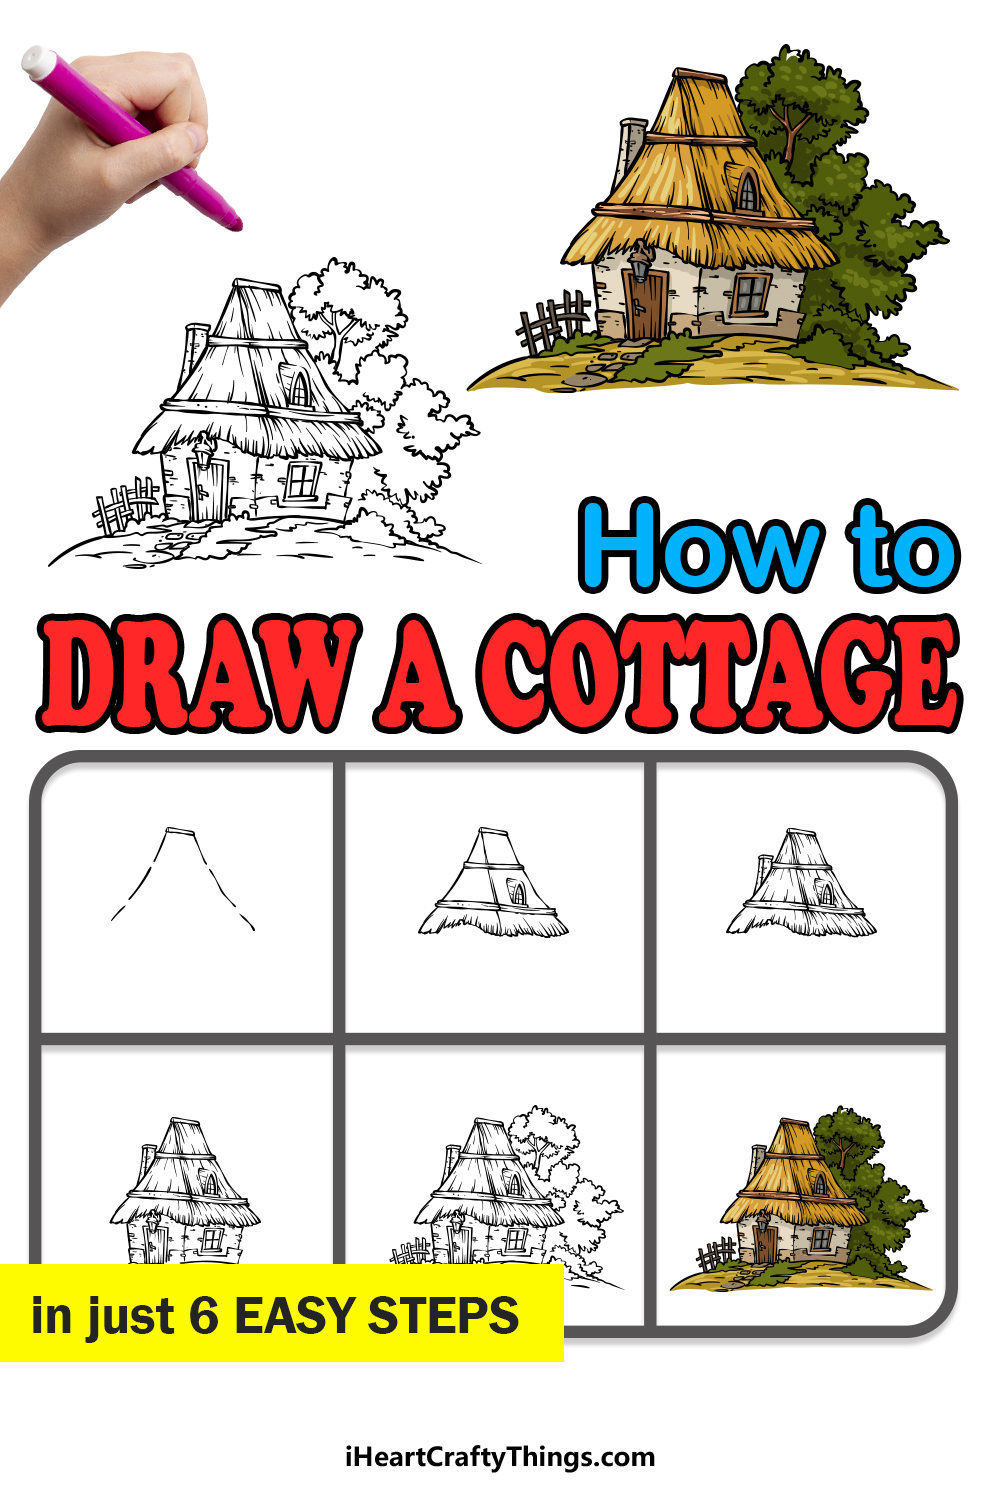
Our step-by-step guide on how to draw a cottage in 6 easy steps will show you everything you need to create your own cute cottage.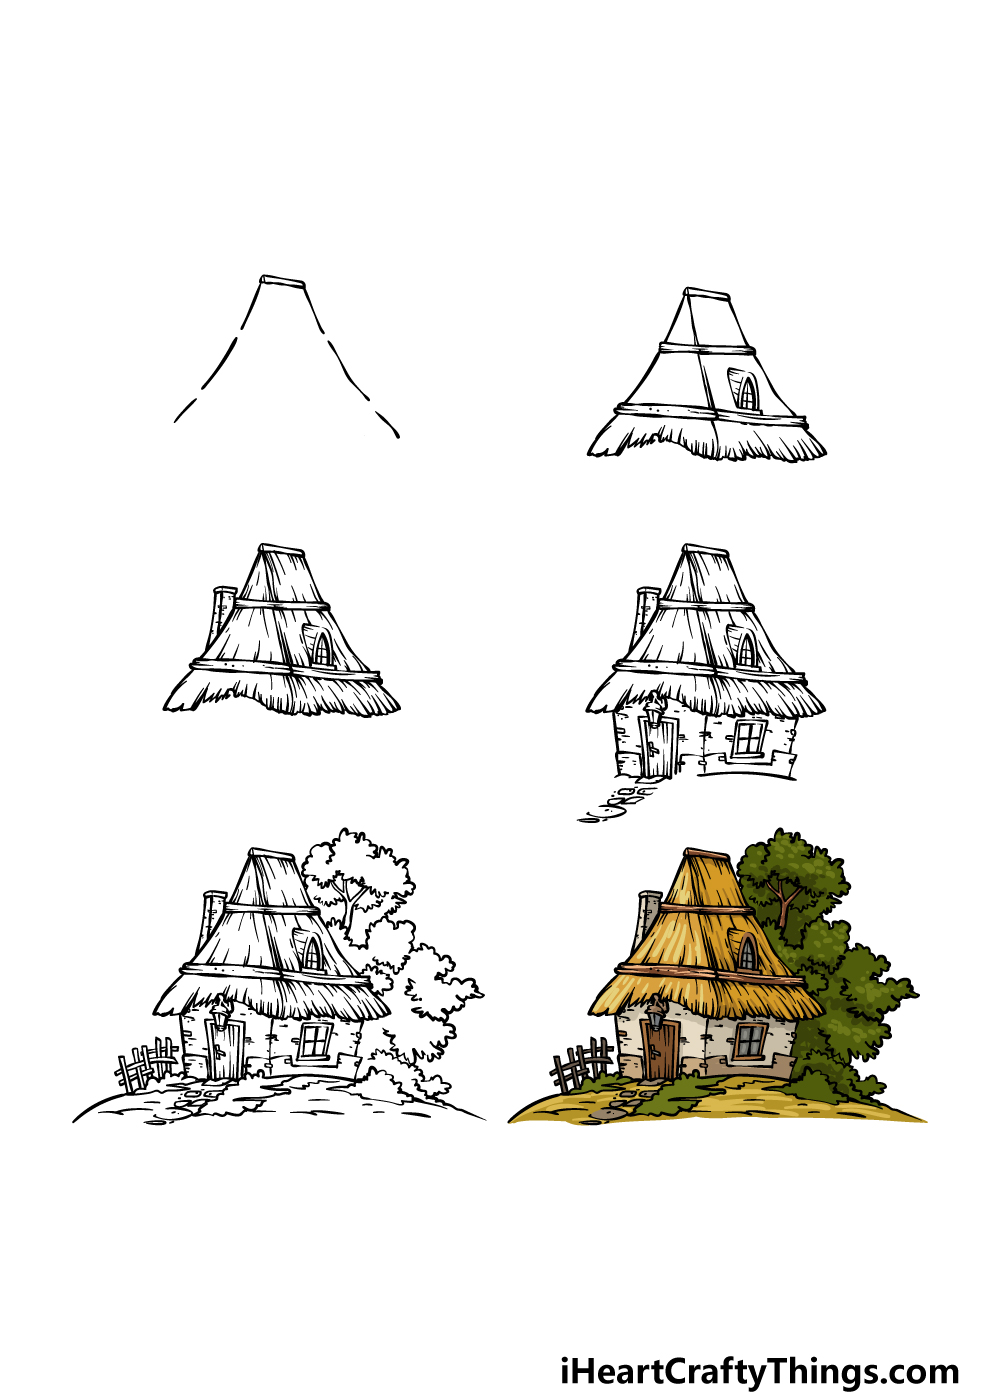
How to Draw A Cottage – Let’s Get Started!
Step 1
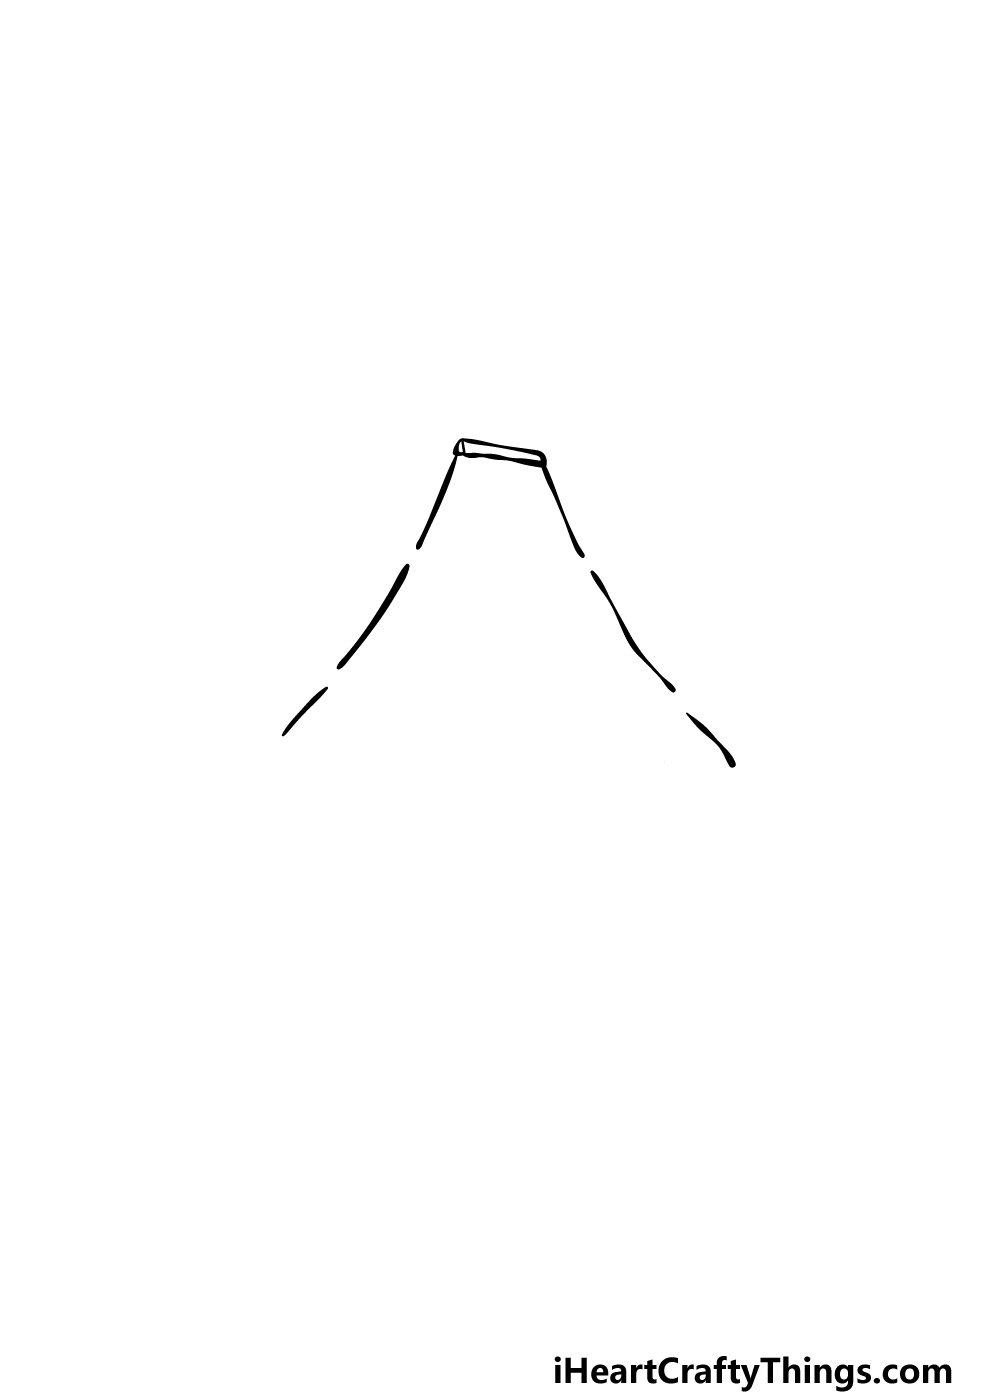
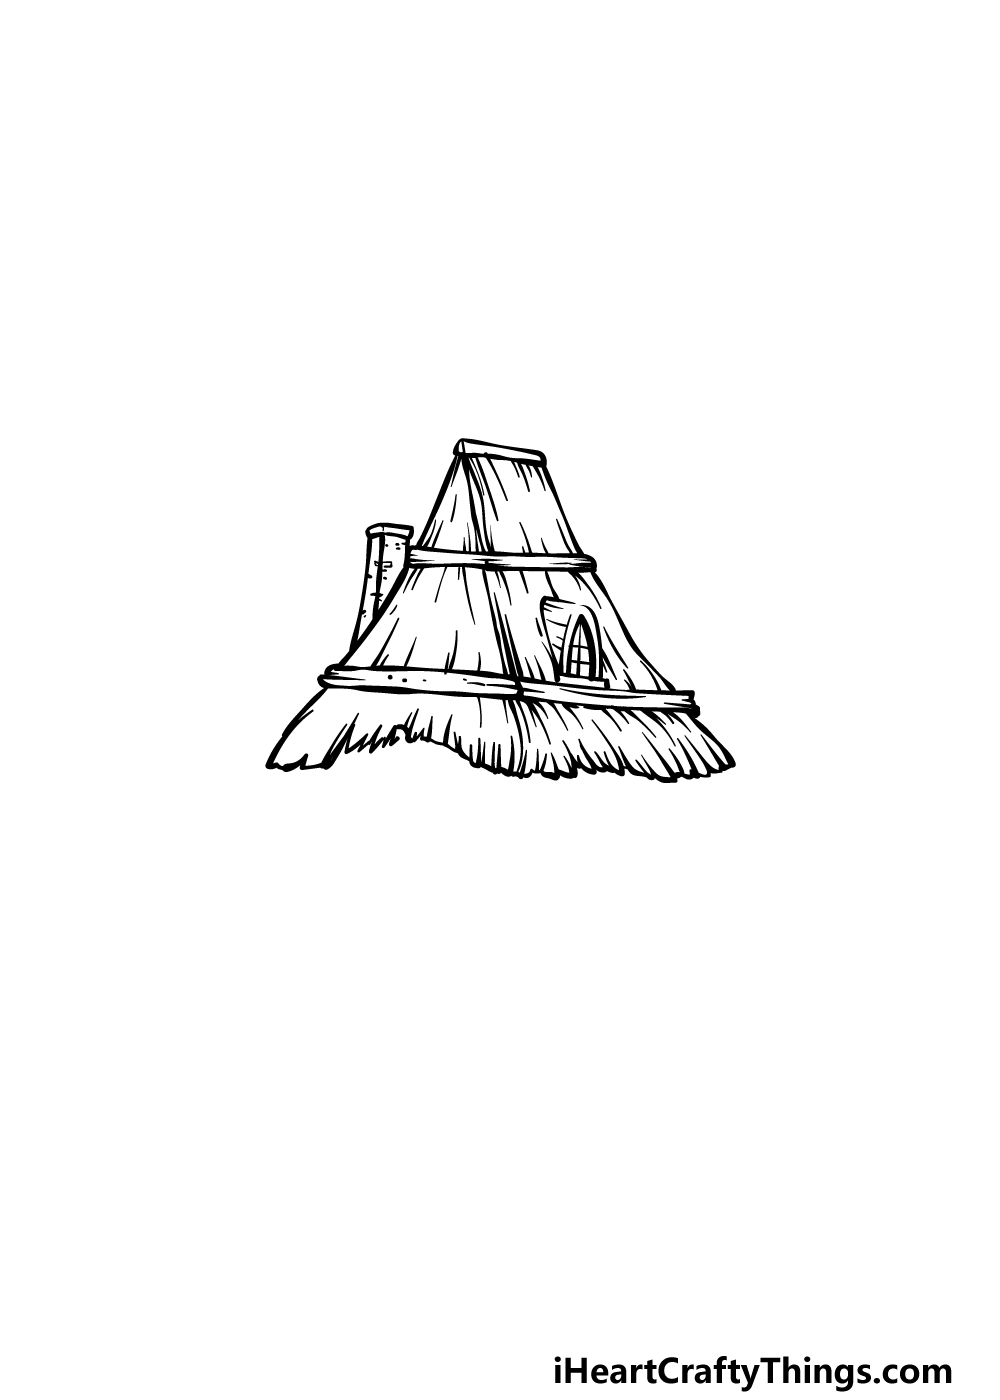
The building we will be drawing in this guide on how to draw a cottage will be small, quaint and full of charm! The roof will be pointed and sloped, and it will have a charming thatched look to it.
First, draw a very thin horizontal shape for the very top of the cottage. Then, we will use a series of slightly curved lines coming down from this top section.
These will extend slightly more outward with each line, as this will make the roof get wider the lower you get.
As shown in the reference image, there will be some small gaps left between these lines, as these will be where we will add some binding beams later on.
With these lines drawn, you will be ready for the second step of the guide!
Step 2 – Now, draw some finer details for the roof of the cottage
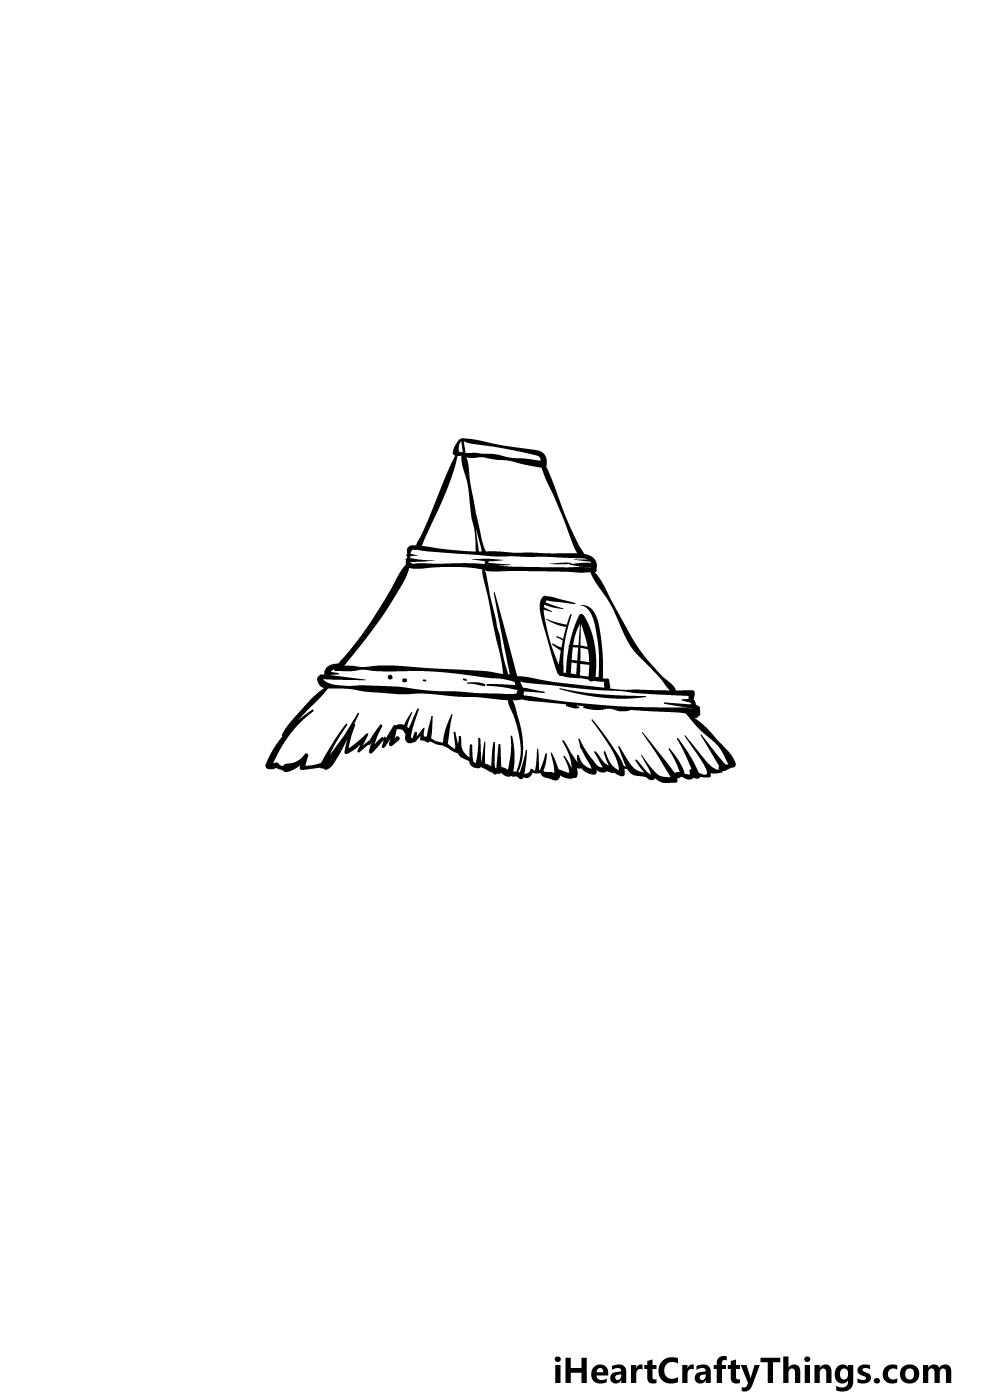
With the outlines for the roof of this cottage drawing done now, we can now start drawing some finer details.
First, we will be drawing those binding structures we mentioned in the previous step. These can be drawn using some straight horizontal lines to fill in those gaps that were left in the roof outline.
You can also draw a small window with a pointy tip into the roof.
For the bottom edge of the roof, we will be using some more jagged lines in order to create the rough, thatched look we’re going for. Then it’s on to step 3 of the guide!
Step 3 – Draw some texture details for the roof
Now you can draw some finer texture details for the roof in this third step of our guide on how to draw a cottage.
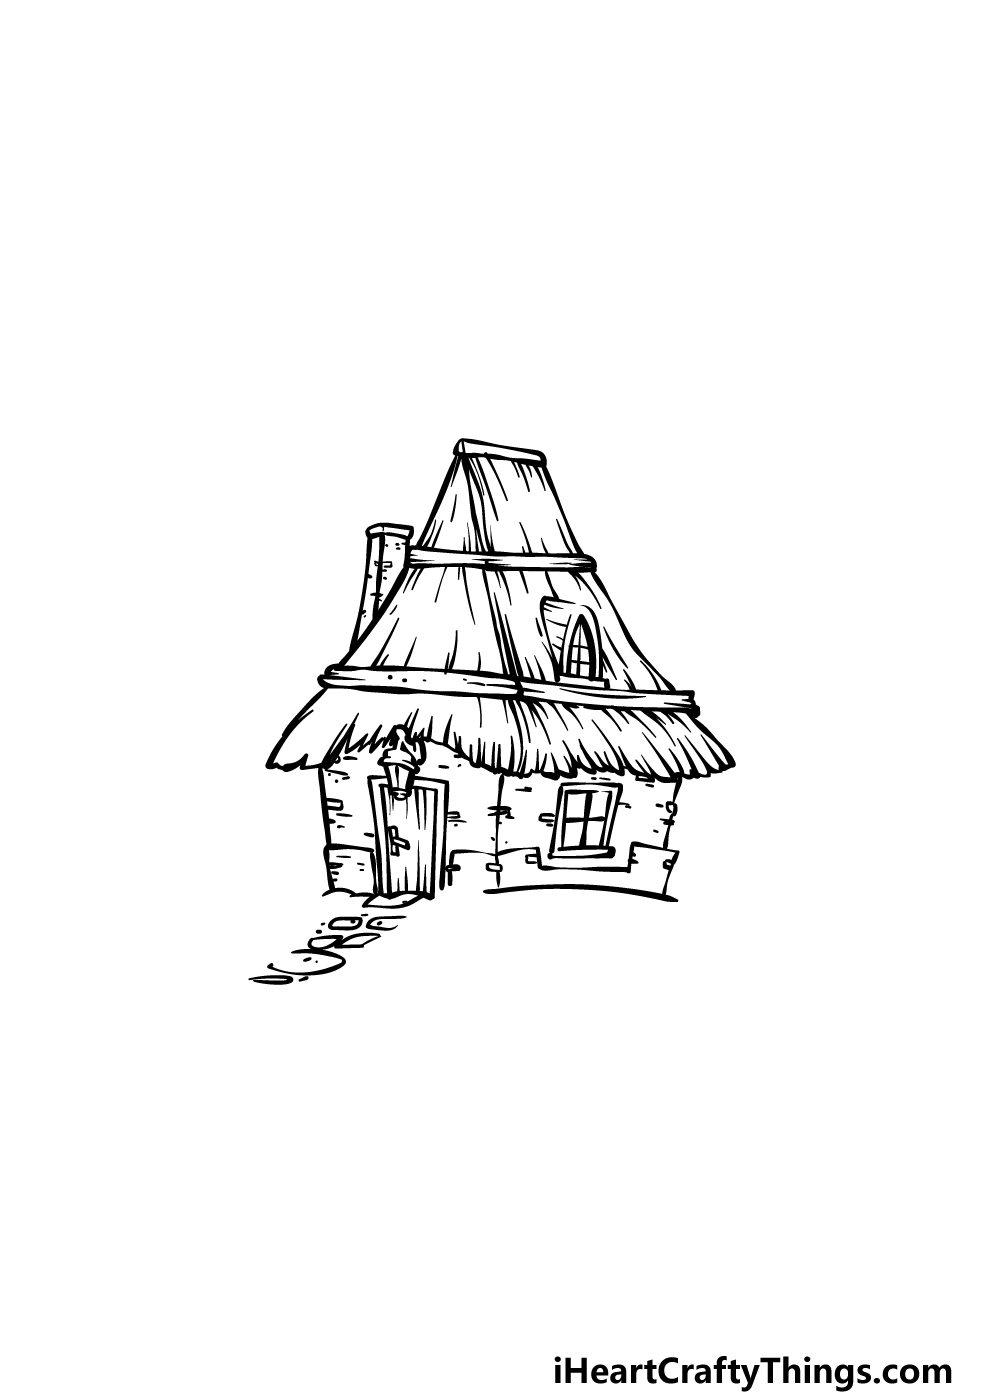
First, draw a small little chimney on the left-hand side of the roof. This can be drawn using some slightly curved lines with a small rim at the top.
Then, we will be drawing lots of slightly curved lines going down the thatched portions of the roof for some more texture.
Step 4 – Next, start drawing the walls of the cottage
The roof of this cottage drawing is now complete, and from this step onwards we shall work on the lower portions of this cute abode.
We’re going for an intentionally rougher, more rustic look for the cottage design, so don’t worry too much about achieving perfectly straight lines!
First, draw a small lantern hanging down from the left-hand edge of the roof. This will then have a small, crooked door beneath it.
Then, draw a small squared shape on the wall on the right of the cottage, and then add some straight lines down and across the inner portion of the window.
The next portion will be to draw the walls, and these will also be drawn using some slightly jagged lines.
We will add some little rectangular brick shapes all throughout the walls, and then you can start drawing a small pathway leading up to the front door.
Then you’re ready for some final touches in the next step!
Step 5 – Add the final details to your cottage drawing
It’s almost time for the final step of this guide on how to draw a cottage, but first we have a few final details to add before getting to that point.
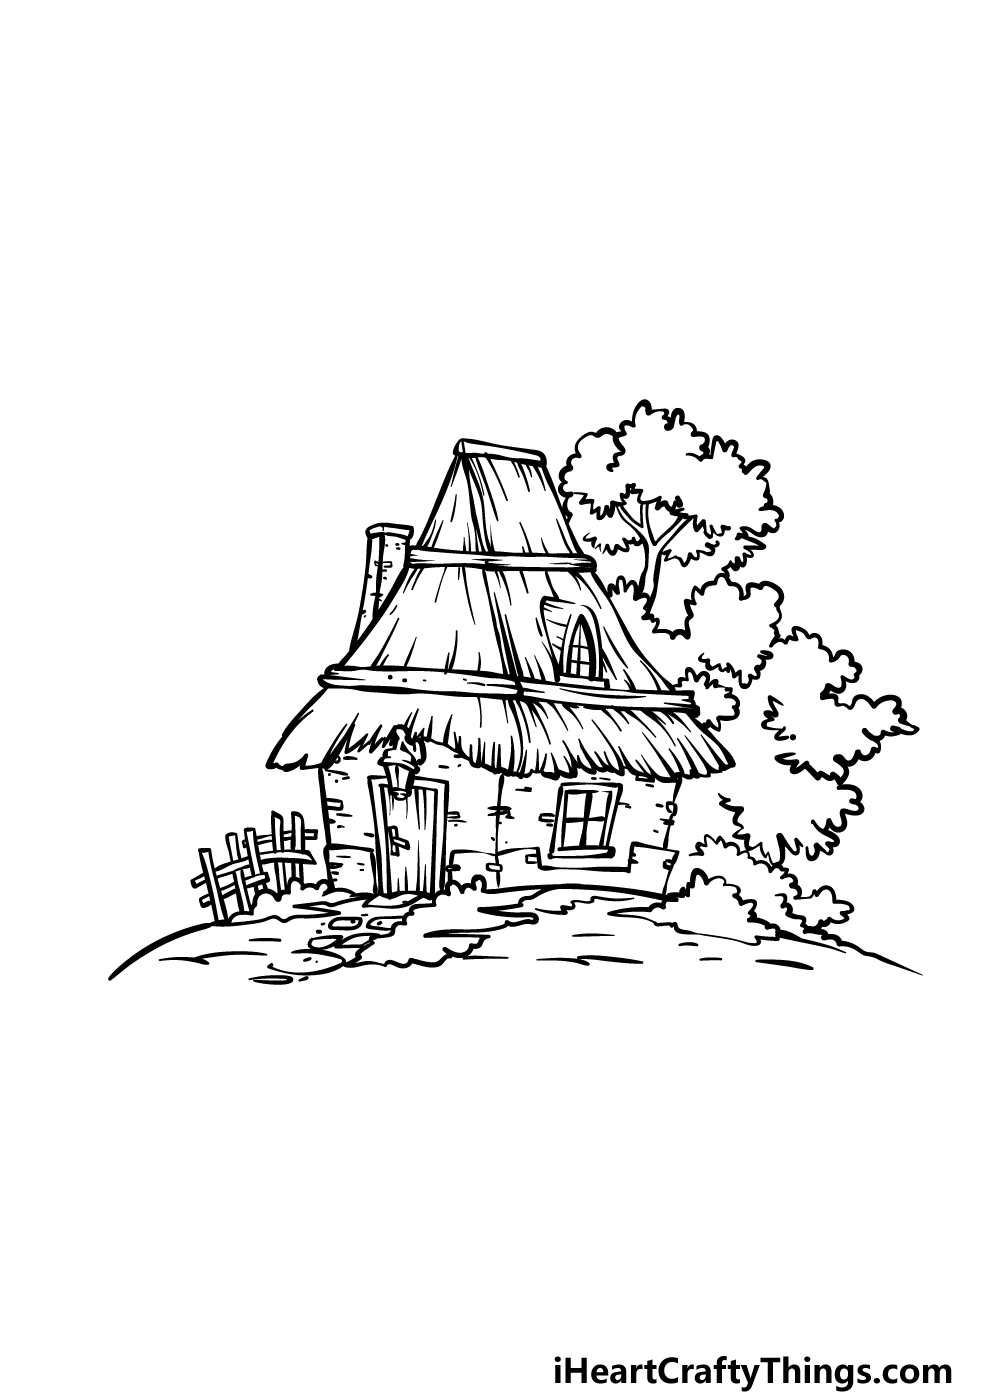
These details will mainly be contained to various environmental elements surrounding the cottage.
You can draw a little fence by using several thin shapes connected to one another, and then draw some grass detailing surrounding the cottage.
Finally, draw some trees behind the cottage to finish it off.
This is all about creating your own perfect cottage getaway, so you could also add any additional elements that you want to really create your own special cottage!
Step 6 – Finish off your cottage drawing with color
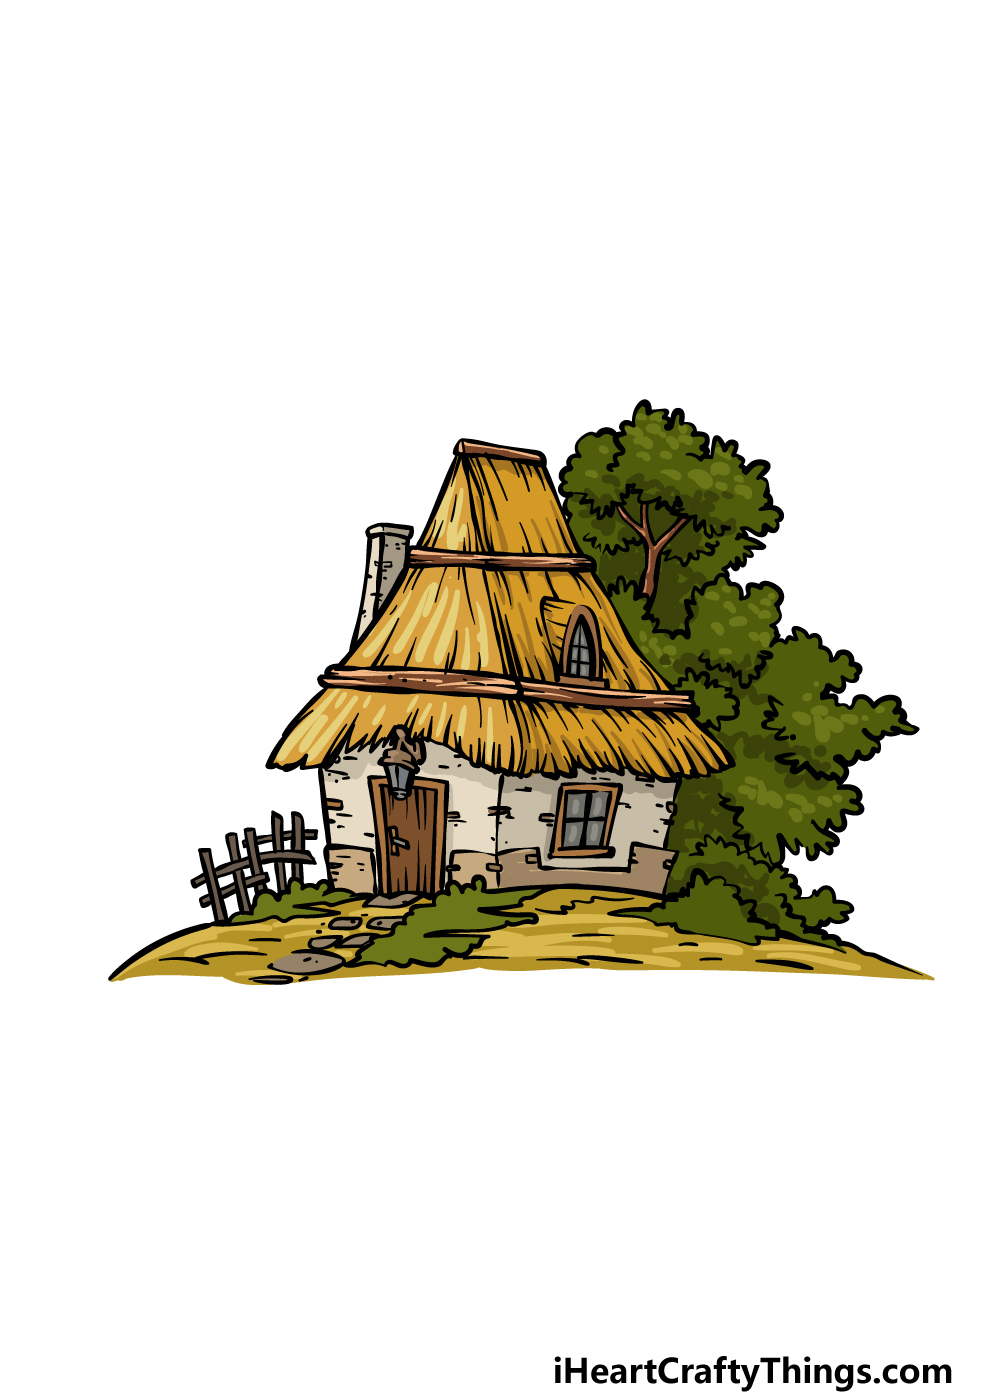
You did a great job working on this cottage drawing, and now you can have some fun finishing it off with some coloring fun!
We used colors that were muted and warm for our example image, and this helps to create a welcoming, cozy feeling for the picture.
Of course, you should feel free to use any other colors you would like to really finish it off!
When coloring, you can also think about which art tools and mediums would best suit your preferred color scheme.
Watercolors and colored pencils would be great for a more muted look, whereas some colored markers and acrylic paints would be best for bold, striking colors. What colors and mediums will you pick?
3 More tips to make your cottage drawing easy!
Create your ideal cozy home with these tips for your cottage sketch!
This gorgeous drawing of a cottage that we created in this guide is packed with details. Details can make a picture look even more realistic and beautiful, but they can also make it overwhelming.
If you are struggling with this aspect of the drawing, we would suggest focusing on the details of the cottage first. One way of dealing with it would be by removing some of the finer extra details.
Or, you could simplify them to create a more stylistic take on this cottage. You could at least start with this and then add the details back in when you try some later attempts.
Next, you could potentially make your cottage drawing easy by altering the design a bit. This is something that could not only make the cottage easier to draw but could also make it more unique.
For example, you could prefer a flatter roof for your cottage. If that would be easier to draw, then it could be a different shape.
Or, you could try and make the roof made out of tiles instead of thatched as it appears in our example.
These are a few ways that you could change an element of the design that is proving tricky or that you would prefer another way.
Finally, we would recommend looking at some real life cottages when creating this cottage sketch. If you happen to live near some cottages that look similar to the drawing then that would be perfect!
Even if they’re not that similar, looking at the real structures can make visualizing your drawing much easier. If you don’t live near any real cottages, then you have a few other options.
The easiest one would be to look up some photos of real cottages online. Doing that would make it easier to find ones that are a similar style to the one we created.
Using these photos along with our guide will make it so much easier!
Your Cottage Drawing is Complete!
This guide on how to draw a cottage has been completed, and now you have a charming little abode of your very own to enjoy!
We wanted to create an image that would not only be a wonderful little depiction to enjoy, but one that would be fun and easy to replicate.
Don’t forget that you can also add some details and ideas of your own to the mix!
Drawing more of the background or changing and adding portions of the cottage itself are all wonderful ways to put your own spin on the image.
If you had fun working on this guide, you can find many more to enjoy on our website! We upload new guides very often, so be sure to keep checking in and join the fun!
When you’re ready to show off your cute cottage, you can share your creation on our Facebook and Pinterest pages for us to see!