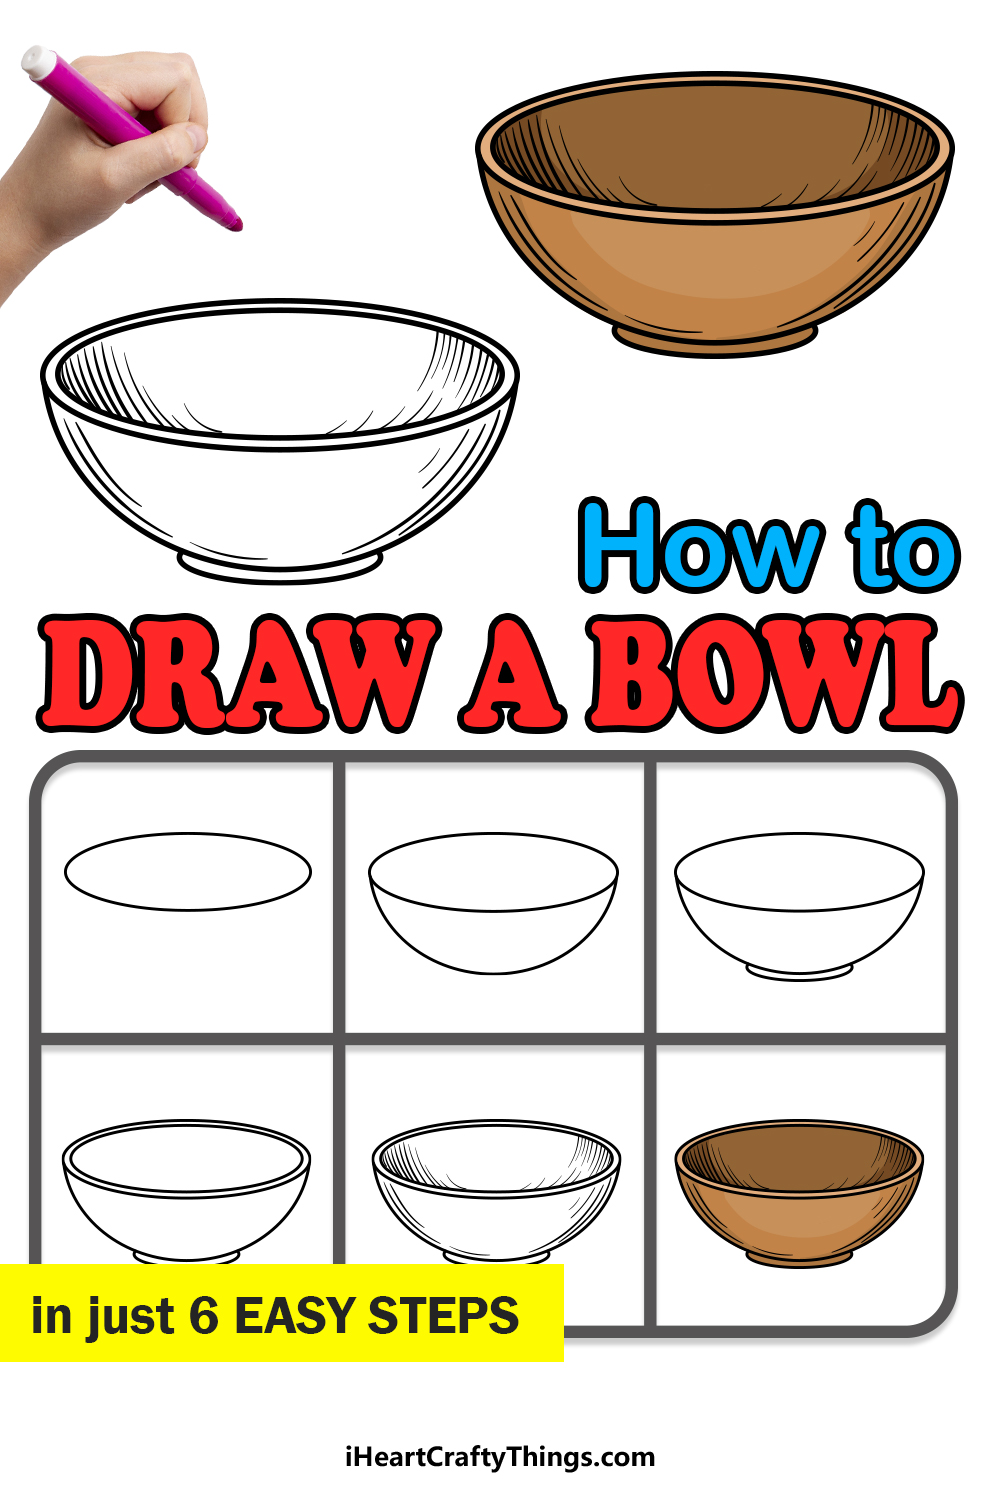
Our kitchens are full of many different utensils and tools that make cooking and preparing all manner of meals possible.
In the modern age, technology has made a lot of the cooking process easier than ever, but as much as technology advances there are a few things that will never change.
The humble bowl is an example of an essential kitchen staple that has remained functionally the same since its inception.
They come in many different shapes and sizes, and learning how to draw a bowl is a great way to imagine your perfect bowl design!
They may seem easy to draw at first, but it can actually be a rather tricky drawing to get right. That’s what this tutorial is here to help with!
Our step-by-step guide on how to draw a bowl in just 6 steps will show you how to design your own awesome bowl!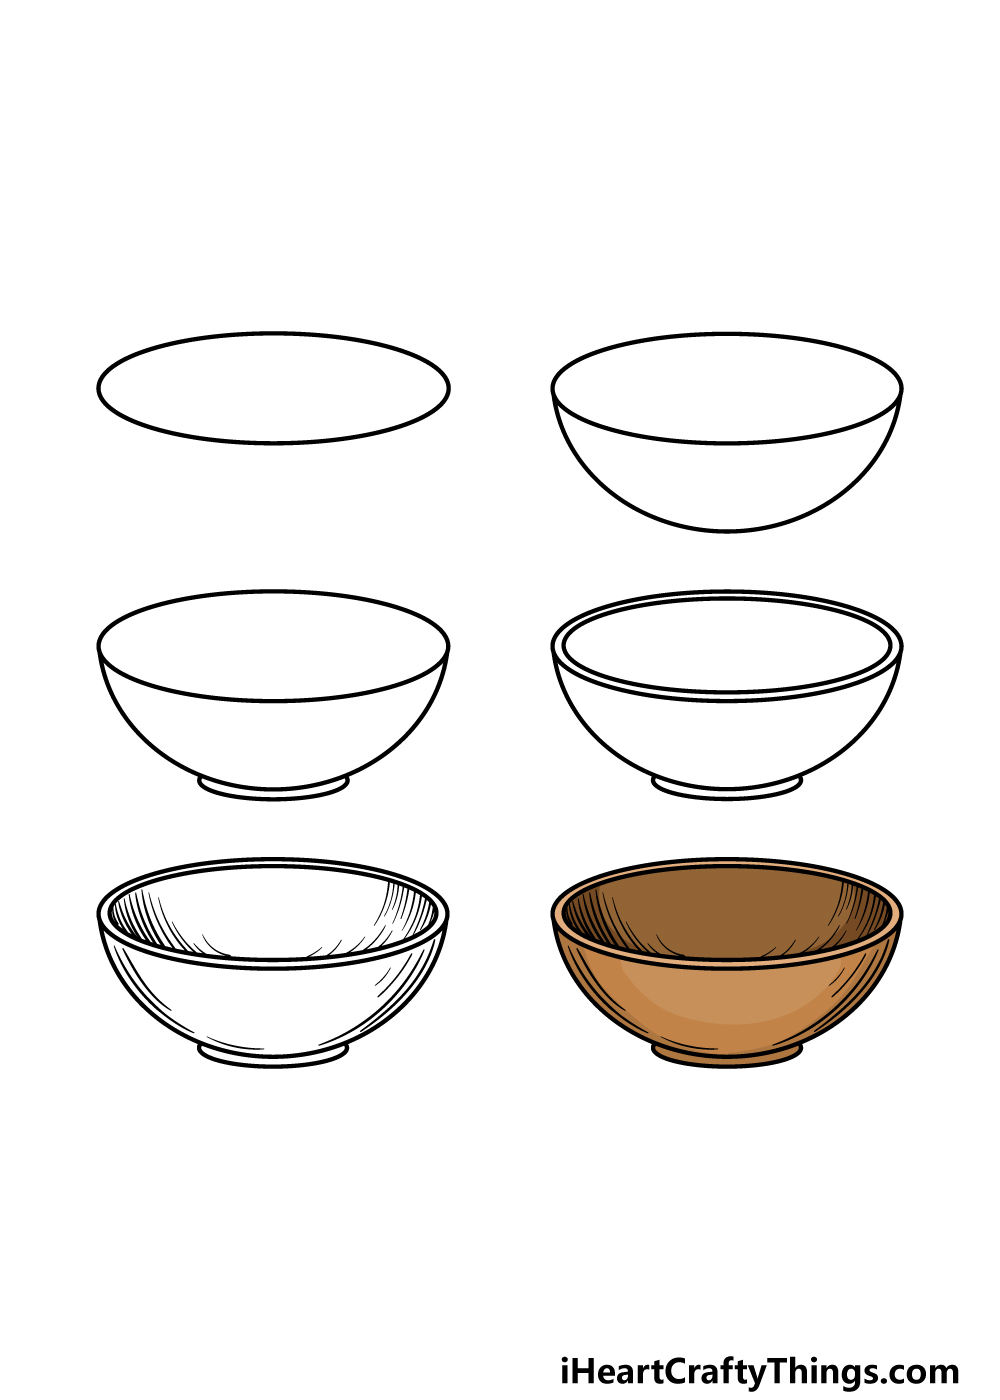
How to Draw A Bowl – Let’s Get Started!
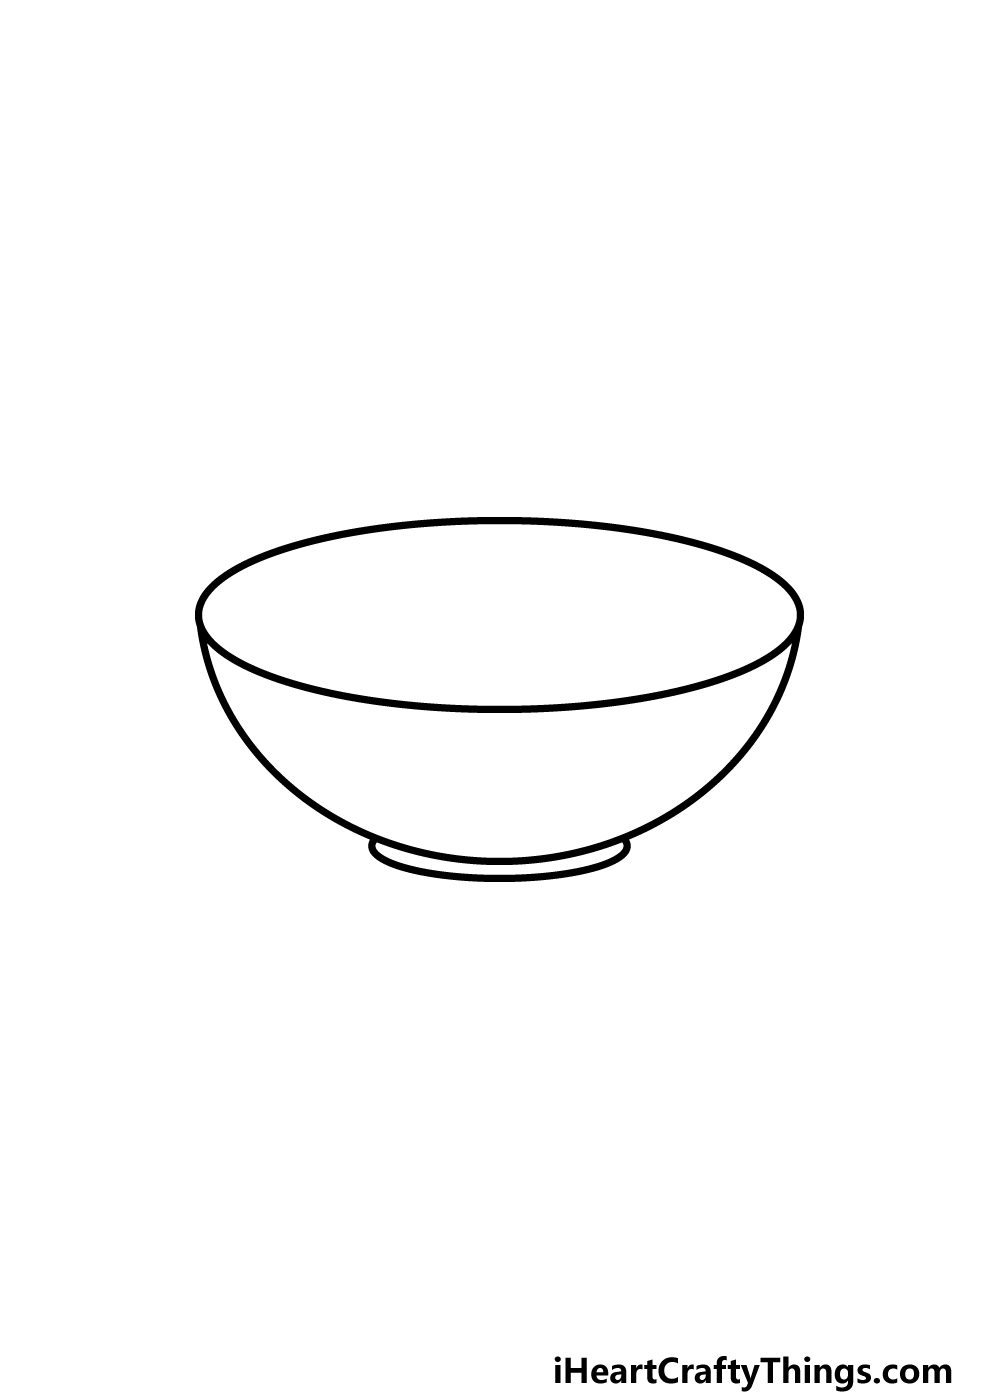
Step 1
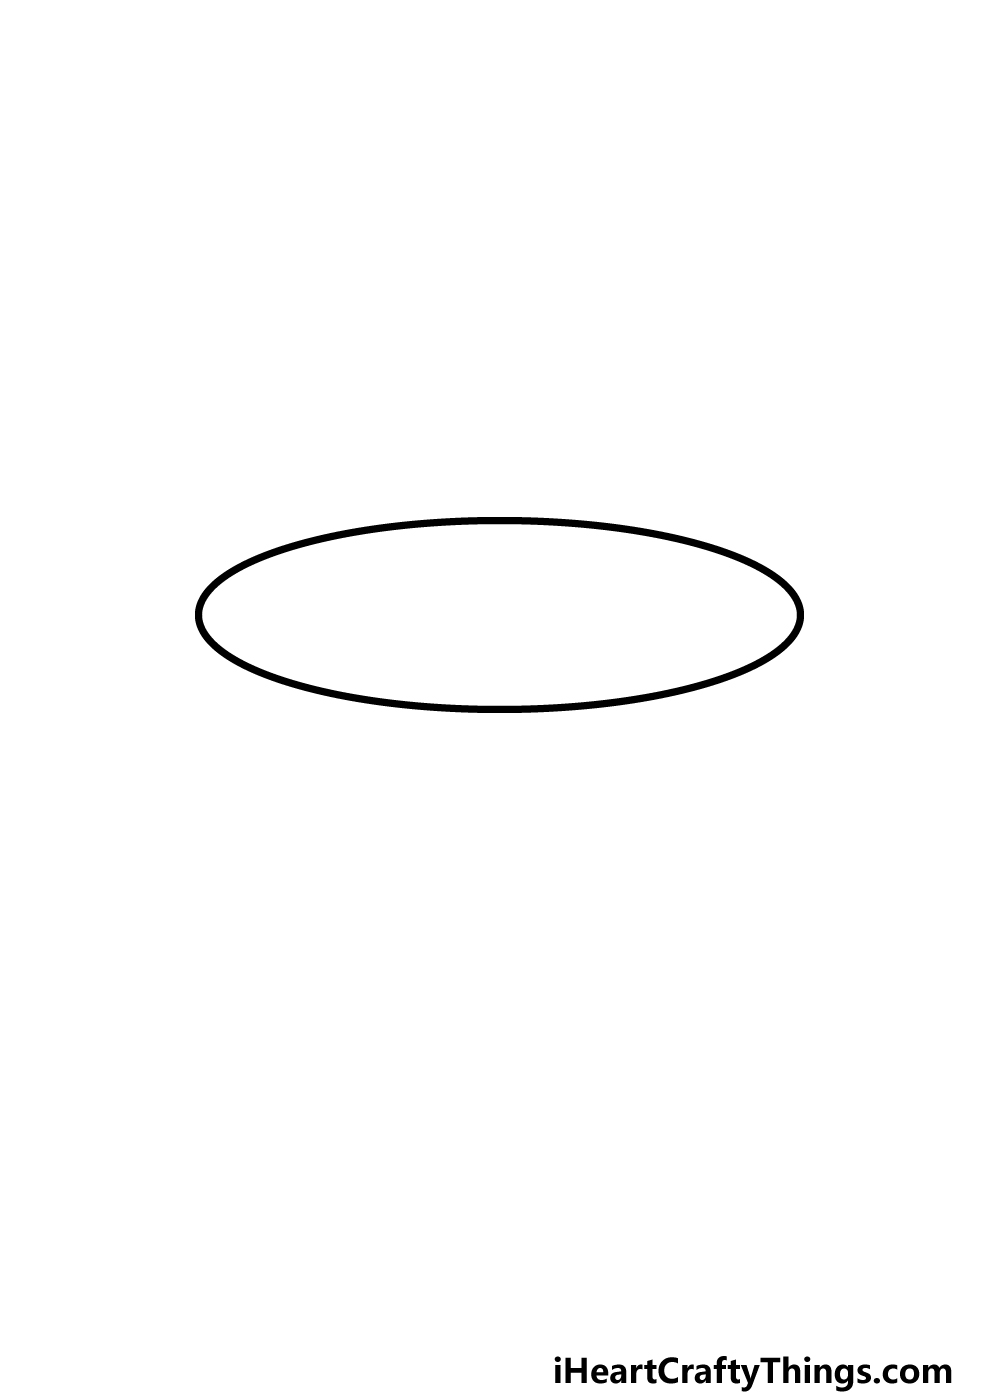
We shall start things simply in this first step of our guide on how to draw a bowl!
As we mentioned in the introduction, a simple object like a bowl can look much easier to draw than it can sometimes turn out to be.
That’s why we will be breaking it down into smaller steps to show you how it can be easy when you know what to do.
You can start by drawing a thin, horizontal oval shape. This may look easy, but it actually requires a rather steady hand. Carefully draw this oval in the way that it appears in our reference image.
You could use a pencil first before going over with a pen to make things easier! Then you will be ready for step 2.
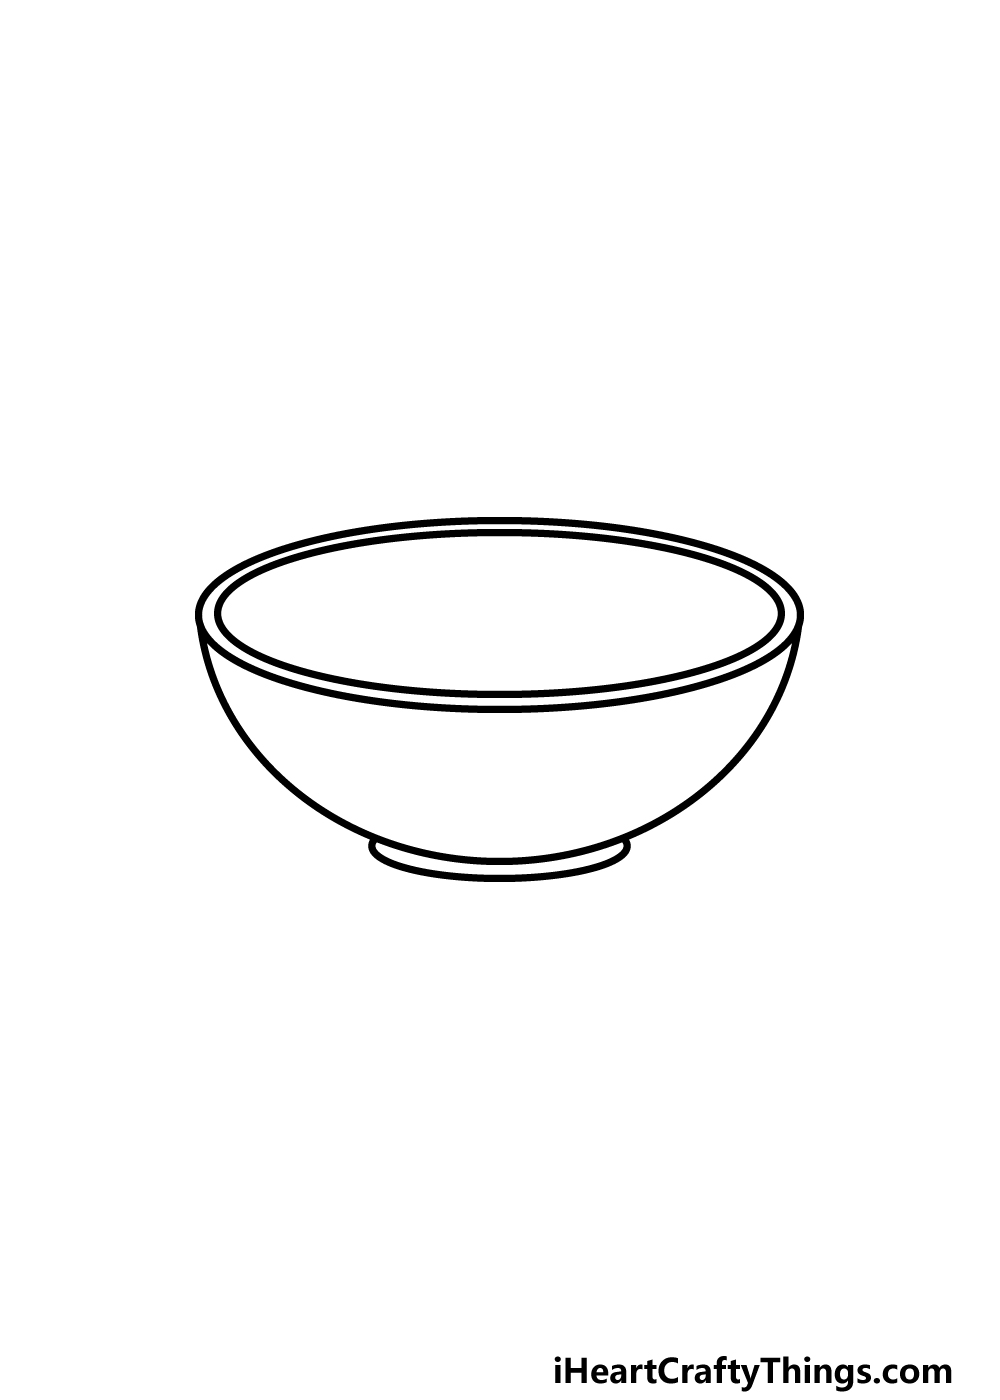
Step 2 – Now, draw the body of the bowl
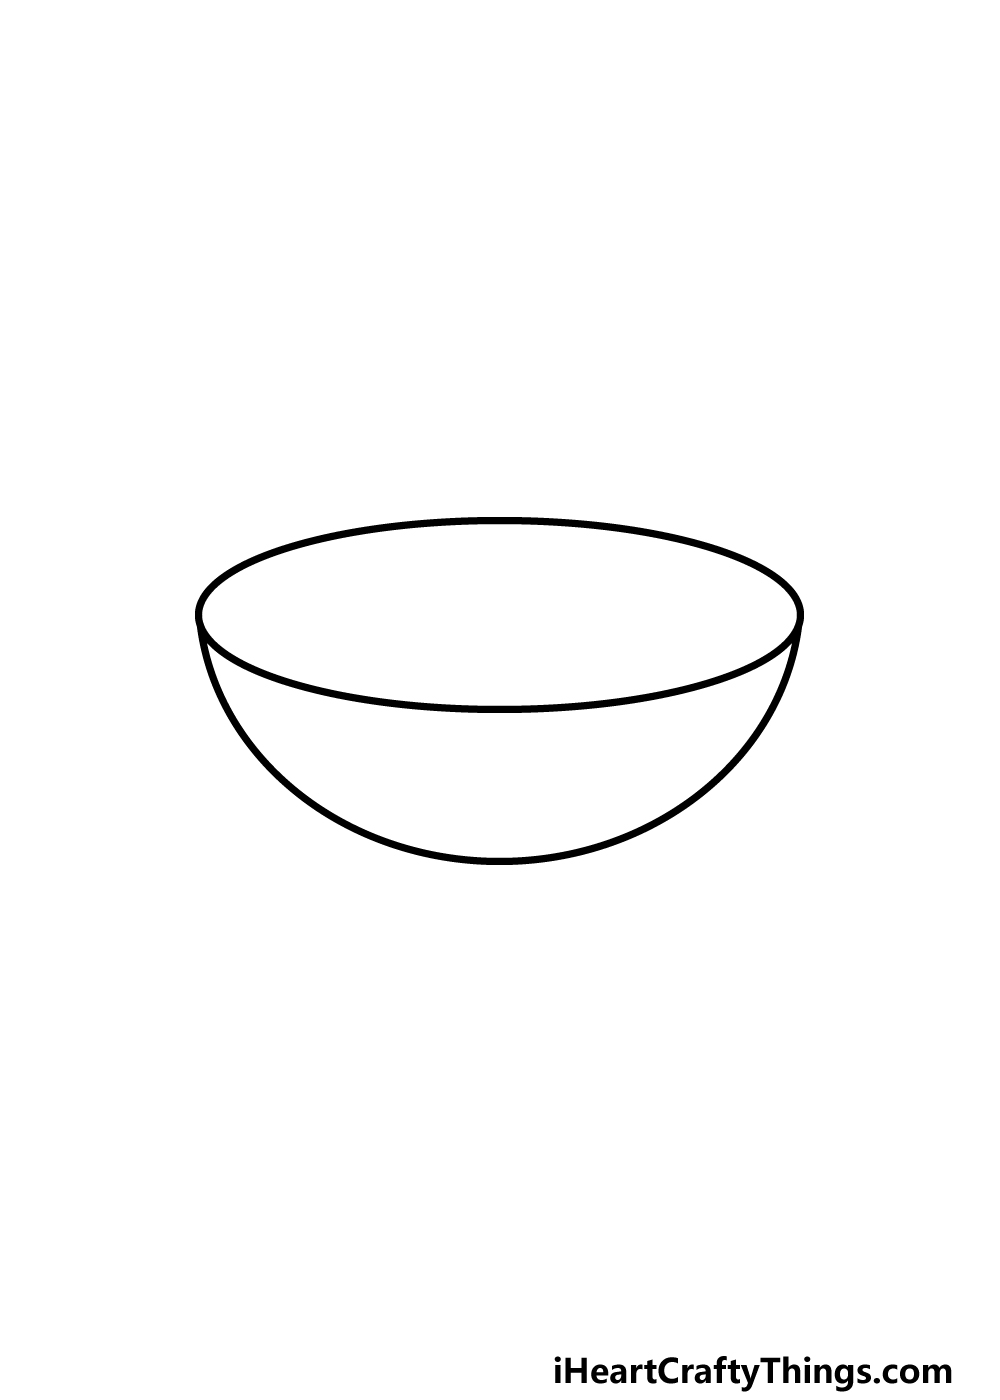
Now you can draw the body for your bowl drawing in this second step of the guide. This is another step that can require a bit of patience and a steady hand.
All you need to do for the body is draw a rounded line from one side of the oval to the other. Try to take it slowly as you draw, as the smoother and more symmetrical that you can get it, the better!
Step 3 – Draw the base of the bowl
In this third step of our guide on how to draw a bowl, we will be adding a base to the bottom of the bowl.
To do this, simply draw a very thin, rounded shape against the bottom of the bowl where it would connect with the counter it is on.
That’s all there is to it for this step, and now you can proceed to step 4!
Step 4 – Next, finish off the rim of the bowl
Before we start adding some final details to this bowl drawing, we must first finish off the outlines for it. In this fourth step of the guide, we will be drawing a rim for the bowl.
To do this, simply draw another oval shape inside the oval shape that served as the mouth of the bowl.
This can take a steady hand and some concentration, so try to take it slowly and carefully follow the perimeter of the bowl’s mouth.
Then, you will be ready for those final details in the next step of the guide!
Step 5 – Add the final details to your bowl drawing
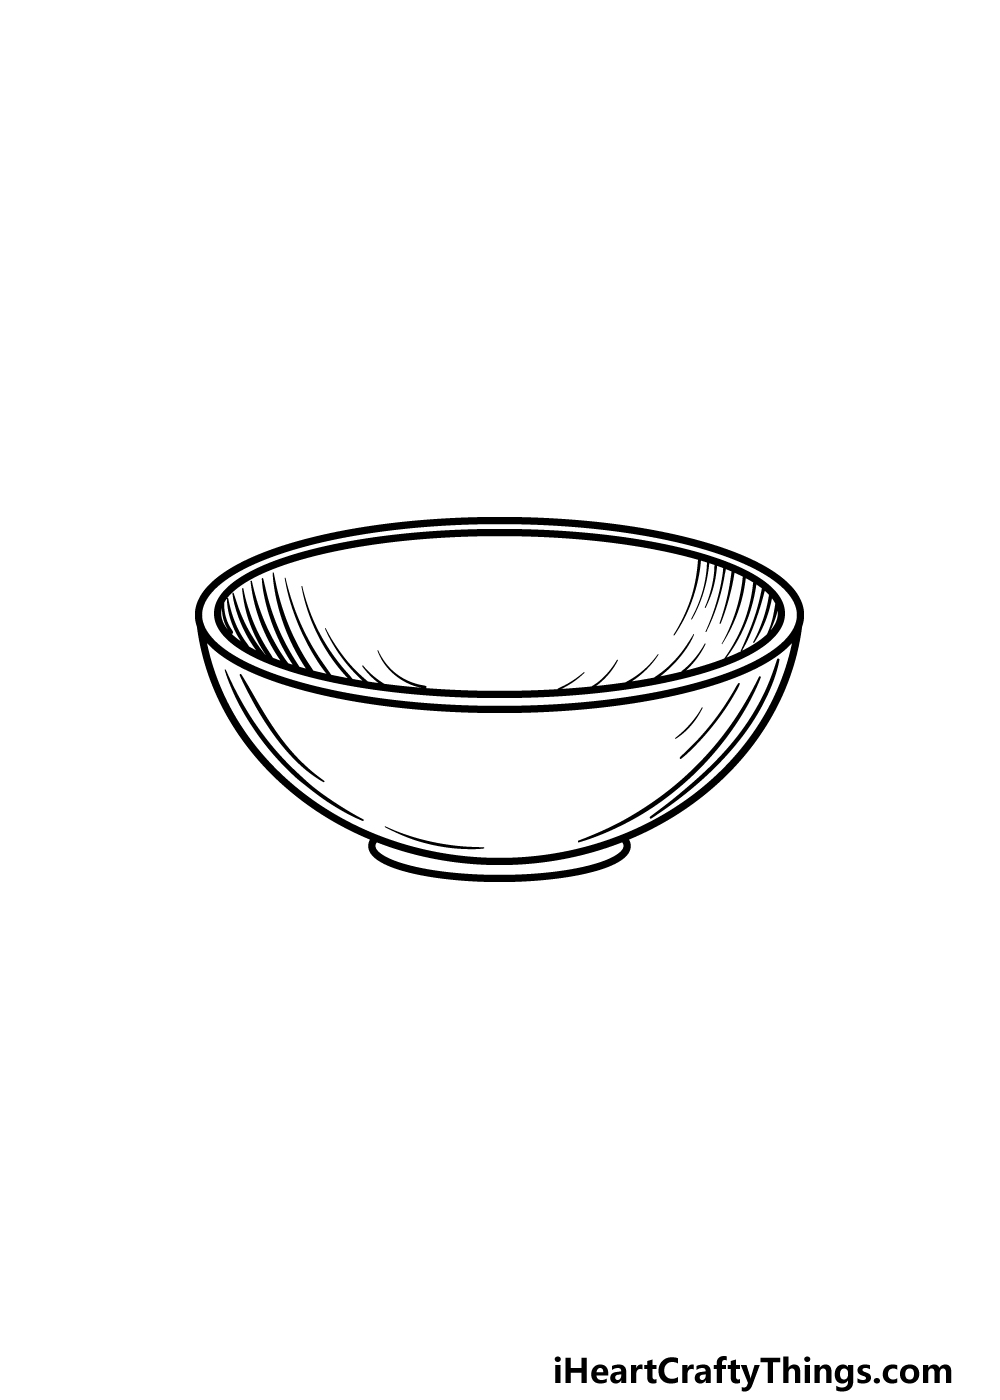
You have finished the design and outlines of the bowl itself, and in this fifth part of our guide on how to draw a bowl we will finish off the final touches.
You will also have a chance to add some additional elements of your own in this step.
First, draw some curved lines inside the bowl interior, as this helps to create the curvature of the inner bowl.
Then, you can add some more curved lines to the outer surface as well.
When finishing the bowl, you could also add some decorative designs to the bowl, and in doing this you could go for any style that appeals to you!
Another idea would be to draw a background or even some food to go in the bowl. What kinds of fun extra details can you think of to add?
Step 6 – Finish off your bowl drawing with color
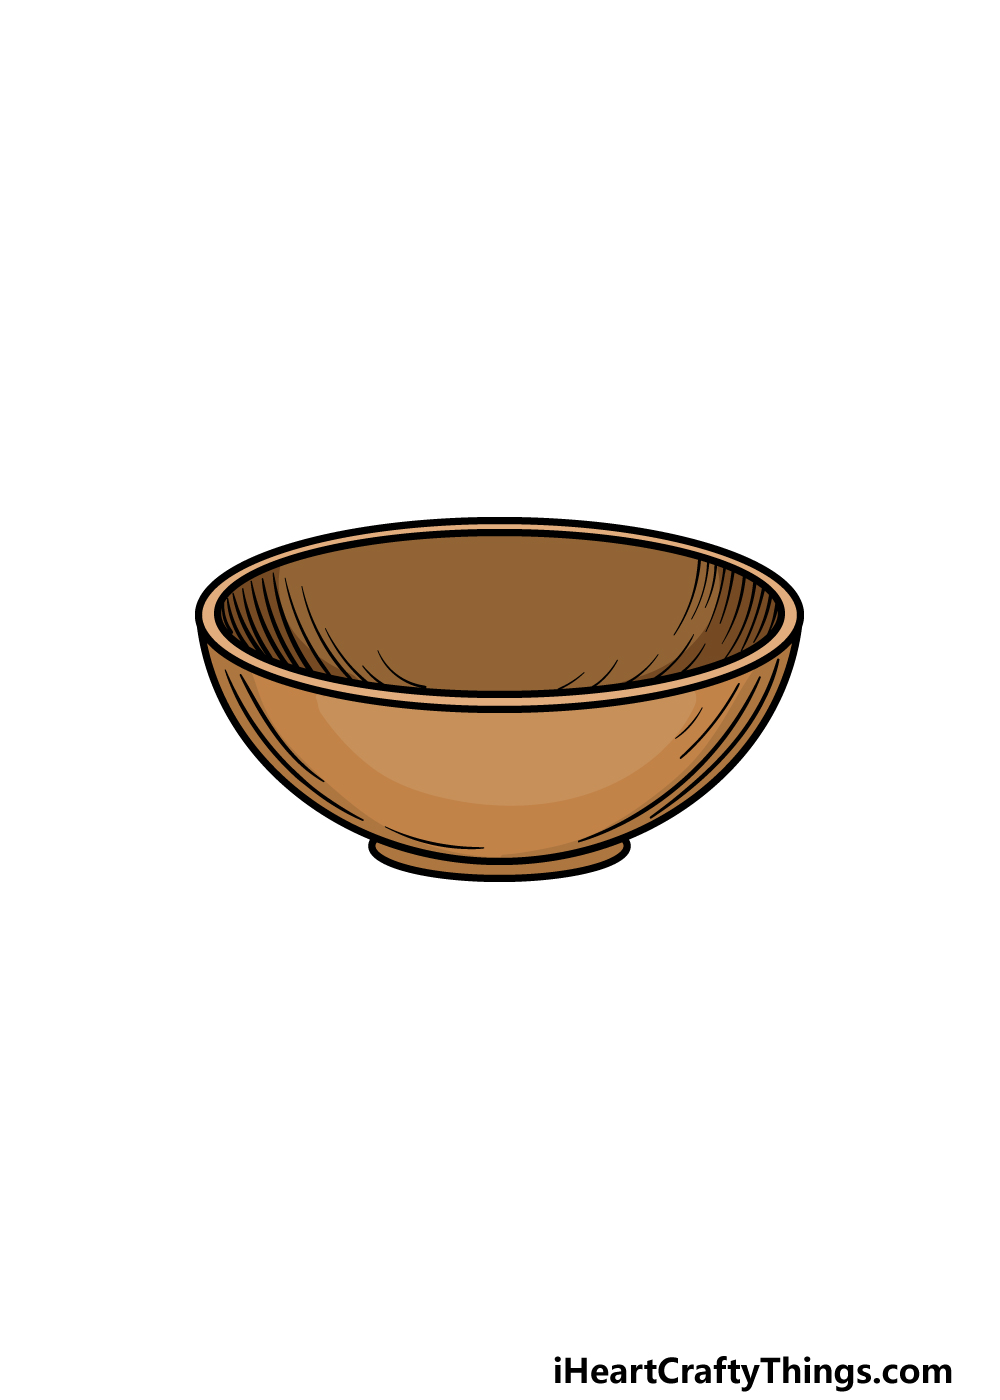
Now that your bowl drawing is finished and you have added all of your own details, you can really finish it off with some colors!
In our example image, we went with various shades of browns for the interior and exterior of the bowl.
This helps to give the bowl a classic wooden look. When coloring your own bowl, there are many options you could go for!
Keeping the colors more muted as we did can give it a natural look, but you could also use bright and vibrant colors if you would like to make it look as if it is made of plastic.
When coloring, you can also change up the various art tools and mediums that you use in order to get the color shades and intensities you want. How will you finish up this picture with color?
4 More Ways To Make Your Bowl Drawing Unique
Improve your bowl sketch even more with these fun tips!
For this bowl drawing, we made it look like it is made out of wood. That is one look for this bowl, but it could be made out of anything you like!
Bowls can be made out of pretty much any material, and you could make it look like any of them with some small details. Whether it’s plastic or metal or anything in between, you could make this bowl look like anything you like!
What materials would you choose for this bowl you are creating?
For this second tip, we would also encourage you to play with the colors of your drawing of a bowl. That would also go well with the first tip, as you can use colors to make any materials you like.
For instance, bright vibrant colors would suit a plastic look more. On the other hand, more muted greys would be best for a metallic surface.
You can also use various art tools and mediums to best suit the kinds of materials you want to create!
Once you know how you would like this bowl to look, you could also fill it with something. One of the most common things to store in a bowl would be different kinds of fruit.
You could fill it with any fruit you like, but there are other options! It could be filled with anything from candy to decorative ornaments.
It depends on you, so what will you choose to put in this bowl?
Lastly, you can finish off by adding a background to your bowl sketch. This background could be anything you like, but it could be themed to match the other changes you made with these tips.
If you wanted to make it look like it is sitting on a table in a house, you could come up with all kinds of designs! If you want to take it even further, it could be fun to add some human characters to the scene.
Your Bowl Drawing is Complete!
At the beginning of this guide on how to draw a bowl, we mentioned that it can be surprisingly tricky to draw a seemingly simple object like this.
Hopefully this process was made easier and even more fun for you as we broke it down into smaller steps during this guide!
Breaking down any drawing into smaller chunks is the best way to make it easier for yourself, and it lets you focus on the fun of creation.
Now that you have the basics of drawing a bowl down, you can add to the picture in many ways!
You could do this by adding some more kitchen or food items, changing the colors or by adding some pretty decorative elements to the bowl.
These are just a few of the ideas you could go for, but what else can you think of to finish off?
Then, when you’re ready for your next drawing challenge you can find it on our website. We have a multitude of different drawing guides for you to enjoy there, so keep checking in to never miss out!
We would also love to see how this bowl drawing turned out, so please share it on our Facebook and Pinterest pages for us to admire.