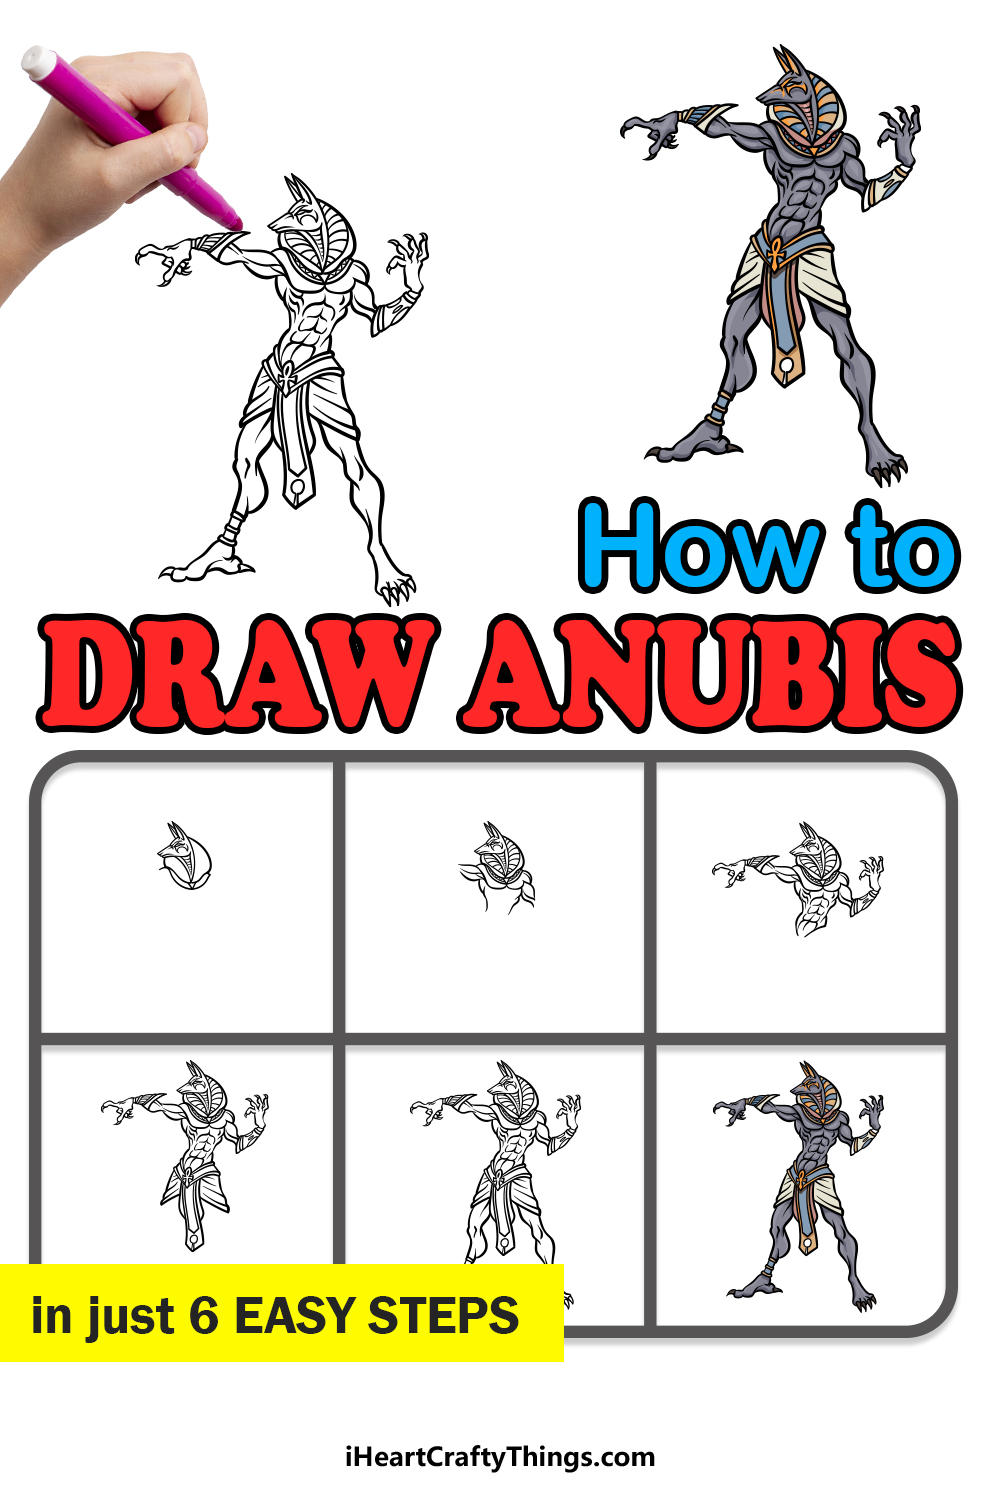
The beliefs and myths of the ancient Eqyptians were filled with incredible stories, concepts and gods. One of the most iconic of these gods was the god of the dead himself; Anubis.
He may not have presided over the most cheerful of subjects, but he has endured to this day thanks in large part to his distinctive design.
With the head of a dog and the body of a man, Anubis certainly has a unique look to him, and it can make learning how to draw Anubis a lot of fun to do!
If you would like to know how you can learn to do this, then you’re in the right place.
This step-by-step guide on how to draw Anubis will show you how to draw this famous Egyptian god.
How to Draw Anubis – Let’s Get Started!
Step 1
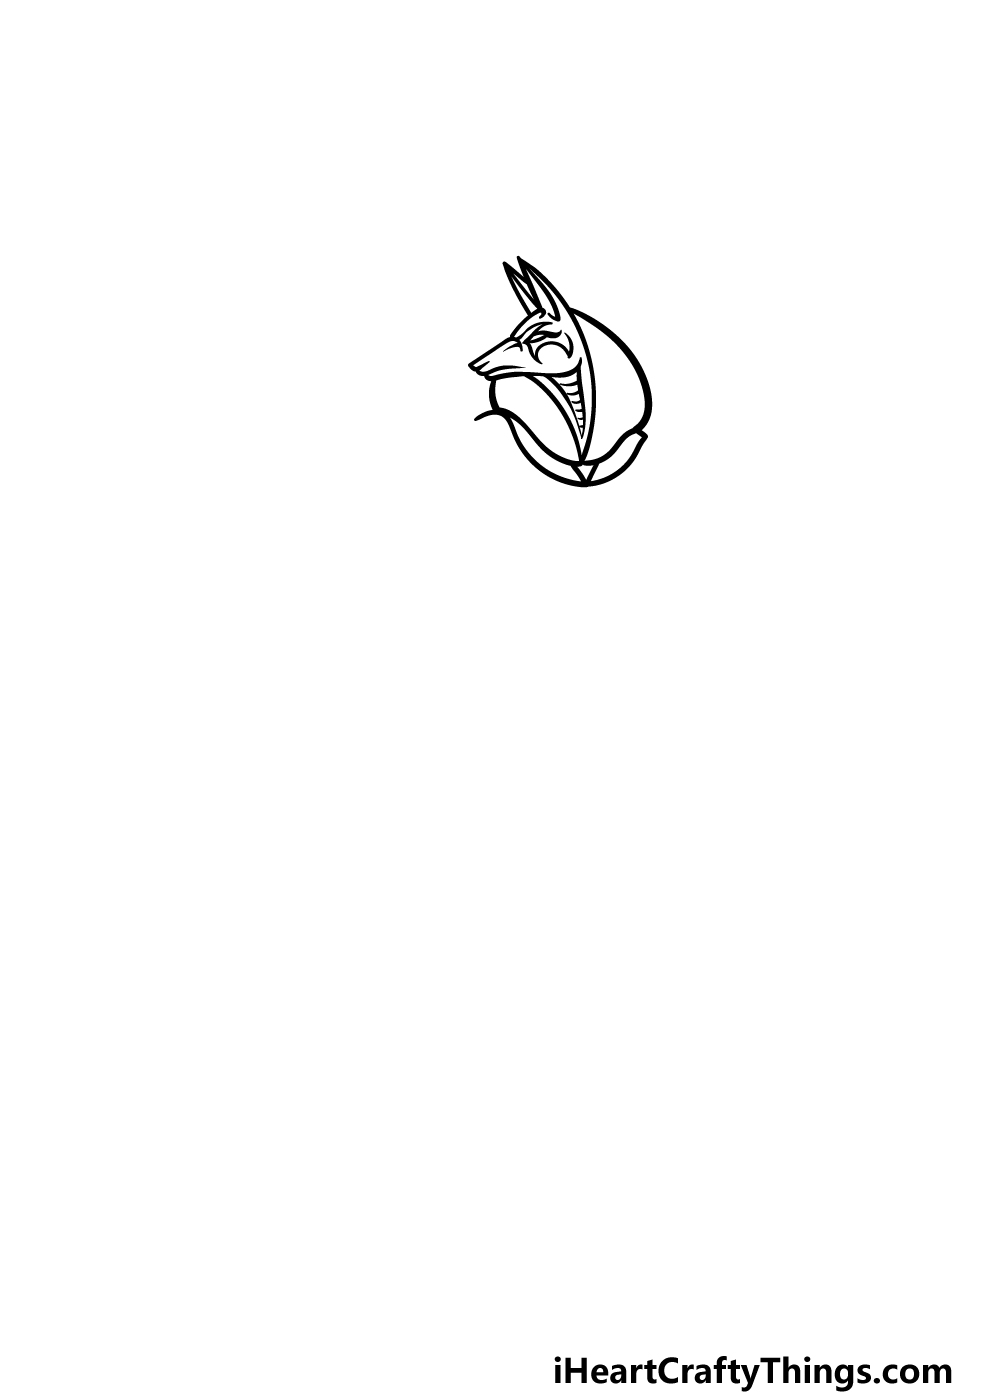
As we mentioned in the introduction to this guide on how to draw Anubis, this got sports the head of a dog. That is what we shall start with in this first step.
There are lots of details in the head and face of Anubis, so this is a step where you probably want to try and copy the look of the head exactly as it appears in our example image.
The face is quite angular, and the eyes are drawn in such a way as to give Anubis quite a serious expression.
He has very pointy ears, and then there will be some curved lines on the side of the head, almost making it look like the hood of a cobra.
Add a few more details to the neck, and then you’re ready for step 2!
Step 2 – Draw the chest and shoulders for Anubis
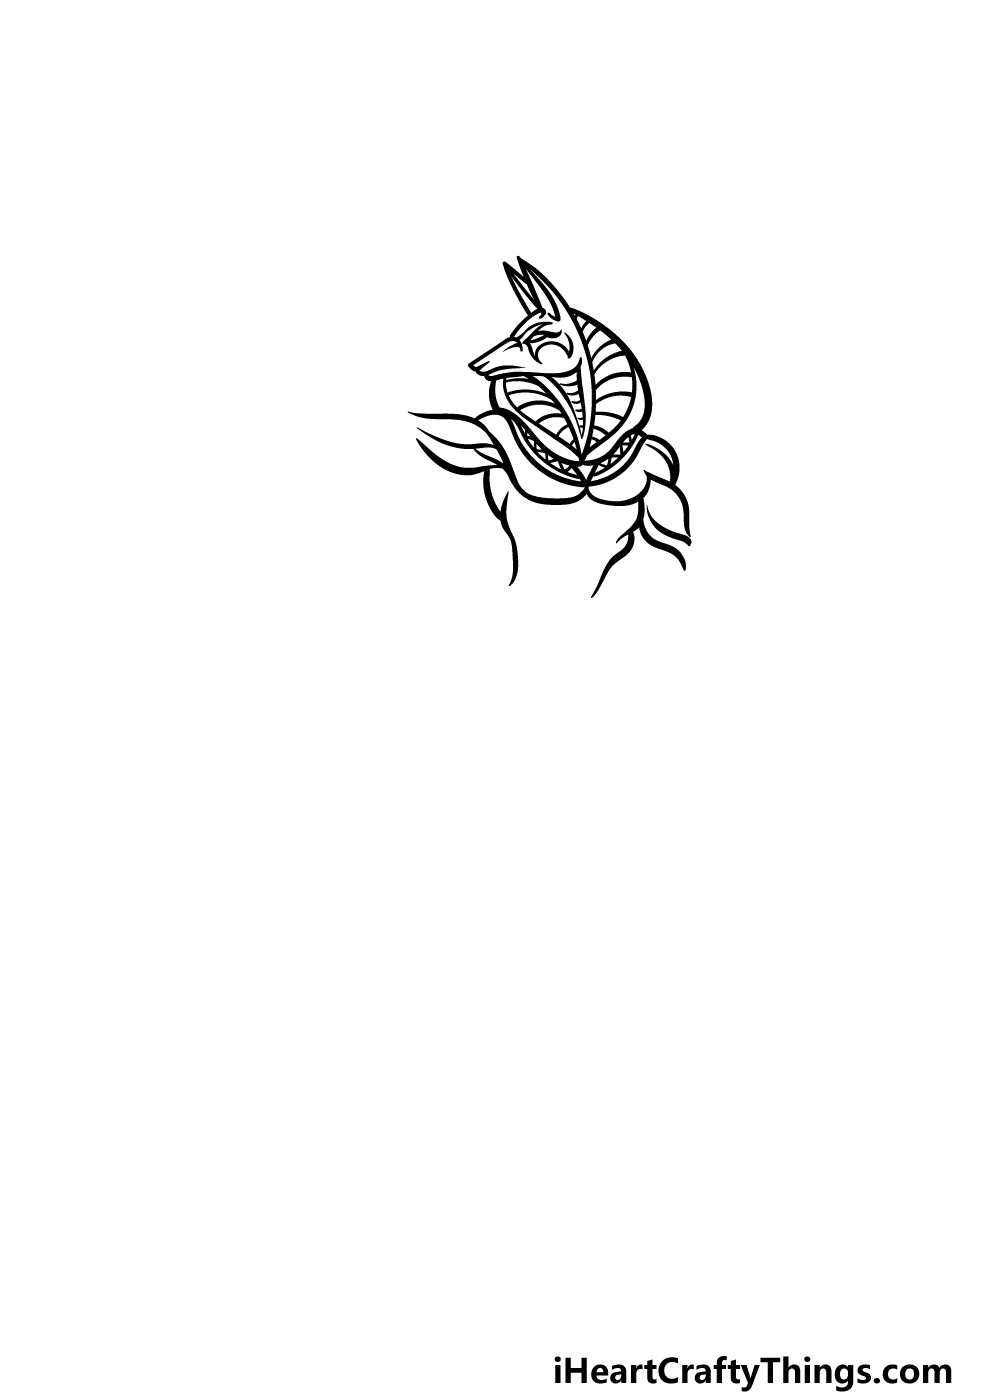
We will begin drawing the shoulders and chest for your Anubis drawing in this second step.
First, we will add some line details to the ‘hood’ of his face, and also along the rim where his head connects to his body. Once you have added these details, you can then start drawing his shoulders and arms.
We will be using some curved lines to draw his shoulders and pectoral muscles, as shown in the reference image.
Finally for this step, you can use some more of these rounded lines to draw his muscular biceps attached to his shoulders. You can also draw the sides of his chest using some more curved lines.
Step 3 – Next, draw the rest of his arms and chest details
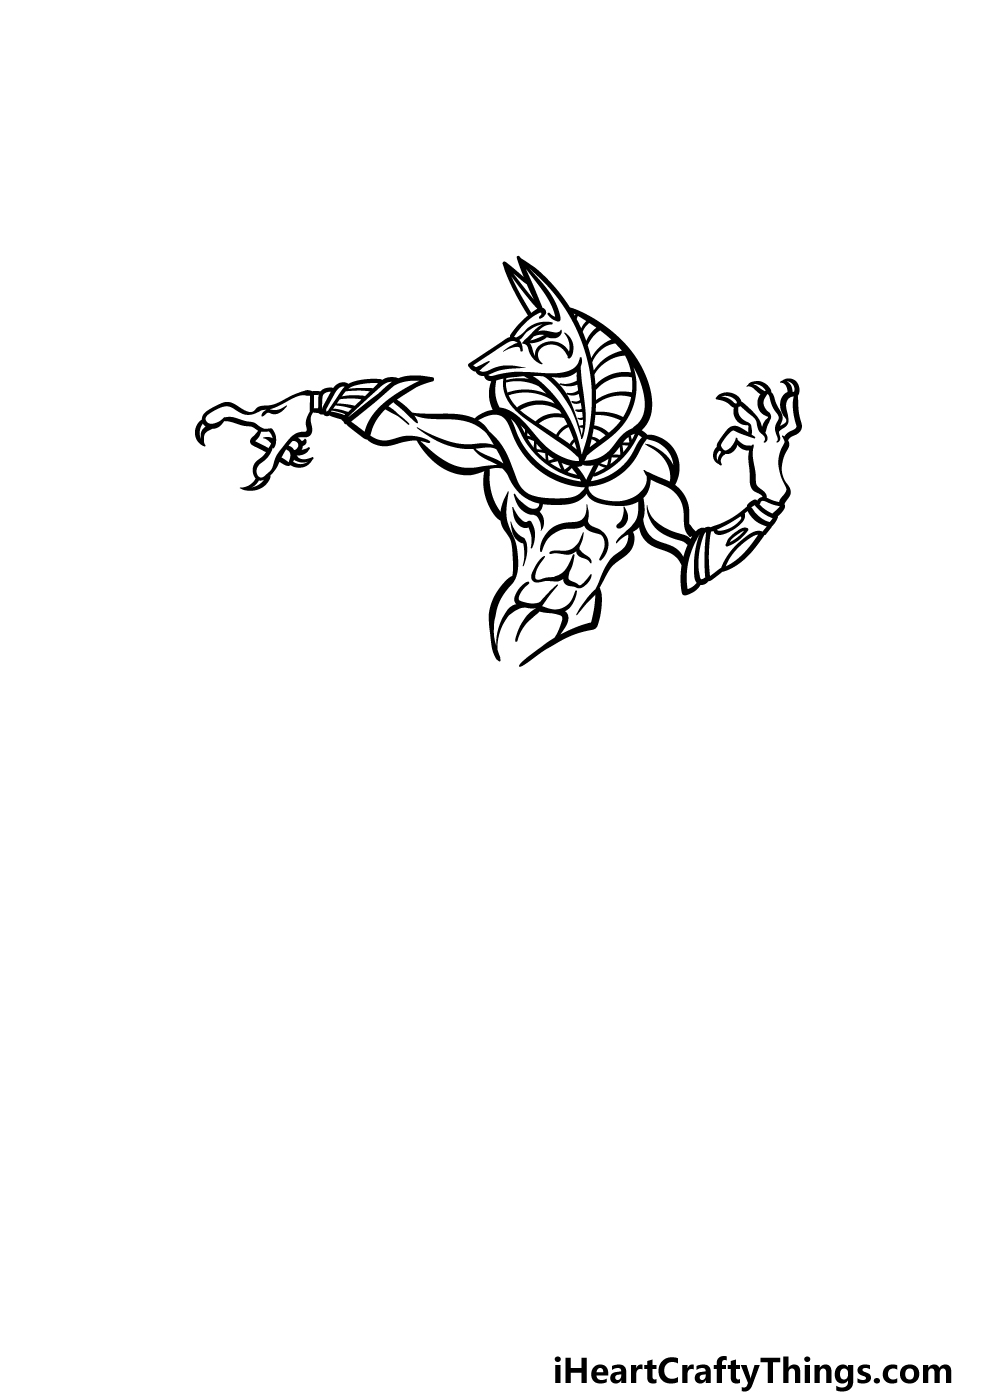
You started the arms in the previous step of this guide on how to draw Anubis, and in this step we will finish them off along with some more details.
Extend his arms with some more short curved lines, and then we will be drawing the bracelets he is wearing. The bracelets will be quite large and detailed, and they extend outward into a sharp point, as shown in our reference image.
Then you can draw his hands using some curved lines, and his fingers will be quite long and angular with sharp nails at the ends of them.
Once you have finished the arms, we will then extend his chest and stomach further down. Also, draw lots of curved lines inside of this area to create the muscles for them.
Step 4 – Now, draw some more clothing for Anubis
For the design of this Anubis drawing, he is seen wearing an elaborately designed skirt piece.
That is what we will be drawing in this step, and you can start by drawing the symbol that serves as a bit of a buckle for him. This will be connected to some straps that you can draw with some diagonal curved lines.
Then, we will be drawing a long, thin detailed cloth piece dropping down from the symbol.
Finish off this piece by using some curved lines for the sides of his skirt, and then you will be ready for the final details in the next part.
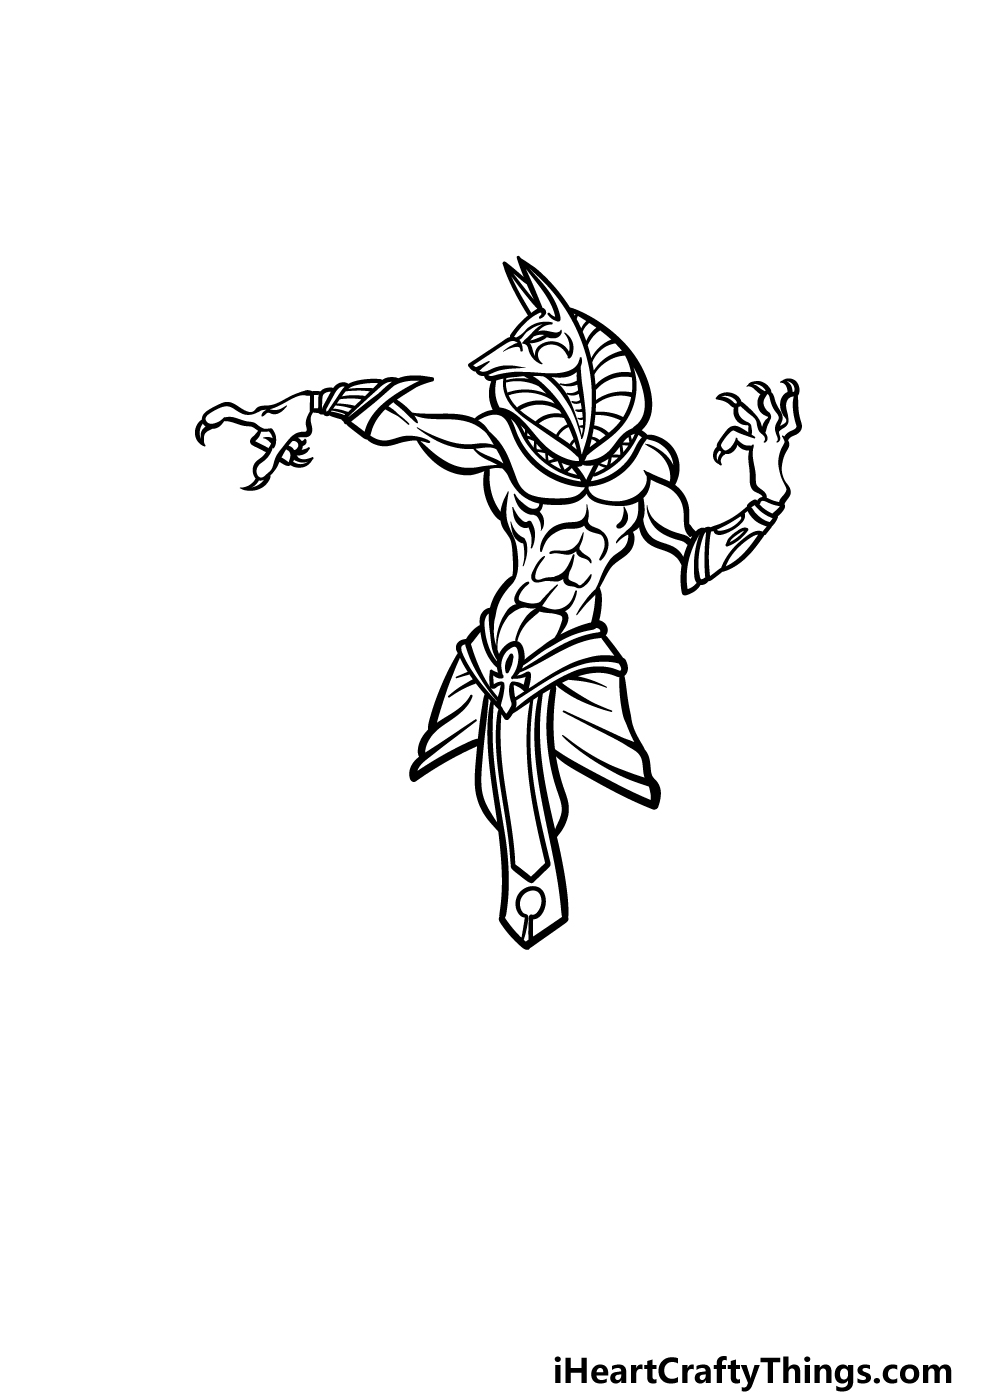
Step 5 – Add some final details to your Anubis drawing
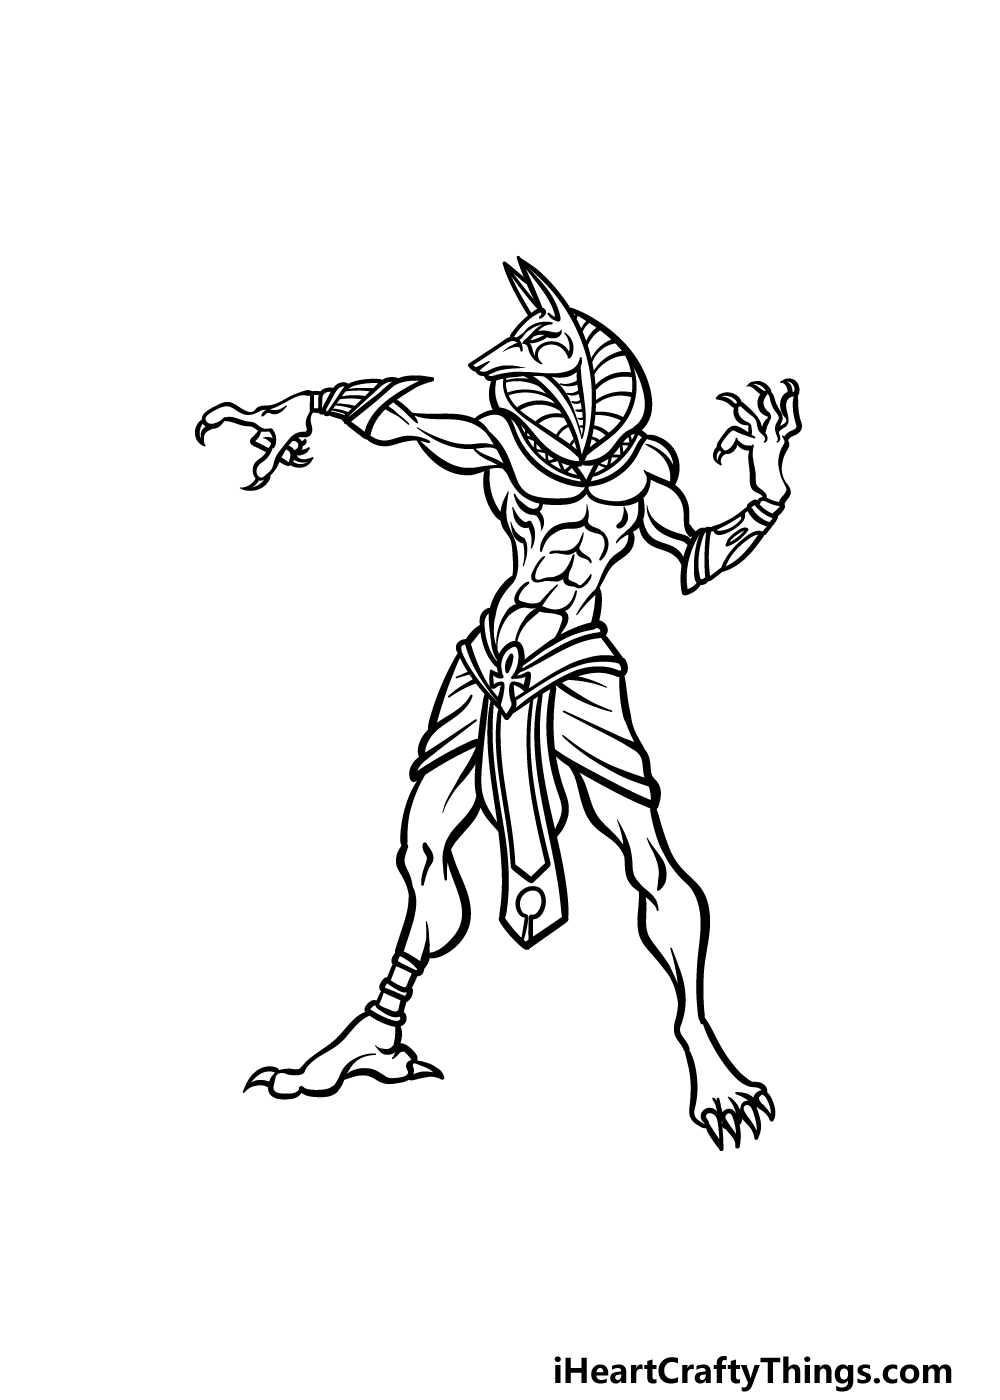
Before you color this god in, we must first finish off the final details in this step of our guide on how to draw Anubis.
The final part to draw will be his legs. Much like the other parts of his body, these will be quite thin and muscular, and they can be drawn with some long, rounded lines.
Much like his hands, his feet will have some long toes with sharp nails at the ends of them. Once you have drawn these legs, you’re ready for the final step!
Before you go to that final step, be sure to add any extra details or background elements that you may like for your drawing.
Step 6 – Finish off your Anubis drawing with some color
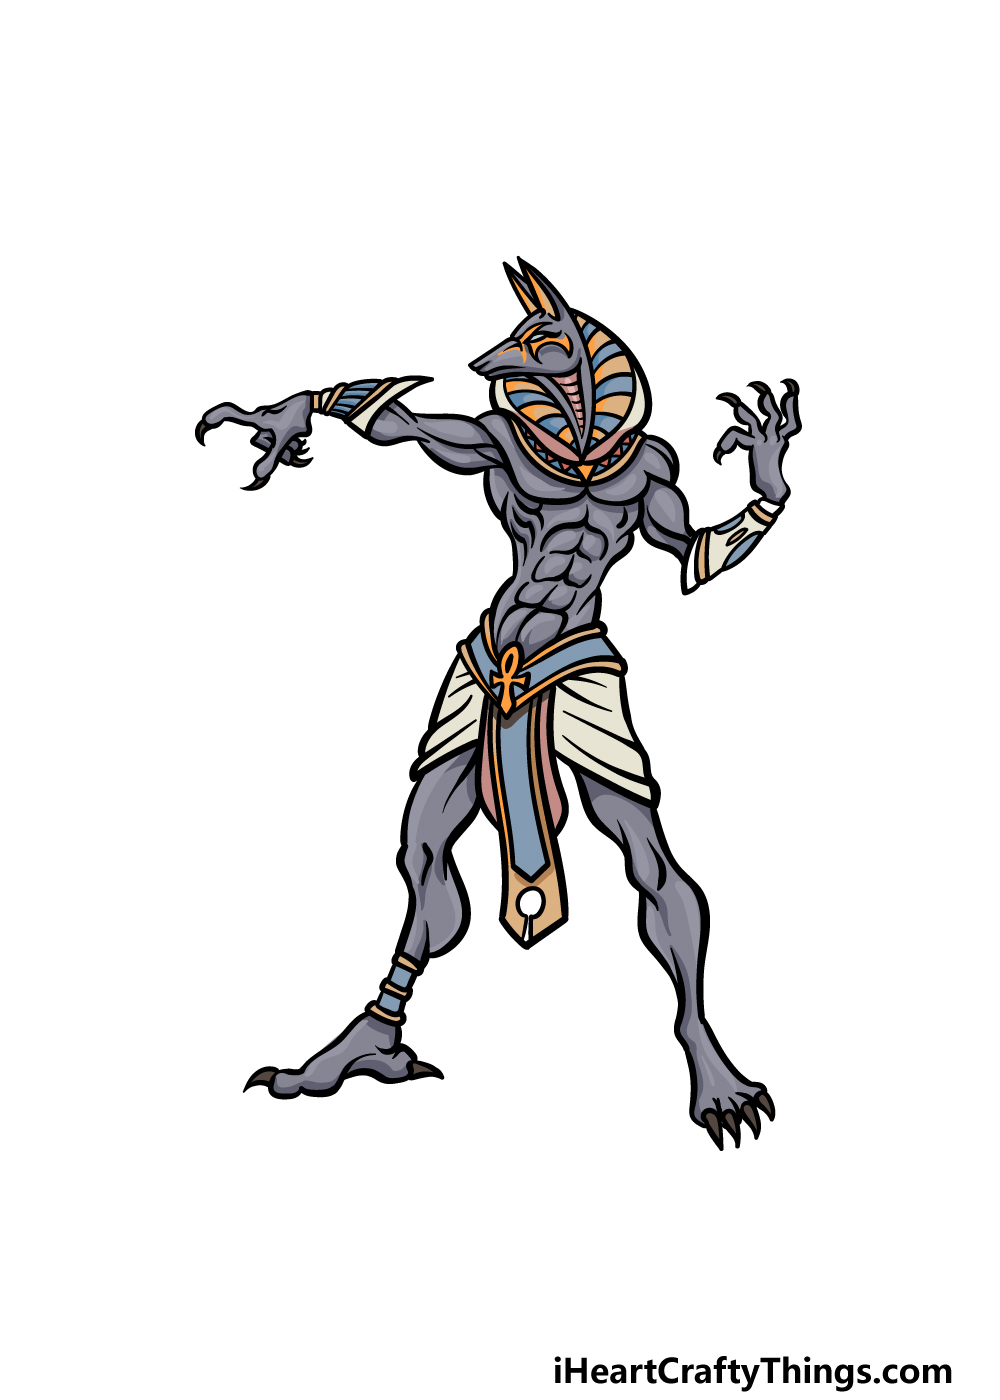
We shall now finish off your Anubis drawing by adding some colors to it. Anubis has many different visual interpretations, so you have a lot of freedom with how you can color him in.
We kept the color palette rather muted for our example image. That means that we used dark greys for his body, and then we used some dark yellows and blues for his clothing and head.
These are the colors that we used, so while you can use similar ones if you like them, you should also feel free to use any colors you like for the picture.
Which colors and art mediums will you use to finish off this god of the dead?
4 More Ways To Make Your Anubis Drawing Unique
Make this fascinating Egyptian god look even better with these tips for your Anubis sketch!
This drawing of Anubis looks like it is performing some kind of move or a spell. You could highlight this aspect by drawing some magical effects around him.
These could also be added with some light paint effects. As the god of the dead, we would use some darker shades of blue, green or black to make these effects more mysterious.
That’s what we would do, but how would you like to create some magical effects around Anubis?
The pose that Anubis is in also makes it look like he could be issuing a command or saying a spell. You could represent this by adding some text in a speech bubble.
There are a few approaches you could take for this. For one, you could draw some regular text inside of the bubble.
Or, you could make it more authentic by adding some hieroglyphics inside the bubble instead. What do you think Anubis could be saying in this image?
Anubis is one of many Egyptian gods, and you could add some more to this Anubis drawing. There would be so many to choose from, and you may already have a few in mind.
If not, you could get some inspiration by looking up some of the famous Egyptian gods. You could even use gods from other mythologies for a fun twist!
Which of your favorites could you include here?
Finally, it would be great to add a background to this Anubis sketch you have created. This could be a cool battle scene or maybe a view of the underworld.
Those are just two of the options you could use, but there are many more.
Another fun idea would be to adapt the style of the drawing to make it look like Anubis is a drawing on a wall with other hieroglyphs.
Can you think of some other cool ideas and scenarios that you could use as a background setting?
Your Anubis Drawing is Complete!
You have completed all six steps of this guide on how to draw Anubis, and we hope that you are very proud of the picture that you have ended up with!
This was quite a detailed drawing, so we tried to make it easier for you to tackle by breaking it down into smaller steps for you to follow.
Don’t be shy about adding your own details, color choices or art mediums! This is your drawing, so this is your turn to show off your creativity.
Finishing this guide is just the beginning, as we have many more for you to enjoy on our website! Be sure to keep checking in, as we have many more coming soon.
Please also make sure that you share your Anubis drawing on our Facebook and Pinterest pages. We would love to see your brilliant artwork!