The Celtic knot is one of the most complex and intricate patterns in history.
These winding and complicated designs have been found in all manner of ancient texts, architecture and other relics from the past, and they remain popular to this day.
Fans of Celtic knots that try to sit down and draw them can find that their complexity can make it difficult to learn how to draw a Celtic knot.
Luckily, it doesn’t have to be that difficult when you break it down, and that’s what this guide is for!
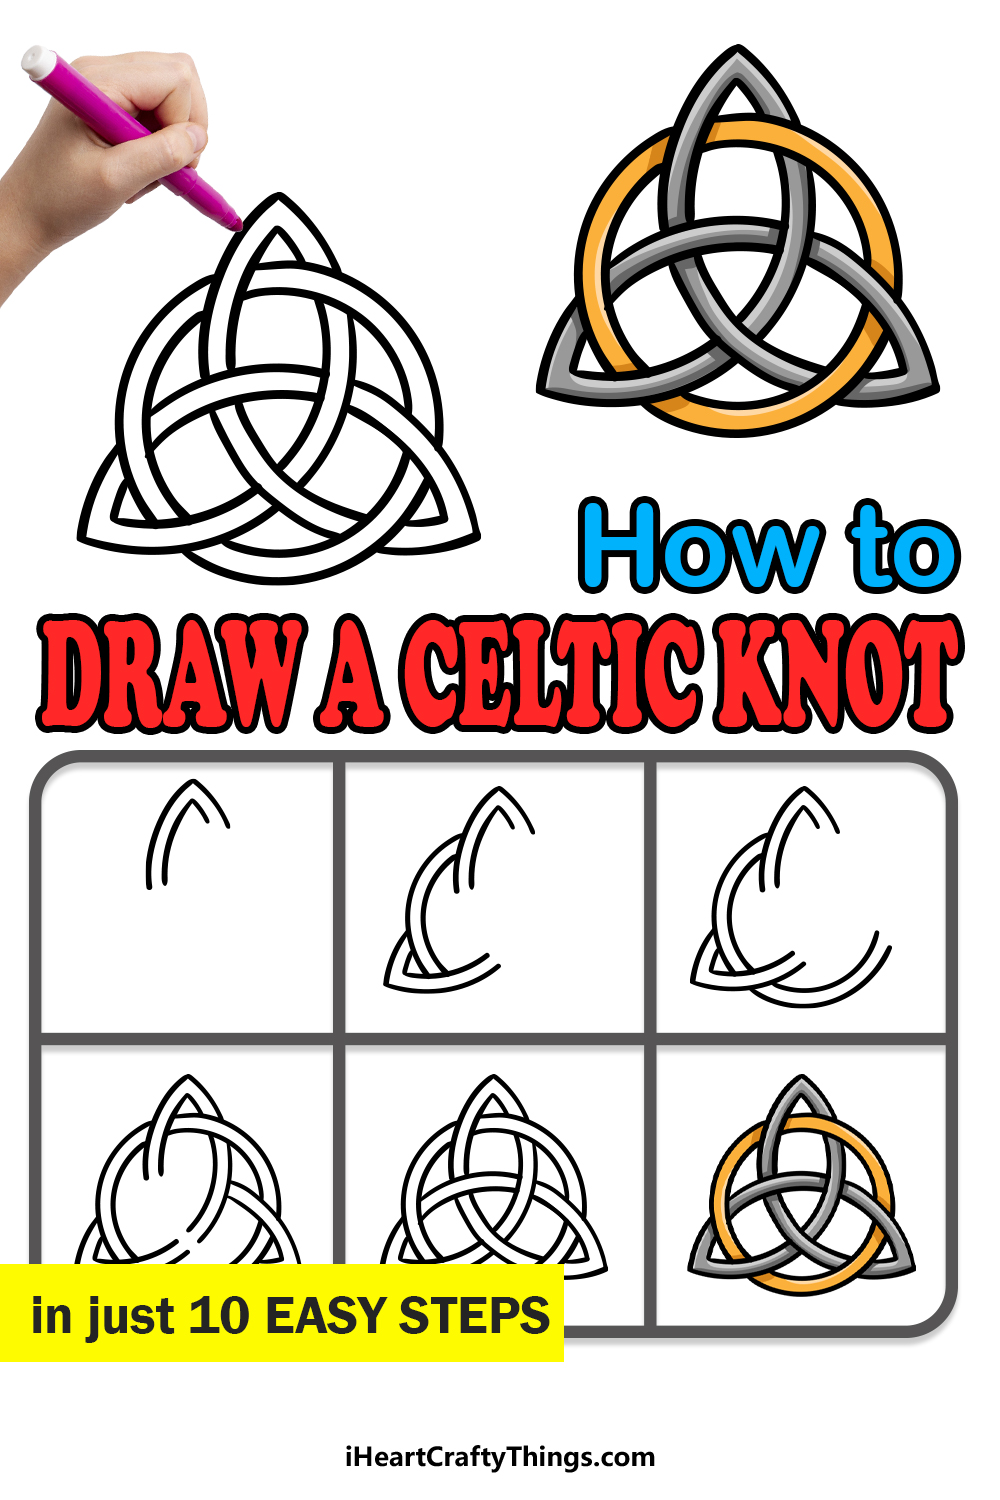
Our step-by-step guide on how to draw a Celtic knot in just 10 steps will show you how it’s done!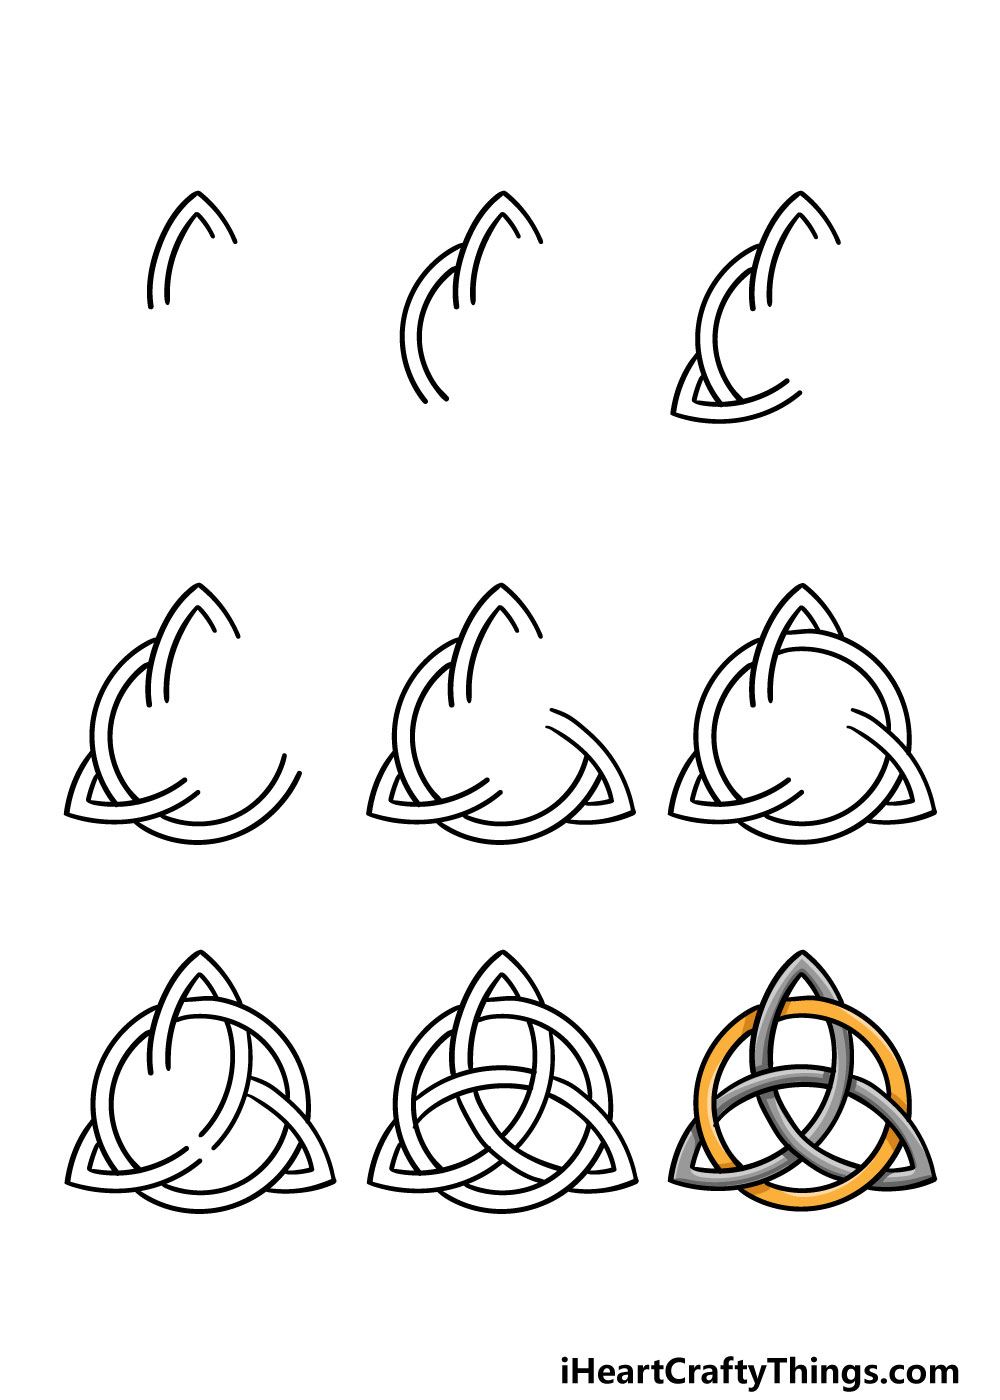
How to Draw a Celtic knot – Let’s get Started!
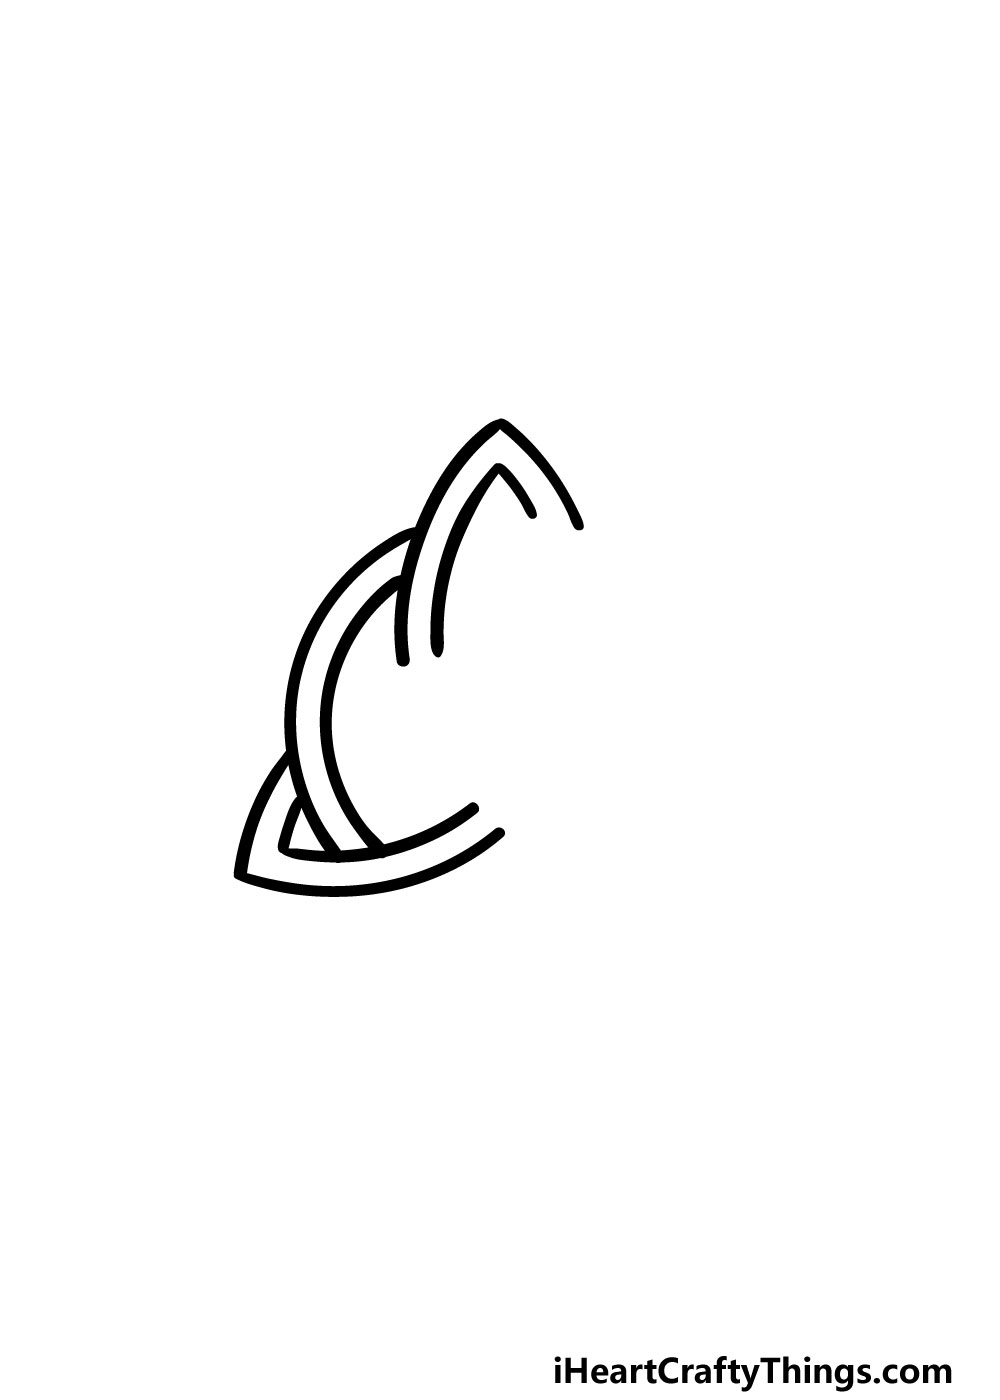
Step 1
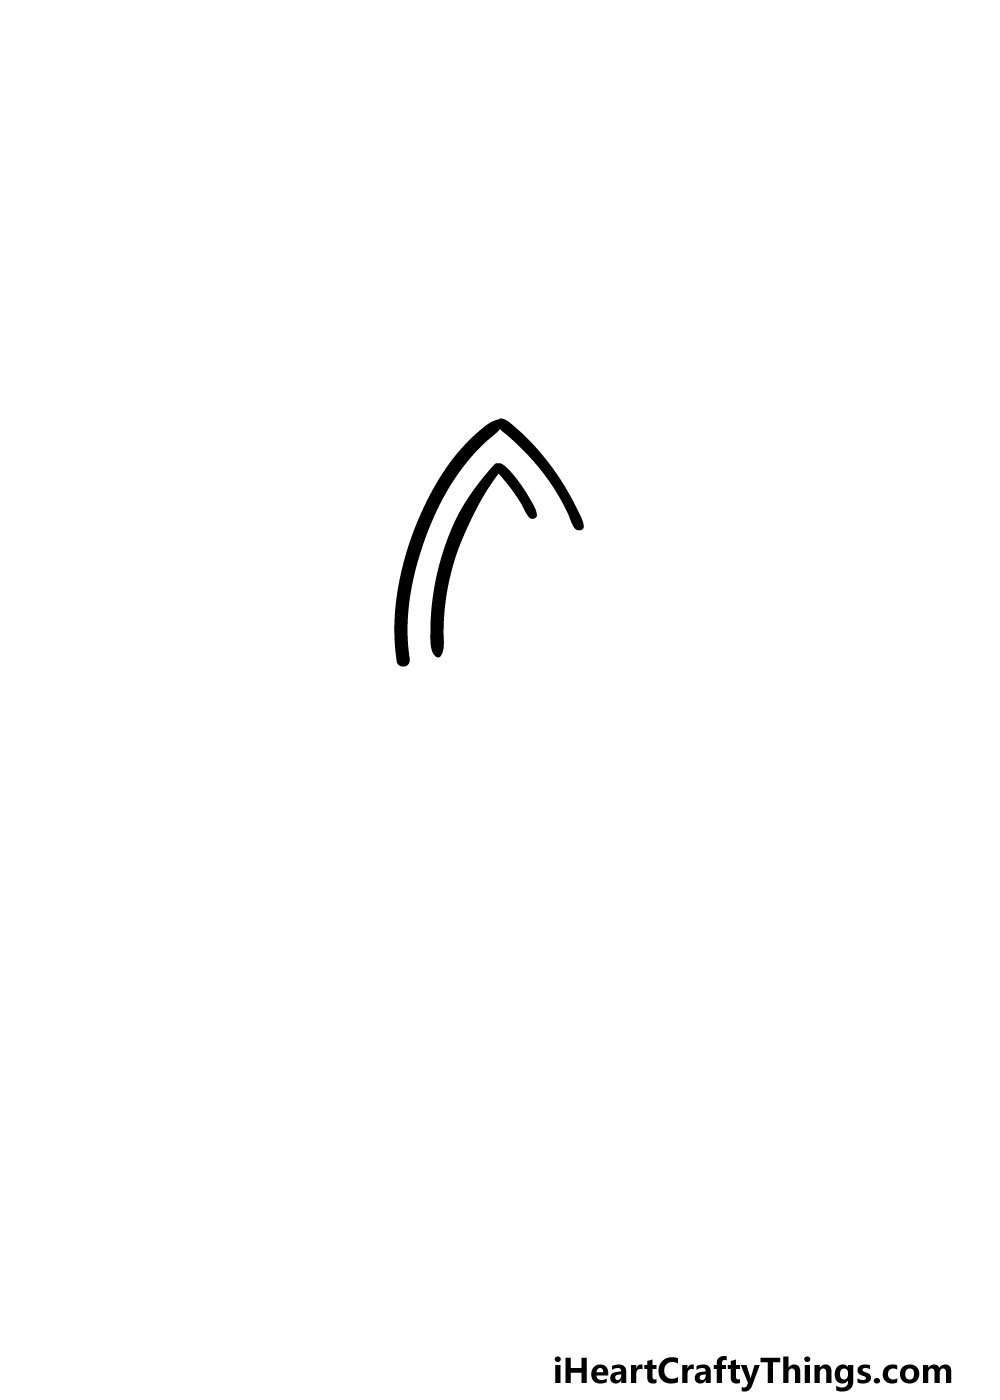
We mentioned that when learning how to draw a Celtic knot you’ll want to make sure that you break it down into smaller steps.
That is what we will be starting with in this guide, as we will be drawing one section of the knot. As you draw, try to think of it as threads looping together.
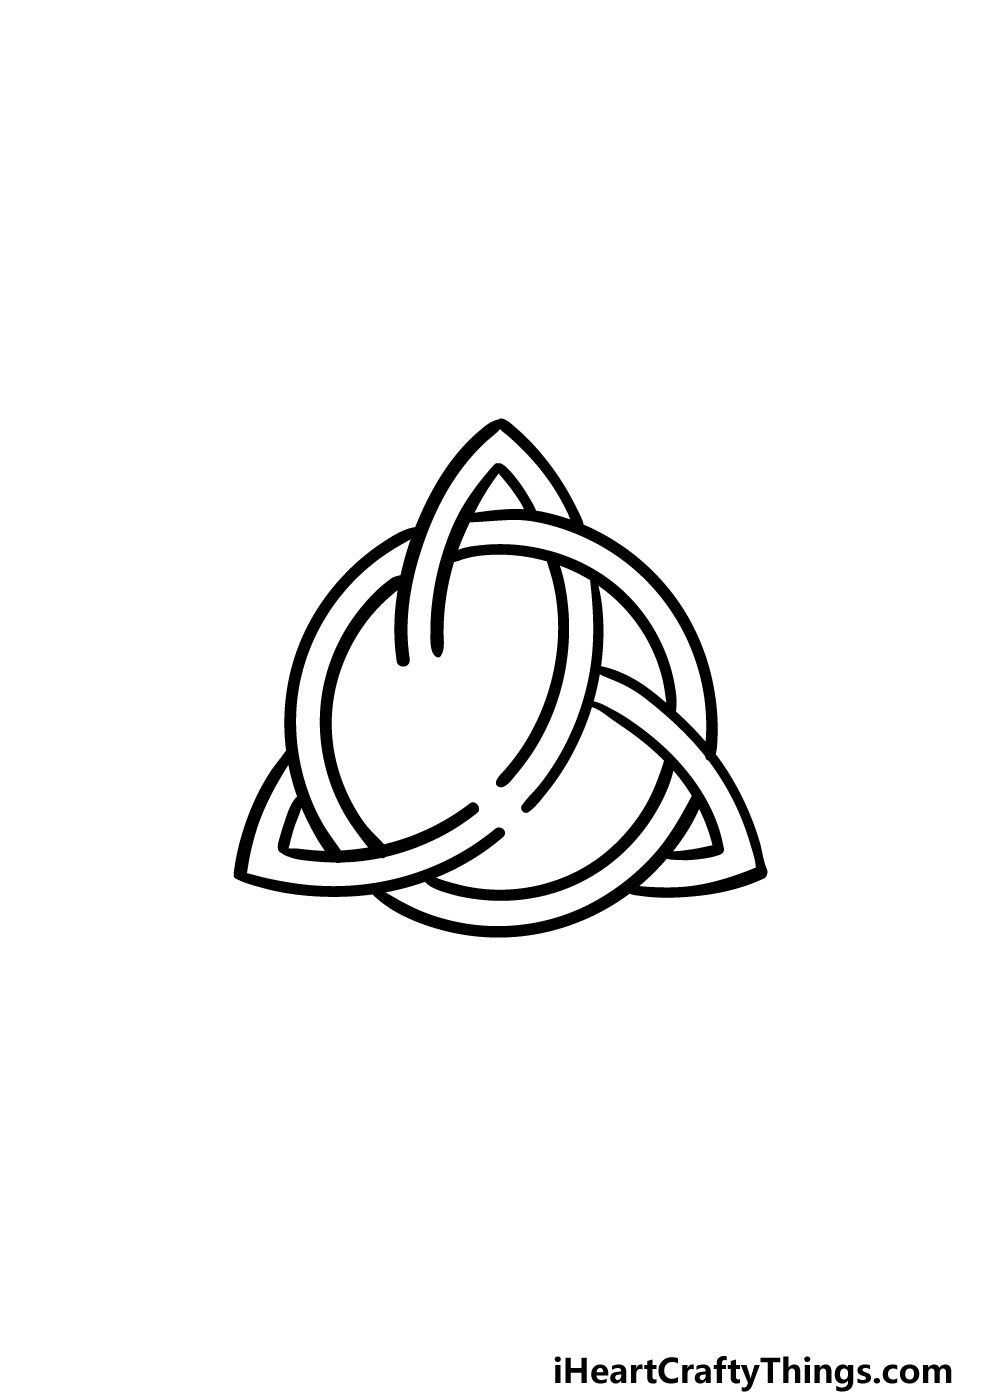
For this first thread, you will be drawing two curved lines that meet at a sharp point. As seen in the reference image, this will form what looks like a sharp arch shape.
Step 2 – Continue adding to the knot
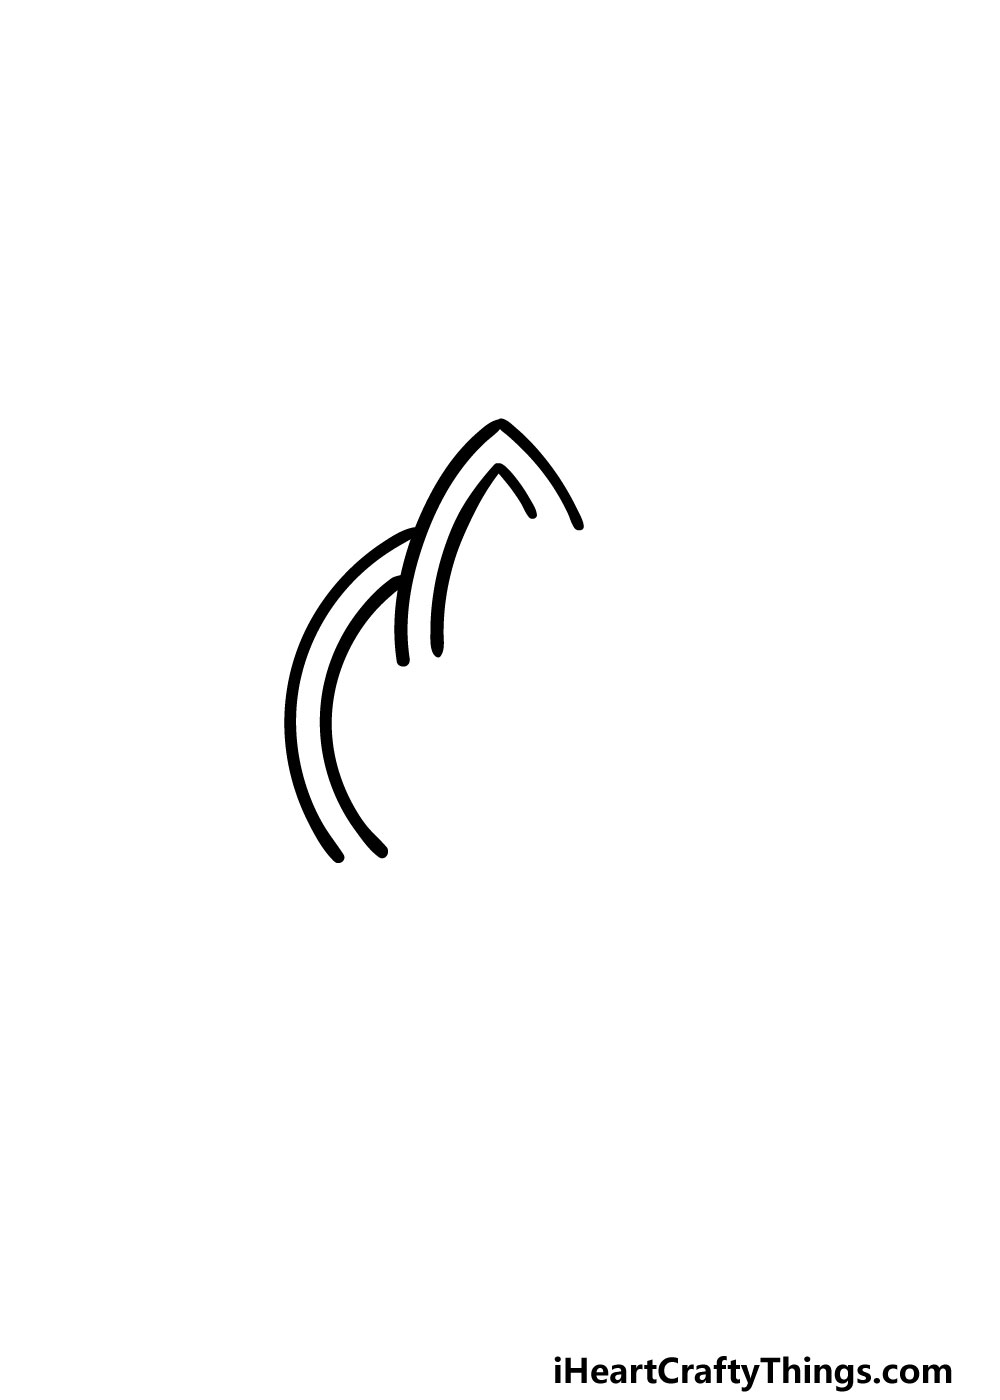
This second step of your Celtic knot drawing will have you drawing more of those threads for the knot.
These lines should be quite simple to do, as all you will need is to draw some curved lines coming down from the ‘arch’ that you drew in the previous step.
That’s all there is to it for now so it’s time for the next step!
Step 3 – Next, draw in the top of the left wing
For the next step of our guide on how to draw a Celtic knot, we will be adding another arch similar to the one from step 1.
This arch will be going at more of a diagonal than that one was. Once that’s done, we can continue building on the knot as we proceed.
Step 4 – Now, continue the thread from step 2
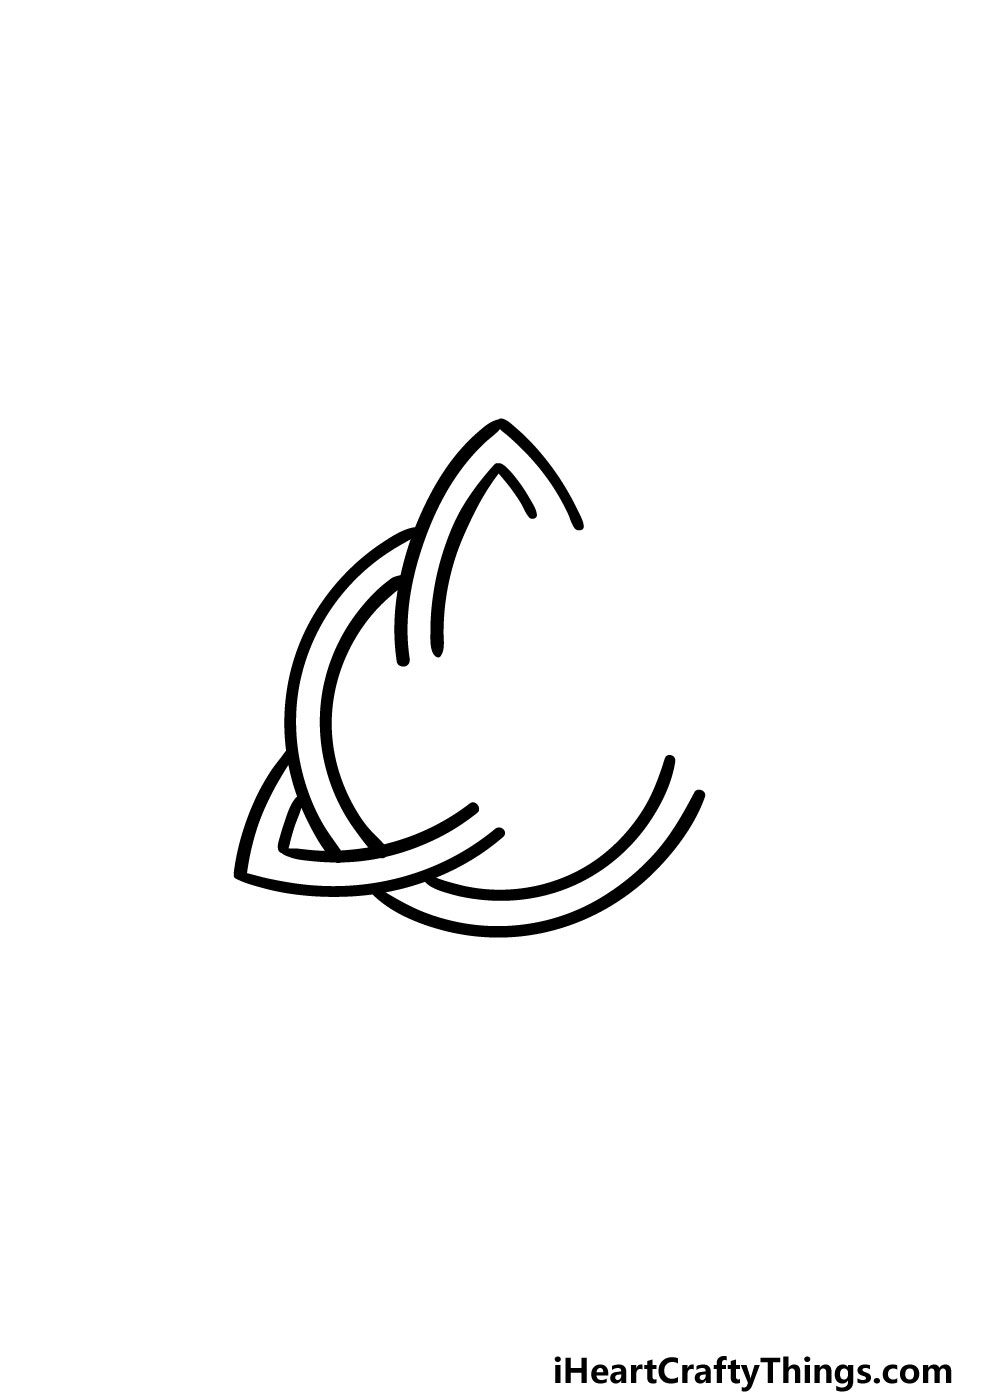
In this next step of your Celtic knot drawing, you will be extending the threads that you began back in step 2 of the guide.
To do this, simply extend some more curved lines in a way that makes it look like they’re connected to the ones from that step.
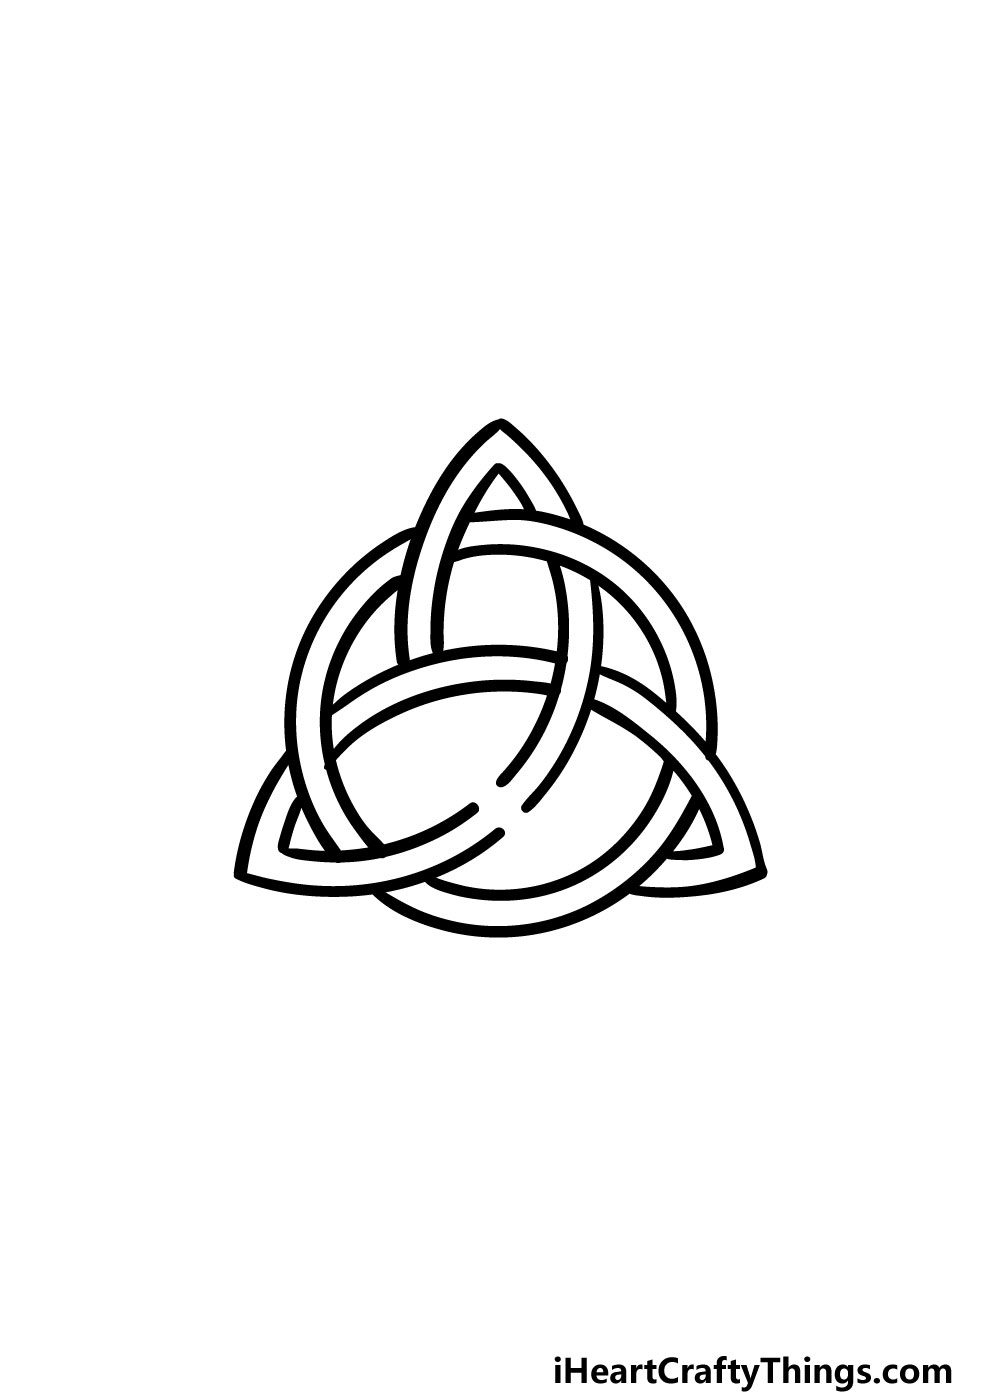
Step 5 – Next you will be drawing another arch
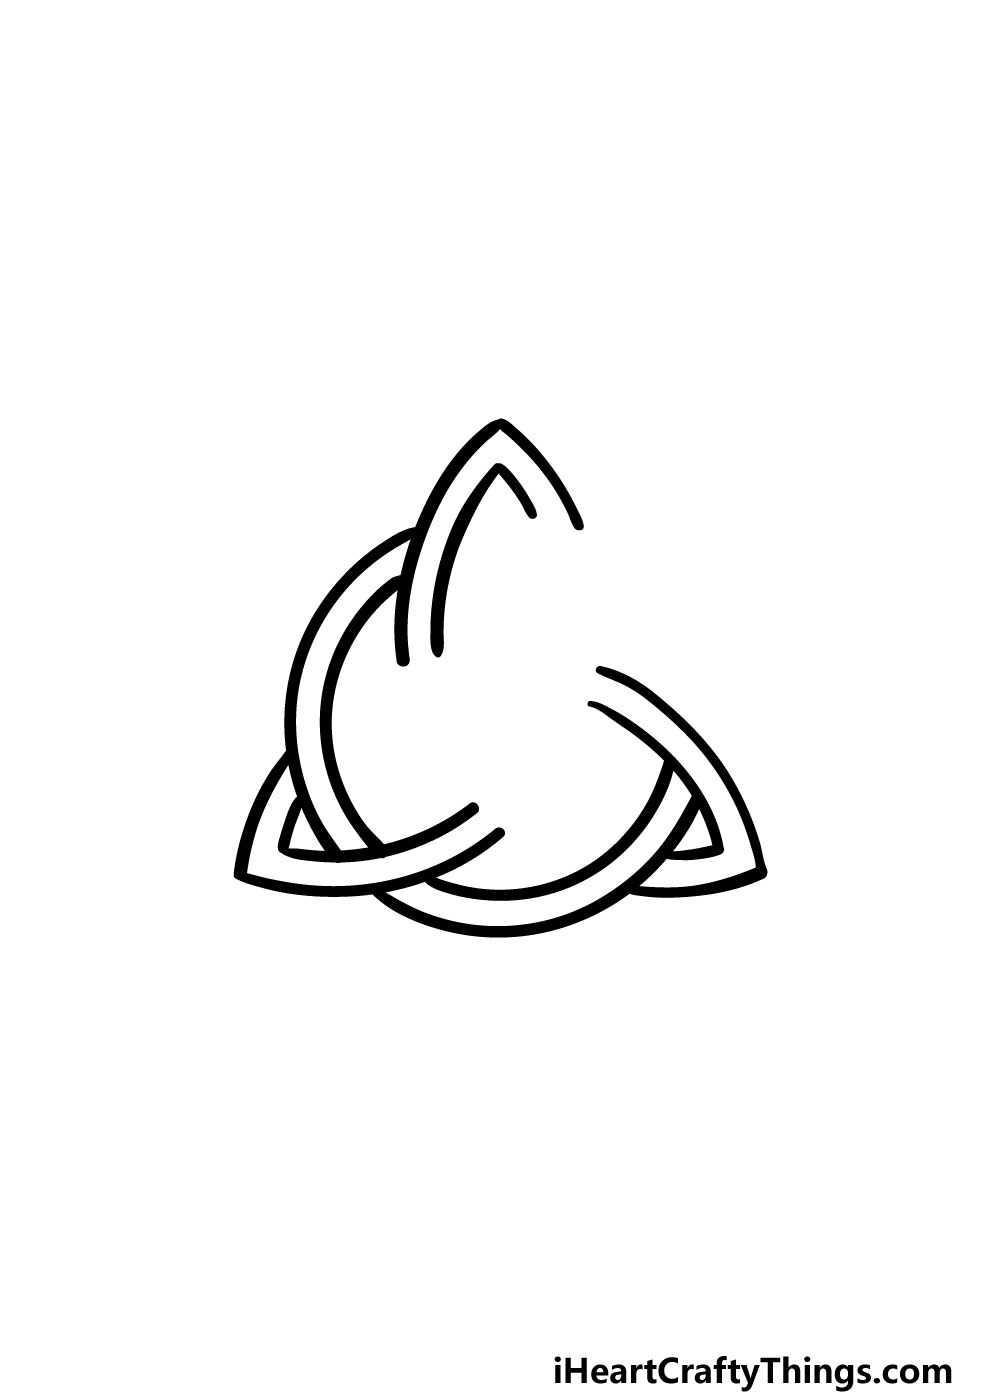
You’ve drawn a few arch shapes in this guide on how to draw a Celtic knot so far, so you should have no issues drawing another for this step.
This one will also be going diagonally at the side on the right, much like the one from step 3. If any of this sounds confusing then referring to the reference image should make it much clearer!
Step 6 – Finish off the inner circle of the shape
By this step of your Celtic knot drawing, you’ve probably noticed that you are drawing a circular shape within the knot.
That circular shape is what we will be finishing off in this part. With that circular shape drawn, all that will remain will be to add some more to the lines that make up the interior of the knot.
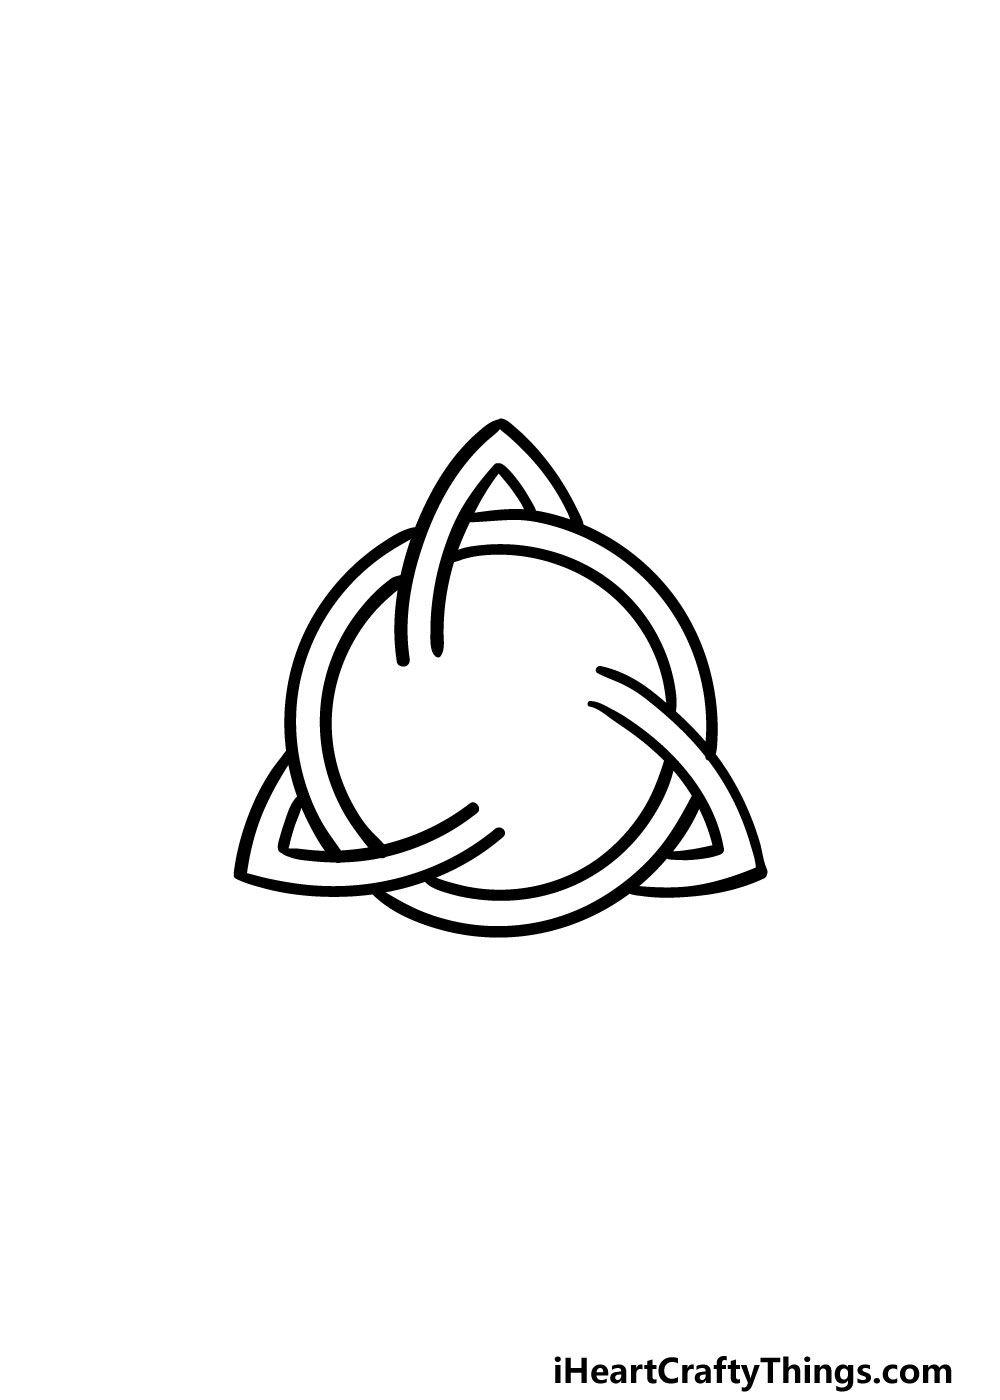
Step 7 – Now draw some lines for the interior of the knot
The next few steps of this guide on how to draw a Celtic knot will be focused on finishing off the threads on the interior of the knot.
For this part, simply draw some curved lines in the interior that look like they would connect to the arch that is at the top of the knot.
Step 8 – Connect more of the lines
We will be connecting even more of the threads of your Celtic knot drawing in these final few steps.
These curved lines you’re adding here will connect the thread that runs horizontally across the knot, as shown in the image.
Step 9 – Finish off the final threads
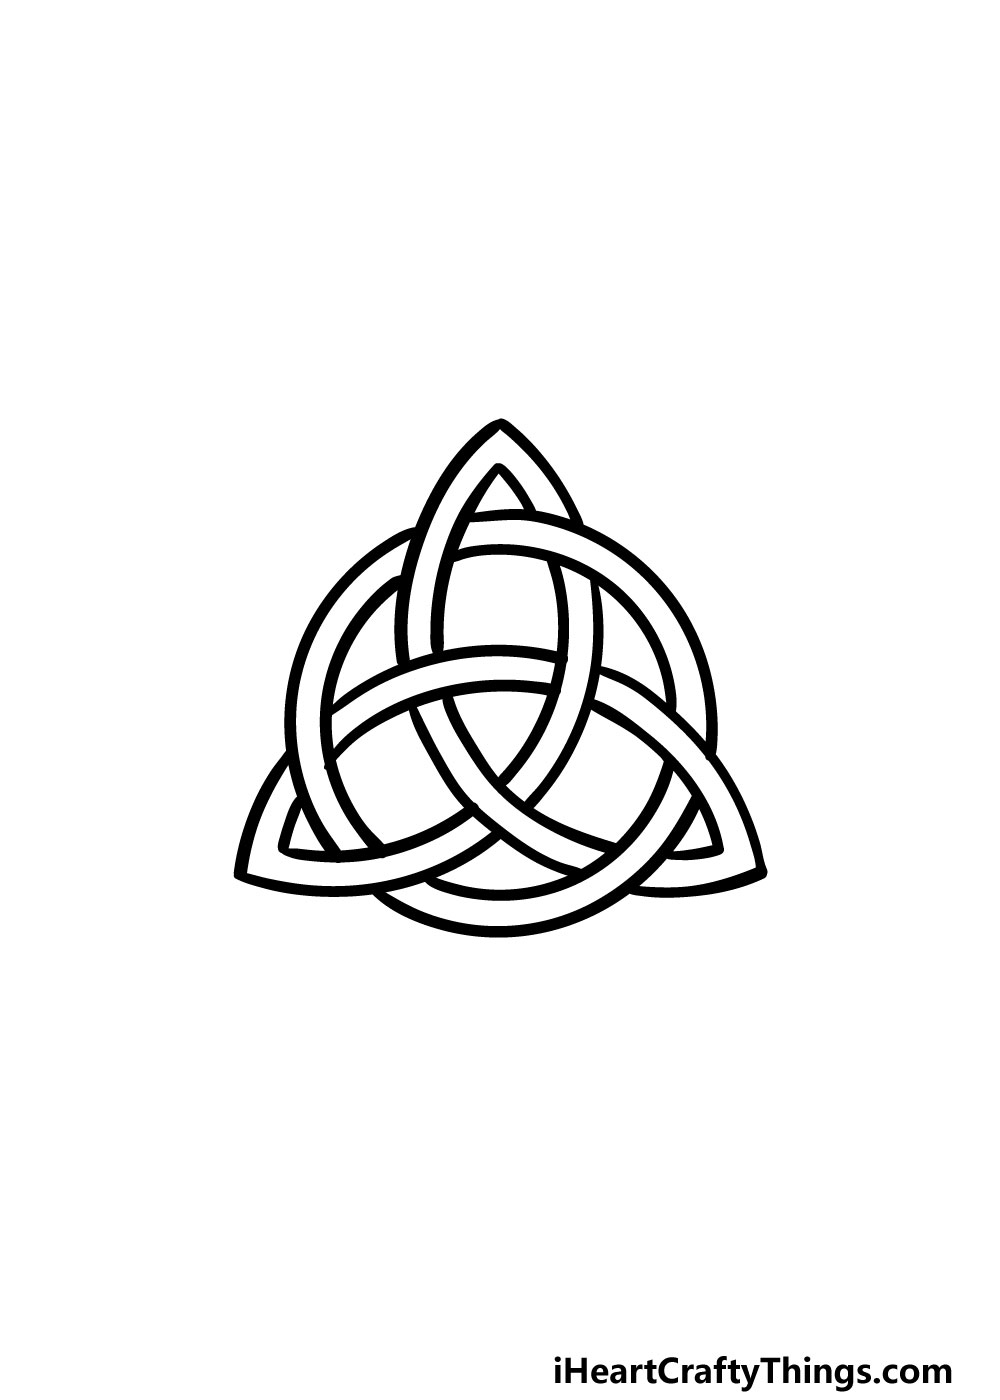
It’s almost time to color in your picture, but we have a few final steps to add in this step of our guide on how to draw a Celtic knot.
All you need to do for this step is add some more curved lines to connect the final thread running vertically inside the knot.
With that, your Celtic knot drawing will be complete and you’ll be ready for the final step.
Step 10 – Now finish off your Celtic knot drawing with some color
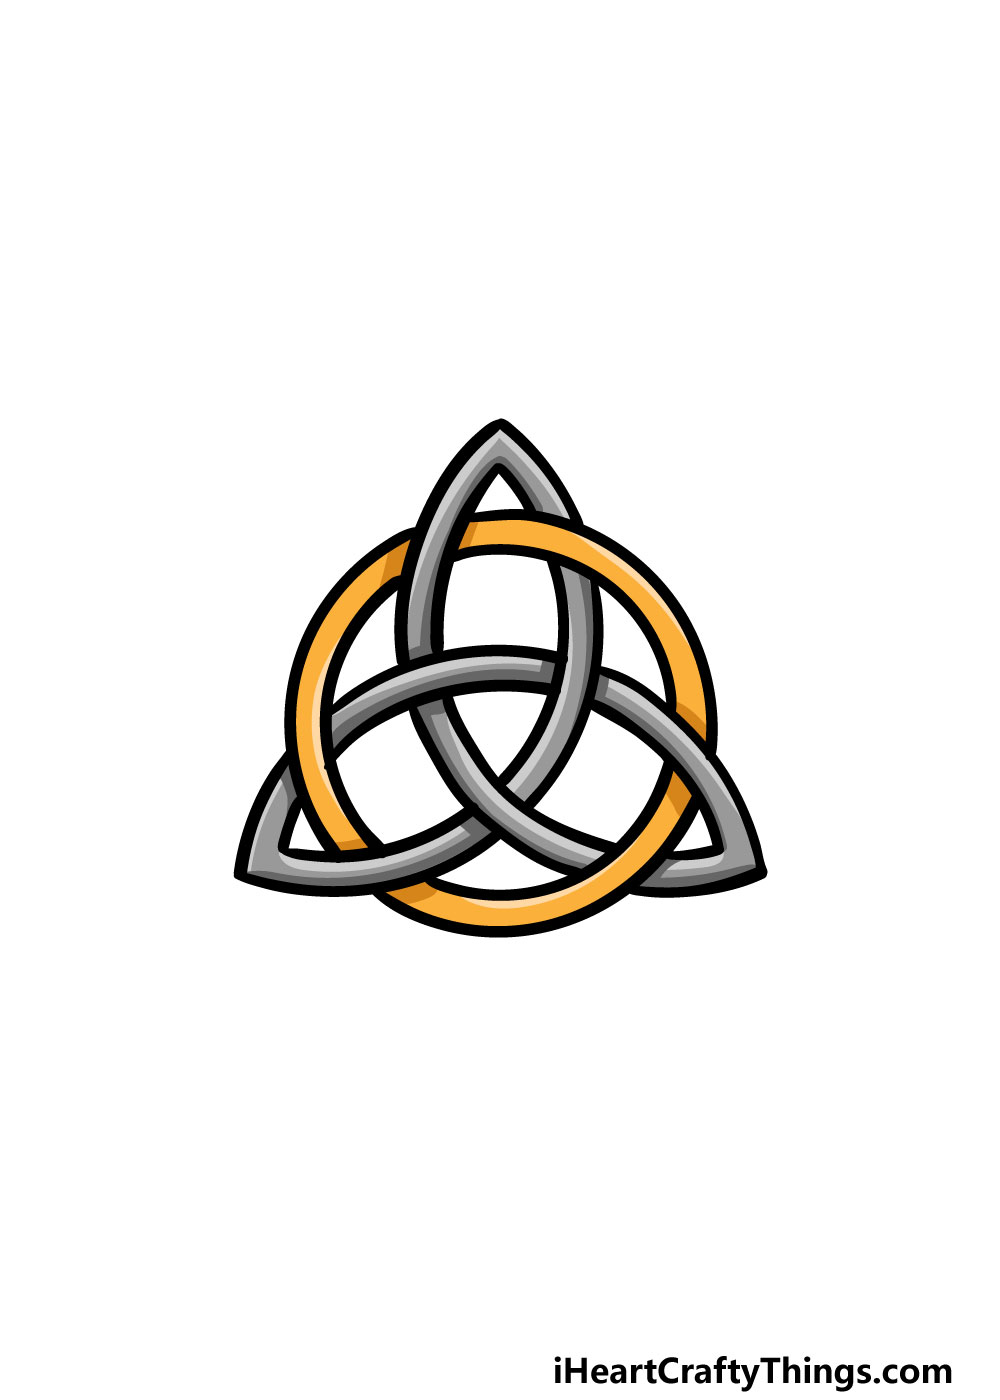
This final step of your Celtic knot drawing is the one where you get to have some fun adding some beautiful colors!
In our reference image, we used some yellow and grey for the knot, but you should definitely go for any colors that you may love for this drawing.
You can also help to bring these colors to life by choosing your art mediums wisely.
This is definitely a step where you get to take over and show us just how creative you can be. We can’t wait to see how you bring this picture to life!
Do this to take your Celtic knot drawing to the next level
Make this Celtic knot sketch look even more incredible with these fun tips to try out!
For this drawing of a Celtic knot, we kept the design fairly contained in order to make sure it would not be too intimidating. Now that you have completed it, you could make it larger!
This could be quite a challenge, but try to take what you have learned in this guide in order to keep the design going. Once you establish a pattern, you can make it as large as you can on your page.
You could even try out completely unique designs when you have the hang of it.
We used some grey and yellow for this Celtic knot, but when you have finished your design, you could add all sorts of different colors. These colors could be as bright or as subdued as you wish!
There are no wrong ways to color it in, so you should use colors that really appeal to or mean something to you. What are some colors you think would suit this Celtic knot?
Another approach you could take with this Celtic knot drawing would be to make it look like it is etched into a material. To do this, you could start by looking up instances of Celtic knots used in real life.
Then, you could make it look like the Celtic knot is etched into stone, wood or any other materials. This is a great way to make the Celtic knot look like it exists in real life!
When your Celtic knot sketch is complete, you will have a lot of empty space in the background. There are quite a few ways that you could fill in this empty space.
One would be to use some solid colors or textured background. Another option would be to use some runes and other Celtic symbols to fill the background.
You could look up some real examples of these to make it more authentic and beautiful as well!
Your Celtic Knot Drawing is Complete!
With the final details and colors added, you have finished this guide on how to draw a Celtic knot!
These elaborate designs can be quite tricky to draw, so we hope that this guide helped to make it not only much easier but also more fun for you to do.
Breaking a drawing down into smaller and more manageable steps is always the best way to make it easier to do!
Now that you have mastered this guide, you can take it even further with your own details and elements.
You could do this by extending the design of the knot by adding your own lines and designs. Finishing it off with your favorite colors and art mediums will also look great!
Once you’re ready for your next drawing challenge, we look forward to seeing you on our website! We have tons of guides for you there and we upload new ones frequently.
When your Celtic knot drawing is complete, we would love to see it! You can share your artwork on our Facebook and Pinterest pages for us to enjoy.