


There are thousands of different fish species inhabiting our seas, rivers and other bodies of water around the world.
Each of these fish are unique in their own way, and they come in all manner of shapes and sizes.
Some fish are certainly more unique looking than others, and that is the case with the catfish. This unique fish has a really distinctive look that makes it stand out from other fish.
Because of this, catfish have starred in many different artworks, and they’re even featured in various spiritual beliefs and practices.
Basically, there are many reasons that one would have to learn how to draw a catfish.
It can be very tricky though, mostly due to how unique these fish are. It makes them stand out, but it also makes them harder to draw.
In this guide, we will take you through 6 steps on how to create your own catfish drawing.
We will show you how to draw the finer details, color your drawing and even add some additional details and ideas.
All this and more is coming up in this guide, so get ready for some tranquil drawing fun as we show you how to recreate this famous fish in your own artwork.
How to Draw A Catfish – Let’s Get Started!
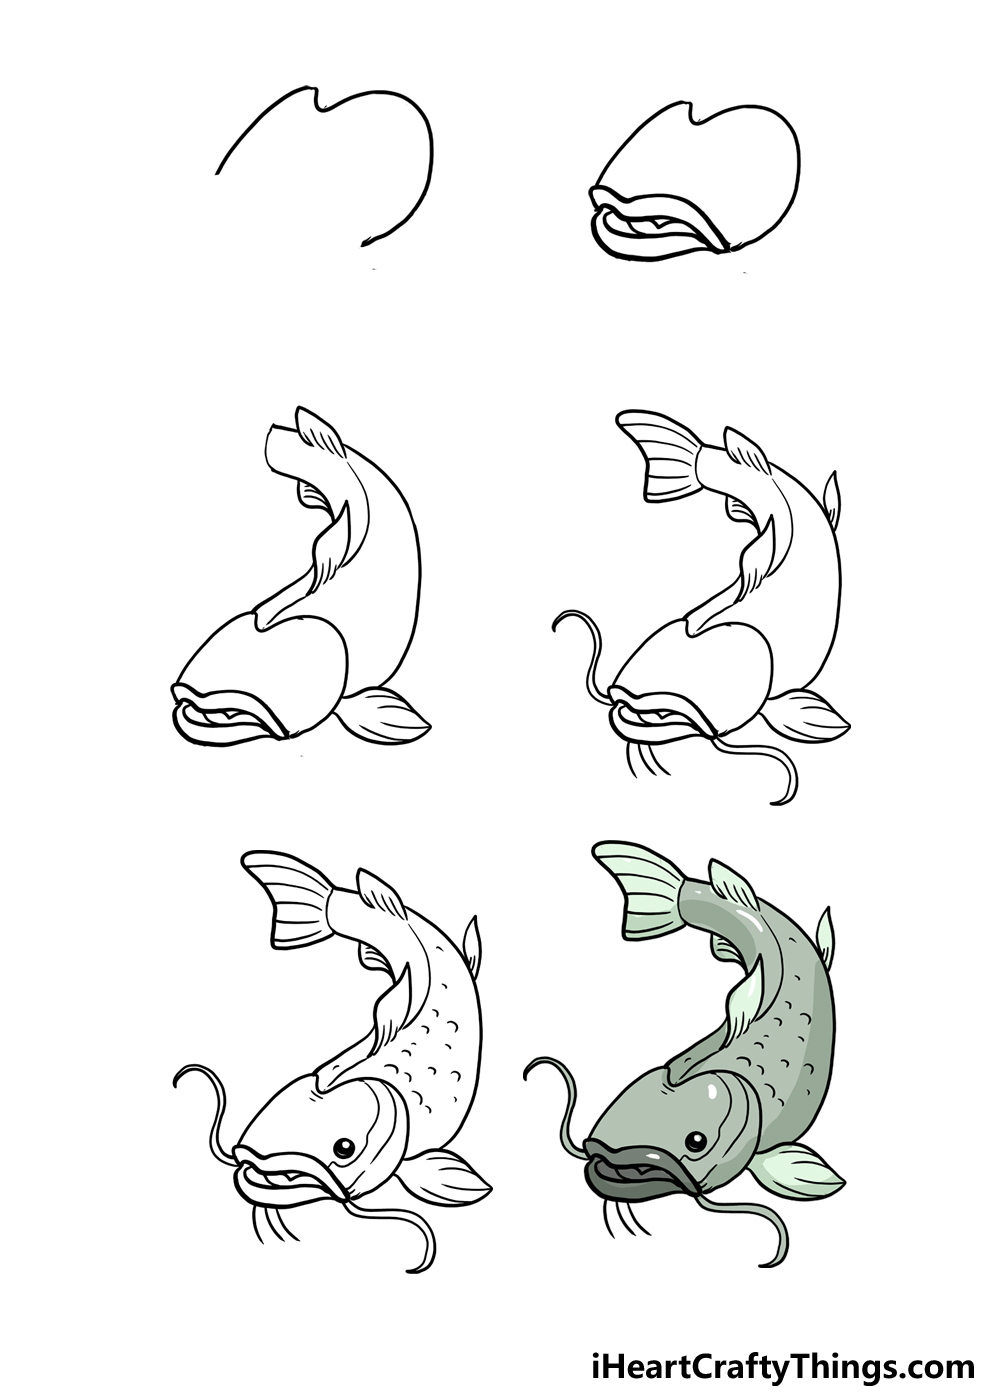
Step 1

In this guide, we won’t be creating just a simple portrayal of a catfish. Instead, it will be in a rather dynamic pose.
Because of this, you may want to use a light pencil and draw some rough shapes and lines to prepare.
You could start by drawing a wavy line that will map out the pose of the fish’s body. Once you have drawn that, you could then draw a very rough version of the catfish.
This could be done with very basic shapes and details, it by no means has to match the final version of the drawing.
Doing this planning can help you as you start to add more precise details and elements.
Then, we can start drawing the head of this catfish. As you will see in the later images of the guide, the head section of the catfish is its own separate section.
It’s got a very distinctive shape, and it’s one element that helps to give the catfish its unique look. The line for this section of the fish is very specific, so be sure to closely look at the reference image.
The line curves up, then dips inward only to rise and then drop again. You will notice that there is a large gap at the base of this head shape.
That will be where the lips of this catfish will go, but we will add that in the next step, so let’s move on when you’re ready.
Step 2: Draw the lips for this catfish

Another distinctive feature of a catfish is its large lips. It may seem like a simple detail to add, but this could actually prove to be rather tricky.
The lips have a very distinctive shape, and if it’s not drawn right then it will give this catfish a weird look. As mentioned previously, the lips will fill that space we left at the base of the head shape.
Once again, you may wish to use a pencil to plan out these lips before you commit to drawing with a pen or a darker pencil. In the reference image, you will see that each lip is its own separate shape.
We shall draw the top lip first, and it is drawn with a wavy line. More specifically, it is drawn with two wavy lines running parallel to one another.
It should result in what looks like a stretched-out M shape. This top lip should completely fill the space left at the base of the head.
Then, we can add the bottom lip. This lip will have a very different shape to the first one.
While that first lip had a wavier shape, this will be a smoother curve. There is a very slight waviness to it, but it’s much smoother.
Once you have drawn this bottom lip, add a few small details inside the mouth opening to show the tongue of the catfish. Then, we can move on to step 3 of the guide where we will add the body of the catfish.
Step 3: Add the body outline for this catfish
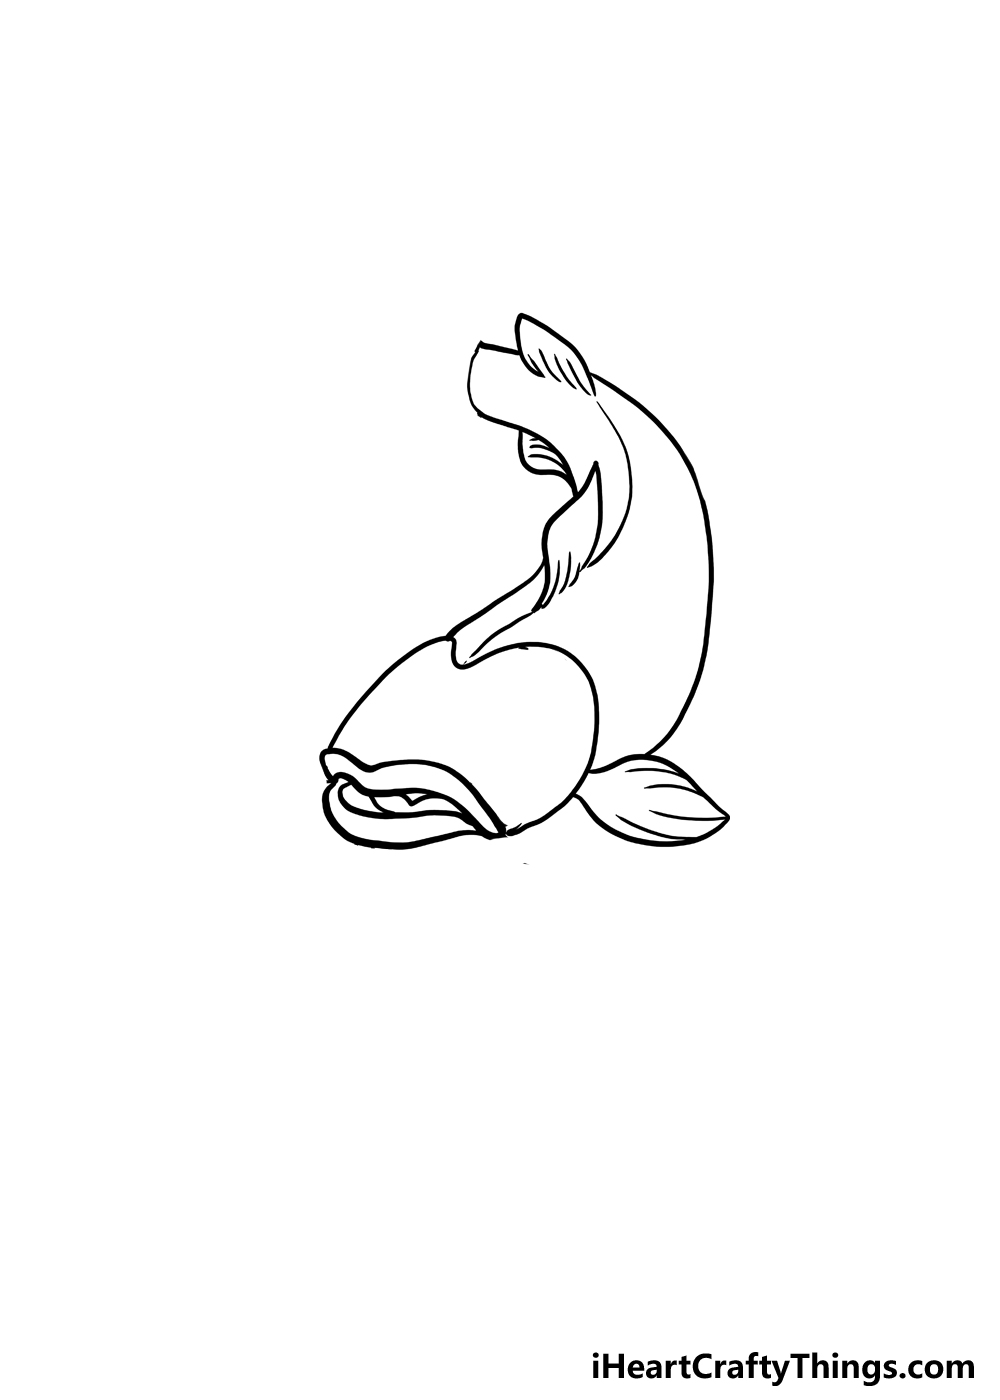
We will be adding quite a lot in this next step of our guide on how to draw a catfish, so let’s take it slowly. In this step, you will be drawing almost the entirety of the catfish’s body.
This will be a bit tricky, so this is where you will really benefit from having drawn a pencil guiding shape, if you took that suggestion. First, let’s start by drawing a small fin on the right side of the catfish.
This fin will connect directly to the head outline, and it will have a thin base with a wider fin connected to it. Then, you can add some straight lines to the wider part of the fin for some texture.
Next up, we will extend a long, curved line up from this fin for the belly of the catfish. Then, there will be two small fins on the back of the catfish.
These will be drawn with some curved outlines that culminate in a pointy tip on the upper right side. Each of these fins will also have some texture lines on them.
Next, you can draw the other side of the catfish’s body, which will have a very similar line to the right-hand side of the body.
Add a curved line down the back of the catfish, and then finish off with a fin poking out from beneath.
You’ll notice that we haven’t drawn the tail or other fin details, but those will come soon enough. Speaking of which, let’s head to step 4 when you’re ready.
Step 4: Now draw the remaining fins and whiskers
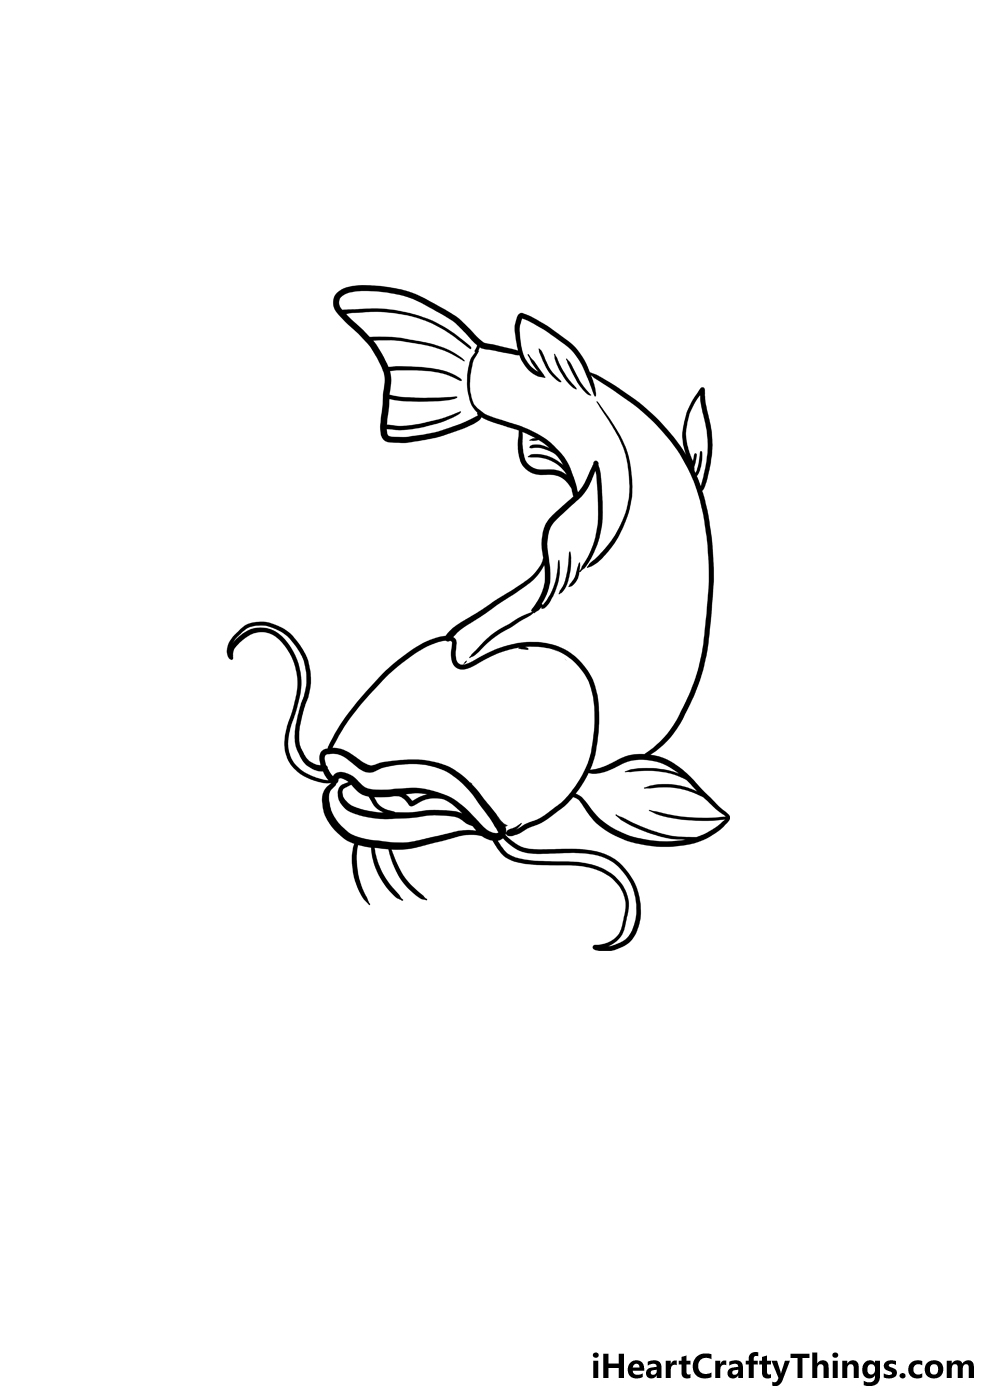
In this step, we will be adding the final outline details for your catfish drawing. This will prepare you for the fifth step where you will add some final details and touches.
Let’s not get ahead of ourselves, though, and focus on the rest of the outlines. In this step, we will be adding one of the most distinctive aspects of a catfish, its whiskers.
Catfish are famous for the long, flowy whiskers extending from the corners of the mouth. These can be added using some curvy lines that culminate in a pointy tip at the end of each one.
The wavier you make these, the better! You can emulate how they look in our reference image or make them flow in different directions if you prefer.
Next, we will be drawing three simple lines extending from the chin of the catfish, which will create a beard of sorts for the fish. Then we will draw the remaining fins.
First, draw a small, pointy fin on the right-hand side of the catfish. Then, we can finish off with the large tailfin at the end of the fish.
This tailfin will connect directly to the space we left at the end of the catfish’s tail, and it will be drawn with some curved lines that have a dip in the center.
Finally, finish off the tailfin with some more of those texture lines. It’s a lot to do, but if you take your time with it and follow the reference image closely then you’ll get the hang of it!
Then you’re ready to finish off with some final details in the next step.
Step 5: Draw the final details for this catfish

This fifth step of the guide is all about not only adding the final details of our design but also some additional ideas and details that you can think of.
First, let’s focus on the details that we have for our version. Let’s begin with something simple; the eye of the catfish.
This will be a simple black circle with a small white reflective spot on it. Then, some curved lines on the face will add some texture for this area.
In order to give the appearance of scales on this catfish, you can draw lots of very small, curved lines inside the body outline.
We kept these fairly minimal, but you could add many more if you wanted to.
Once you have drawn these details, you have finished the design! At this point, you can also go ahead and erase any pencil lines you used to plan out this drawing.
Before you move on to the final step, you can add some of your own extra details and ideas. One way of doing this would be to add some more fish to the image.
This could be another catfish or maybe another fish species that you like. Whether you do that or not, it could also be interesting to draw a background for your drawing.
This could be a pond, river or any other setting you like. These are just a few of the ways you could personalize this drawing, but there are many others!
Then, when you’re happy with it, we can move to the final step where we will add some color to finish off this drawing.
Step 6: Now, finish off with some color for this catfish
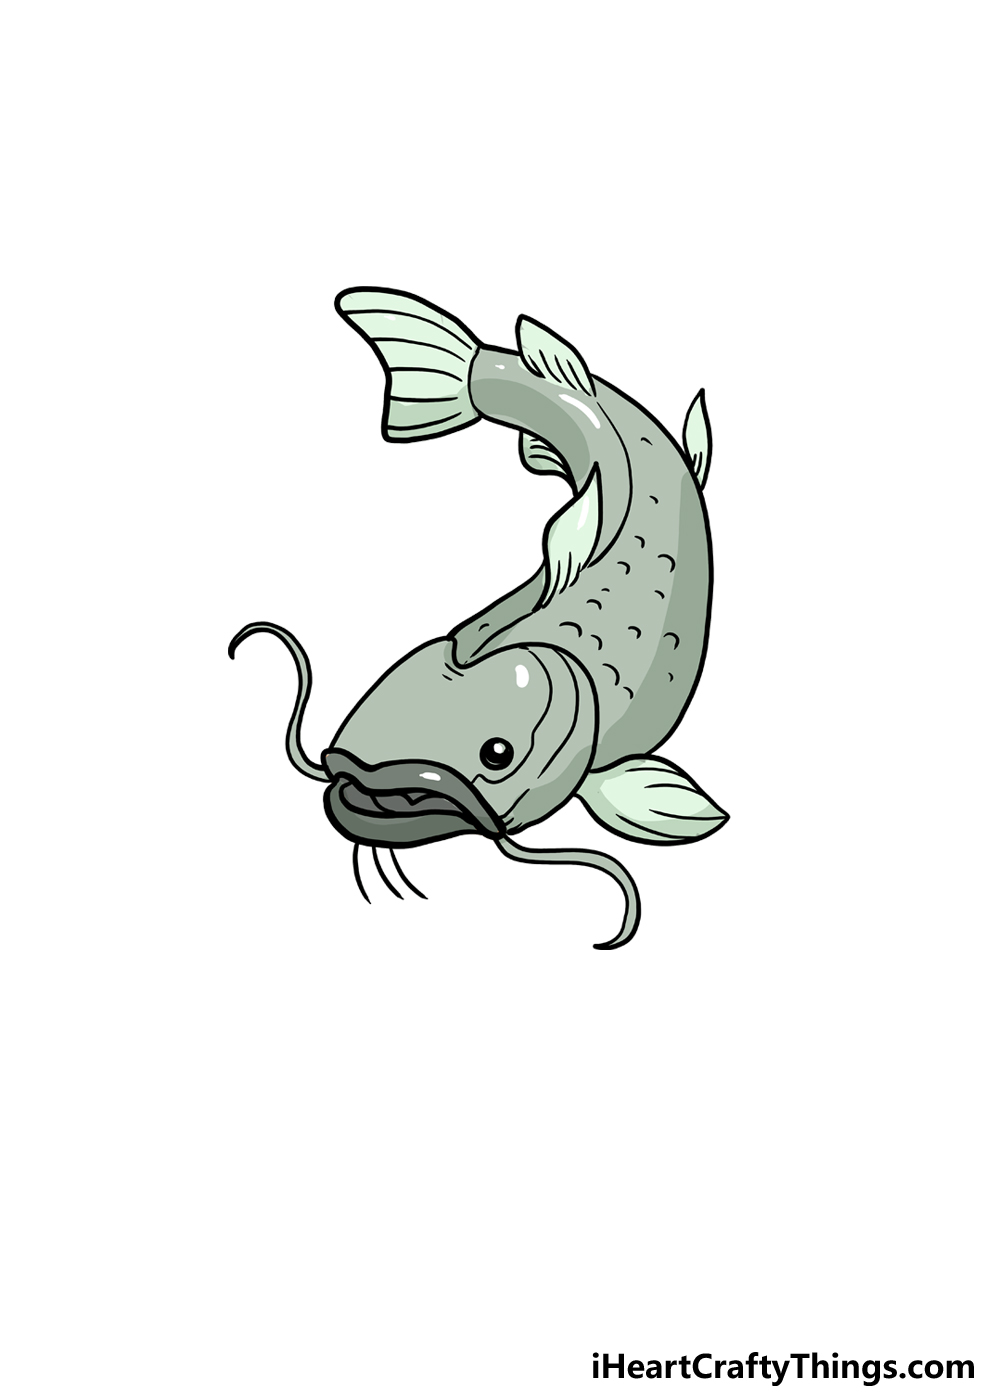
Catfish are not known to be the most colorful fish in the world. In fact, their color scheme is pretty simple, and in real life they are usually various shades of grey.
In this design, we went with a light grey color scheme that gives the fish a milder look. Even though we stuck to just grey, you will see that we used quite a few different shades.
The majority of the fish is light grey, but we added some highlights of darker greys on certain areas of the fish. These help to provide some form and shading for the fish.
You can do a similar technique for your own drawing even if you don’t go for the same colors. You could make the greys darker for a more realistic look, but you also don’t necessarily have to aim for realism.
Instead, you may prefer to go for some brighter colors. This could result in a more stylistic look for your drawing that could be very eye catching.
When you’re coloring in, you may be tempted to stay within the art mediums you’re used to. It could be fun to try out something new, however!
For example, if you don’t typically use watercolor paints then that could be a great medium for this drawing. It’s just one example, however, and there are many more you could use.
It’s up to you, so which colors and mediums will you choose to finish off your drawing?
Your Catfish Drawing is Complete!
You did an amazing job working on this guide on how to draw a catfish! There were some difficult and tricky details to overcome here, so you should be proud of making such a great drawing.
Now that you have completed this drawing of a catfish, you can keep the fun going by adding your own additions and ideas to finish it off.
This way, you can create something completely unique from what we laid out in the guide. It’s always fun to see how different people interpret the same design!
With that in mind, we would encourage you to share your finished drawing on our Facebook and Pinterest pages.
This is the best way to show off your awesome artwork, and we would love to see how it turned out.
We’re sure it looks amazing!
