Penguins have become rather popular in recent years, and it’s easy to see why! These birds across various species are always cute and unique, and they manage to charm with their awkward way of walking around.
With this popularity comes a wave of people wanting to learn how to draw a cartoon penguin. If you count yourself as one of these people, then you’re in the right place!
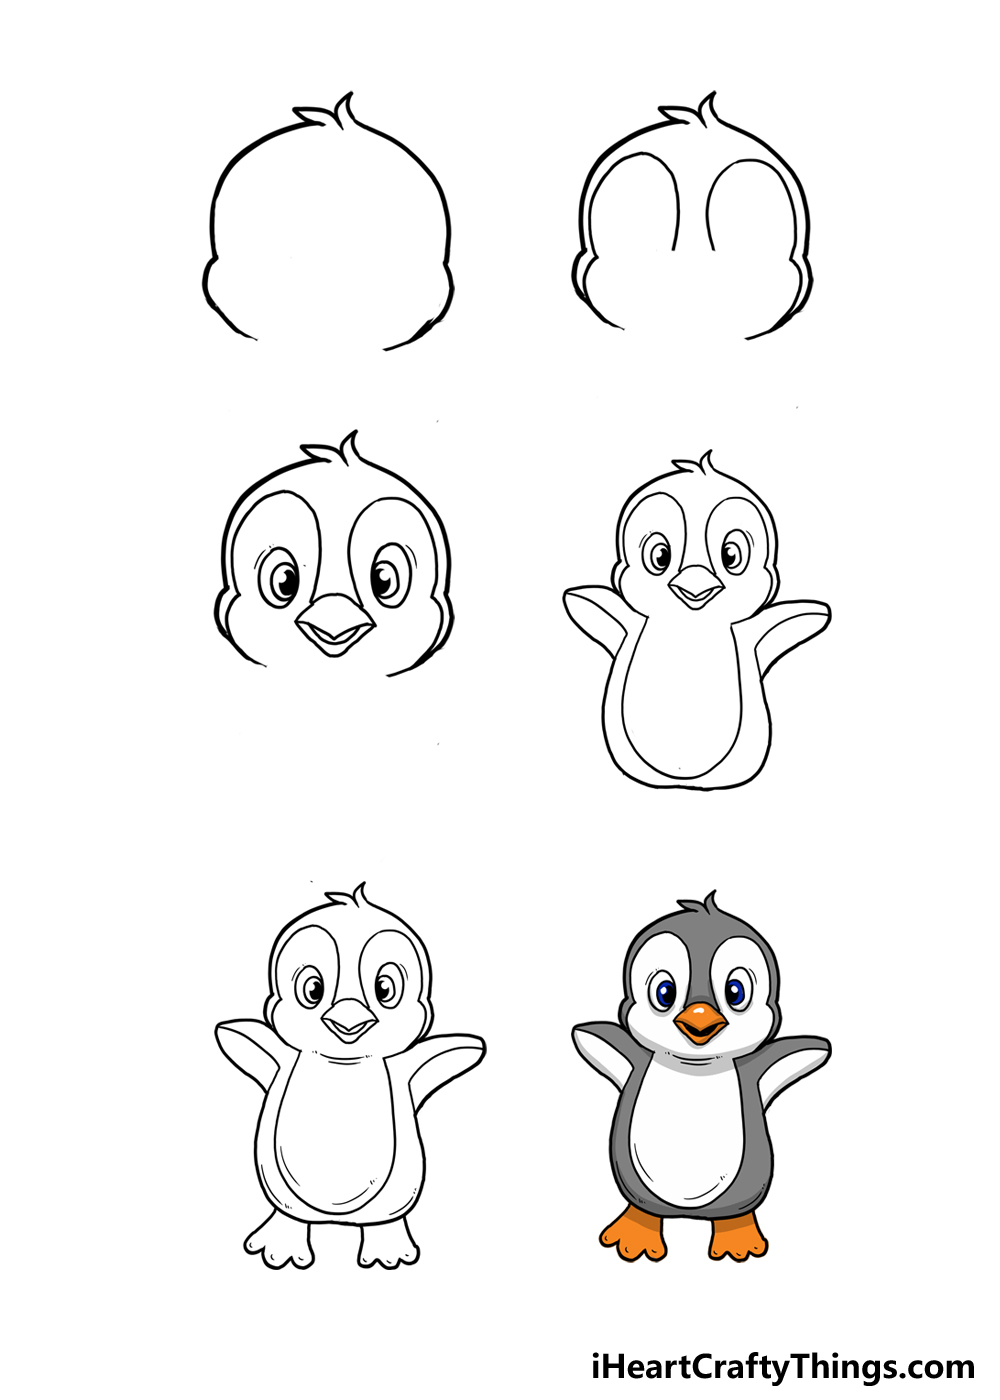
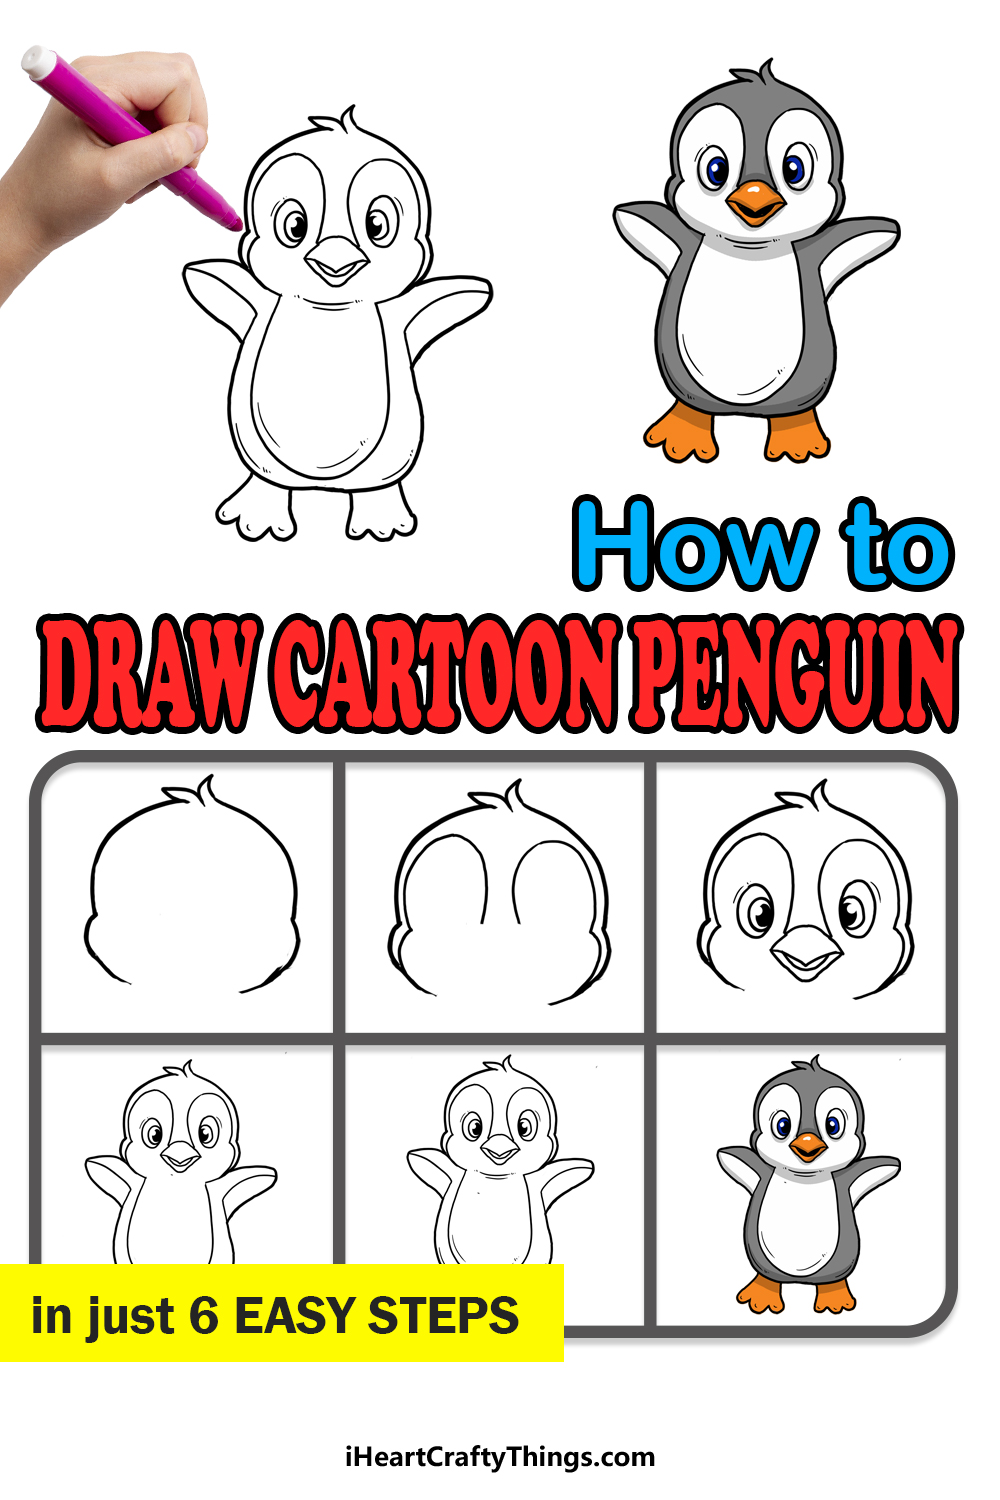
This guide has six steps that break down this adorable design of a cartoon penguin to make it easy for you to draw.
We will guide you through all of the steps to make sure that drawing each detail is a breeze!
Once you have finished the steps of this guide, you can take it further with some fun colors and extra details.
You will really get to unleash your creativity to take this design and turn it into something new.
As we go through, we will give you a few extra ideas you can try, and then you can show off your own ideas as well!
With all that said, let’s dive right in and see how to draw this cute drawing of a cartoon penguin.

How to Draw A Cartoon Penguin – Let’s get Started!
Step 1

When it comes to this drawing, the head and face of the penguin will certainly be the hardest parts to draw.
That’s why we will devote a few steps to these parts alone, as breaking them down should make things easier.
Before we start, we would suggest drawing a few planning shapes. You can do this with a light pencil or by pressing very softly with your regular pencil.
The best way to do this would be to draw a rough circle shape for the head and then connect it to a vertical oval shape.
These don’t have to be perfect, but they should correspond to the proportions of the character.
Now we can start drawing the outline of the head itself. The top of the head is quite rounded, and it would follow the line of a regular circle if you drew one to plan out the head.
The top of the head shouldn’t be a solid line, however, as there will be two little pointy feathers at the center of the top of the head. Next, we will draw the cheeks of the penguin.
These can be drawn as two curved lines extending outward ever so slightly, and they will connect to the top of the head as shown in the reference image.
If you drew a pencil circle, then these will probably extend a little out of that circle. That’s all there is to it for now, and it’s time to add the next sections.
Step 2: Draw the pattern inside the head outline

If you were to look up a photo of a standard penguin right now, you will see that they have a rather complicated pattern on their face that extends down to their bodies.
This can be a bit tricky to draw without it getting messy, but we will break it down in the next couple of steps. First, draw some fairly short curved lines extending inwards from the base of the head.
The reference image will show you how you should position these to suit the design. Each of these lines will then extend into a longer vertical curved line.
They will look a bit like thin ovals without bases, and there will be a small gap between them, as you will see in our example.
These shapes can take a bit of practice, so don’t worry if it takes you a couple of tries!
You could also draw them lightly with a pencil first in order to ensure they look right before proceeding.
Once these pattern lines are drawn, we are ready to start adding some of the facial details.
When you’re satisfied with how it looks, let’s move on to step 3 where we will draw those very details!
Step 3: Draw the facial details of the penguin

This cartoon penguin drawing is looking a bit formless right now, but it will start to take shape during this step, as we will draw the face.
Making the face more defined will go a long way toward making this character more recognizable!
To begin this step, we will first draw the eye outlines. Each one will be a simple oval shape drawn inside each arch that you drew in the first step.
Next, we will draw a smaller oval inside of each larger one, and these will go at the inner edges of the eye outline. Finally, draw a smaller oval inside of each of these ones.
This last one will be filled in with black, but you can leave a small white circle at the upper edges of the pupils.
It may sound confusing with all this talk of ovals, but it’s not as confusing as it sounds when you look at the image.
To finish off the eye areas, simply add a small curved line above each one. Next, we will draw the penguin’s beak. The top of the beak has a rounded upper line, and this has a pointy tip beneath it.
Draw another curved line for the smaller lower portion of the beak, and then add the mouth. You should definitely closely follow the reference image when drawing these, as it can be a bit tricky to get right.
Then, we are ready for step 4!
Step 4: Now add the wings and body

Despite the fact that they are birds, penguins have very small little wings. These are used more as flippers than anything, as penguins cannot fly.
They somehow make penguins even cuter, and this is especially true with how we will draw them in this guide! Before that, we will first draw the belly of the penguin.
This can be done with an oval shape extending down from the face pattern. If you drew a rough oval shape for the body in the first step, then this will be much easier to visualize.
Now, we will draw the wings, each of which will appear as a small curved line at the base of the head.
Once you have drawn the outlines for the wings, carefully extend a curved line in and down from the tip of each wing.
This line will then extend downwards to form the body of the penguin. Describing it like that can make it sound complicated, but it’s easier than it sounds.
Make sure to follow the reference image provided to see how it should look! Now, we have the complete body of the penguin, but we’re not quite done yet.
Next up, we will draw the feet of the penguin to properly finish it off. Before we do that, you can erase any pencil lines you drew to help you in the first step, as they won’t be needed from now on.
Just be cautious as you erase these lines, as you don’t want to smudge any pen lines or pencil lines you wish to keep.
Step 5: Draw the final details

Now it’s time to finish off the final details of this drawing, as well as add any ideas that you have for the artwork. First, to finish off the outline we need to add the feet of the penguin.
Much like with a real penguin, these will be very close to the body. They can be drawn with some curved lines to form three toes on each foot.
Once you have drawn the feet as they appear in our example image, we can add a few more details to the interior of the body. These will help to make the body look a bit more vibrant and realistic.
For example, some horizontal curved lines under the head can create the illusion of a neck area. Then, we added some simple curved lines to other areas of the body to make it look like creases in the skin.
These are some of the details that you can add, but you should feel free to add any others you like! For instance, you could change the expression or pose of the penguin.
There are other fun little touches you could add, such as giving the penguin a beanie hat and a scarf.
Of course, you can really use your imagination on this and come up with some really fun ideas.
Then, you could take it even further by adding other characters, background elements or props for the character to interact with. It’s all up to you from this point on, so let your creativity flow!
When you’re happy with how the drawing looks, you can then move on to the final step where we will finish off the drawing with some colors.
Step 6: Now, finish off this cartoon penguin with some color

In real life, penguins aren’t the most colorful of creatures. You get some that may have bright crests or similar details, but they for the most part have a very muted black and white color scheme.
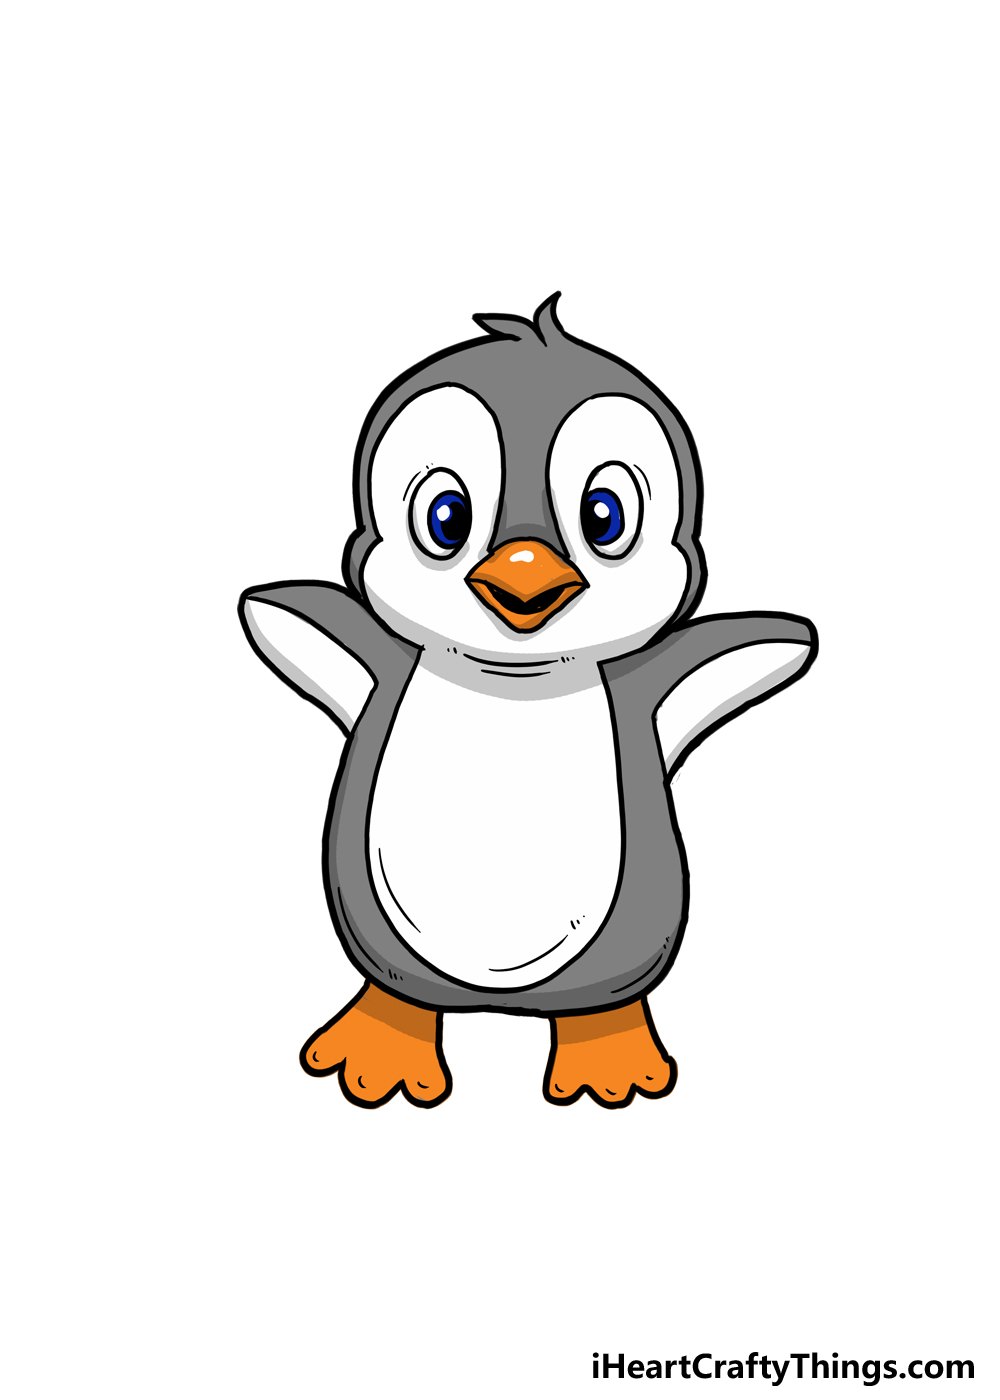
That’s true for this particular cartoon penguin drawing, but we found a few ways to make it interesting regardless. For some splashes of color, we used bright orange for the beak and feet.
Then, we used a lovely blue color for the eyes. As for the darker areas of the penguin, we went with some shades of grey to add some decent variety to the image.
These are the colors we chose, but you can use any colors that you would prefer! Not only that, but using different art tools, mediums and other supplies can bring whole new elements to the colors you choose.
It can be fun to mix various art mediums as well, so don’t be afraid to experiment. If you find that the colors are too dull, there are ways you can incorporate brighter colors.
For instance, maybe you could pose the penguin with candy canes or bright clothing, as that would allow for some bright and cheerful colors.
You can also use crafts such as glitter or stickers to add some extra depth to the colors. It’s all up to you, and you also don’t need to stick to just realistic colors for the penguin.
With so many options at your disposal, which colors and art mediums do you think you will choose for this cute cartoon penguin?
Try Out These Ideas To Finish Off This Cartoon Penguin In Style!
You have reached the end of this guide on how to draw a cartoon penguin, but the fun doesn’t need to stop here! In fact, there is still a lot you could do to add even more to this drawing.
One idea would be to add some more penguins as friends for this one. They could look very similar to this one, and you could change a few details such as the facial expressions and posing of the additional penguins.
That way, you could use the steps of the guide again and just change a few details to create some unique characters. You could even add some adult penguins for some variety.
If you’re feeling extra creative, then you could add other animals you would expect to see around penguins. For example, some cute seals would be a perfect addition!
Then, you could finish it all off with a background. You could have something realistic, like a frozen environment with lots of snow and glaciers.
Or, you could make a more stylized scene with some fun background details. For example, the penguin could be dressed in a hat and scarf while building a snow man or maybe baking some cookies.
These are a few ideas, but you could get really creative with it! Then you can finish it all off with some amazing colors.
Using not only unique colors but also some fun art tools and mediums would be an awesome way to add some life and character to your artwork.
We’ve given you some ideas to start with in this guide, but now it’s up to you to show off all of your awesome ideas. How will you finish off this awesome artwork you have worked so hard on?
Your Cartoon Penguin Drawing is Complete!
These six steps on how to draw a cartoon penguin certainly presented challenges, but we hope that they also presented a ton of fun!
Drawing challenges can be tough, but when you break it down and allow yourself to just enjoy the process, it can be much easier. Having fun and being creative is also more important than things being perfect.
If you follow the guide and try your best, you will soon find that this drawing will come easily to you. Then, you can have some fun bringing your own ideas and vision to the drawing!
We went over a few ways that you can do that in the guide. These included adding other characters, background settings and props for the penguin to interact with.
Choosing some fun colors and art mediums can also be great, and there are no wrong answers for this kind of artwork.
One thing is for sure, we know that whatever you choose will end up looking amazing!
When you have completed your artwork, we would love it if you would share it on our Facebook and Pinterest pages. It would be amazing to see how you interpreted this drawing for yourself!


