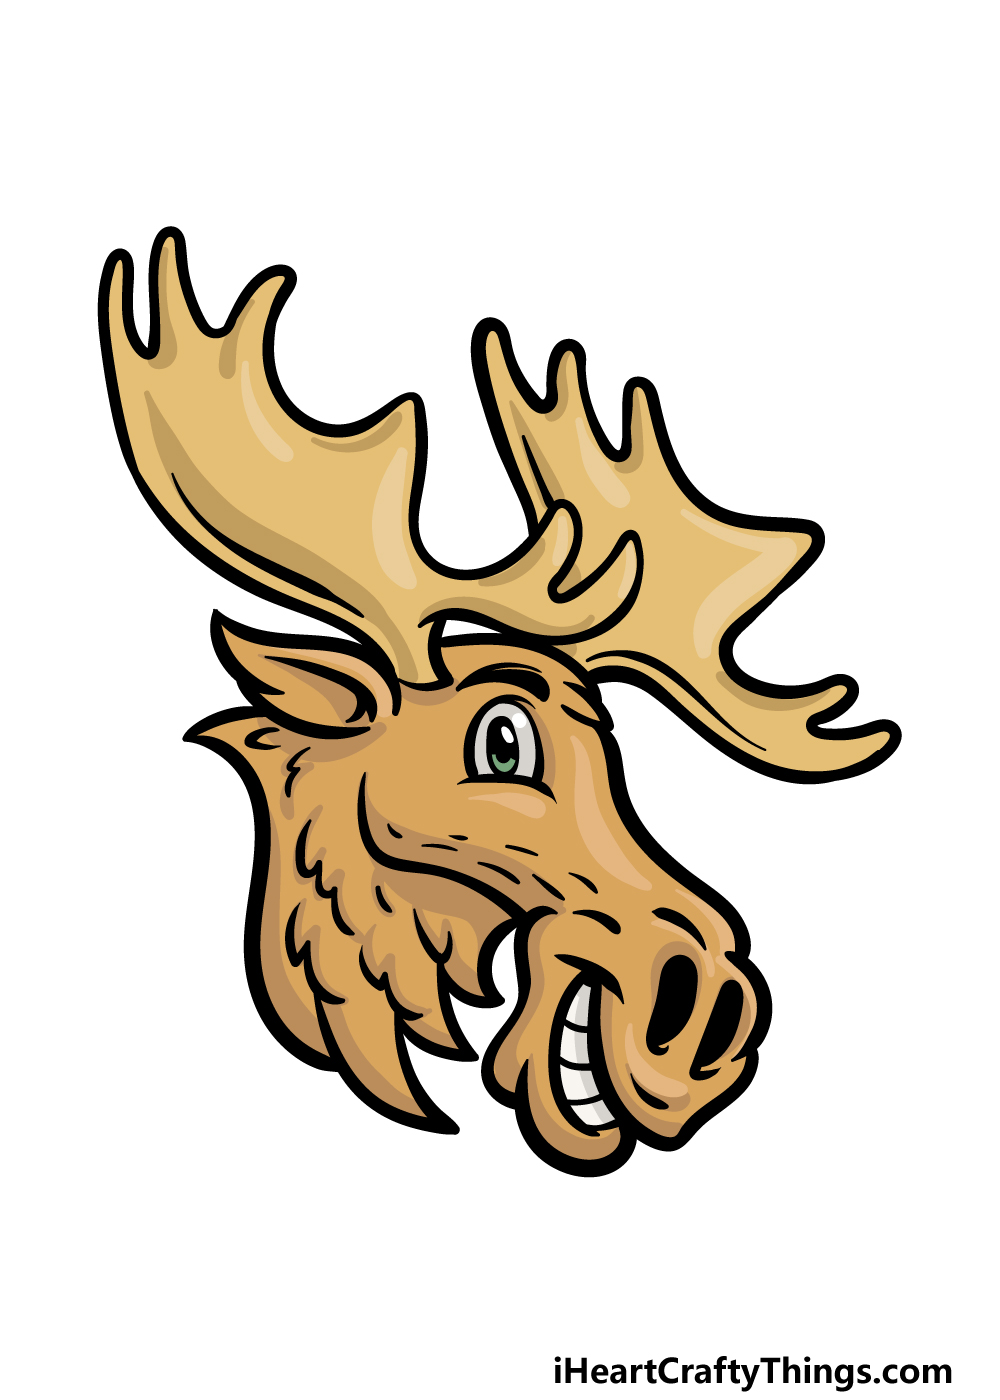
Moose are some of the most incredible creatures in nature. They manage to impress not only because of their great size but also their unique visual features and complex antlers.
This unique appearance has made them popular to depict in various artworks ranging from drawings to paintings and sculptures.
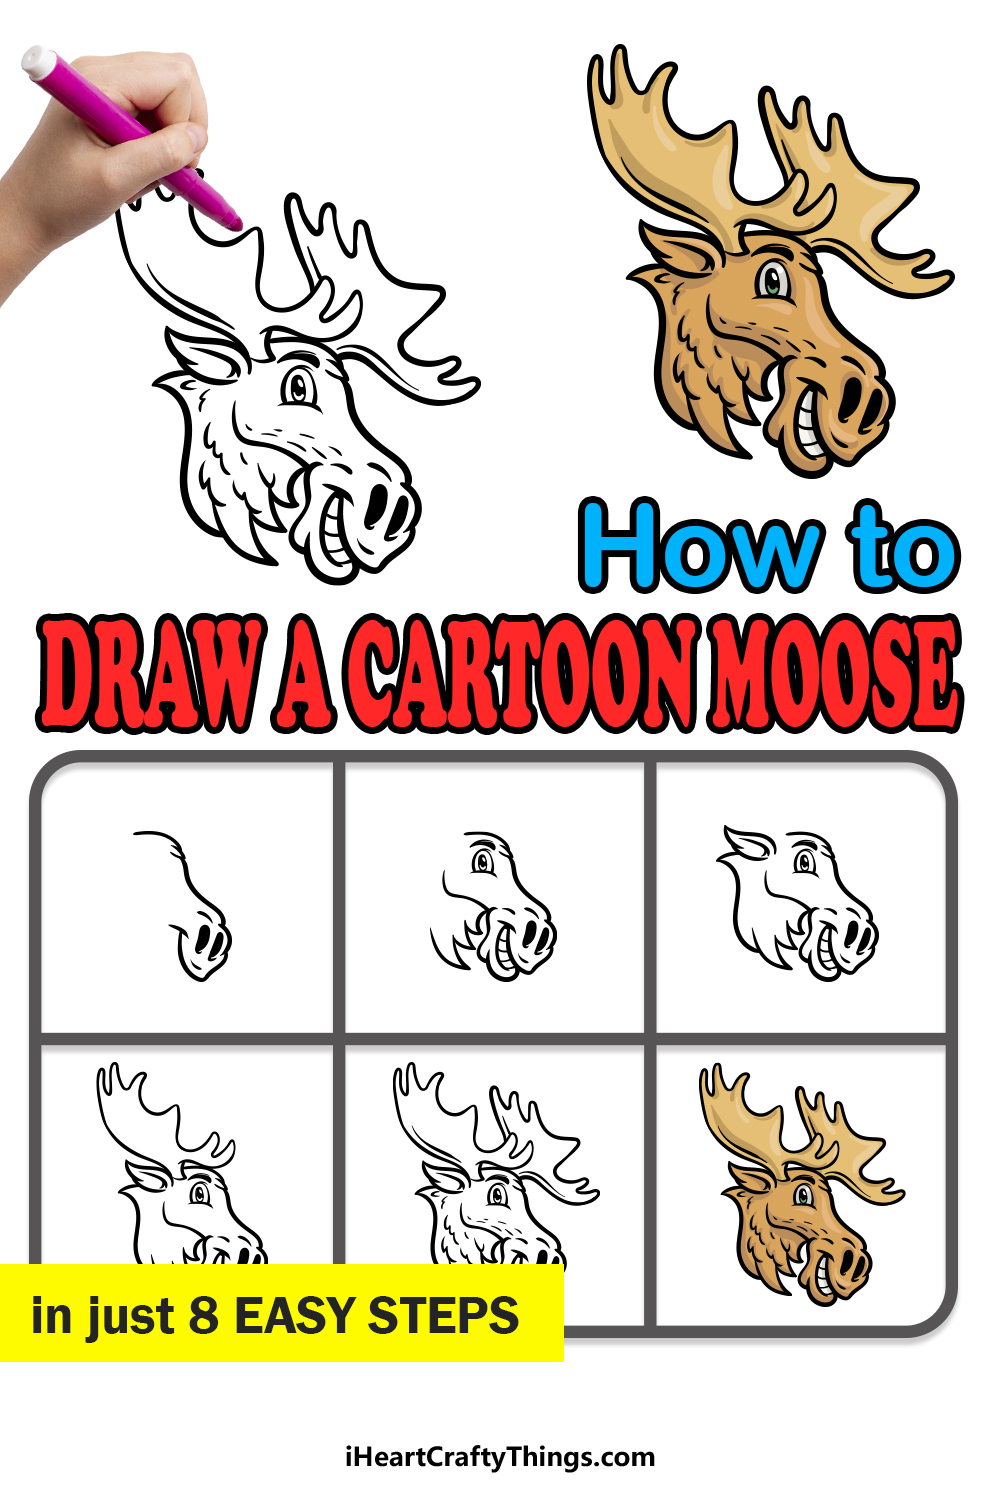
You will get to create your own moose artwork as you take on this guide on how to draw a cartoon moose!
This guide contains 8 easy steps that will show you how fun and simple creating this awesome portrayal can be.
So get ready to begin this fantastic step-by-step guide on how to draw a cartoon moose in just 6 fun and easy steps!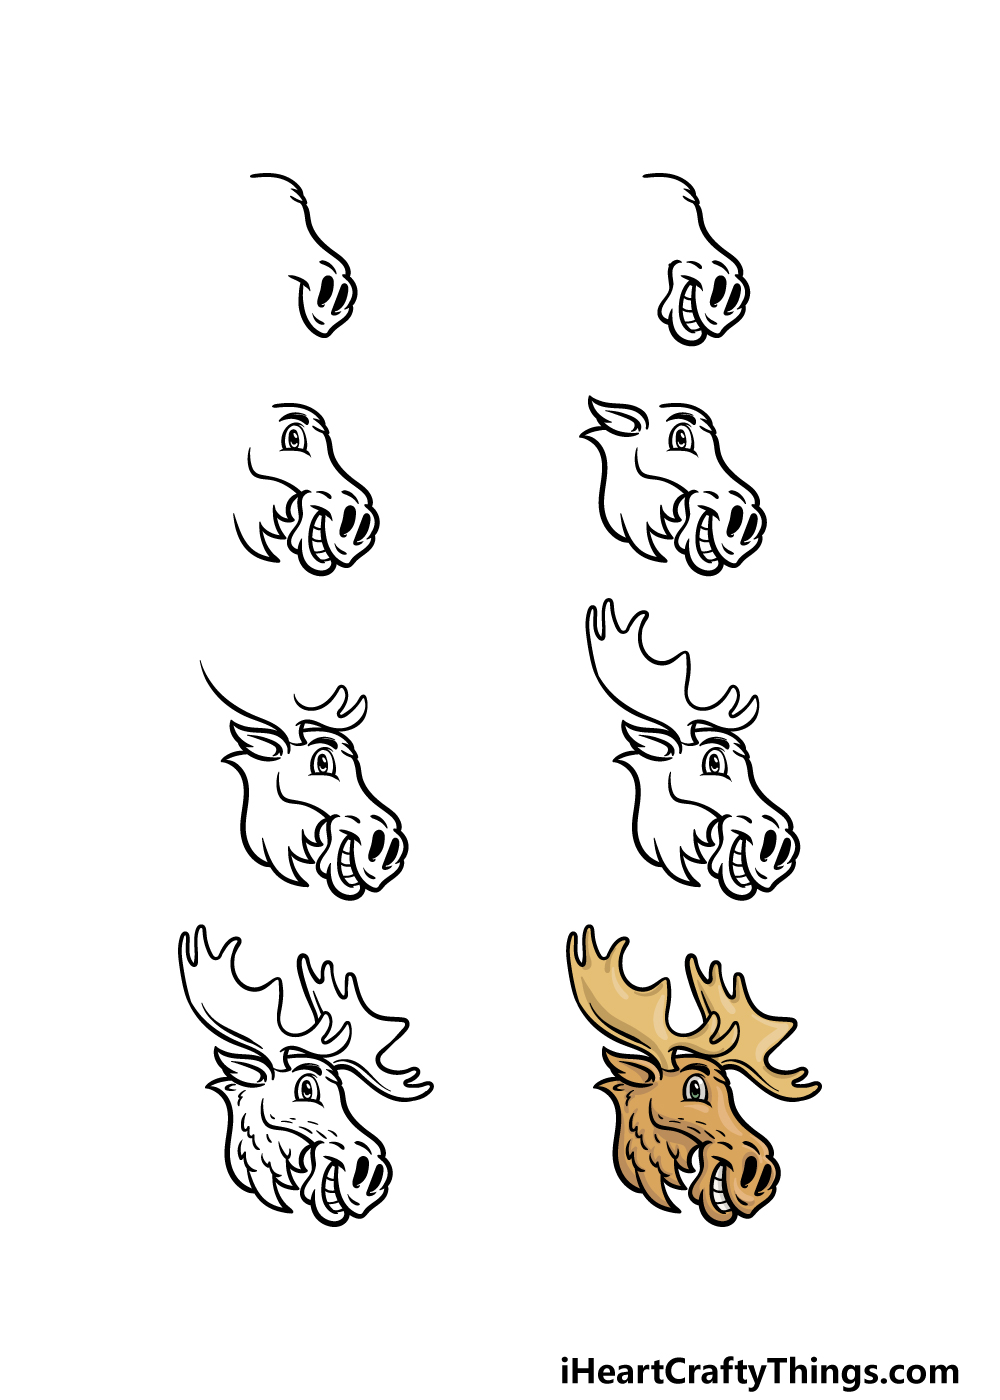
How to Draw A Cartoon Moose – Let’s get Started!
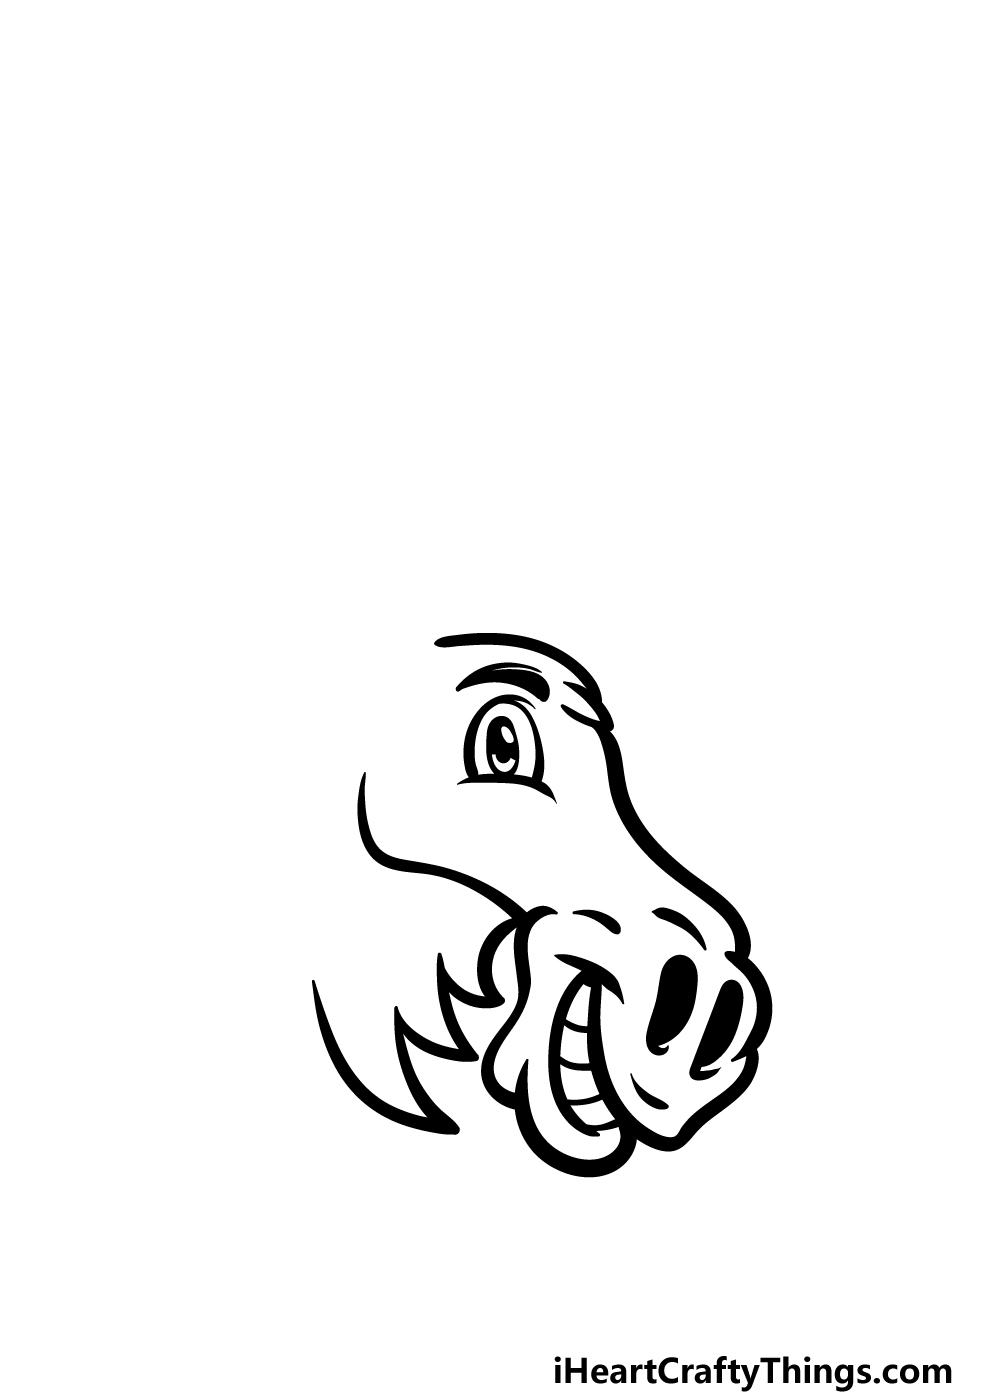
Step 1
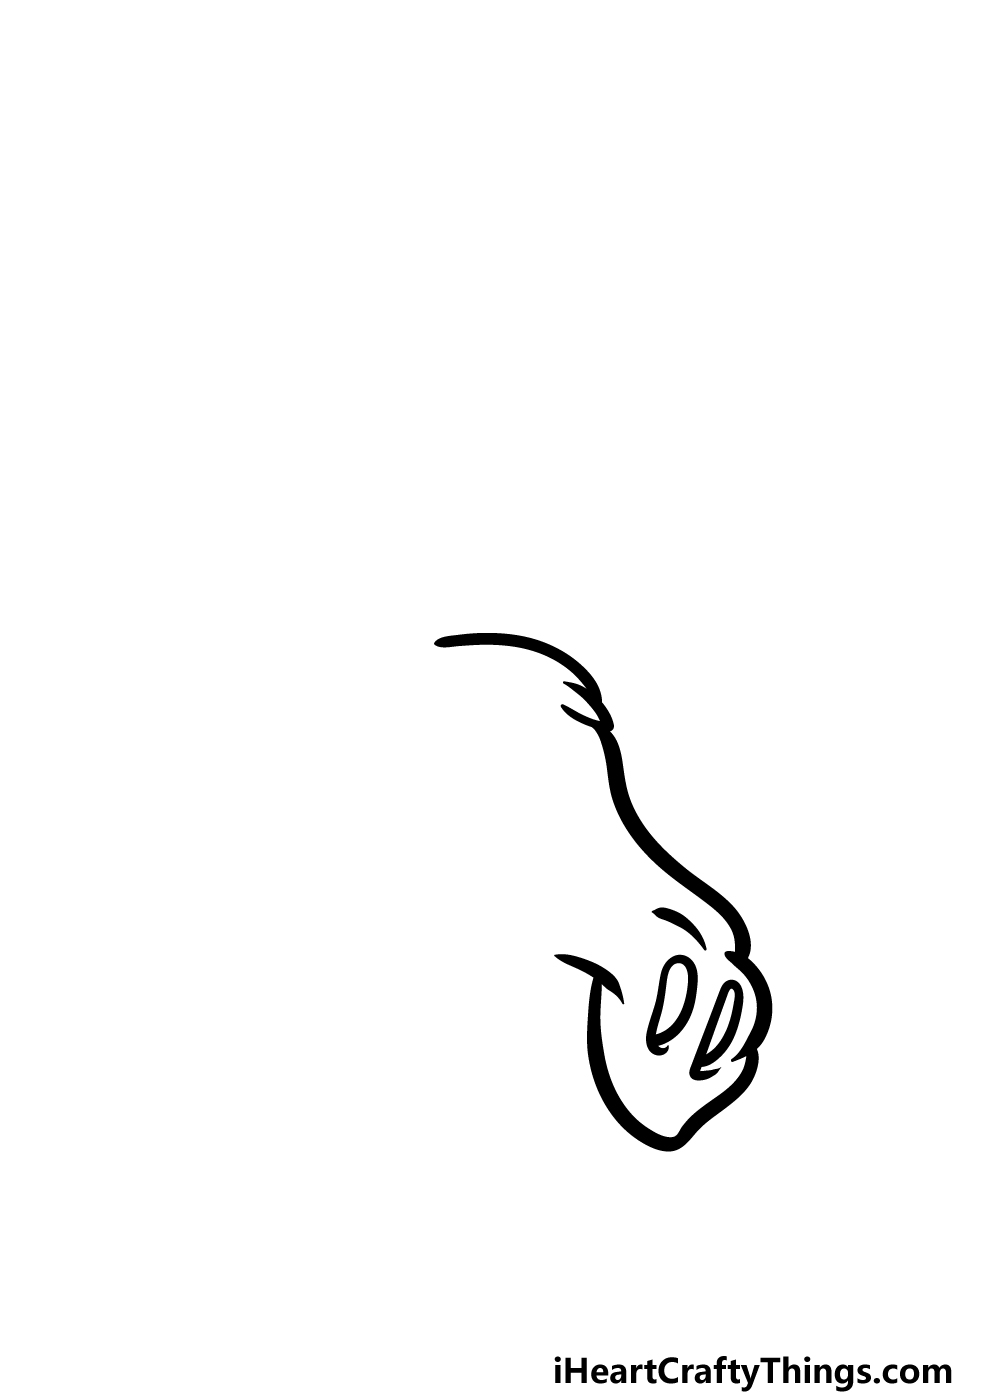
In this guide, we will be portraying the head of a smiling moose, and we will begin with the head and face outlines.
Even though this is a cartoon portrayal and will therefore be a bit exaggerated, it is actually accurate to the general shape of a moose’s head and face.
First, use some curved lines for the furry top of the head. These will then turn into a longer, curved line for the muzzle of the face.
Finally, we will use some long, thin shapes for the large nostrils before surrounding them with the end of the muzzle.
This will include a curved line for the smiling mouth, and once it’s drawn we can then move on to step 2.
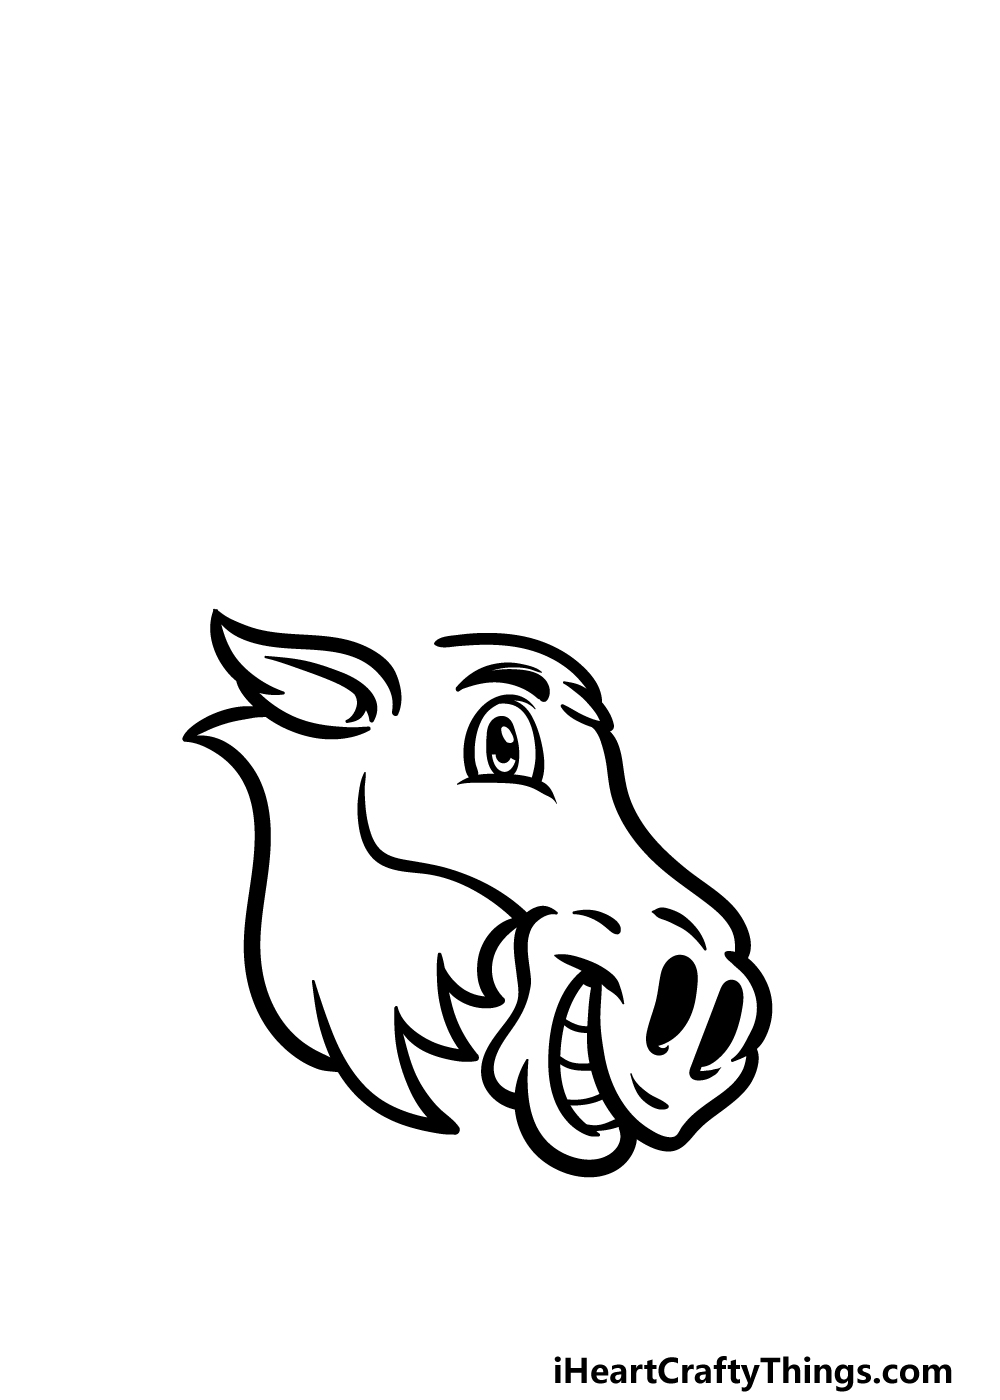
Step 2 – Next, draw some facial details and finish off the mouth
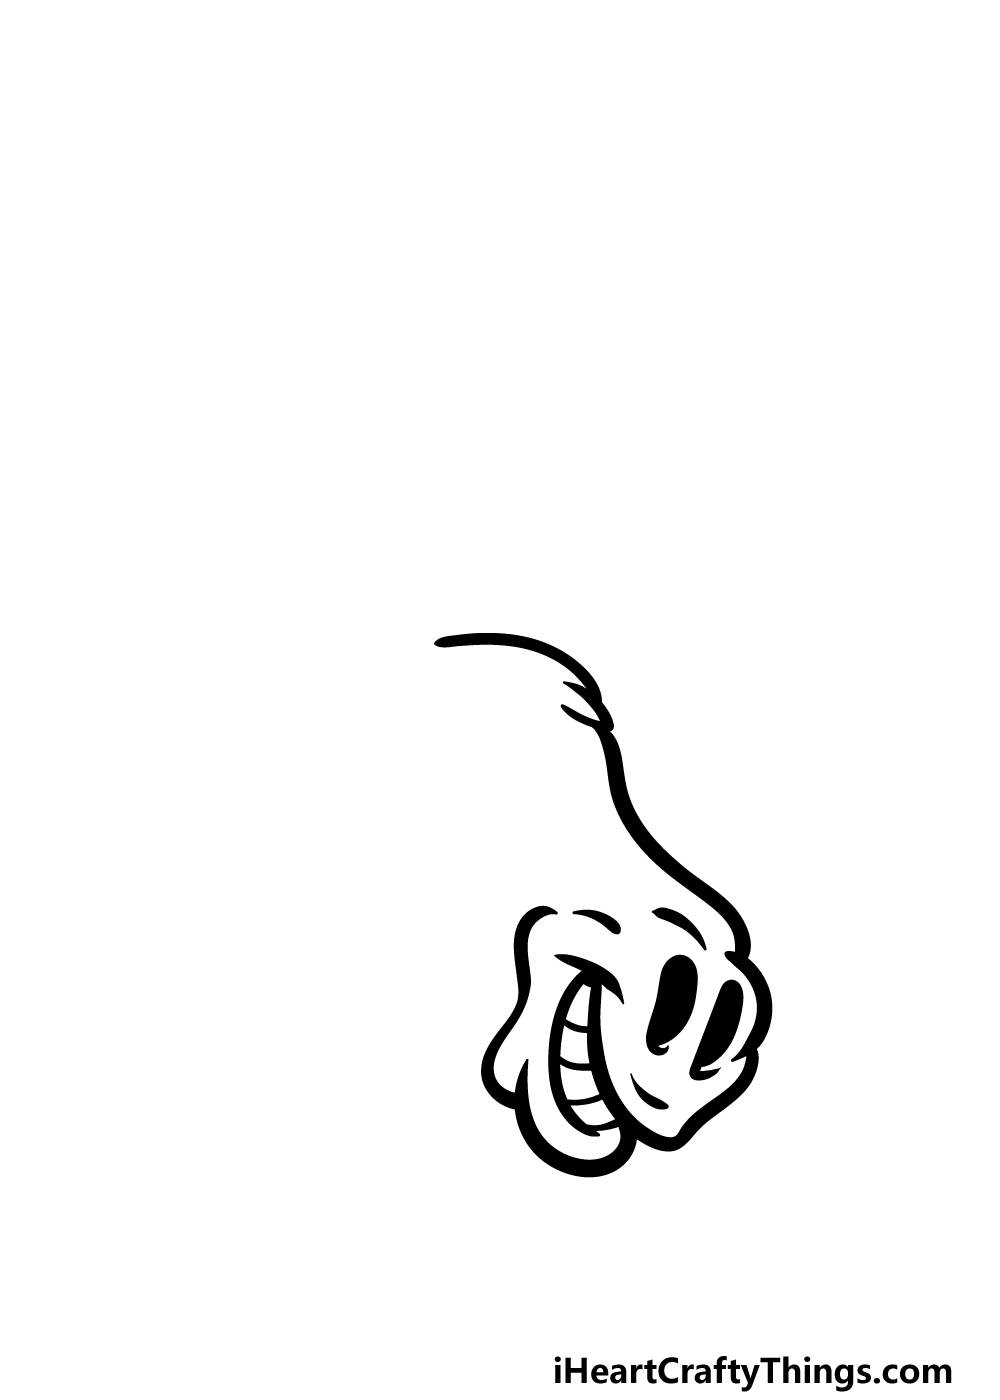
Now, we will be adding some facial details as well as the rest of the mouth in this step of our guide on how to draw a cartoon moose.
First, we will fill in the nostrils with solid black to give them more depth.
Next, you’ll see that we added lots of small, curved lines inside the teeth outlines to show where they separate.
Finally, draw the outline around the bottom edge of the mouth to finish it off, then we can continue.
Step 3 – Now, draw the eyes and some hair under the head
We shall be adding even more facial features to your cartoon moose drawing in this step of the guide.
First, draw an oval shape for the eye outline, and then add a curved line beneath it. The pupil will be drawn as a smaller black oval with some small white shapes on it.
Once that is drawn, we will then use some curved lines with pointy tips for the ragged, beard-like hair beneath the moose’s face. That’s all there is to it for this step, so let’s move on to step 4!
Step 4 – Next, draw the ear and more of the head
This step of the guide will give you some room to make your own variations if you wish! We will get to that soon, but first let’s draw the ear for this moose.
The ear will be smooth and rounded on top, but then it will have jagged edges at the bottom edge to make it look furrier.
Add some more curved lines inside of the interior to show the inner portion of the ear.
Then, we will draw the base of the neck. This is where you could change things up a bit if you wish. The neck is drawn as a section that ends, almost as if this head were on a trophy.
You could draw it as we did, or you could extend it to show more of the neck and body. It’s up to you to decide!
Step 5 – Now, start drawing the antlers
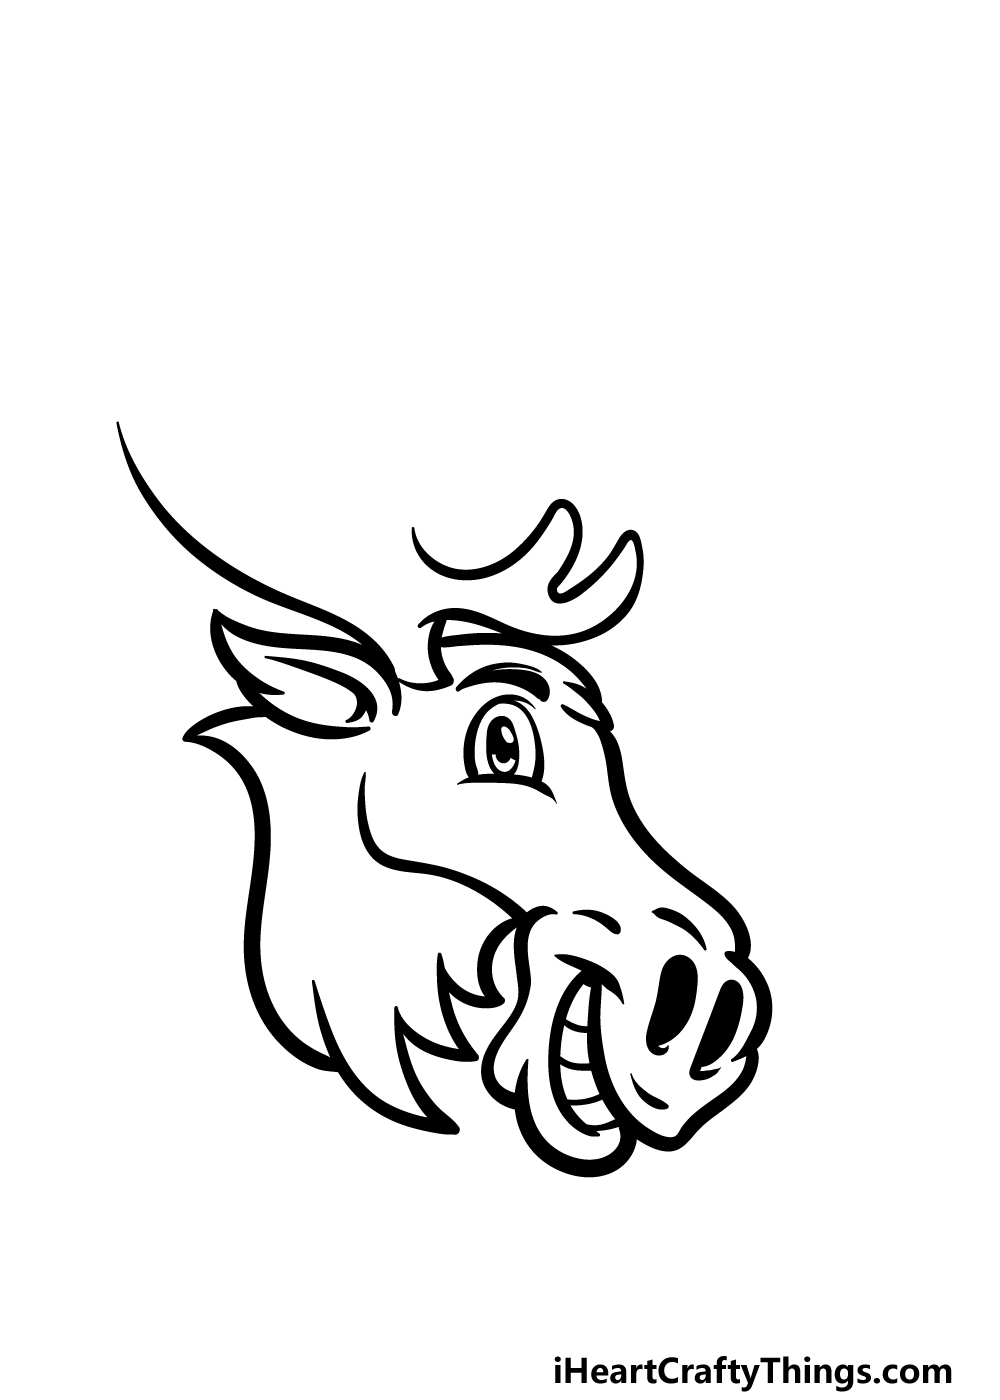
Moose are famous for their distinctive antlers, and we shall start drawing them in this step of our guide on how to draw a cartoon moose.
These antlers could be a bit tricky, so try your best to copy our reference image as best you can. For now, there will be a longer curved line on the left with smaller rounded shapes on the right.
When it looks as it does in our example, we can move on to the next step!
Step 6 – Next, finish off the first antler

We shall finish off the first antler you began in the previous step before we tackle the final details in the next step.
The top half of the antlers will be made up of lots of smaller, thin shapes instead of longer curved lines like the base was. Then it’s time to move on to those final details!
Step 7 – Next, draw the final touches
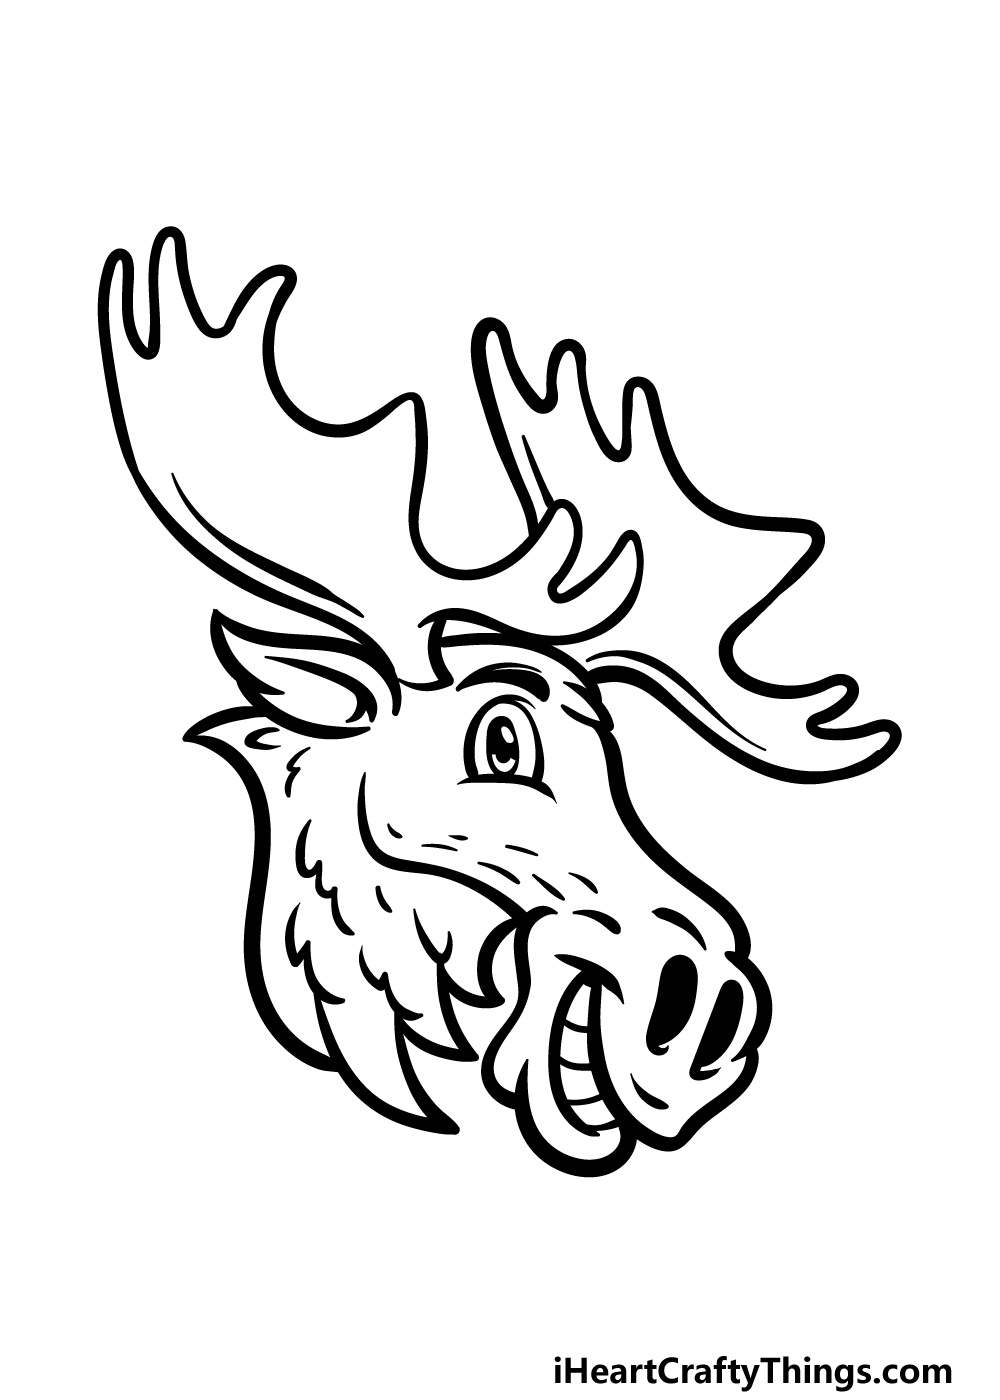
Now you’re ready to finish off the final details of this cartoon moose drawing! First, we will draw the second antler.
You’ve already drawn one, so this second one should be much easier to do! Then, we finished off by drawing some smaller curved lines onto the face and neck for some added texture.
You can also add any additional details or ideas of your own! We mentioned extending the neck and showing more of the body, but what else can you think of?
Step 8 – Now finish it off with some color
In our reference image, we showed you just one of the many ways that you could color this moose.
We used various light shades of brown for the head, neck and antlers, but you could also go for any additional or alternative colors you may prefer.
You could also have some fun choosing the art tools and mediums that you would like for this drawing, so what do you think you will pick?
3 More tips to make your cartoon moose drawing easy!
Make this cartoon moose sketch even more of a breeze with these 3 tips!
This drawing of a cartoon moose is drawn in a style that is cartoony yet still rather detailed. If you need to make it easier on yourself, you could adapt it to a different style.
This could be done by showing it as an even simpler cartoon style. While that is one way of doing it, you may find it easier to make it a bit more detailed and realistic!
This tip is all about playing to your strengths, so it will depend on what you find easy to draw and work with. What are some art styles you could use to make this cartoon moose easier?
Even though this cartoon moose drawing shows it portrayed in a less realistic style, you could still use a photo of a real moose to help you as you draw.
If you search online, you will find many photos of real moose that you could use. If you try this, it would be best to find one that is posed similarly to our example if you can.
These photos will help you as you draw the cartoony details and proportions of this cartoon moose. Even though they are pretty different, these realistic photos used with this guide will help a lot!
Finally, you could make this cartoon moose sketch a bit easier by incorporating it into a more complete image. One way of doing this would be by drawing the body that the moose’s head is attached to.
This may seem like it would make the drawing even trickier, but this doesn’t have to be the case. In fact, this tip would work great if used along with the previous tip.
Using a photo of a real moose will help you if you want to draw more of the body. You could take that photo and then adapt it into the cartoon style of this moose.
This means the face will be a smaller part of the drawing, and that means it will need fewer details!
Your Cartoon Moose Drawing is Complete!
That does it for all 8 steps of this guide on how to draw a cartoon moose! We hope that this guide showed you that drawing this fun moose design can be a fun and easy experience.
It can also be fun to add your own details or make some variations, so get creative and see how fun it can be!
Then, you can head to our website to enjoy the many other drawing guides and art activities that are waiting for you. We can’t wait for you to see what’s waiting for you!
It would be great to see how your cartoon moose drawing turned out, so please share it on our Facebook and Pinterest pages when it’s done!