Skulls usually have a rather dark connotation, as by their very nature they tend to represent death and doom.
Despite this, they can also be used in many cool designs, as each skull type has a unique and beautiful design to it.
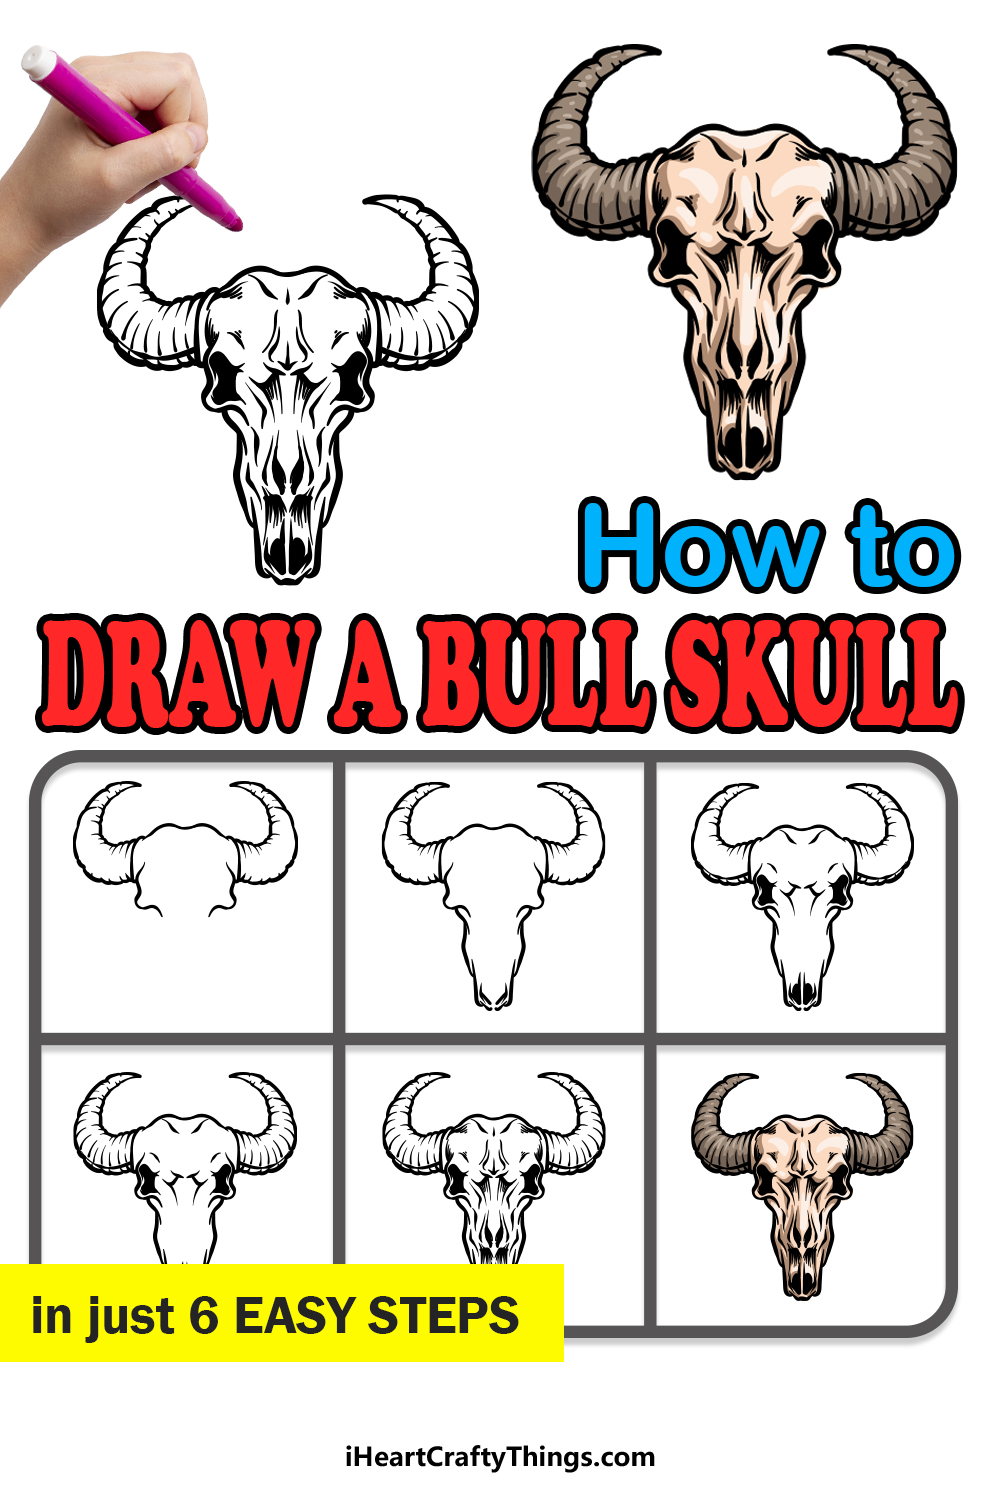
Bull skulls are an excellent example of this, and for this reason they are often incorporated into some stunning designs.
Learning how to draw a bull skull is a great way to create some of these designs yourself!
This is the place to be if you would like to learn how to do just that, so definitely read on!
During this step-by-step guide on how to draw a bull skull, we will go through all the steps required to have you drawing one of these incredible skulls in no time!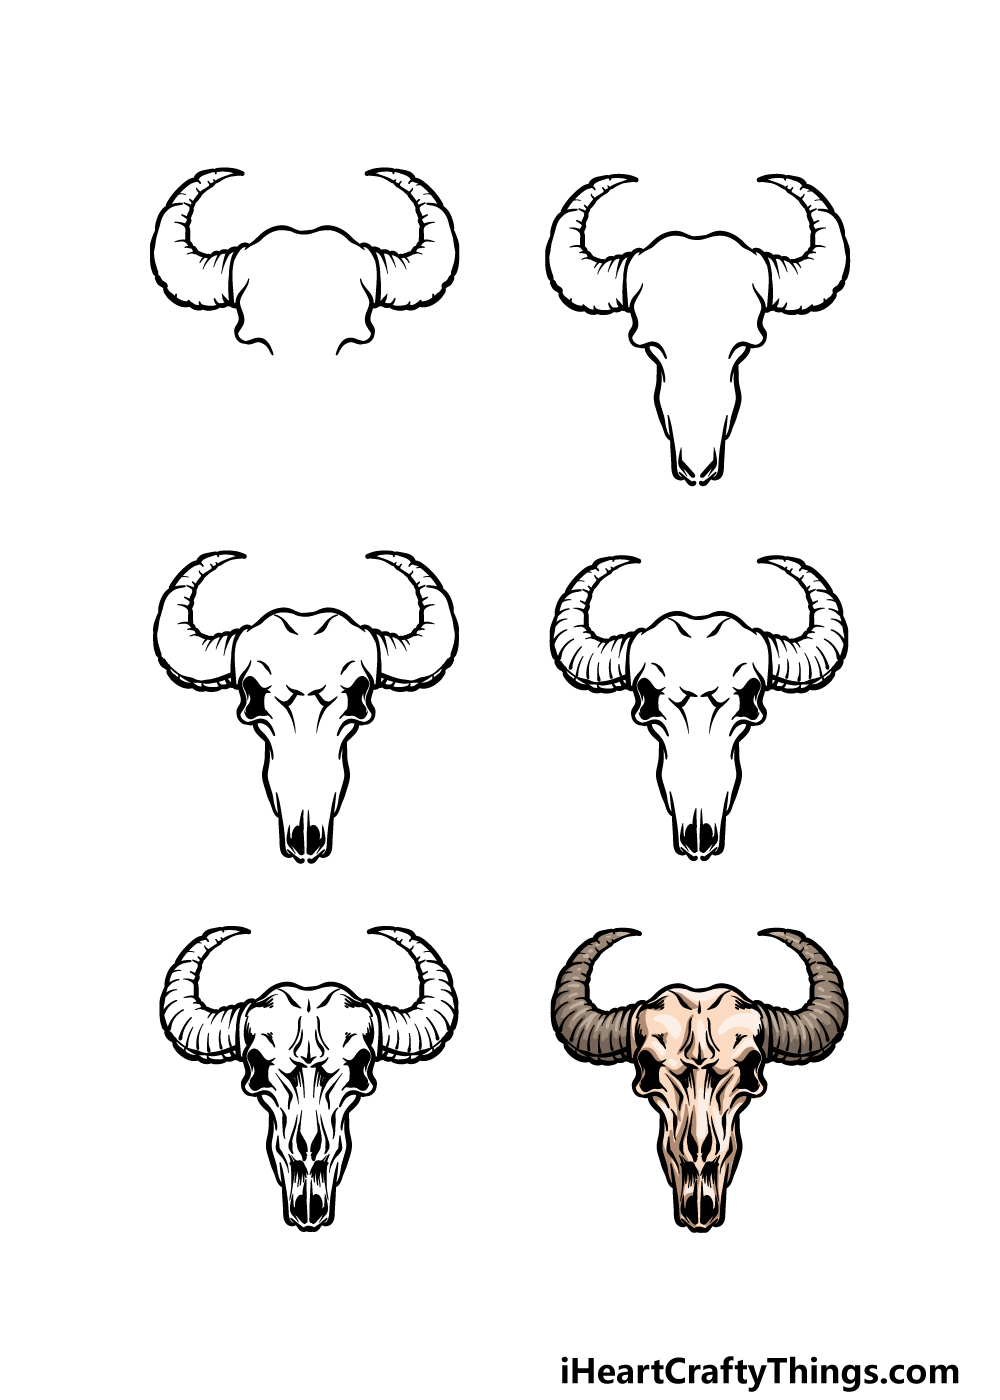
How to Draw A Bull Skull – Let’s Get Started!
Step 1
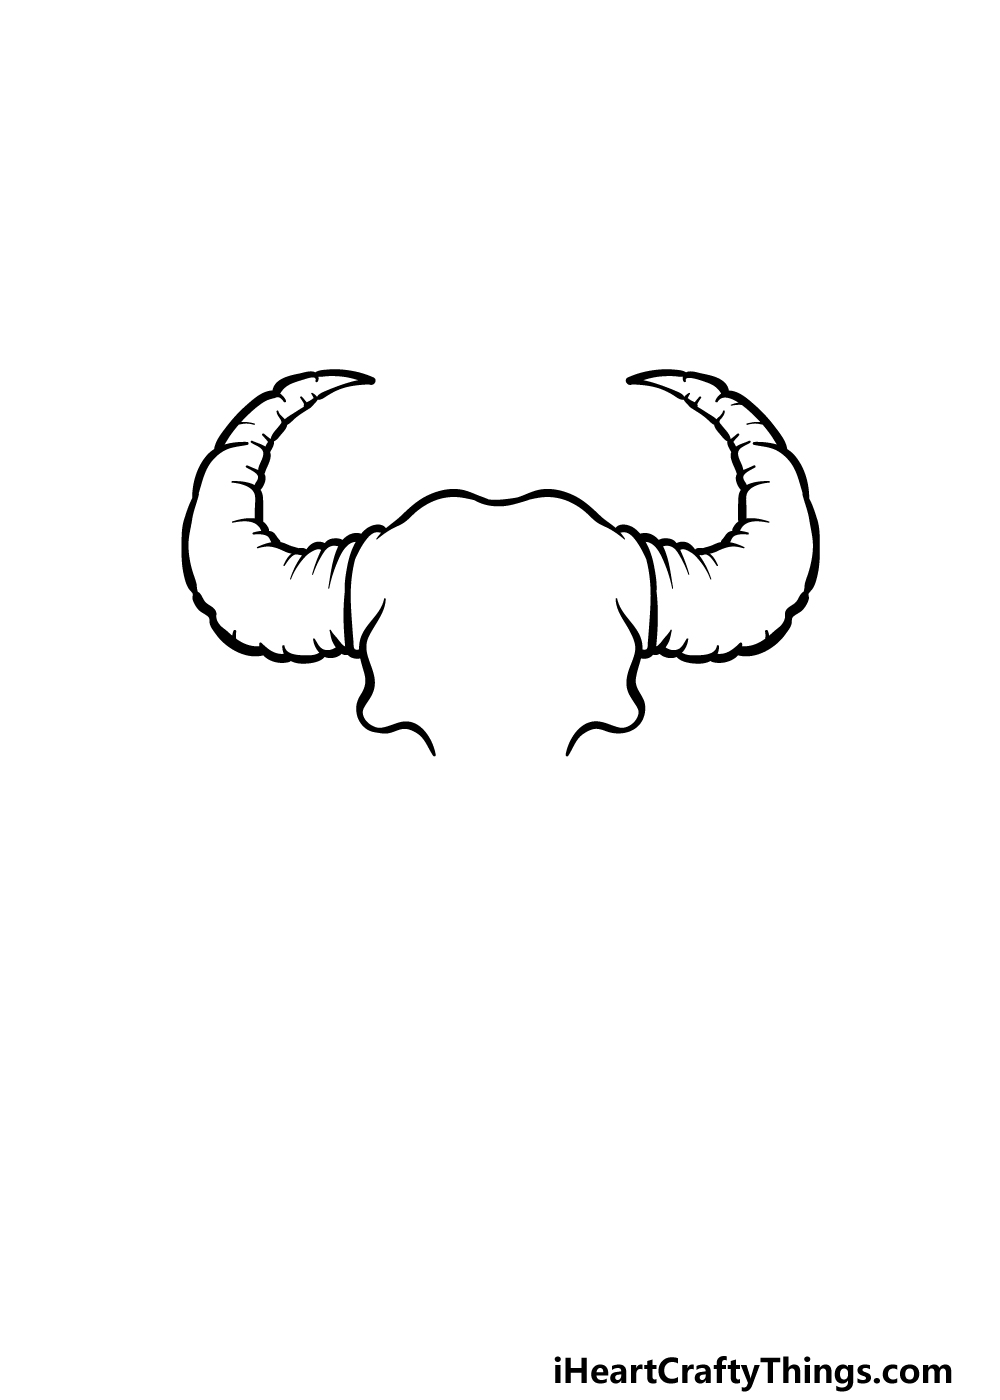
To get this guide on how to draw a bull skull started, we shall begin with what is possibly the most recognizable part of the skull: the horns!
First, use some curved lines to create the top of the skull as well as the upper corners of it. Then, use some bumpy lines connecting to one another to have the thick horns curving up as they appear in our reference image.
Once you have drawn all of these aspects, you will be ready for step 2 of the guide!
Step 2 – Now, draw the outline for the lower half of the skull
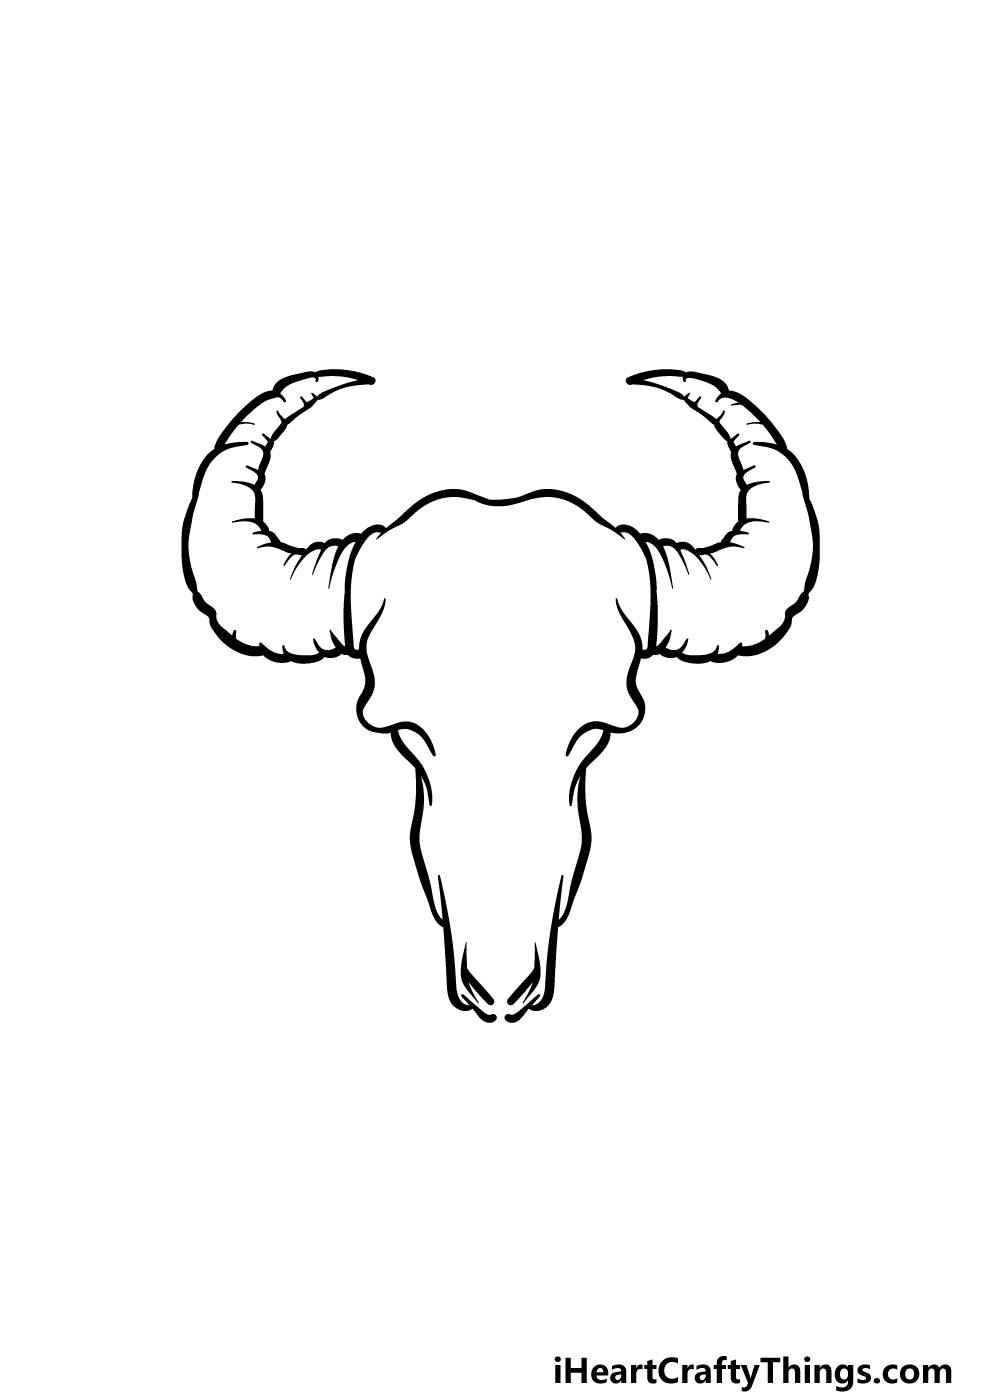
Now that you have the top of your bull skull drawing done, we can start to focus on the lower half in this second step.
The lower half of the skull starts beneath the bumpy cheekbones, and then it gets narrower the further it goes down.
Instead of being one continuous line, it will instead be made of several lines connecting to one another, as shown in our example.
That will take care of the outline, and for the next few steps we can focus on some inner details.
Step 3 – Next, draw some details inside of the outline
For this third step of our guide on how to draw a bull skull, we shall focus on the cavities for the eyes and nose of the skull.
Use some rather irregular black shapes on either side of the face for the eyes. Try your best to have them look as symmetrical as possible and also try to place them where we did in our example.
Then, use some thinner black shapes for the nose cavities. Once these are drawn, we will add some curved line details to the center of the skull, and then we can move on to the next part.
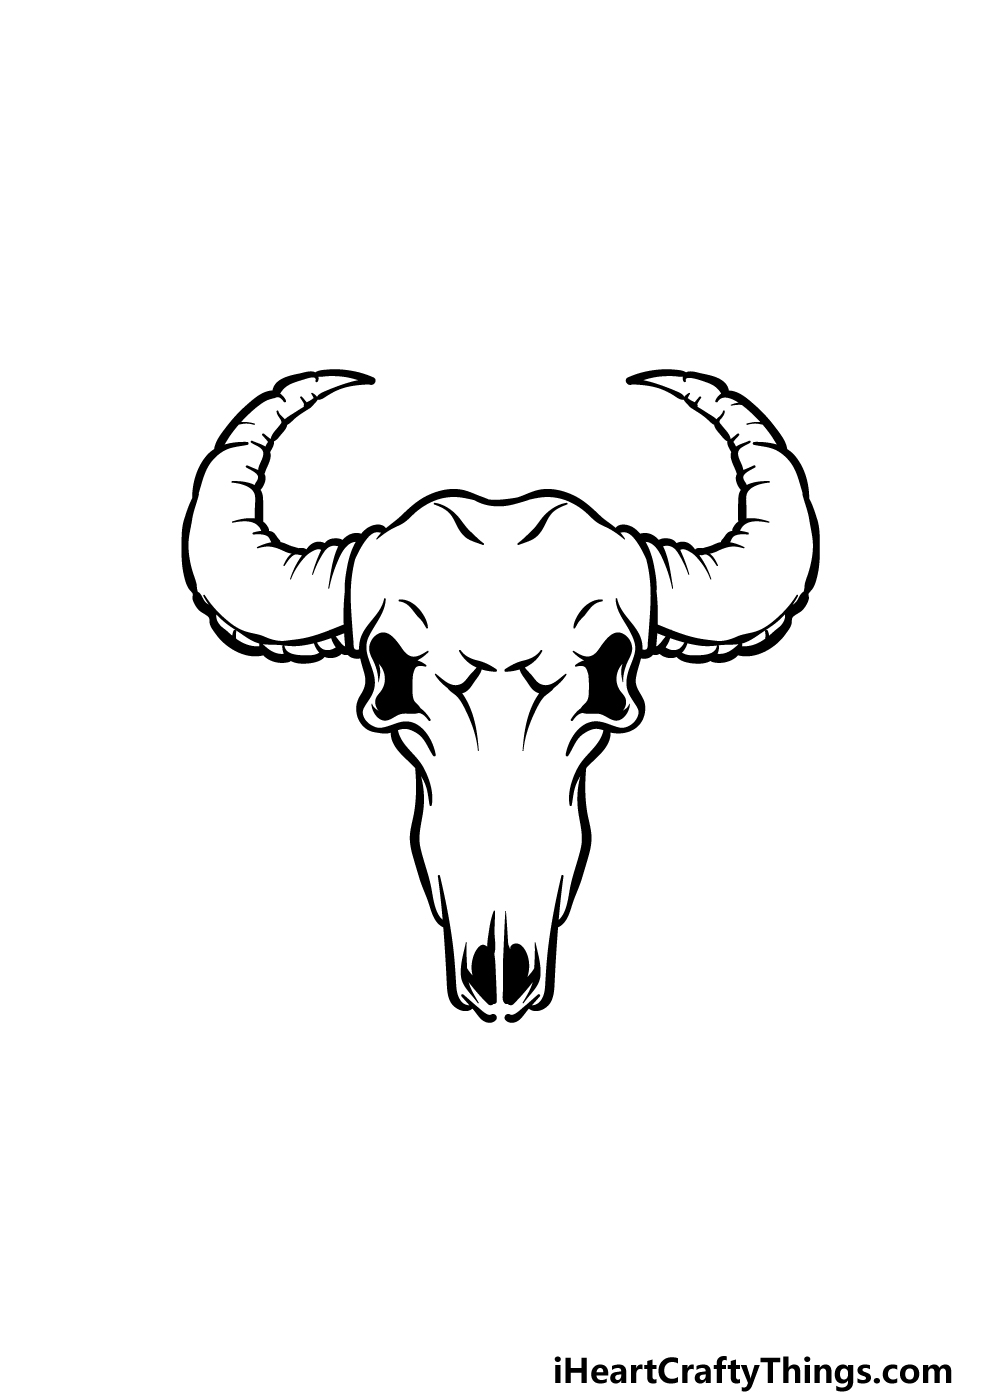
Step 4 – Now, draw some details for the horns

We will keep things simple for this step of your bull skull drawing. For now, we shall be focusing on the horns of the skull.
To do this, simply draw some curved lines extending inward from the outer sides of the horn outlines.
This will help to provide some texture detail for the horns and give them that ridged, bumpy look that real horns have.
When you have added these details, we can then add the final touches in the next step, so let’s move on!
Step 5 – Add the final touches for your bull skull drawing
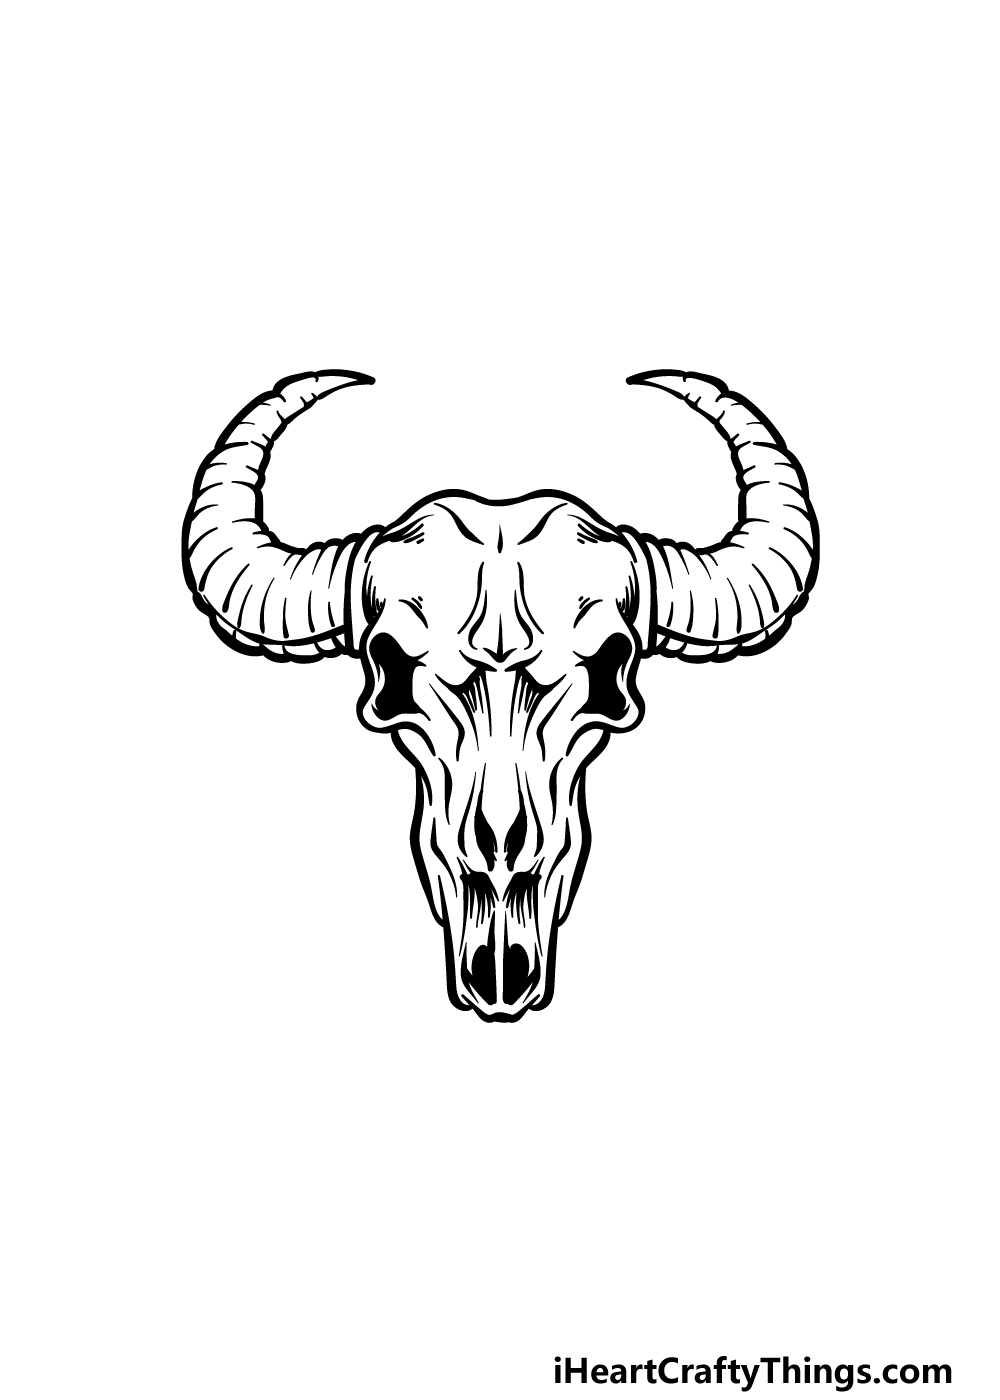
This part of our guide on how to draw a bull skull will be all about adding some final details to really finish it off nicely.
We will be adding quite a lot of line details to the drawing, but try not to get too intimidated as it is not as hard as it looks!
The important thing to keep in mind is that the skull should look symmetrical. With this in mind, refer closely to the reference image and try to create the first half of these details.
Then it will make it easier for you, as you can mirror what you did for the other side.
Once you have finished decorating the skull, you can then add some touches and details of your own to it!
You could incorporate it into a cool design, or maybe add some damage details to it for a few ideas. What other ideas can you think of that would finish off this picture?
Step 6 – Finish off your bull skull drawing with some color
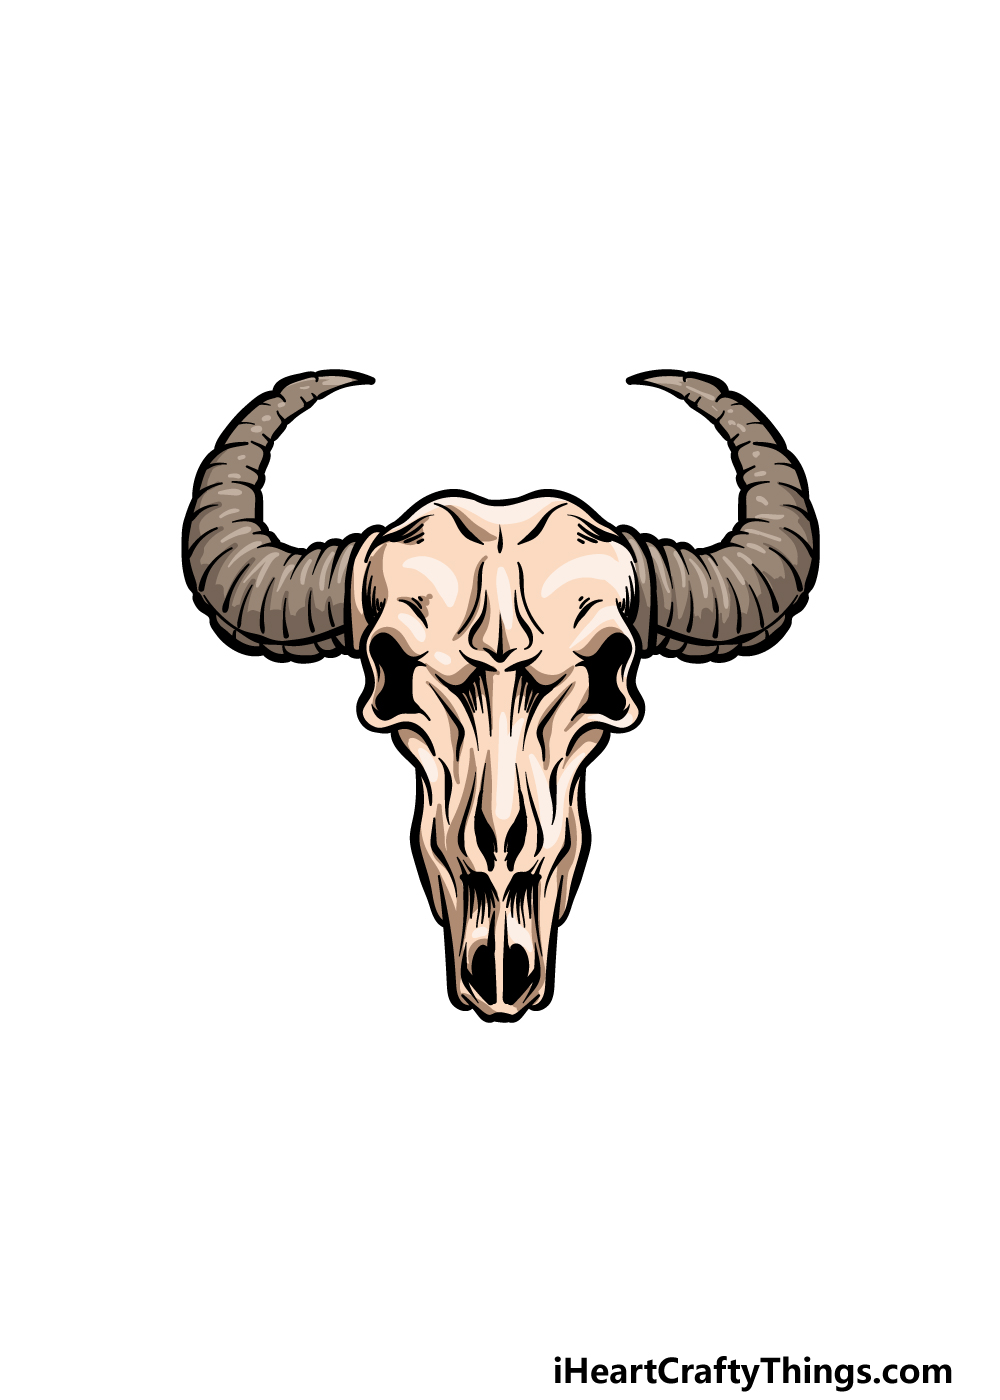
For this final step of your bull skull drawing, we shall finish it off with some color. Skulls are typically quite light and dull in color, and that is the approach that we went for in our example image.
We incorporated some shades of browns for the horns of the bull, whereas for the skull itself we used some light browns and beige colors to finish it off.
You could go for a similar color scheme for a more realistic look, but there are many ways that you could finish off this drawing as well!
By incorporating some more vivid colors, you could create a wonderfully stylistic image. The art mediums that you choose can also have a huge impact on how the colors appear.
Mediums like watercolors and colored pencils would be perfect for some lighter colors, whereas some colored markers and acrylics would be great for brighter tones. What will you pick for your image?
Here’s how you can make your bull skull drawing even better…
Make this awesome bull skull sketch look even better with these 4 fun ideas!
One way that you could make this drawing of a bull skull even more interesting to look at would be by drawing some more of the skeleton.
This could actually be a bit of a challenge, but you could look up some pictures or diagrams of real bull skeletons to help you out if you want to try this.
How much of the skeleton would you potentially want to add to the image?
If you wanted to keep the bull skull drawing as is, there are some creative ways you could present it. For example, maybe you could draw a piece of wood that the skull is mounted on.
This would make it look like this bull skull is a trophy hanging on a wall. Or, you could draw a ranch setting and have the bull skull as a decorative element above the entrance.
How else could you present this awesome bull skull you have created?
Another way to make the picture even cooler would be by adding more skulls. These could be deer skulls or other cool-looking ones that would go well with this bull skull.
This is another idea where you may want to look up some examples online to help as you draw. It could be fun to also draw these additional skulls to look like trophies if you went with that suggestion.
What are some interesting animal skulls you could use to accompany this bull skull?
Finally, if you wanted to make something really creative and spooky then you could turn this bull skull sketch into a mask or the head of a creature.
There is something kind of creepy about this bull skull, so it would look really scary as the head of a monster. The only question is what kind of body do you think this monster would have?
We would be very interested to see what kinds of scary creatures you could create with this bull skull!
Your Bull Skull Drawing is Complete!
That will do it for this step-by-step guide on how to draw a bull skull! In this guide, we aimed to make sure that this process would be a fun and easy task for you to take on.
It can take all the fun out of drawing when you’re dealing with frustration, so we hope that you could focus on the fun of creation while working on this tutorial!
Don’t forget that you can also add some of your own details and incorporate it into some amazing designs!
By doing this or shaking up the colors that you choose, you can really create some wonderfully unique pictures.
Then, when you’re all done with this picture you don’t have to let the fun stop there! You can find some more amazing guides to enjoy on our website. We will also be uploading new ones often, so definitely keep checking in!
We would love to see how your bull skull drawing came out, so please remember to share it on our Facebook and Pinterest pages when it’s complete!