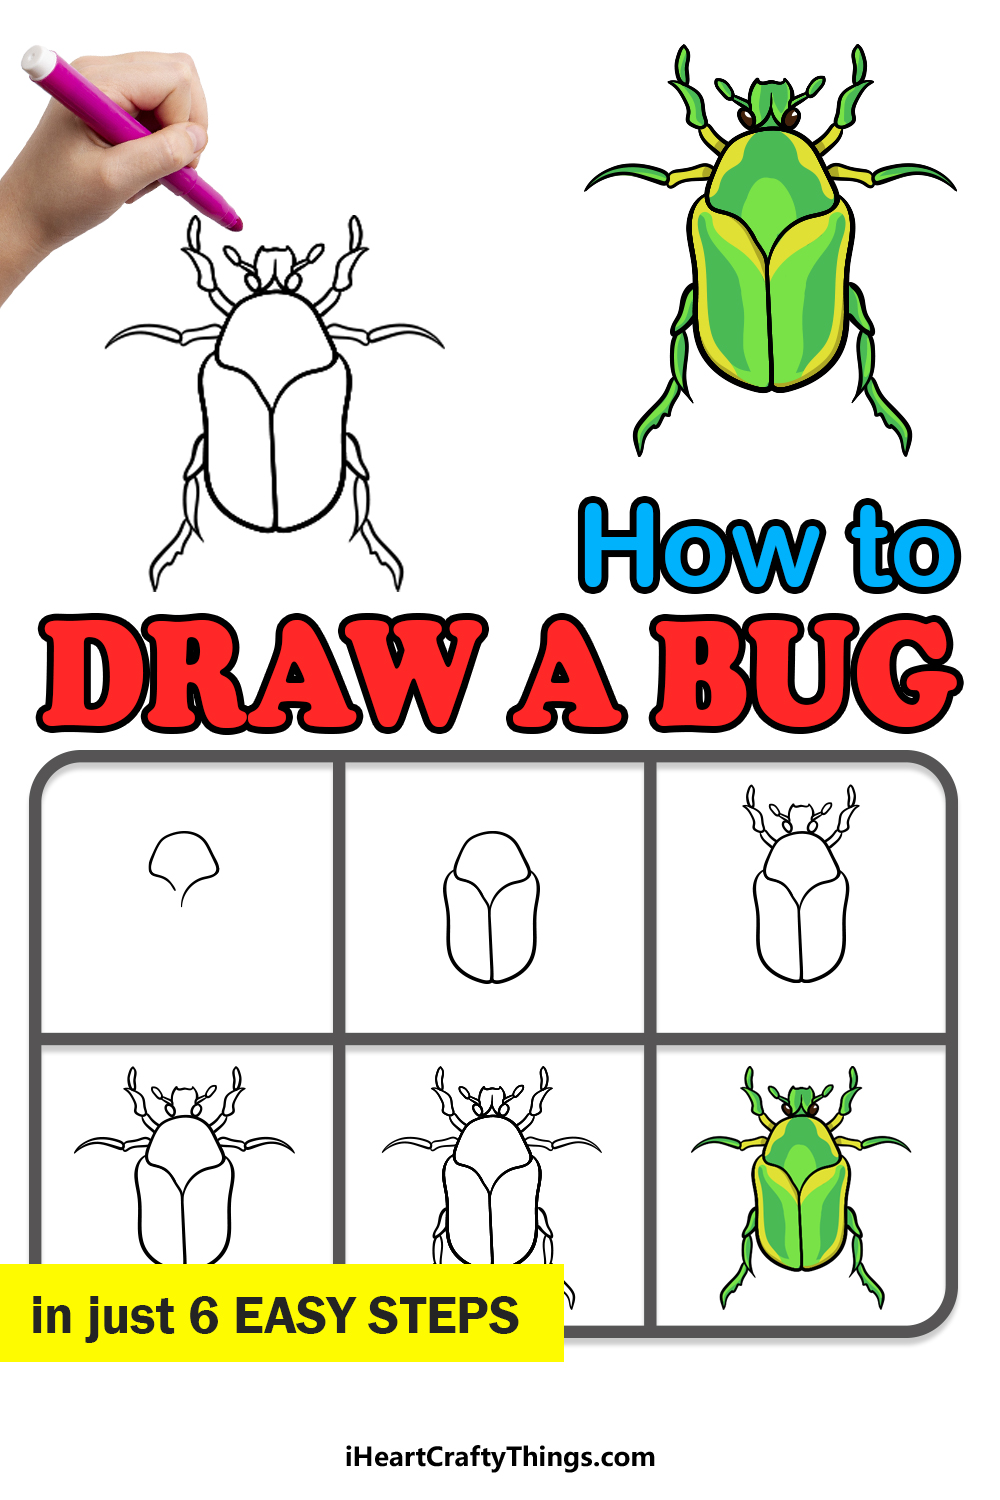
It’s time to learn how to draw a bug in the easiest way possible! This guide for kids will make it simple for anyone to follow along and make their very own bug.
Bugs have always been a bit creepy to me, but I do appreciate just how many of them there are. They come in all shapes, sizes and colors, and there is a lot to admire about them!
A lot of people like to draw these little guys, but when you actually sit down to do it, you may soon see that it’s not as easy as you think.
That’s why I wanted to make this guide, and I will take you through all of the steps to make it much easier. Once you have completed the guide, you could even adapt the steps to draw other kinds of bugs.
Watch And See How To Make A Cool Bug Drawing
How to Draw A Bug – Let’s Get Started!
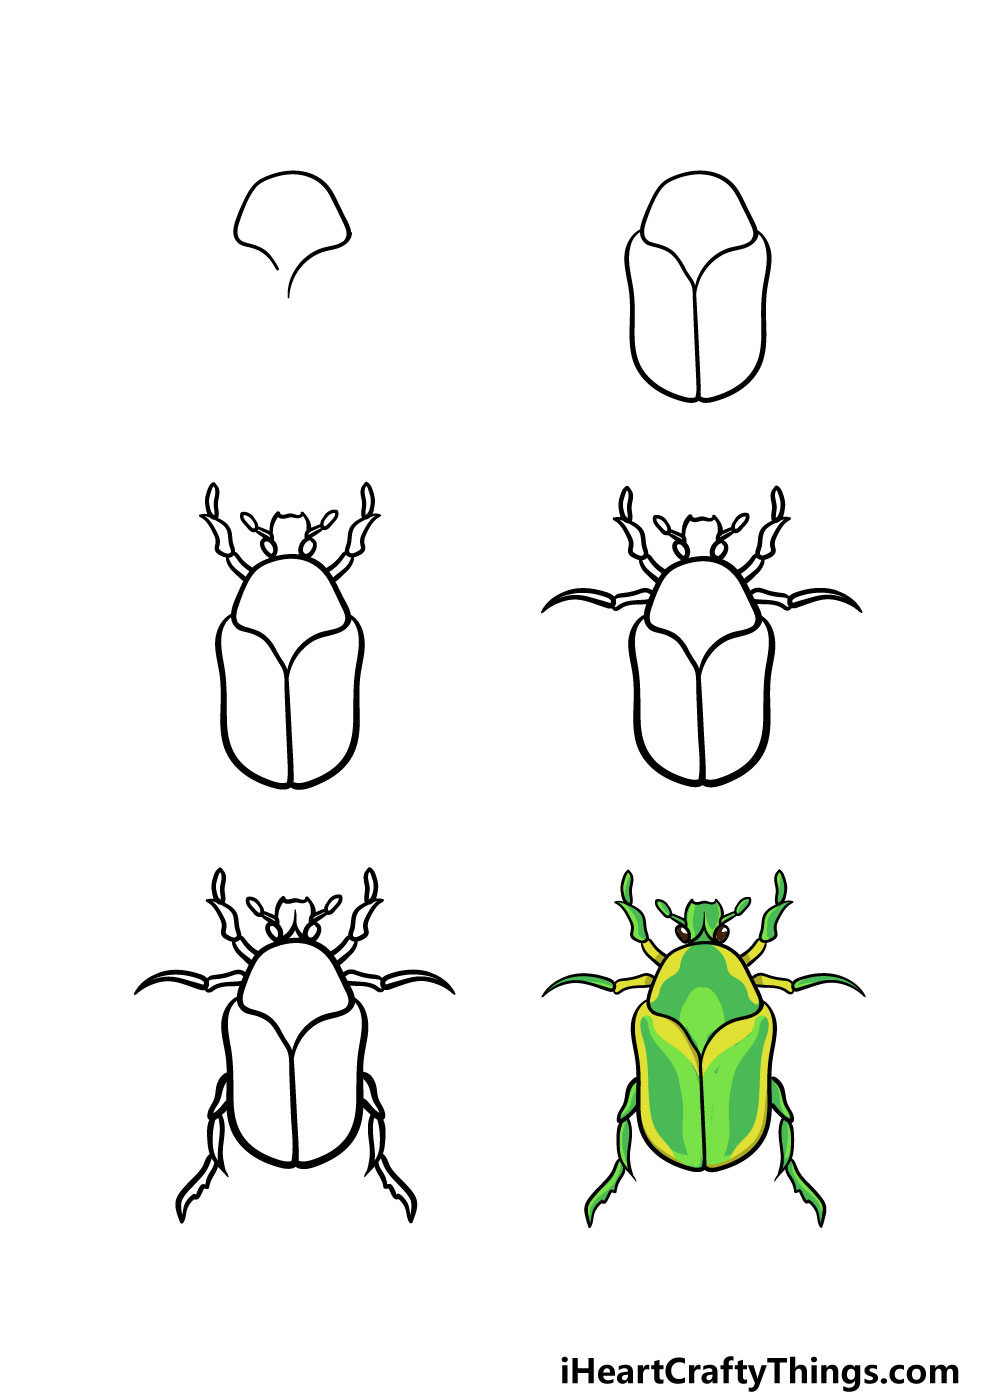
Step 1

For this first step of our guide on how to draw a bug, we shall start with the thorax of the bug.
For the thorax, we will be using a curved line to create the rounded shape that you see in our reference image.
There will be a small gap at the very bottom of the point at the bottom of the shape. We will be filling that gap in one of the next steps, so now you’re ready to proceed on to the next step!
Step 2 – Continue to draw the body of the bug in this step
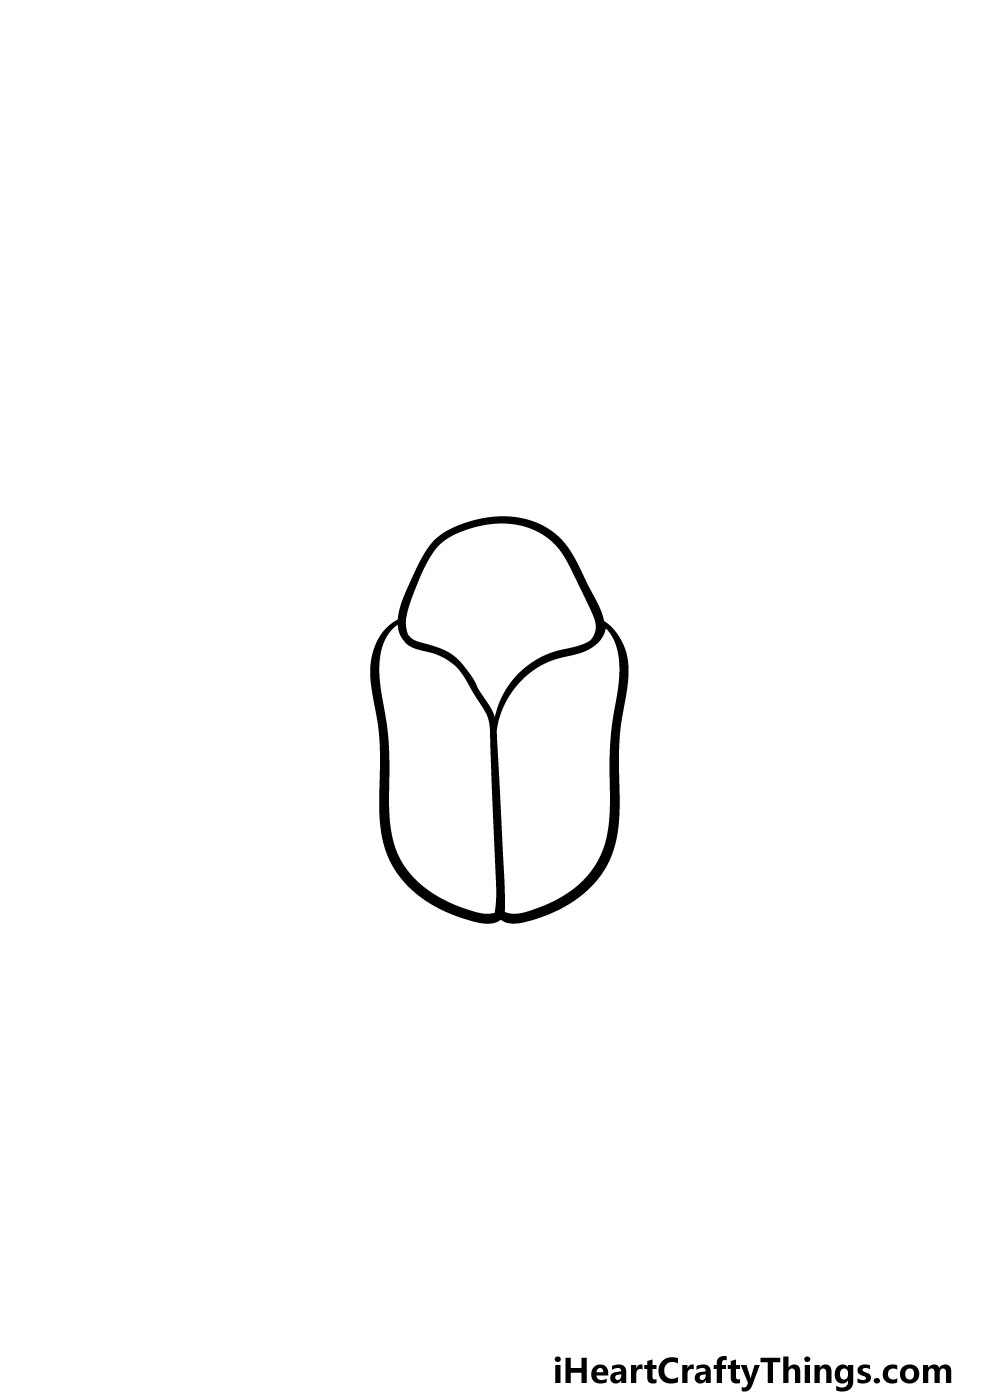
Now that you have the thorax of your bug drawing done, you can start to draw the abdomen in this step.
The abdomen is separated into two halves, and you will be using some more rounded lines to make these halves.
They will connect in the center, and you will be filling in the gap that you left in the thorax previously.
It wouldn’t be much of a bug without a head, however, so now we shall add that next.
Step 3 – Now, draw the head and the first legs

As we mentioned previously, we shall be adding the head in this part of our guide on how to draw a bug. The head will have two diagonal ovals at the base of it for the eyes.
Then, you can draw some feelers with some thin rectangles with more ovals at the end. Finally, you can use some pointy lines above the eyes for the top of the head.
Finally, we will be adding a leg on each side of the thorax. These legs will be drawn using three sections for each one.
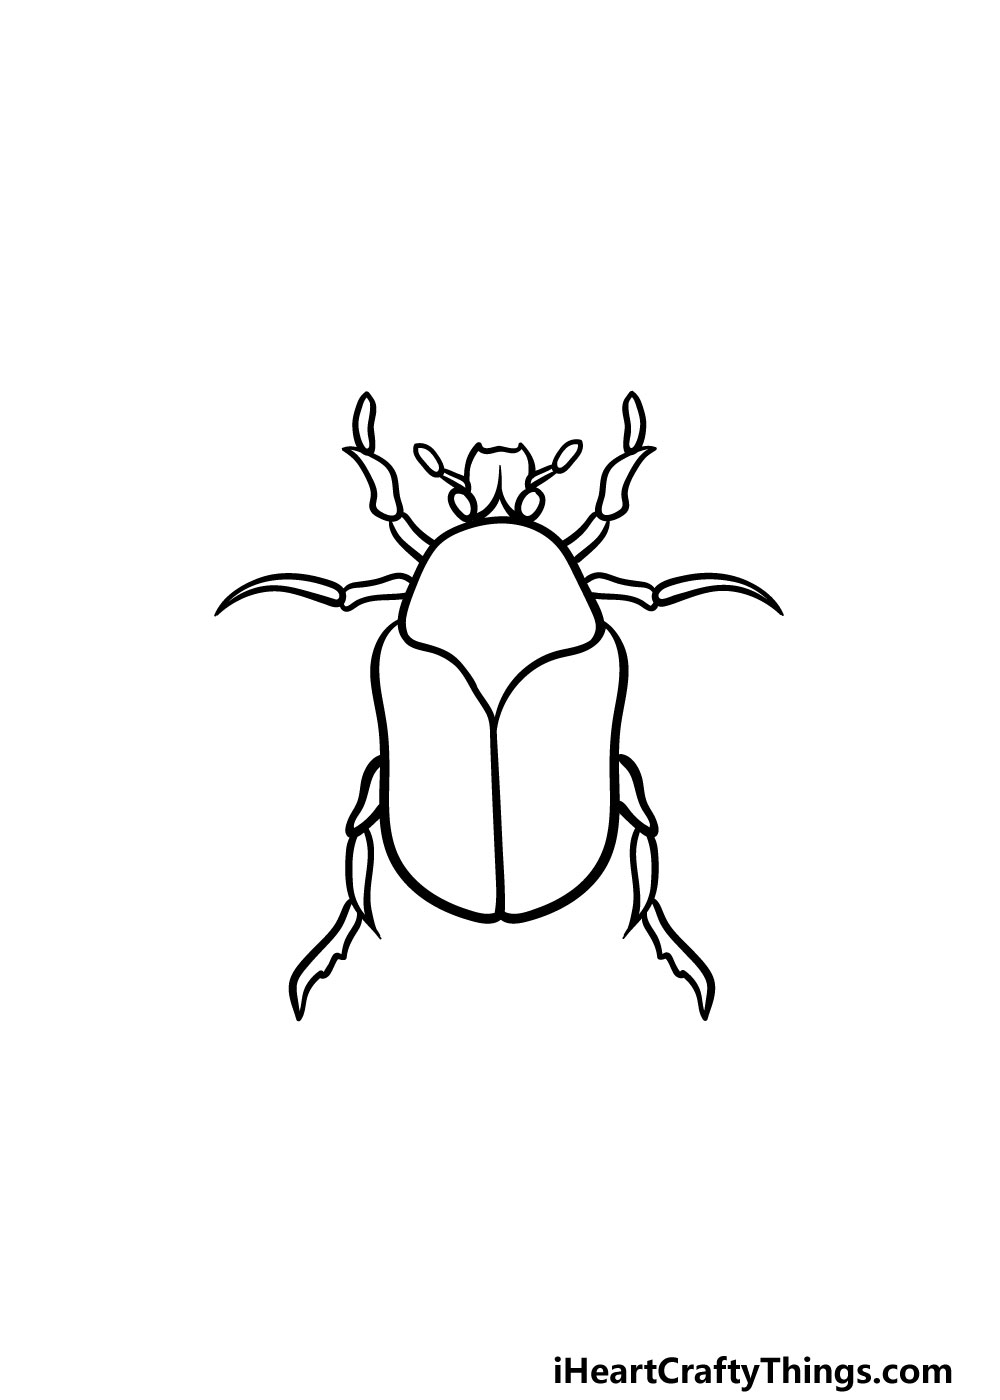
Step 4 – Next, draw some more legs for the bug

You have two legs for your bug drawing so far, and in this step we will add two more. These legs will go on the middle of the bug, as shown in the reference image.
They will look very similar to the first ones you drew, however the angle will be a bit different.
Once you have it looking like they do in our example, you’re ready for some final details!
Step 5 – Now, you can finish off the final details
Soon you will be able to color in your picture, but first we have a few final details to add in this step of our guide on how to draw a bug.
As you know, insects have six legs in total, and now we will be adding the final two legs. These will also be made up of three segments that extend backward.
Then, once you have those legs you can add some curved line detailing to the head of the bug.
That’s all there is to it for this step, and now you’re ready for the final one! Before you move on to step 6, you can also create your own touches and details.
One thing that you could do would be to draw a background for your drawing. This could suggest what kind of environment this bug is in, or you could create a more stylistic background for it instead.
You could also add some objects and props for your bug to interact with, and if you’re feeling ambitious then you could draw some other bugs alongside this one!
What details and extra elements can you think of that would finish off this image before the final step?
Step 6 – Finish off your bug drawing with some color
This sixth and final step of your bug drawing is the one that will allow you to bring some amazing colors to your image!
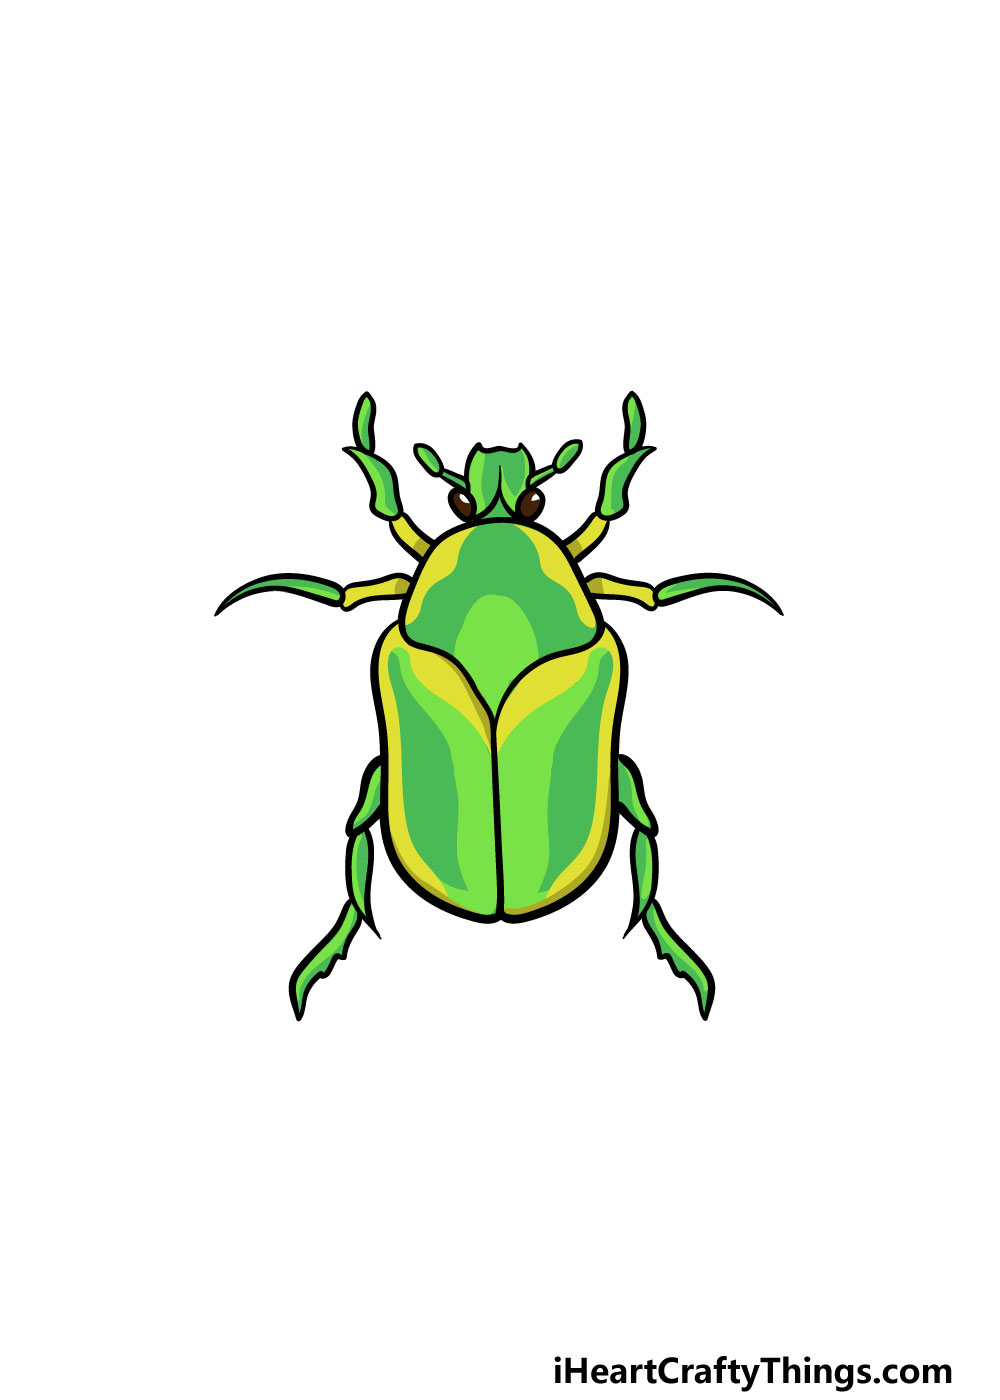
Our reference image has shown you just one way that you could color in your picture, but this is just one of many ways that you could color this picture in.
For our image, we used a variety of different shades of green to color in the insect, but there are many different ways that you could go about coloring this in.
Insects can come in pretty much any color you can imagine, so that gives you a lot of freedom to use your favorite colors for this picture.
You could make the colors bright and vibrant or keep them a bit more muted and subdued. It’s all up to you and there are no wrong ways to go about it!
Once you have chosen your colors, you can also have fun as you choose which art mediums you will use to bring them to life.
You could go for acrylic paints with colored pens to keep them bright and vibrant or use watercolors and colored pencils for more muted looks.
These are just a couple of examples that you could use, however, so definitely let your creativity flow and see what happens!
Here’s how you can make your bug drawing even better…
Make this bug sketch look even more amazing with the help of these tips.
The insect we created for this bug drawing looks really cool! As you know, there are millions of different kinds of insects in the world, and you could add a few of these to the picture.
If you are a bug enthusiast with some favorite insects, then you could add your favorites to the image. If you want to take it a step further, you could keep their sizes to scale to show how big they are compared to one another.
If you want to stick to just the one insect for this drawing of a bug, it could be a fun idea to make it look like an image out of a textbook. While the species of insect that this bug is is debatable, you could look up some beetles or similar bugs.
Then, you can use this to help you as you label the various parts of the bug. That would make this picture educational as well as fun to look at!
Drawing a background would really take this bug sketch to the next level as well. If you want to keep things simple, then you could draw it nibbling on a leaf or walking among some grass.
You could also show off the perspective of a tiny bug by having some objects that would be normal-sized to us look huge for the insect.
There are tons of creative backgrounds to create, so be sure to have fun getting creative!
Bugs can come in pretty much any colors you can imagine, and many have beautiful patterns and shapes on their wings and bodies.
That means that you could use any colors you like for this bug drawing! We used some nice greens for our examples, but you could go with any colors you like.
It could even be fun to draw some of those patterns and shapes we mentioned. What kind of appearance would you like for this bug?
Your Bug Drawing is Complete!
Reaching this point of our guide on how to draw a bug means that you have successfully completed the project!
We aimed to make this guide as easy to use as possible, but we were also aiming to make sure that it would be lots of fun too.
We hope that both of these goals were achieved for you! By breaking down a drawing into smaller steps, it can make it so much easier to grasp, and that in turn can make it more fun too.
Now you can keep the drawing fun going as you add your own details, elements and touches. We mentioned a few ideas such as a background and different insects, but this is definitely where you can use your imagination and see what you come up with.
Once you have finished this guide and are ready for more, we have many more amazing guides for you on our website! Be sure to keep checking out our website as we upload new ones frequently.
We would love to see your amazing bug drawing once it’s complete, so please be sure to share it on our Facebook and Pinterest pages for us to enjoy!