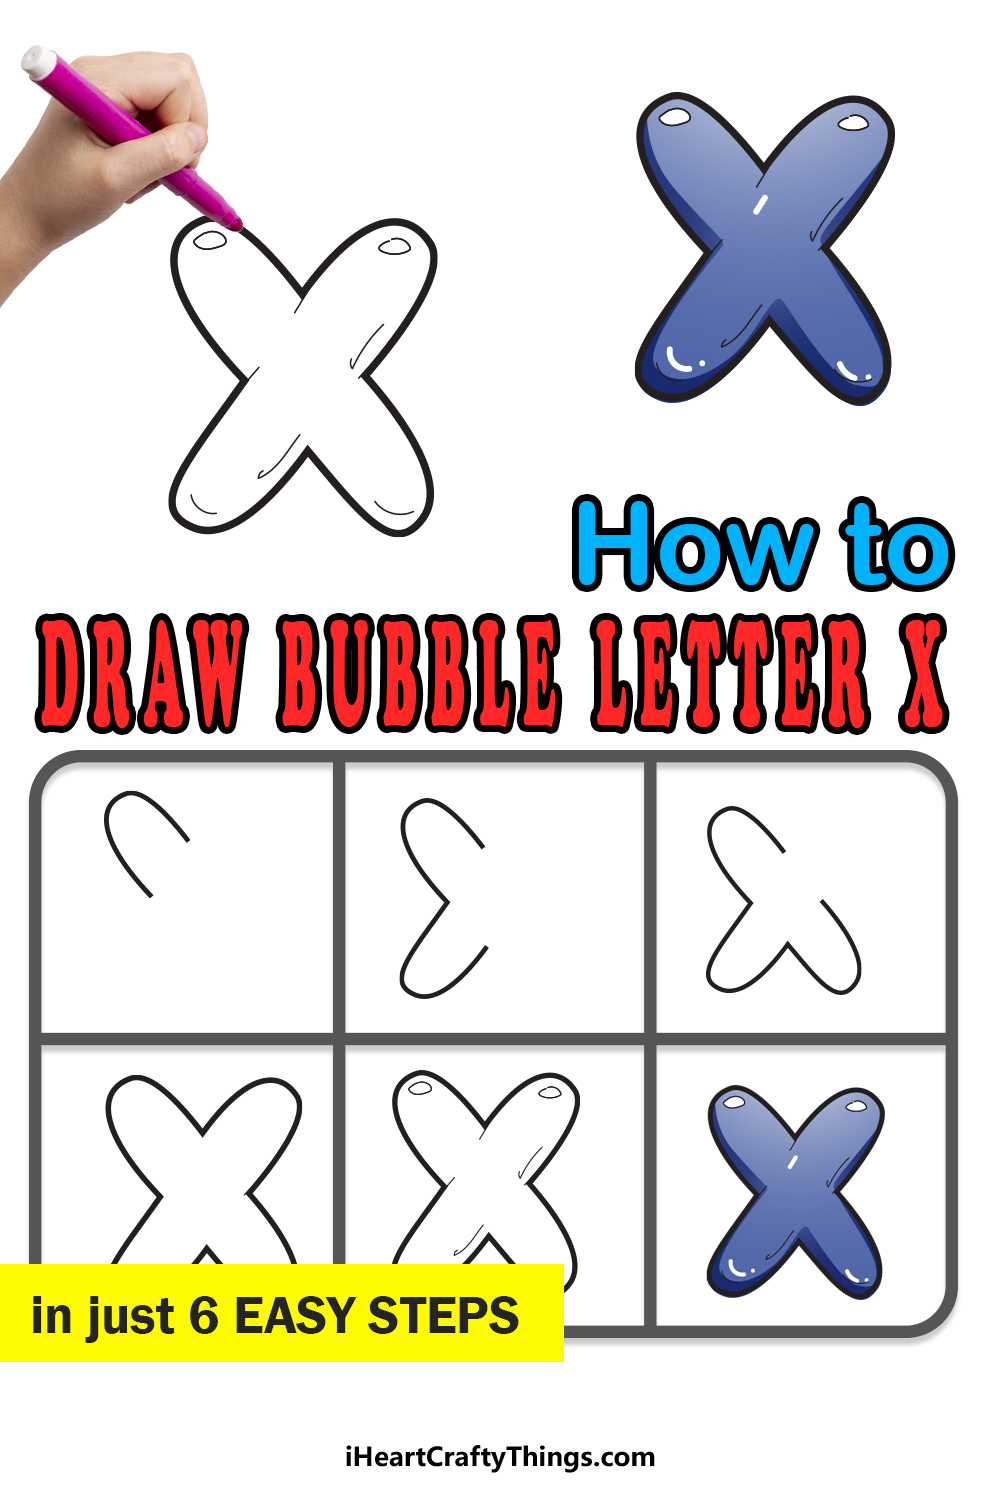
The letter X is a letter that we tend to associate with excitement and taking things to the extreme! It’s good that it has that association, as it is a fairly rare letter in the English language generally.
When writing it normally, it’s a fairly easy letter to learn, as it is simply two lines intersecting with one another.
However, we aren’t here to write it normally, we’re here to make an awesome bubble letter X. This will be a lot more difficult than writing it normally.
While it may be more difficult, it can be made much easier when you break it down into smaller steps. That is exactly what we have done in this guide!
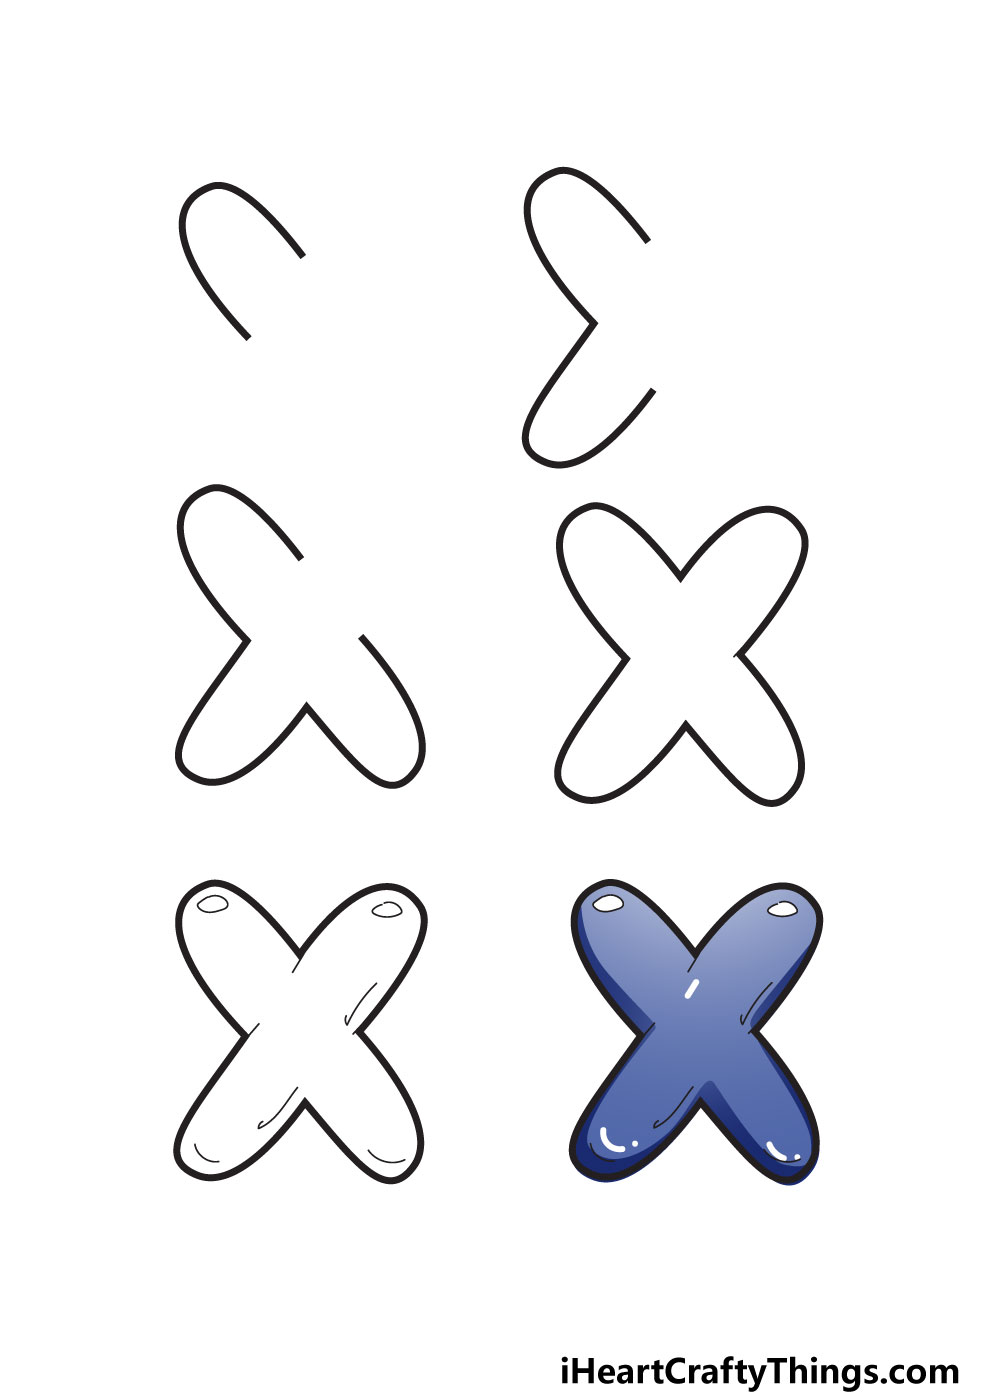
We have six steps that are going to show you exactly how you can make a cool bubble version of this letter in the easiest way possible.
After that, we will see how you can finish it off with some colors and fun details.
Let’s Get Started
STEP 1:
If you’ve ever enjoyed any of our other guides on drawing bubble letters, you will know that we frequently suggest drawing the letter out in pencil before starting.
We will be breaking it down into simpler steps, but it could still be beneficial to write out a big X in a normal font. This will also help you plan out the size you would like for your letter.
Just be sure to not press too hard or use a dark pencil, as that will make it hard to erase later. Now, we will draw the first section of the X.
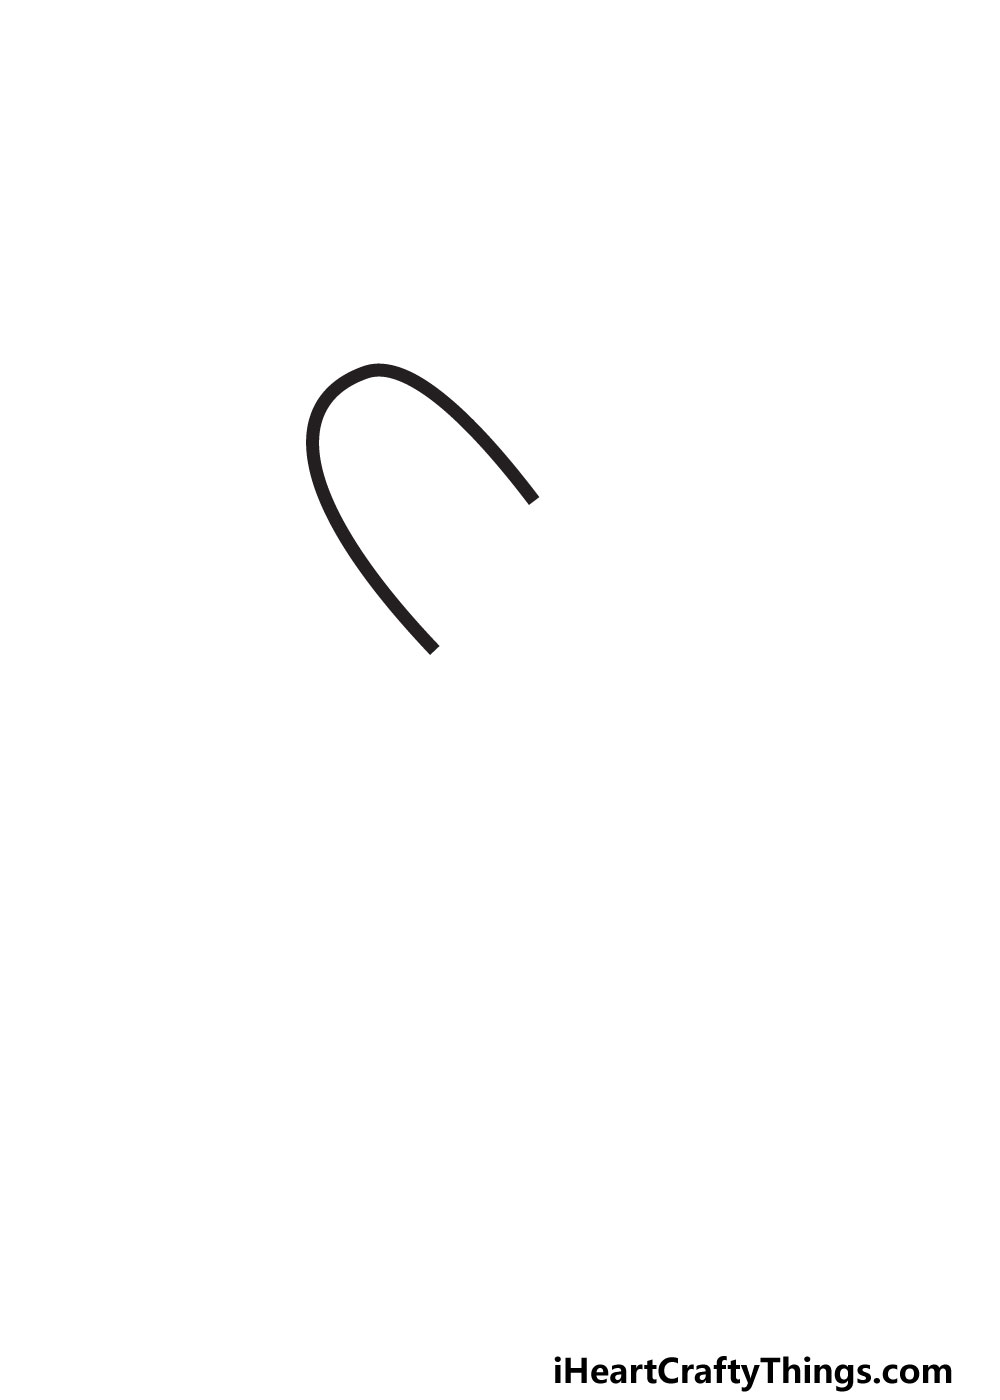
An X is made up of two lines intersecting to make four sections. We will draw the first of these sections now, and it will be the one on the top left.
It can be tempting to use straight lines when making a drawing like this, but we will keep all of the lines nice and round.
We will do this to make it look more like a bubble. For now, we will be drawing a curved line for the first section, and you can see how it’s done in the reference image.
Then, we can add the next section in step two!
STEP 2:
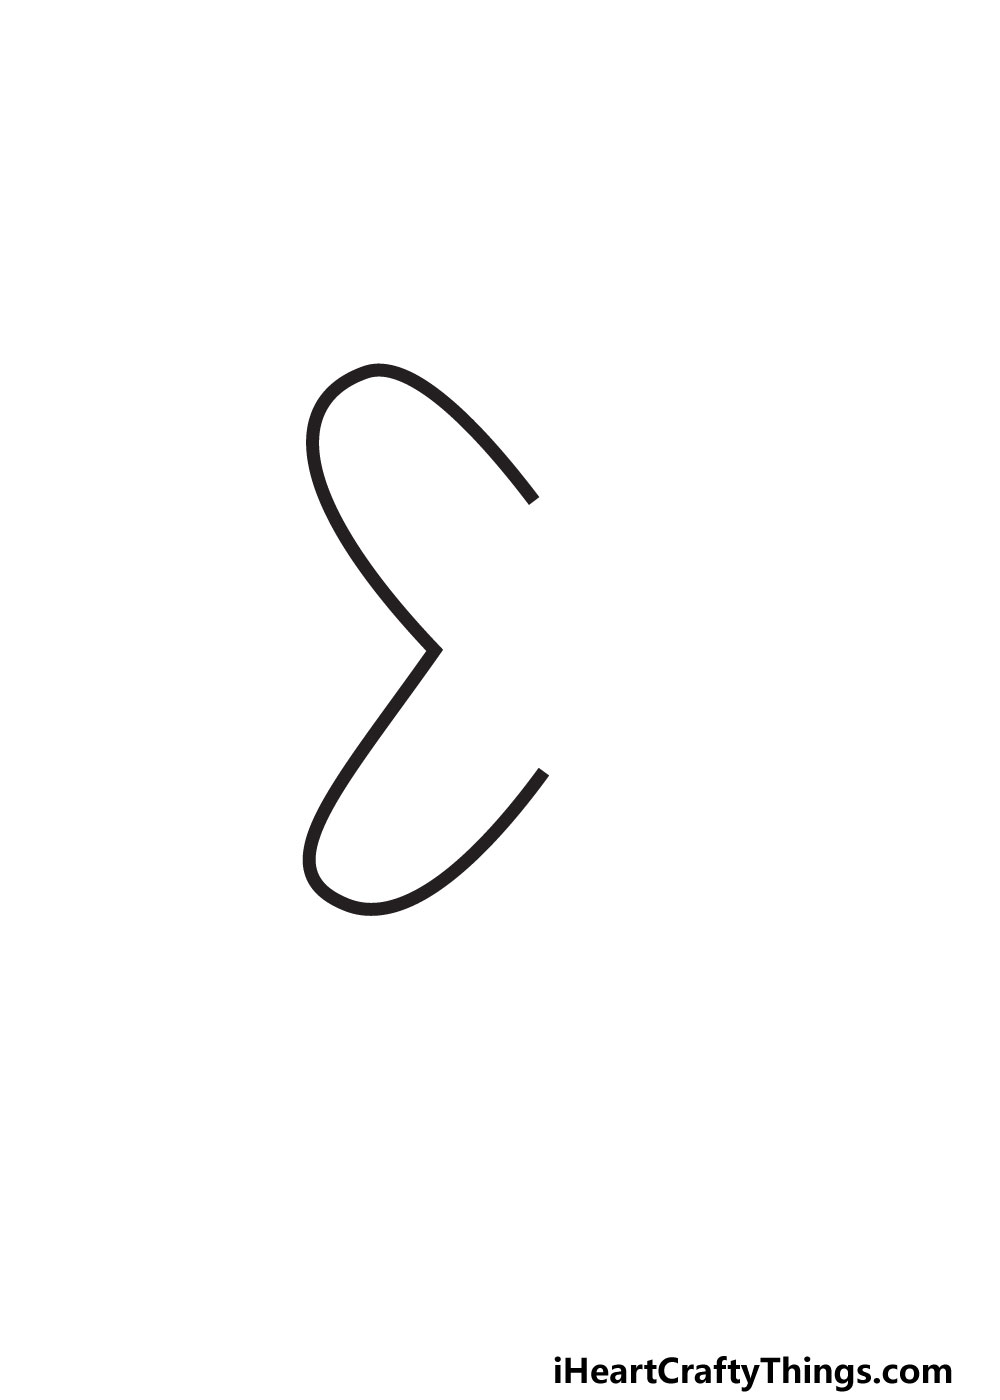
We have one arm of your letter X drawn, and now we will add the second one. The first one was on the top left, and this one will be on the bottom left.
It will be curved and shaped identically to the first one, except it will be at a different angle. Drawing the X out with a pencil would help a lot with how these arms connect to one another.
Also, try to draw these arms slowly and carefully, as it can be easy to make a bit bumpy when drawing a curved line too fast.
That’s two arms down with two to go, so let’s add another one in the next step of the guide.
STEP 3:
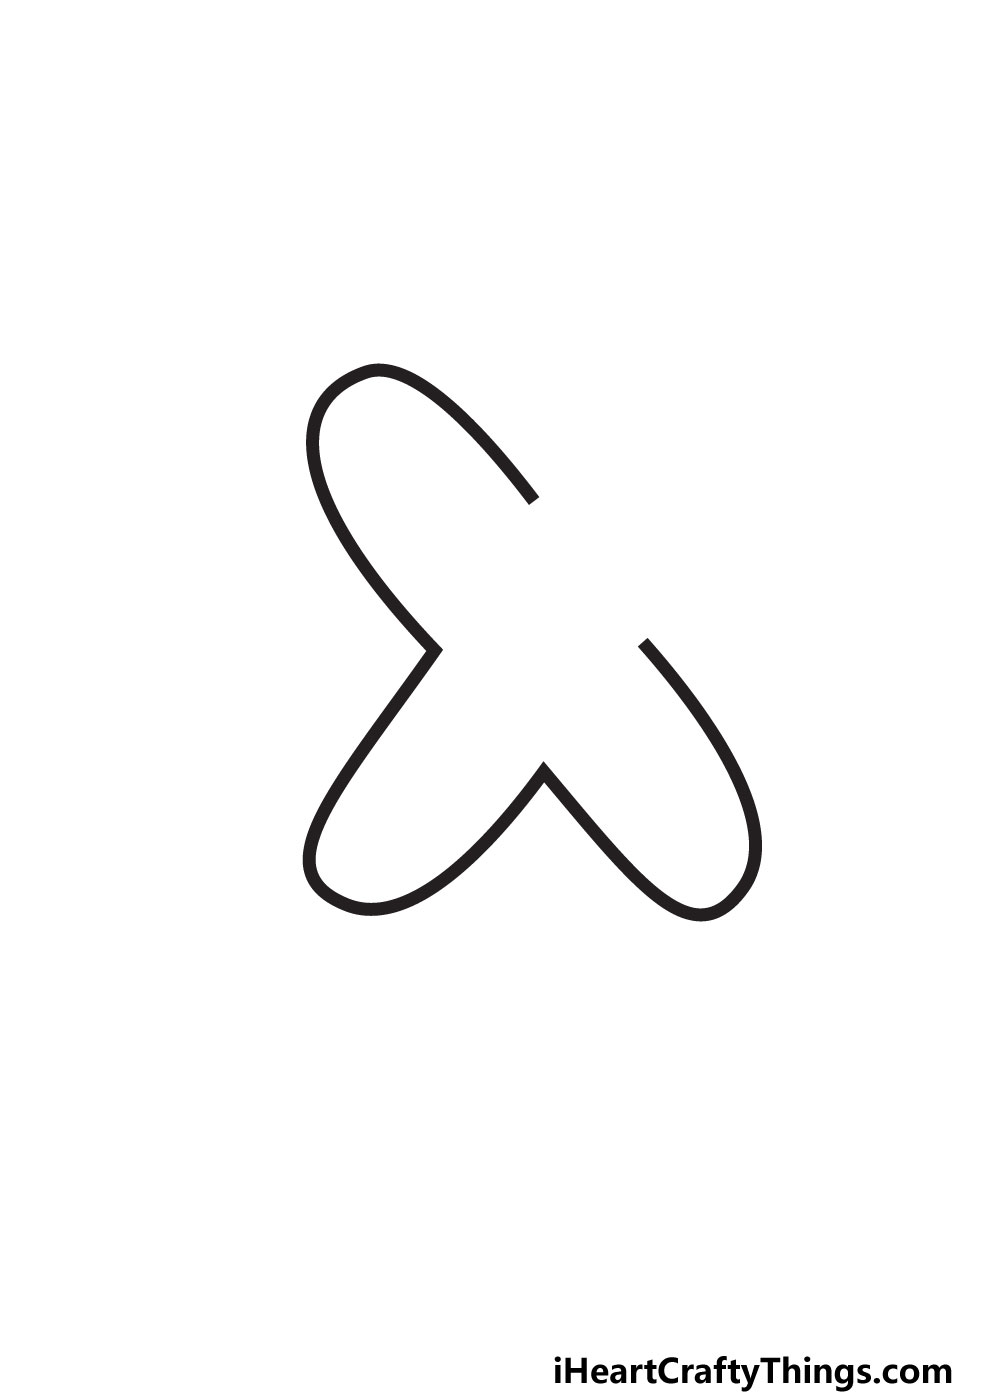
Now you should see where we’re going with this bubble letter X we’re drawing. We shall now be adding the third arm of the X.
This time, it will go on the lower right-hand side of the X, as shown in our example. As always, it will be facing a different direction but will be otherwise shaped identically to the others.
We used the word ‘identically’ earlier, but try not to get too caught up in making them perfectly match. When making the bubble effect, it can actually help if they’re slightly different sizes.
There will now be one final gap to fill, and that’s what we will do in step 4, so let’s proceed.
STEP 4:
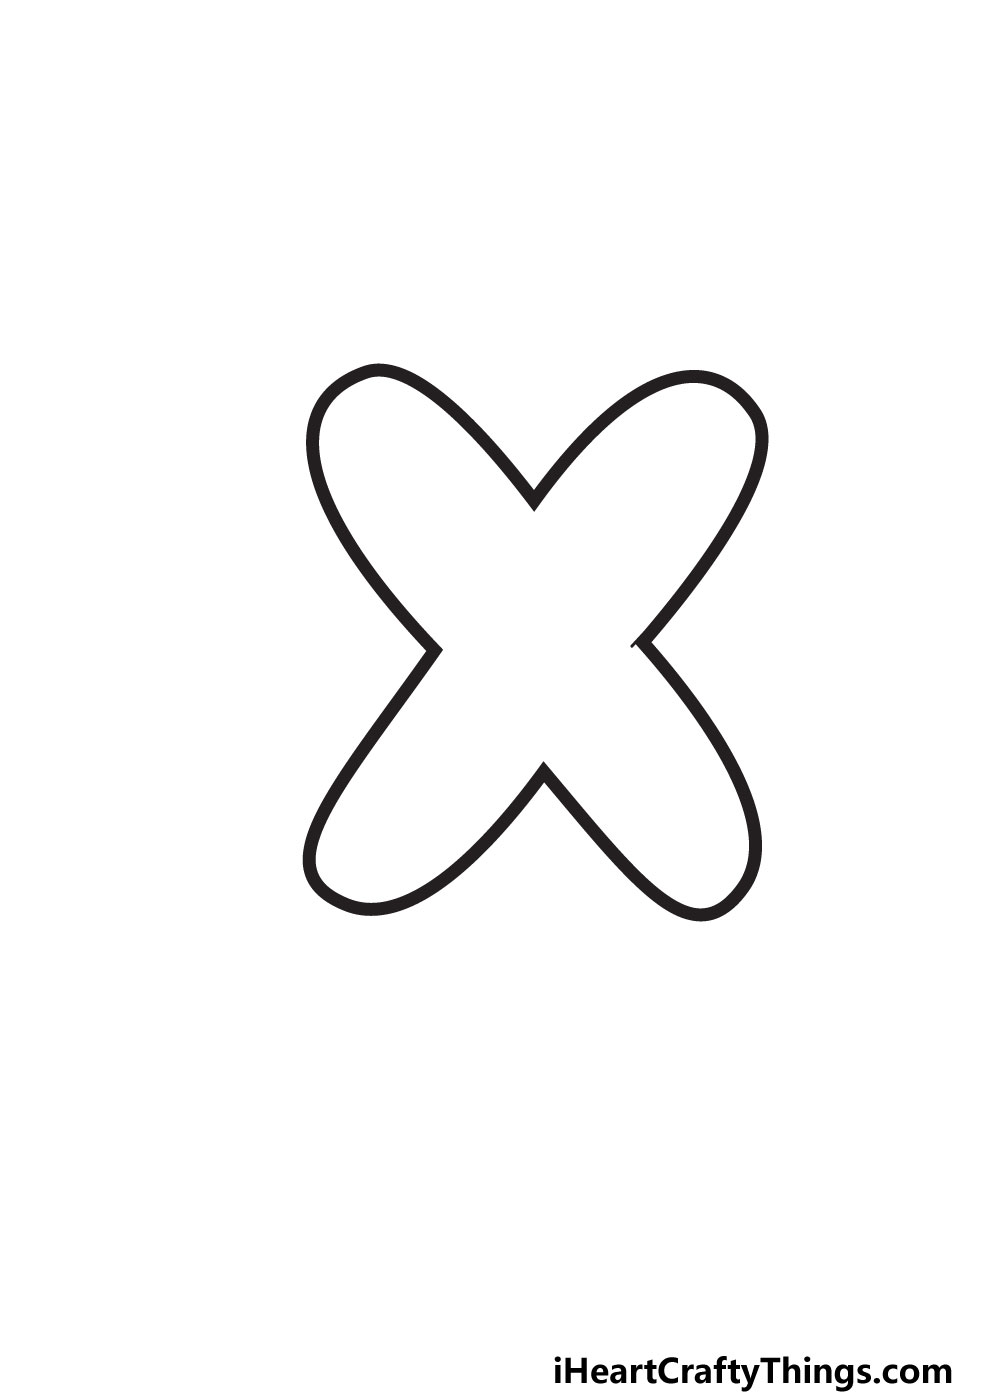
In step 4, we will finish off the outline for your letter X. You know what to do now: simply draw one more curved arm to fill in the space left from last time.
With that, your outline is complete! Now that you’ve successfully done it, you can see that it’s not as hard as it may have looked at first.
We’re not quite done yet though, as we still need to make it look like a bubble instead of a flat letter on a page.
We will do that in the next few steps, but for now we can prepare. You can do this by neatening the final lines up to make a consistent outline.
Then, if you added any pencil guide lines you can erase them now as you will not need them for the rest of the drawing.
Now that the outline is looking good, we can focus on adding some interior details to finish things off before we color in the image.
STEP 5:
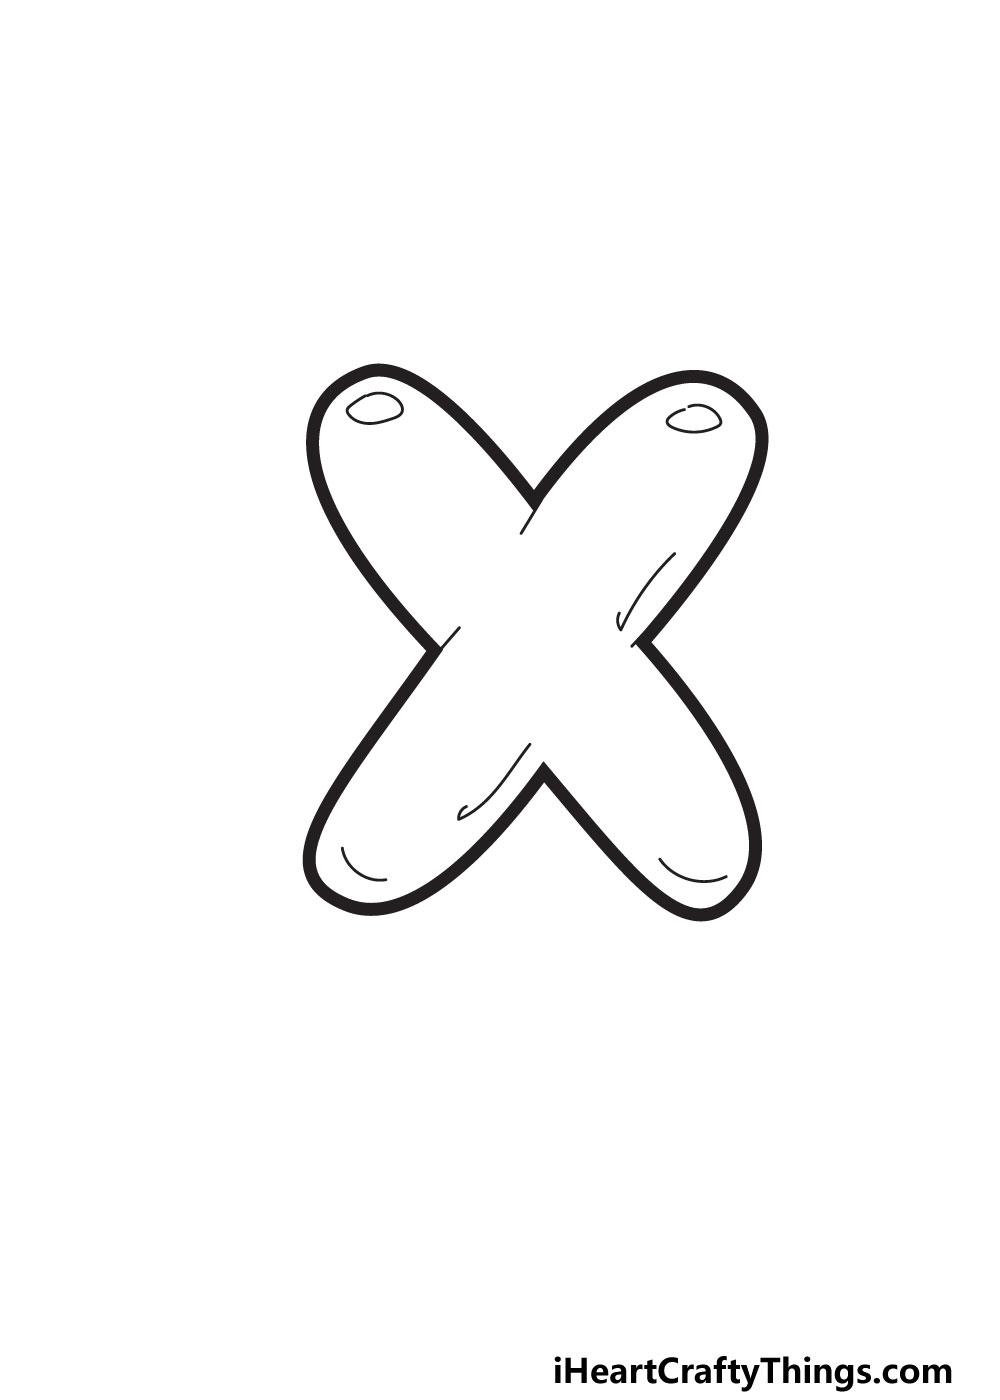
If you look at our reference image for step 5, you will see that we added some simple details to give this image more of a 3D look.
Let’s go over some of these details and how you can add them to your image. The first step is to make it look there is light reflecting on the X.
This is to make it look more like a bubble or a balloon, and it is a simple yet effective trick. All you need to do is draw some small oval shapes on the letter.
We chose to place them on the upper arms of the X, but you could place them anywhere you like. Then, you’ll notice we added some thin, slightly curved lines inside the outlines.
These give the letter some more depth and make it look like it is inflated. Now that you have these details, it already looks more like a bubble.
You could add some more details if you want to take it even further though. For instance, you may want to make it look like a balloon even more.
To do that you could draw a small detail where the balloon was inflated and tied. Then you could have a string trailing from that point!
This is one idea, but now is your time to add any cool details you would like for this drawing before we add some colors.
STEP 6:

You’ve reached the final step of this bubble letter X, and now we can have some fun with colors. Everyone has favorite colors, so you should definitely use whichever ones you love!
For our example, we went with a dark blue color scheme to give this letter a more calming feeling. We like how it looks, and if you do too then you could use similar colors!
If you would prefer something warmer or brighter then you could do that as well. Whatever you choose, you can see how we used shades of the color to make it look more 3D.
The color has a gradient to it where it’s darker in some areas and then gradually gets lighter. If you look at a real balloon, you will see how light can affect the colors.
This is the effect we are going for, and you can play around with it to make it look more like an object.
Different art mediums would be better for this purpose, such as watercolor or acrylic paints. You should definitely use any of your favorite art tools or mediums, however!
My Final Tips To Make Your Bubble Letter X Drawing Even More Special!
In these six steps, we have drawn this bubble letter X, added details and colored it in. Before we finish off completely, we will give you a few more ideas to make it even cooler!
We will start by thinking of words that start with X. Unfortunately, most words starting with X tend to be quite long and complicated.
One common one would be xylophone, which is a musical instrument. Or, you could choose something else you play, which would be an Xbox.
You may have some more ideas, but just with these we can think of some ways to incorporate them. Let’s start with the xylophone.
You could draw this letter X to look like the colorful keys of a xylophone. Then you could add some musical notes and other details.
If you write out the word Xbox, then maybe you could draw some of your favorite video game characters around the word.
These are simple ideas, but they show you how you can get creative with your themes. There are also names that start with X that you could draw.
Some examples would be Xander or something more exotic like Xena. The start of these names are both actually pronounced with a Z sound, interestingly enough.
If you have a name that starts with X or know someone who does, then you could write it out in this bubble style!
