The letter V is the twenty-second letter in the alphabet, and we tend to see it fairly frequently in the English language. It’s also one of the easiest letters to learn how to write.
The capital and lowercase versions of V look identical, except for the lowercase version being a bit smaller.
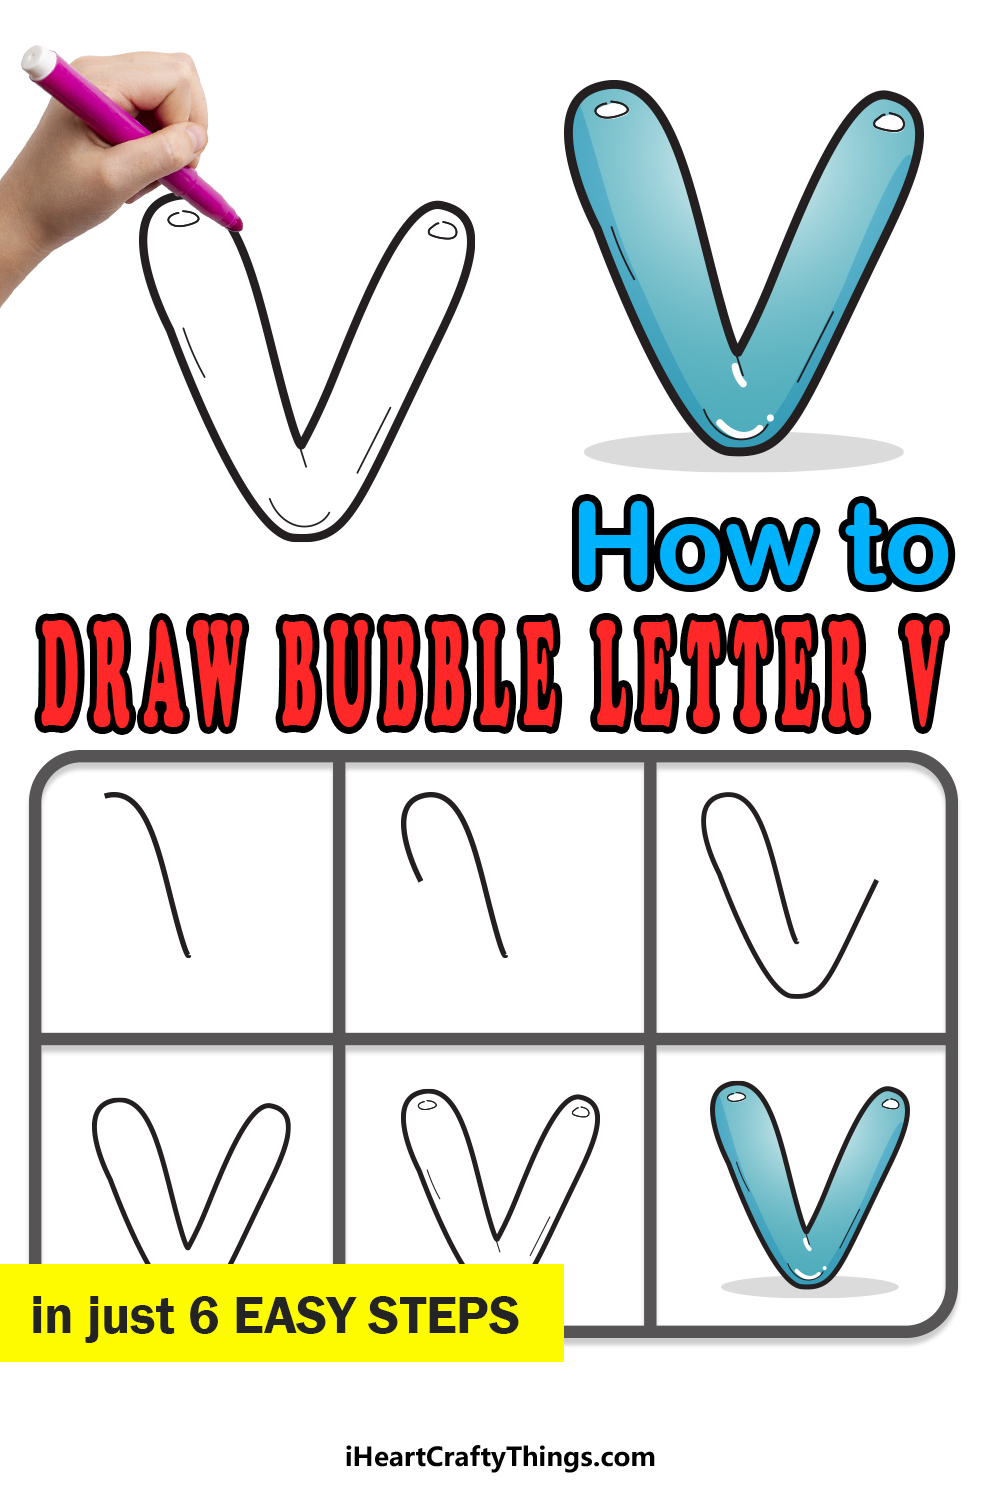
We know it’s an easy letter to write, but we’re here to make it a bit more fun and unique. We will do that by learning how to draw a bubble letter V!
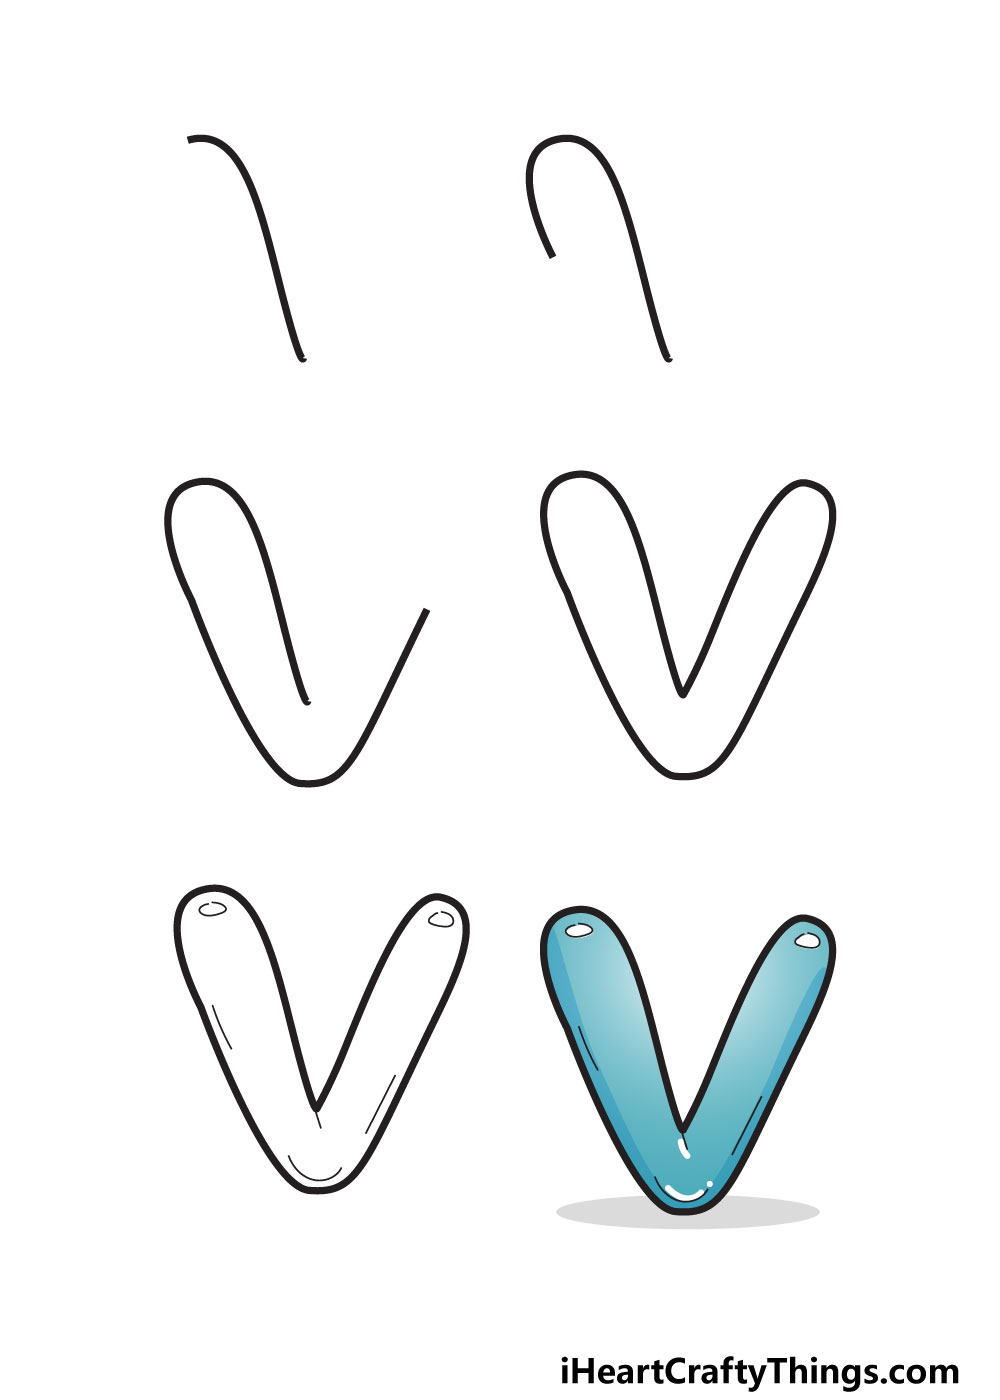
In just 6 steps, you will see how you can make a version of this letter that has a really cool look to it. Not only that, we will go over some ways you can color and add to the design in your own ways.
So let’s begin this guide to see how you can create a fun take on this letter!
Let’s Get Started
STEP 1:
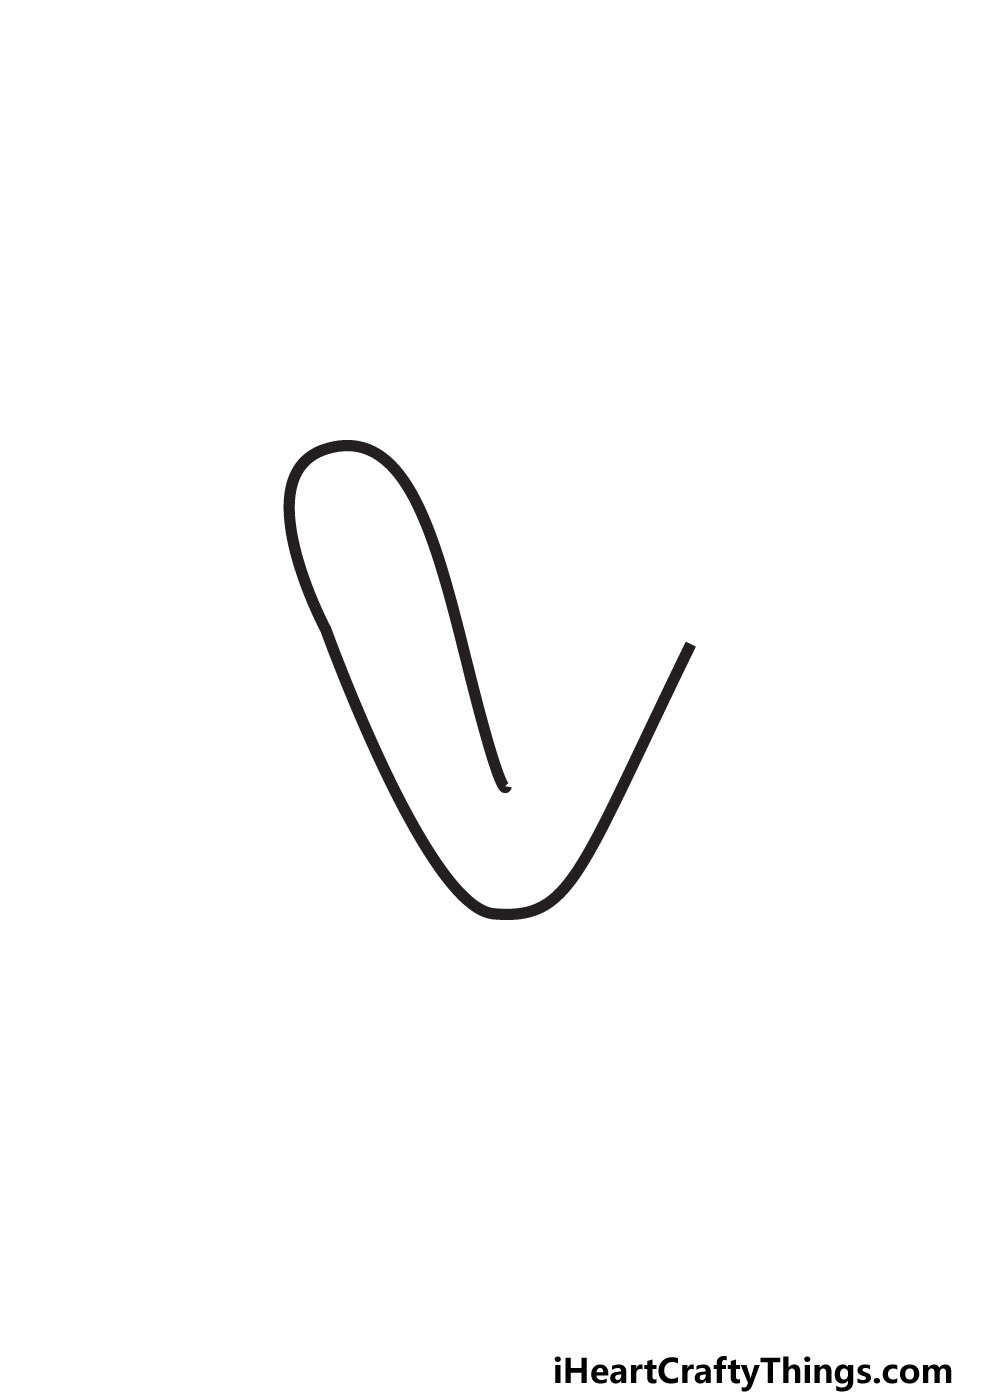
When you look at the letter V, it is drawn and written by connecting two diagonal lines at a point at the base of the letter.
We will essentially be doing the same thing with this bubble letter version of the letter, and we will start with the line on the left.
Even for letters that are simpler like this one, we recommend drawing it out with a pencil first. This pencil version can be drawn like a normal written V, as it’s just there to guide you.
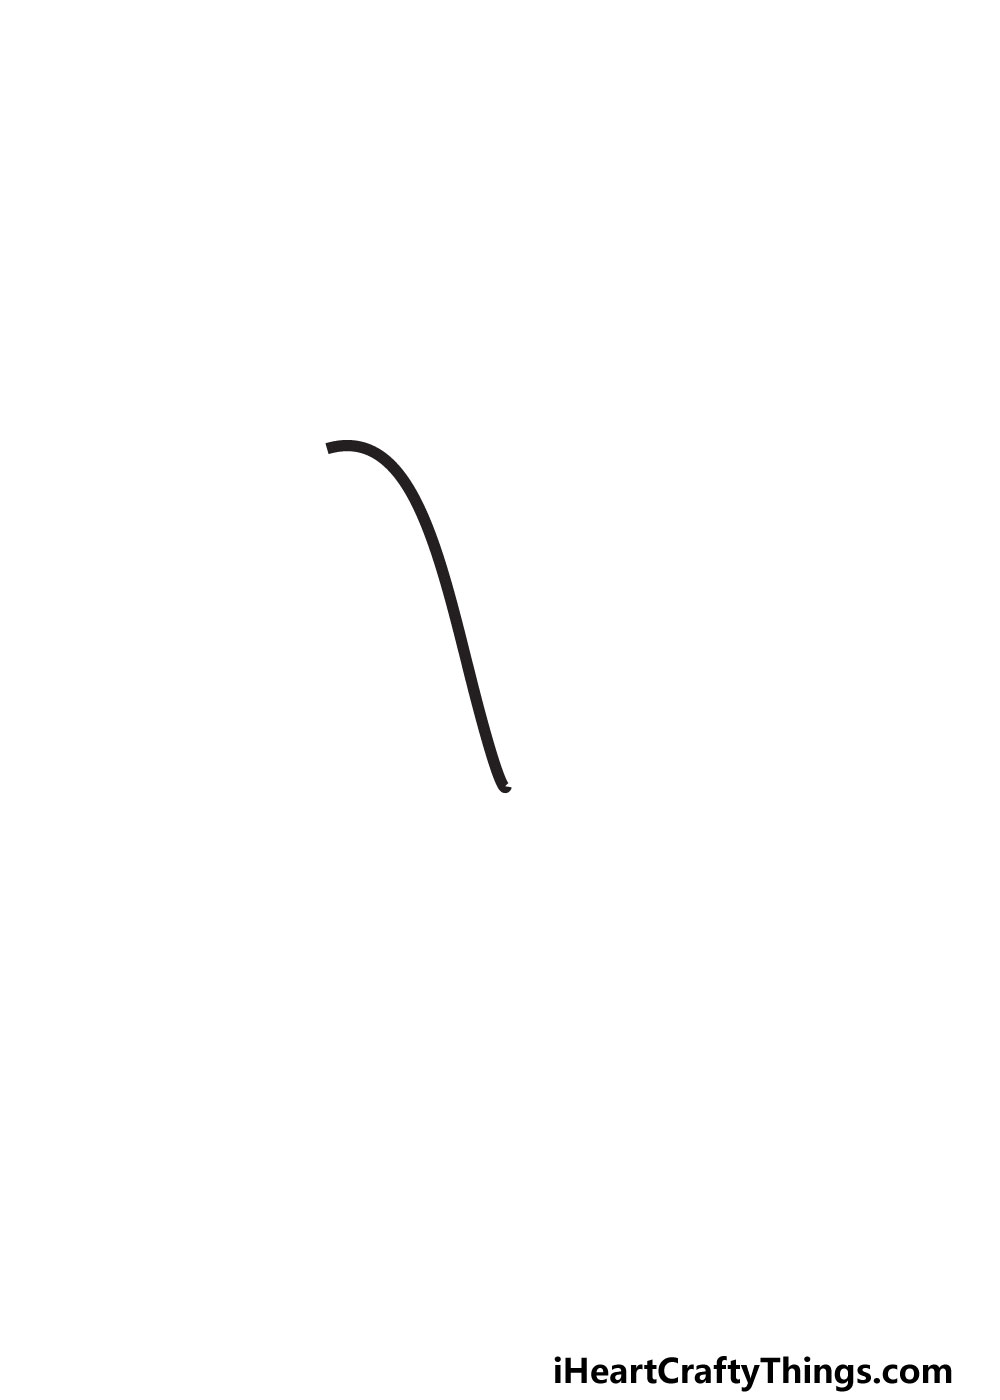
Think of it as a skeleton that you would draw the bubble version around. With that in mind, we can draw the first line of the letter.
This line will be a sharply sloping line with a slight curve at the top. When drawing it, try to follow the reference image as closely as you can.
When you’re happy with how it looks then you will be ready to move to step 2 of the guide!
STEP 2:
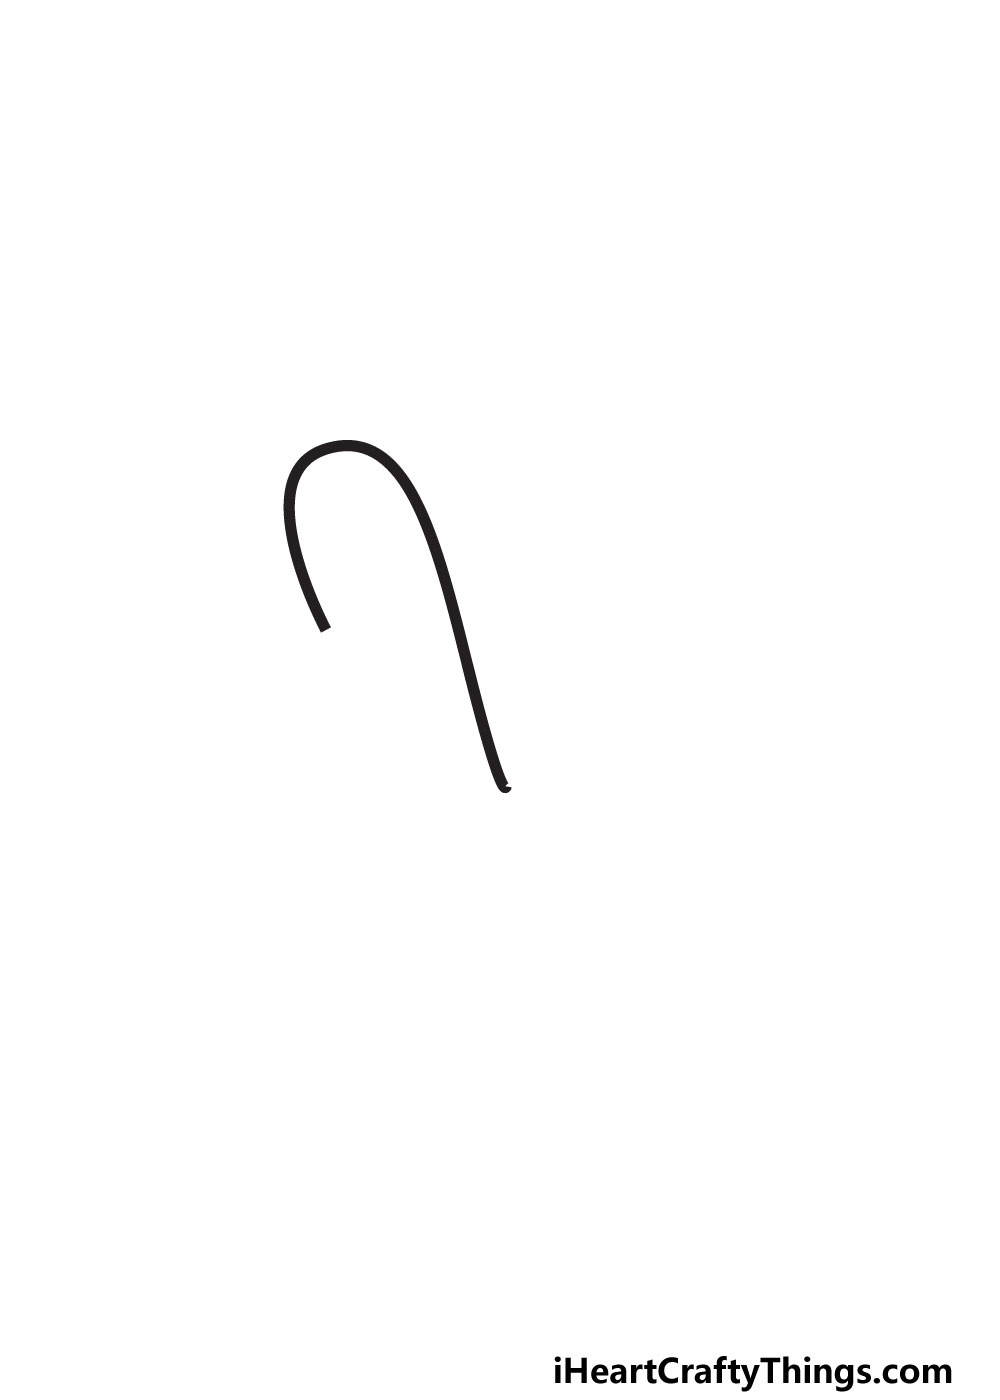
We drew quite a long line in the previous step, but we will keep things simpler in this step. In this step, we will extend the end of the previous line up and then curved over.
As you can see in the reference image, you will end up with a horseshoe shape that has one side that’s much longer than the other.
That’s all there is to it for this step, so we can take on step 3 of the guide.
STEP 3:
You had a bit of a break with the previous step where we drew just a small section of the letter, but in this one we will be drawing a much larger portion.
Don’t worry though, as it should still be simple as long as you follow the reference image and our guide!
In this one, we will keep extending the line that we stopped in step 2 down in a fairly sharp slope. We will make a turn when you reach the base of the letter.
At this point, it will angle upward again in a sharp slope. This will be the first line of the right-hand side of the letter.
You’re very close to the end now, as in the next step we will be drawing the remainder of the outline for this bubble letter V.
After that, we will have the fun parts of drawing some details and adding some colors!
STEP 4:

Now we’re ready to finish off the outline of the letter V we have been drawing. As with a written letter V, the two sides should perfectly mirror one another.
For that reason, we will be replicating the first few steps again, just in reverse this time. Continuing where the previous line left off, keep the line sloping up a bit.
Then, it will curl over at the top again and slope back down again. Eventually, it will meet the other line where it ended, completing the outline of the letter.
Now all that remains is tightening up the lines and making sure everything is looking good before we add some final details.
You can also erase any pencil planning you may have done. We won’t be needing them and they will just get in the way as we add the interior details.
Be careful not to smudge any of the final lines if you do this! When you’re ready, let’s finish up the outline in the next step.
STEP 5:

Now that the outline for your letter is complete, we will make it look even better with some simple details.
With these details, we will make this letter look less like a flat letter on a page and more like a bubble letter that is an actual object.
The first key to this is to draw some reflective spots on the letter. This will help to make it look like the letter is made of balloon latex or a bubble.
You can achieve this effect easily by drawing two small ovals at each tip at the top of the letter. At least, this is where we chose to place these shapes, but you could place them elsewhere if you want to.
Just remember that they will be cast by a light source, so adding too many of these ovals may make it less effective.
Then, you could show that the letter has some volume and depth by adding some thin lines along the inner outlines of the letter.
This will help to make it look like this letter is filled with air. You could also play around with where you place these lines to make it more personalized.
Then, you can move on to the final step, but you could also add some additional elements. For example, it could be fun to add some polka dots on the letter.
There are lots of other shapes you could add on it too! You can think about it for now, but we will look at some more involved ideas you could try after the next step.
STEP 6:
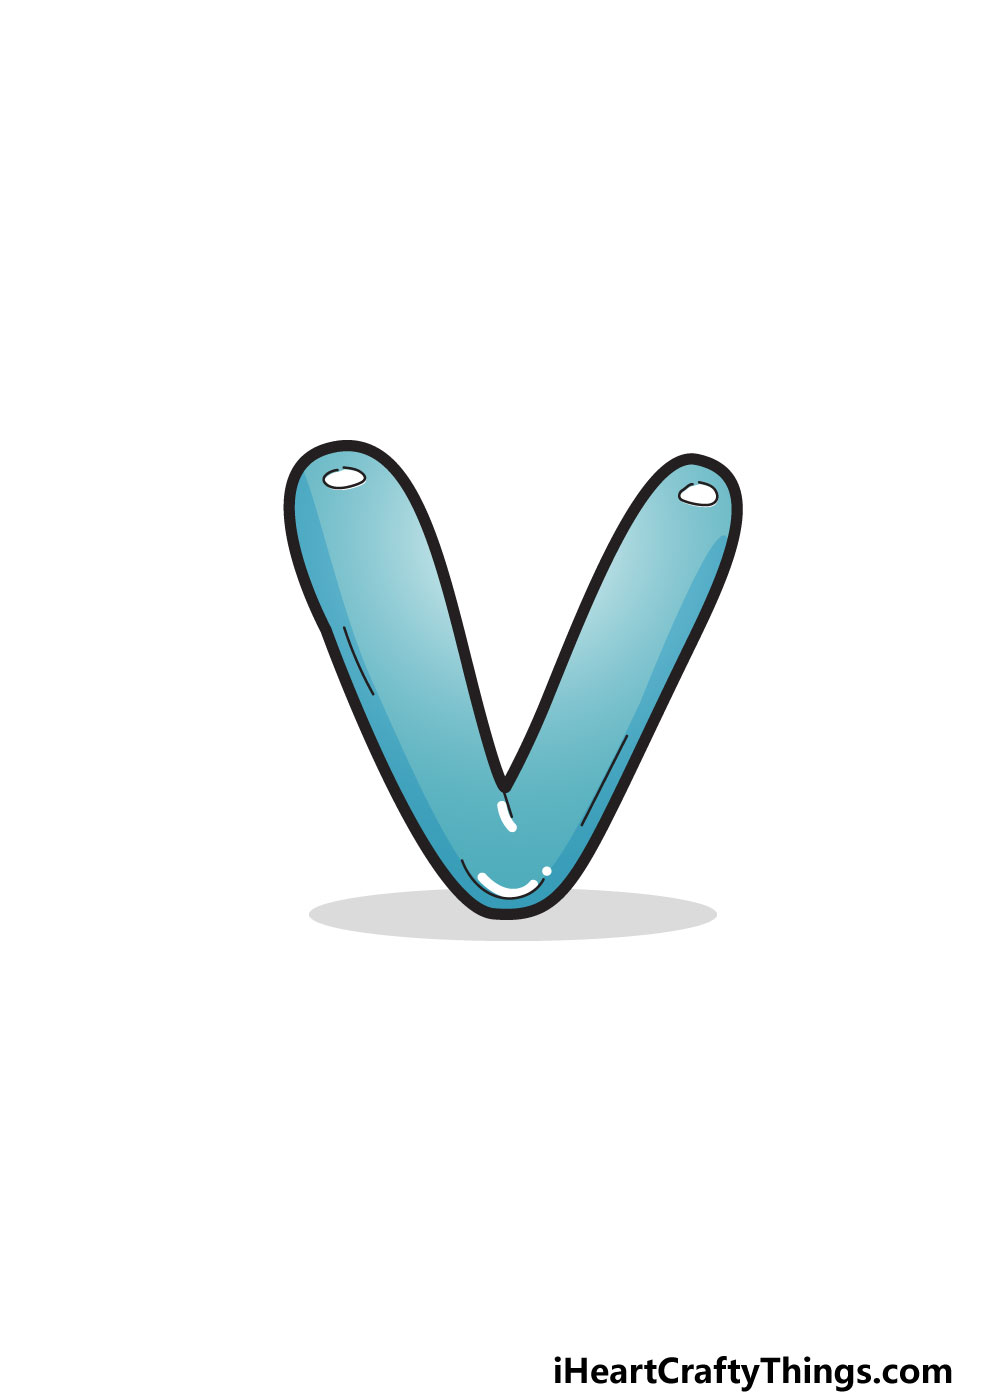
With this bubble letter V, we have been aiming to make it look like it is a 3D bubble or balloon. We have already started doing this with the details from last time, but we can further do it with colors!
In our reference image, we decided to go with a light blue color scheme. You will see that we used colors to give it more depth, though.
You can use darker shades of the colors that fade into lighter shades to make it look like the letter has some depth.
The colors should get lighter the closer you get to the reflective spots we drew earlier. You can do this trick no matter which color you use!
We definitely encourage you to use any colors you may prefer. You could also mix and match different colors to give this letter more of a rainbow look.
If you drew polka dots or other details on the letter earlier, then you could use that pattern to add so many different colors!
You can also achieve more variation by using a variety of different art tools and mediums to help the colors contrast against one another in unique ways.
What colors and art tools will you use to make this drawing more unique?
My Final Tips To Make Your Bubble Letter V Drawing Even More Special!
You have finished this guide, and you did an amazing job recreating this bubble letter V!
We’re not done yet though, as we have a few more tips and tricks for making your drawing even cooler. First, let’s look at how you can create a theme for your drawing.
This could be started by choosing some words that begin with V. Some examples would include violin, vet, Valentines or volleyball.
We shall look at how you can turn some of these words into a theme. For instance, if you chose the word violin then you could draw a cartoon violin and then add some music notes all around the drawing.
For volleyball, you could turn the letter into a volleyball net and have some cartoon characters playing the game.
These are just a few simple ideas, but you can get even more creative with it! It can also be fun to turn a name into this kind of bubble style.
Some common names starting with V would be Violet, Vernon or Vera. There are many more, and any would be perfect to turn into this bubble style!
These are some ways you can get creative with this drawing, but now you get to show off what ideas you have to create something unique with this design!