If we’re keeping count, then the letter U is the twenty-first letter of the alphabet. It’s a fairly common letter that we use a lot, and it’s also really easy to write.
Whether you’re drawing a capital U or a lowercase one, all you need is a simple curved line and you have a letter U ready to go.
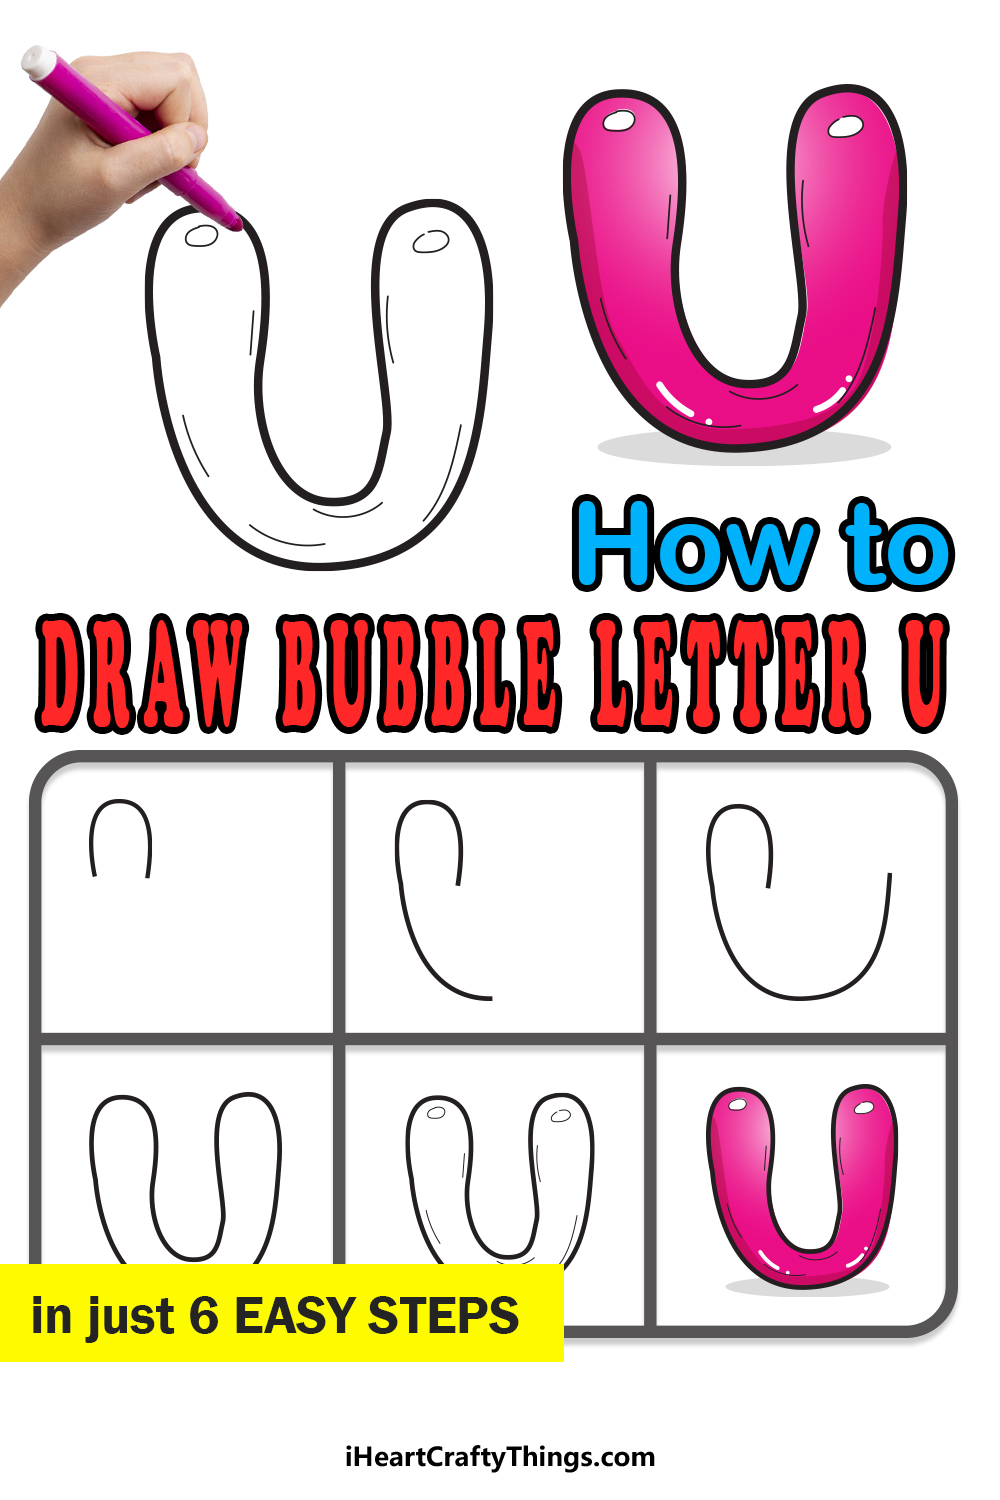
This guide won’t be about writing a regular U, however. We will be creating a really fun version of the letter by showing you how to draw a bubble letter U.
We will show you how to draw it and then give you some ideas on how you could color it in. Then, to close off, we will go over some suggestions on how to make it even cooler!
We’re ready to begin, so let’s start step 1 of the guide and see how it is done.
Let’s Get Started
STEP 1:

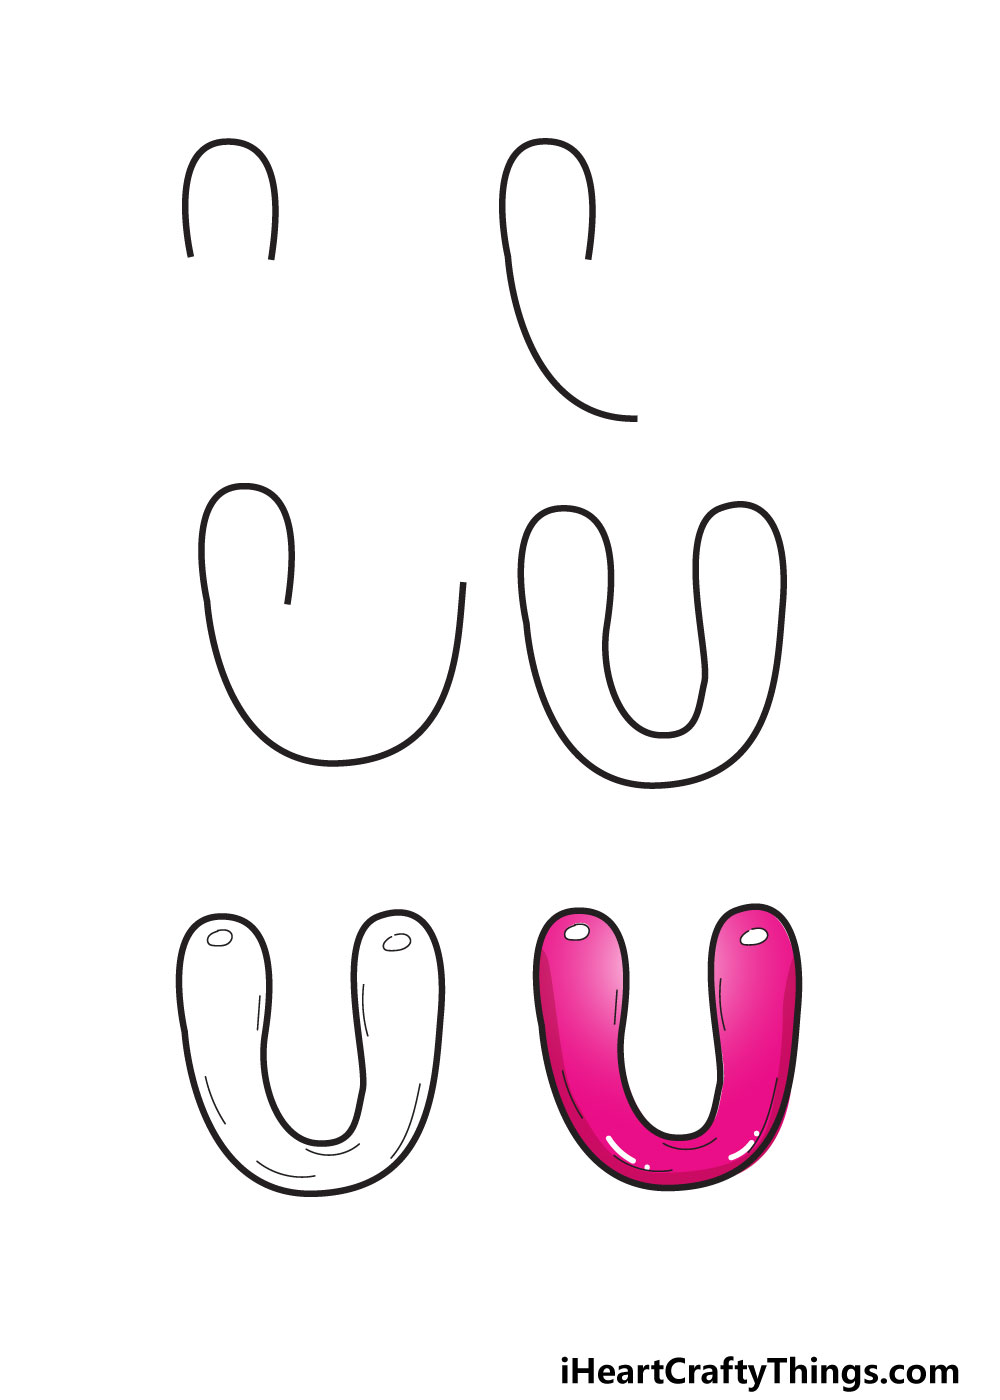
When creating this drawing, it will help to look at the final image to see what we will be building towards. As we mentioned, U is not a particularly complicated letter to write.
Drawing it as a bubble letter shouldn’t be too difficult if you know what to do, but it can require a steady hand.
For the first step of the guide, we will actually be drawing a shape that actually looks like an upside-down U. Simply use a steady, curved stroke of your pen or pencil to draw this line.
That’s really all there is to it for now, and in the next step we will continue the line to create the base of the letter.
Because this letter is so simple, planning it out won’t be totally necessary. However, if you want to ensure success then you can draw it out in pencil.
That way, you can make sure you’re keeping the shape of the letter consistent and that it will look as it is supposed to when it’s done.
Doing it with a pencil will mean you can easily erase it later, so be sure to do this if you want to be more prepared!
STEP 2:
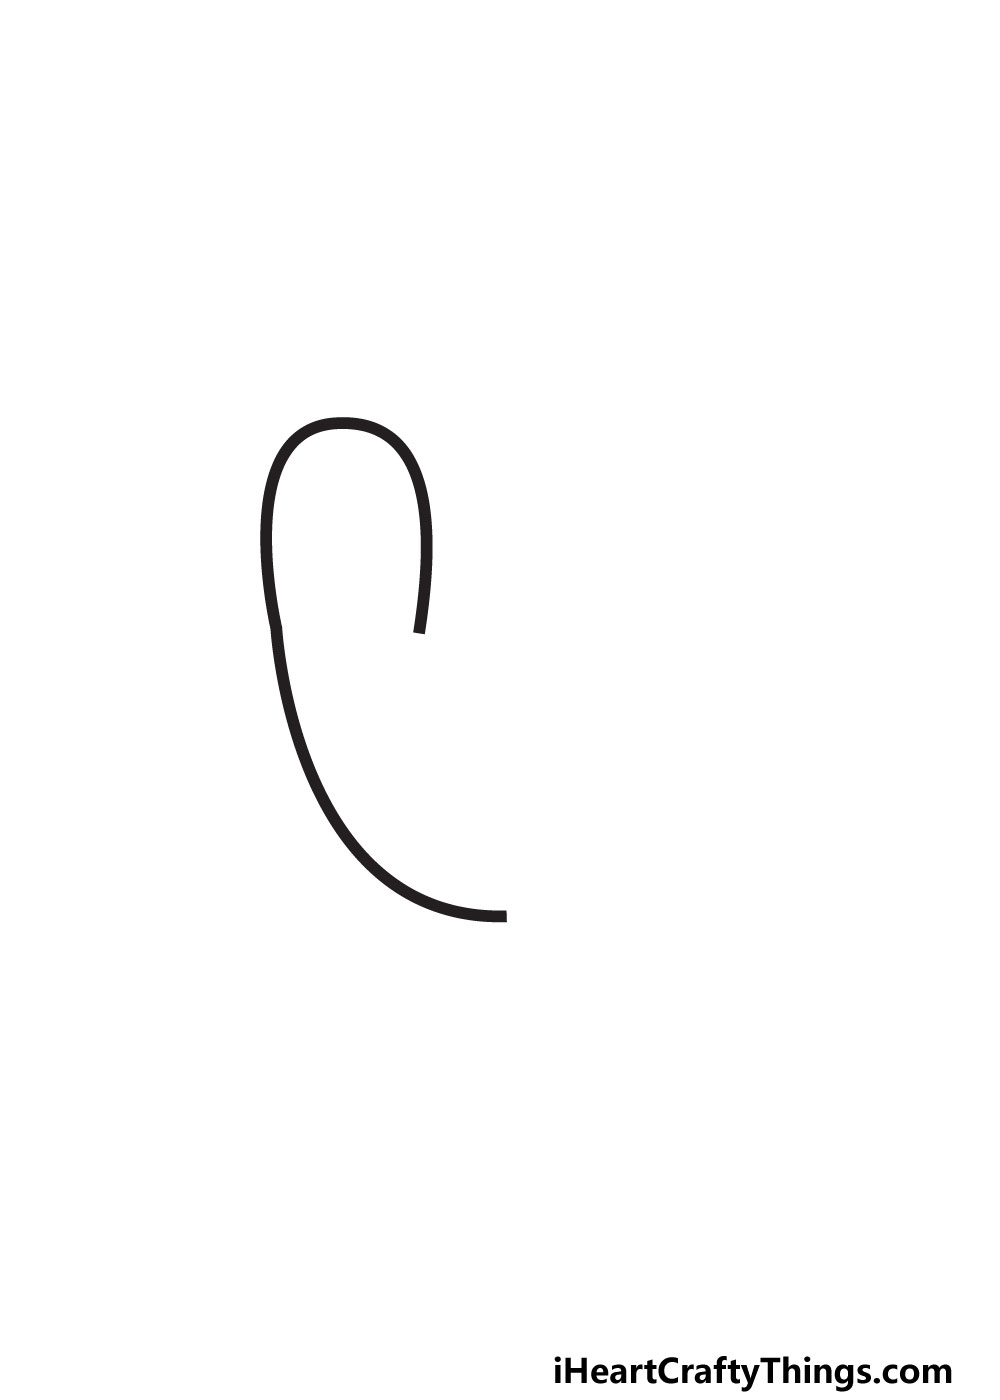
As we touched on in the previous step, this step will be about continuing the line you began in the last one. This line might be a bit trickier, so take it slowly.
Extend the line down from the left-hand point of the line from the first step. It will extend down, curving slightly until it veers to the right.
The slope of this line should be very slight, as we want it to be mostly vertical. It’s a simple step as long as you take it slowly!
If you go too quickly, your hand may wobble and the line may look a bit too wavy. The trick to drawing is always to take your time with it.
You can also try a few times if you make a mistake at any point, so don’t worry if you mess up a few times!
We will keep this momentum going as we add more to this line in the third part.
STEP 3:
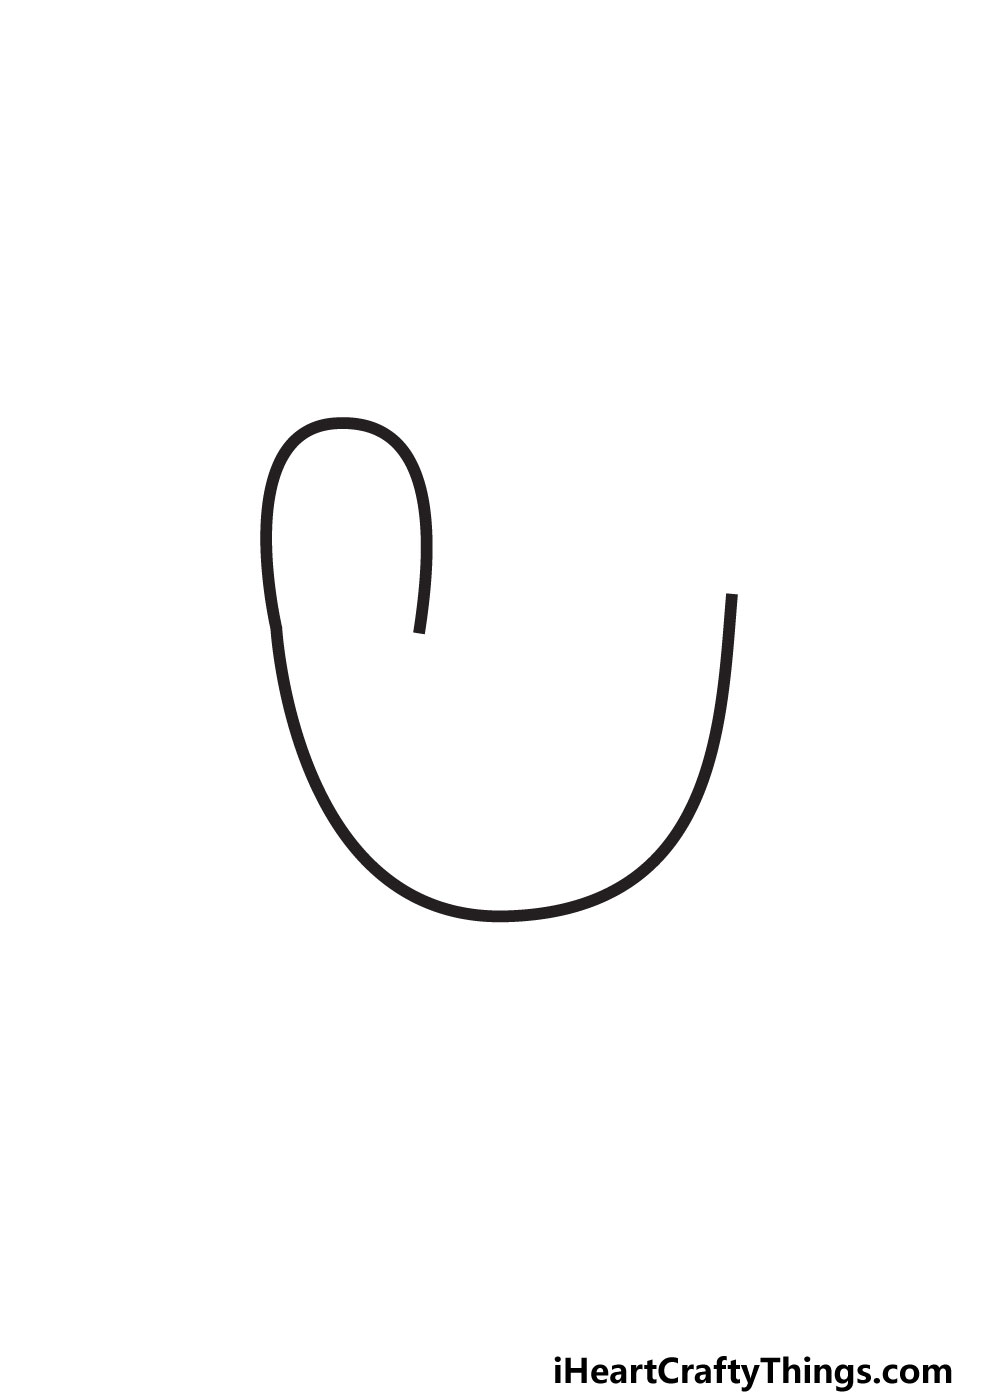
Your bubble letter U will really start to take shape in this step. We will be able to see what the final letter will look like once you add this next section.
We will continue the previous line, and it will curve quite sharply. You can draw to the right with a very slight slope and then start moving up.
Basically, you will be replicating how it looks on the left side, with the difference being that we will be drawing from the bottom up instead of the other way around.
With this base of the U drawn, we will be ready to finish off the outline completely in the next step to get you ready for some final touches.
STEP 4:

As promised, this step will see you finishing the complete outline of the letter. If you look at what the final version of the letter U will look like, you will see that both sides are mirror images of one another.
With that in mind, we will be replicating everything we have done so far in this guide, just mirrored. To do this, you will be continuing the line where you left off previously.
It will head up for a little bit, gradually curling over. Then, it will twist around and down, sloping towards the bottom of the letter.
Finally, curl the line up again until it meets the other line where it ended. Then, you will have the complete outline of your letter!
It still looks flat on the page, so we will add some details in the next step to make it look more like a bubble letter.
When you’re happy with how the outline looks, we will head to step 5.
STEP 5:
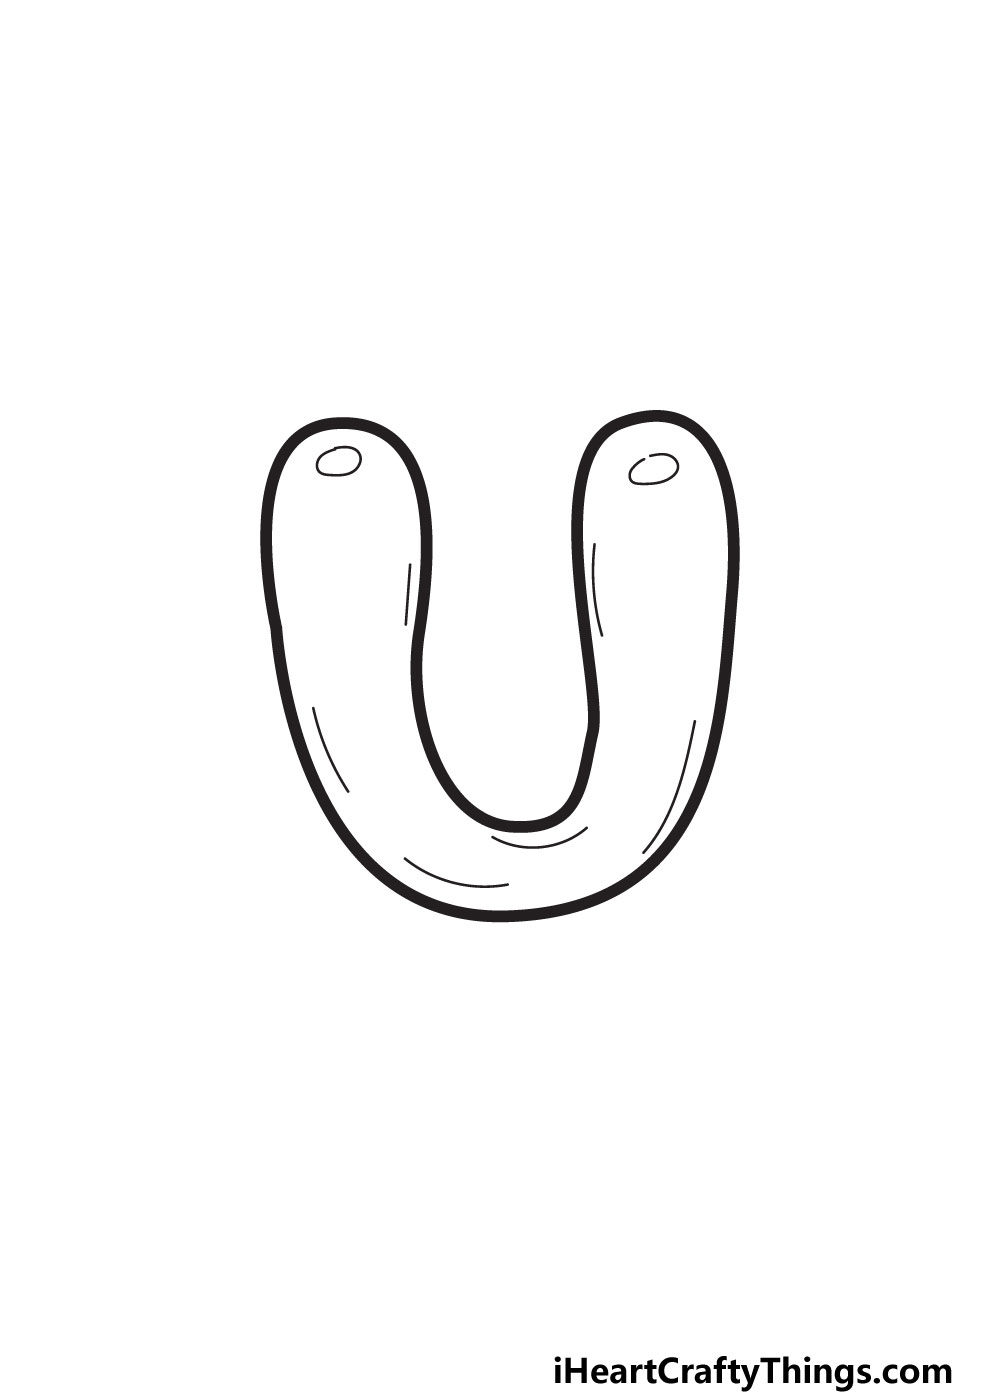
Next, we will add some of those small details that we mentioned earlier to give the letter U more of a 3D, bubble look. We will do this by adding some simple lines and shapes.
The first of these will be some small oval shapes, one at each tip of the letter. These may not seem like much, but they will help to make the U look reflective.
Then, we will give the letter some form by adding some simple lines to the inner outlines of the letter.
In our reference image we kept these minimal and simple, but you can add more of these if you want to. Before you move on to the final step, be sure to add any other details you want!
For example, it could be fun to draw stripes or maybe some shapes on the letter. We will also look at some ways you can make a whole theme or image out of the letter after the guide.
You won’t want to miss some of the fun ideas will go over, so be sure to read to the end! In the meantime, we will color in the bubble letter in the sixth step.
STEP 6:
Choosing the right color for any drawing is something that will depend on who is doing the drawing.
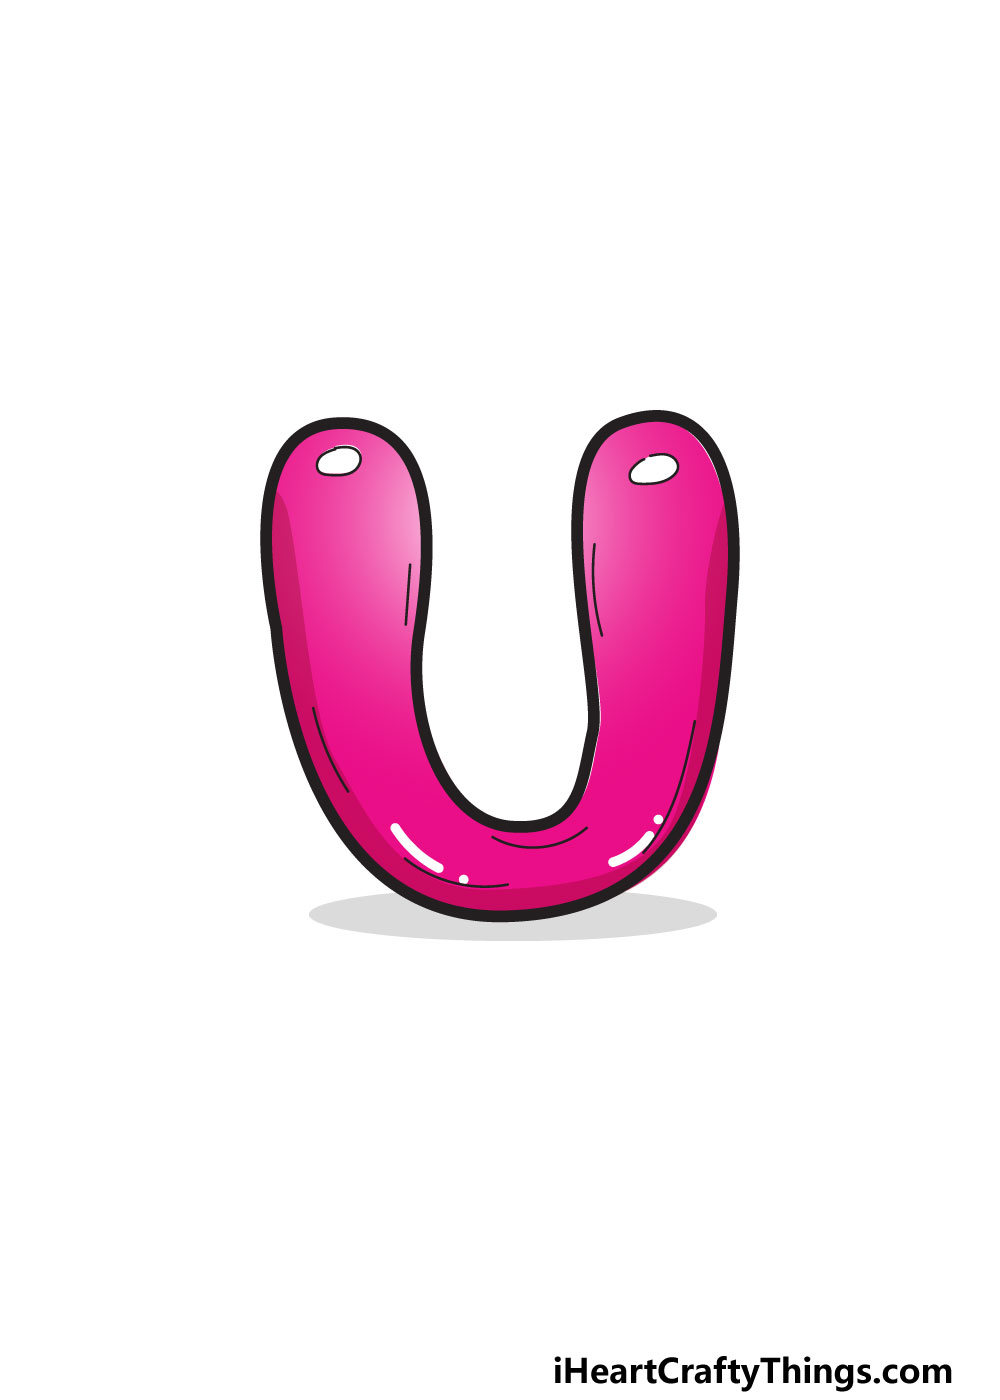
It’s something that could depend on what a person’s favorite color is or what colors would best suit the picture. We show you one possibility in our reference image.
We chose a bright pink color scheme for our example, and this gives the image a lovely bright and warm color scheme.
The colors are brightest the further you get from the light reflection points we added in the fifth step. You can use this kind of color gradient to further give this letter a more 3D look.
Now that you have seen how we chose to color in this letter, you can show off what colors you would choose! You don’t have to stick to just one color, either.
Earlier we mentioned drawing stripes or shapes on the letter, and this would be a great way to work in lots of different colors to your drawing.
You can also get some great color varieties by using different art tools and mediums to achieve your color choices.
Which colors will you choose to finish off your letter U?
My Final Tips To Make Your Bubble Letter U Drawing Even More Special!
Your drawing of a bubble letter U can be as simple or as complicated as you want it to be, and now we will go over a few more ideas and suggestions to make it even better.
One great way of taking it even further would be by choosing a theme for your image. A good place to start would be words that start with U.
For a few words to get you started, we can think of umbrella, ukulele or unicorn. If you chose umbrella, then you could draw a cartoon umbrella shielding the letter from the rain.
Or, you could turn this U into a unicorn by adding a face and a horn to the letter. These are simple ideas, but they show you how you can get creative with it.
Another way you can approach a theme is by using it to spell a name. There aren’t many names that start with U, but there are a few!
For example, the name Ursula would start with this letter, and you could write out the rest of the name with similar bubble letters.
Using crafts such as beads, glitter or cutouts can also be a great way to bring a unique edge to this drawing, so we hope you will have fun getting creative with it!
You have a few ideas to get you going, but how many others can you think of to make this drawing even better?