T is the twentieth letter of the alphabet, and we think it’s a terrific letter! We use it quite a lot in our everyday words, so learning how to write it is pretty important.
Learning to write it can be quite easy seeing as the upper and lowercase versions are fairly similar, but we’re here to take it a step further.
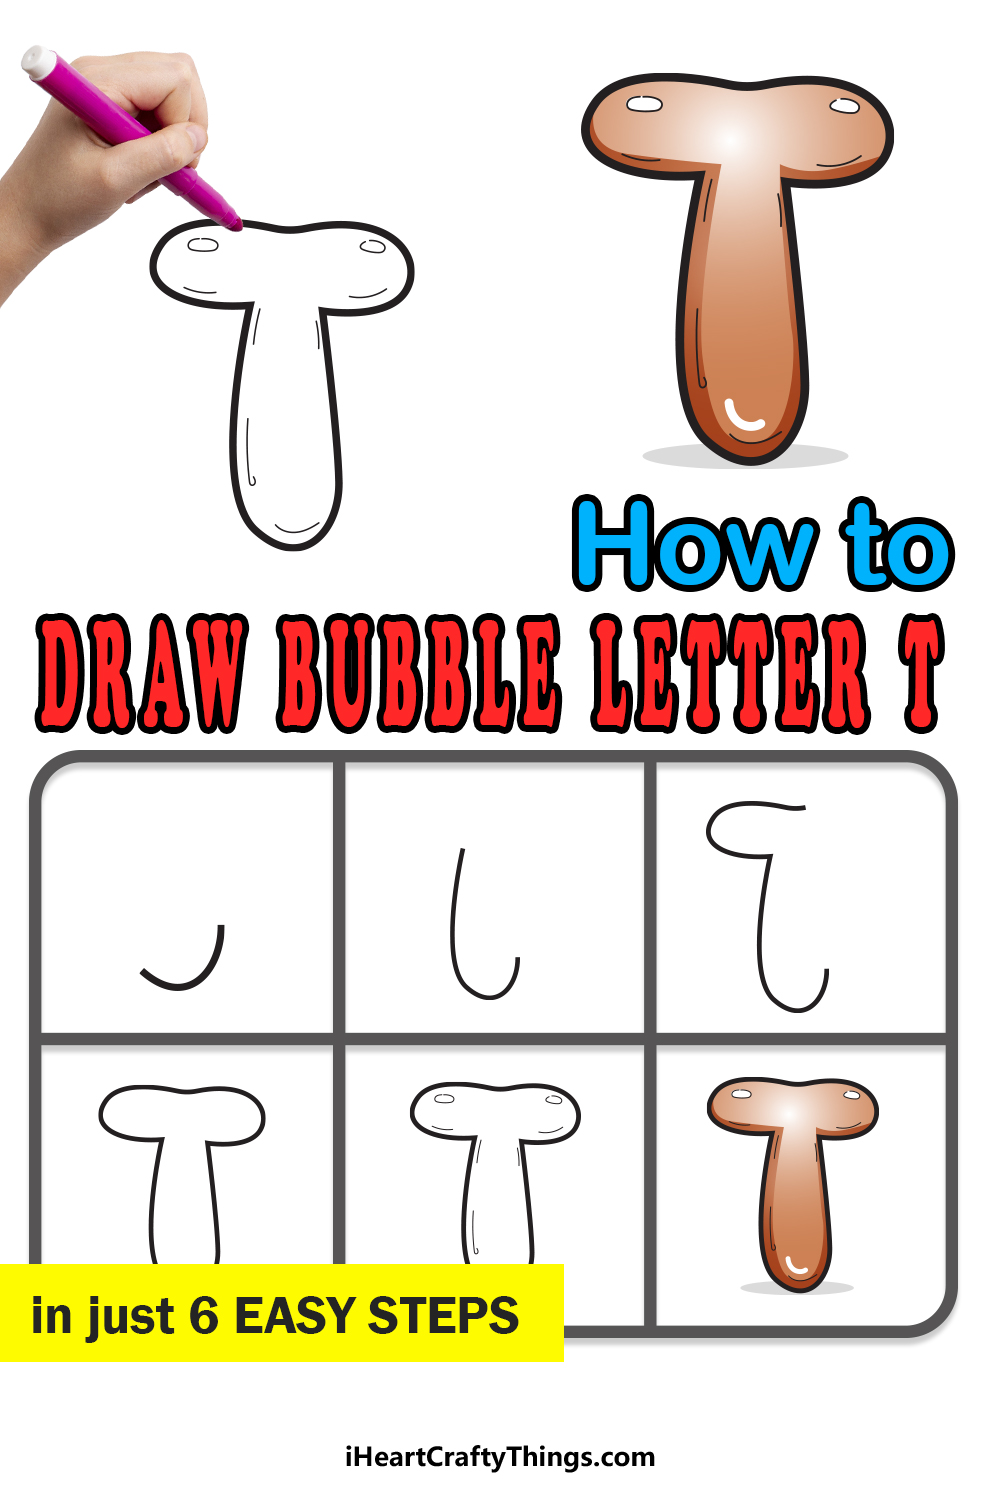
Letters may seem boring when you see them just written down, but you can make them more fun! In this guide, we will look at how you can create a bubble letter T to make this letter way more exciting!
To do this, we will go through 6 easy steps that will show you how you can create this fun bubble letter yourself. We will also cover how you can color it in.
Finally, we will give you a few ideas to get you started as you make it even better. With that, let’s begin with step 1!

Let’s Get Started
STEP 1:
In this guide, we will focus on the capital letter T. It is a simple letter made of one tall vertical line and a shorter horizontal one over the top.
Despite that, you can draw these lines as you would normally write the letter to prepare for when we will start drawing the bubble letter version.
Even though it’s not a particularly tricky letter to draw, having this rough plan for the shape can only help you, so you should definitely go for it if you think it will help.
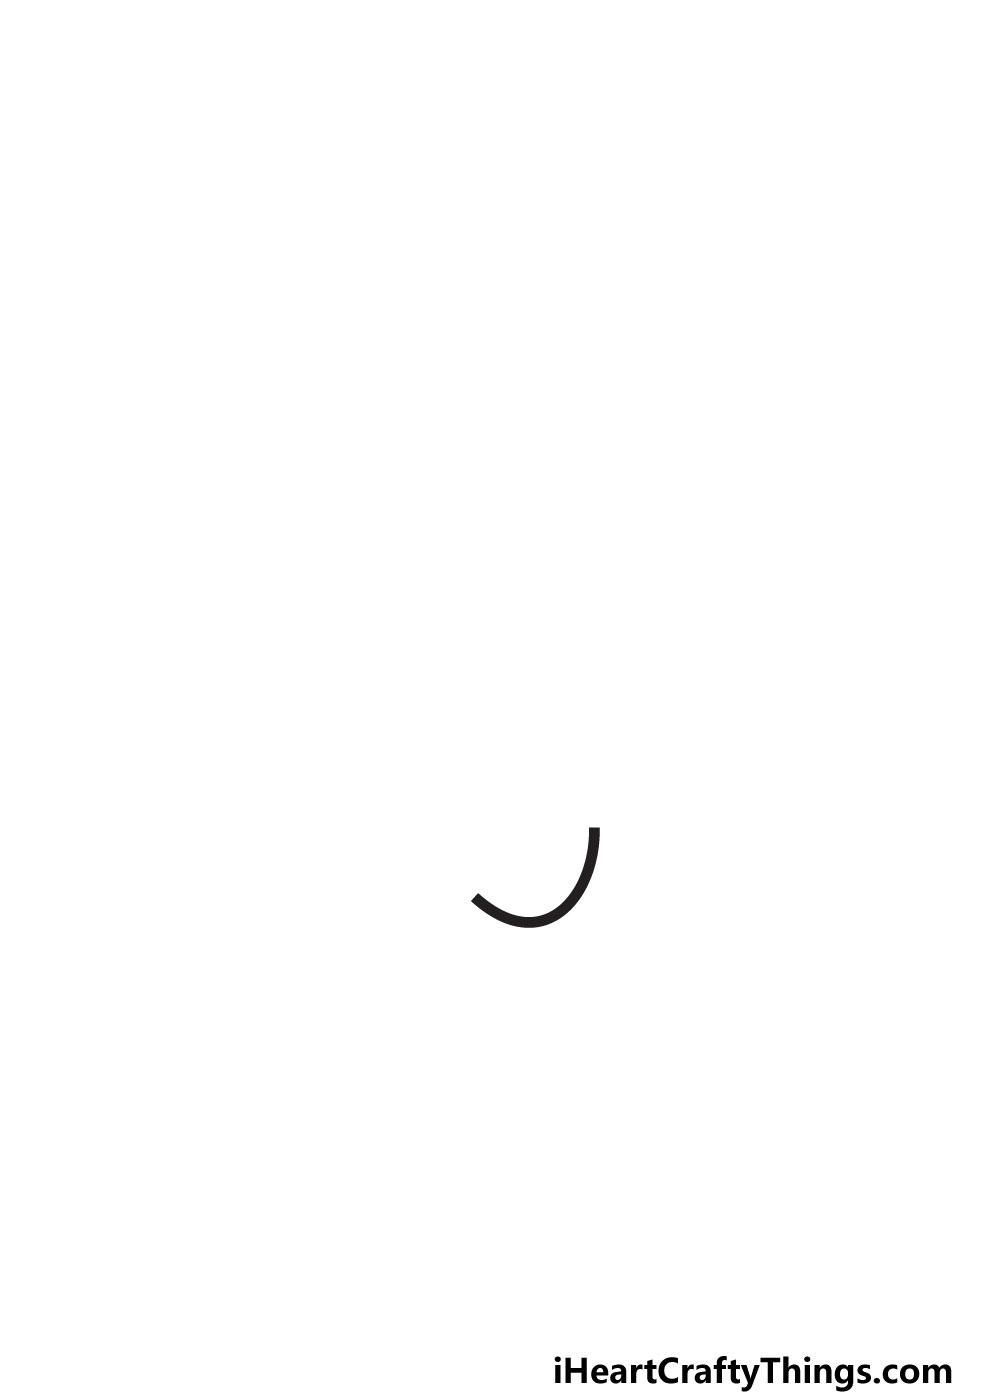
Once you’re ready to begin, we will draw the first line of the letter. As you can see in our reference image, we will be drawing it one small chunk at a time.
For now, we will just be drawing a small curved line at the base of the letter. We will make it rounded instead of straight, as we want it to look like a bubble letter.
Once you have drawn this curved line, we can start the second step of the guide.
STEP 2:
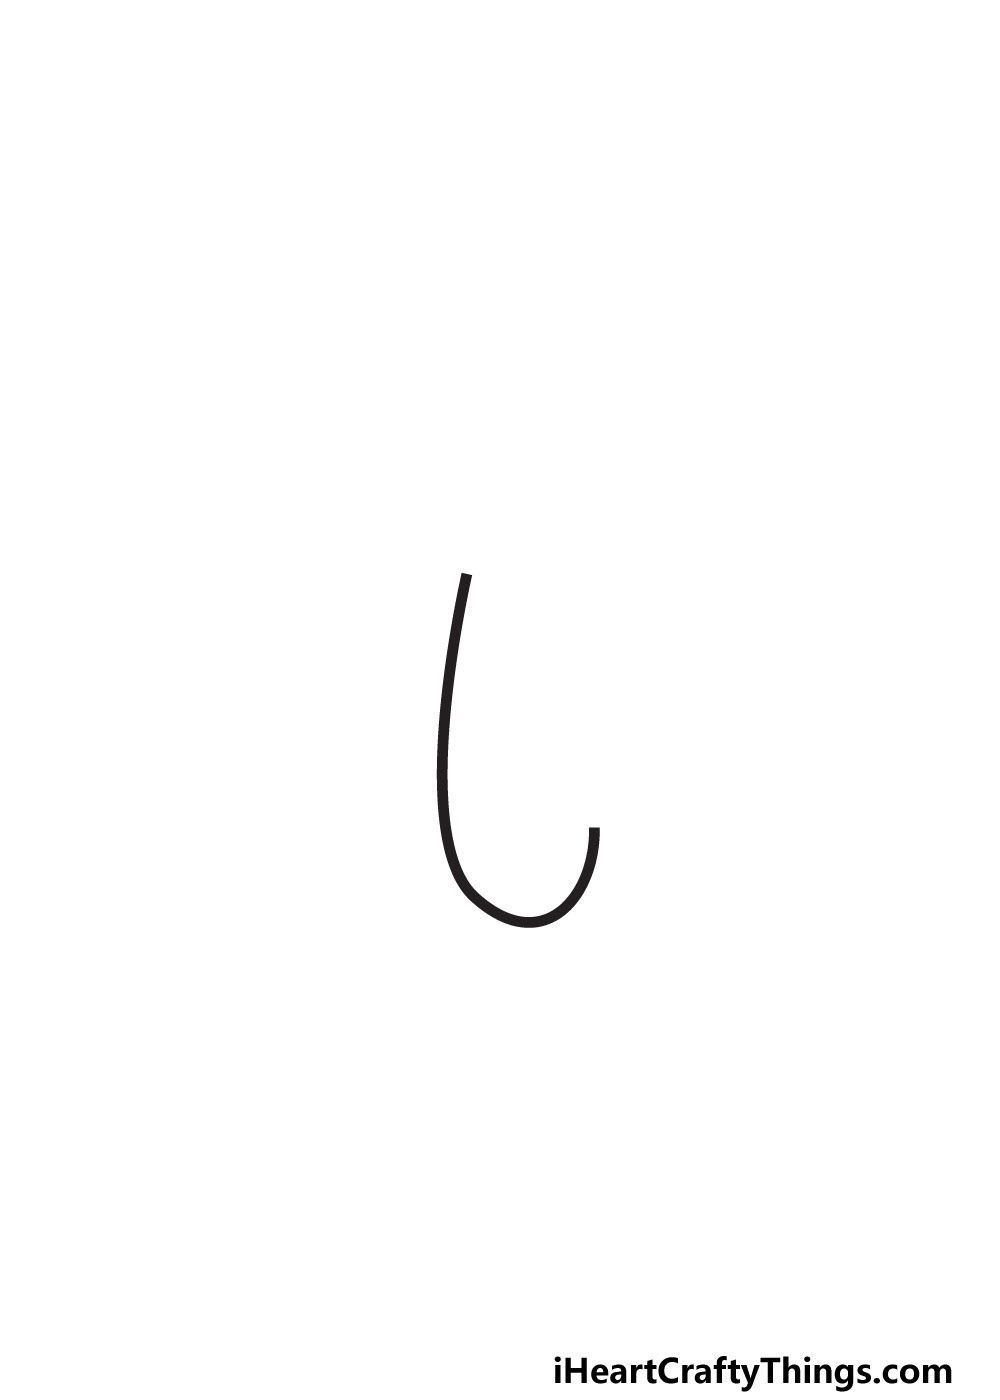
Now, we will be extending the line from the first step up. This will create the left side of the pillar that the T stands on, and it will be much longer than the first line.
The largest part with drawing longer lines like this is keeping it nice and smooth. Your hand can start to shake while you draw longer lines, so be sure to take it slowly.
The line should connect to the first one as smoothly as you can make it, and drawing them in one go could help them join together better.
However you draw these two lines, we can then add the top of the T in the next step, so let’s proceed!
STEP 3:
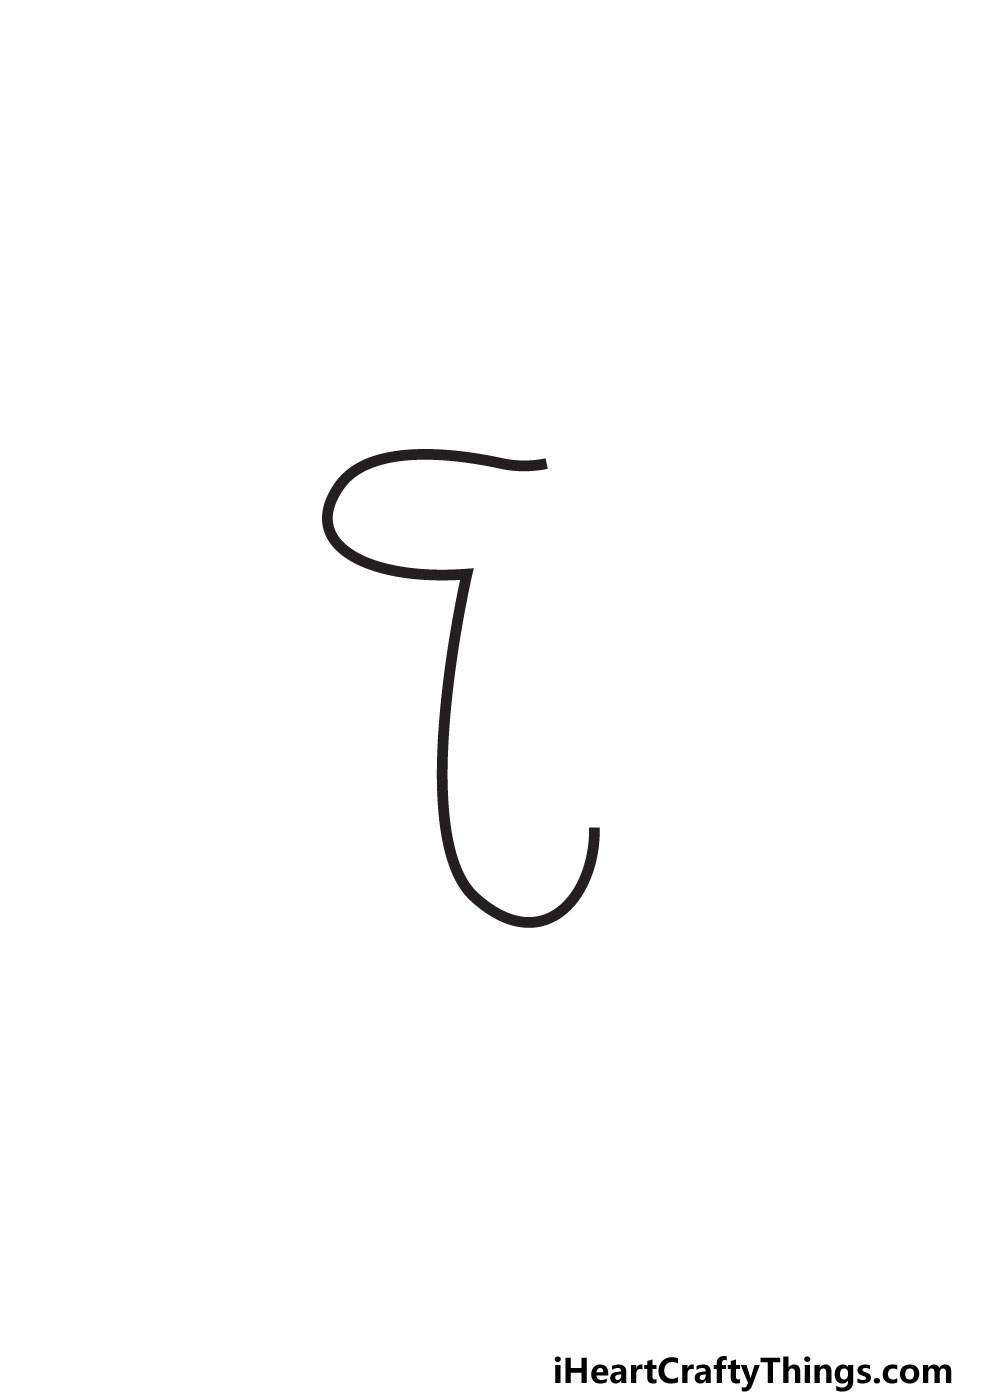
As we mentioned in the previous step of the guide, this one will be about the beginning of the top of the letter T. This will be done with another smaller curved line.
It will connect directly to the pillar we started drawing in the first two steps, and we will only be drawing half of it now.
You will start to see your bubble letter T forming now, even if you didn’t draw it with your pencil first.
In the next step of the guide, we will finish the outline of the T so that we can add some interior details.
STEP 4:
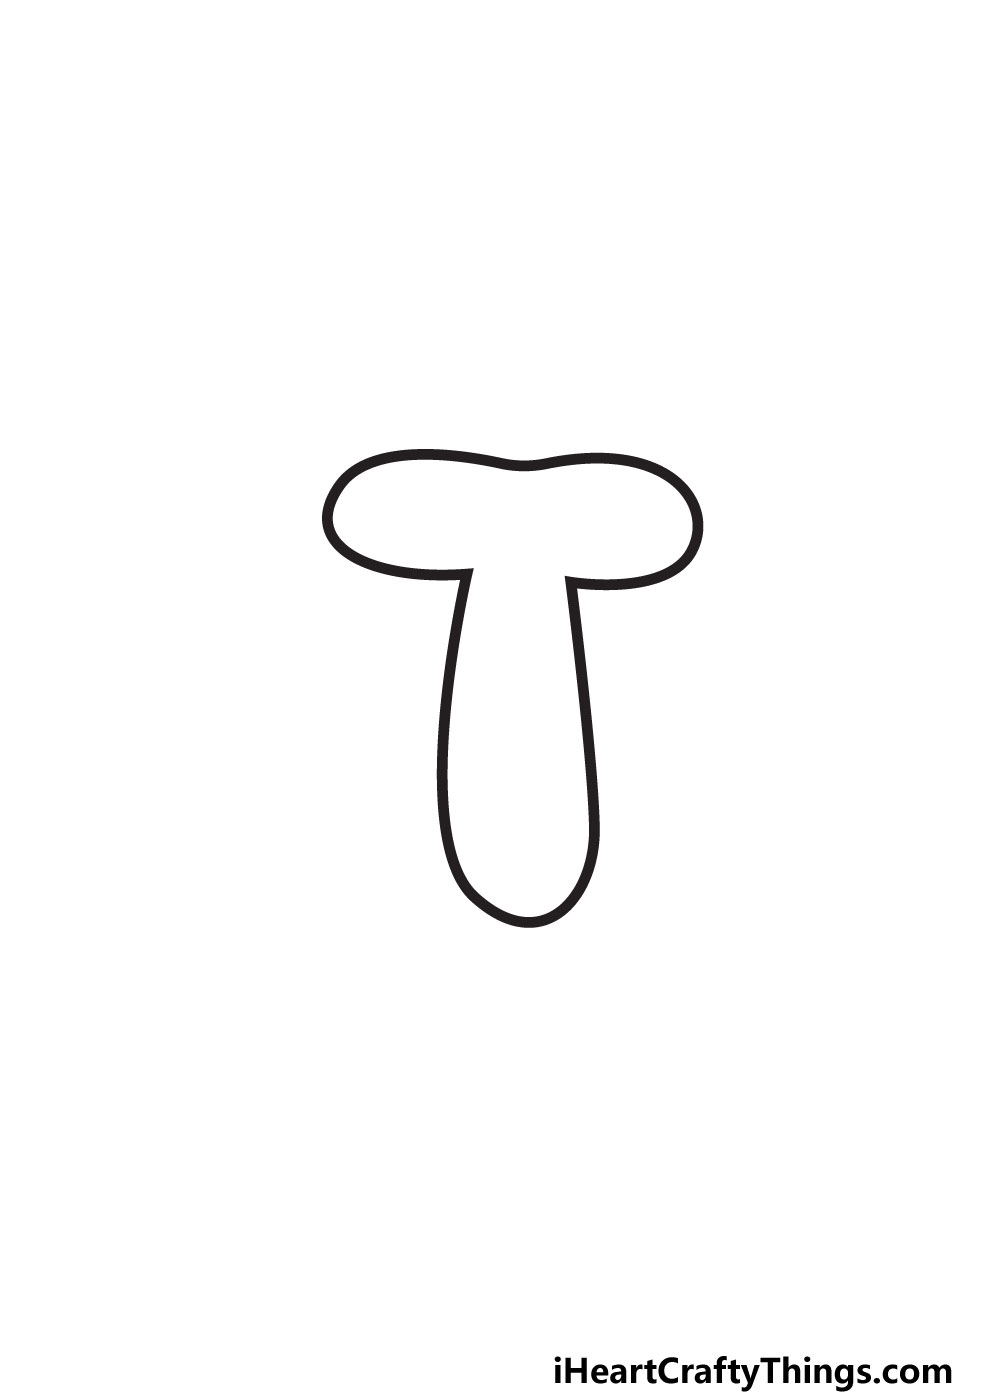
Now, we will be essentially recreating everything you did in the previous steps but all in one go. Also, these parts will be drawn in a mirror image to what you drew before.
You can follow along the first few steps again if you need a refresher, but you will need to draw them in the opposite direction.
If we take it one step at a time again, we will first add some more curved lines for the top of the T, and it will be as rounded as the previous side.
Then, we will be drawing the pillar using another long and slightly curving line. With that, your letter outline is complete!
Before we add interior details in the next step, be sure to neaten up the outlines so it looks nice and smooth.
You can also erase any pencil planning you may have done, as we won’t be using them to create the drawing from this point on.
Then, we can take on step 5 to make this flat letter T look more like a bubble.
STEP 5:
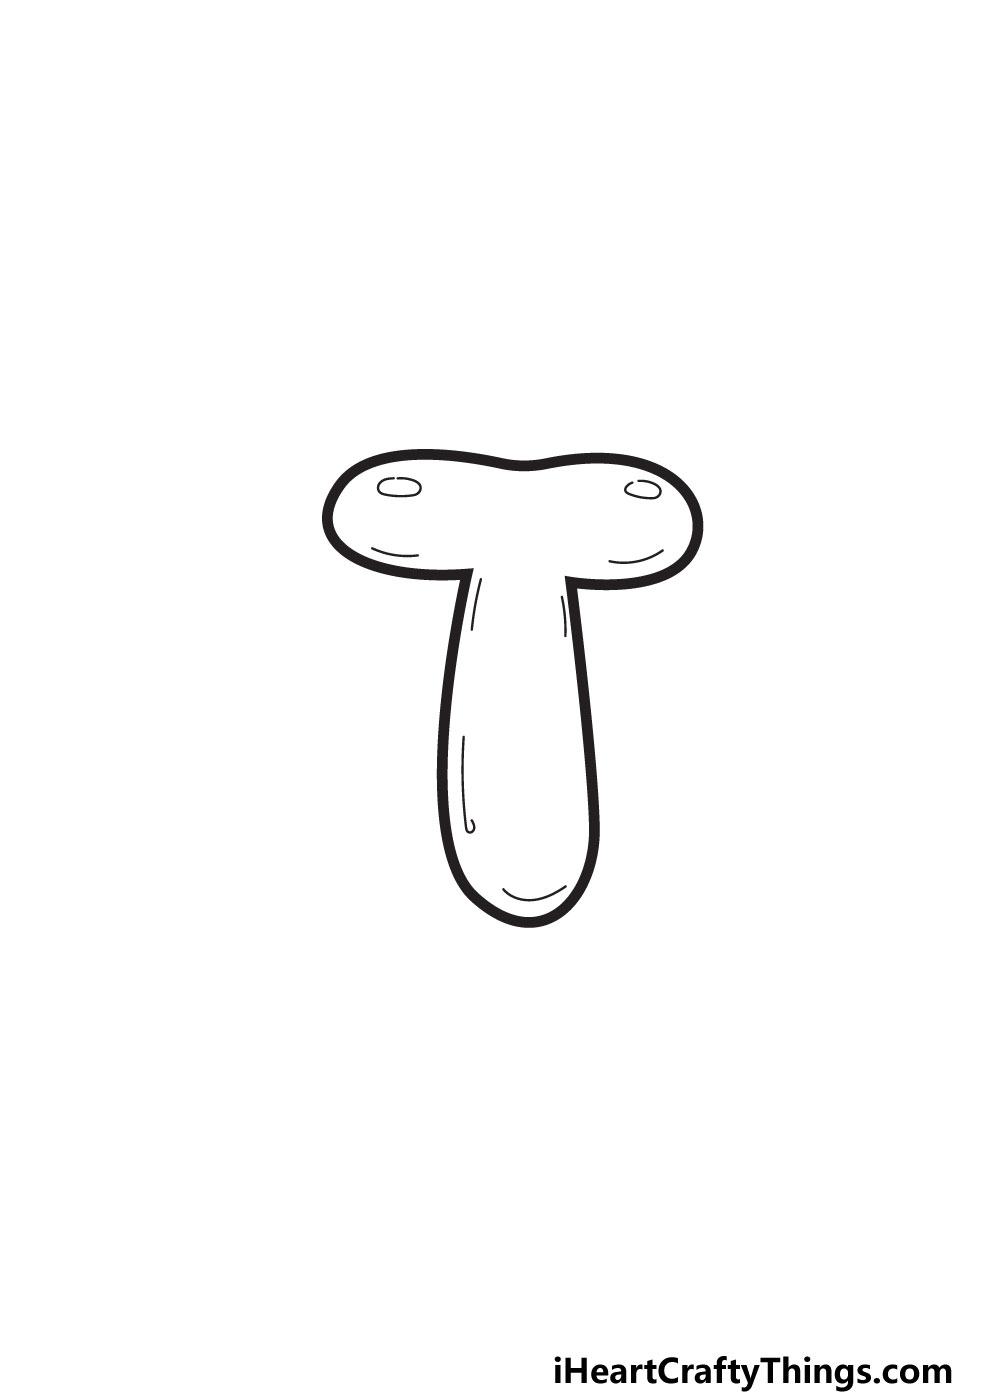
The main goal of this step is to take your flat letter T and make it look more like a bubble or a balloon. This probably sounds harder than it is, and we will show you how easy it can be.
First, we will make it look like the letter is made out of some kind of material by making it look reflective. You can do this by adding some small ovals to the upper parts of the letter.
This is where we chose to place these ovals, but you could put them on other areas of the T if you prefer. Next, we will give the T some volume.
We did this by adding some lines on the inner outlines, as this makes it look like it is made of stretchy material. You could also experiment with placing these lines in other places.
Once you have added these details, you will see that your letter T already looks less flat on the page! You can add more details to make it more unique.
For example, you could add stripes, small shapes and other fun touches to the design. Maybe the T could be covered in spots, stars or hearts.
It’s all up to you, and there are so many fun ways that you can customize it! We will color the T in the next step, but keep thinking of some ways you might like to put your own spin on it.
After step 6, we will go over even more ideas you could use to make it more unique, too.
STEP 6:
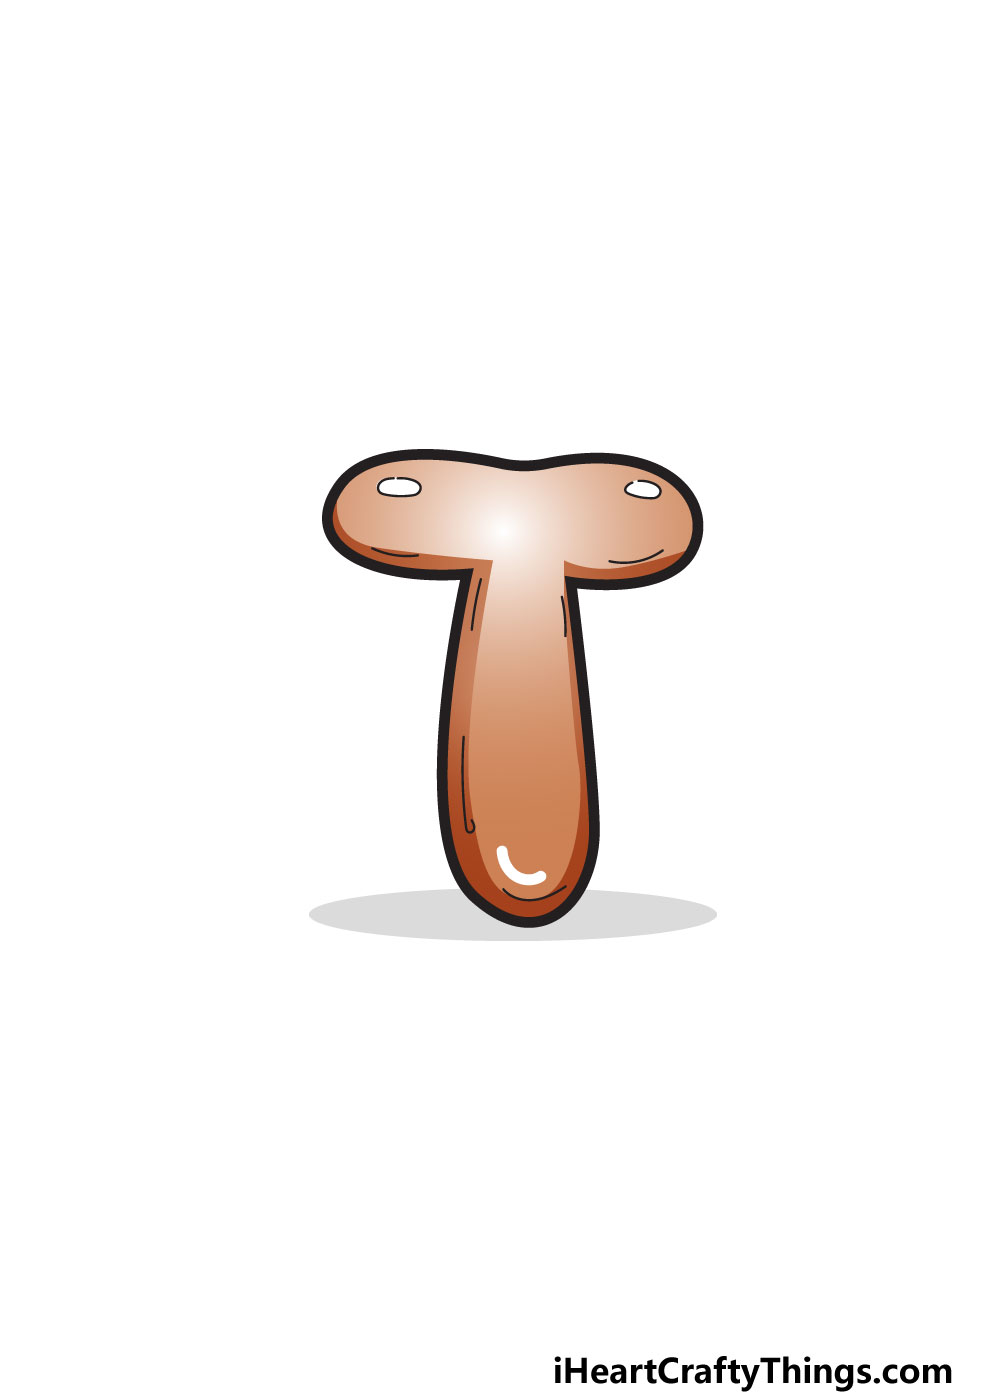
It’s time for the final step of the guide, and in this one we will be adding some color to your drawing! This is a great time to have some fun with colors, and you can really put your own spin on things.
First, we will use the colors we chose for our example to show you one way of doing it. We chose a brown color scheme for our version, but that doesn’t mean we stuck to just one color.
We varied the shades from darker to lighter to help show how light would affect this letter T if it were a physical object.
You can achieve a similar effect with your own drawing no matter which color or colors you choose. We would recommend using any of your favorites to bring it to life!
You could even create a rainbow effect by adding lots of different colors, shapes or patterns to the image. Then, you have successfully created your bubble letter T!
Before we finish off this guide, we have a few more ideas for you to have fun with.
My Final Tips To Make Your Bubble Letter T Drawing Even More Special!
We definitely encourage you to have some fun bringing your own creative ideas to this design, but we have a few to get you going.
With these bubble letters, we always like to create a theme that incorporates the letter. There are plenty of fun words that begin with T that you could use.
For a few to use, there are words like train, toys, teacup or T-rex. You can take these or any other T words you can think of and create a theme from them.
If you chose to use train, for example, you could even make it look like the letter T is made up of trains at an intersection. Or, you could make the T look like train tracks and have a train on them.
These are just a couple of ideas, but you can already see how you can get creative with a simple theme. You don’t have to stop there though!
You could also create a name that starts with T in this bubble letter style. Names like Tina, Trevor, Tom or Tamara would be a few examples you could make.
This could be based on the name of someone you know, or you could just write out some of your favorite names.
Can you think of even more ways to make this drawing more unique and special?