The letter L is the twelfth letter in the alphabet, and in terms of frequency is one of the most common letters we see used in words.
It’s also one of the easiest letters to learn when you’re first starting to learn how to write. An l sound is also one of the easiest to pronounce, making L an overall laid-back letter!
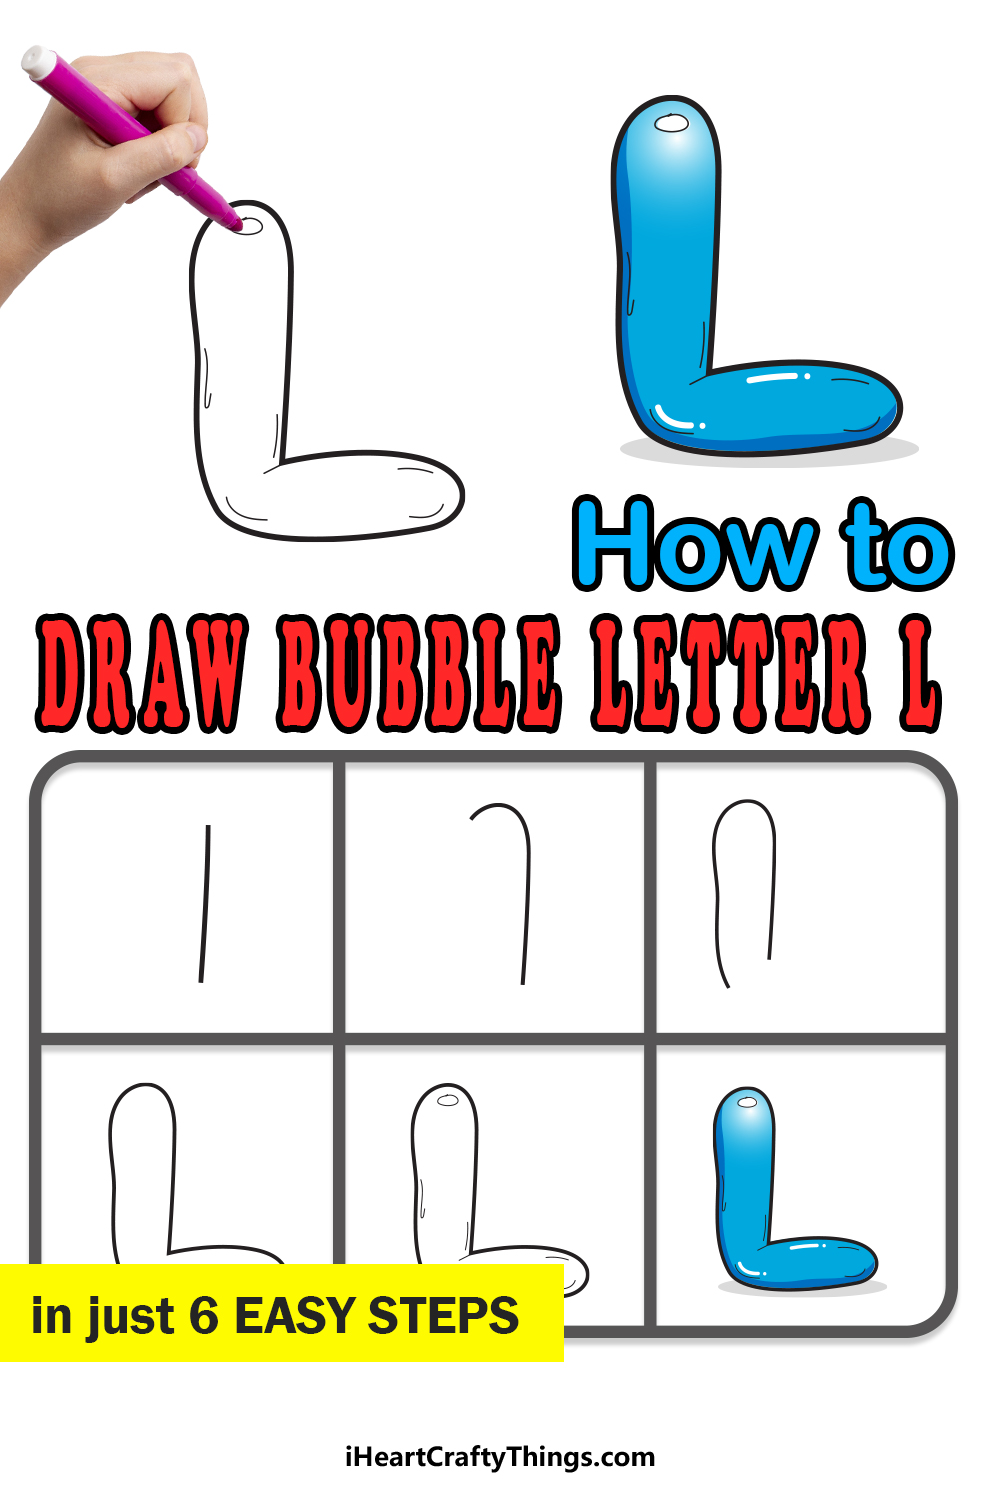
While it may be easy to write and say, that doesn’t mean that you can’t do cool things with it. In this guide, we will show you how you can jazz up this simple letter with a fun bubble effect.
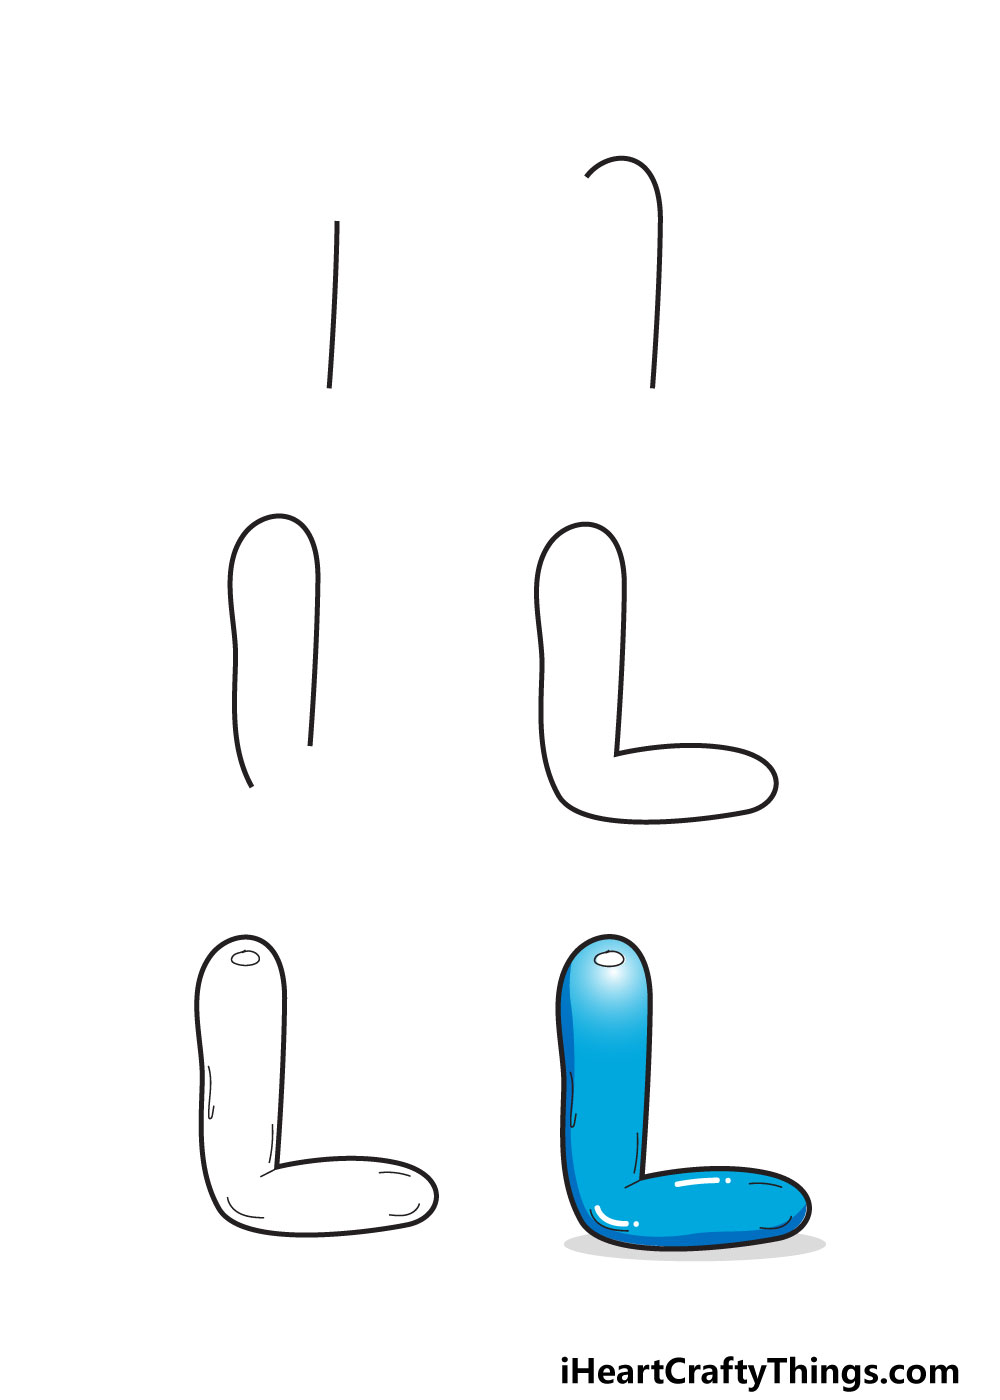
We will take you through 6 fun and easy steps that will show you how to make a really cool version of this letter.
Then, we will go over a few extra ideas on how to make your drawing even cooler. Now, let’s begin with the first step to creating a bubble letter L!
Let’s Get Started
STEP 1:
In the introduction to this guide, we spoke about how the letter L is one of the simpler letters to learn when writing.
The lowercase version is basically just a vertical line, and the capital version adds a horizontal portion beneath it.
It’s all pretty simple, but we will be making it a bit more complex with this bubble letter version. That being said, we will keep it very simple for this first step.
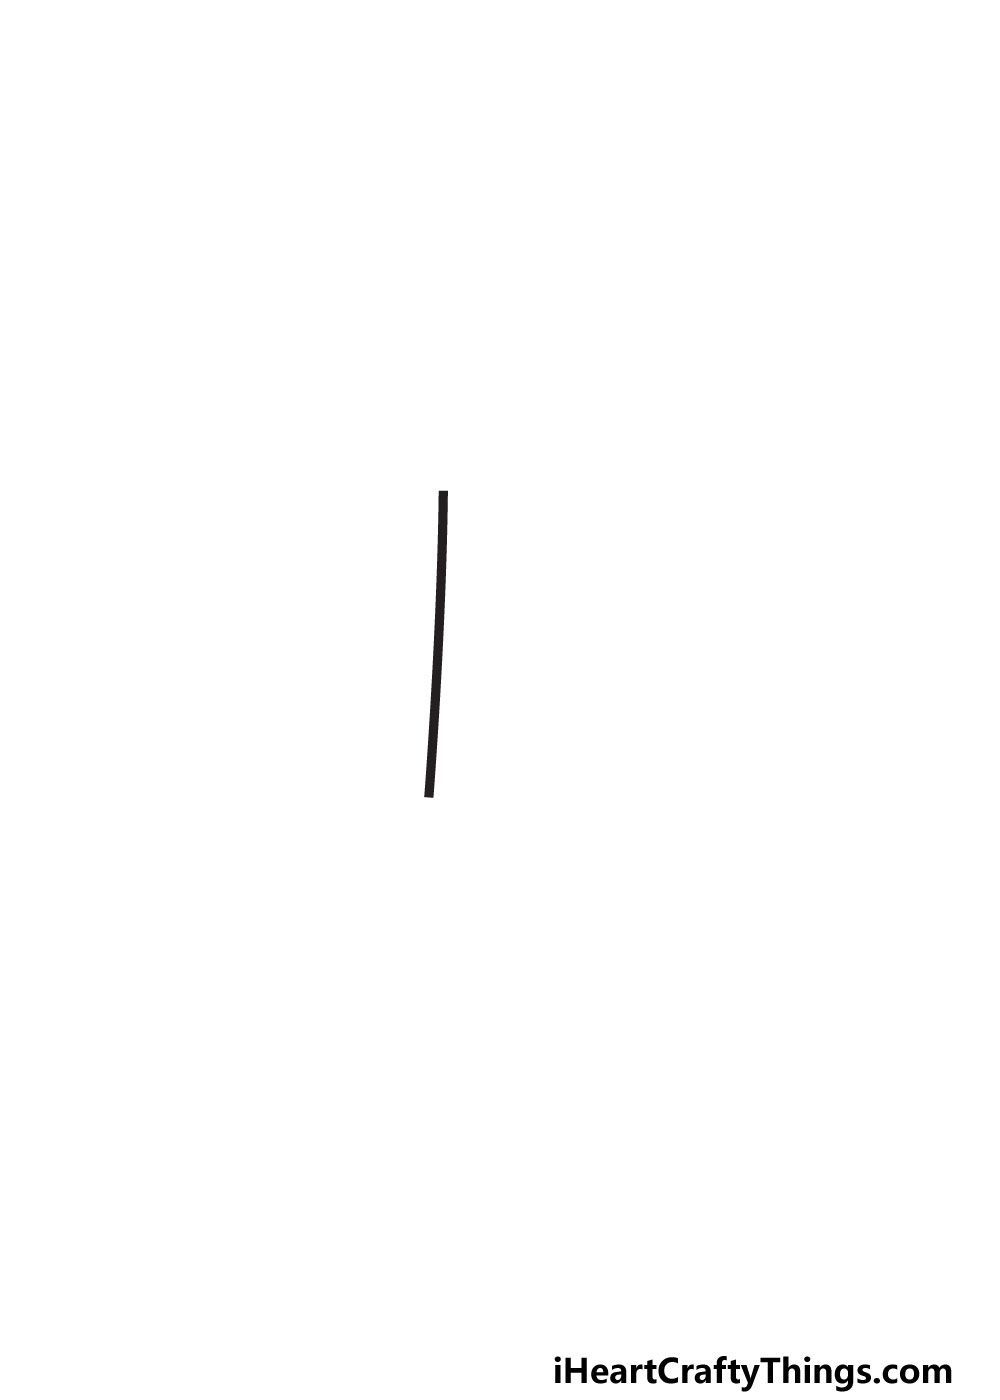
All you need to do is draw a simple vertical line. It looks pretty straight in our example image, but you don’t need to worry about it being perfectly straight.
Instead of using a ruler, just draw freehand and don’t worry about it being slightly wavy. We don’t want it to be totally straight because the idea is to make it look like a bubble.
You’ll see later on in the guide why we need it to be this way as the drawing starts to take shape. With this line drawn, we can then move on to step 2.
STEP 2:

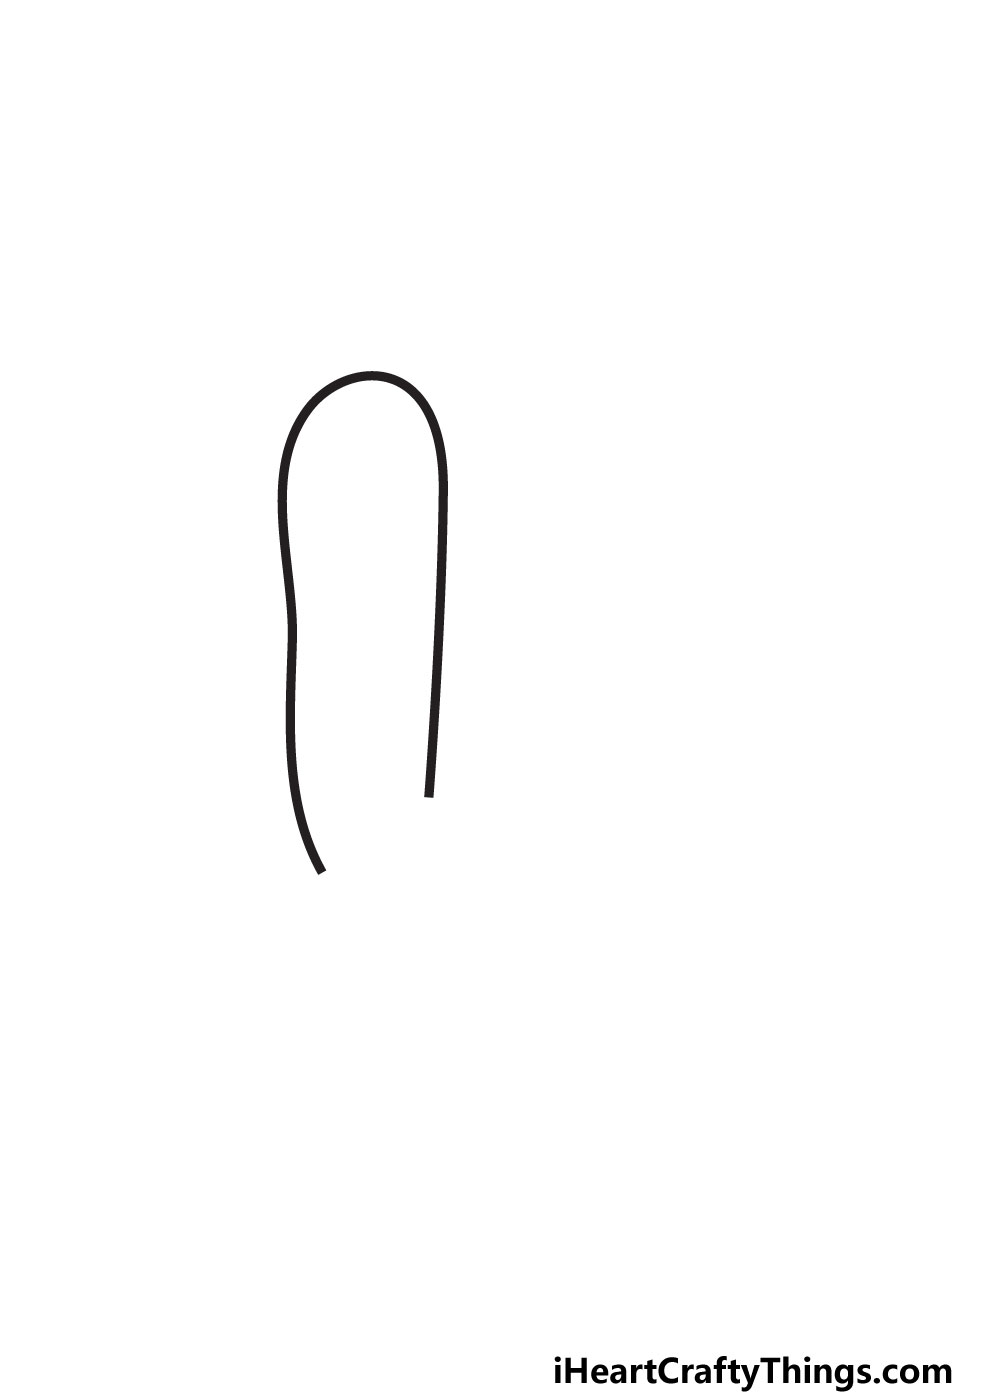
The line that we drew in the first step of the guide will be the inner edge of the main column of the letter. Next, we will be drawing the top of this column part.
This part should be just as simple as the first step, if not easier! All you need to do is draw a curved portion on top of the line.
This will extend to the left in an arch. If you can do the previous line and this one in a single motion then that would be ideal, but you can separate it into two if you find that easier.
Don’t worry if you need to practice the motion of drawing these lines, as you’ll get the hang of it!
With this top of the column drawn, we can then draw the other portions of the column in the next few steps, so let’s proceed.
STEP 3:
As promised, we will be drawing the rest of the main column in your bubble letter L in this step. This will be accomplished with another wavy vertical line.
Once again, it’s okay if your hand wavers a bit and makes it wavy. You’ll see in our reference image that there is quite a pronounced dip in the line.
This will only help to make the letter look even more like a bubble or a balloon, which is why we aren’t aiming for perfectly straight lines.
When you have drawn this latest vertical line, there will be a space left at the base of the letter.
That is a space we will be filling in very shortly as we finish off the outline in the next step of the guide!
When you’re happy with how it looks, we will proceed to finish off that outline.
STEP 4:
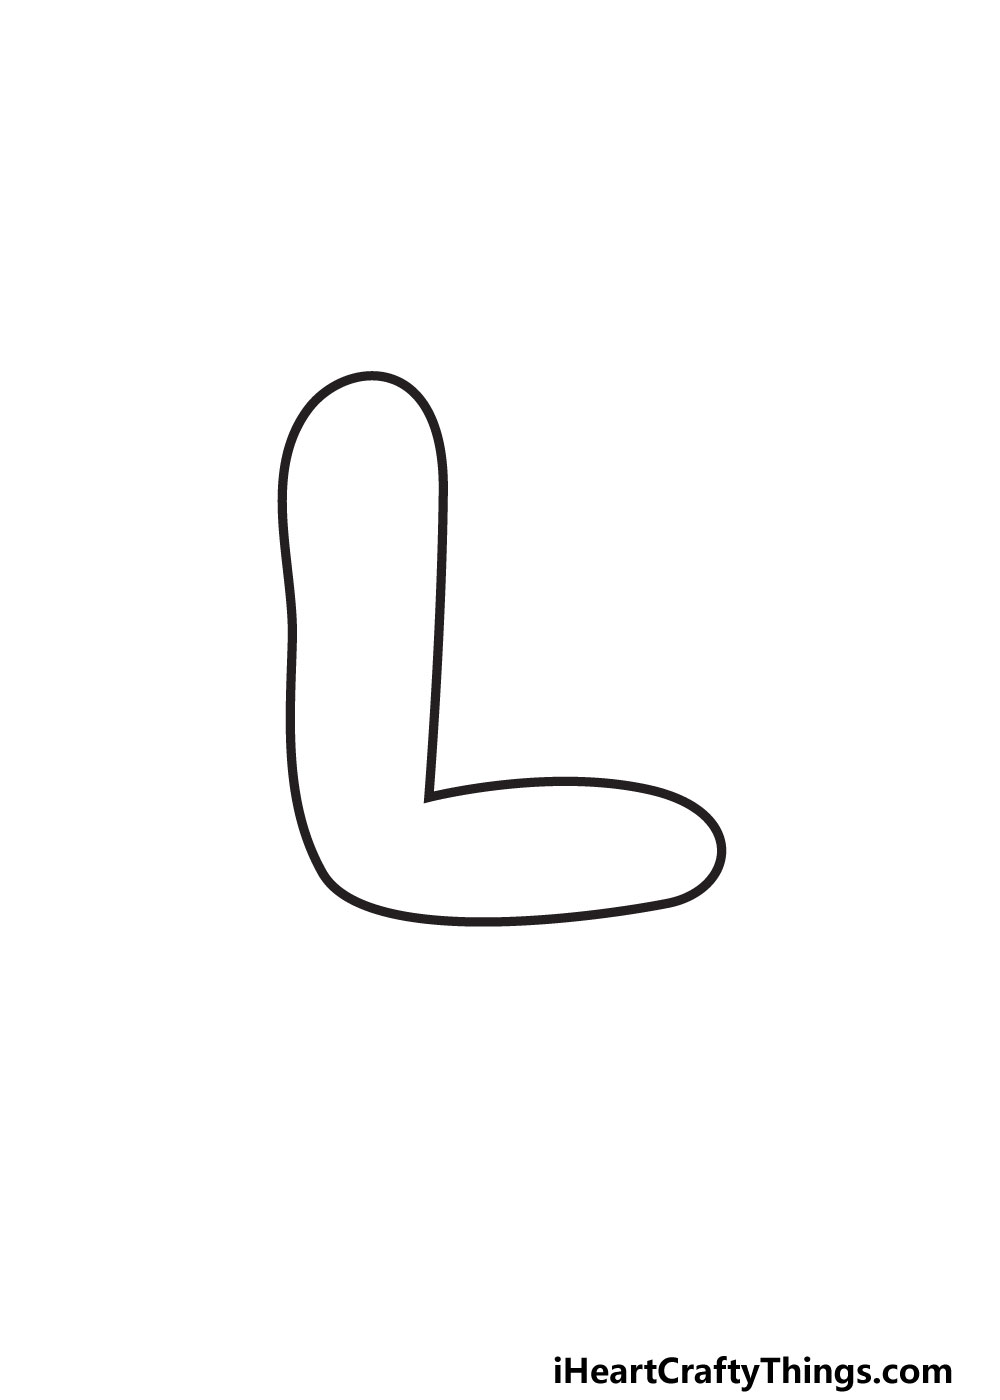
Now it’s time to finish off the outline to get you ready for some fun extra details in the next step. If you look at the letter L, you will see there is a straight base.
That base is what we will be drawing in this step, and it involves another long, curved shape. This base will begin and end where there was a space left in the previous part.
As always, you don’t need the line to perfectly straight, but it should be fairly flat as it is the base of the letter.
With that line added, you will see that the outline for this bubble letter is now complete! We’re not quite done, however.
The next step will see you adding some fun extra details to finish off the bubble effect and then we will add colors in the final step.
So now that you know what to expect, let’s head on to step 5!
STEP 5:
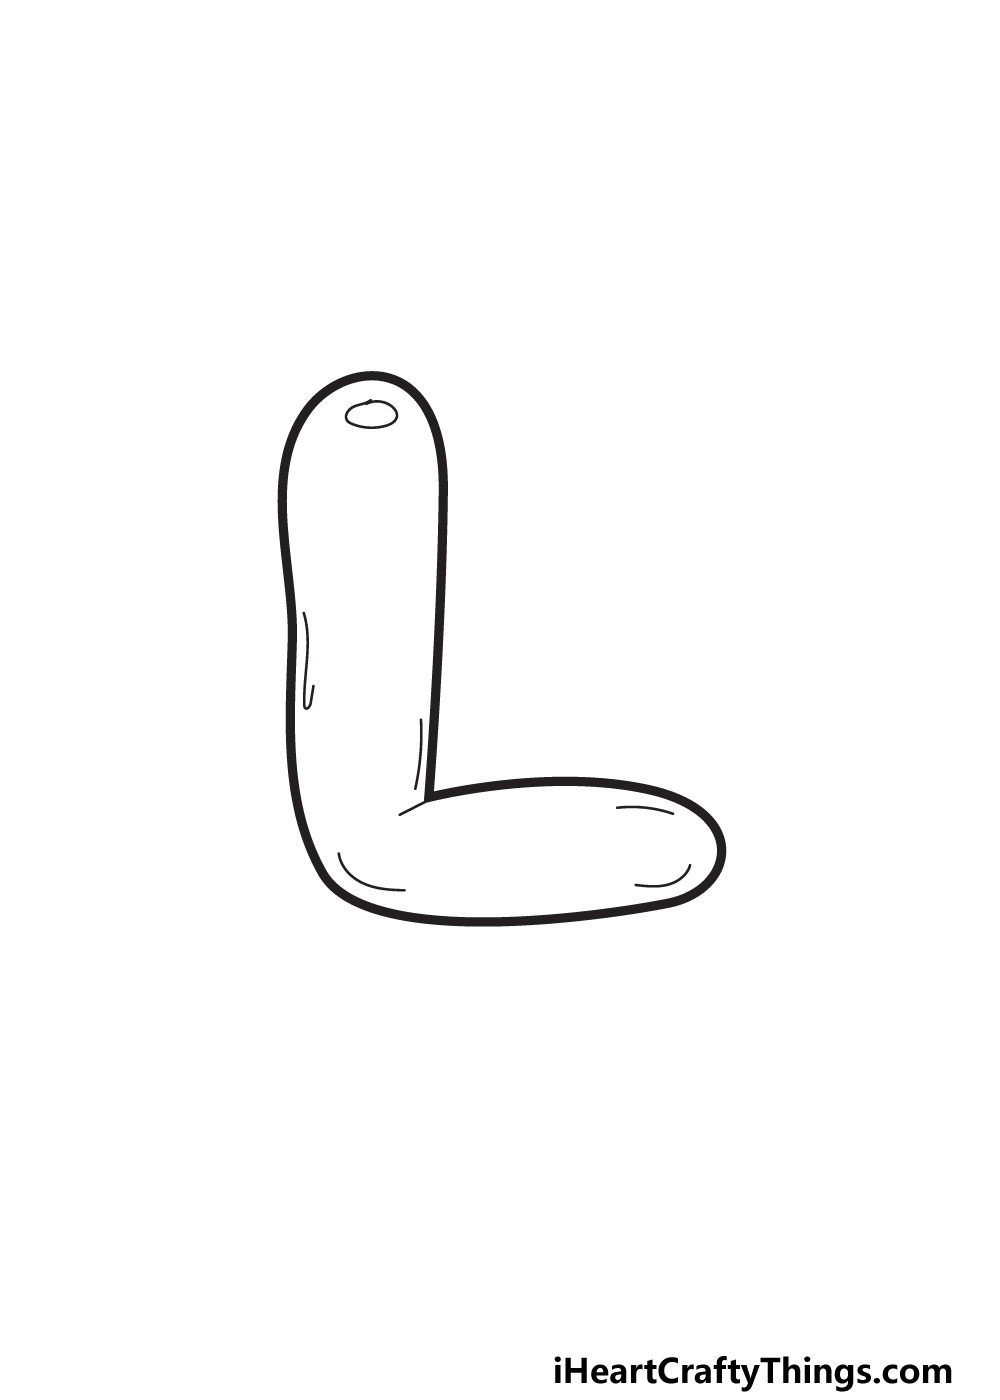
Your L drawing outline is complete, but it’s not quite looking like a bubble just yet. That’s what we will fix in this step along with adding any other fun details you may like.
The first step towards making it look like a bubble would be to add a reflective spot. This can be done by simply adding an oval near the top of the letter.
Just that simple little shape makes the letter look like it’s made of latex or out of bubbles, but we’re not done yet!
It’s still looking a bit flat, so we will add a few lines inside the outline the make it look like it’s filled with air. We added just a few of these lines, but you could add a few more.
Now, you’re ready to add some color! You don’t need to move on quite yet, however.
There are so many ways that you could personalize the drawing even more. One fun idea would be to draw a string coming from the L to make it look like a balloon.
Or, you could draw some fun patterns or shapes inside the letter to make it more visually interesting. These are just a few ideas, but there are no wrong ways to complete this drawing!
You can also make a few different versions if you can’t decide on just one idea.
STEP 6:
This is the final step of this guide, and it involves having some fun bringing some color to your bubble letter L!
We have shown you one way of coloring in this letter, but this is a step where you can take charge and bring your own touches to the design!
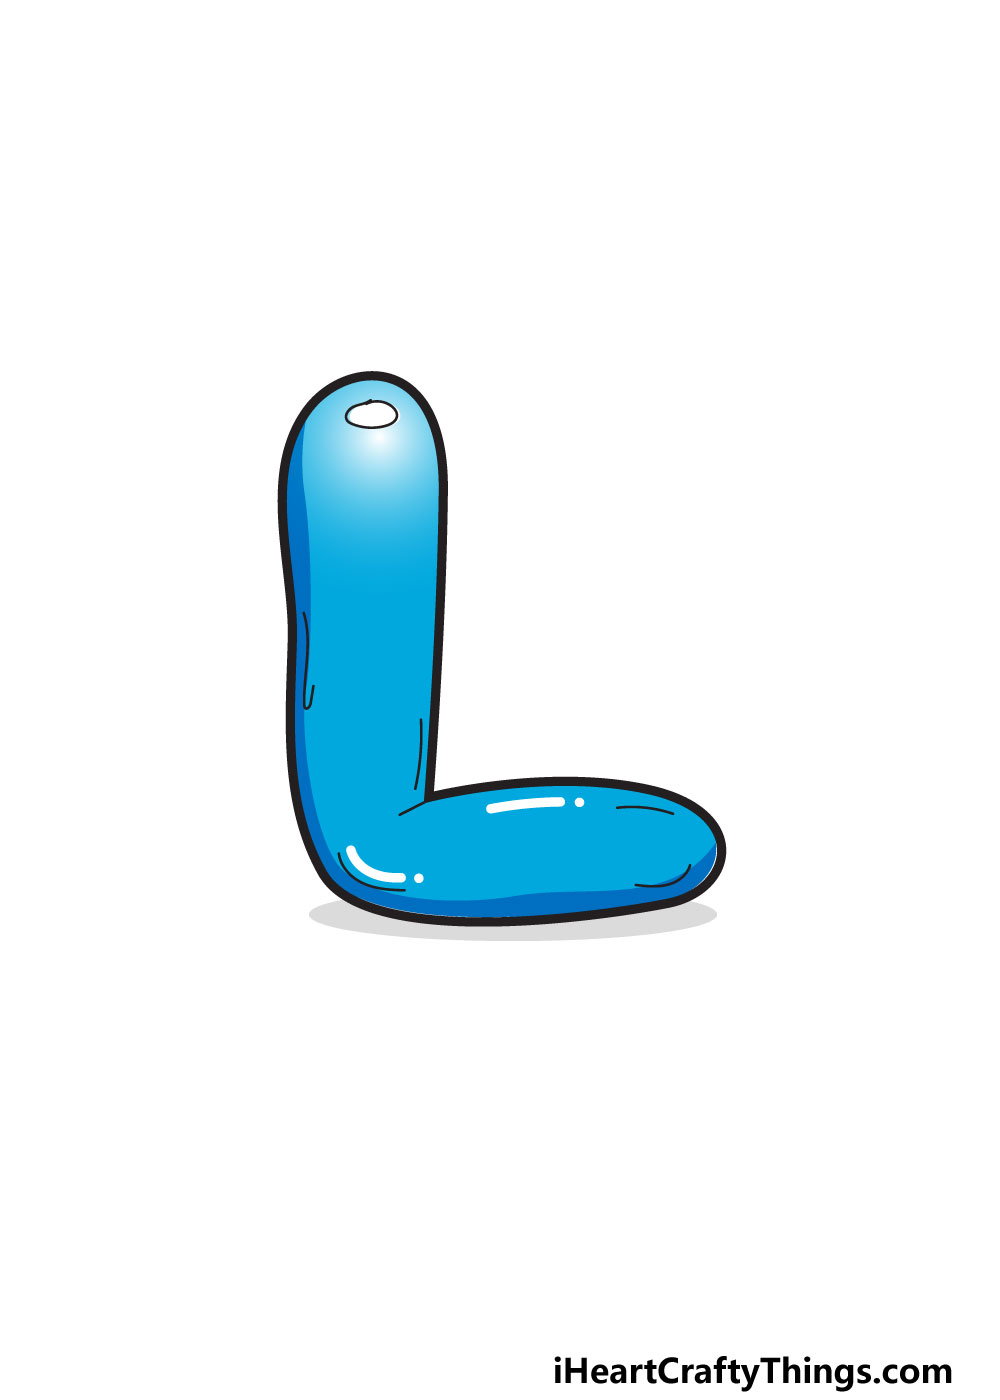
In our example, we used a blue color scheme for the letter. Even the colors can contribute to making the letter look more like a bubble.
You will see how the color of the letter is darker in some areas than others. We made the colors lighter closer to the reflective oval we drew earlier.
This helps to make the letter look less flat on the page and is a really cool effect. You can do this technique no matter what color you use, so feel free to change the color if you want!
You could also go for a different approach and create some texture for the letter. It could be covered in fur or scales or anything else you like by drawing some extra details.
It’s your drawing, so let your creativity flow and try to think of some interesting ways to add some colors!
My Final Tips To Make Your Bubble Letter L Drawing Even More Special!
It was a lot of fun figuring out some ways to make this simple letter more interesting in this guide! We hope you enjoyed getting creative with it as well.
It’s not over yet, though, as there are more ways to bring your creativity to this image. One of the best ways to do this is to start thinking of words that begin with L.
For a few to start with, there are words like leopard, lantern, lamp or lizard. Once you have chosen a word, you can incorporate it into the design.
So, if you chose a leopard, you could cover the letter with spots and even have a cartoon leopard lying on top of the letter.
Or you could write out a name that starts with L and do the rest of the letters in a similar style. Another way to make it more unique would be to use some interesting art tools.
You’ll probably use common tools like crayons, colored pens and pencils, but there are other cool ones to try.
These could include glitter, beads, stickers or sequins. Using craft supplies like this can bring some real texture and pizazz to your drawing!
These ideas should get you started, but what are some other ideas you can think of?