Did you know that the letter E is the most commonly used letter in the alphabet? This vowel appears in many words, so it is likely one of the first letters we will learn to write.
While you can probably already write this letter in both upper and lowercase, it’s time to take this even further by learning how to draw a bubble letter E.
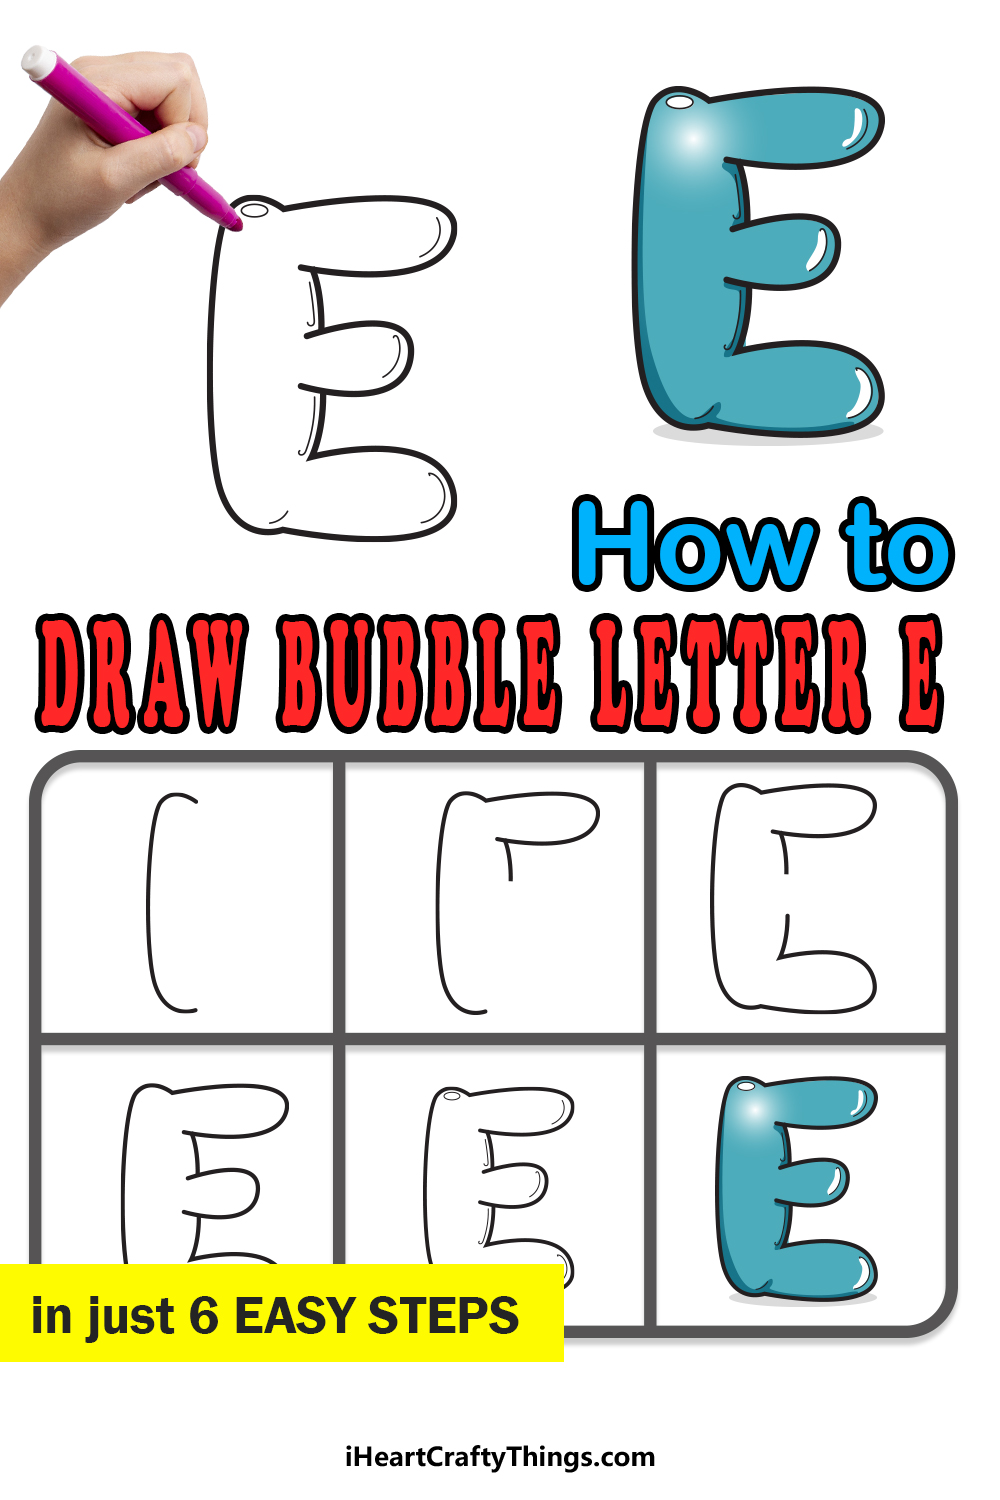
In this guide, we will take you through 6 steps on how to draw this letter in a really fun way. Then we will show you how you can color it in and even add some extra fun touches.
There is plenty of room for creativity as you create and add to this drawing, so don’t be afraid to experiment and have fun!
With all that out of the way, let’s embark on the first step to get you going with creating this bubble letter.
Let’s Get Started
STEP 1:
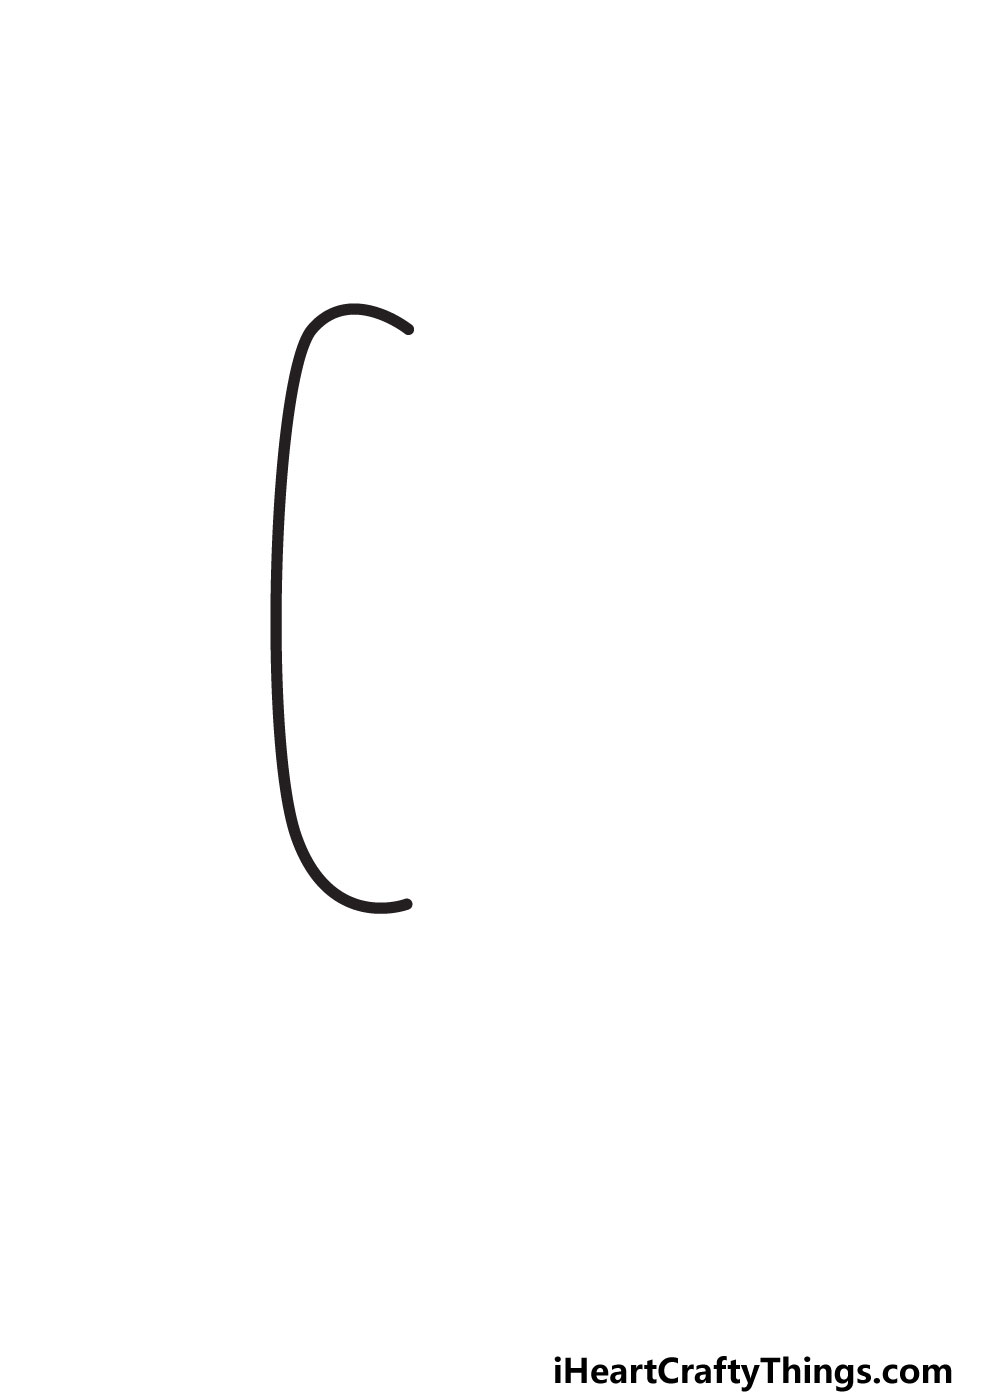
For this guide, we will be drawing the uppercase version of this letter as we create your bubble letter E. In the first step, we will start by drawing the spine of the letter.
To do this, we will be drawing a fairly long vertical line. As you can see in the reference image, this line will have a slight curve to it.
The reason it is curved instead of totally straight is that we want the letter to look like it is made of a bubble.
This line will curve inwards at each end, as this is where it will connect to the branches of the letter E that we will be drawing in later steps.
Once you have drawn this line as it appears in our reference image, you will then be ready to move to step 2 where we will add some more to the letter.
STEP 2:
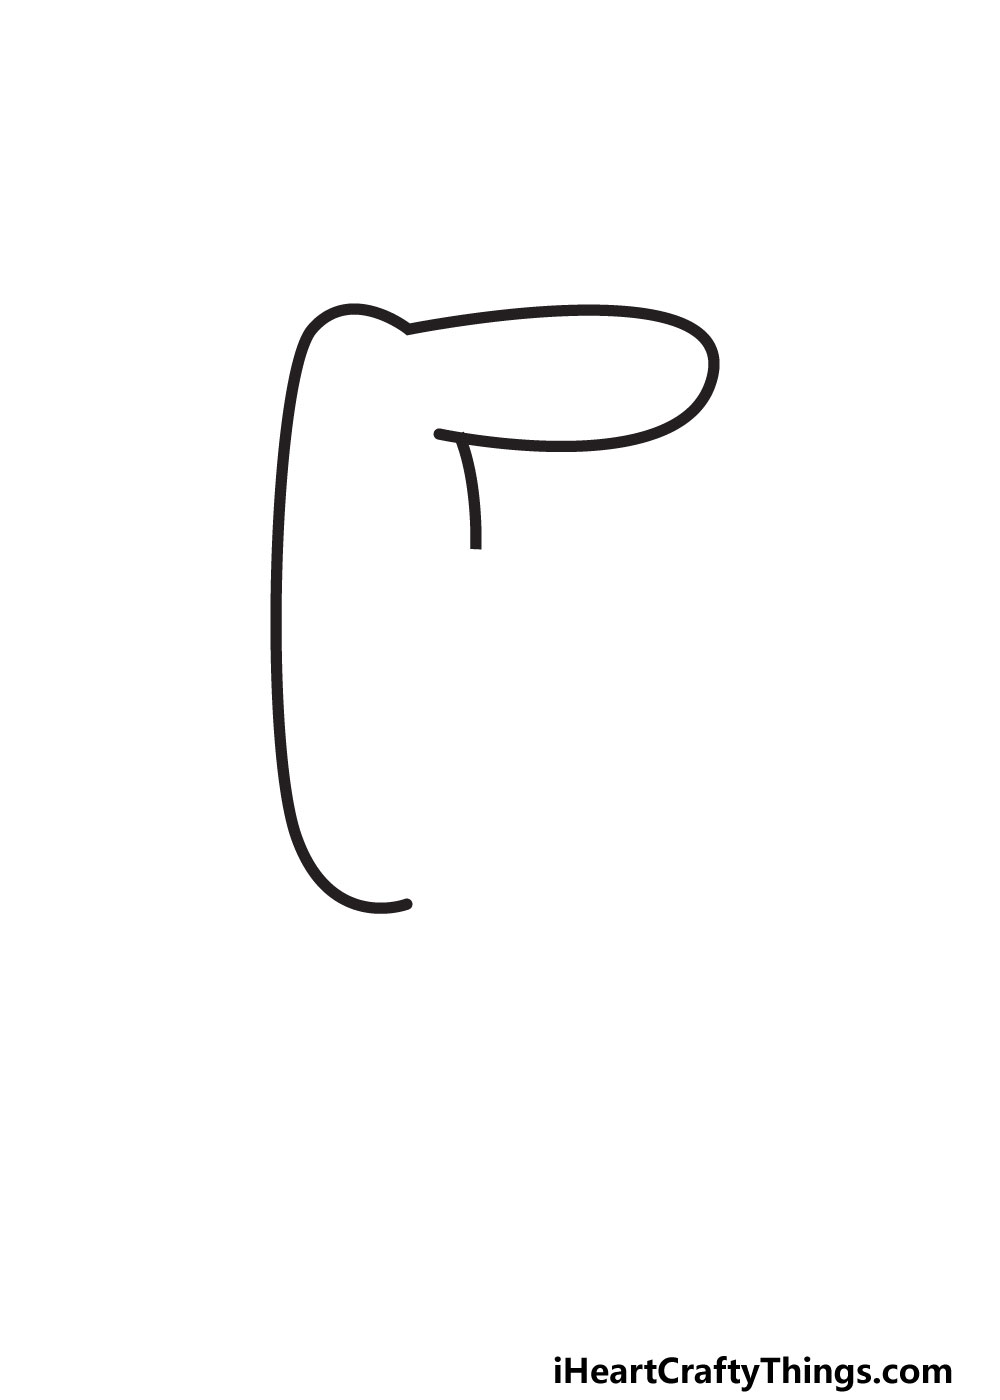
Next, we will be drawing the top ‘branch’ of the letter E. This will attach to the top of the line you drew in step 1.
In our reference image, you will notice that the shape of this first branch is shaped a bit like a thumb. It’s drawn with another slightly curved line that then curves inward quite sharply.
Once you have drawn this branch, we will then add one more curved line beneath it. This will be the space between this branch and the middle one that we will draw later.
If you run into any parts of this design that are giving you trouble, you can use a pencil to draw it first and then go over with your pen when you’re happy with it.
When you have drawn this branch, we can proceed to step 3.
STEP 3:
In step 3 of this guide, we will be making a mirror image of the lines we drew in the previous step.
This time, the branch we are drawing will be at the bottom, so we will draw it similarly to how you drew the top branch of your bubble letter E.
It will extend out from the end of where the very first line ended at the bottom, and then it will curve inward. While it’s drawn similarly to the one in the previous step, it doesn’t need to be identical.
In fact, you’ll notice that in our example the branch on the bottom is a bit thicker than the one on top.
Just as we did with the first branch, this one will also have a short, vertical curved line attached to it.
This will leave a gap at the center.
In the next step of the guide, we will fill that gap with the final branch, so let’s do that now!
STEP 4:

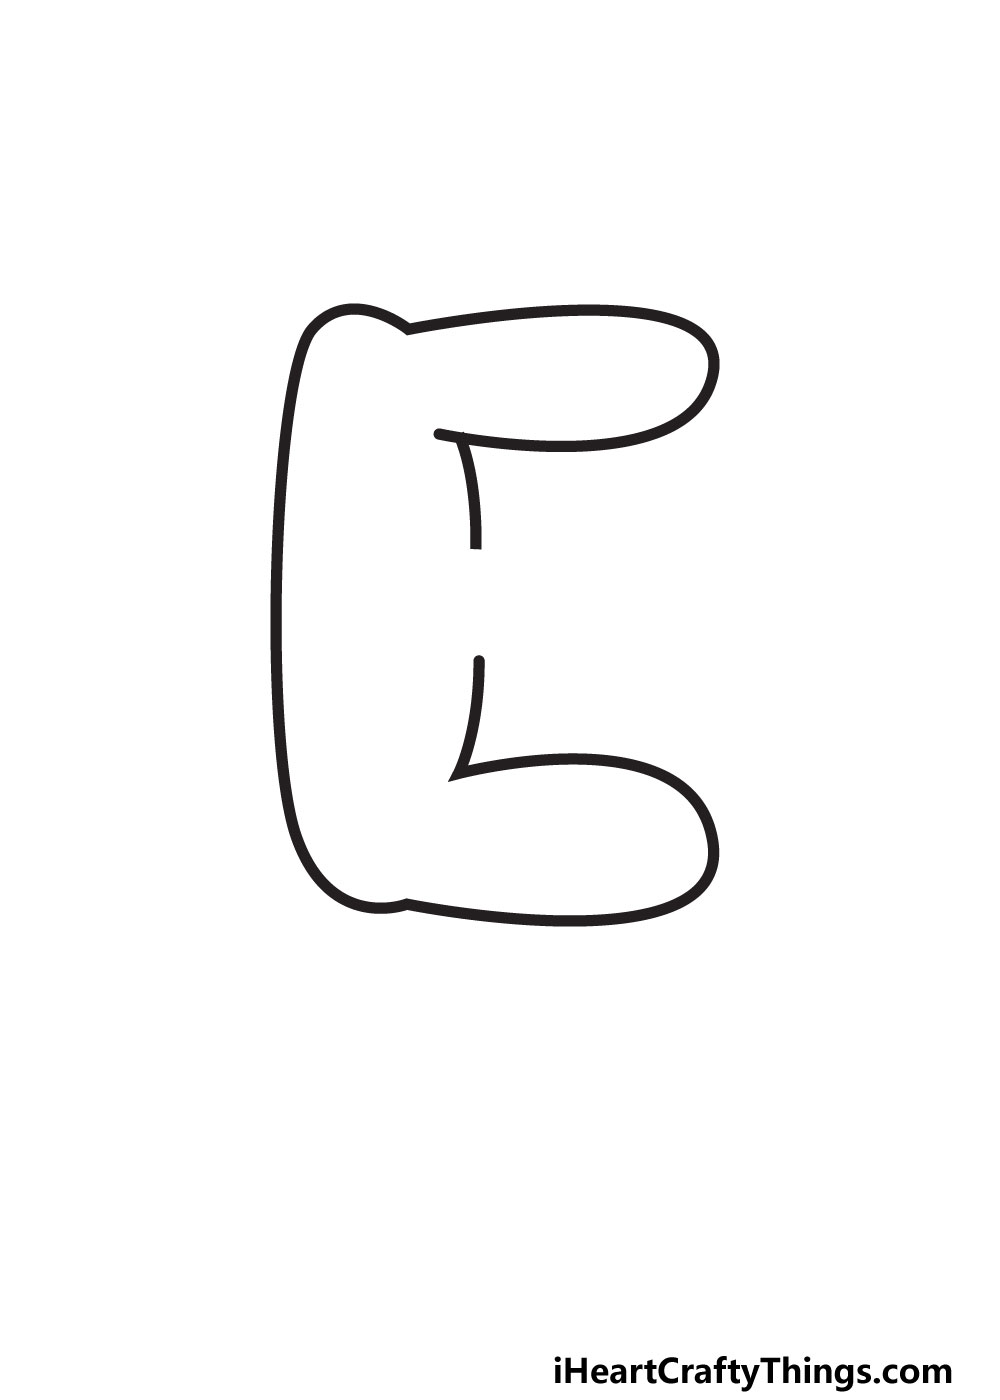
In this fourth step of the guide, we will be drawing the third and final arm of your letter E. Not only will this be the final arm, but it will also finish off the outline before we start on some interior details.
To draw this final branch, simply add another curved line beginning and ending inside the gap between the other two branches.
As you can see in the reference image, this third, center branch will be a bit shorter than the previous ones. Once it’s there, you’re ready to move on to the next step for some final touches!
Before that, make sure that the outline looks exactly as you want it. If you used a pencil to do any planning, now would be the best time to erase them before proceeding.
STEP 5:
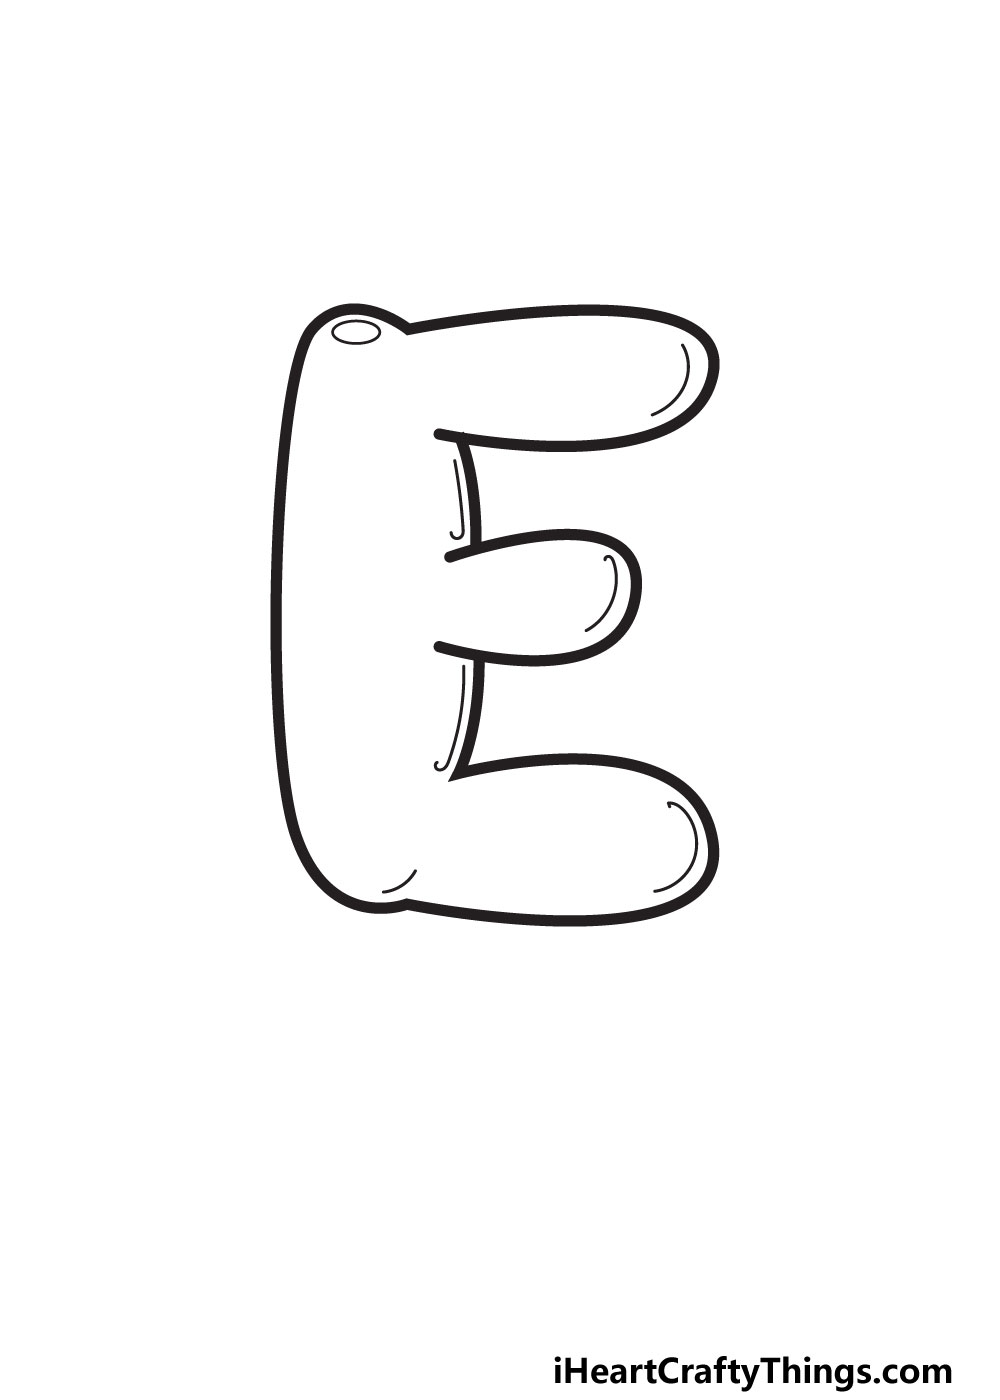
The outline is completely done now, so next we will focus on adding some interior details and touches. These will be to make the letter look less flat and make it look more like a bubble.
The first step towards doing this would be to draw a small oval shape on it. This oval will go near the top of the letter, as shown in the reference image.
The reason we are drawing this oval is to make the letter look like it is reflecting light, which helps to bring it to life.
If you want to create the illusion of more light sources reflecting, then you could add a few more ovals to different sections of the letter.
Once you’re happy with the reflections on your bubble letter, we can then add some curved lines inside the outline.
These will go near the inner sections of the outline in order to make it look like the letter has more depth. Again, you could add a few more if you want to make your letter look even fuller.
Before we move on to the final step, this is your chance to add some fun extra details. This is where you can really let loose and be creative!
One idea would be to pick a theme, perhaps something starting with E. Then you can add little details or small pictures around the letter to fit the theme.
You can think about it for now, but we will go over some more ideas after adding color in the next step.
STEP 6:
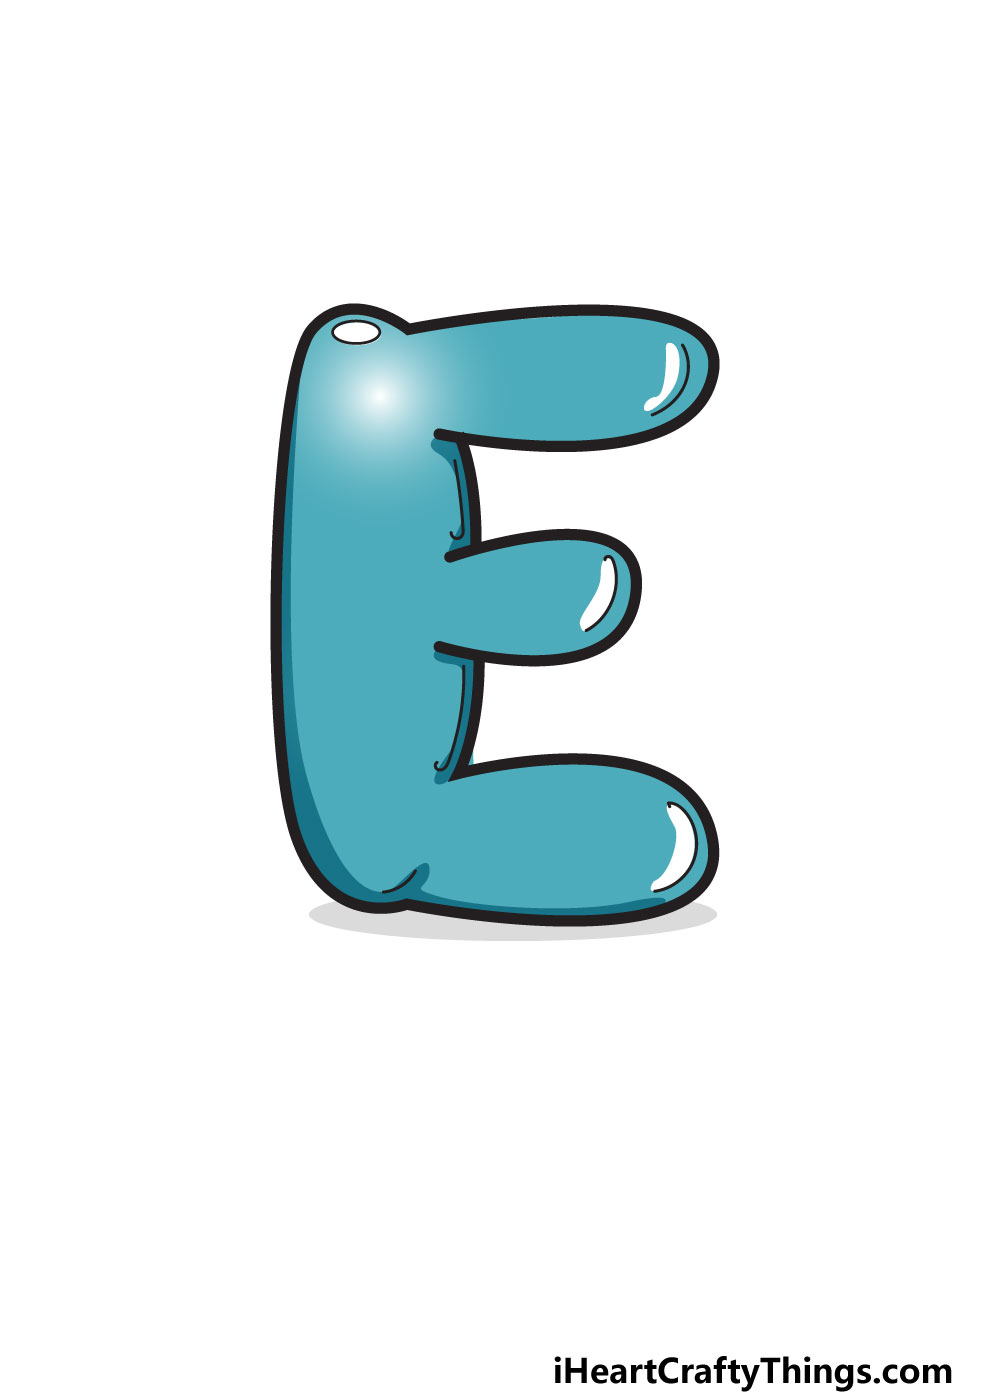
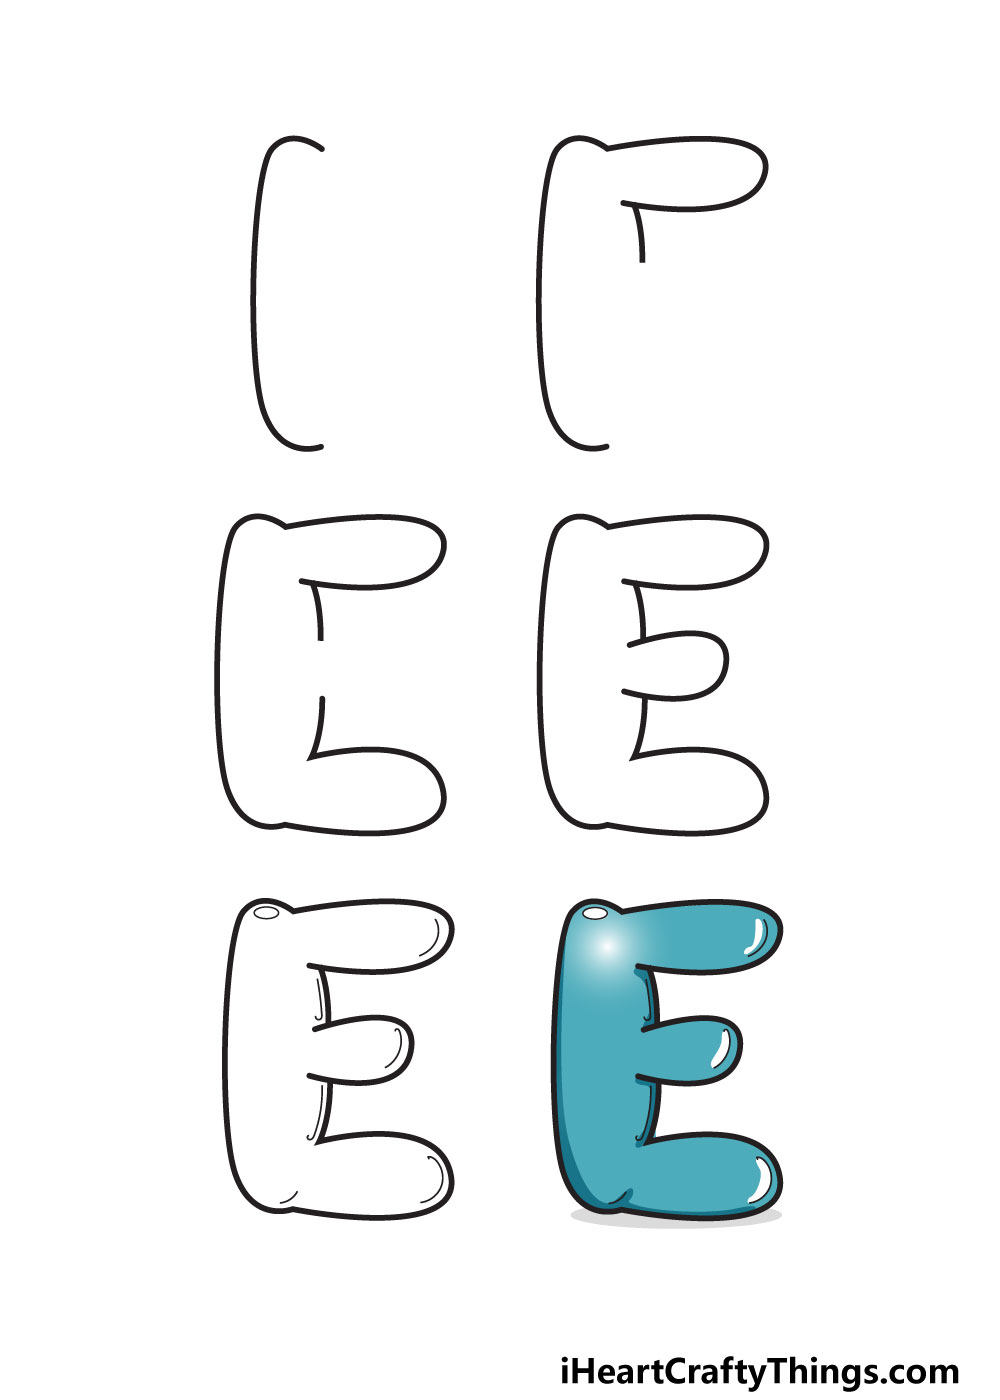
Now we have the final step of the guide, and this might be the best part! This is where we will add some colors to your bubble letter E to bring it to life.
There are infinite possibilities here and you can really get creative with it. In our reference image, we showed you the colors we would choose for this drawing.
If you like how it looks, you can try to match what we did with your favorite coloring tools! As you can see, we went for a muted turquoise color scheme.
We didn’t stick to solid colors, and instead used a gradient of light colors fading into darker. Doing this helps to give the bubble even more depth.
Of course, you should feel free to use any other colors you love! You don’t even need to stick to just one set of colors.
It could be fun to draw some patterns and shapes while incorporating different art mediums as well. Why not challenge yourself to use some craft supplies you’ve not used before?
This is your chance to show off how creative you can be with colors, so have fun with it!
My Final Tips To Make Your Bubble Letter E Drawing Even More Special!
You completed all 6 steps of this guide, and you should be very proud of your drawing! If you had a great time working on this guide, then the fun doesn’t need to stop here.
In this final step, we will go over a few last ideas you can use to fire up your creativity. You should definitely show off any of your own ideas you may have too!
To start, we shall think of a few words that start with E. Right away, words like elephant, eggs or elf come to mind, but you can probably think of many more!
Once you have chosen a word, you can think of some fun ways to incorporate the word to the picture.
For instance, if you chose ‘eggs,’ then you could add the ‘ggs’ after the E you drew. Then you could draw some eggs next to the design.
That is one of many ideas you could go for! It would also be fun to use this letter on a card or a gift to a loved one.
What other fun ideas do you have for this design?