When it comes to first learning how to write letters, D is one that isn’t that difficult. It is a letter that looks very different if it’s in its capital form compared to the lowercase form.
The capital version is easy to write, but creating a bubble letter D can be a trickier story. It may look simple, but there are some challenges when creating this bubble letter.
That’s why we created this guide to show you how you can create this bubble letter with ease. However, we will also take things a bit further once we have shown you how to create the drawing.
We will do this with some tips on how you can make your drawing even more fun and unique! With all that said, let’s kick off the first step of this guide.
Let’s Get Started
STEP 1:
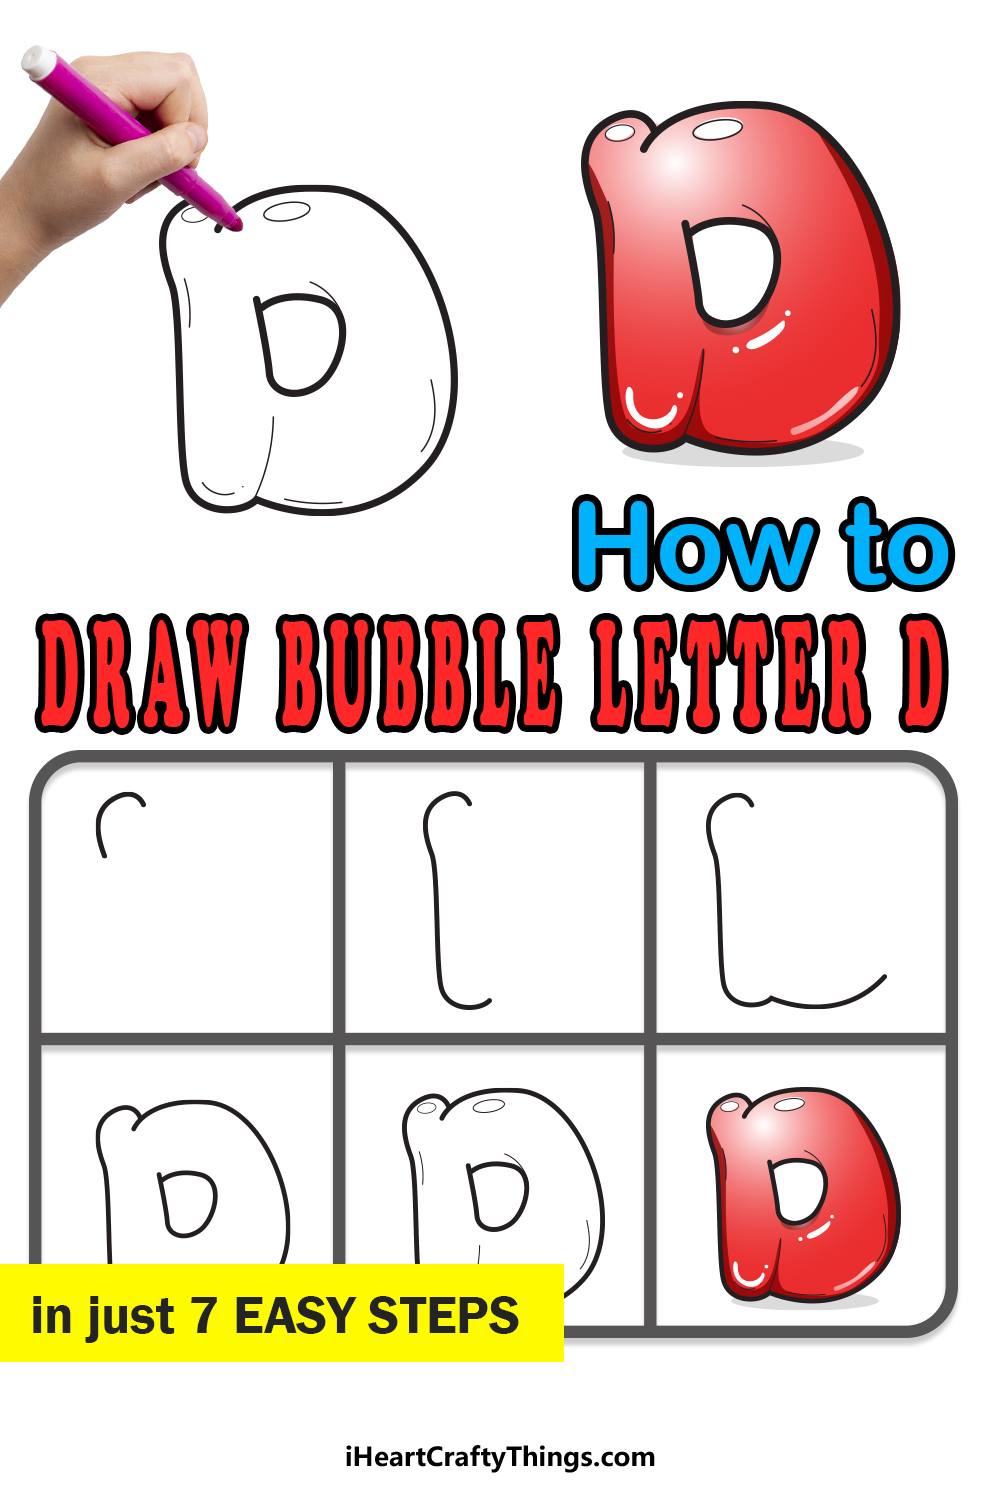
The best way to make any drawing easier is by breaking it down into smaller chunks. That’s what we are aiming to do in this first step of the guide!
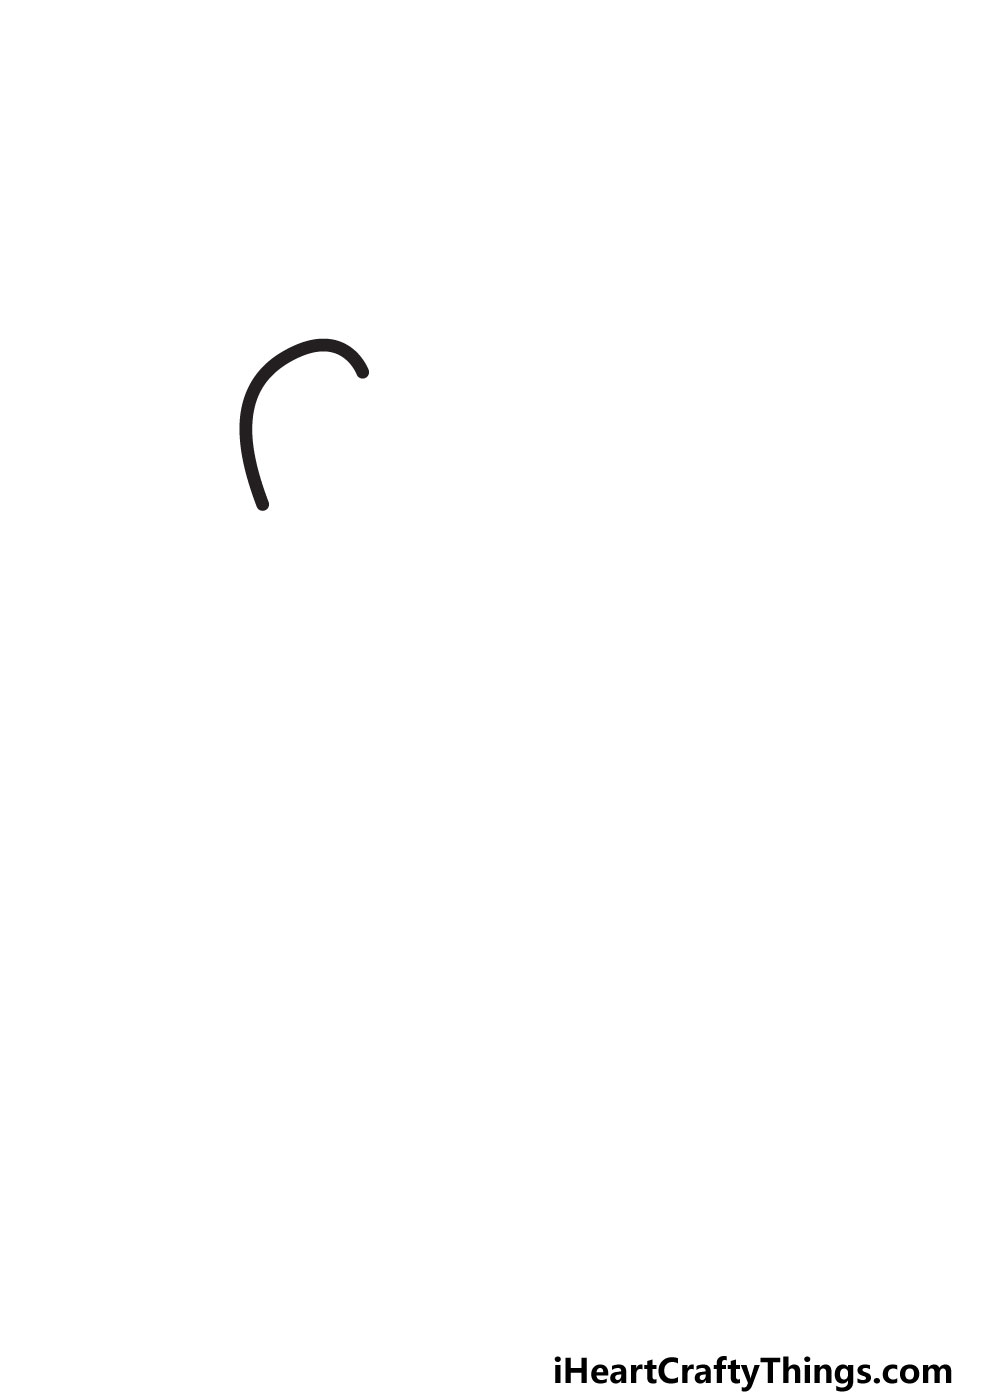
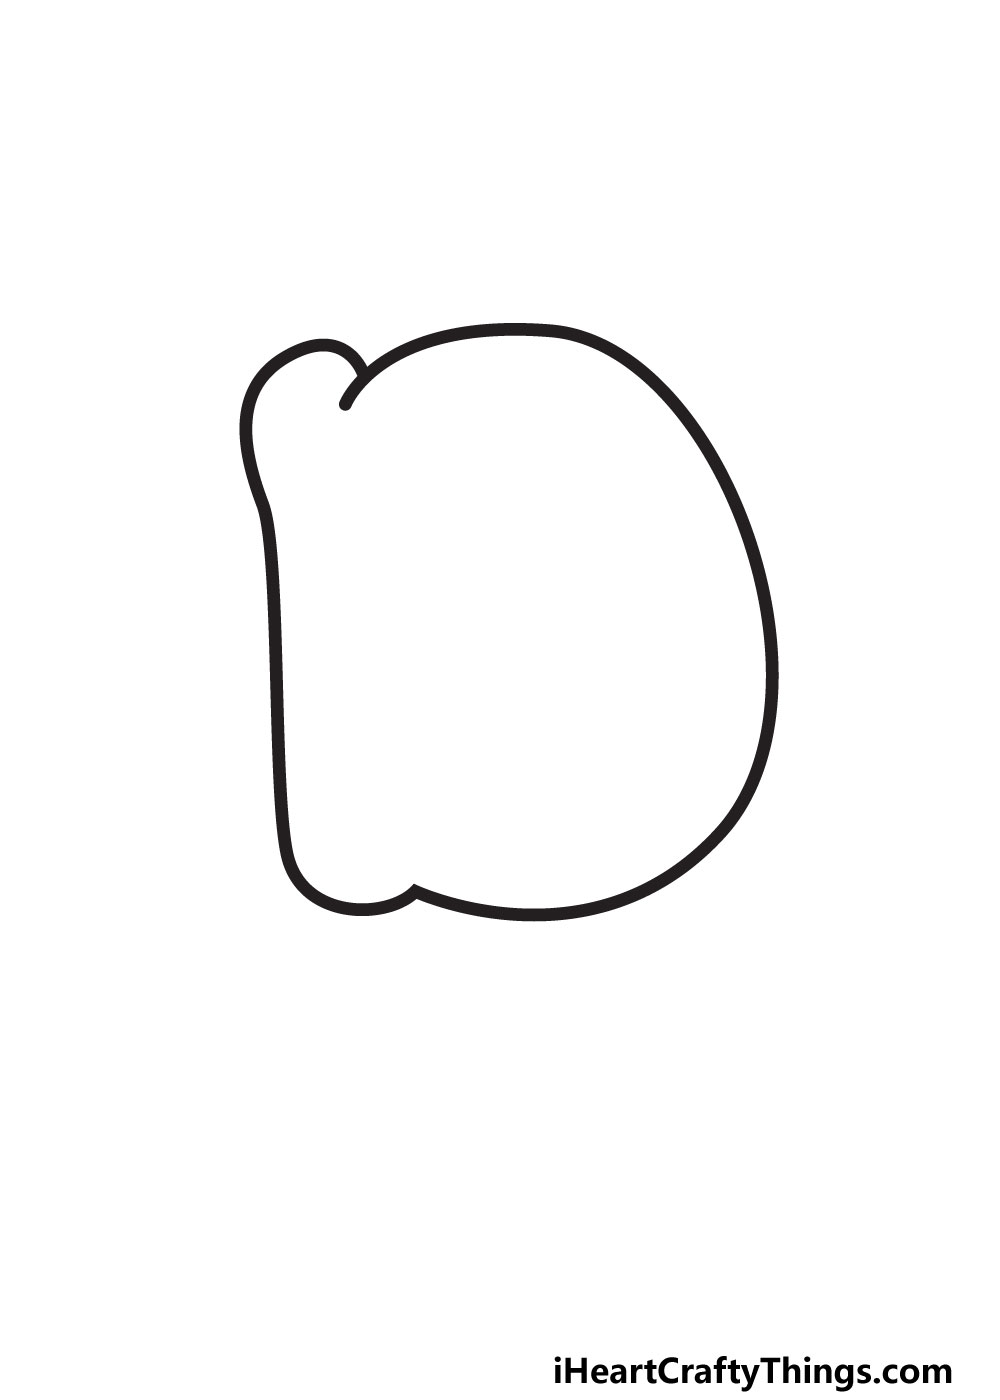
As you can see in the reference image, we will be starting with the top of the left-hand side of the letter. This will be done by drawing a small curved line.
When drawing it yourself, try to make it match the line in our example as closely as you can. In order to prepare for the next few steps, you can draw a guide with a pencil.
Using a light pencil, you can draw a large letter D the same way that you would write it normally. This can work as the blueprint for the bubble letter we will draw later, and then it can be erased when you’re done.
For now, we can proceed to step 2 when you’re ready!
STEP 2:
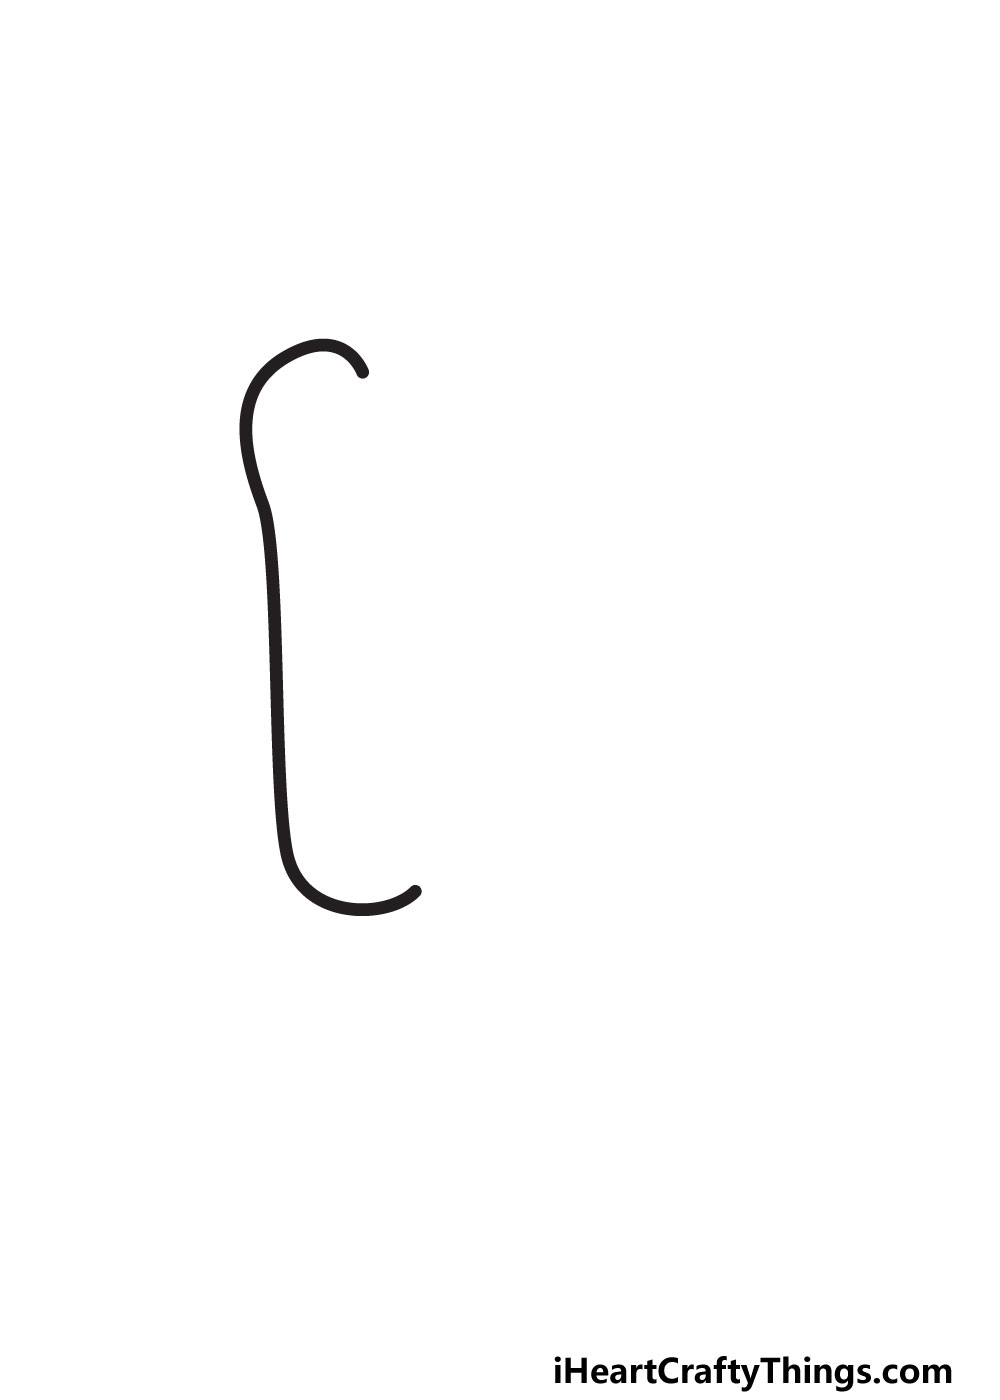
We only drew a small part of the letter in the first step, but we will be adding a lot more in this second step. For this part, we will be dropping a line down from what you drew previously.
You’ll see in our example that this line will have a slight curve to it. This is because we want the outline to be a bit bumpy to give it that bubble look.
The benefit of the line being a bit bumpy is you don’t have to worry too much about keeping the line straight as you draw.
While you don’t need to worry about it being straight, you should also try to keep the line as smooth as you can. We don’t want it to be too bumpy and wavy, so try to replicate our example as closely as you can.
Once you have drawn this straighter edge of the letter D, we will begin step 3 to add more to the letter.
STEP 3:

For the next part of your bubble letter D, we will draw the base of the letter. This will extend from where the line you drew previously ended.
The line in this step will be a smoother curved line than anything we have drawn so far. When drawing this base line, try to keep your hand as steady as you can, as we ideally don’t want this line to be too wavy.
In the fourth step, we will be extending this line all the way up to finish the outline, so try to bear that in mind when drawing it.
Next, we will keep the momentum going as we finish off the outline for this letter, so let’s head to step 4 of the guide!
STEP 4:
As we mentioned in the previous step, this one will see you finishing off the outline for your letter D.
This next line will be one of the longest we’ve drawn in the guide so far, and it will have a slight curve to it.
Extend the line up from where the one in step 3 ended and all the way to the top of the D. You will see in our example that this line will go under the top of the spine on the left side of the letter.
This will finish off the general outline, and you will be ready to draw some inner details for the letter in the next few steps.
If you used a pencil to map out the design of the letter in any way, then you should erase them now before we move to step 5.
Now that the outline is complete, let’s start adding some interior details in the next step.
STEP 5:
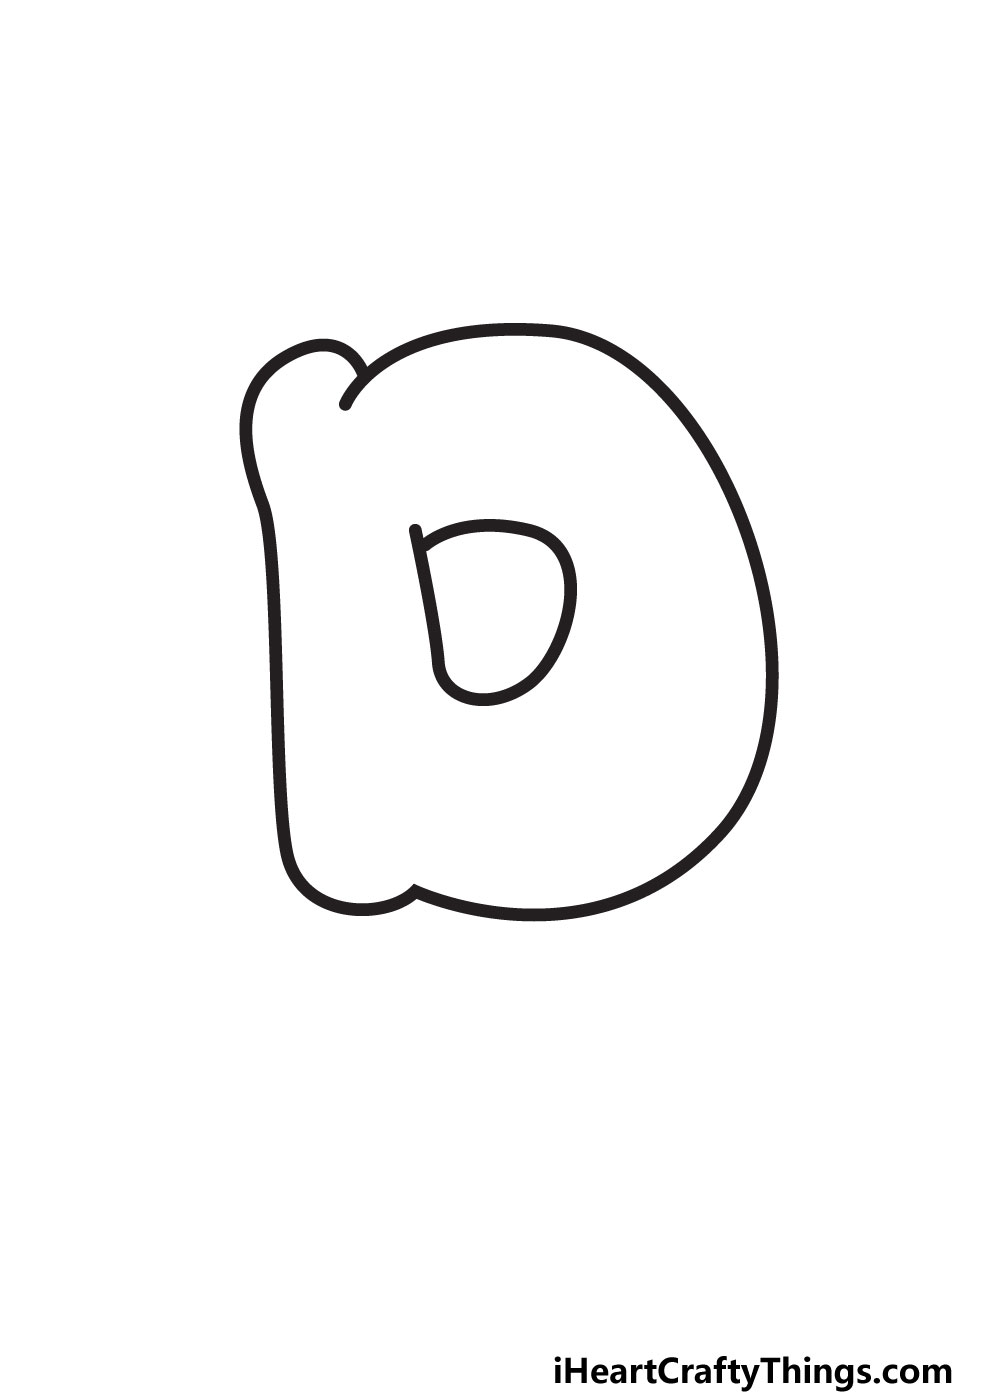
In this fifth step of the guide, we will draw the hole at the center of the D. You’ll notice in the image that the hole will be shaped a bit like a capital D itself.
As with many of the other lines we have drawn in this guide so far, you don’t need to worry too much about making it super smooth and neat.
The way we have it in our reference image is how we chose to draw it, but you don’t have to go with that approach if you prefer something else.
For example, you could use a simpler circle for this hole or even use a fun shape like a heart or a star instead. It’s all about being fun and creative, so you should add any fun details you like!
However you decide to draw the hole, we will be ready to start making this letter look more like a bubble as we add some more interior details.
STEP 6:

In step 6, we will add a few simple details to make your letter D look more like a bubble letter. To start this process, we will first draw some small, thin ovals inside the D.
These will go near the top of the letter, as shown in the example. The ovals will be there to make it look like your bubble letter is reflecting light.
Once these are drawn, we will then add some simple curved lines along the interior outline of the letter.
These lines will help make this letter look more like it has some actual depth instead of being flat.
You can place more of these lines as you wish if you want to give it even more depth. Once these lines are drawn, we are ready to add some color!
Before you do that, be sure to add some extra details and touches. These could be pictures of things that start with the letter D or any other fun touches.
STEP 7:
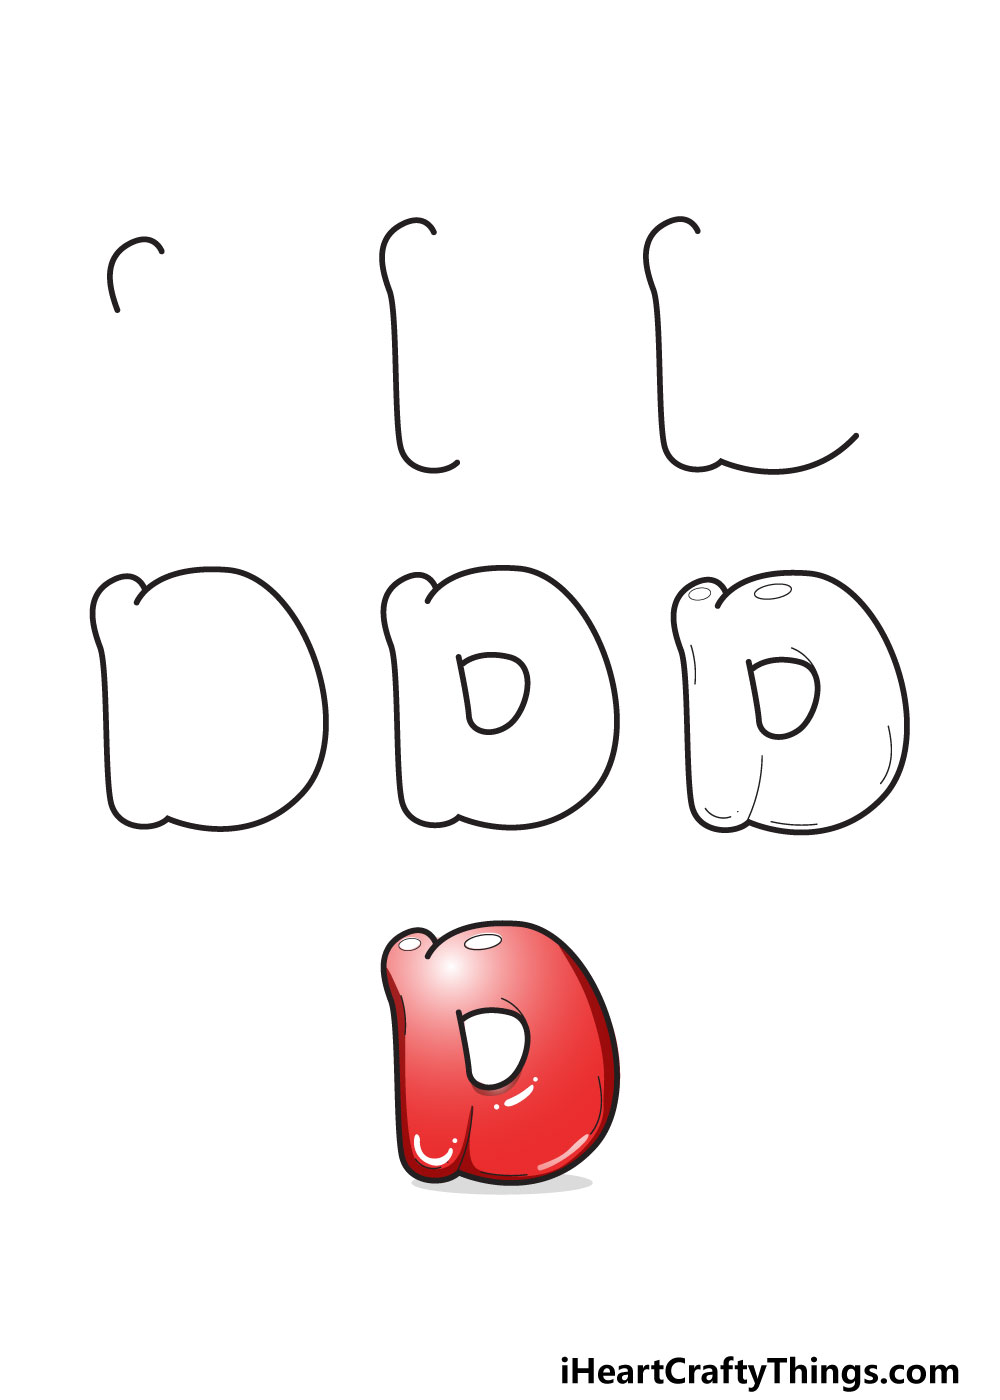
You’ve done a great job drawing this letter, and now you’re ready to finish off with some coloring fun!
When it comes to coloring your drawing, there are no right or wrong ways to do it.
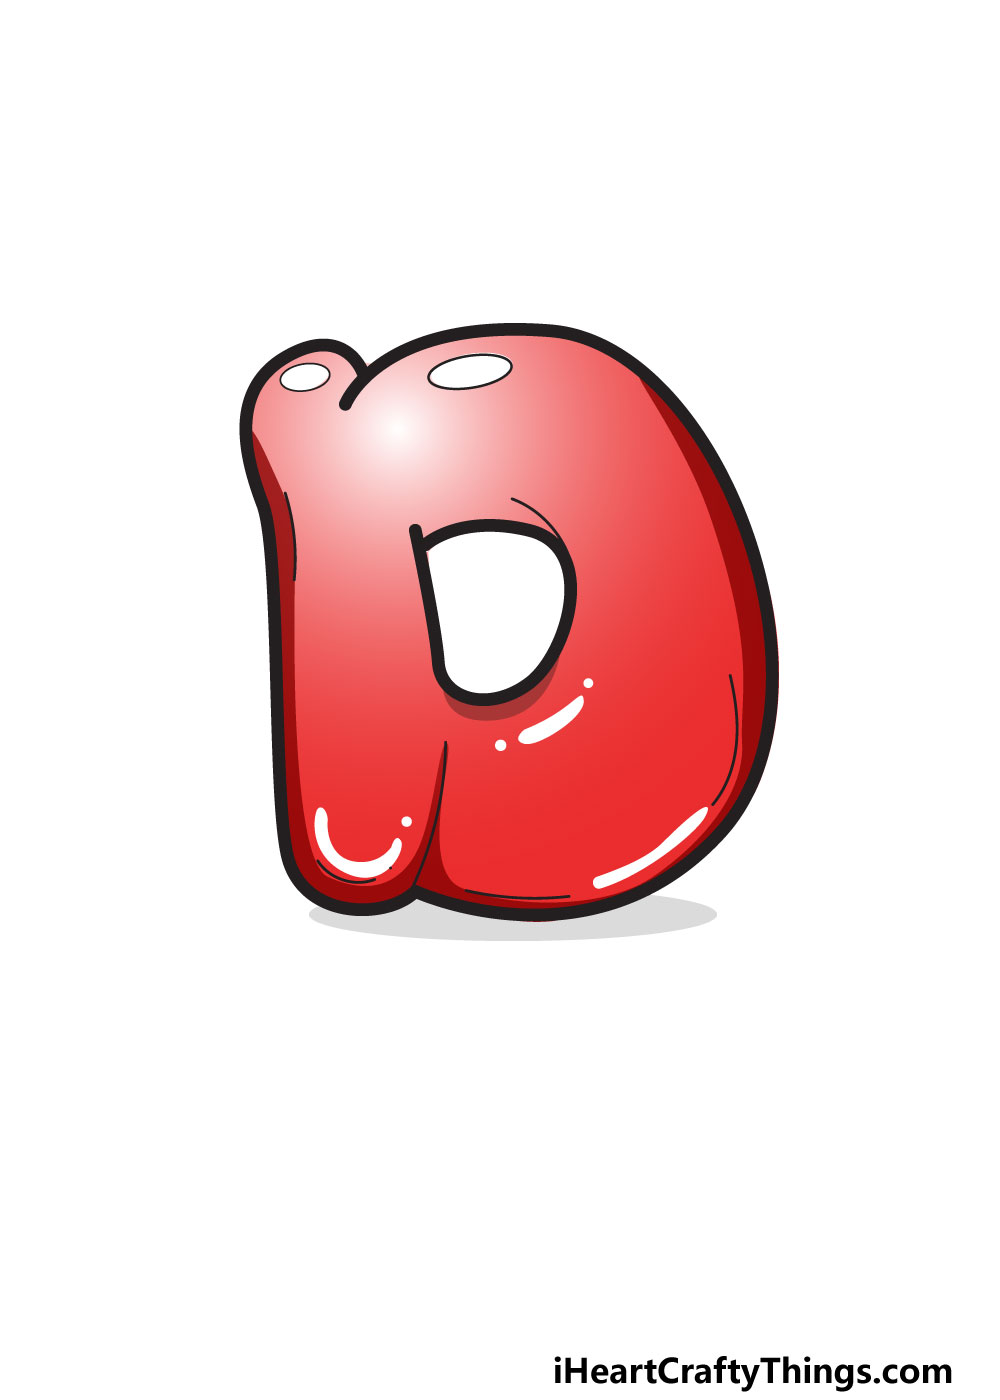
In our example, we showed you the color scheme we would use, which is composed of various shades of red.
These shades go from being really light to much darker and this helps to make it look even more like the letter has some depth,
Of course, you don’t have to stick with this color scheme if you have colors you like more! You don’t even need to stick to just one set of colors.
It could also be fun to use some patterns, color shapes and even textures to make the letter look even cooler.
For example, you could stick some colorful fake fur or even some beads to give the drawing more life! What colors and crafts can you think of to finish off your drawing?
My Final Tips To Make Your Bubble Letter D Drawing Even Better!
You worked hard on this drawing of a bubble letter D, and now we will make it even better with some cool extra ideas!
The hard parts are over, and now you can focus on the fun of being creative. Before we close off this guide, we will go over a few ideas that you can try to have some fun with the design.
A good way to start would be to think of objects and things that begin with the letter D. Luckily, there are many to choose from!
Some easy ones would be dog, doughnut or doll. Once you have a word, you could write the rest of the word using your bubble letter D as the first letter.
You could take it even further by drawing whatever you spelled out next to the word! For example, you could draw a cute puppy next to the word if you chose ‘dog.’
There are many words to choose from, so what would you pick to make your drawing even more complete?