The letter B is one that we use a lot in our day-to-day lives. Some of the best things in life start with B; beach, bubblegum and bacon would be a few examples to start with!
As you work on this guide, you should try to think of more words that start with B so that you will be able to create these words later.
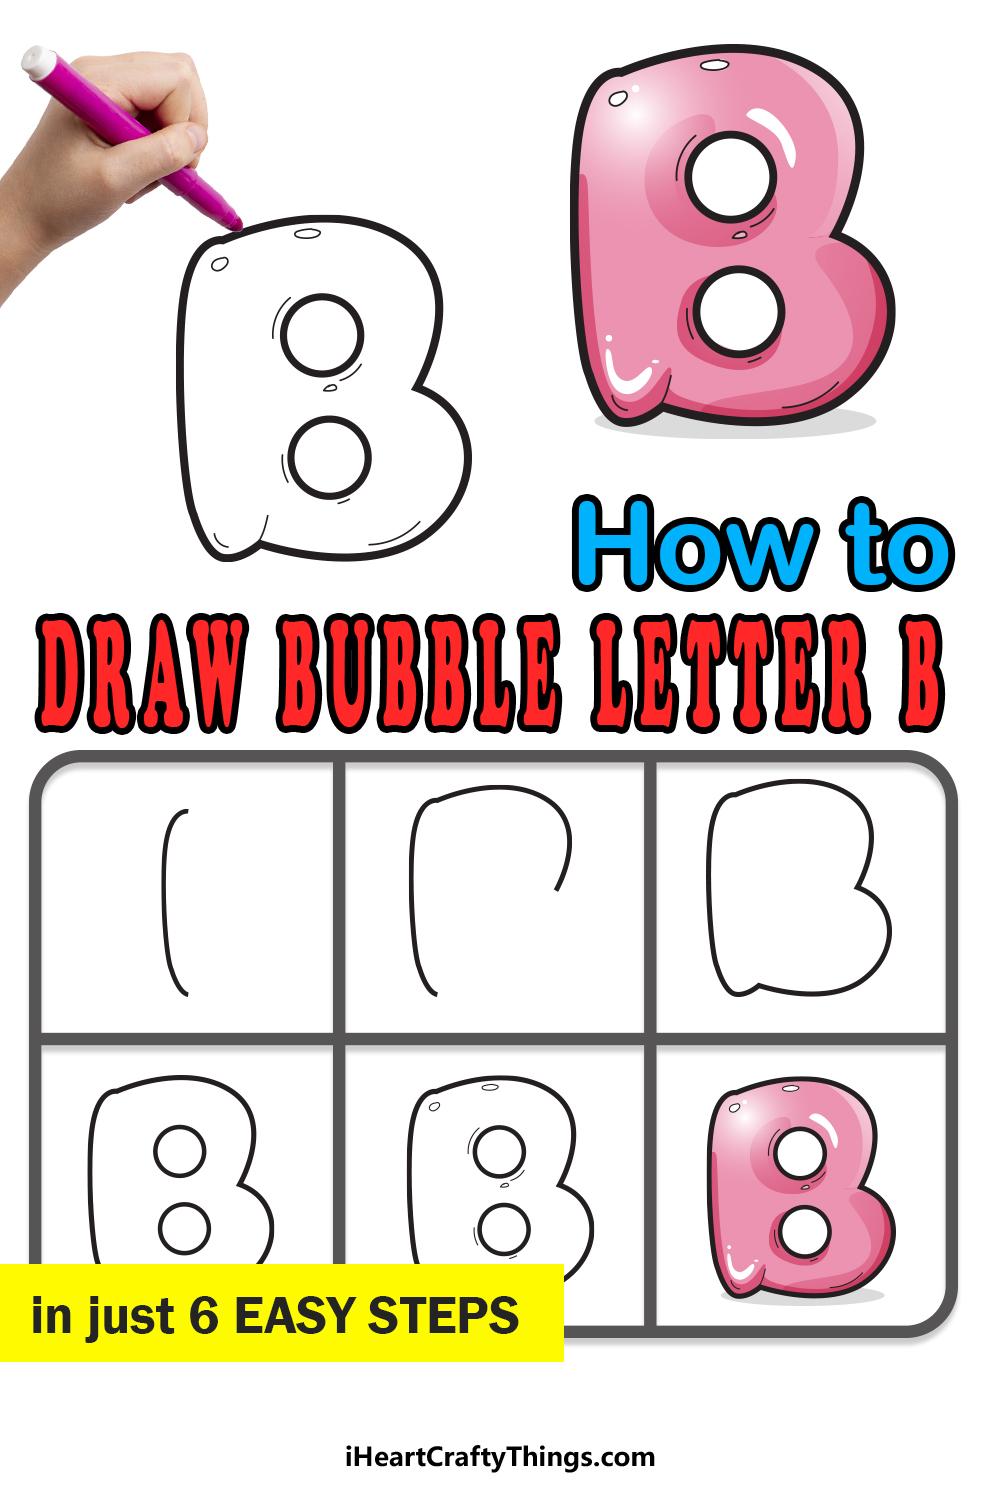
As the second letter in the alphabet, you probably already know how to write this letter. While that may be the case, you may not know how to draw a bubble letter B, and that’s why we’re here!
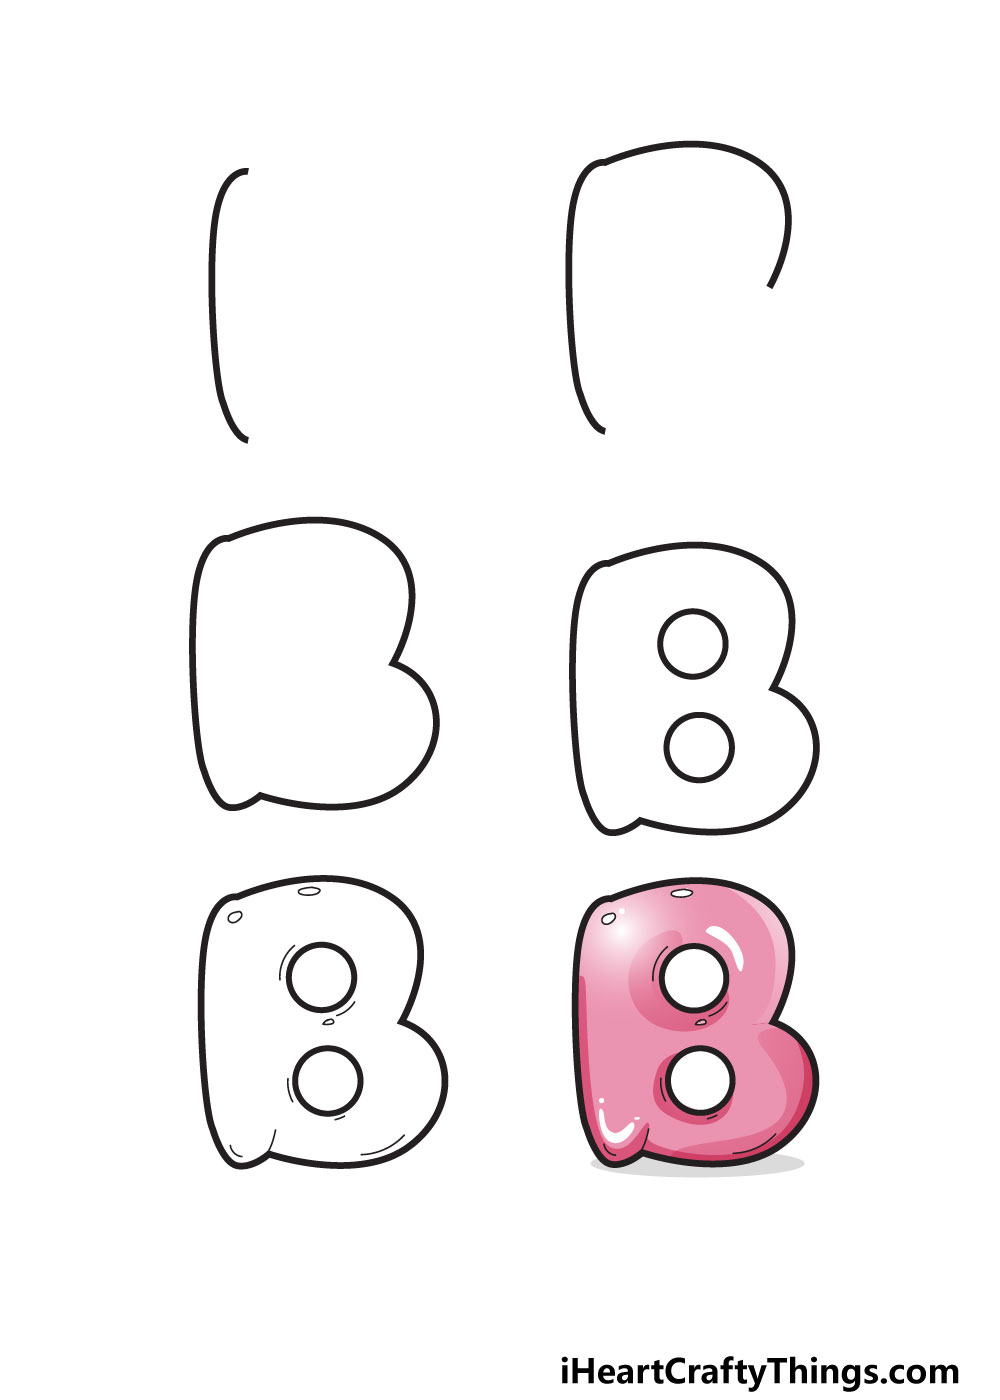
In this guide, we will take you through 6 steps on how to draw a fun bubble version of this letter. Once that is done, we will also go over a few ways you can make your drawing even more fun and unique!
Let’s Get Started
Step 1
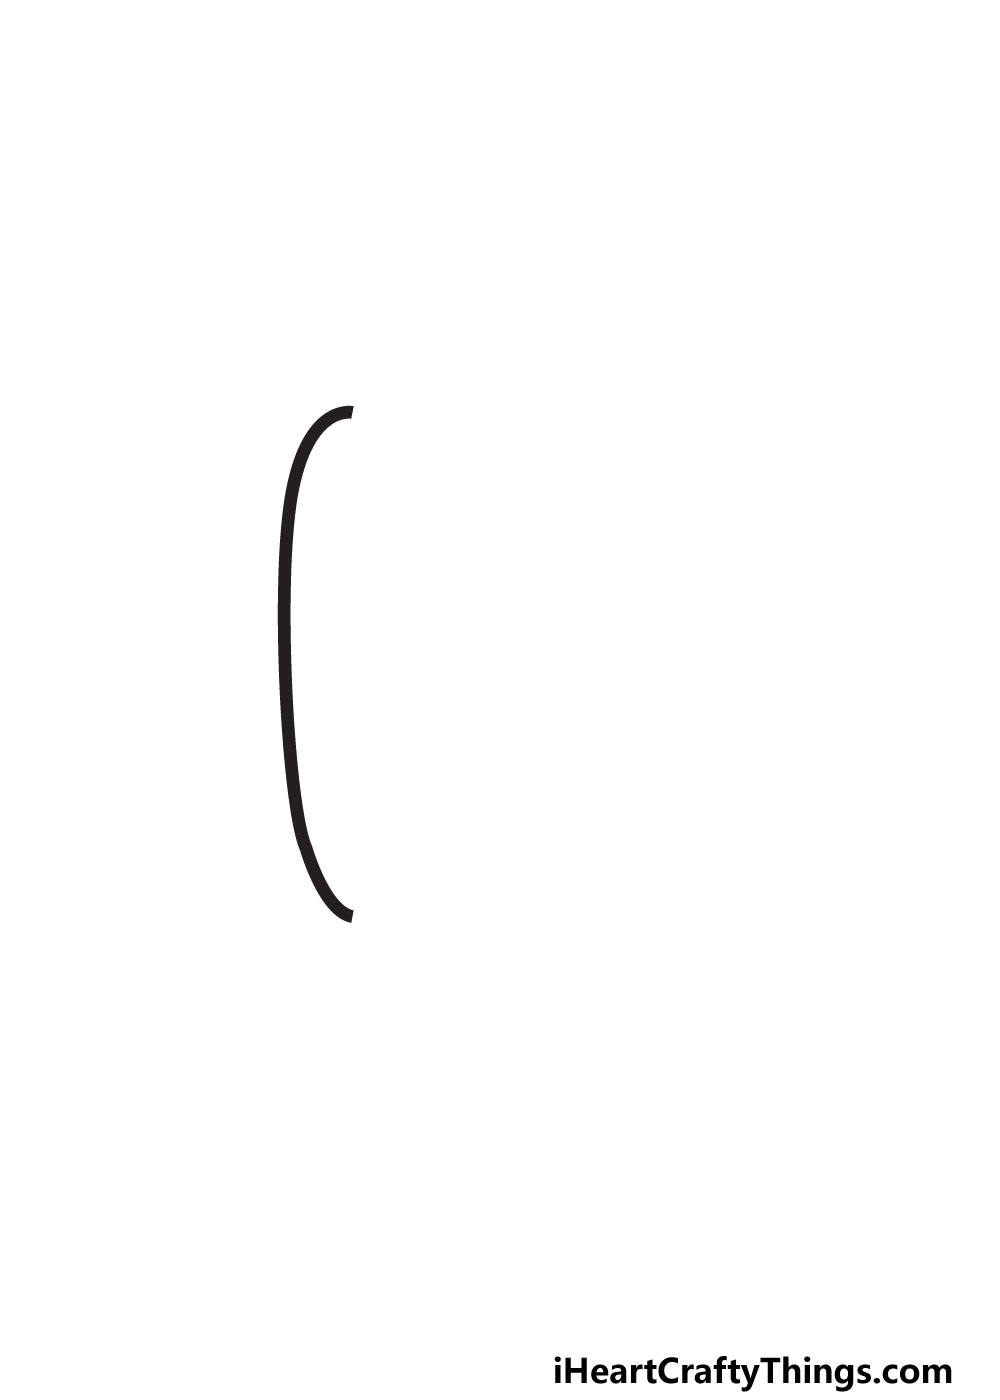
When you’re writing a word, you’ll generally start from left to right. The same is true for this letter, as we will begin at the left-hand side of the letter.
This first step is nice and easy, as you will only need to draw a single curved line. The design of this letter should look like a bubble inflating outward, so gently curve the line out.
You can look closely at our reference image and then replicate it yourself. Draw nice and slowly, there’s no rush at all.
You can also make your drawing easier by drawing a rough guide. To do this, use a light pencil to draw a large B.
You can then draw the bubble version of the letter around this guide and then erase these guiding lines when you have drawn the final outlines.
If you go too quickly then the line may not be smooth, so slow and steady is the best way to do it. Once you have this first line done, we can move on to step 2!
Step 2
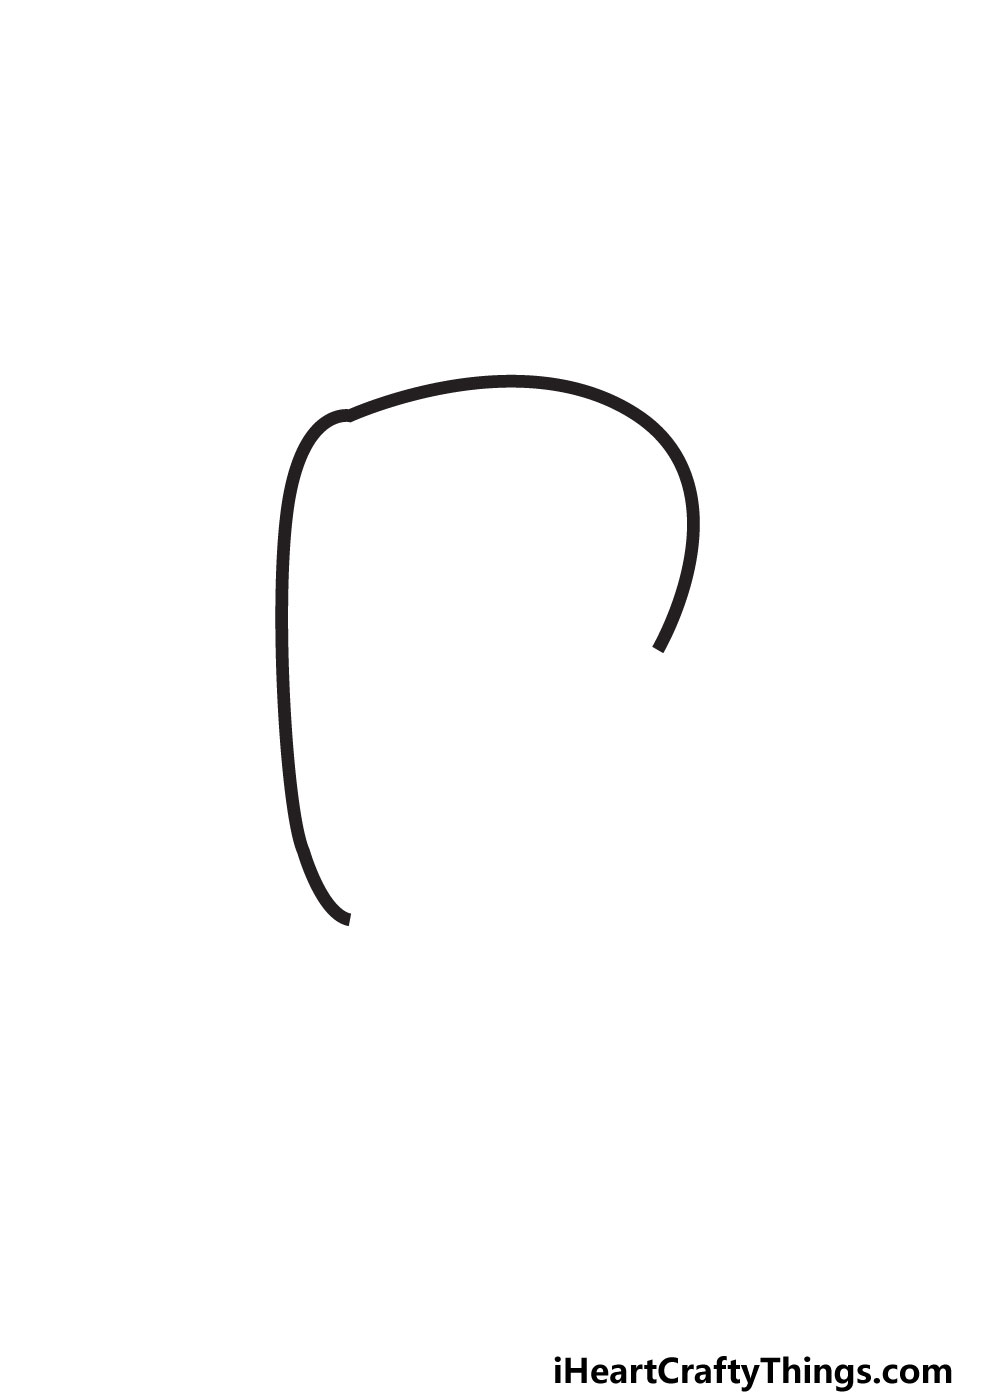
To continue this letter, we will be extending the line from step one to draw the top of the letter. This second line will extend directly from the top end of the first line.
As you can see in the reference image, this next part will slope upward slightly before gently heading down again. Think of it like the track of a rollercoaster that will plummet down suddenly.
As you draw, try to make sure that this second line stops where it does in our reference image, as we will be adding more later.
Once again, we recommend taking it slowly. While the line is simple, it can be easy to make it bumpy if you try to rush it.
That’s all there is to it for now, so let’s take care of the next section as we proceed to step 3!
Step 3
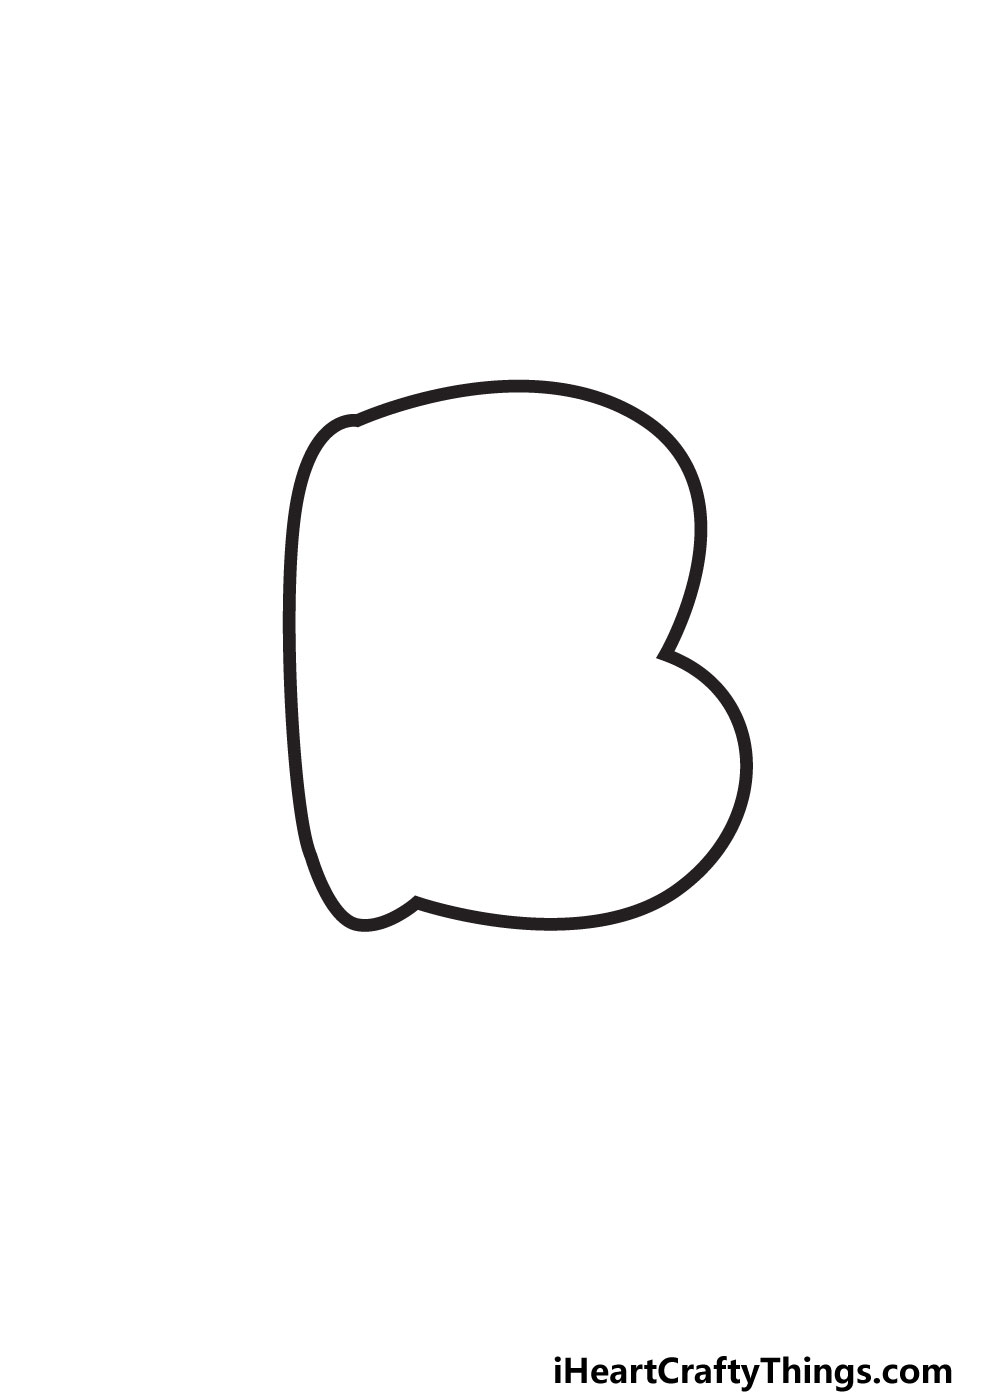
In step 3, we will be finishing off the outline of your bubble letter A. This step will be the most you have drawn in one go so far, but you can definitely do it!
To start, extend the line out from where you left off. This will curve out to form the bottom bubble of the B.
As you can see, this will curve out and then in again. It can be trickier than it looks, so try to follow the guide closely.
This will bring you back to where it all started: the left-hand ‘spine’ of the B. At the point where the bottom bubble of the B connects to the spine, we will add a smaller curved line.
Once it’s all connected, your outline will be complete, and we can start to add the interior details of your letter.
Step 4
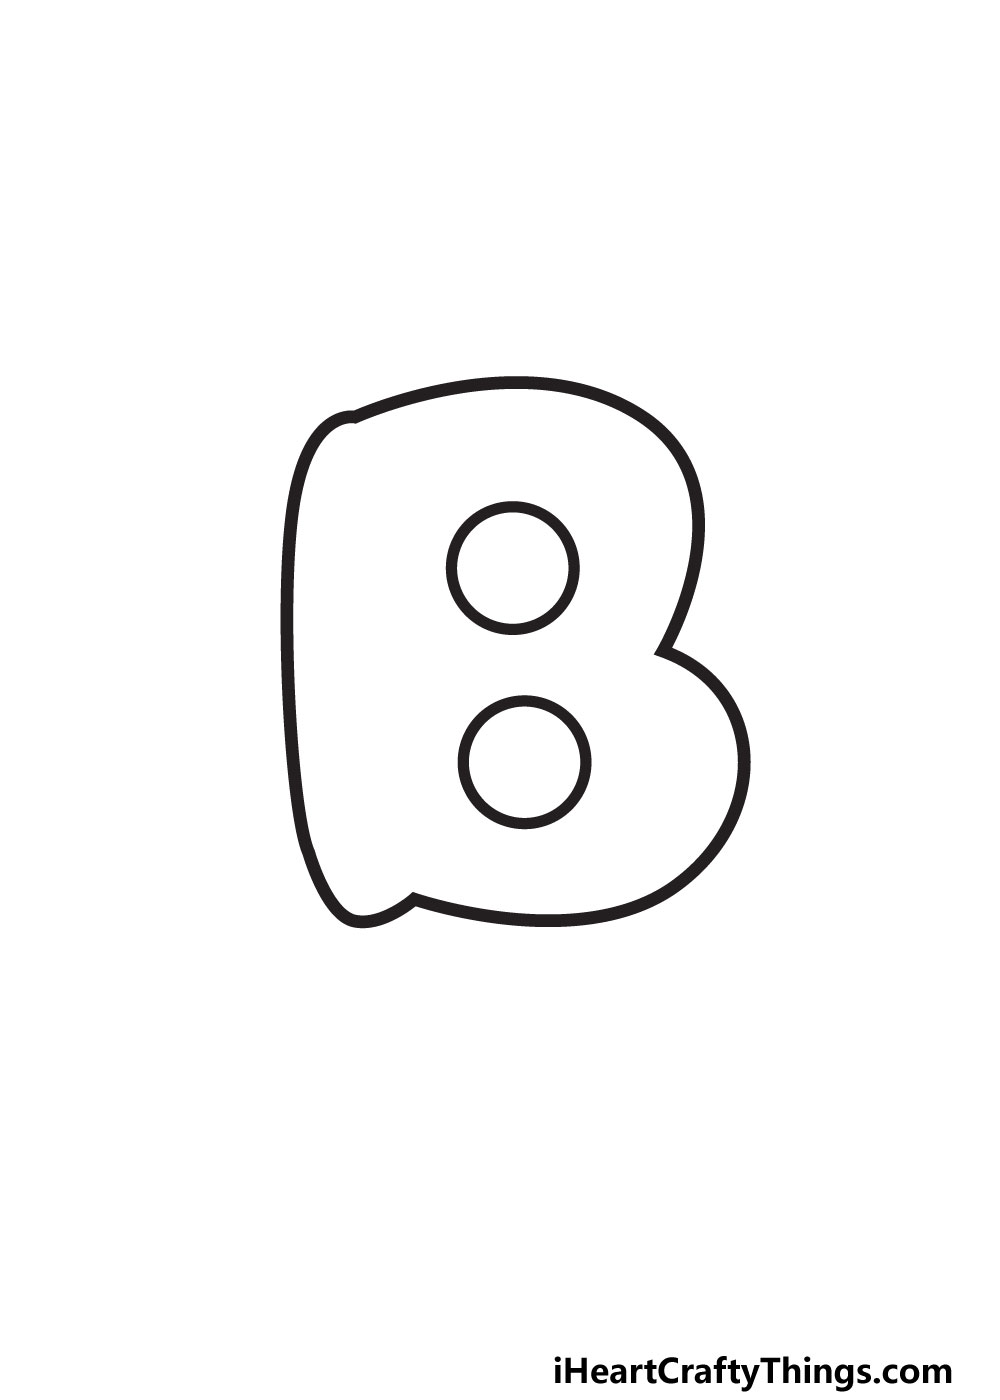
Now you are ready to start drawing the interior of the letter. As shown in our reference image, this will start with two simple circles.
If you have ever tried to draw a perfect circle then you will know that it is next to impossible to do free-hand!
Luckily, there are a few ways to get around this hurdle. One would be to use a drawing tool to help you as you draw the circles.
The best one to use would be a drawing compass, but you can also use stencils. If all else fails, try to find two flat objects you can use to trace around.
Another way you could get past drawing two perfect circles would be to simply make them imperfect. You could do this by making the lines of the circle outlines a bit wavier.
This could even serve to make the letter more bubble-like! However you end up drawing these two circles, once they’re there we can add the final touches.
Step 5
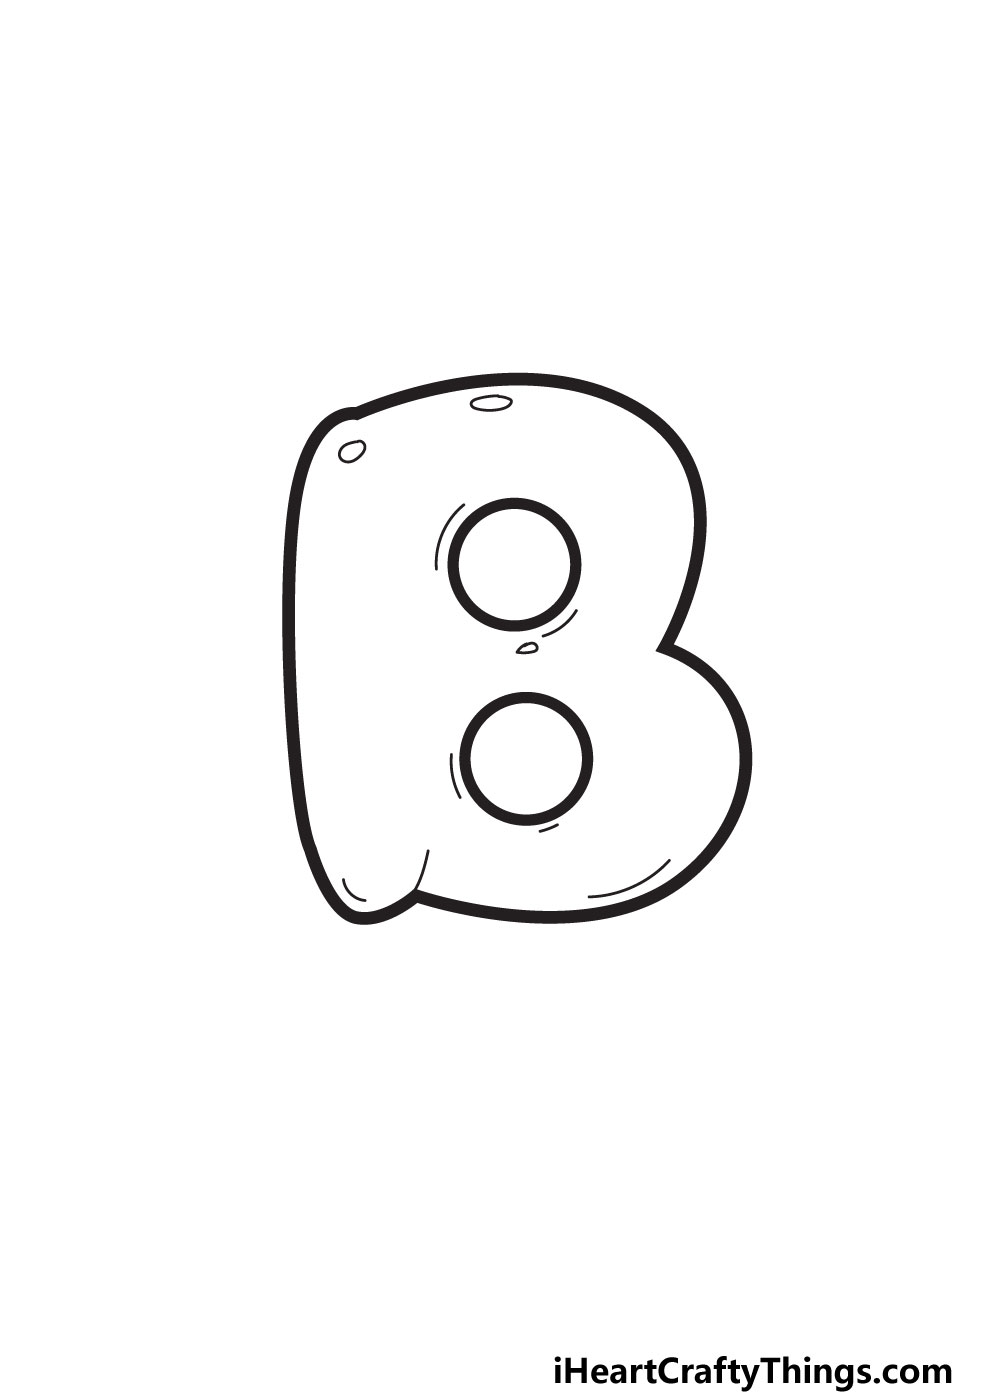
Now your bubble letter B is technically drawn, but we have a few final details to make it even better. Our main goal with this fifth step is to make the letter look like a real bubble.
In real life, bubbles have depth and reflected surfaces, and we will try to recreate that look here.
To do this start by drawing some small oval shapes on the B. You can place them in the same places we did for our example or put them in different places.
We would recommend not putting too many of these ovals, as it can start to detract from the effect.
Once these are drawn, we will then add some simple curved lines on the inside edge of the B. Again, you could add more of these if you like!
These curved lines will serve to bring some depth to the letter and make it look like a real bubble. With these details, you’re ready to add some colors!
Before you do, be sure to add any extra details you might like such as pattern or texture details to make it look even more unique.
Step 6
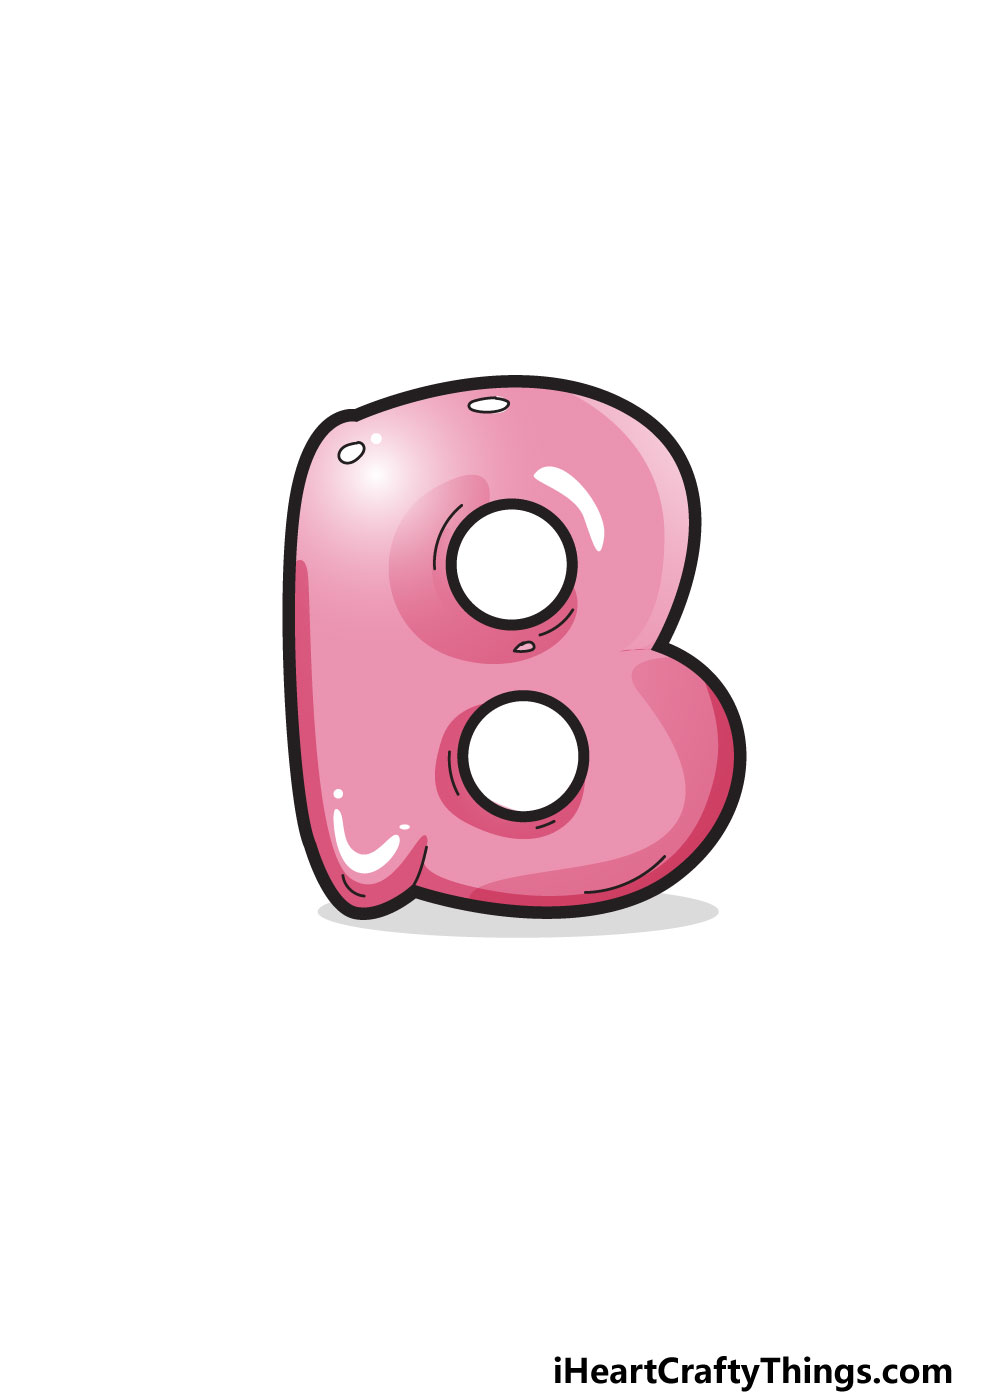
Now that your bubble letter B is complete, it’s time to have some fun with colors. In our example, we showed you just one color scheme that you could go for.
We went for a variety of pink shades to make this letter look a bit like a bubblegum bubble! When adding colors, you ideally want to incorporate light and dark shades of the color scheme.
If you stick to just one shade, you run the risk of making the drawing look flat. Using various shades helps to give the bubble some depth.
We think the pink color scheme looks great, but you shouldn’t feel limited to stick with what we chose!
Instead, you should feel free to use any other color schemes that you like for your drawing. If you drew patterns or texture details then you can incorporate even more colors to the drawing.
Using different colors is one way of making it look better, but you can also use different art tools, mediums and techniques to make the colors even more varied.
Which colors do you think would best suit this bubble letter?
My Final Tips To Make Your Bubble Letter B Drawing Unique!
You have finished all of the steps of this guide and have created an incredible drawing! But why should the fun stop here?
We have a few more suggestions you can try to make your artwork even more fun and unique. Our first suggestion brings us back to something we said at the beginning of this guide.
That would be thinking of some words that start with the letter B, and then incorporating them into the artwork!
For example, let’s say you chose the word bacon. You could write out the rest of the word following the B and draw a plate of bacon and eggs.
Or, you could draw a string attached to the B to make it look like a balloon. You could even draw a cartoon version of yourself holding onto the string!
Once you have mastered this drawing, you could also use it to draw a card for someone you care about. It would be a bonus if their name happens to start with B!
Earlier we spoke about using fun colors, but you can also use some cool art and craft supplies.
Construction paper, glitter and beads can all be used to make the drawing really pop.
These are a few ideas on how you can make your drawing even more special, but there are so many other ideas. How will you finish off your drawing?