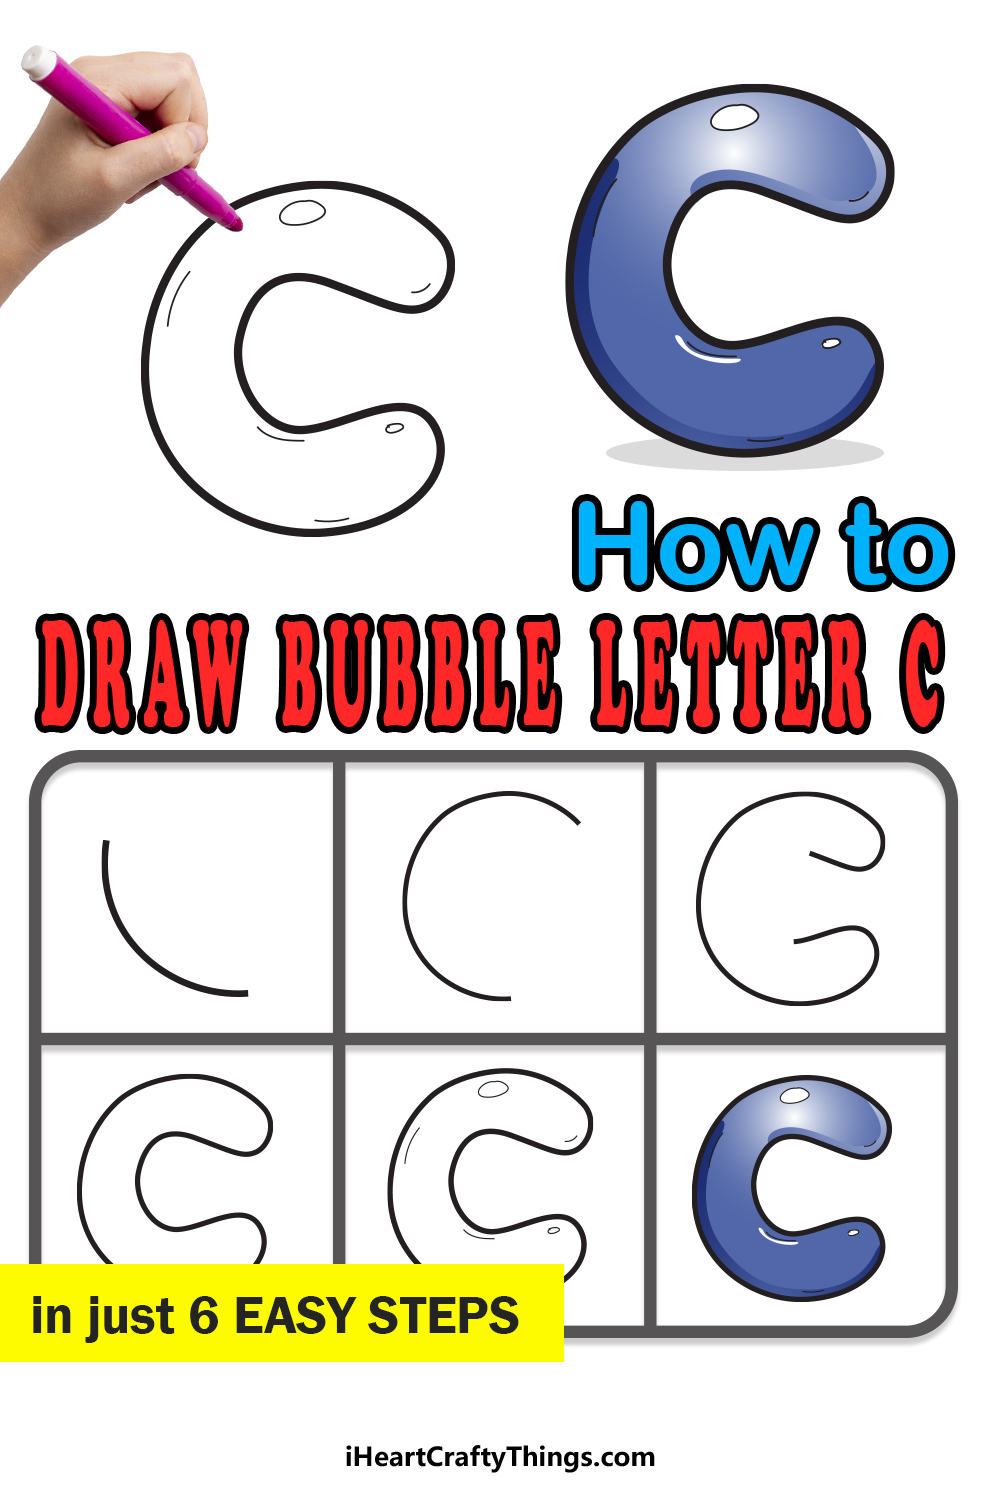
The letter C is a letter that we tend to use quite often. Many words start with this letter and even more have it somewhere within the word.
When writing it regularly, it’s actually one of the easiest letters. Whether it’s small or in capital form, it’s essentially just a curved line.
While it’s easy when writing it, learning how to draw a bubble letter C can be a bit trickier. This is because there are lots of curved lines to draw which can be difficult to do smoothly!
Luckily, we have this guide to help you make it so much easier and even more fun! By the end of the 6 steps we have for you, you will have an awesome drawing to show off.
We will also cover some cool ways that you can take your drawing to the next level, so let’s get started!
Let’s Get Started
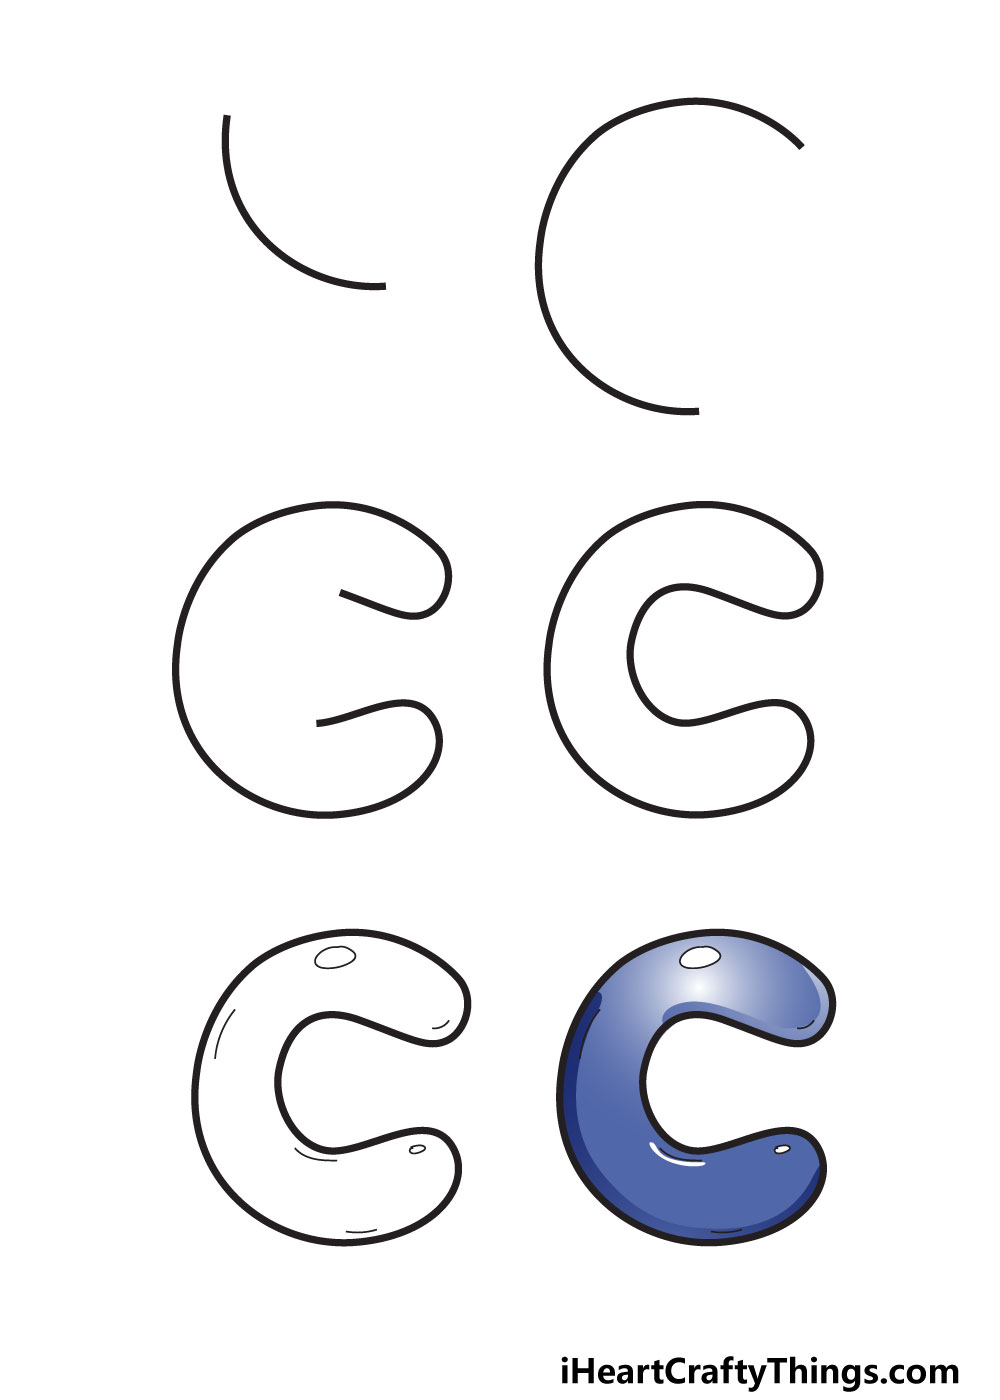
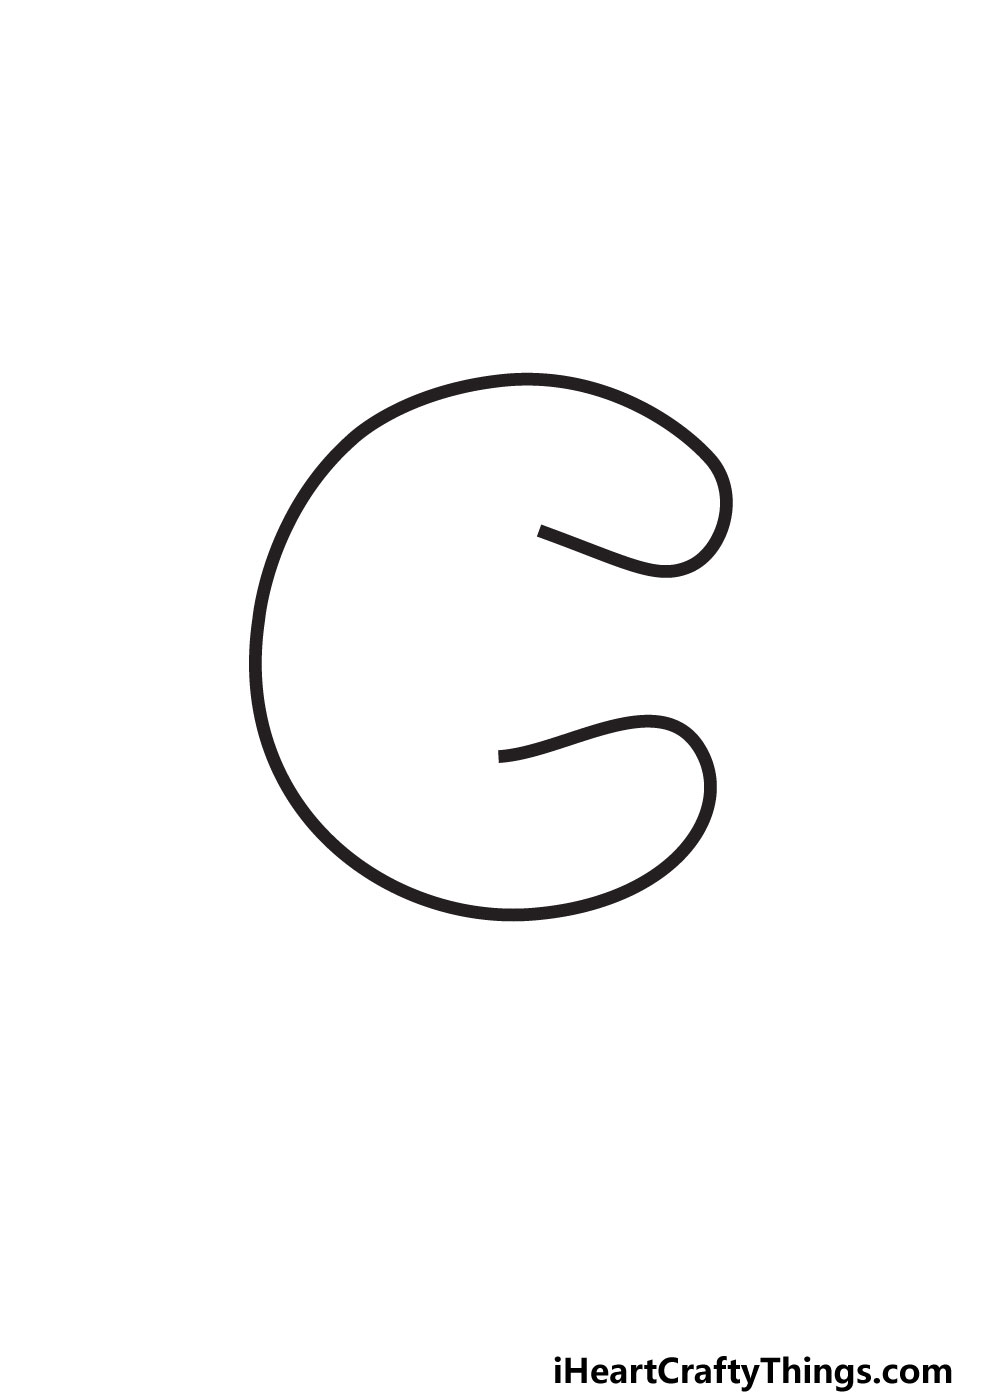
STEP 1
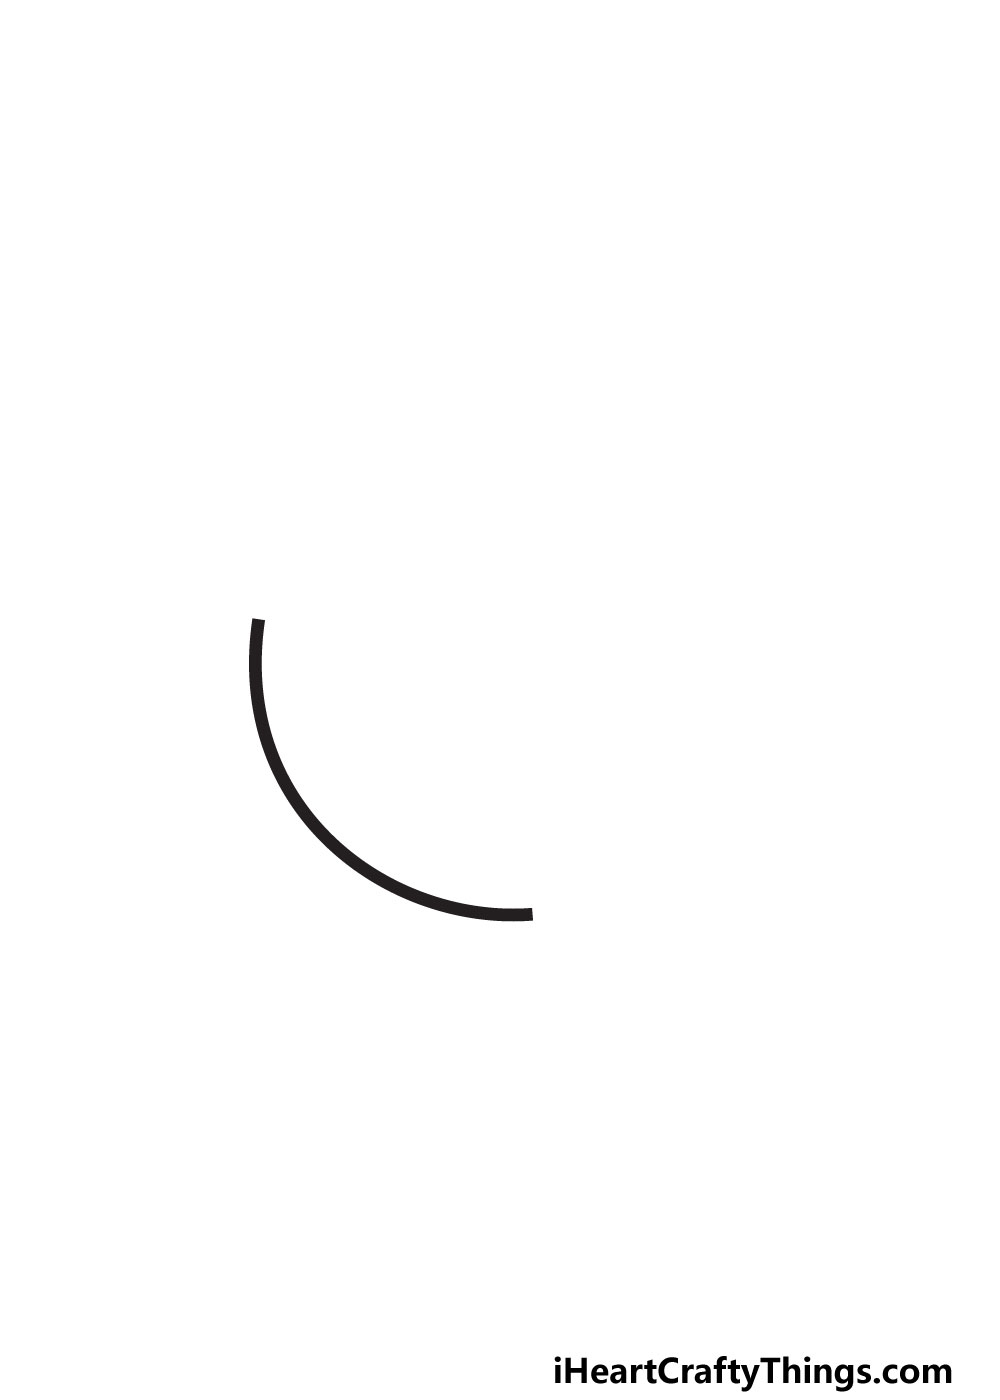
To begin this bubble letter C, we will be starting with the bottom left-hand section of the letter. When you look at the reference image we provided, it may seem really simple.
It is pretty simple, but it could be harder than it looks. The reason for this is that it’s easy to accidentally make the line look bumpy or uneven.
To avoid this, we recommend really taking it slowly as you draw the line. Try to keep your hand steady and slowly follow the curve of the line.
If you’re having a hard time keeping the line smooth and consistent, you can use a pencil to map out the line and practice it.
When you have the start of the letter looking as it does in our reference image, you can go over it with a darker pencil or your pen.
Once you are happy with how it looks, we can move on to step 2!
STEP 2
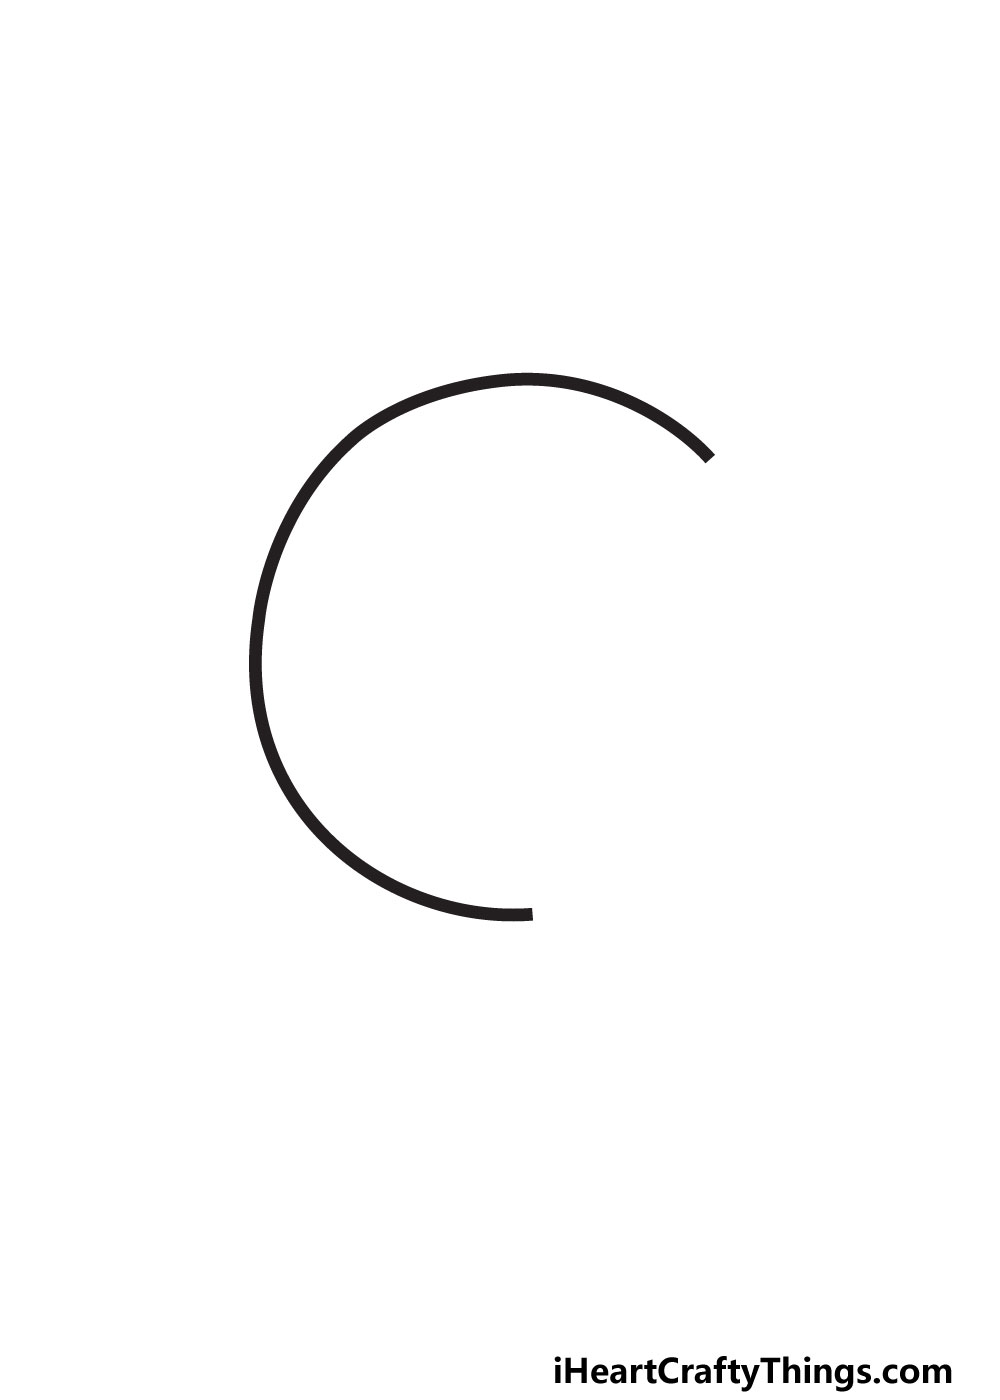
In this next step, we will be drawing the top of your letter C. This will be done by extending the line you drew in the first step up and around.
If you can do it, it’s best to try and combine the previous step and this one into one fluid line. If you do separate it into two lines, then remember to keep your hand as steady as you can.
Once again, you could draw the second half of this line with a pencil to begin with and then go over it with your pen when you’re happy with it.
Another way to draw it would be to use a drawing compass. This tool will poke into your page and allow you to draw a half-circle.
We would recommend this only if you’re really struggling to draw the curved line, as it will make the line a bit too perfectly curved.
When you have this left-hand side of the C, you can go on to step 3.
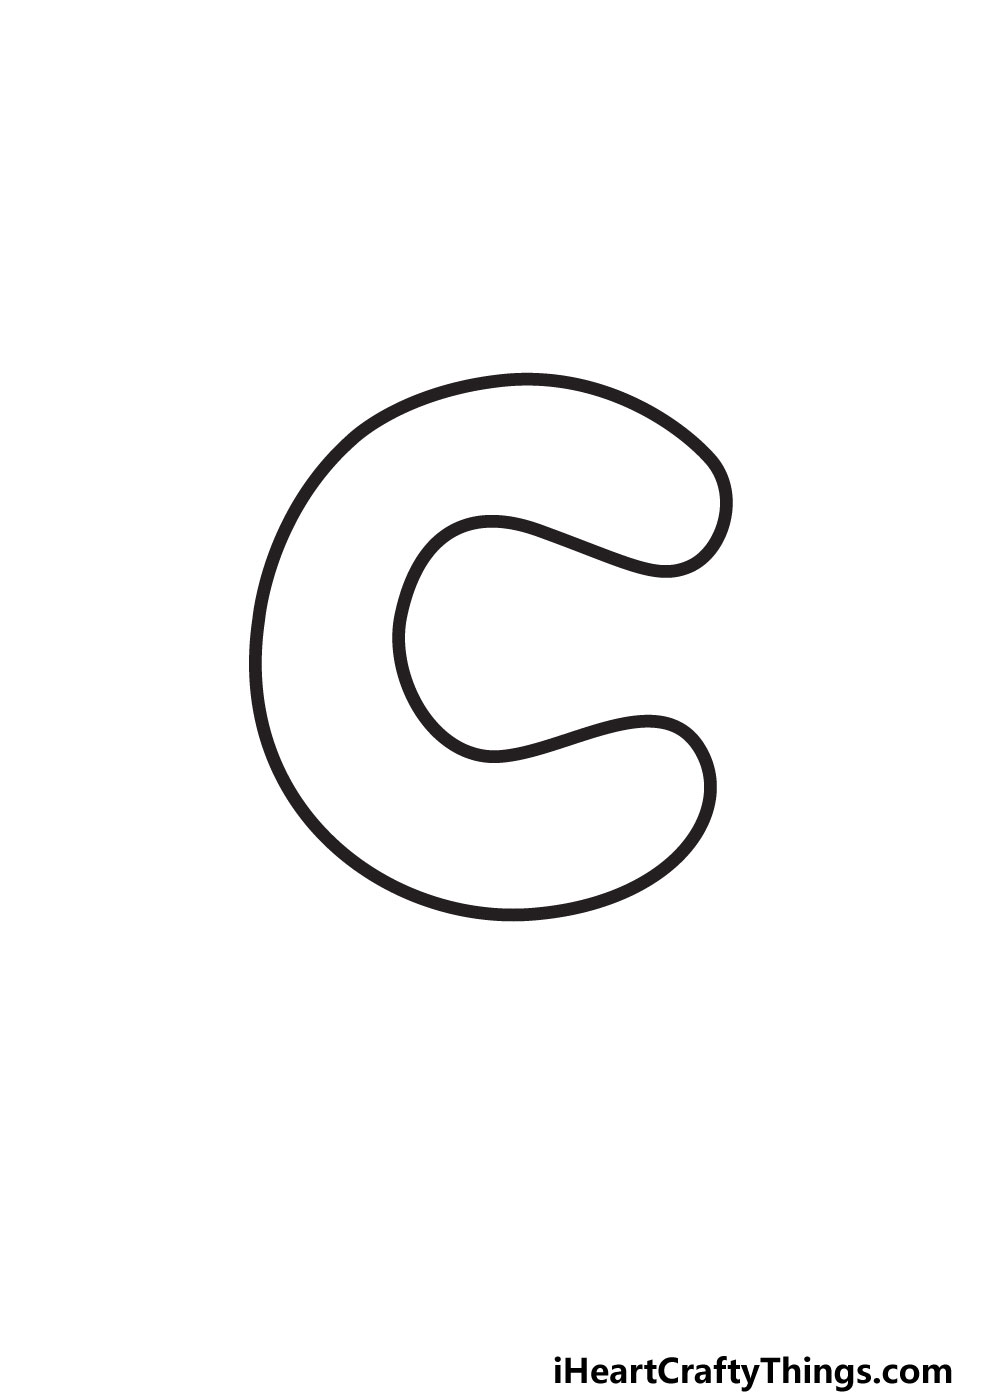
STEP 3
In step 3, we will be drawing two more lines that extend inwards on your bubble letter C. These two lines, while smaller than the previous ones you’ve drawn, will possibly be the trickiest ones so far.
Let’s start with the one on top, it will curve inwards from where the line ended at the top. If done right, it should be roughly in the shape of a horseshoe.
Once it is drawn, we will then repeat what we just did but on the bottom half of the C. It will basically be a mirror image of what you just did.
As you can see in the reference image, there will be a large gap left near the center of the C. Don’t worry about that, as we will fill that in soon enough.
In the next step of this guide, we will finish off the outline to get you ready for some extra details and touches!
STEP 4
All that remains for the outline of this letter C is to join the two inner edges that you have drawn so far. This will be done with one last curved line.
Simply extend the lines that you drew in step 3 inward until they meet, finishing the outline. With that, you have completed the outline of this letter C!
If you drew any guiding pencil lines, now would be the best time to erase them before we add some extra touches.
Using a thick pen would be a great way to draw the final lines of the C, as they will make it look nice and bold. You can use any of your favorite drawing tools, however.
There’s no shame in making a few attempts at this drawing before you’re happy with how it looks, so take your time and have fun with it!
Then you will be ready to add some cool extra details and touches in the next step.
STEP 5
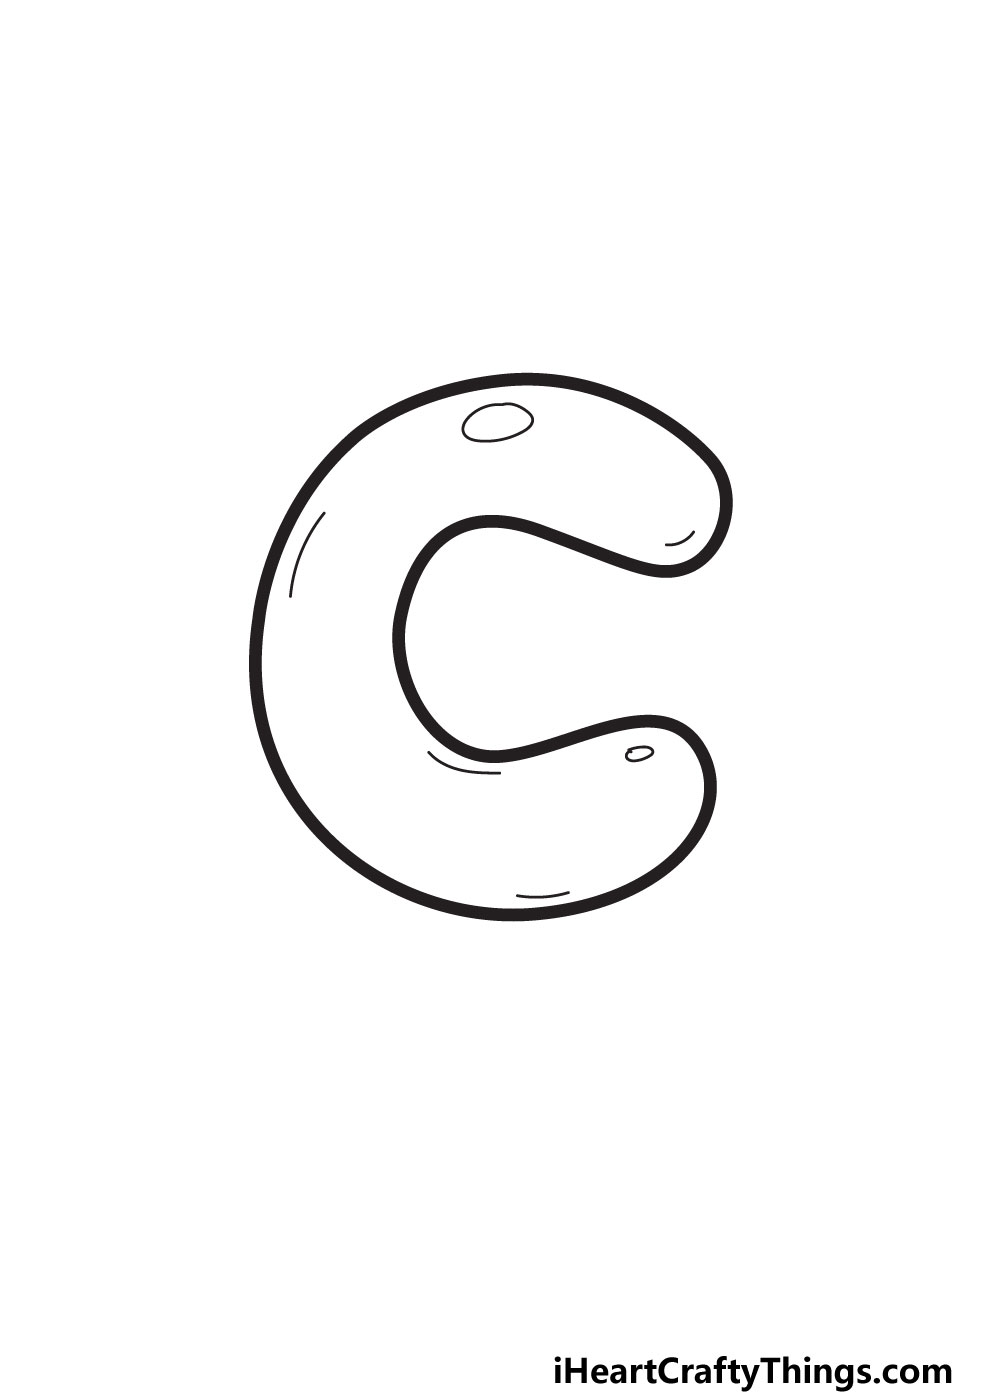
Now your outline is complete, and we can finish off with some small details. These extra details we will add may seem super simple but they will add a lot of life to the drawing.
The main goal of this step is to actually make this C look like it is made of a bubble. This means we will make it look like it has some depth and is reflecting light.
You can start off by drawing two thin ovals, one larger than the other. In our design, the larger one is higher up on the C and the smaller one is lower.
Then, we drew some simple curved lines on the inner edge of the C’s outline. These should be added sparingly, as they’re mainly there to give the bubble some depth.
Once these details are there, you’re ready for some color! Remember that you can also add some extra fun touches and details of your own, though.
Perhaps you could draw some fun patterns or pictures inside the outline to make it more unique! We will cover some fun ideas you can try a bit later, but for now we will focus on adding color.
STEP 6
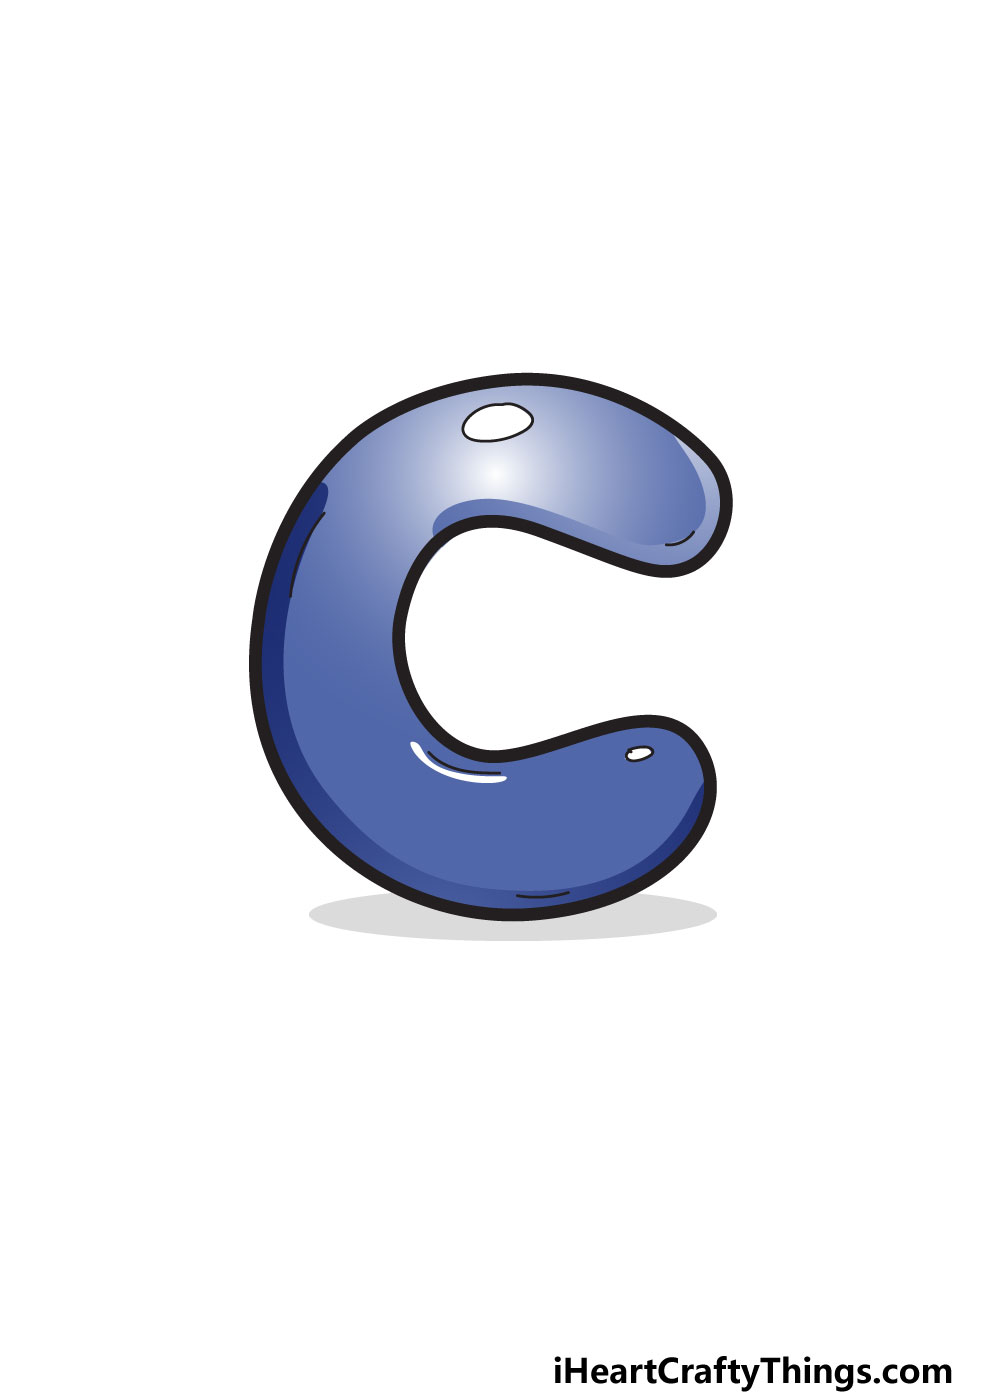
For this final step, you’re ready to have some fun with colors as we finish off this letter C. In our reference image, we showed you which colors we would use for the drawing.
We used a variety of blue colors to give the letter a nice cool look. As you can see, we changed up how light and dark the shades are to further give it more depth.
The blue colors we used look great, but you can also show us which colors you would like for this drawing! You could either go for similar colors or totally unique ones.
No matter which colors you choose, you can try to use different shades in a similar way to the way we colored our version.
Making a gradient of dark and light colors will make it look more like an object with depth than solid colors. Of course, solid colors could also look good in their own way!
If you drew patterns or pictures inside the C outline then adding color to those would also be a great way to bring some cool color variety.
Using different art tools and fun crafts can also allow you to make the drawing even more unique to you.
My Final Tips To Make Your Bubble Letter C Drawing Even Better!
Now that you have finished your bubble letter C drawing, we can have even more fun by making it more unique to you.
There are so many ways you can do this, and this is a great opportunity to show off your creativity. We also have a few fun ideas to try out to get you started.
One way you could make this drawing even more interesting would be by thinking of some words that start with C.
A few examples would be cat, carpet, carrot or candy. For an example, let’s go with candy.
You could write out the rest of the word using the bubble C you drew as the beginning. Then, you could draw some of your favorite types of candy around the word.
It can also be lots of fun to write out someone’s name in this style. If you know someone whose name starts with C, maybe even yourself, then you could use this design to get you started.
You can also incorporate this bubble letter into a larger picture or design using fun art and craft supplies. These are just a few ideas, but have fun with it and see what you can create!