On the surface, a bridge serves a very basic function; it is a means of getting from one side of something to another.
These useful structures can be found anywhere from over garden streams to covering large bodies of the ocean.
They can also make for a beautiful sight outdoors, and their beauty can make it very enjoyable to learn how to draw a bridge.
By the end of this guide, you will be able to draw your own beautiful bridge!
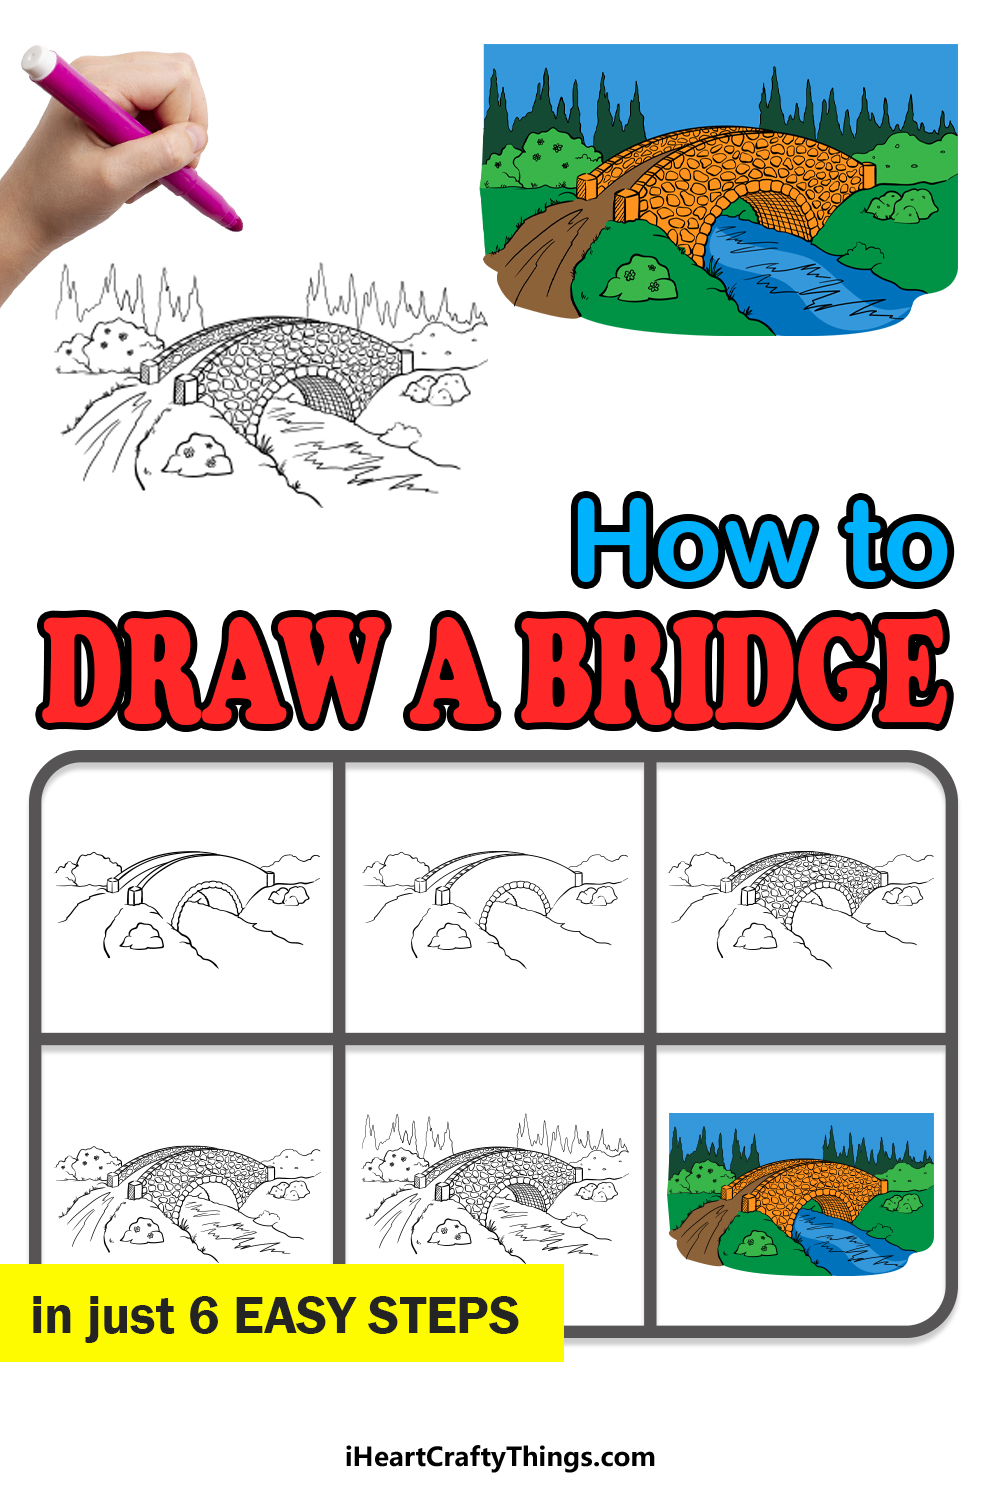
We really hope that you enjoy this step-by-step guide on how to draw a bridge in 6 easy steps!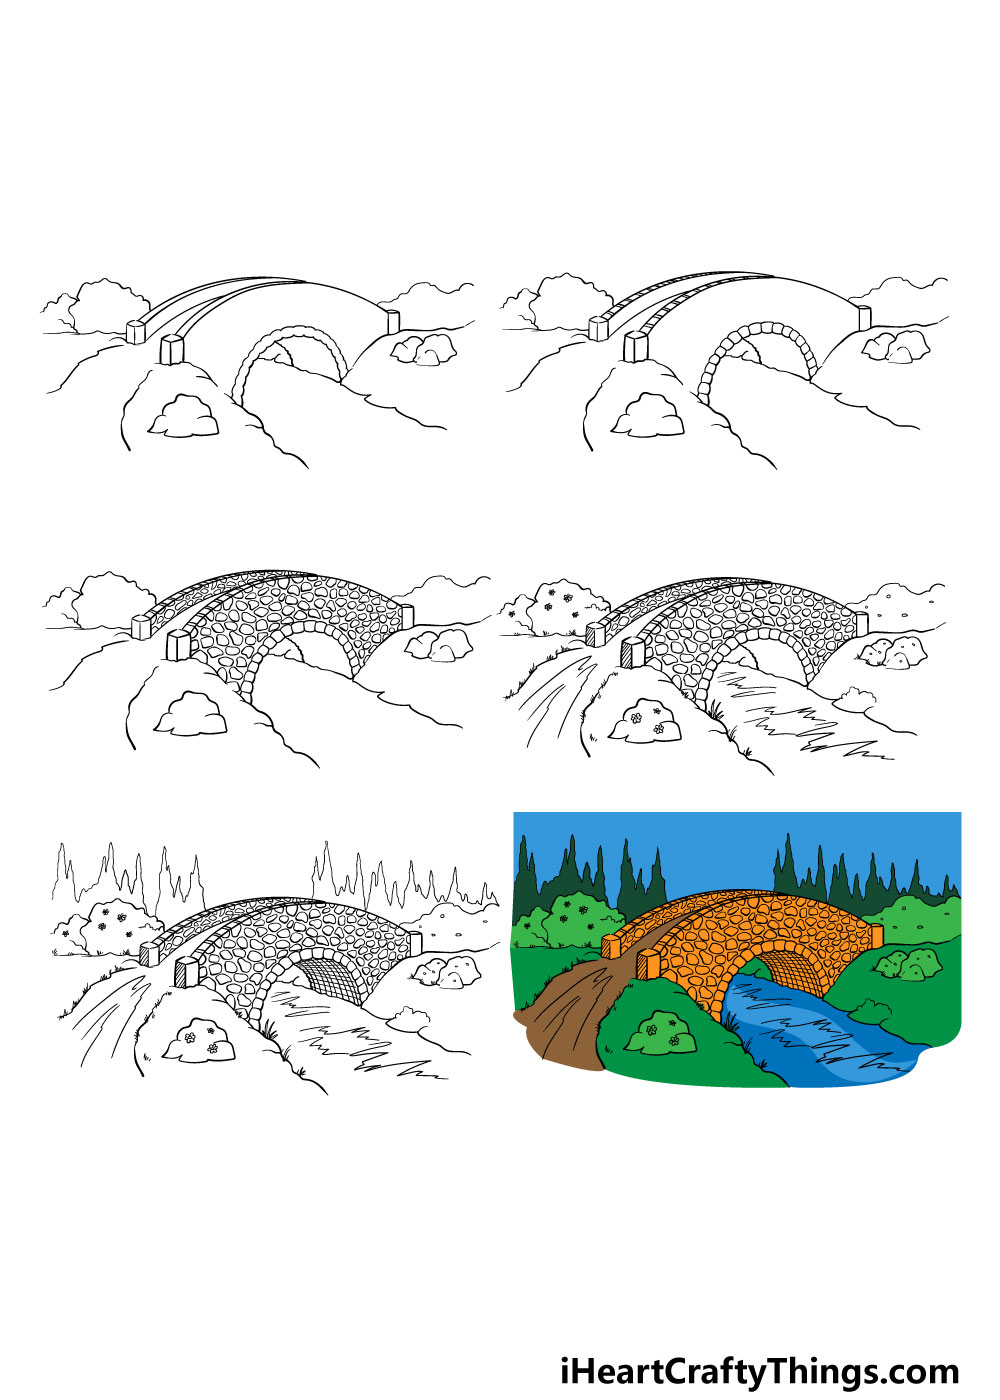
How to Draw A Bridge – Let’s Get Started!
Step 1
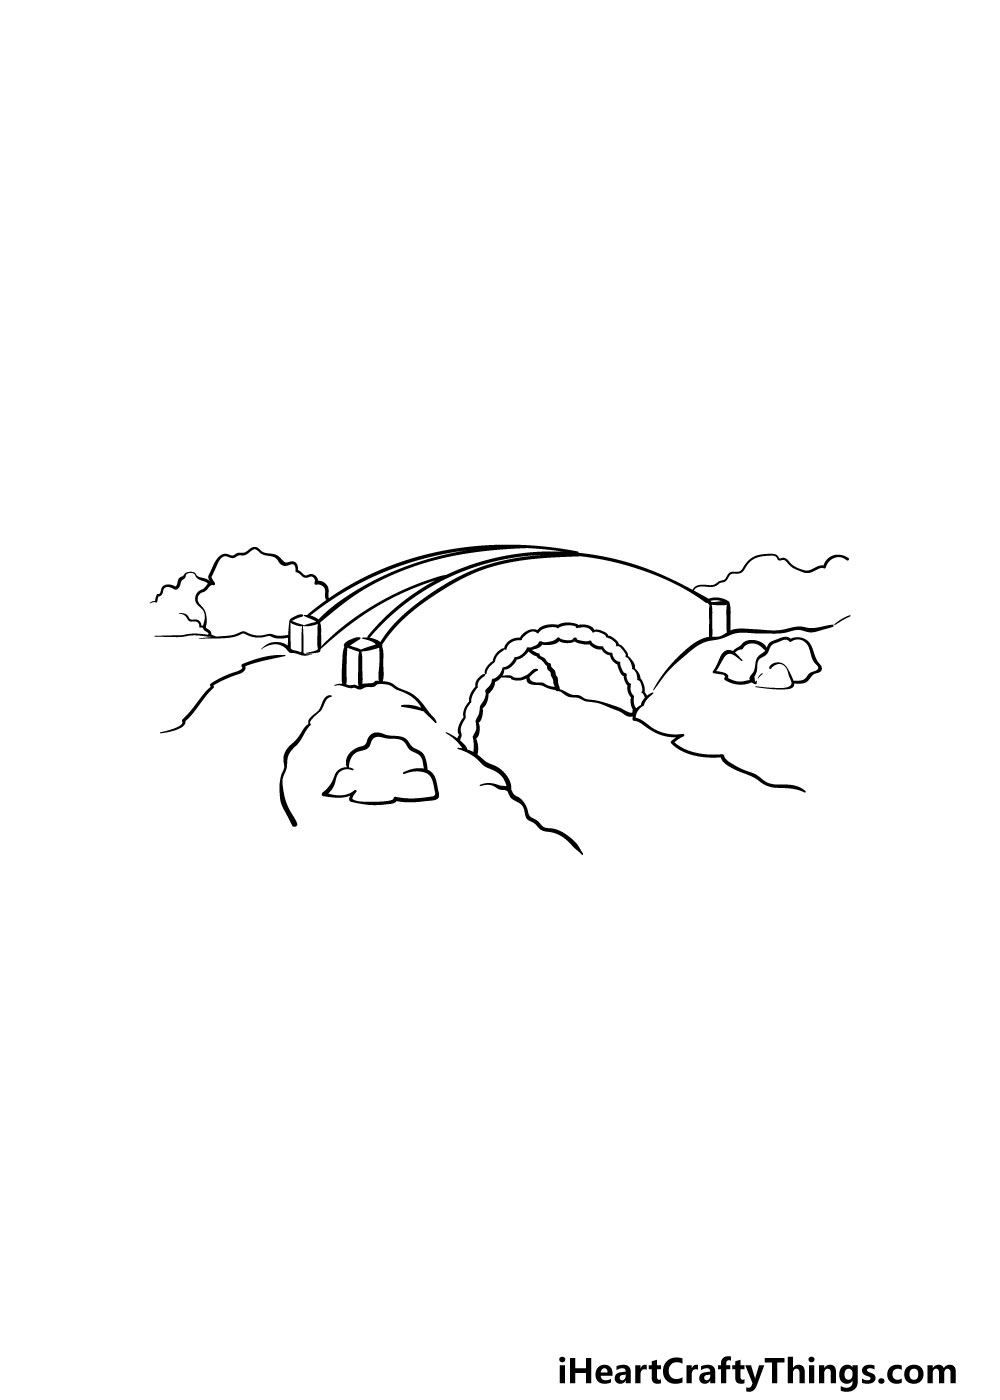
In this first step of our guide on how to draw a bridge, we will start by drawing the outlines of the bridge which you can add detail on later.
For this step, you could also use a pencil for now as you work on the detailed outlines of the bridge.
This outline may look detailed and complicated, but, if you take it slowly and take it step by step it will prove much easier.
When drawing this bridge, it would be best to work on it as you would if making a real bridge: from one side to the other.
You can draw the pathway and details on the left-hand side and slowly work your way to the right-hand side. It will require some patience but it will be worth it in the end!
Step 2 – Start adding some detail to the bridge
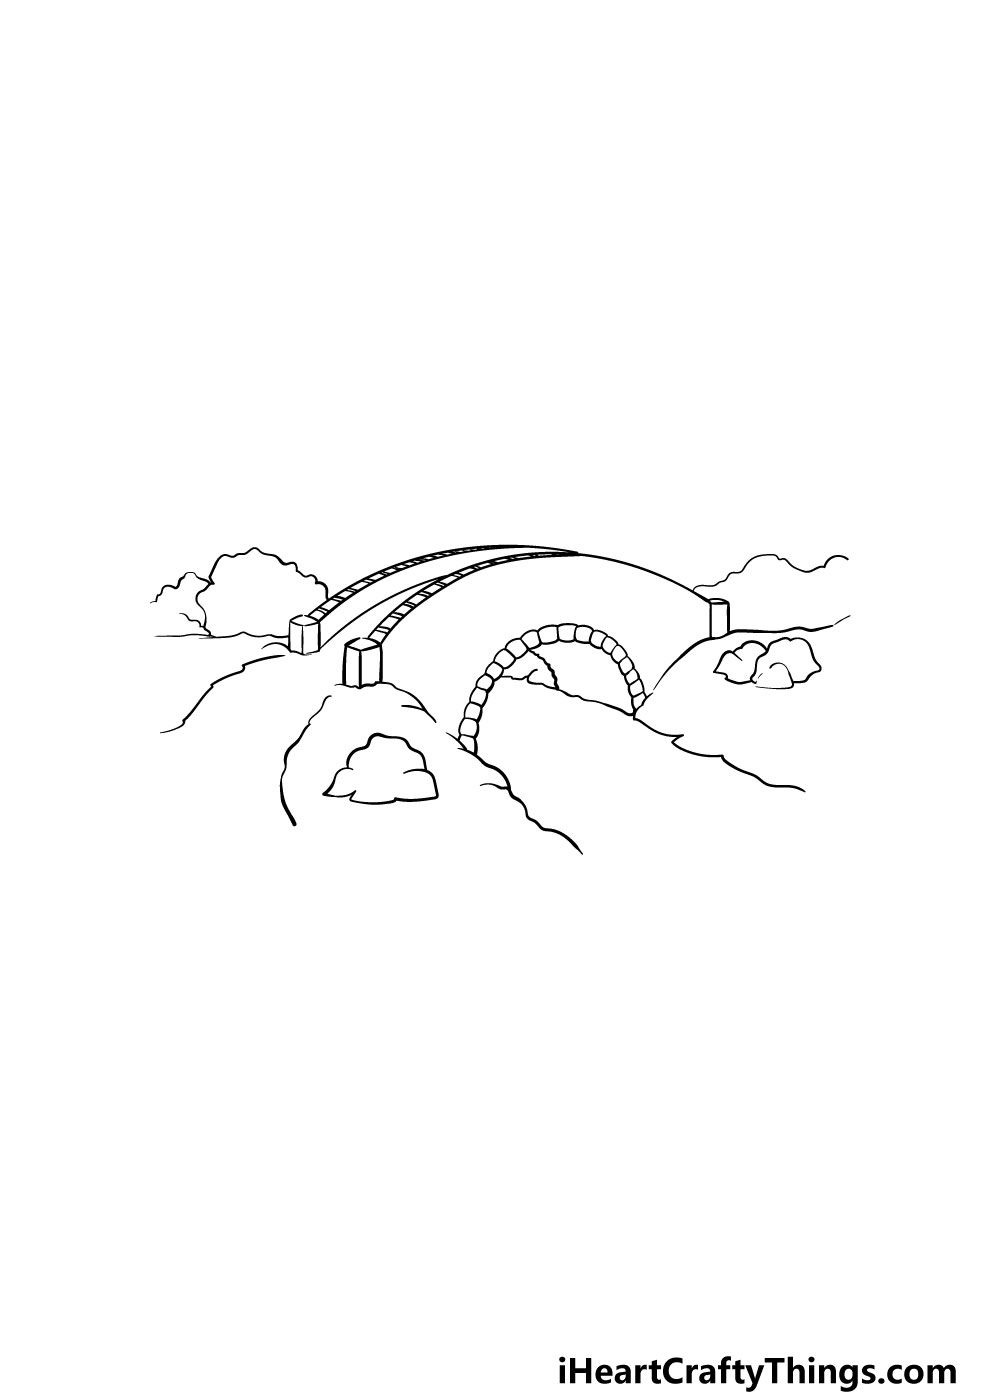
You’ve completed the outline of your bridge drawing, and now you can start to add some details to it in this step.
The main details that we will be adding in this step will be some brig detailing to the top and underside of the bridge.
For the bricks on top, you can use some straight lines along the top of the bridge, whereas for the bottom you can draw some rounded stone shapes.
Step 3 – Now, draw some stone details on the side of the bridge
For the third step of our guide on how to draw a bridge, we shall be adding some stone detailing to the sides of the bridge.
This is another step where it may require some time and patience, but the end result will be worth it!
To draw these details, you can use some round shapes all throughout the side of the bridge, and while they will be quite close to one another none will actually be touching.
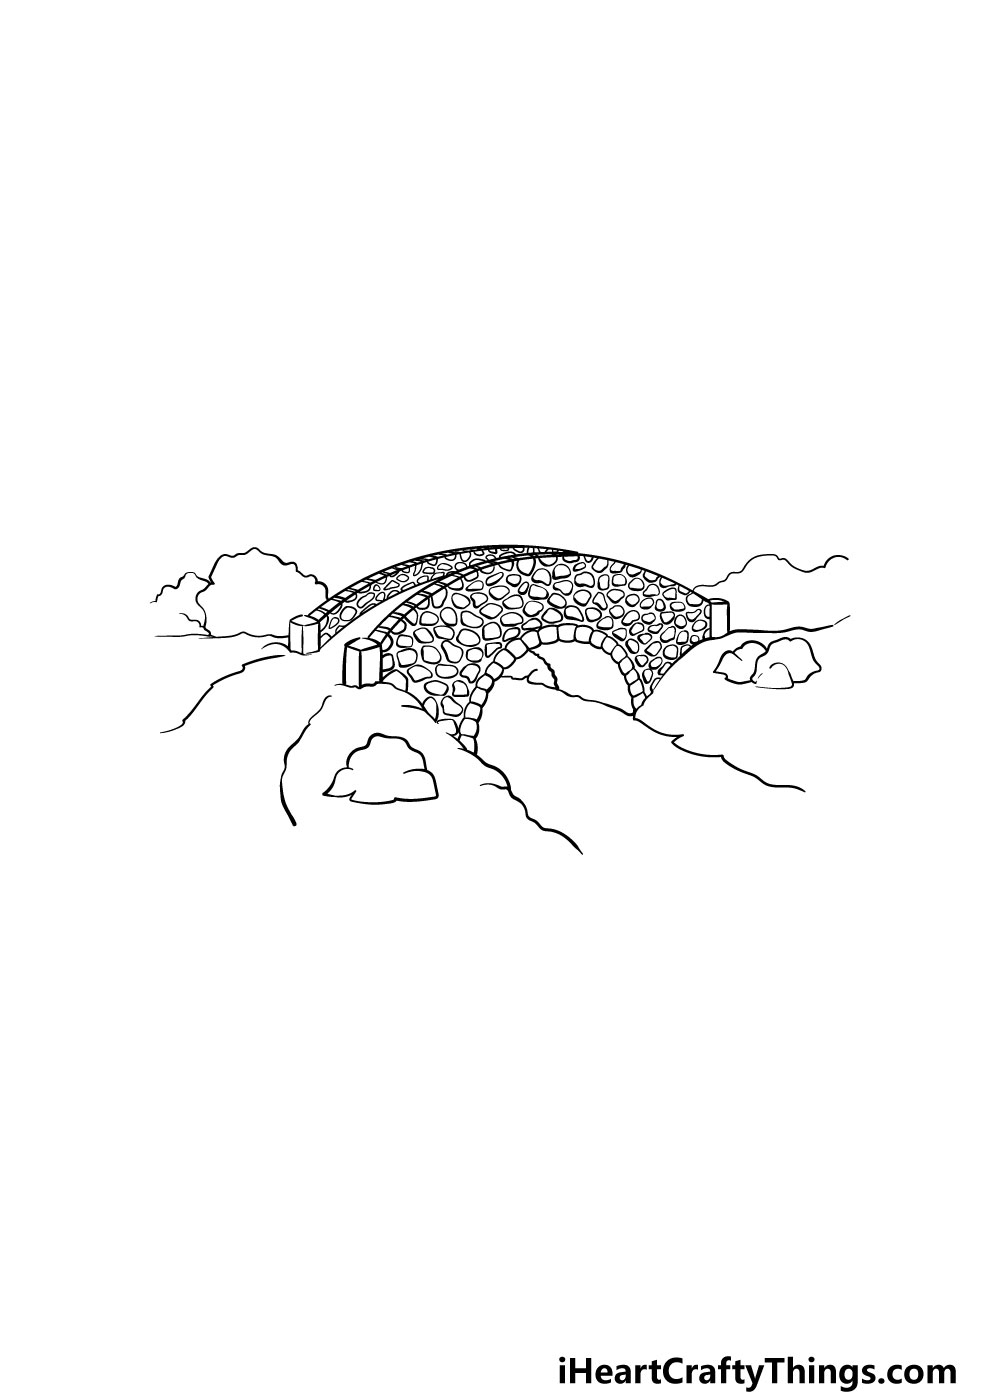
Step 4 – Start adding some details around the bridge
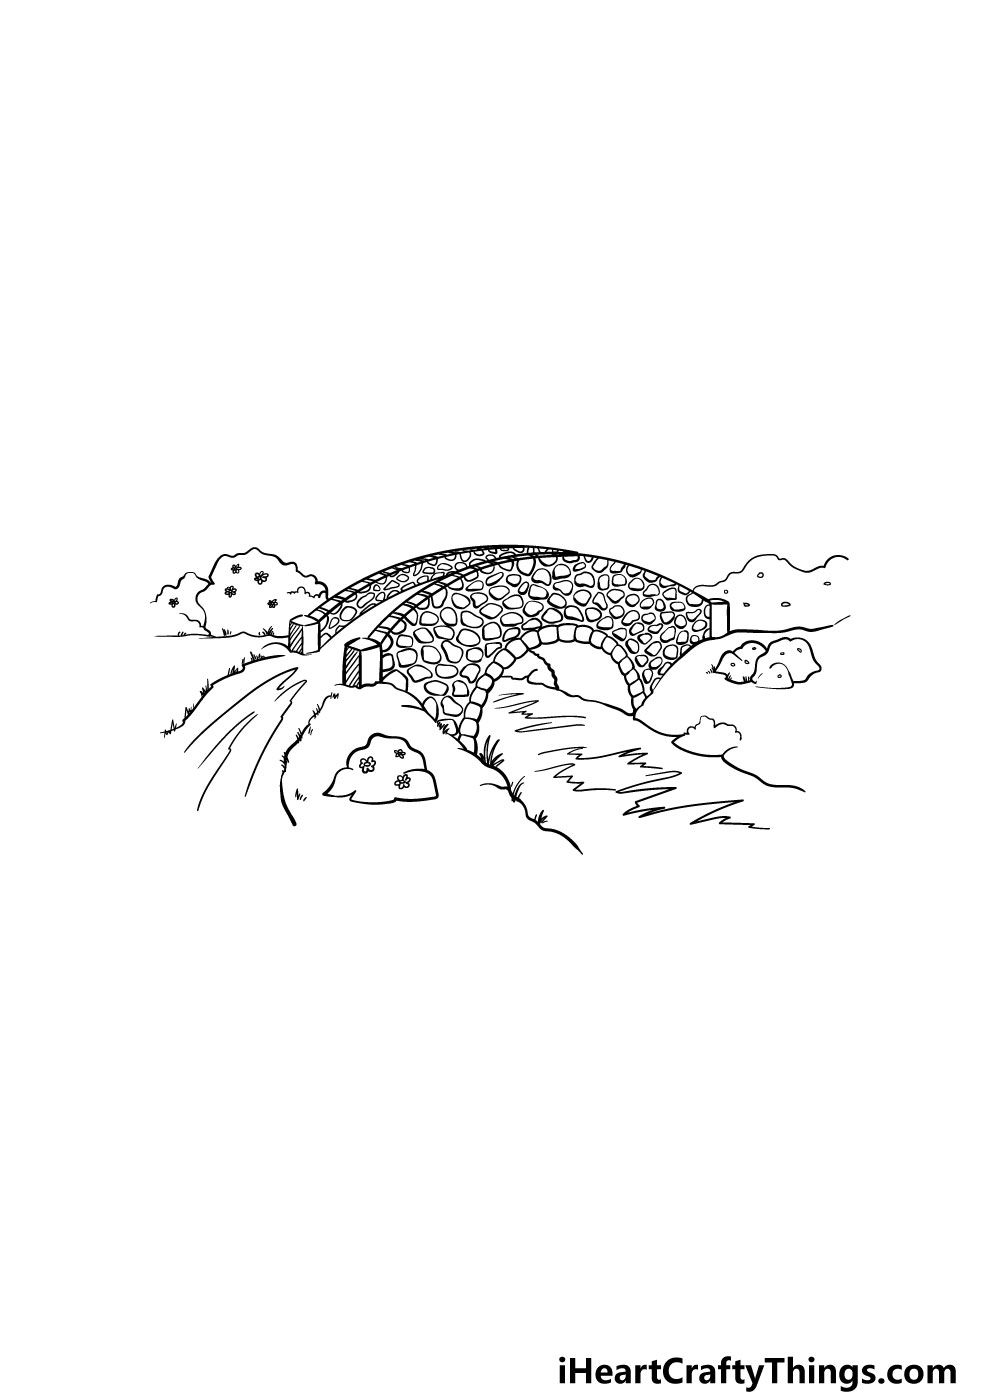
The bridge aspect of your bridge drawing is pretty much done now, so for the last few steps we shall be adding some details around it to finish off the scenery surrounding it.
For now, you can draw some small flower shapes onto the surrounding bushes and shrubs. Then, you can draw some line details to the pathway leading to the bridge.
You can also use some similar details to the water going underneath the bridge to give it some flow.
These are just some of the details that you can add, but feel free to add any more small details that you would like for your picture!
Step 5 – Now, you can add some final details to your bridge drawing
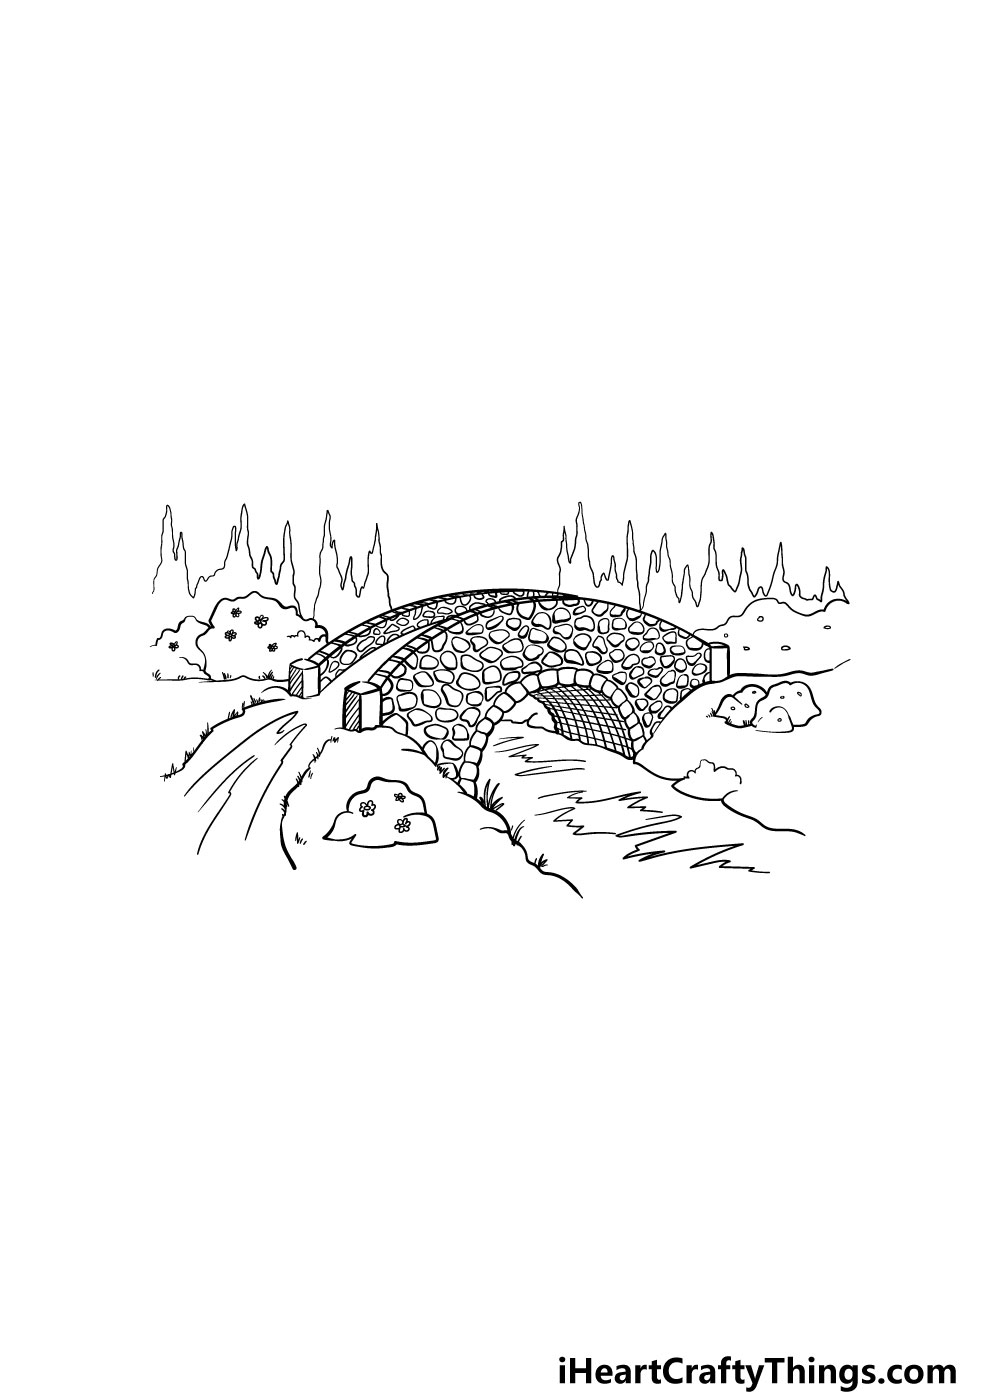
Before you start to color in your picture, we have some final details to add in this guide on how to draw a bridge.
The main detail that we will be adding will be some jagged lines in the background. These will form pointy shapes that will represent some pine trees in the background.
Shapes like this can look simple, but they help a lot with developing the scenery of your picture.
Before you move on to the final step, you can also add any details of your own that you would like!
One idea you could use would be to add some weather details to the sky above the bridge. There could be a beautiful sunny day above it, or maybe there could be some dark rain clouds above it.
What kind of day do you think it is in your bridge drawing? You can show us with the unique details that you add!
Step 6 – Finish off your bridge drawing with some color
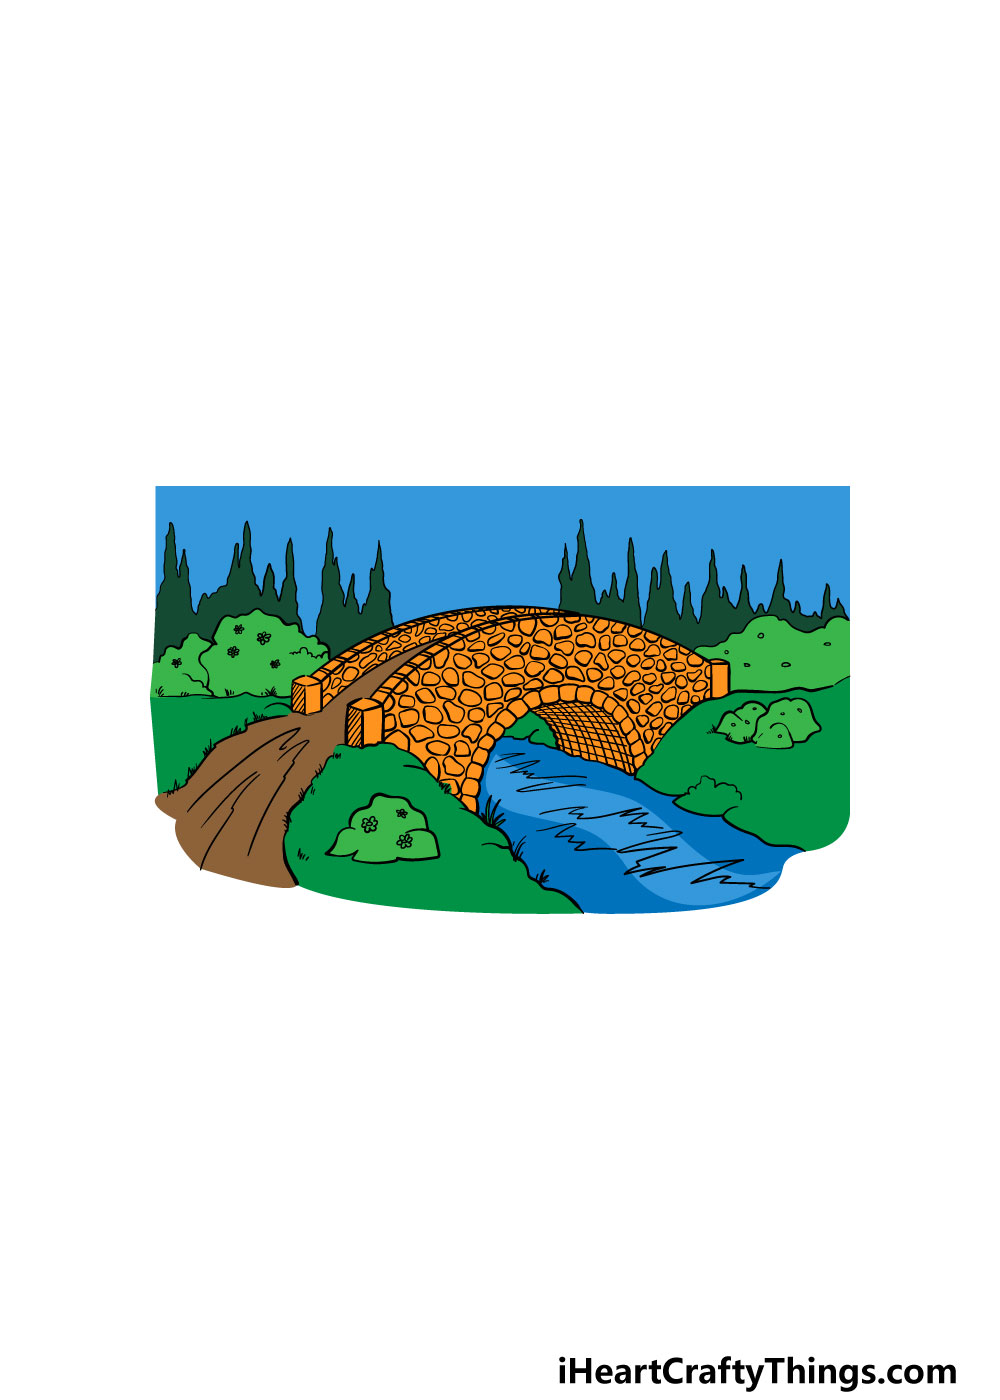
Now that you have finished drawing your bridge, you can finish it off with some beautiful colors in this final step!
For our example image, we used some bright and striking colors for the bridge drawing to really make this picture pop off the page!
If you would like your picture to look similar to this, then there are certain art mediums that would serve you well.
Acrylic paints can be great for more vibrant colors, but unless you have a brush with a very thin tip then it might make coloring the finer details quite difficult.
Instead, you could use some colored pens or markers to get those finer details in nicely.
If you would like a more muted look instead, you could use some watercolor paints.
Watercolors would work well for a picture like this, as because it is a thinner medium the details will show beneath the paint.
These are just a few mediums that you could use, so what do you think you will use to finish off your awesome bridge drawing?
4 More Ways To Make Your Bridge Drawing Unique
Cross over and check out these awesome ideas for your bridge sketch!
This drawing of a bridge shows one that is made out of stone. This is a classic material for bridges to be made from, but it is far from the only one.
For instance, many bridges are made of wood, and this is a change you could make for this bridge.
Looking up bridges made of different materials could help you as you customize this one. What kinds of materials do you think this bridge in this drawing could be made of?
It looks like it’s a bright and beautiful Summer day in this scene, but you could change the season for an easy way to make it more unique.
For example, you could make it a Fall setting by changing the colors of natural elements to red, yellow or orange. Or, you could make it a chilly Winter scene by adding some snow and cool colors.
These are a few ways that you could change the season, but what season would you choose for the scene?
Carrying on from the previous suggestion, you could also change more drastic elements of this bridge drawing. This could entail removing or adding certain elements.
For example, you could make the scene look more majestic by adding some towering mountains in the background. Or, you could add even more plants and flowers to add some life.
These are a few ways you could change the scene to be more fully realized, but how else could you change the setting?
A bridge will be built so that people can get from one place to another. For that reason, we think it would be great to add some people to this bridge sketch!
They could be crossing the bridge or having fun on either side of the bridge. They would probably be quite small on the image, so they wouldn’t need to be super detailed.
What kinds of scenes would you create with some human characters in this idyllic scene?
Your Bridge Drawing is Complete!
That brings us to the end of this guide on how to draw a bridge. We hope that you found this guide very helpful, and we also hope that it was lots of fun to use!
Taking on a new drawing with a lot of details can be quite intimidating, but when you have some steps to follow it can be made much easier and more enjoyable!
The best part is that now you can put your own spin on this drawing by adding your own details and touches.
You can also personalize it by experimenting with some your own fun art mediums and tools.
When you’re ready for some more fun drawing tutorials, we hope that you will visit us on our website!
We have many awesome drawing guides for you, and you’ll want to check in often as we upload new ones very often.
We would also love to see your amazing bridge drawing, so once it’s done we hope that you will share it on our Facebook and Pinterest pages for us to see.