


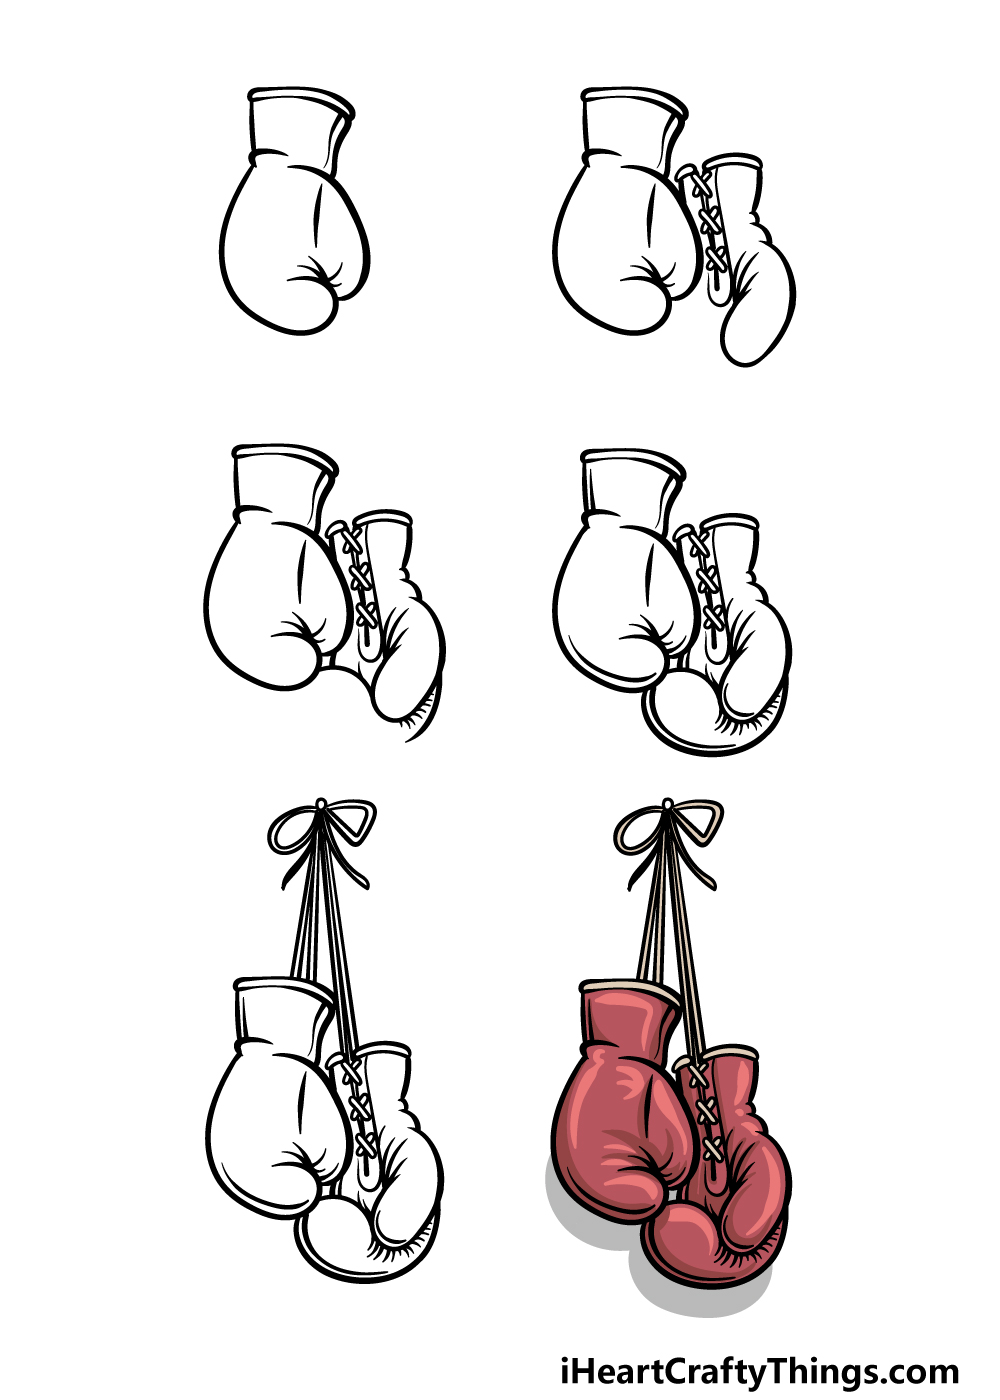
It doesn’t have to be a fight to learn how to draw boxing gloves! This simple guide for kids will show you the easiest way to depict this iconic boxing gear.
Boxing is one of the most popular sports in the world, and fans love to see two titans facing off for an epic battle. Of course, safety needs to be considered even though it’s a fight.
Boxing gloves help to protect the boxers from causing grievous harm, and they are also a symbol of the sport. Drawing them isn’t always as easy as you may think, though!
Luckily, this guide will walk you through the process and show you how to draw a pair of these gloves hanging. Once you have the hang of it, you could add a background or even have a character wearing them.
Learn How To Make A Boxing Gloves Drawing
How to Draw Boxing Gloves – Let’s Get Started!
Step 1
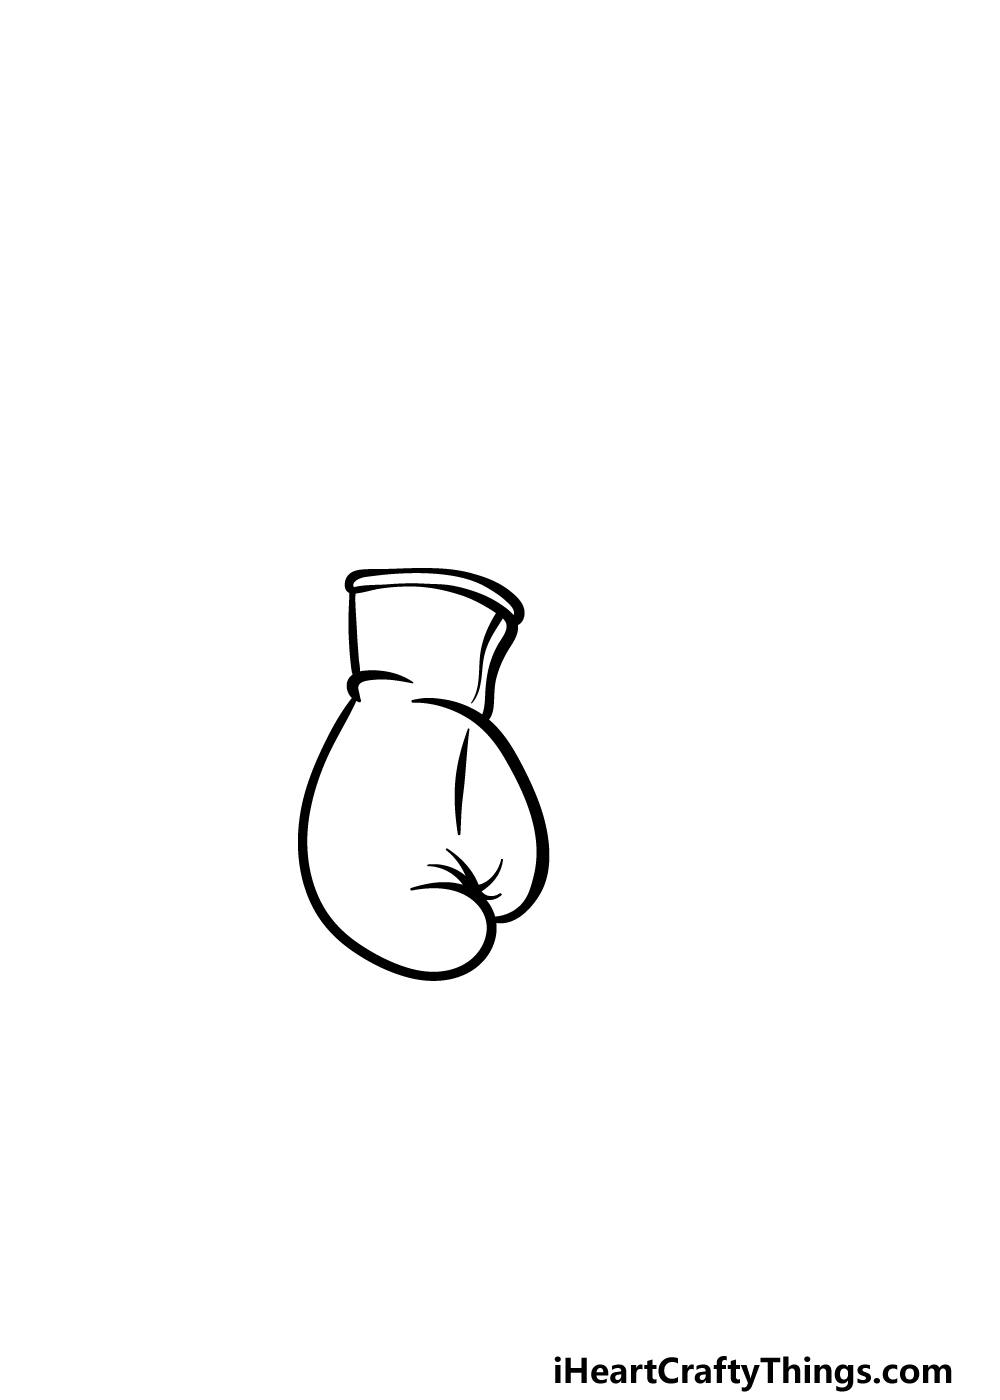
The pair of boxing gloves that we will be drawing in this first step of our guide on how to draw boxing gloves will be hanging from the wall.
With this in mind, we can start to draw the first glove. The glove will have a thick, rounded rim that would go over your wrist, and this will be pointing upward to show that the glove is hanging.
Then, use some rounded lines for the left-hand side of the glove which would go over the top of your hand if you were wearing it.
Finally, draw another curved line on the left for the part of the glove your thumb would go into. Finish off with some crease line detail and then you can move on to the next step.
Step 2 – Next, start drawing the second glove
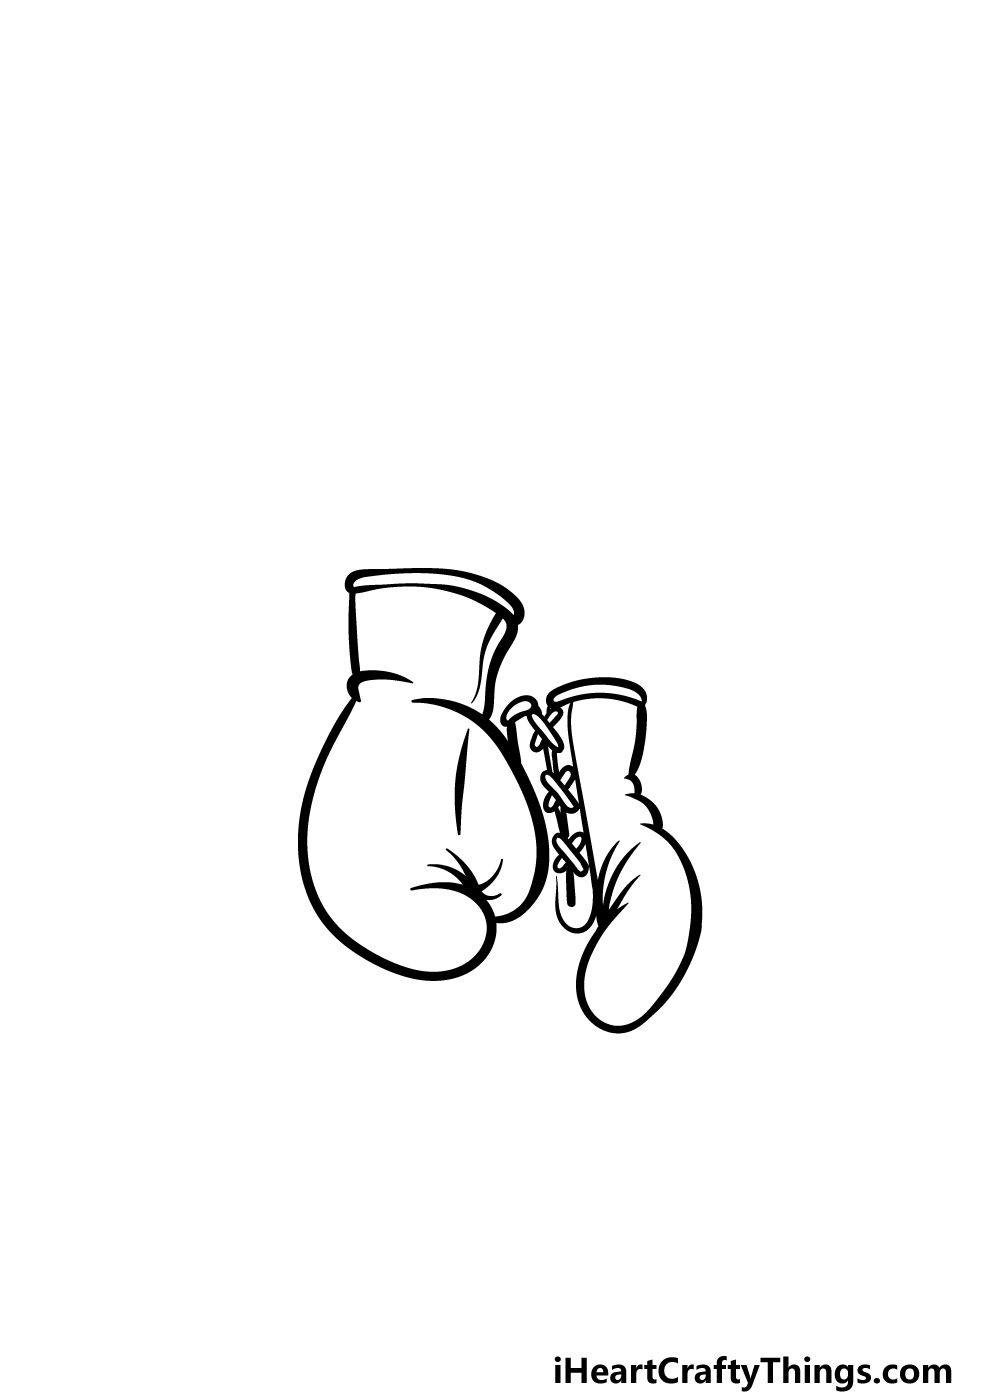
We will be adding the second glove to your boxing gloves drawing in this second part. This one will be a bit trickier, as the way it is hanging will show off the bottom of the glove.
The reason that it can be tricky is that this is where the glove is fastened, so there will be some string detail on display.
Start off by drawing the wrist of the second glove lower down from the first glove. Then, make some cross shapes using two diagonal thin shapes going over one another.
There will be three of these crossed stitch shapes with a straight line beneath them.
Then, there will be a rounded line surrounding the stitches. Finally, draw one more curved line for the thumb of the glove with some more crease detail to finish off this part.
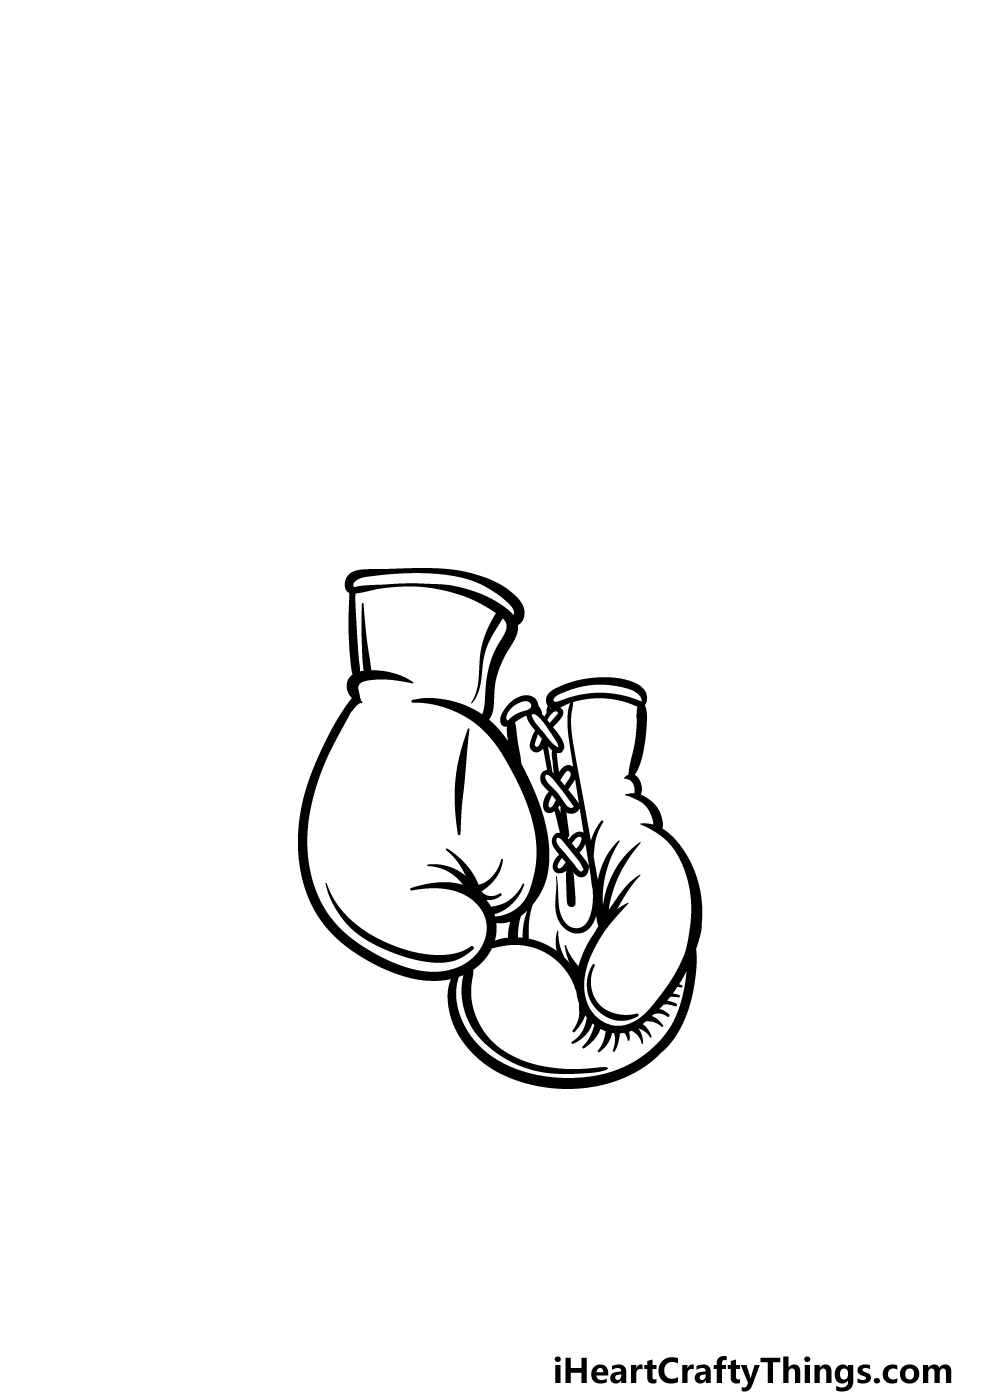
Step 3 – Draw some more of the glove

In this third step of our guide on how to draw boxing gloves, we will be adding some more lines and details to the second glove that you started in the previous step.
First, draw another curved line coming down from the thumb of the glove. Then add lots of small crease details opposite to that line.
Once that is drawn, you can then add the top of the line that will be the section of the glove that covers the fingers.
We will finish off the outline for this glove in the next step, so when you’re ready we can proceed.
Step 4 – Next, finish off the second glove
We will be finishing off the glove outlines for your boxing gloves drawing in this step along with adding some extra details.
First, extend the curved line for the fingers section of the glove further into the interior.
Once the glove outline is complete, you can finish both of them off with some more line details.
These details will include some more creasing along with another line bordering the inner perimeter of the glove outlines.
Then it will just be a matter of adding some final details in the next part, so let’s move on!
Step 5 – Finish off your boxing gloves drawing
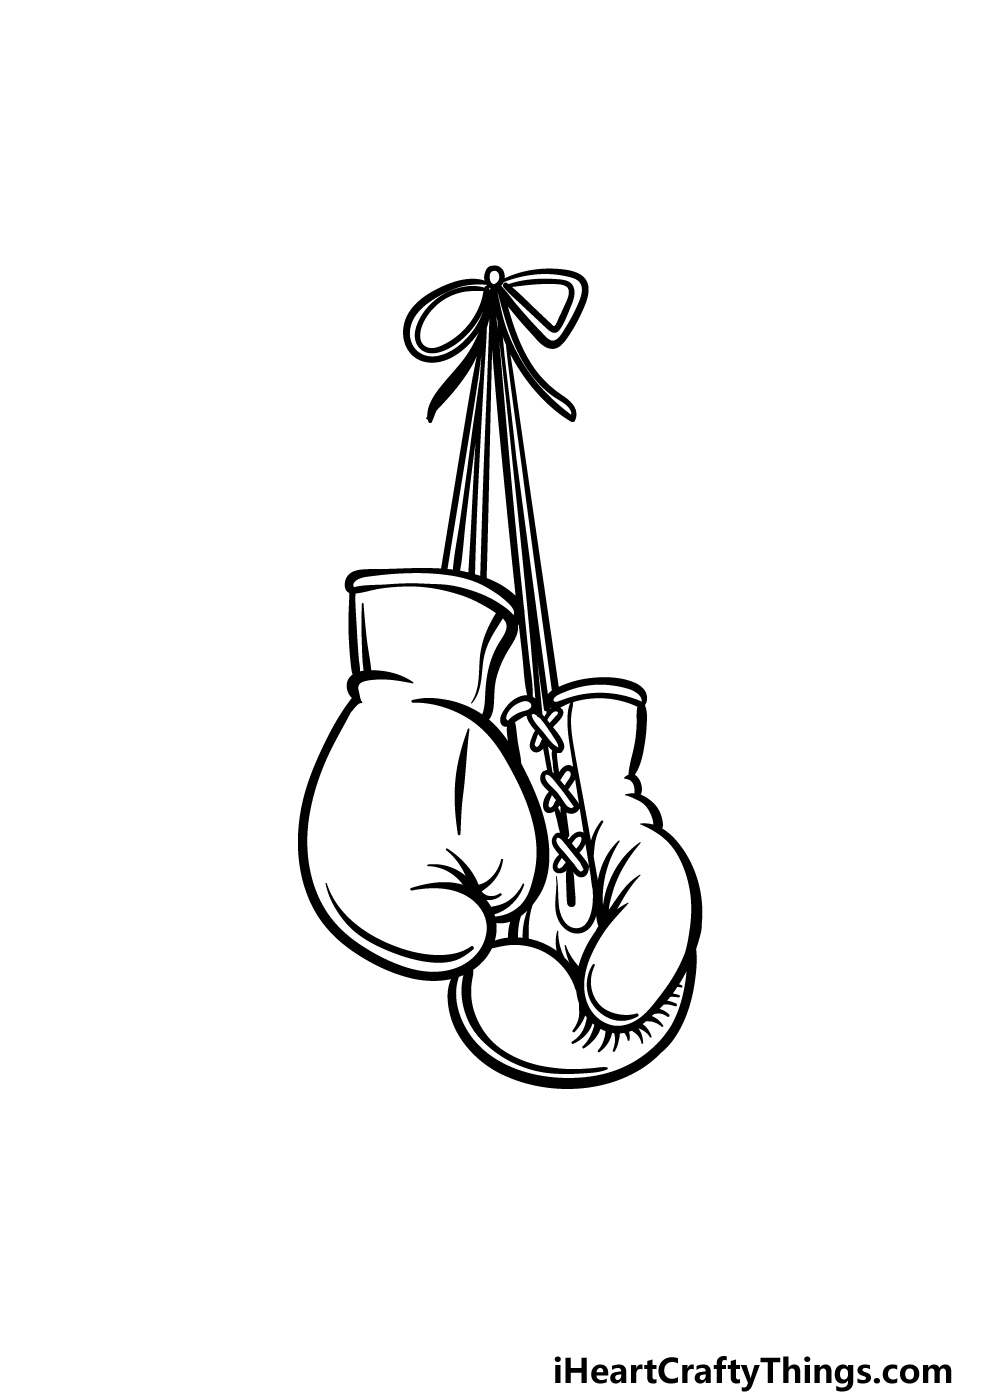
Earlier in this guide on how to draw boxing gloves, we mentioned that these gloves will be hanging from a wall.
We will be drawing the string that they are hanging from for this fifth step of the guide. For this part, you may want to use a ruler as it will make things much easier for you!
Before you use that ruler, you can start by drawing the bow at the top of the sting. Draw a small circle with loops and loose bits extending from it for this bow.
Then you can use your ruler to draw two pieces of string extending from each glove up to the bow.
You can also add some of your own details and additions, and perhaps you could also draw a background for it as well!
Once you have drawn all of these details as they appear in the reference image, you are ready for the final step where you can color in your drawing!
Step 6 – Finish off your boxing gloves drawing with some color
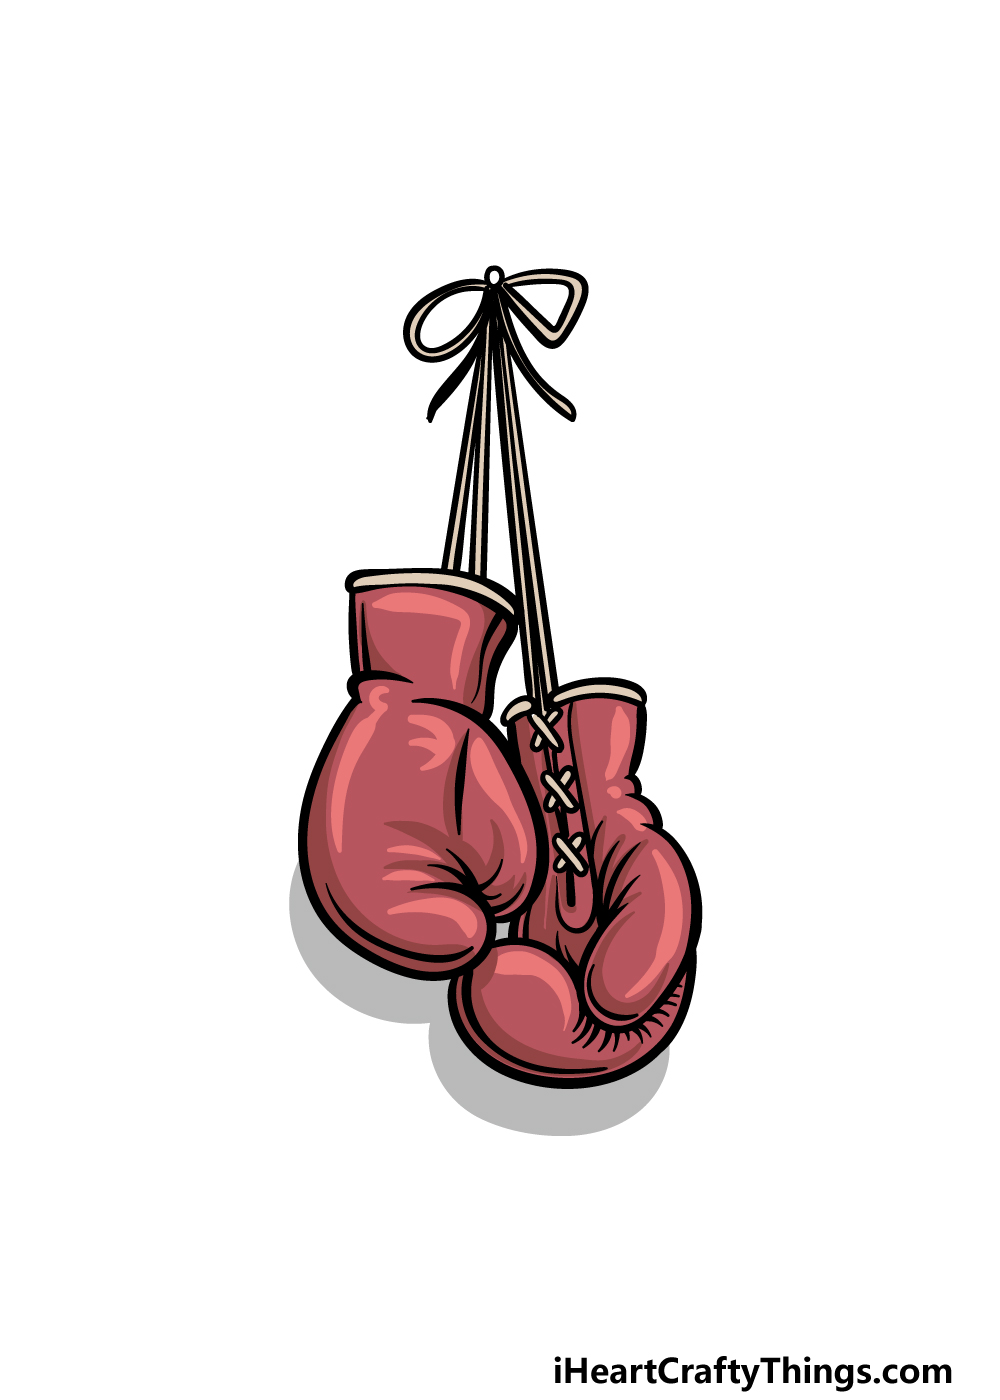
This is the final part of your boxing gloves drawing, and in this final step you can finish off by bringing some color to the drawing.
In our reference image, we used some shades of red and dark pink for the gloves themselves. Then we used browns and dark yellows for the rims of the gloves along with the string.
These are the colors that we chose, but this is your drawing! That means that the colors and art mediums that you use are up to you, and you should definitely let your creativity lead you as you finish off this awesome picture.
4 More Ways To Make Your Boxing Gloves Drawing Unique
These tips we have for your boxing gloves sketch are a real knockout!
This drawing of boxing gloves shows a pair of gloves that are a classic red color. This color is common for boxing gloves, but you could also go for any other colors that you like!
You may prefer a more muted black or brown color, for example. Or you could make them have a simpler leathery texture.
These are just a few ideas, but this is your chance to show off what your own perfect pair of boxing gloves would look like.
Once you’re happy with how the boxing gloves look, you could add other pieces of equipment that you would use while boxing. This could be a mouthguard, boxing shorts or even footwear.
These are just a few ideas, but you could add any other equipment that you have seen professional boxers use. If you have ever done boxing yourself, then you could show all the equipment you used.
What are some other essential items that every boxer should have?
Taking the previous tip further, you could incorporate it all into a background. For instance, maybe the boxing gloves could be hanging on a wall with a table nearby.
This table could hold the other pieces of equipment that you may have added in the last tip. That is one idea, but they could also be hanging from the rope of the boxing ring for another idea.
These are just a few ideas, but be sure to use any of your own!
Finally, every pair of boxing gloves needs an owner, and you could show this by adding a human character to this boxing gloves sketch.
There are a few ways you could go about incorporating a human character.
They could be based on your favorite professional boxer, for example. Or, you could even base them on yourself if you are a boxer or dream of being one someday.
Don’t be afraid to use a simpler cartoon style if you’re not used to drawing people.
Your Boxing Gloves Drawing is Complete!
You have completed all of the steps in this guide on how to draw boxing gloves, and the picture you have ended up with is a real knockout!
We hope that by breaking this down into smaller steps and taking it slowly that you were able to complete this drawing with no frustration. We also hope that it was a lot of fun to do!
Now we will look forward to seeing what additions, changes and extras you add to this drawing, along with seeing your color and medium choices.
We have plenty more drawing fun for you on our website, so definitely check in when you’re ready for your next challenge! We have more coming soon as well, so you’ll want to visit often.
Once you have completed your boxing gloves drawing, we would love to see it! Please do share your artwork on our Facebook and Pinterest pages for us to admire.