Cats are some of the most popular animals to have as pets around the world.
There are many breeds of domestic cats that people love, but there is also a huge variety of different wild cat breeds to admire in nature.
The bobcat is one of these incredible wild cats. Found primarily in North America, this amazing creature can be found in many different environments, and it is well known for its beautiful pelt.
Fans of this animal often like to learn how to draw a bobcat so that they can create artworks featuring this beautiful animal.
That’s exactly what this tutorial is here to help with, so be sure to read all the way to the end!
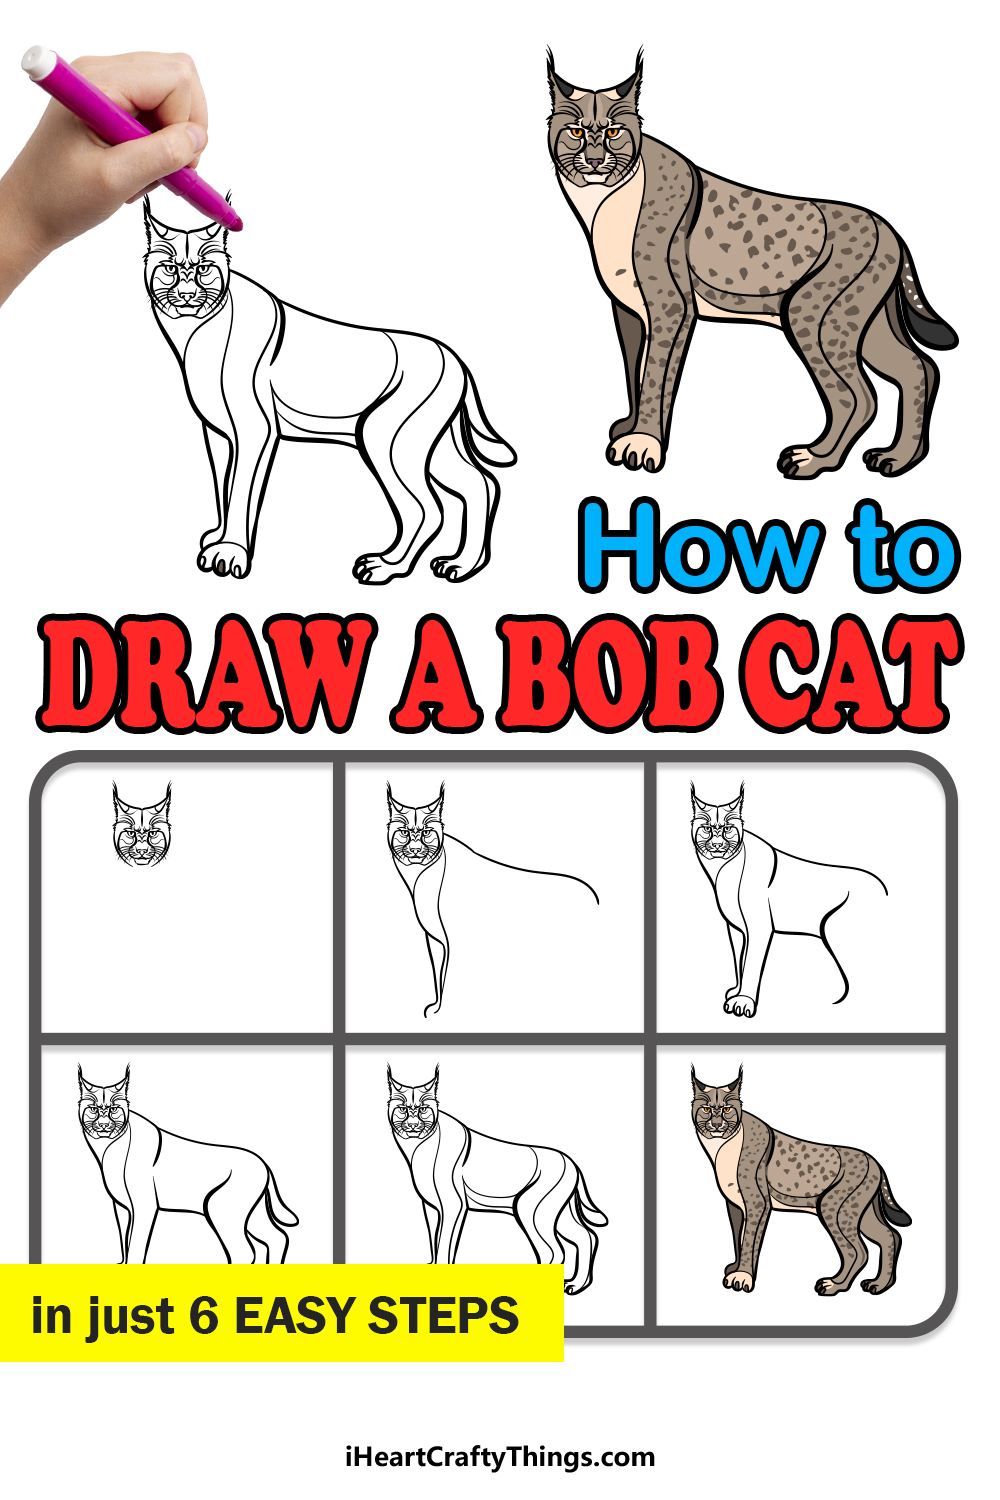
Our step-by-step guide on how to draw a bobcat will show you how fun and easy it can be to recreate this animal.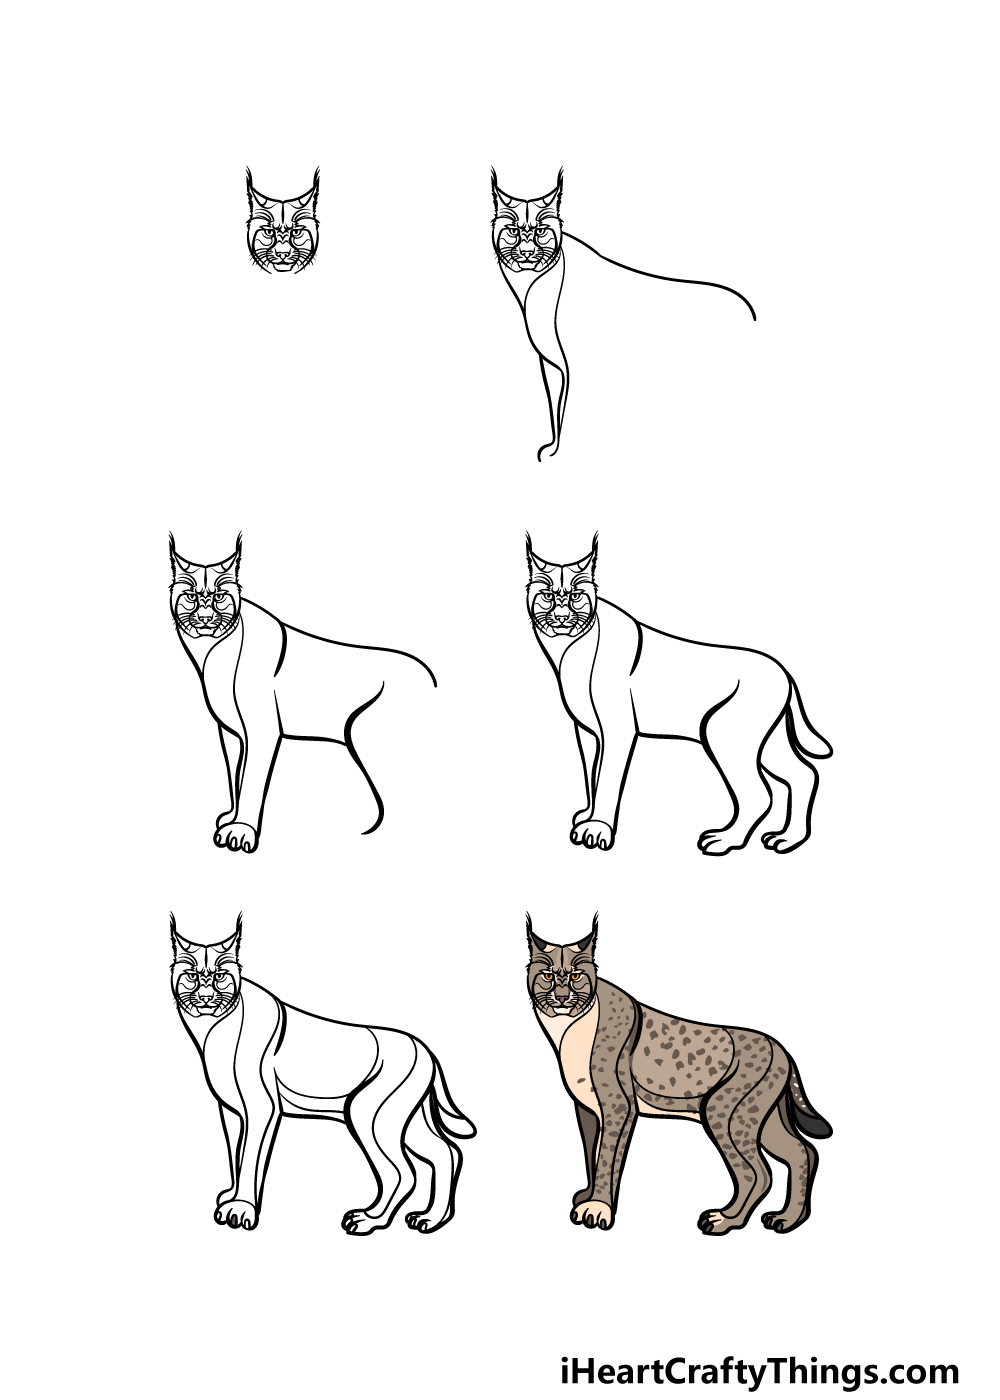
How to Draw A Bobcat – Let’s Get Started!
Step 1

The face of this animal is one of the most distinctive parts of it, and it is what we shall start with in this guide on how to draw a bobcat.
The face we have in this first step is highly detailed, so we shall start with the outline for the head.
Use some curved lines for the sides of the head, and then use a rougher line for the inner portions of the ears. This rougher line will make it look a bit furrier.
Be sure to also extend some small lines off the tips of the ears to make it look like hair is poking off. Then, finish off with more curved lines for the top of the head.
You can then finish off the details of the face, and this is a step where you may want to enlarge our example so that you can replicate all of the details such as the eyes and muzzle.
Step 2 – Now, draw the start of the body
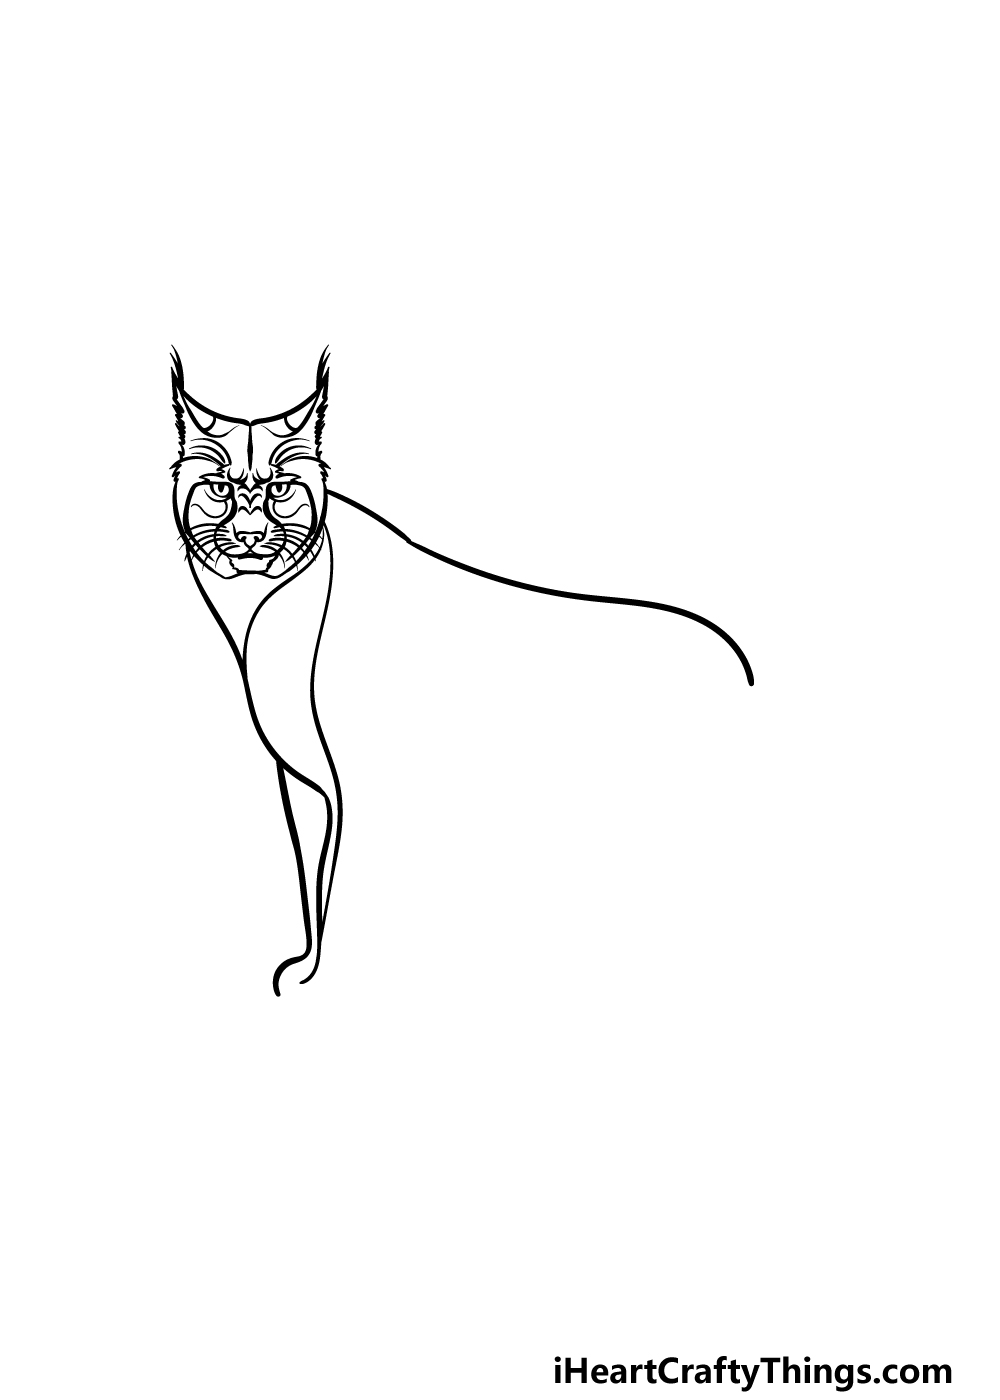
Now that you have the head and face of the bobcat drawn, you can begin on the outline for the body in this second part of your bobcat drawing.
First, extend a wavy line from the head and going to the right. This will form the back of the bobcat which we will add to soon.
Then, use some more curvy lines for the front of the chest and legs for the bobcat to close off this step.
Now you’re ready to continue on to step 4 of the guide!
Step 3 – Draw the rest of the front legs and start the belly

This third step of our guide on how to draw a bobcat will see you adding some more to the front legs and the belly of the cat.
First, draw the rest of the outline for the front leg that you started in the prior step, and then add some curved paws with claws at the end of it.
We will then be adding some more curved line details for the muscles on the back as well as the belly of the cat. Finally, add a rounded, wavy line for the front of the back leg to finish off this step.
Step 4 – Next, draw the rest of the outline for the bobcat
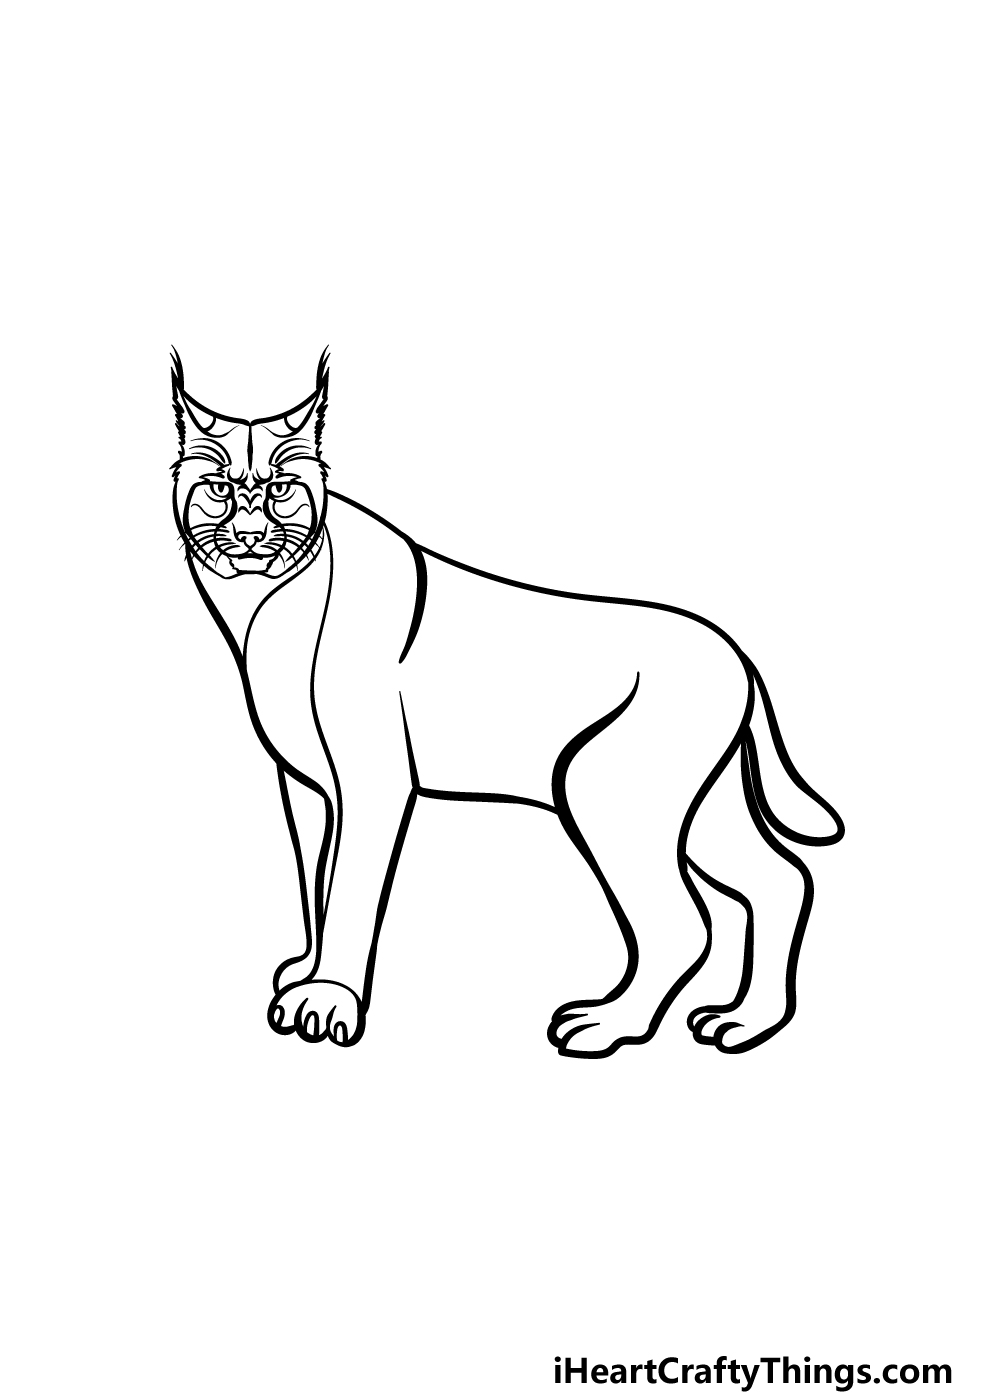
We will now be finishing off the rest of the outline for your bobcat drawing. This will have you ready for some final details and colors in the next few steps of the guide.
First, draw the back of the back legs and add some paws to the ends of these as well. These legs will be shaped rather differently from the front legs, which were a bit straighter.
Finally, draw a small, thick tail at the back of the bobcat. This tail is what gives this particular cat its name, and once it’s done you will be ready to start adding those final details that we mentioned earlier.
Step 5 – Add the final details to your bobcat drawing
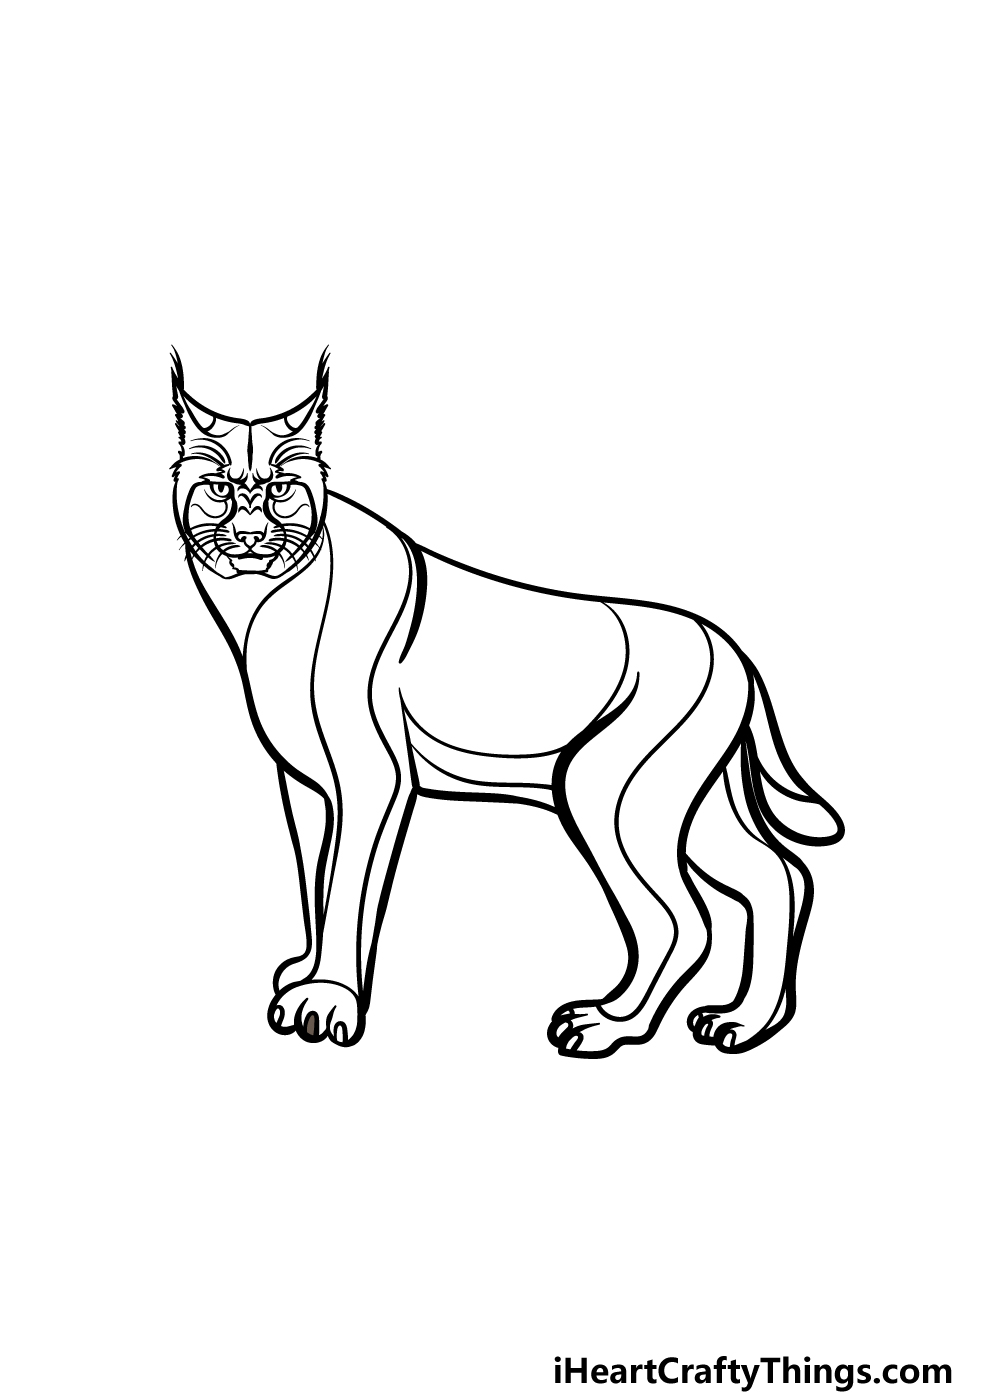
You’re doing a great job in this guide on how to draw a bobcat so far! Before you have a great time coloring your creation, we will first add the final details to really finish it off.
In our reference image, you’ll see that we used some wavy lines throughout the body of the bobcat so that the body of the cat has a bit more definition.
Once these details have been added, you can then finish off by drawing your own extra details and ideas that you think would suit this image.
Bobcats live in a wide variety of environments and biomes, so you have a lot of options for how you can finish off this image with a cool background!
Step 6 – Finish off your bobcat drawing with color
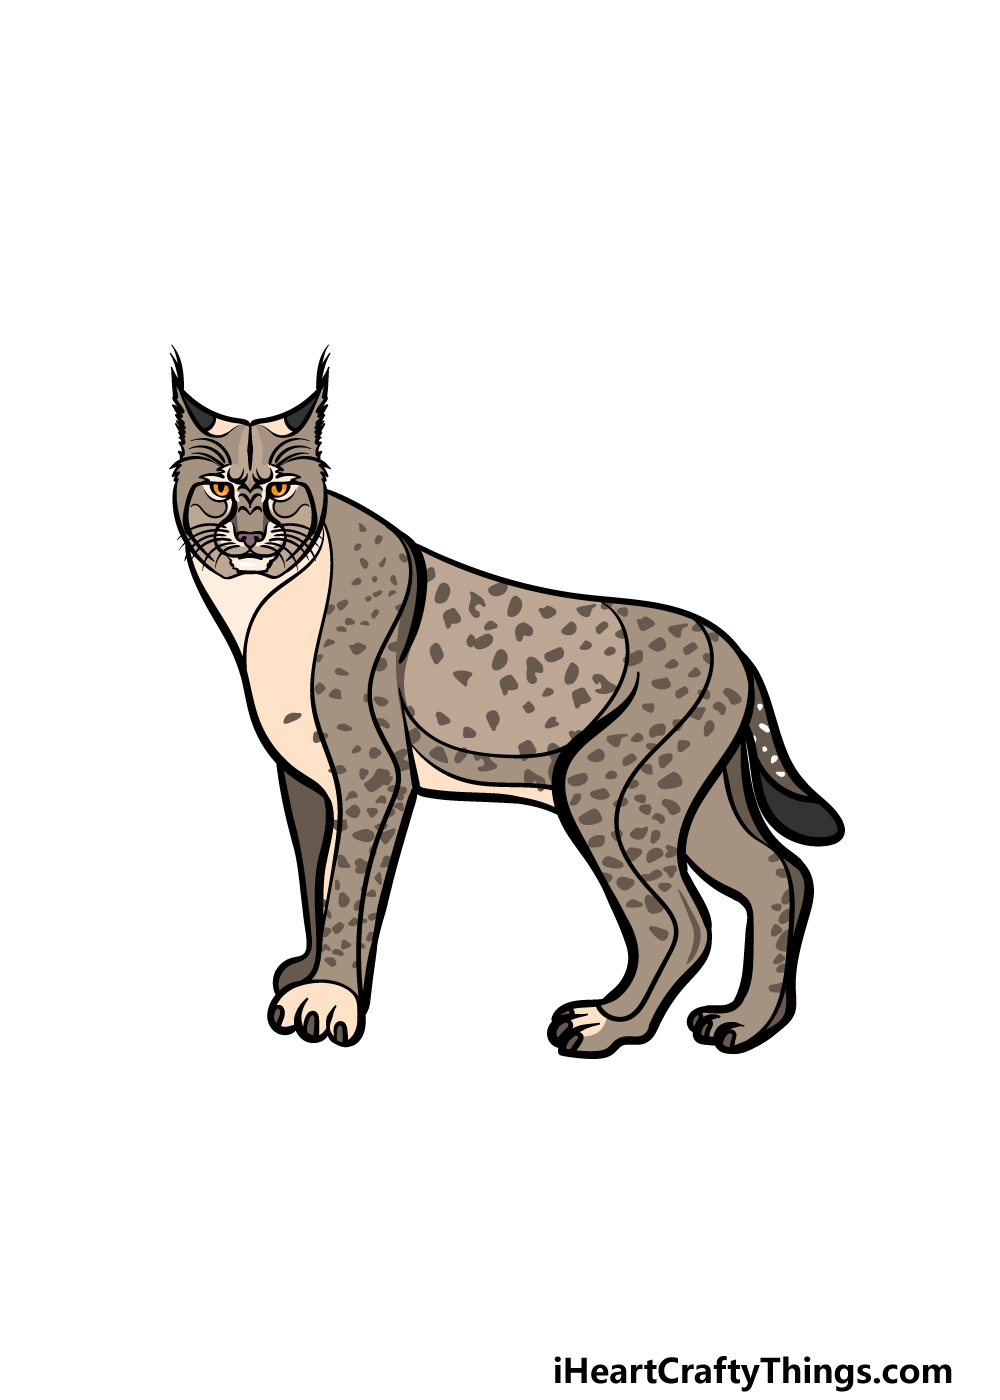
In our example image for this bobcat drawing, we showed you the colors that would typically be associated with this animal.
It has a rather muted color scheme of light brows with some subtle spots, and then we used some beige colors for the front of the chest before finishing off with some orange for the eyes.
If you would like to keep the colors looking more realistic then you could use this as an example to follow as you color your own bobcat in.
What colors and art mediums do you think would best suit this picture?
3 More tips to make your bobcat drawing easy!
Make this drawing of a bobcat even better with these 3 tips to try out!
This drawing of a bobcat was drawn with quite a lot of detail in order to make it more realistic. If you followed through this guide and are still having trouble, you can make it easier by focusing on the details.
First, you could start by simplifying the details as much as you need to in order to make it easier.
You could even change the style of the drawing to be more in line with what you’re comfortable drawing.
Once you have nailed the basics of the drawing, you can then focus on further layers of details until it resembles our example image.
If it isn’t the details but the proportions that you’re struggling with while working on this bobcat drawing, there are ways to make that easier as well.
First, you will need a pencil, and if you can find a light one then that would be even better. Once you have your pencil, you can then break down the structure of the bobcat into simpler shapes.
These don’t have to look like the final bobcat, but try to make them match the shapes and outlines of our example. Once you have these pencil lines, you can then start to add layers of finer details.
When you’re happy with how it looks, you can then finish off with your pen to draw the final lines.
Finally, you can call in some extra help by using photos of real bobcats to make this bobcat sketch easier. When looking up photos, try to find ones that match the pose of our one if you can.
Once you have these pictures, use them to help you as you draw the details and proportions. When you have the hang of the drawing, you could also use these photos to draw other versions of bobcats in different poses.
These photos could also help you if you want to make the drawing even more detailed and realistic!
Your Bobcat Drawing is Complete!
You have completed all of the 6 steps in this guide on how to draw a bobcat! Now that you have completed all of the steps, you have an incredible drawing that you should be very proud of.
By following the steps that we laid out for you, we hope that you found this drawing experience to be even more fun than you may have expected!
Before you finish this drawing completely, be sure to also go ahead and add any additional details and ideas that you may have for it.
We went through a few ways that you could do this, but this is your chance to show off how creative you can be!
When you’d like to try out a new drawing, you can find some more guides on our website to enjoy. There are plenty for you to sample with more on the way soon, so be sure to visit us often!
You can then show off your amazing bobcat drawing by sharing the finished picture on our Facebook and Pinterest pages for us to enjoy.