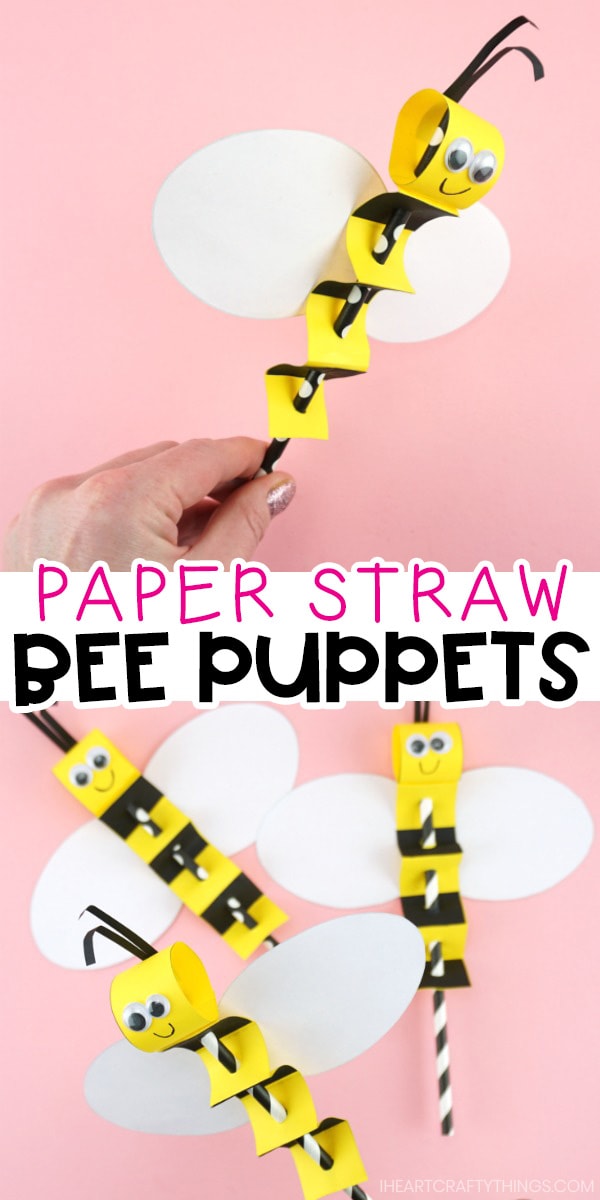
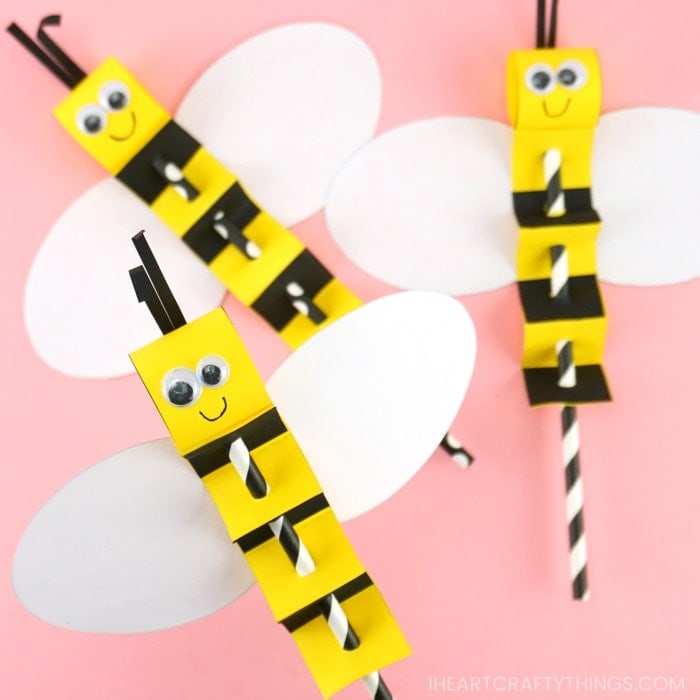
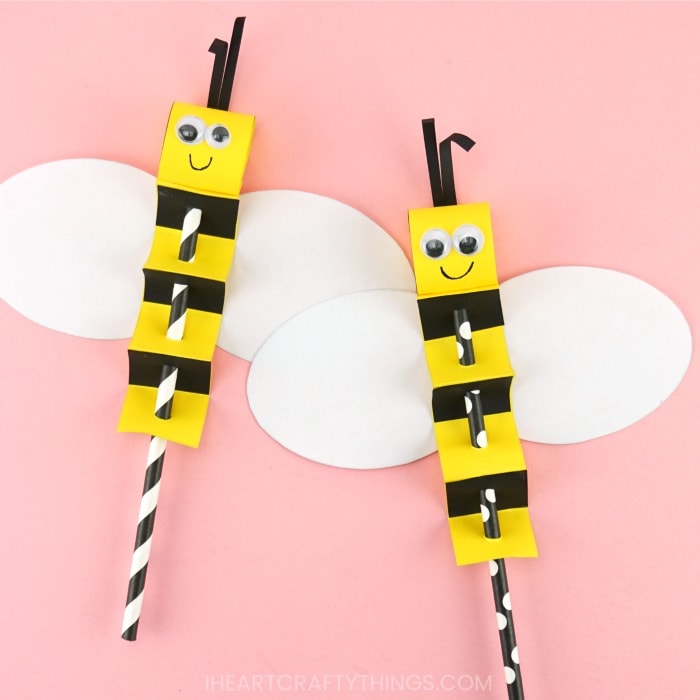
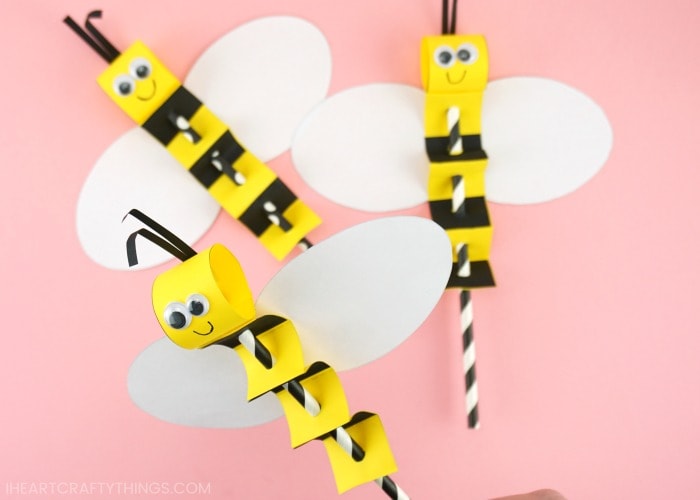
Our growing collection of paper straw insect puppets would not be complete without some beautiful queen bees. Get ready for an afternoon full of playful fun as your kids use our printable template to create a colorful bee puppet.
If you are a fan of make and play crafts, you’ll want to add these darling puppets to the top of your spring or summer to-do list. Preschoolers and kids of all ages will have a blast making their own bee puppets.
This post contains affiliate links to the products mentioned. Read our disclosure policy for more information.
Supplies needed for paper straw puppets
- Bee Puppet Printable Template <—- Get the template HERE
- yellow, black and white cardstock paper
- black paper straws
- googly eyes
- black marker
- scissors
- hole punch
- glue stick
Instructions for making bee puppets
1. Print out template and cut out all pieces
Download and print out the puppet template. We have a variation with the bee body and wings on one page, or a variation with them on different pages to make it easier for classroom use.
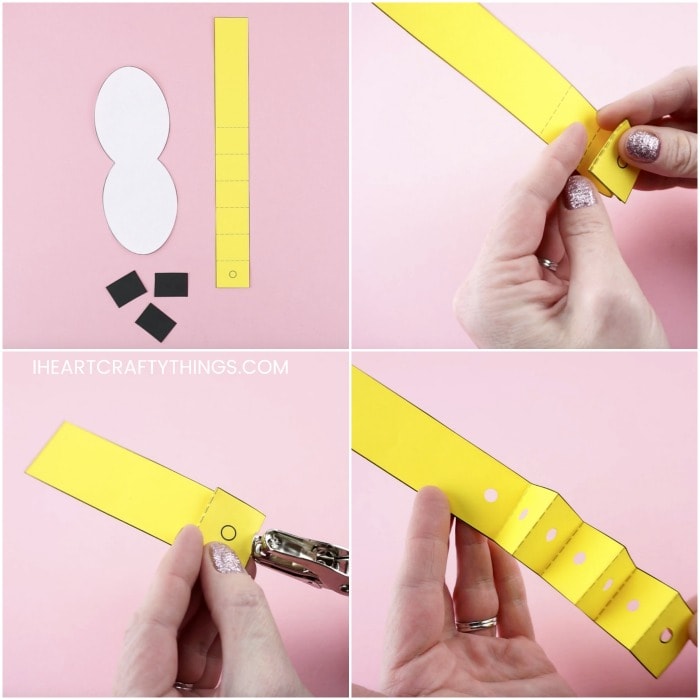
You can either print out the template and use it a pattern to trace the pieces on colored paper, or print out the bee body template page on yellow paper, bee wings template on white paper and the small rectangle template pieces on black paper. Cut out each of the pieces of the template.
2. Fold bee body piece
The bee body template has dashed lines to help as a guide for folding it with an accordion fold. Start at the bottom of the body in the square with the circle in the middle of it. Fold it backward along the dashed line. Then fold the body up and down again along the dashed lines in an accordion fold until you reach the final dashed line.
Don’t worry about the long end hanging off of the body right now. This is to create the bee head in a later step.
3. Punch hole in body piece
Use a hole punch to punch a hole on the circle of the dragonfly body while it is accordion folded.
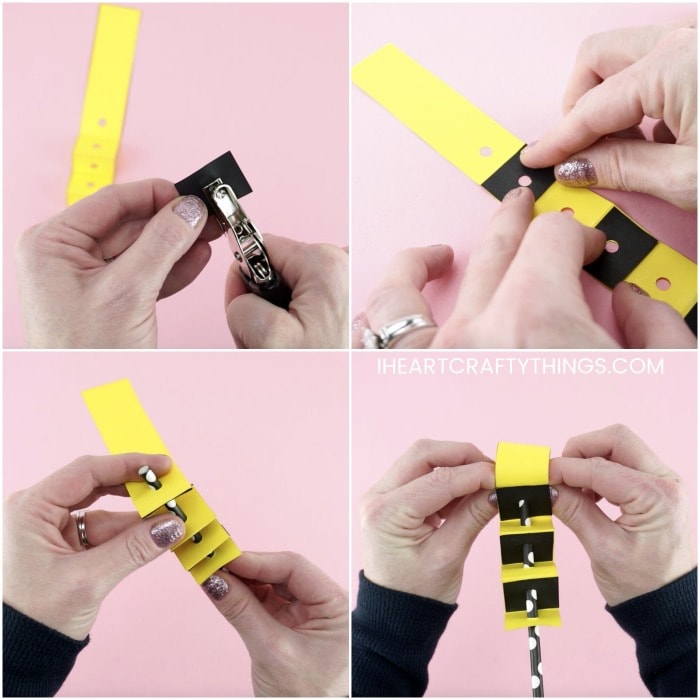
4. Punch a hole in black rectangle pieces and glue them on the bee body
Gather your three black rectangle pieces from the template. Align them all together and punch a hole in the center of them. Then glue them on the bee body with a glue stick, creating a yellow-black striped pattern.
5. Feed bee body into paper straw through all holes
Feed the bee body into your black paper straw through all the holes of the accordion fold. The top of the body will hang off the straw quite a bit.
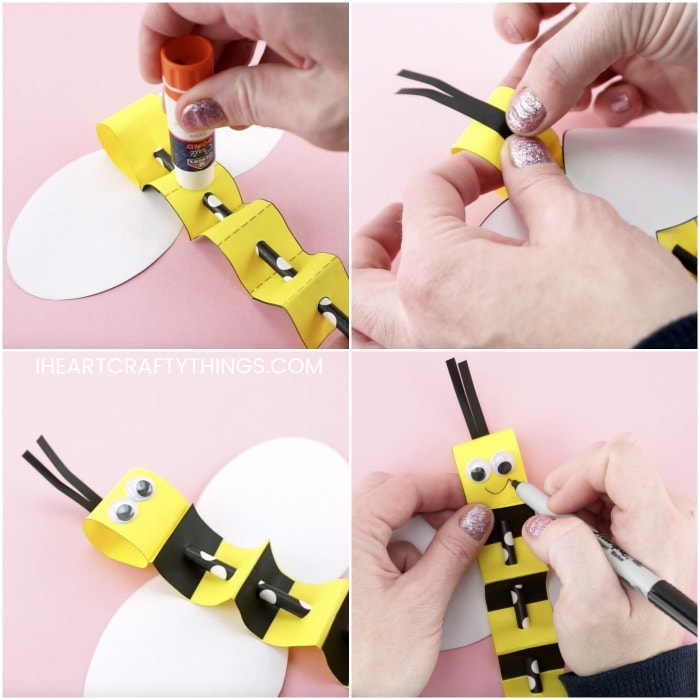
6. Make bee head
Add glue on the underside and end of the overhanging yellow piece of paper hanging off the straw. Then curl it around into a circle and secure it on the first accordion fold on the front of the bee body to make the bee head. See the pictures above as a guide.
7. Glue bee body down in the center of bee wings
Turn your bee puppet face down. Flatten the first and second accordion folds on the body and add glue to the middle of them. Glue the bee body down in the center of the bee wings.
8. Create and attach antennae
Cut out a small black rectangle piece for antennae. Cut down the center of the rectangle to make two separate antennae. Add glue to the bottom of the rectangle antennae and glue it on the back of the bee head.
9. Add eyes, draw a smile
Add a googly eyes on the face of your bee craft. Then use a black marker to draw a cute little smile on your bee.
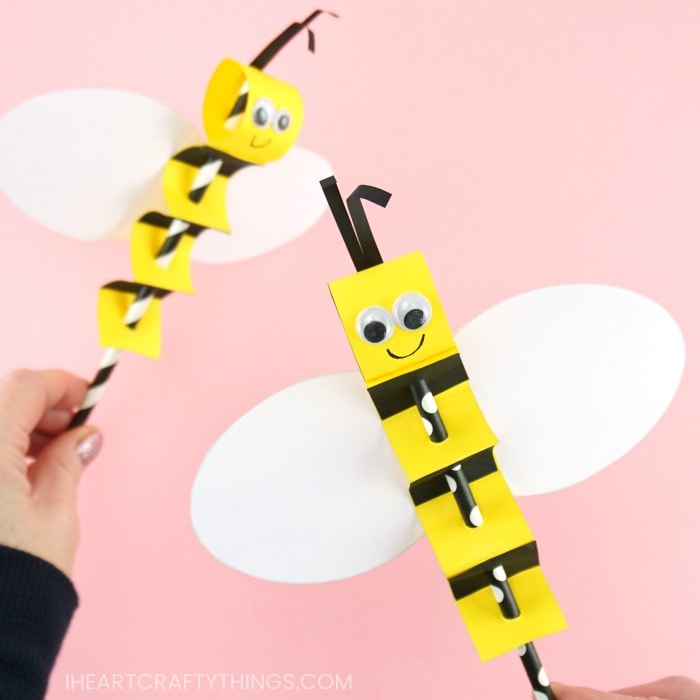
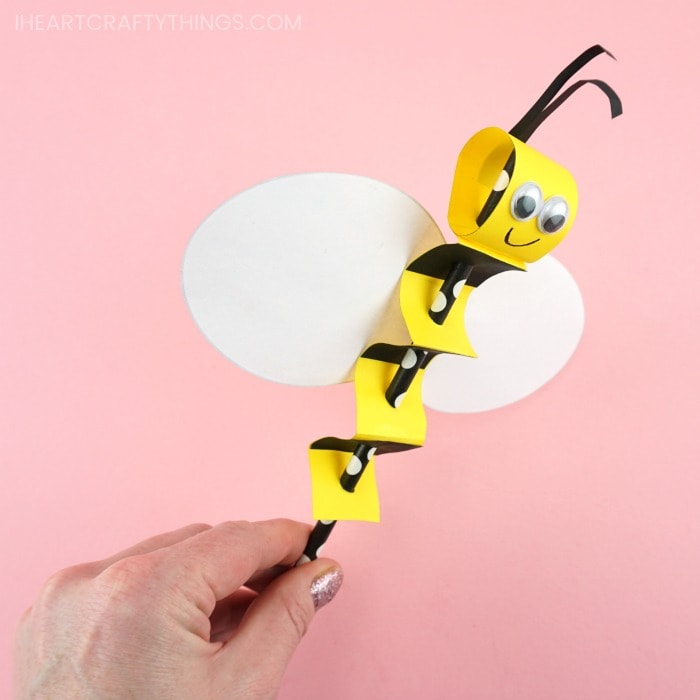
Now it’s time for play! Hold the bottom of the paper straw and have fun flying and fluttering your bee around. The light weight of the paper wings makes them actually move up and down, making this craft extra fun for kids to play with!
Video Tutorial: How to Make a Cute Bee Puppet Craft
Watch the video below for a step by step guide on how to make these simple bee puppets with our template.
Find more insect craft ideas, spring kids crafts and summer crafts for kids by browsing the categories at the top menu bar of our website.
