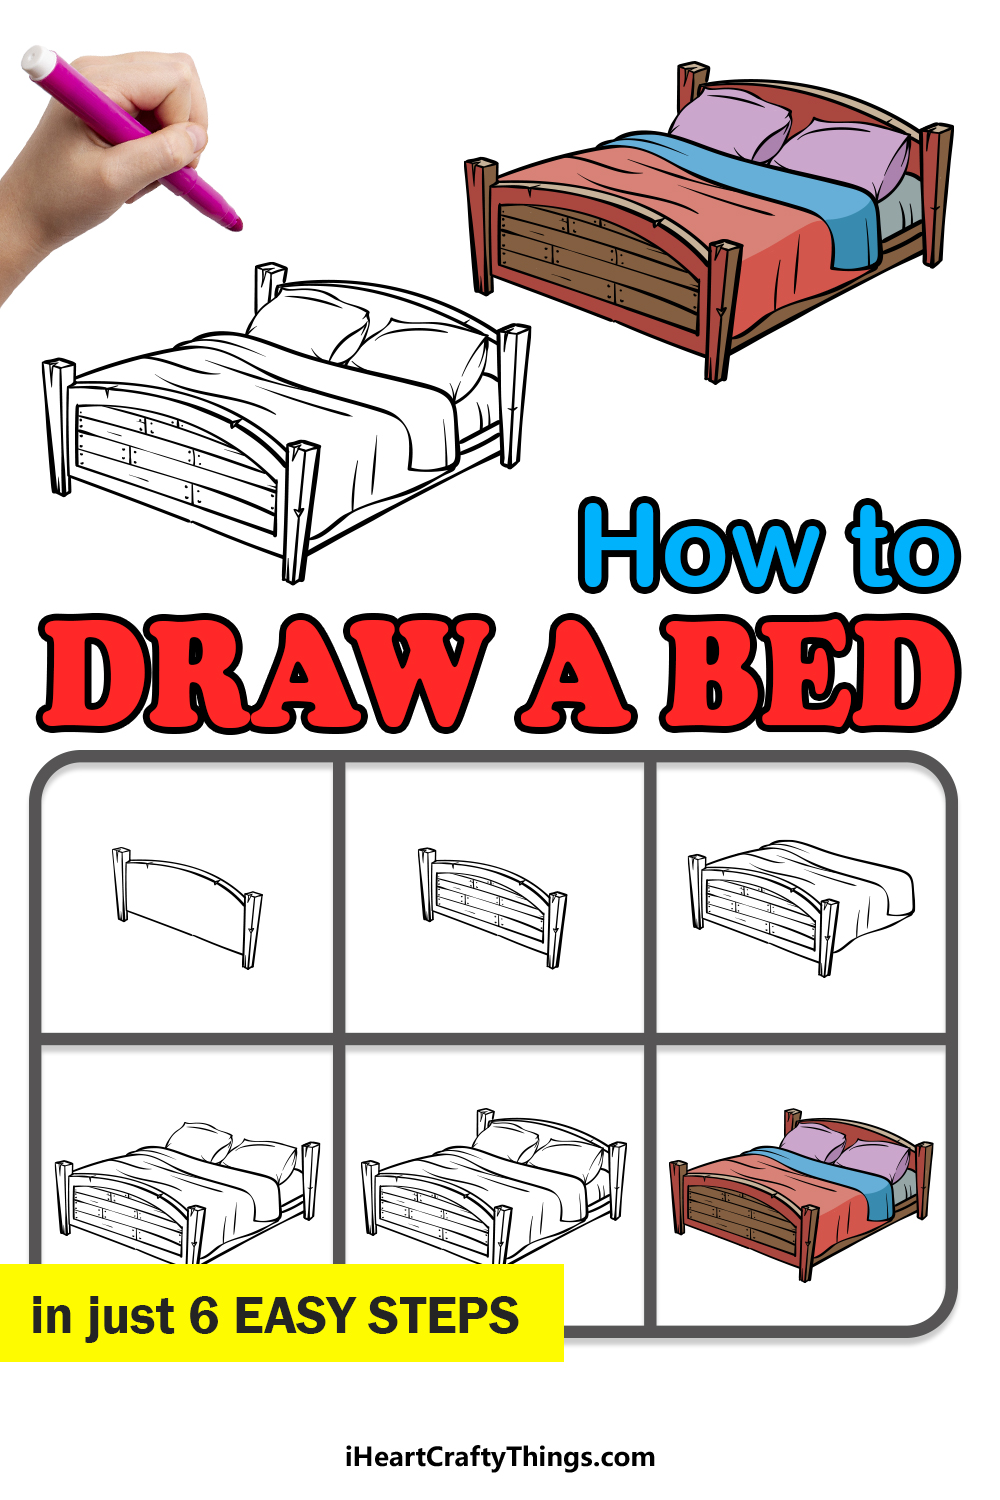
If you want to learn how to draw a bed, then this guide will make it fun and easy for you to do just that! You can create your very own bed designs once you have the hang of it.
Beds aren’t just a place to sleep, they are a safe haven you can retreat to after a long day. You can lie on your bed and eat some snacks, watch a movie, read a book or just daydream!
They come in so many different forms, and everyone has their own ideas about what makes a perfect bed. You normally have to settle for what you can buy in a store unless you are a carpenter!
This tutorial will show you how to make a detailed double bed, and it’s just the beginning. Once you have finished the guide, you can use this as a basis for your own designs and details.
So get cozy and let’s begin this guide!
Watch And See How To Make Your Bed Drawing
How to Draw A Bed – Let’s Get Started!
Step 1
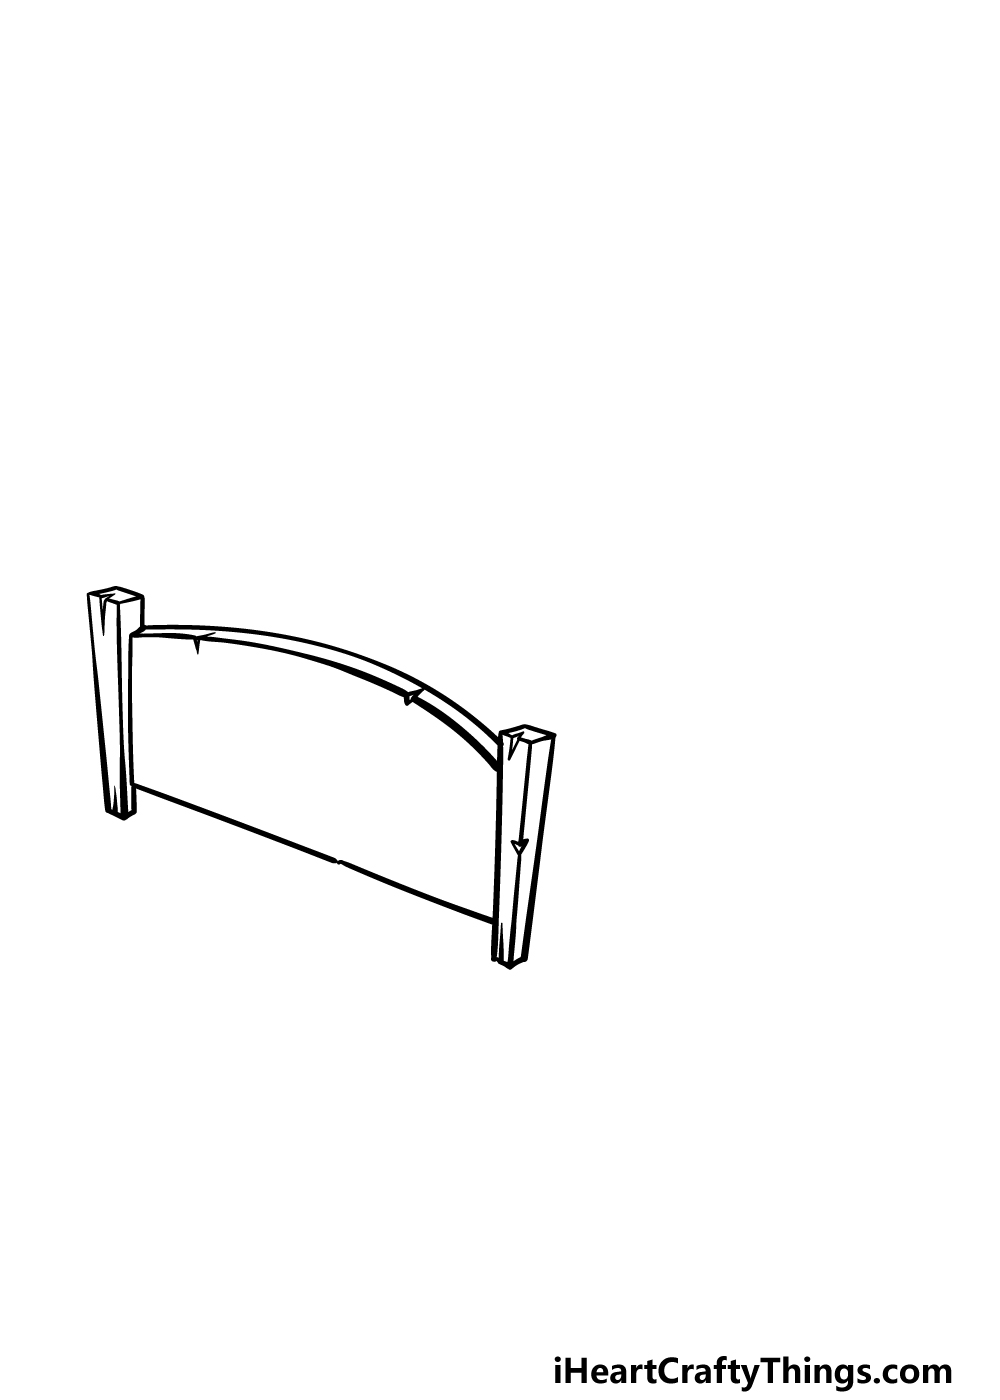
To begin this guide on how to draw a bed, we will start with the foot of the bed.
This will have two squared pillars at either end, and you could use a ruler to make sure that their edges are perfectly straight.
You can also add some notches to them to make them look as if they are made of wood.
Then, we will be adding the section of wood between these pillars. You can use a straight line for the base of this middle section, and then use some curved lines for the top edges.
You can also add some small notches to them for that wooden effect. Then you will be ready for step 2 of the guide!
Step 2 – Now, draw some texture effects for the foot of the bed
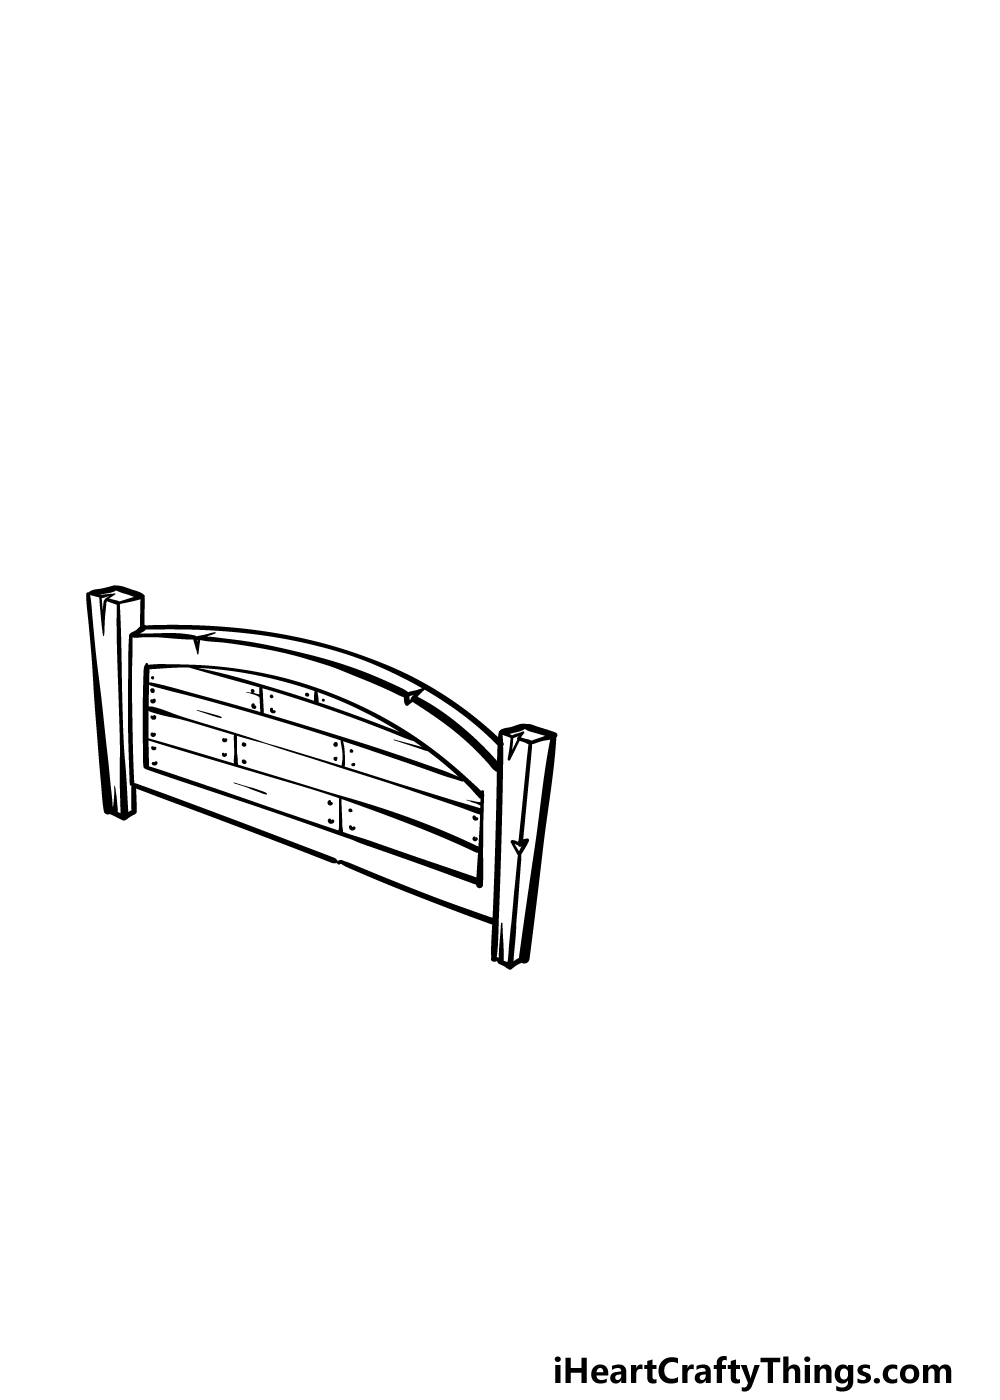
For the next part of your bed drawing, we will be adding even more wood texture to the foot of the bed. To start this, we will be drawing a shape inside the flat middle section of the foot.
This shape will have some straight-edged sides and a base, and the top will be curved. This will give it a similar shape to this section of the bed as a whole.
Once this outline is drawn, we will then be creating the effect of wooden boards nailed together.
Simply draw some straight horizontal lines fairly close to one another, and then add some small vertical lines as well.
Finish off by drawing some dots for the nails holding the boards together before you proceed to step 3 of the guide.
Step 3 – Start drawing the middle section of the bed
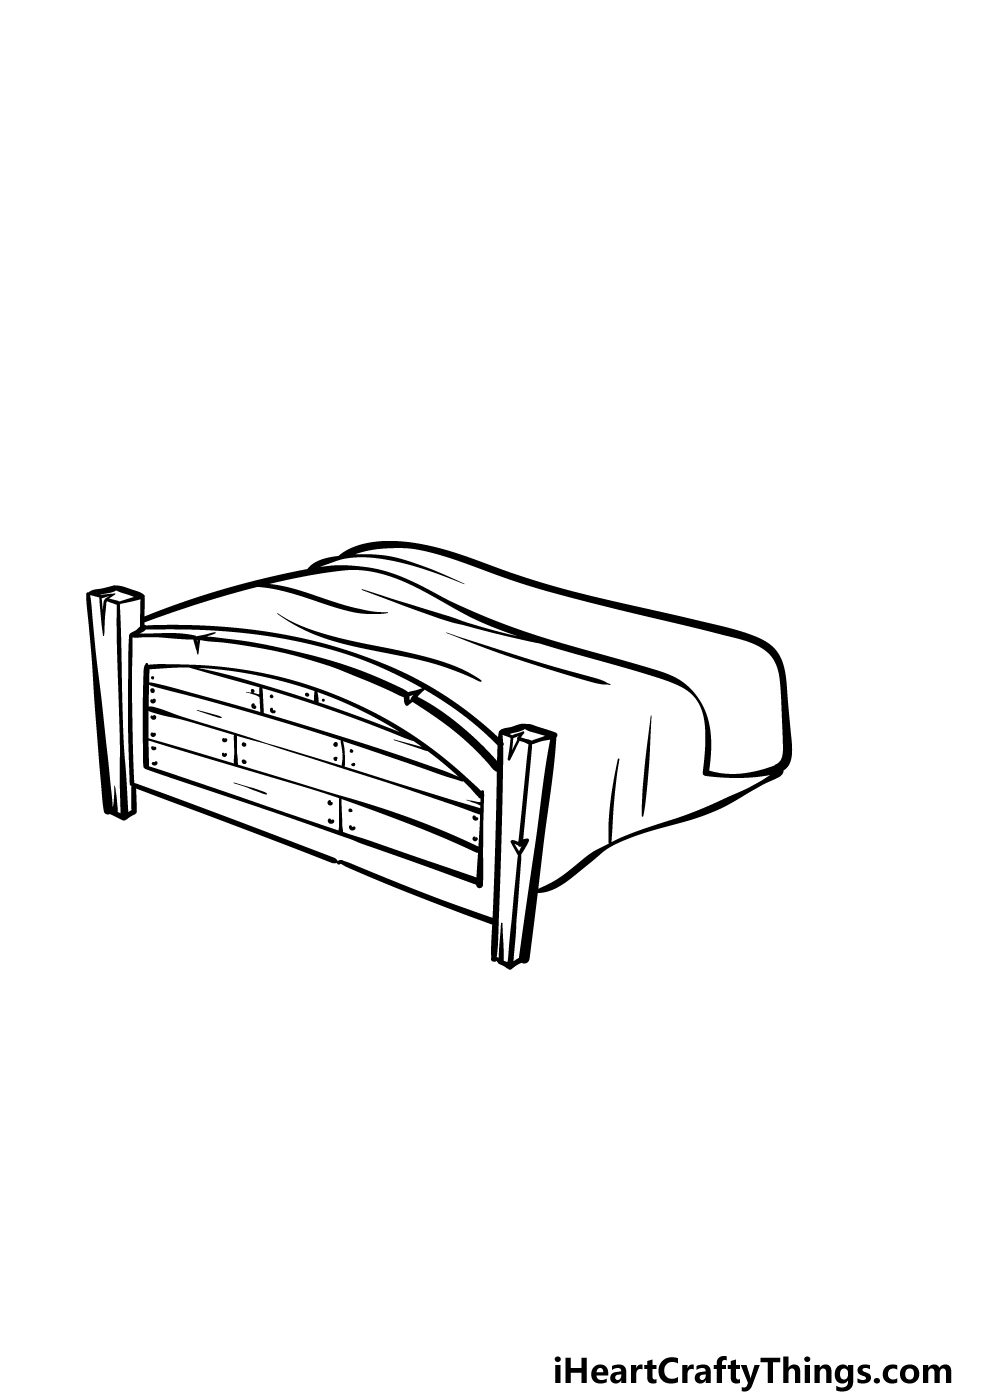
The foot of the bed is drawn, so now we can start drawing the middle section in this step of our guide on how to draw a bed.
Use some curved lines for the sides of the blanket that is covering the bed, and these lines will also form the outline of the middle section as a whole.
These lines should be drawn freehand with a bit of waviness to them, as it is meant to look as if it is made of fabric.
Then, draw some more curved lines at the end to show the blanket folding back on itself.
Finish off this step by adding some wavy lines inside the blanket outline for more crease textures, and then we can proceed.
Step 4 – Next, draw some pillows and the base of the bed
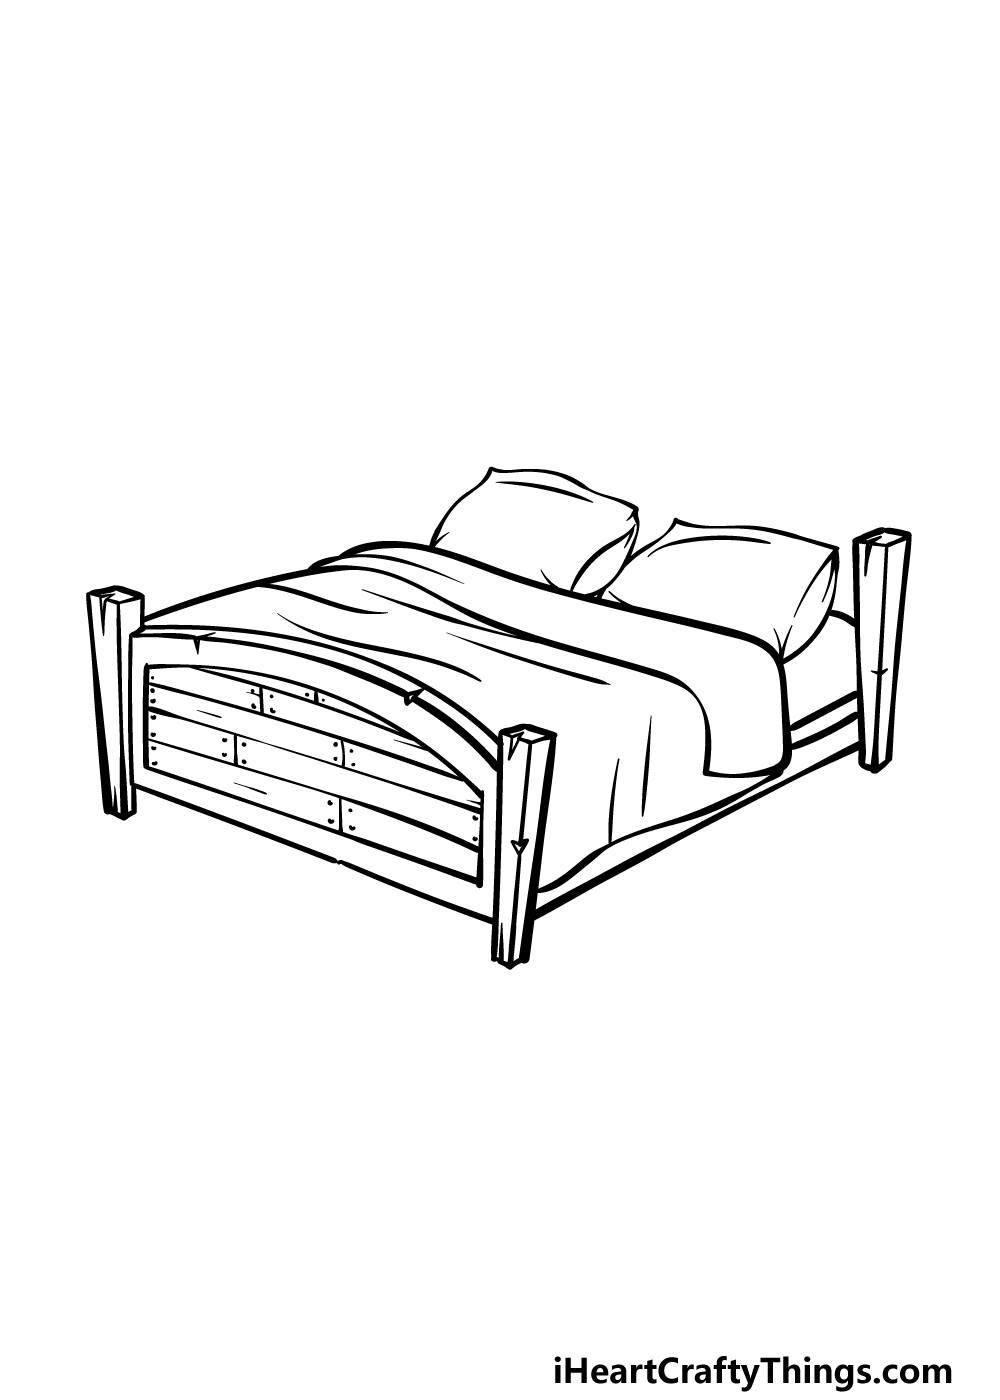
Now you’re ready to add some pillows and a base to your bed drawing in this next step. First, draw a straight line along the base of where the blankets end, and that will serve as the wooden base.
Next, draw another thin wooden pillar at the other side of the bed. This one will look very similar to the ones you drew at the foot of the bed.
Finally, finish off by adding some fluffy pillows near the head of the bed. Then, you will be ready for the final details and elements in the next step of the guide.
Step 5 – Add the final details to your bed drawing
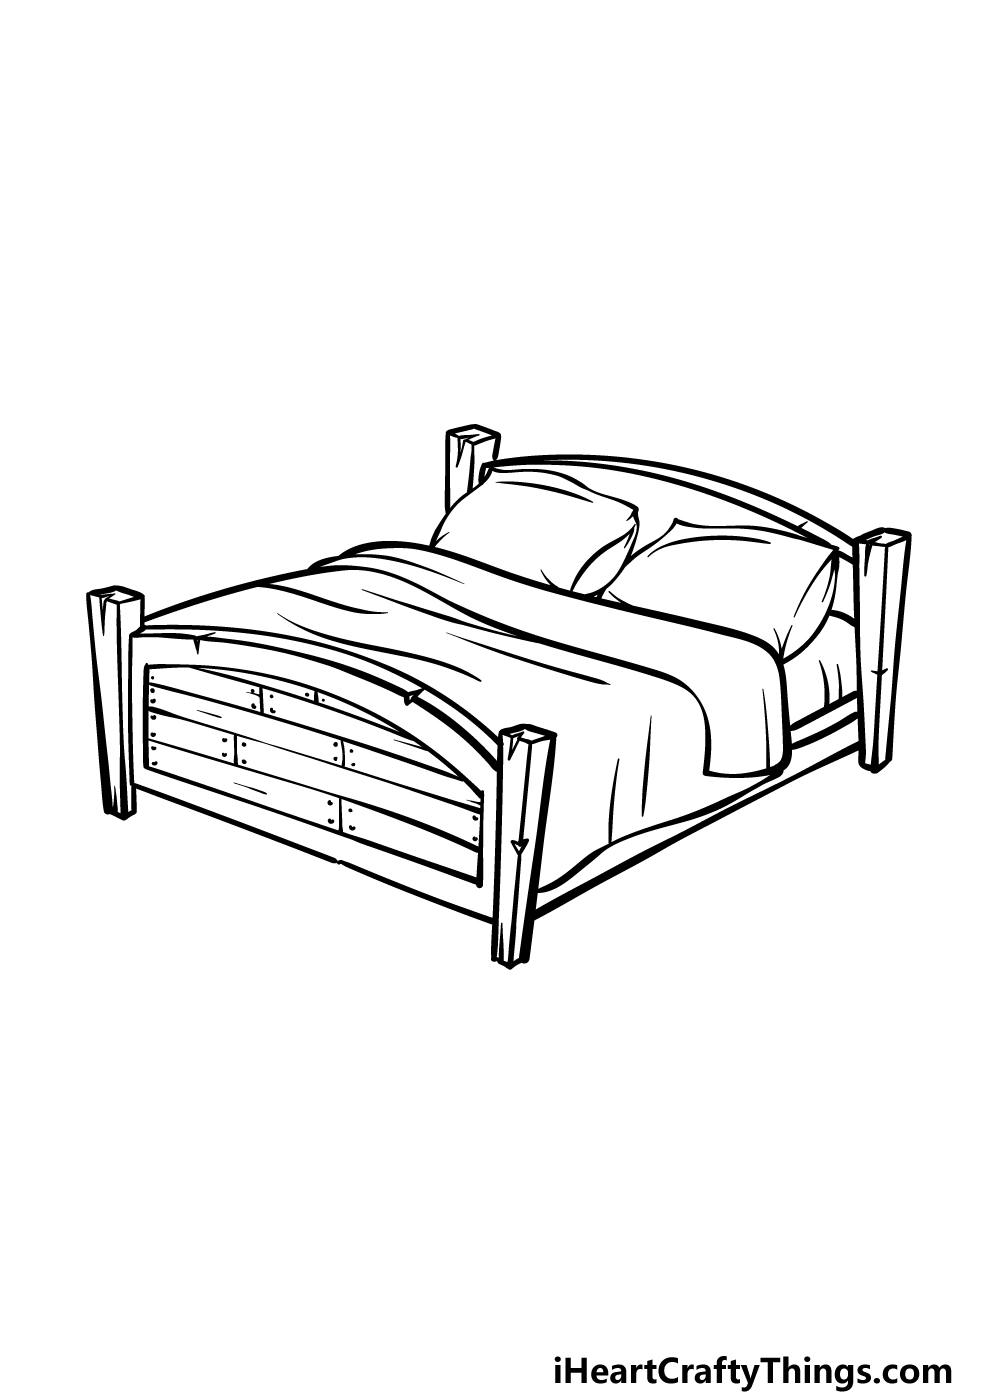
You’re almost ready to add some colors to your drawing, but first we will finish off the final details and elements.
First, draw another wooden pillar on the left-hand side of the head of the bed. Then, connect the pillars on either side with some curved lines, and then add some more of those wooden elements.
Once you have added these last details, you will be ready for the final step! Before you move on, you could add some details of your own to the image.
One idea would be to draw the bedroom area surrounding this bed, or maybe add some stuffed animals or fancy pillows sitting on it.
These are just a few ideas, but what else can you think of to finish it off?
Bonus: Use Some Craft Supplies To Make This Bed Drawing Even Cozier!
This bed drawing you have created is looking great, but it could be enhanced with the use of crafts and various art supplies. Using crafts can be a fun way to think outside of the box in order to make your drawing more unique.
Craft supplies can be purchased at various stores, from art and craft suppliers to material shops. It can depend on what you have in mind, but you could even use things around the house.
If you do use materials from your house, just make sure that whoever may own the materials is okay with you using them in your art! A bed is covered with blankets, sheets and pillows, so that makes us think of material.
You could cut out the shapes of the blankets, sheets and other material aspects of the bed and then stick them to the drawing. You could even make little mini pillows and stick them on!
Doing this would not only make the material look more realistic, but it would also add another dimension to the image and give you things to feel.
Then, for the wooden legs and frame, maybe you could use something like popsicle sticks to stick over them to make them look like they’re made of wood.
These are some simple ideas, but you will see that using even simple materials can make a huge difference. There are other craft supplies you could make use of, such as beads, stickers and sequins.
We think it would be lots of fun to grab as many different craft supplies as you can and then incorporate them into the design. What are some fun and creative crafts you could use to enhance this drawing even further?
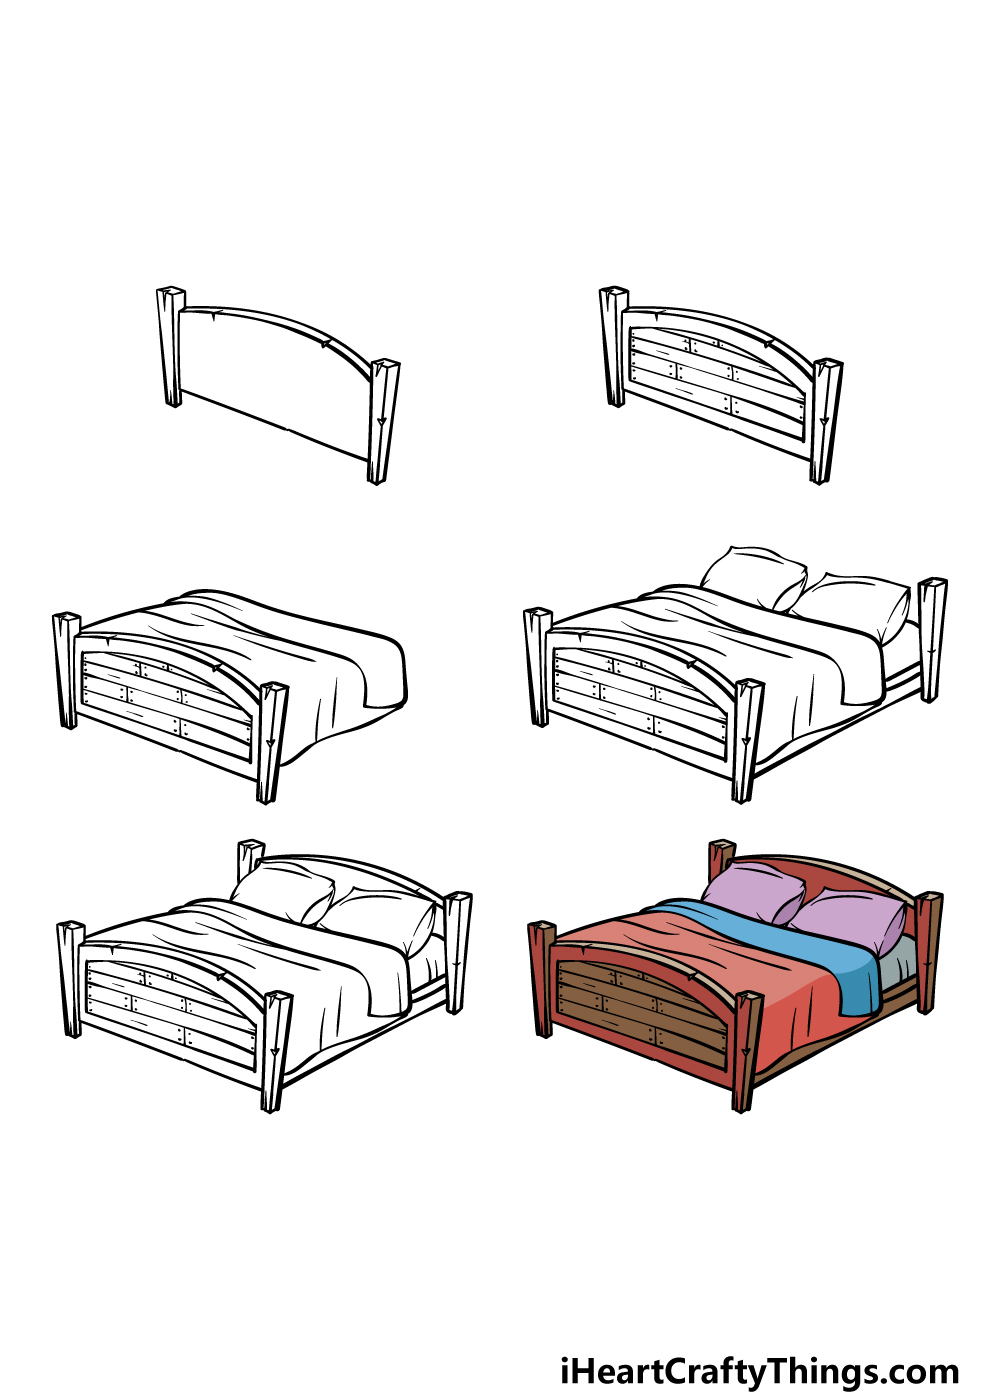
Step 6 – Finish off your bed drawing with color
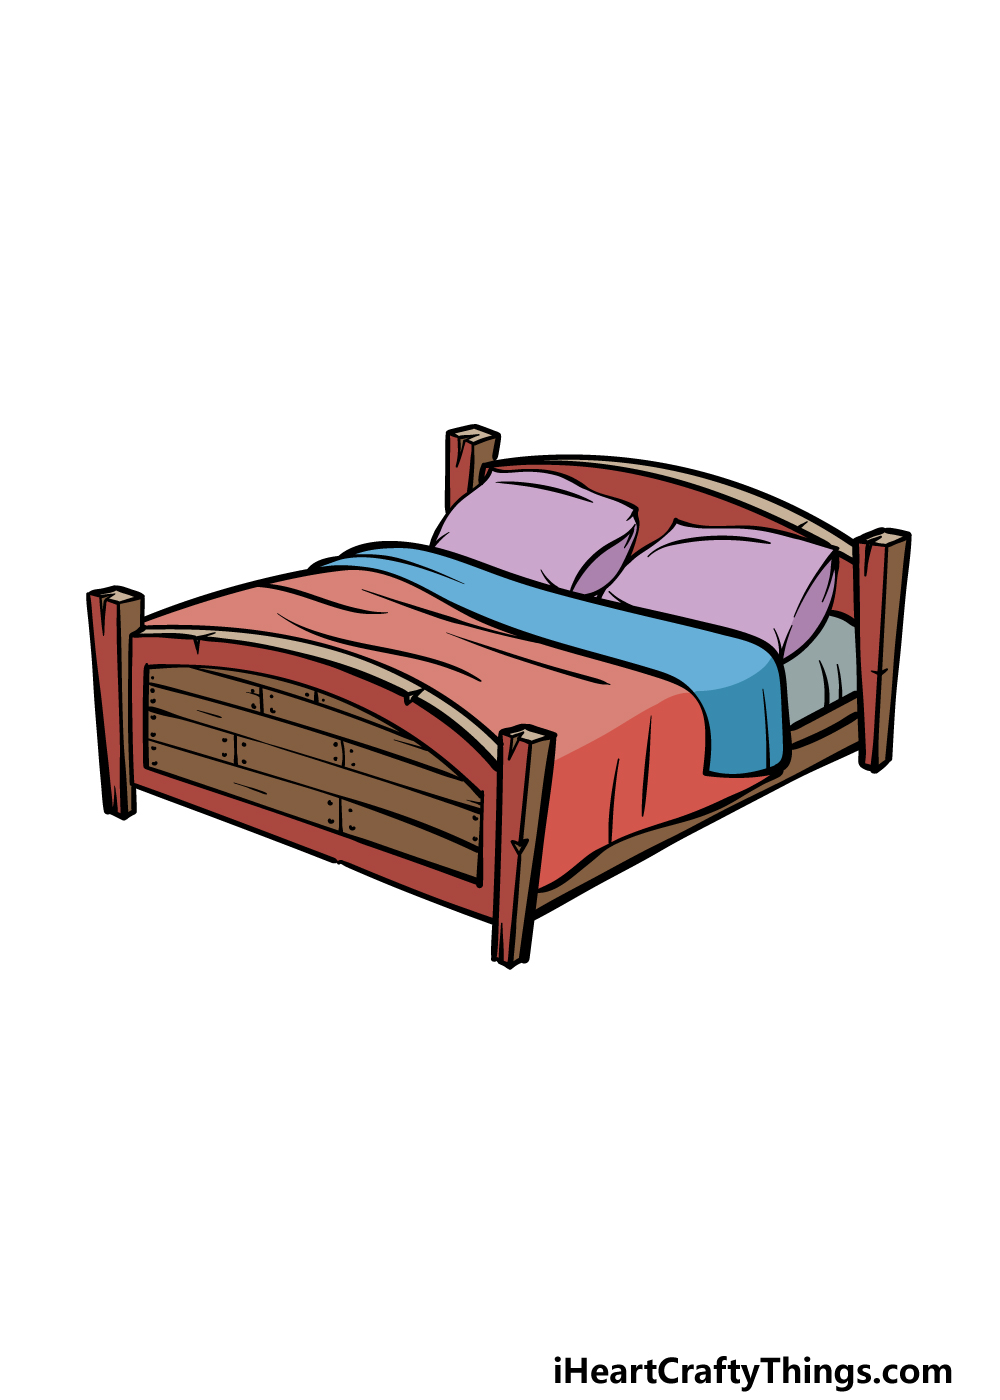
For this final part of your bed drawing, you can finish it off with some color! In our reference image, we showed you how we would color this image in.
We used some reds, blues and purples for the blankets, pillows and mattress and some browns for the wooden aspects.
These are just some of the colors you could go for, however! In your own drawing you should feel free to use any colors or art mediums that you think would best suit the image.
How will you bring this drawing to life with color?
4 More Ways To Make Your Bed Drawing Unique
Have a nice relaxing time as we make this bed sketch even better with these tips!
When it came to additions for this bed drawing, we kept it a bit more pared back. For instance, we have just two pillows, but you could add some more!
Some people even like to have pillows that are purely decorative in nature, and those could look really nice for this picture.
There are also decorative blankets and other objects that some people like to use.
How will you personalize the fittings of this bed?
Another way to customize this drawing of a bed would be by changing the design of the bed itself. For example, you could go with some different detailing for the headboard.
It looks really good the way it is, but you may prefer a different kind of design. The same could be said for the frame and base of the bed, and it’s all about your own preferences.
We would be interested to see how you customize the structure of this bed that we have created together!
Once you have this bed sketch looking the way that you want it, you could also surround it with details. It could be fun to create a whole bedroom setting around the bed!
This could include furniture like bedside tables or additional details like paintings on the wall. You could even base the bedroom design on your own bed and bedroom!
That’s one option, but it could also be a good chance to design your own dream bedroom.
What good is a bed if no one is using it? For that reason, we think it could be fun to add some characters to this bed drawing.
If you go with a person, they could be lying in it or maybe sitting on top of it. You don’t have to limit yourself to human characters, though!
Maybe you could have a cat or a dog sleeping peacefully on the bed. Who else could be using this bed that you’ve drawn?
Your Bed Drawing is Complete!
There’s nothing more relaxing than taking it easy in a bed, and we hope it was an equally fun and soothing experience to work on this guide on how to draw a bed!
Even though we all see many beds in our lifetimes, it can still prove a bit of a challenge to learn how to draw one. For that reason, you should be really proud of doing such a great job!
Now that you have mastered this drawing, we can’t wait to see how you’ll take it even further with your own details, elements and ideas!
Then, you can head on to our website for access to many more incredible drawing guides. We upload new ones often, so keep checking in to never miss out!
You can finish off this drawing journey by sharing your finished artwork on our Facebook and Pinterest pages for us to see!