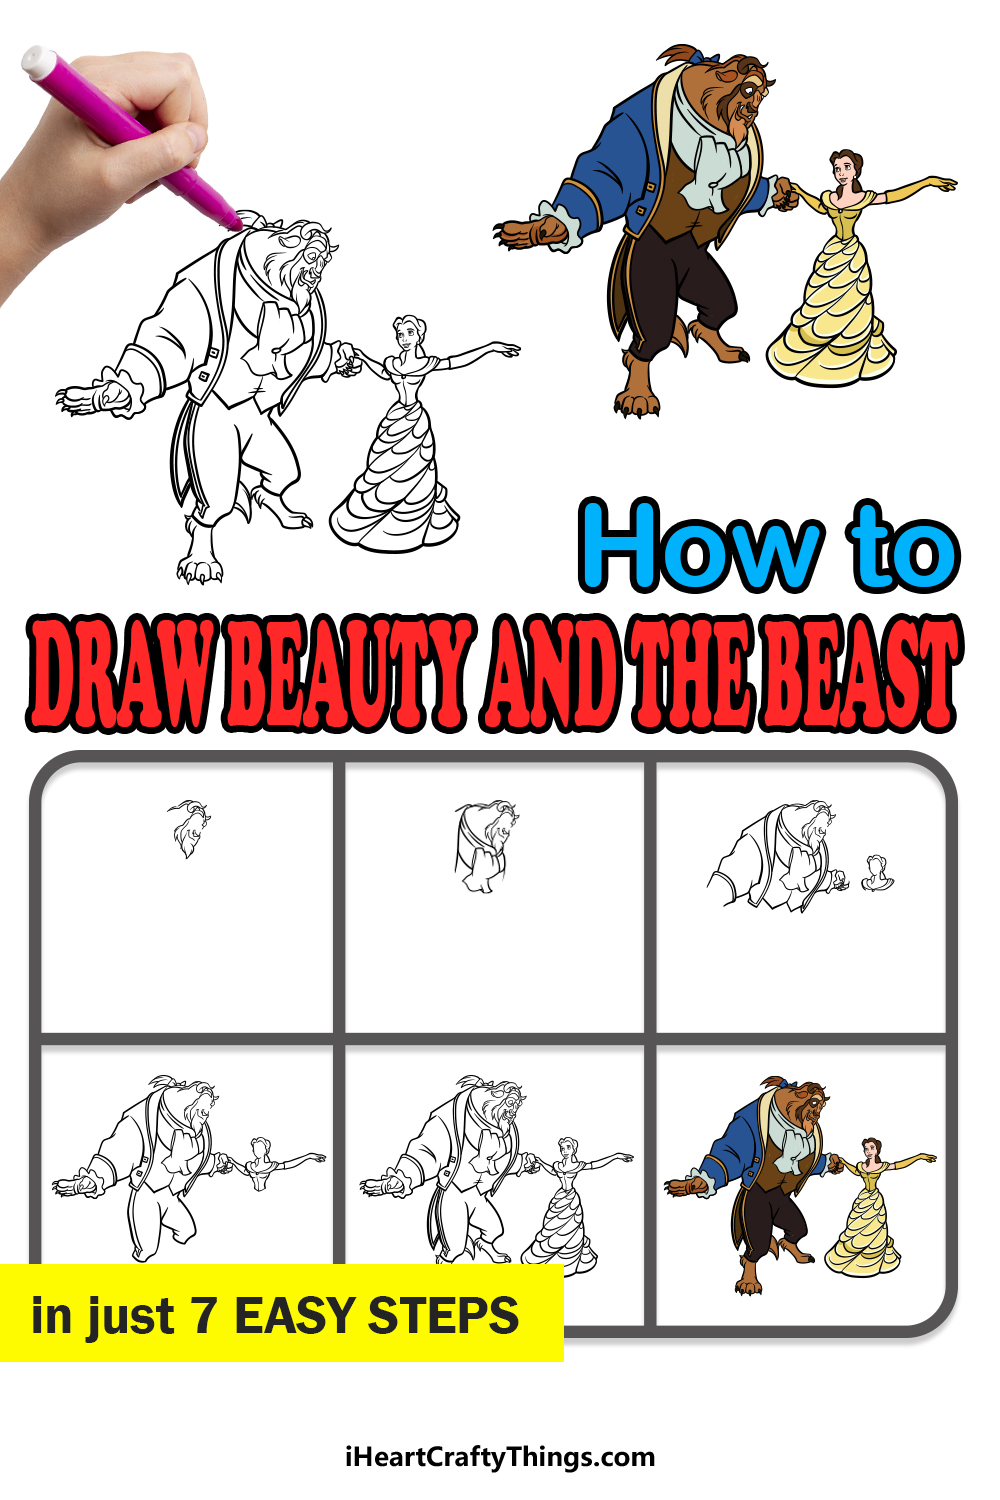
Some movies and other fictional works are destined to become classics enjoyed for many decades after their creation.
Disney’s Beauty and the Beast is definitely one of those movies, as since its release in 1991 it has continued to captivate audiences the world over.
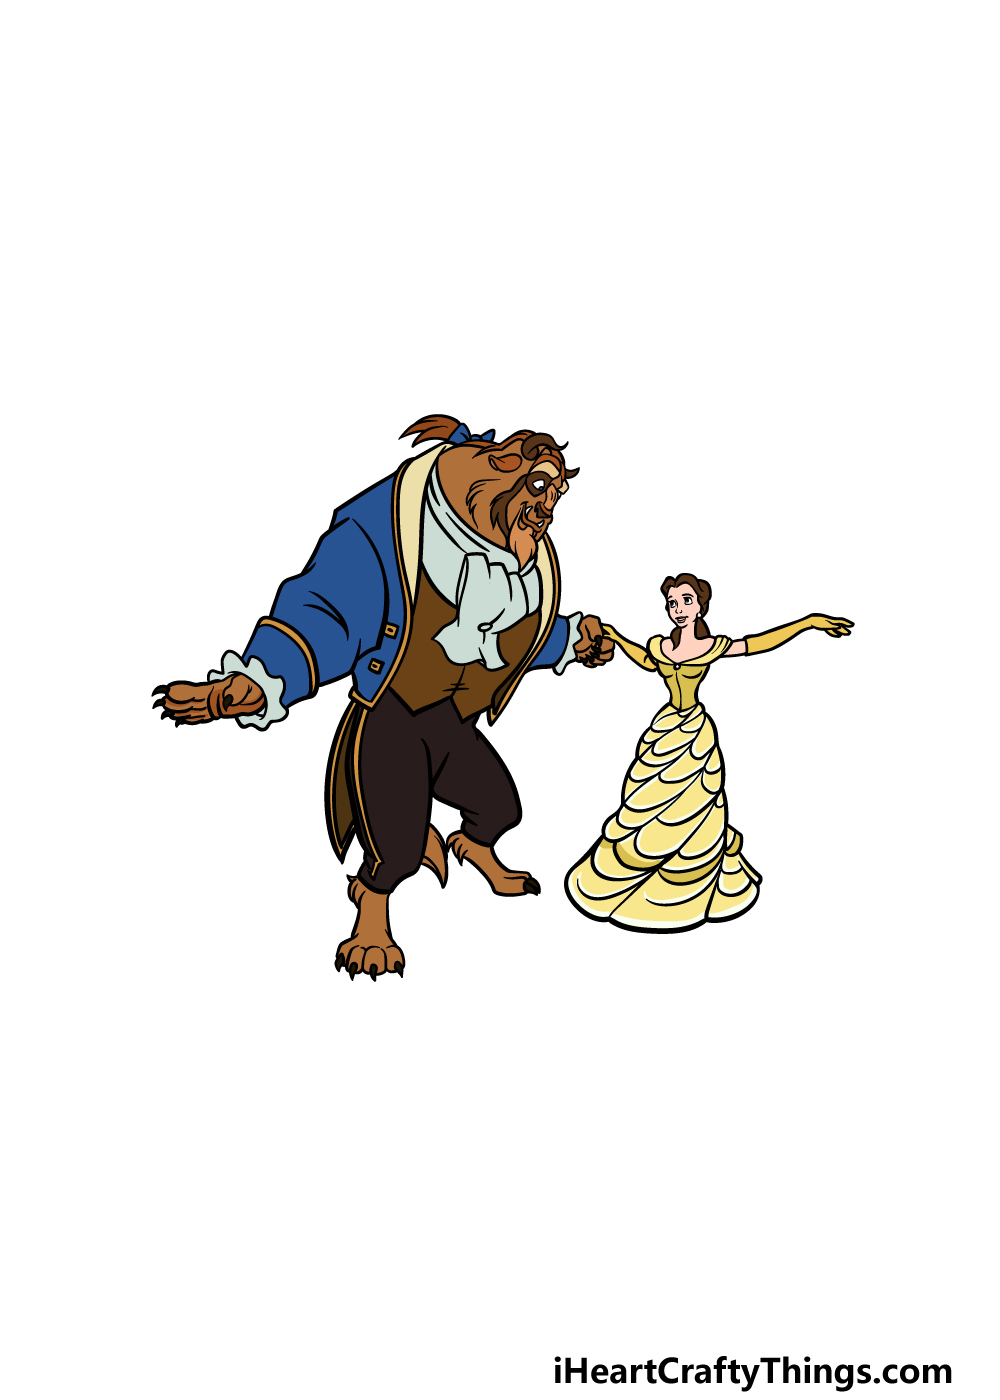
The characters who give the film its name have become very well known, and for fans of the movie it can be lots of fun to learn how to draw Beauty and the Beast.
If you love this classic animated movie, then you will definitely love this guide!
Our step-by-step guide on how to draw Beauty and the Beast will show you how you can create some great artwork featuring both of these classic characters.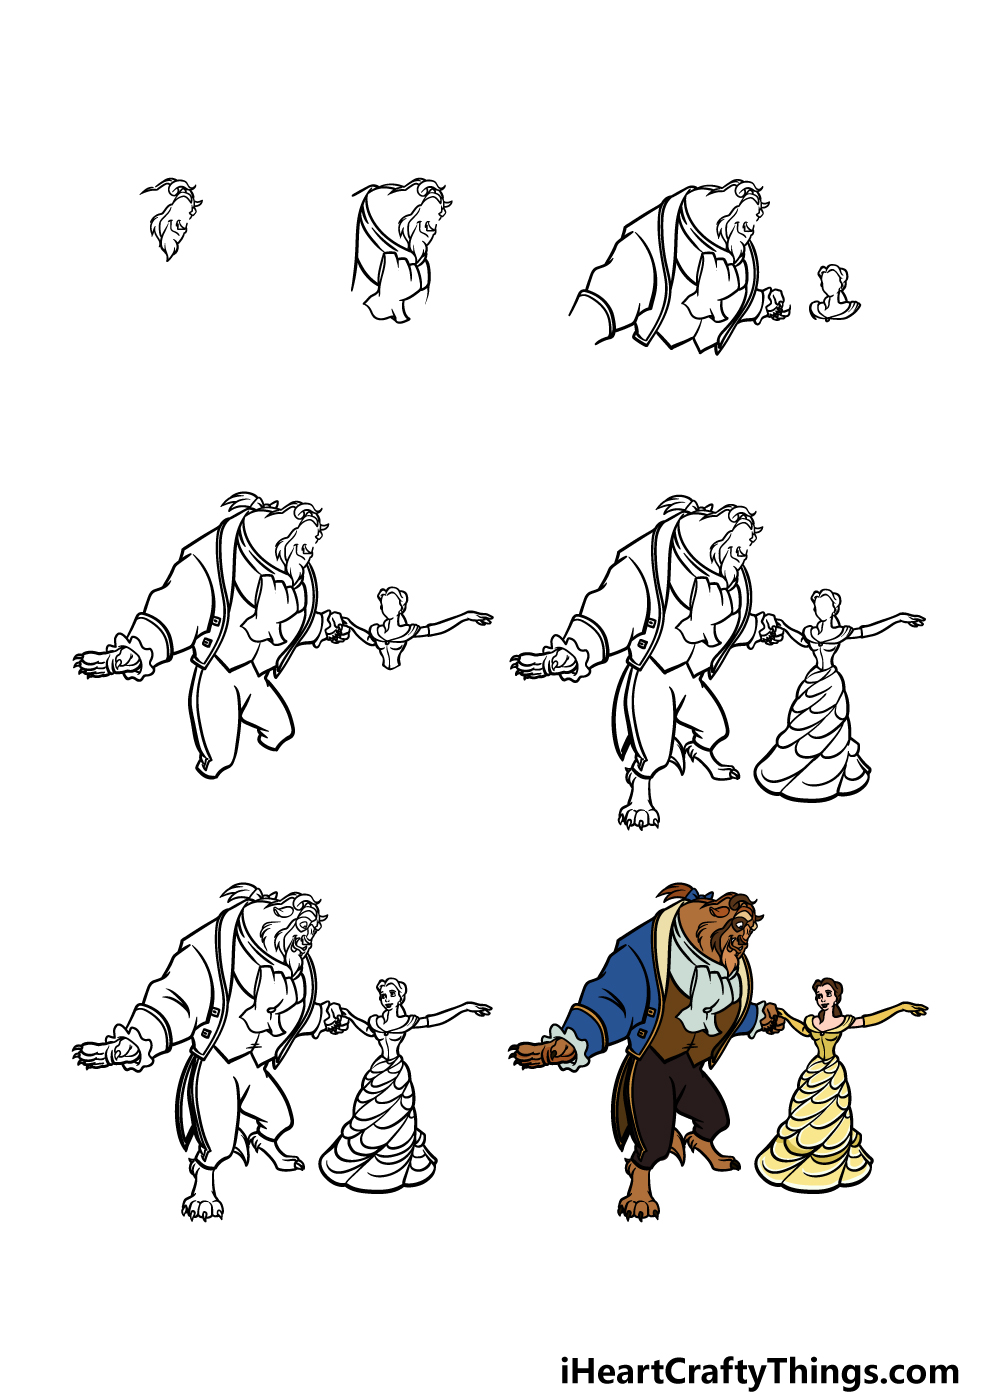
How to Draw Beauty and the Beast – Let’s get Started!
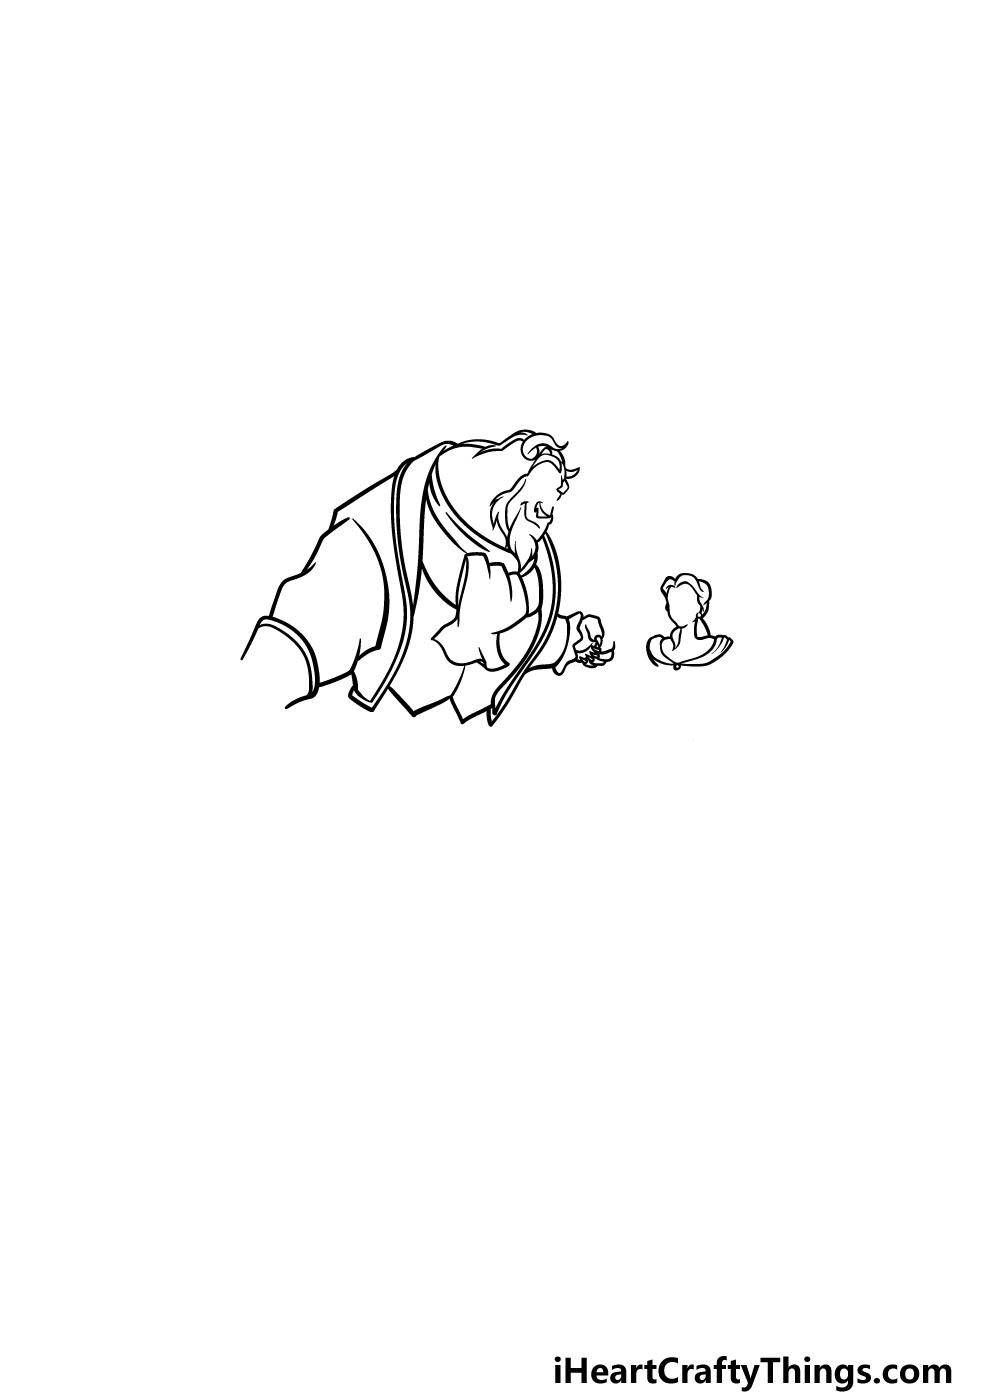
Step 1
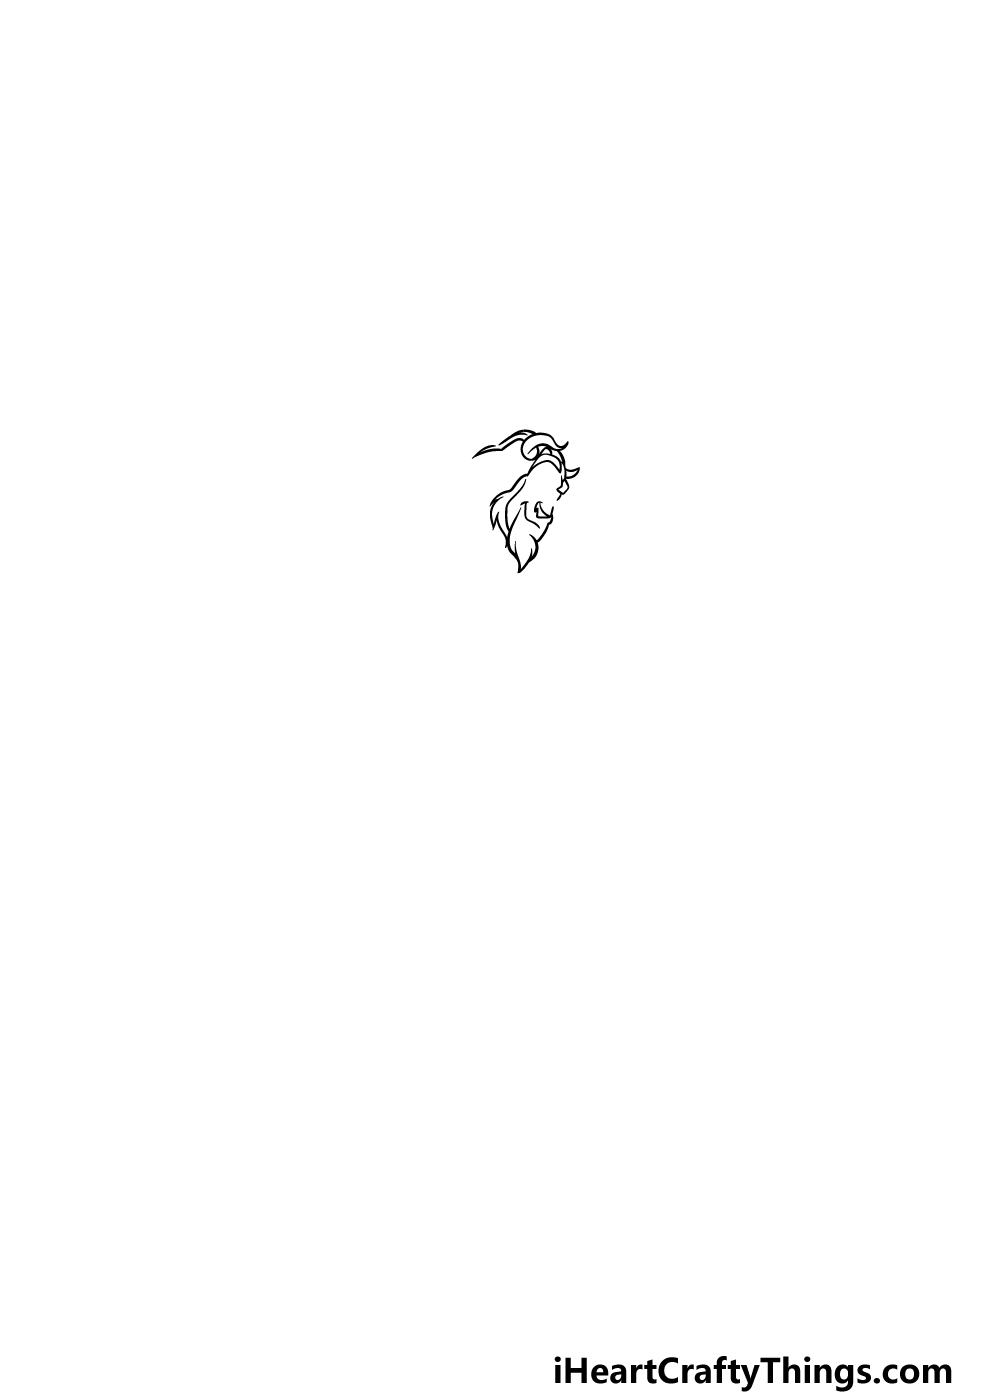
In this first step of our guide on how to draw Beauty and the Beast, we will be starting with the head of Beast.
This picture is fairly detailed, so you’ll want to try your best to replicate the image exactly as it appears in the reference image.
For now, we will be drawing the outline for his head and beard while also adding smaller details like his mouth and horns.
Step 2 – Draw the start of his outfit next
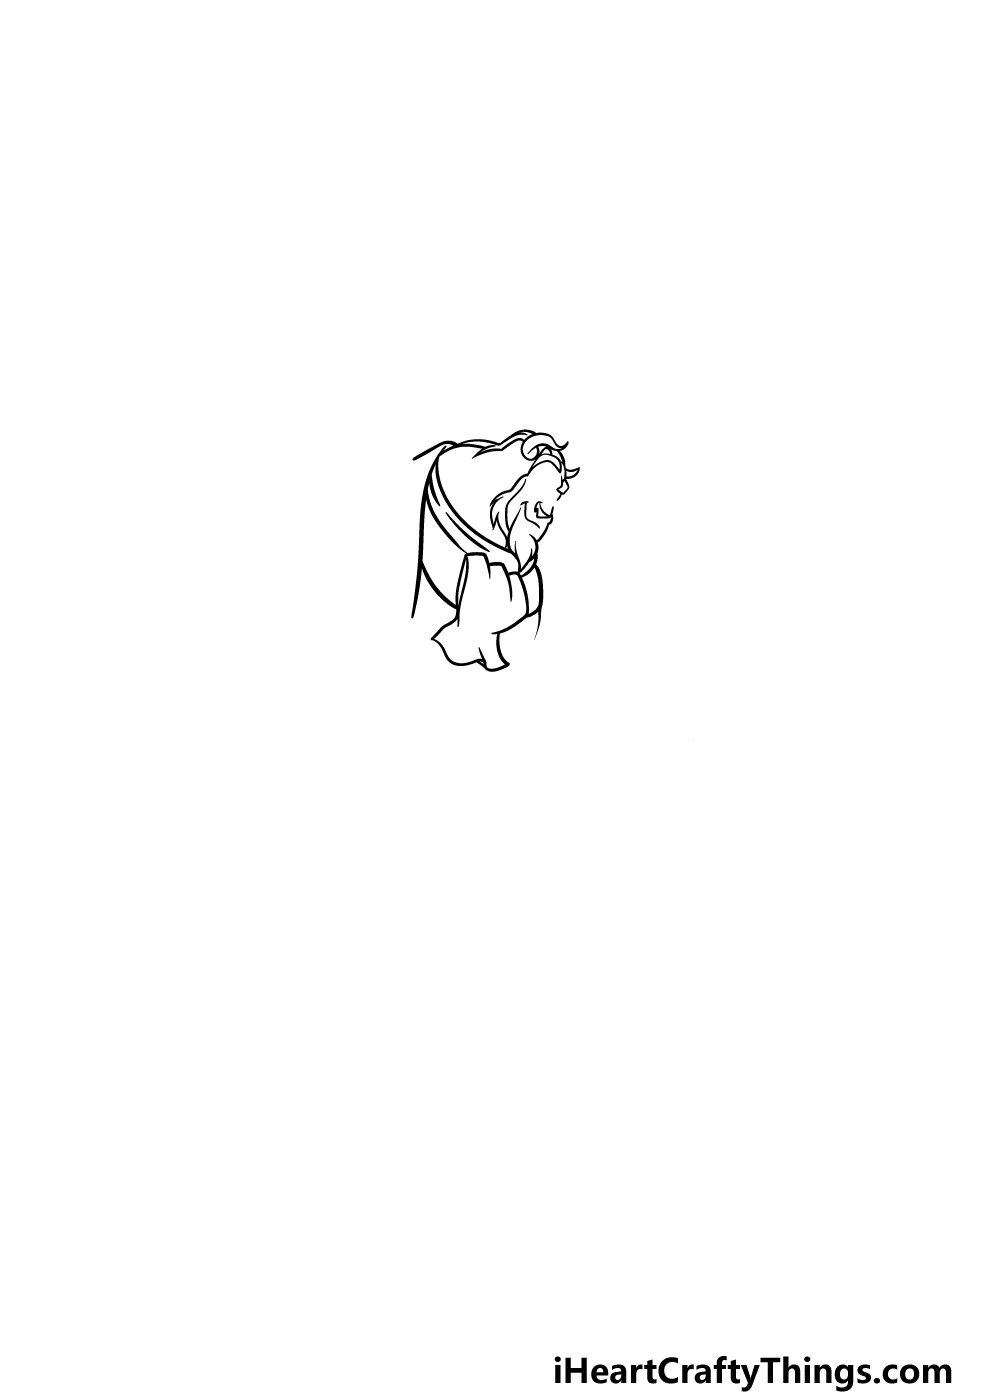
We will come back to his head later, but for now we shall focus on his chest and jacket. You can use some curved horizontal lines to create the collar of his jacket, and then use some vertical ones for the start of the lapel.
Finally, you can use some slightly more angular curved lines to create his large scarf that hangs over his chest.
That’s all we will be adding to your Beauty and the Beast drawing for now, so let’s move on to step 3!
Step 3 – Add more of his body and start drawing Belle
For this third part of our guide on how to draw Beauty and the Beast, we will keep drawing more of Beast’s body while also starting to draw Belle.
You can begin by extending more of the curved lines to form the rest of his lapel. Then, use some straight lines forming two points for the bottom of his waistcoat.
Next, we will be drawing the start of his large arms in their jacket sleeves, and then draw his hand which will be holding Belle’s soon.
Speaking of Belle, you can also draw her head and neck outline as well as the start of her hairdo and dress collar.
Step 4 – Now draw some more of each character’s limbs
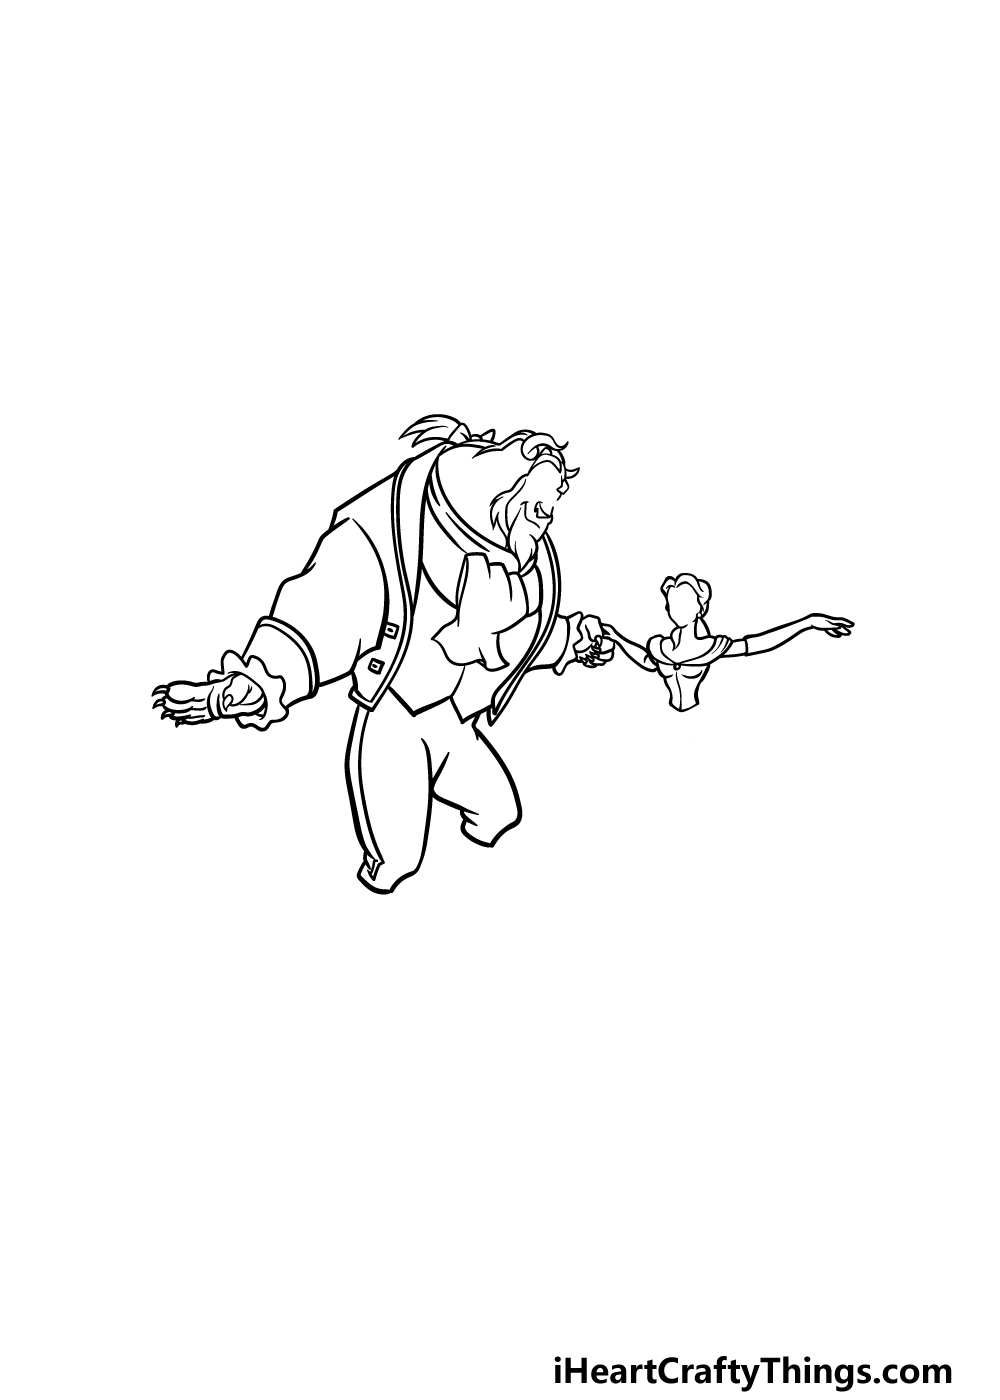
Your Beauty and the Beast drawing is really starting to take shape! We will be adding more to their bodies in this step, and we will start with the hand on the left.
Next, you can draw the outline of his trousers in the position they appear in the reference image.
We will also be adding smaller details such as Beast’s ponytail, and then we will be drawing Belle’s arms extending out. You can finish off by drawing some more of her dress as well.
Step 5 – Finish the rest of the outlines for the characters
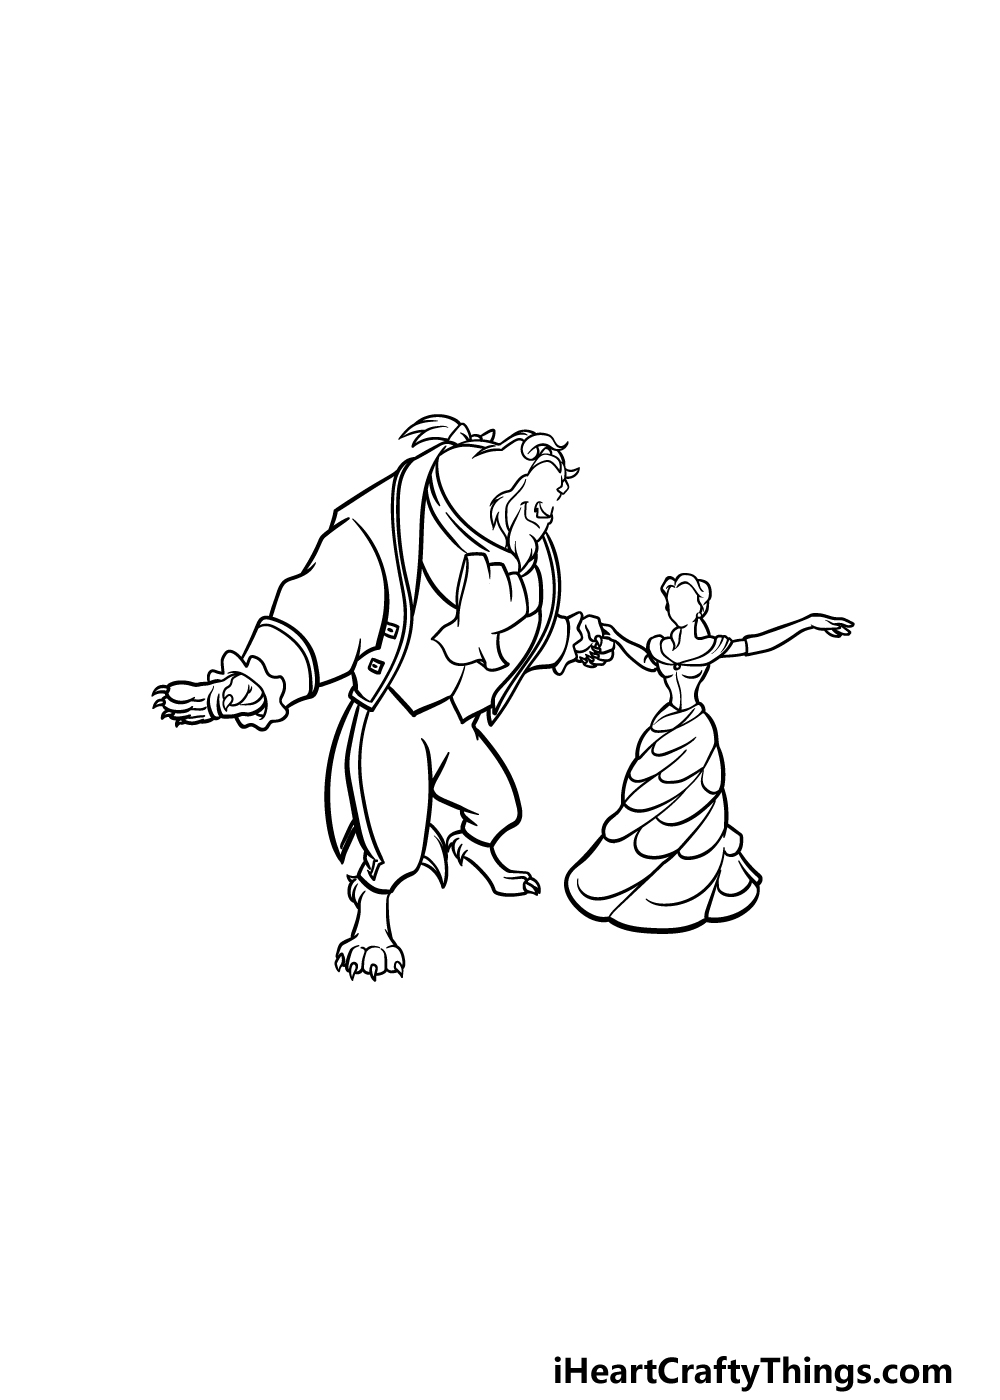
We will be finishing off the final outlines for these characters in this step of our guide on how to draw Beauty and the Beast. This will get you ready for the final touches in the next step!
First, you can draw Beast’s big clawed feet at the base of his trousers. You can finish off his outline by drawing his coattails as well.
Then we will complete the outline for Belle’s dress. The skirt of her dress has many rounded sections on it, and it will be positioned in such a way as to make it look like she is twirling with it flowing around her.
Once you’re happy with how it looks it will be on to those final details we mentioned!
Step 6 – Now, finish the final touches
As we mentioned in the previous part of your Beauty and the Beast drawing, this step will be all about finishing off the final details and touches.
The main thing that is missing is the faces of these characters, so let’s fix that first!
Beast has quite a few details on his face to make it look more layered and furry, so try your best to replicate it as it appears in the reference picture. We will also add some details like his ear and some fur on his head.
Finally, you can finish off by drawing the features for Belle’s face, including her relatively large eyes.
We will also be adding some minor line details throughout their clothing and bodies to finish it off. Then you will be ready for the final step!
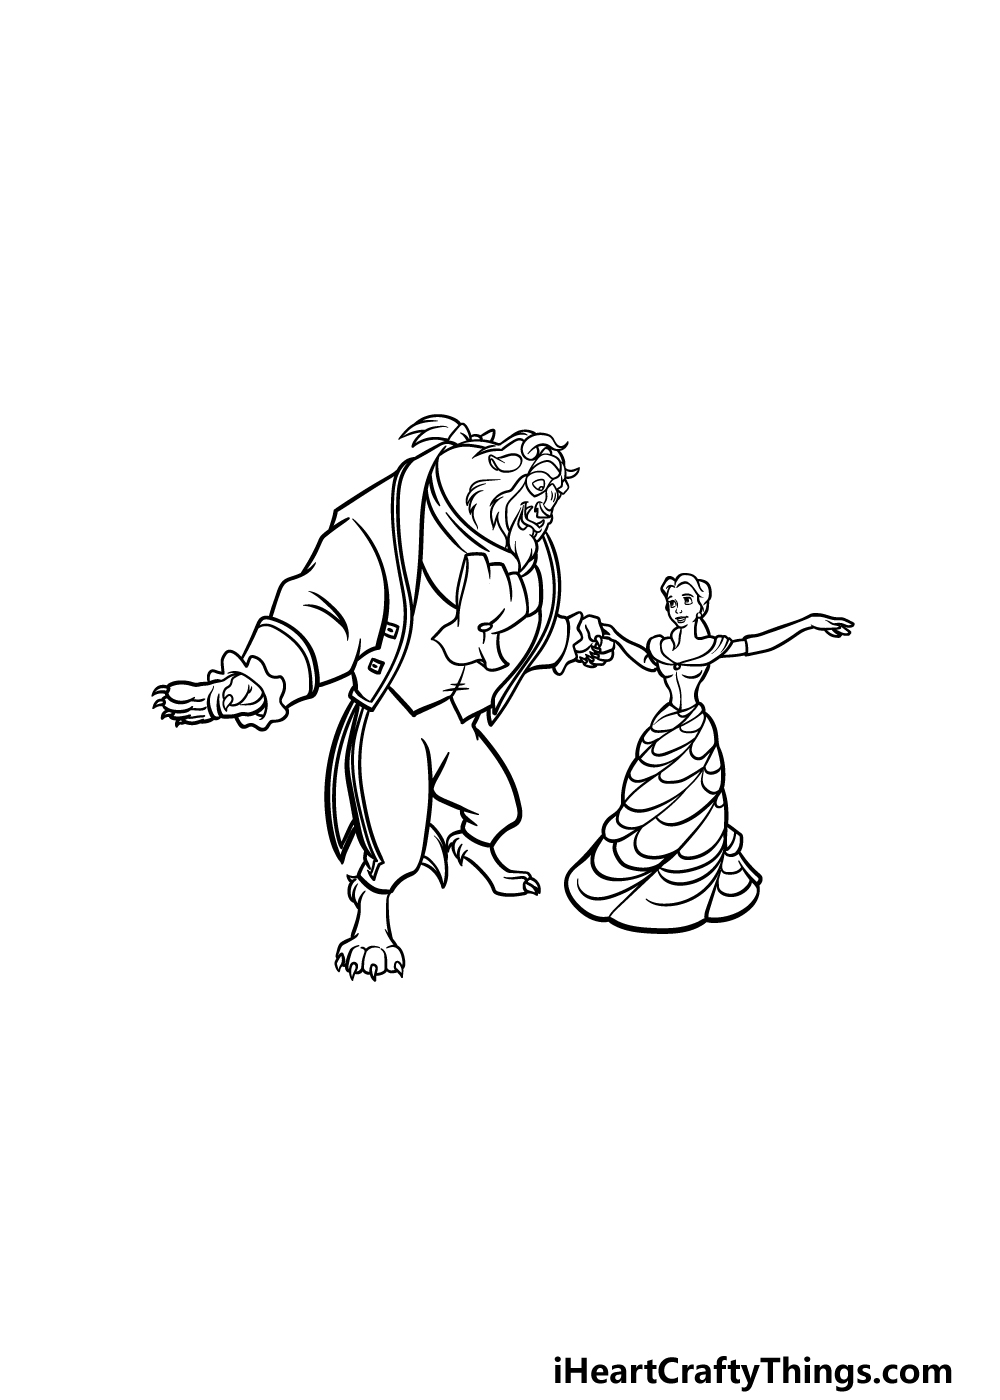
Step 7 – Finish off your Beauty and the Beast drawing with some color
Now you’re ready to finish off this guide on how to draw Beauty and the Beast, and what better way to do that than by adding some amazing color! In our reference image, we went with the classic colors from the film.
That means darker colors like blues and browns for Beast’s clothing and bright yellows for Belle’s dress.
You could also change up the colors a bit if you wish, and by using various combinations of art mediums you can also make the shades look more dynamic! How will you choose to finish off this image?
Here’s how you can make your Beauty and the Beast drawing even better…
Create a magical scene with these tips for your Beauty and the Beast sketch!
This drawing of Beauty and the Beast shows the two title characters, but the films are filled with many iconic characters.
You could add some of these characters to the scene to watch as Belle and the Beast dance!
These could be some of the human characters from the film or one of the many living household objects that Belle befriends. Who would you include in this ballroom scene?
While adding characters from the Beauty and the Beast film seems the most logical choice, you could also have some fun adding other classic Disney characters!
These could be characters that have a similar design such as Ariel, Sleeping Beauty or Mulan. You could also go for more cartoony characters like Mickey Mouse or Donald Duck.
These are just a few characters you could include, and you could make this the ultimate Disney celebration once all your favorite characters are included!
The Beauty and the Beast film is filled with many famous and iconic songs that fans love to sing along to. If you have a favorite song, then you could incorporate it into your Beauty and the Beast drawing!
This could be done by taking a well known line from the song and writing it around Belle and Beast. If you were to do this, we would suggest finding a fancy font that you could use to write the words.
Finally, you could show where this magnificent dance scene is taking place by drawing a background for your Beauty and the Beast sketch. There are a few ways you could do this.
One would be to use a favorite scene from the movie. Then, you could try to replicate the background from that scene in your picture.
Another approach would be to try and create a brand new setting for Belle and Beast to be dancing in. Which approach would you take for a background to your picture?
Your Beauty and the Beast Drawing is Complete!
You have finished all 7 of the steps in this guide on how to draw Beauty and the Beast, and at the end of it you have a picture depicting a wonderful scene!
There were some small details and specific posing to get right in this picture, so we hope that this guide made it fun and easy for you to work on.
Now you can take it even further, perhaps by drawing a stunning background or by adding details, cool colors and interesting art mediums. We know it will look great no matter what you decide!
You’ll want to head on over to our website for more drawing guides to enjoy when you’re finished with this one! We have more coming out soon, so be sure to keep checking in.
Once your Beauty and the Beast drawing is complete, we hope that you will share it on our Facebook and Pinterest pages. This is the best way for you to let us take a look at your artwork!