Different clothes can serve different purposes, and some serve multiple ones! Some are just for fashion purposes, some are to offer warmth and protection and others can do a bit of both.
The beanie is one of these versatile garments, as it can help to keep you warm while also keeping you looking good!
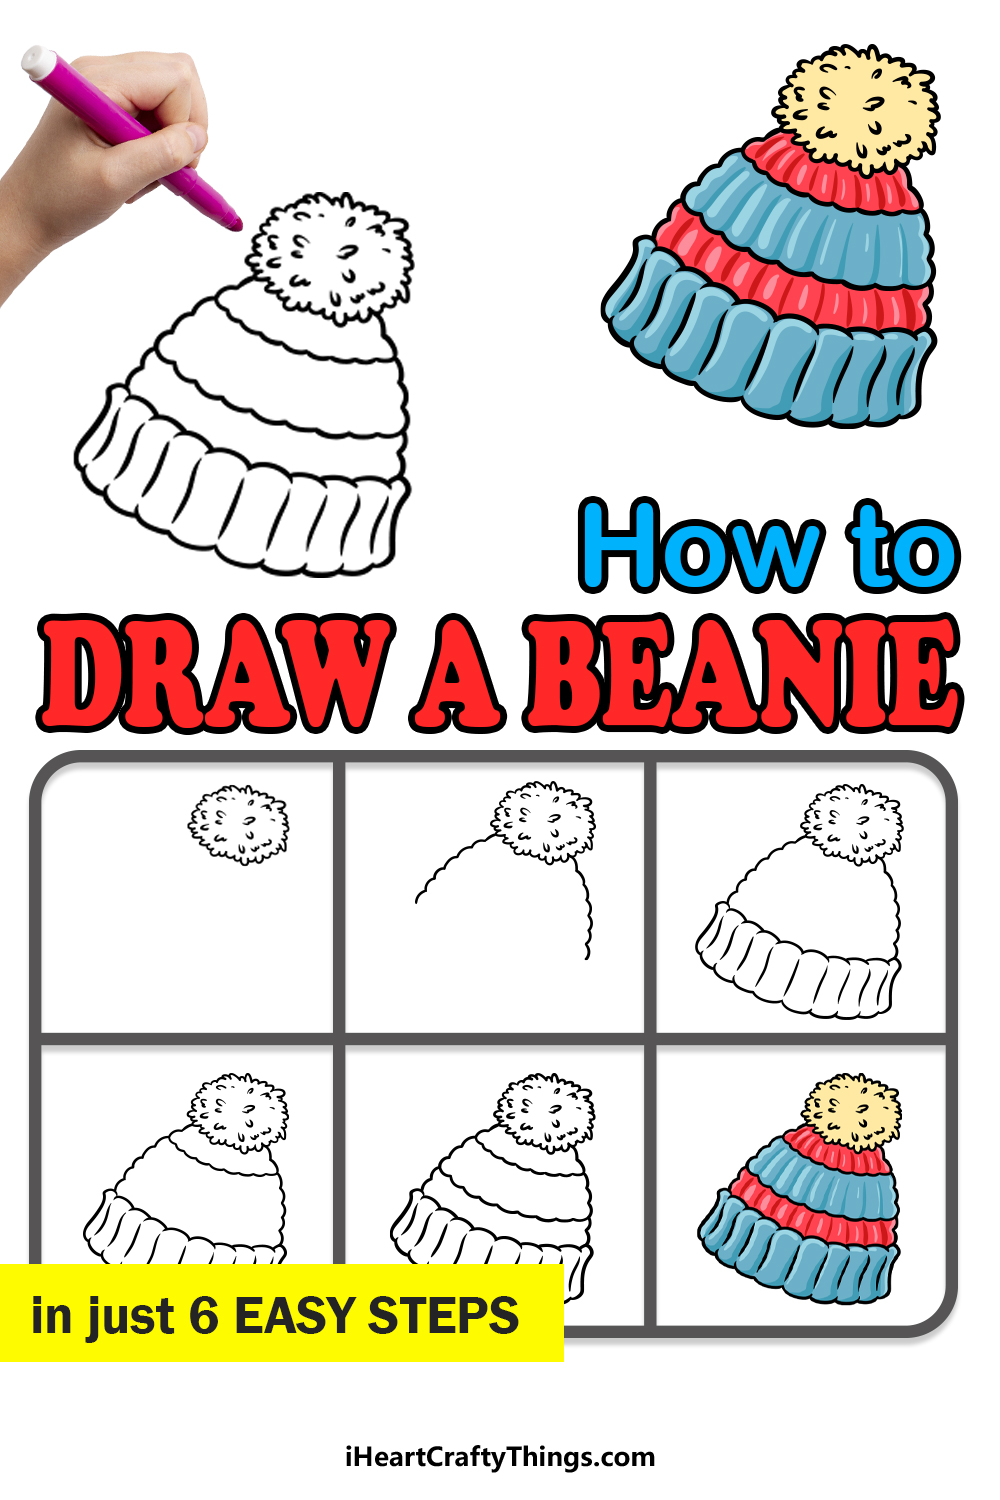
For this reason, it can be fun to learn how to draw a beanie, as it gives you the chance to design your very own fun garment!
This guide you’re about to work on will show you everything you need to know in order to do just that. We hope that you really enjoy this step-by-step guide on how to draw a beanie?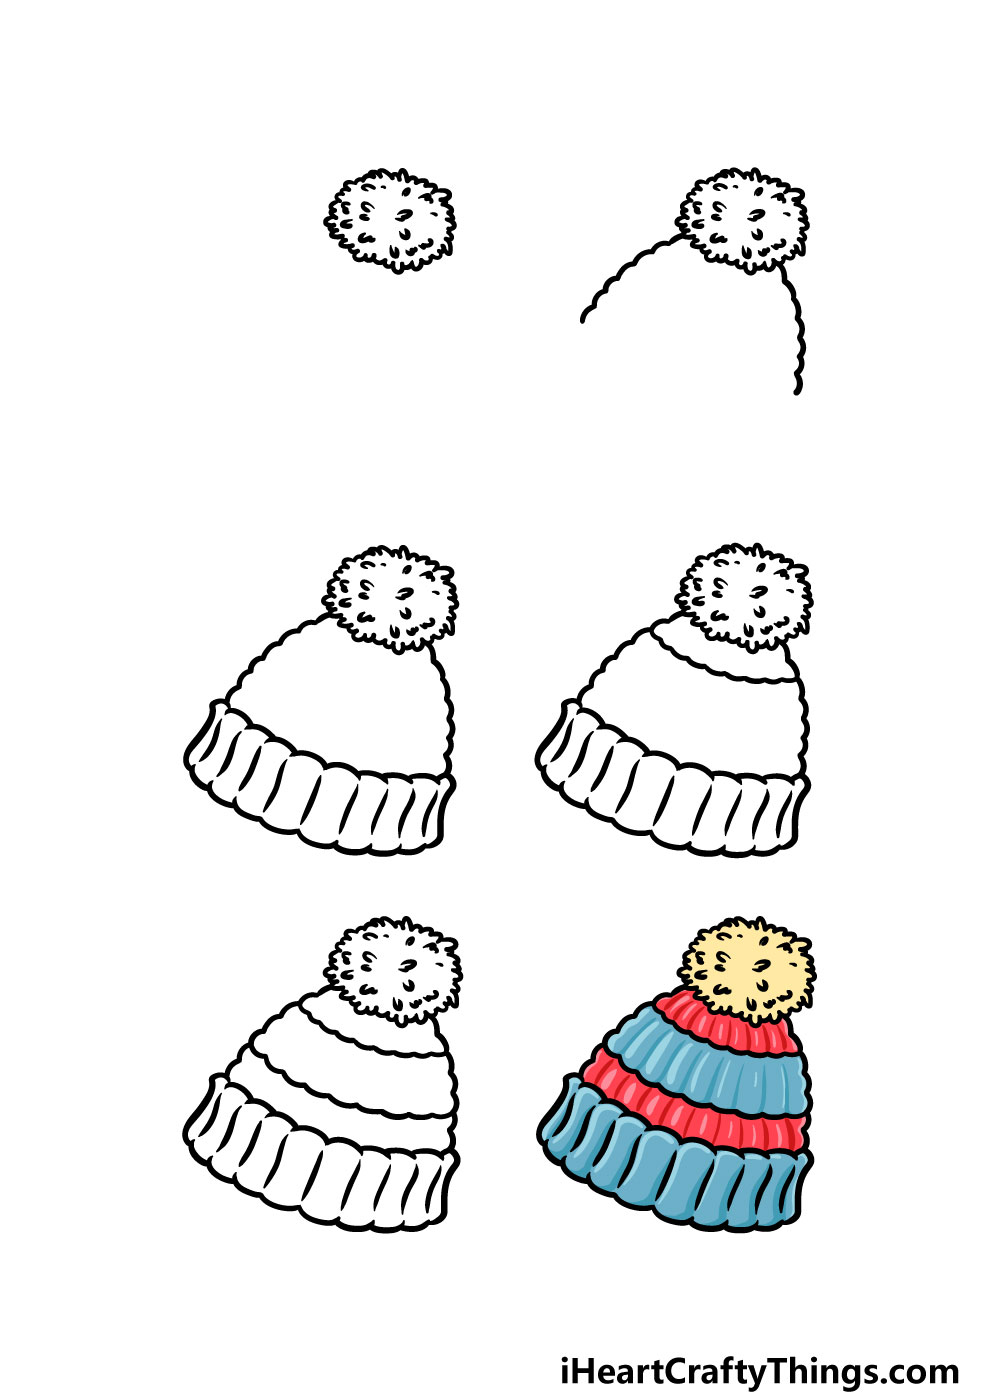
How to Draw A Beanie – Let’s get Started!
Step 1
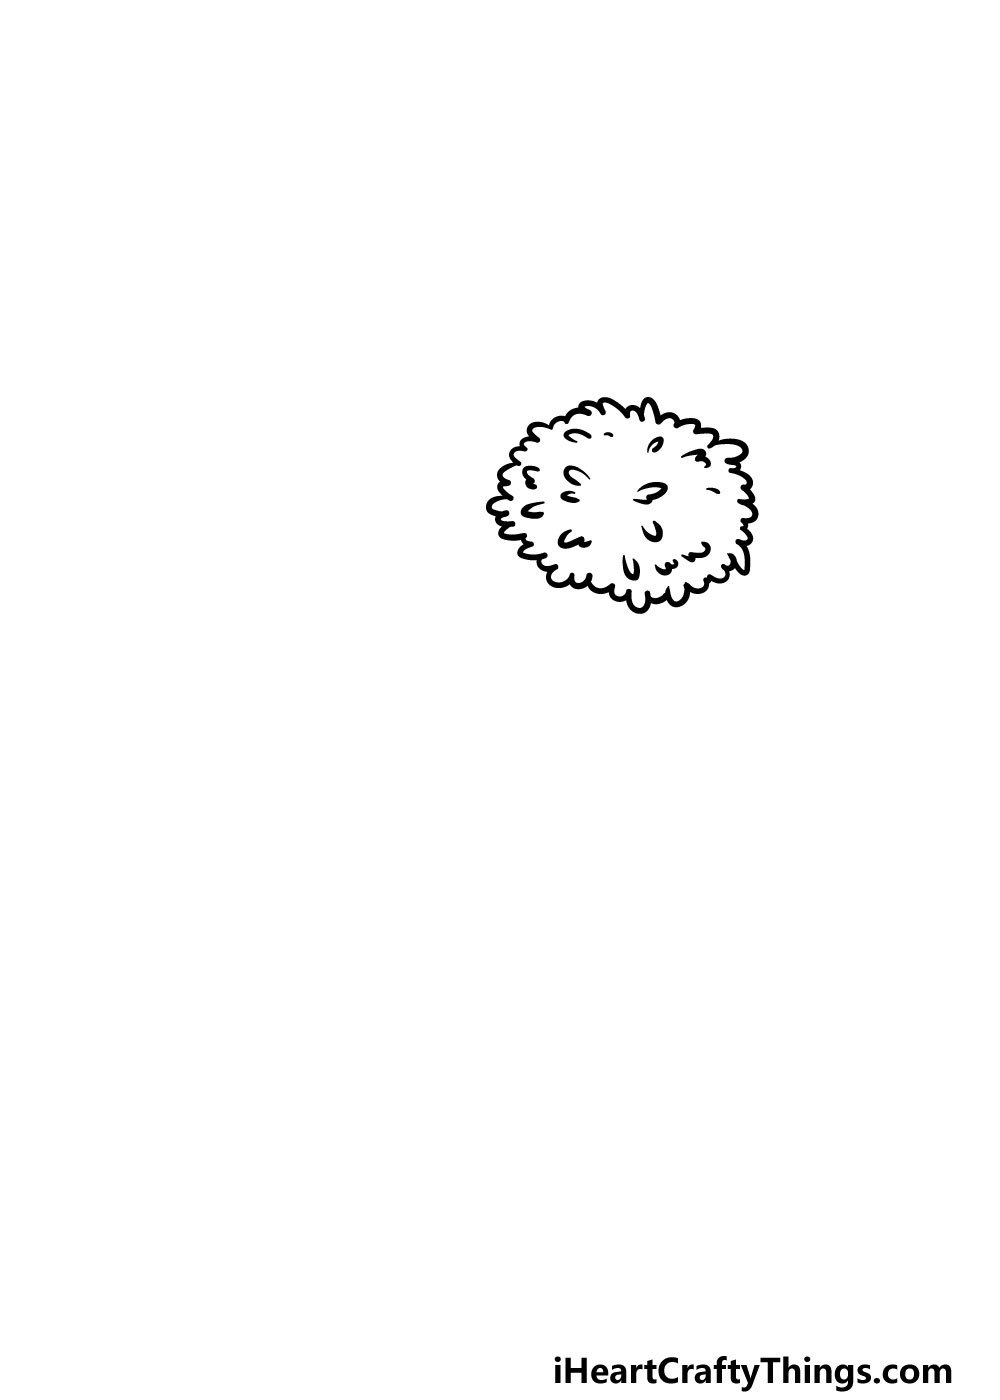
The hat you will be drawing has a great big fluffy bobble on it, and that’s what we will start with in this guide on how to draw a beanie.
For this aspect, you can start off by drawing a rough oval that is made up of some jagged lines.
Then, you can make this bobble look nice and fluffy by adding some little curved lines inside of the shape.
That’s all there is to it for this step, and you’re ready to move on to the rest of the beanie!
Step 2 – Next, draw the outline of the top of the beanie
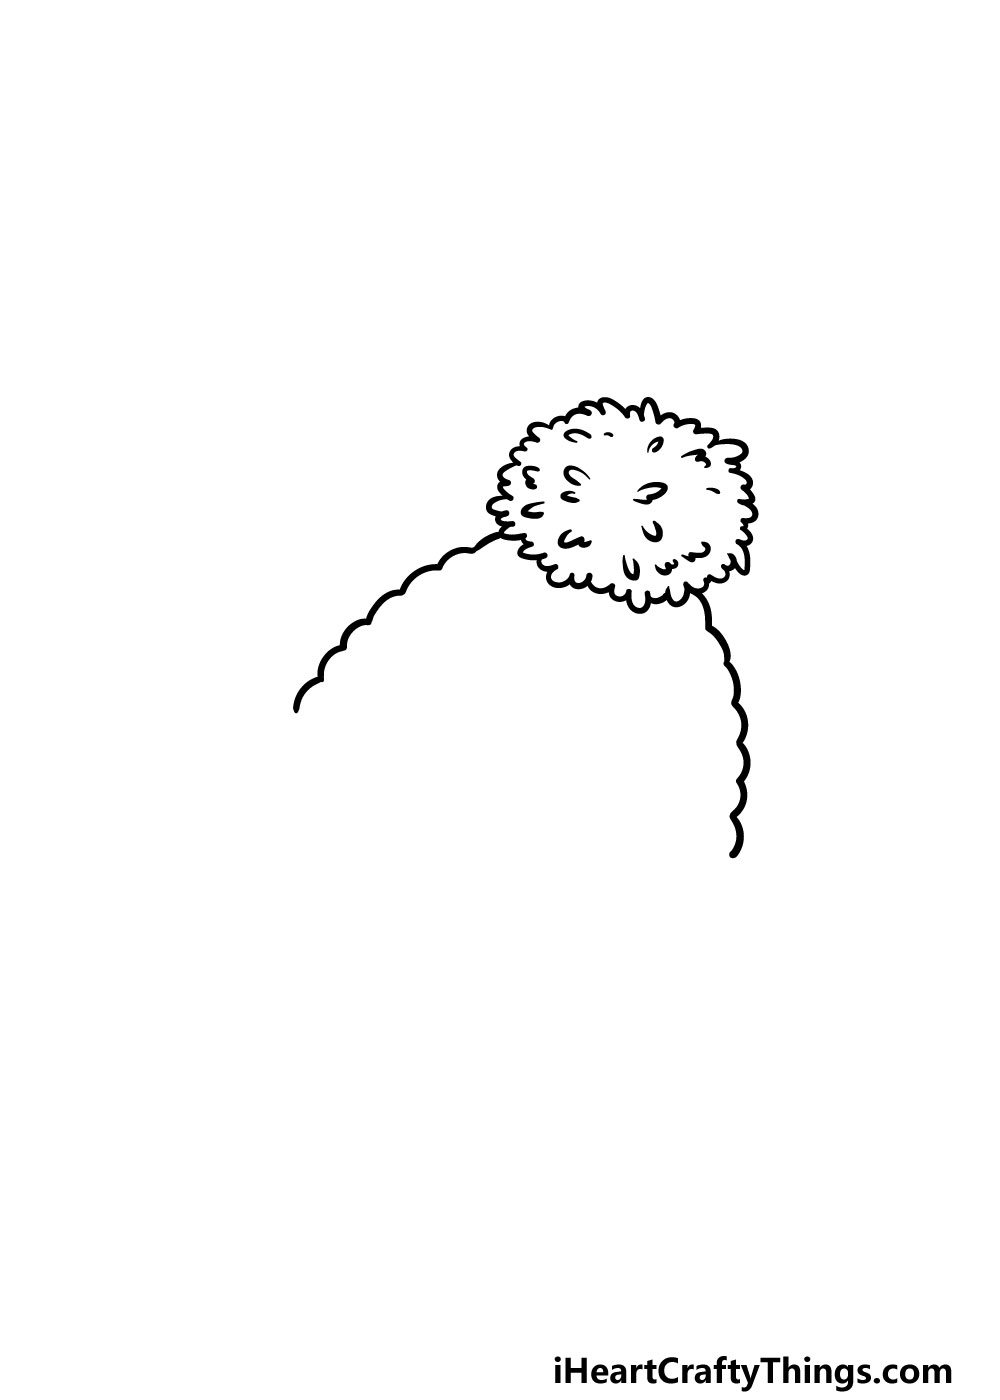
Now that you have the bobble of the beanie drawing done, you can move on to the hat itself now!
For this step, we will be drawing the domed top of the beanie. To do this, you can draw a bumpy line coming out from each side of the bobble.
Once you have these lines drawn, you’re ready to add the rim of the beanie in the next step.
Step 3 – Now, you can draw the rim of the beanie
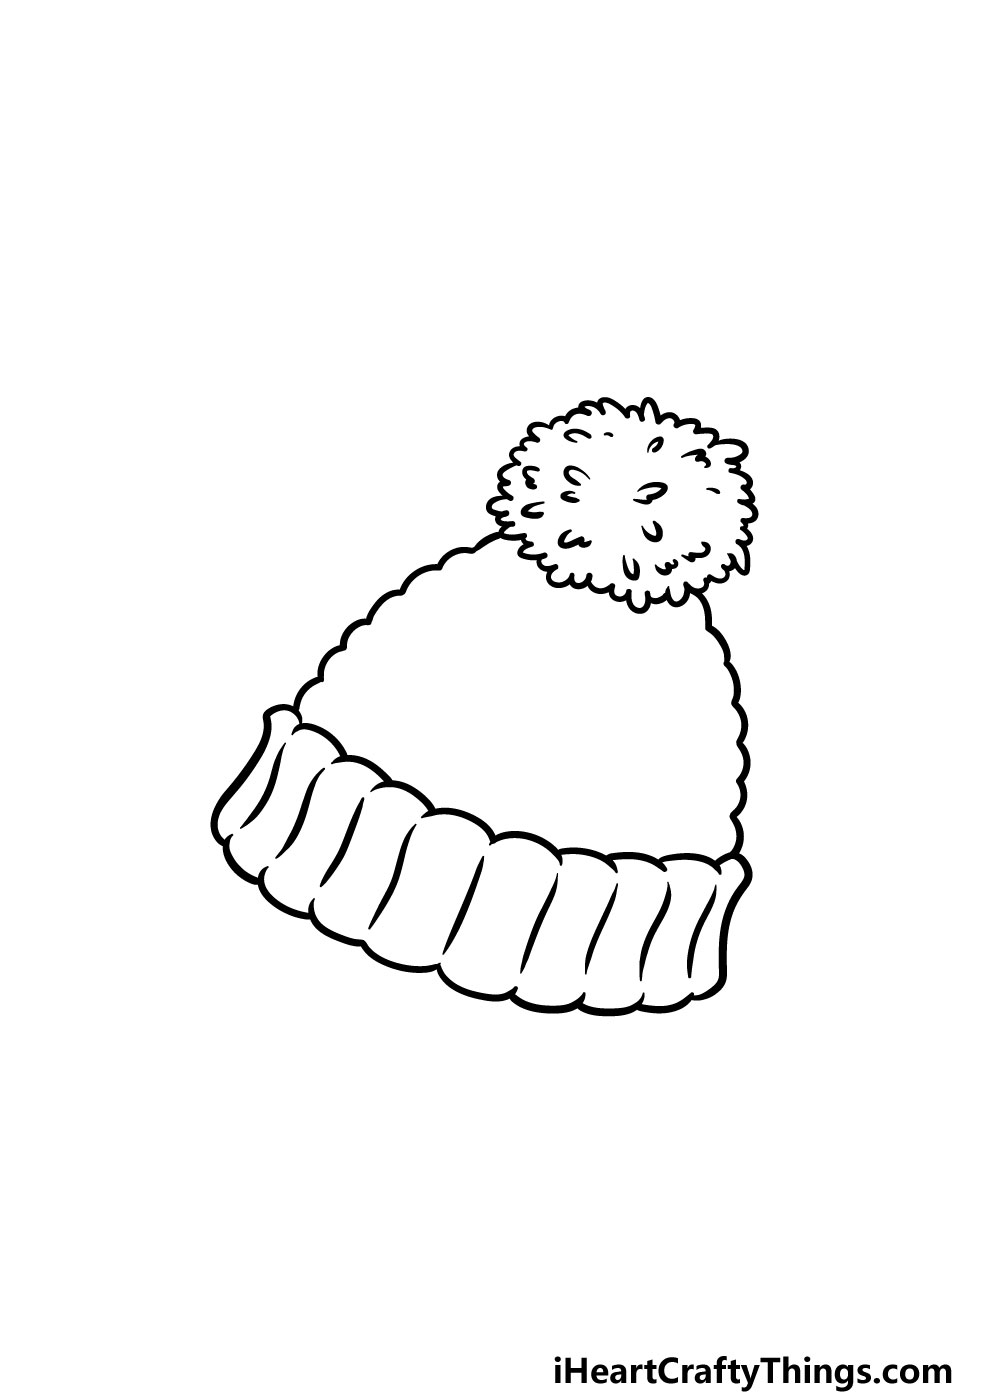
In this part of our guide on how to draw a beanie, you will be adding the wide rim of the beanie. You will be drawing this by adding lots of curved lines that connect to one another at the base of the hat portion of the beanie.
Then, you can use some more curved lines for the sides of the rim and then finish it with more rounded lines connecting to one another.
These ones should be positioned in such a way that they will line up with the ones above them. Finally, you can add some vertical lines to the rim of the hat as shown in the reference image.
Step 4 – Next, start the pattern for the beanie
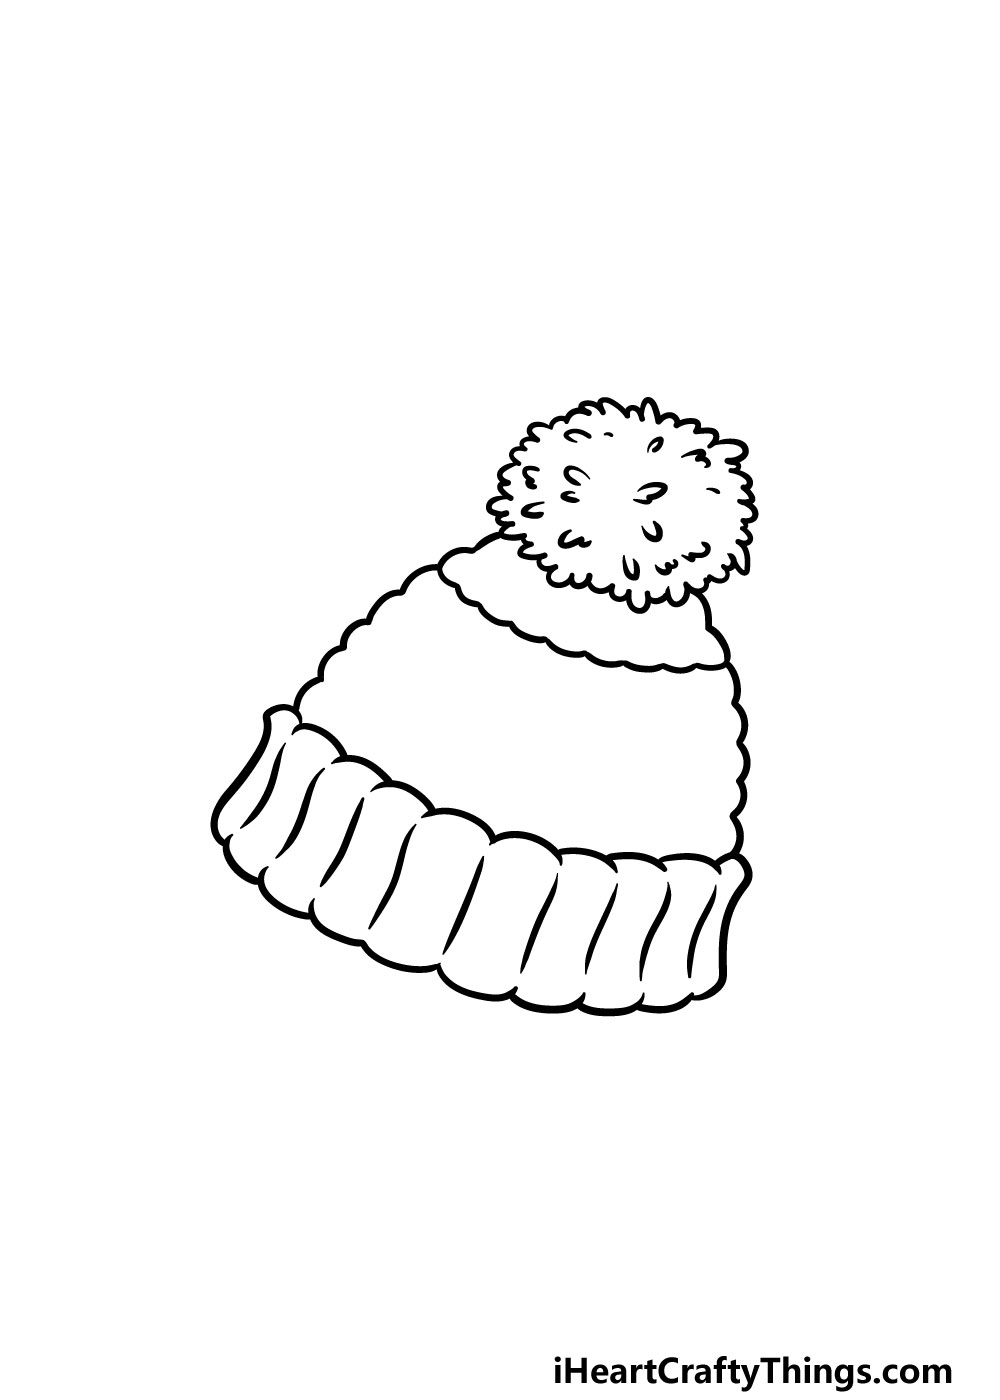
You have the general outline of the beanie drawing finished now, so for the next few steps you can start drawing the pattern onto them.
There will be two sections for the beanie, and we will draw the first of these now.
To do this, simply draw a curved, bumpy line horizontally along the width of the beanie. Once you have that pattern line drawn, you’re ready for the final details in the next step.
Step 5 – Now, you can finish off the final details of your beanie drawing
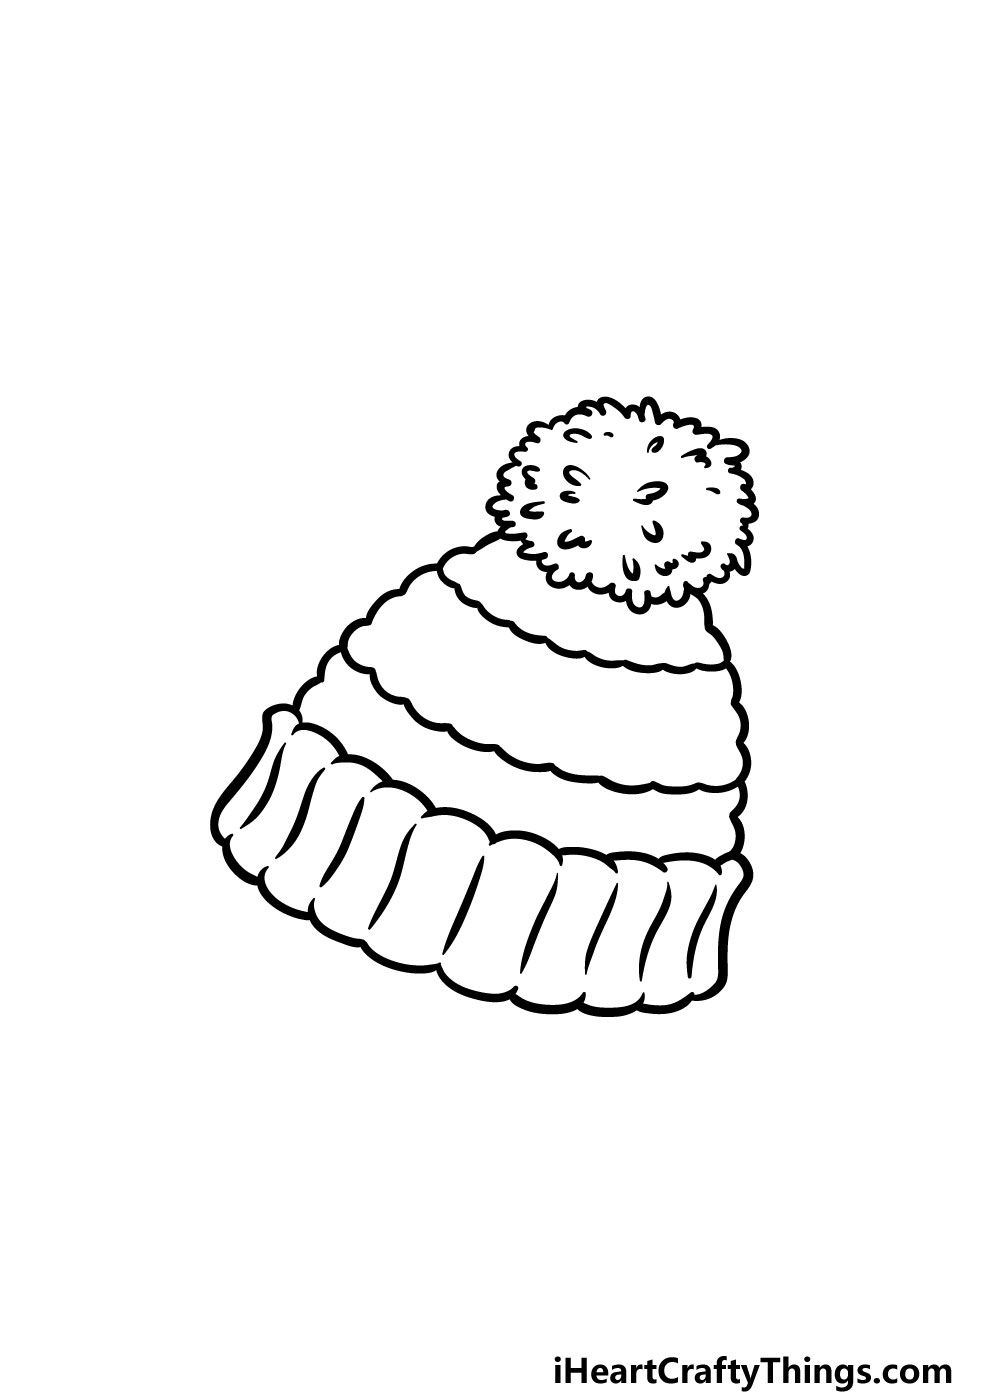
It’s almost time for you to add some amazing colors in this guide on how to draw a beanie, but first we have some final details to add.
First, you can draw the second pattern line beneath the previous one. That will finish off all of the details in this guide, but you don’t have to stop there!
Before moving on, be sure to add any of your own details and touches that you may want. You could add more pattern details or change it up completely! Perhaps you could add polka dots or other shapes onto it.
If you’re feeling extra creative, you could also draw a background or perhaps even do a self-portrait to show yourself wearing the beanie.
How will you finish off this drawing before moving on to the final step?
Step 6 – Finish off your beanie drawing with some color
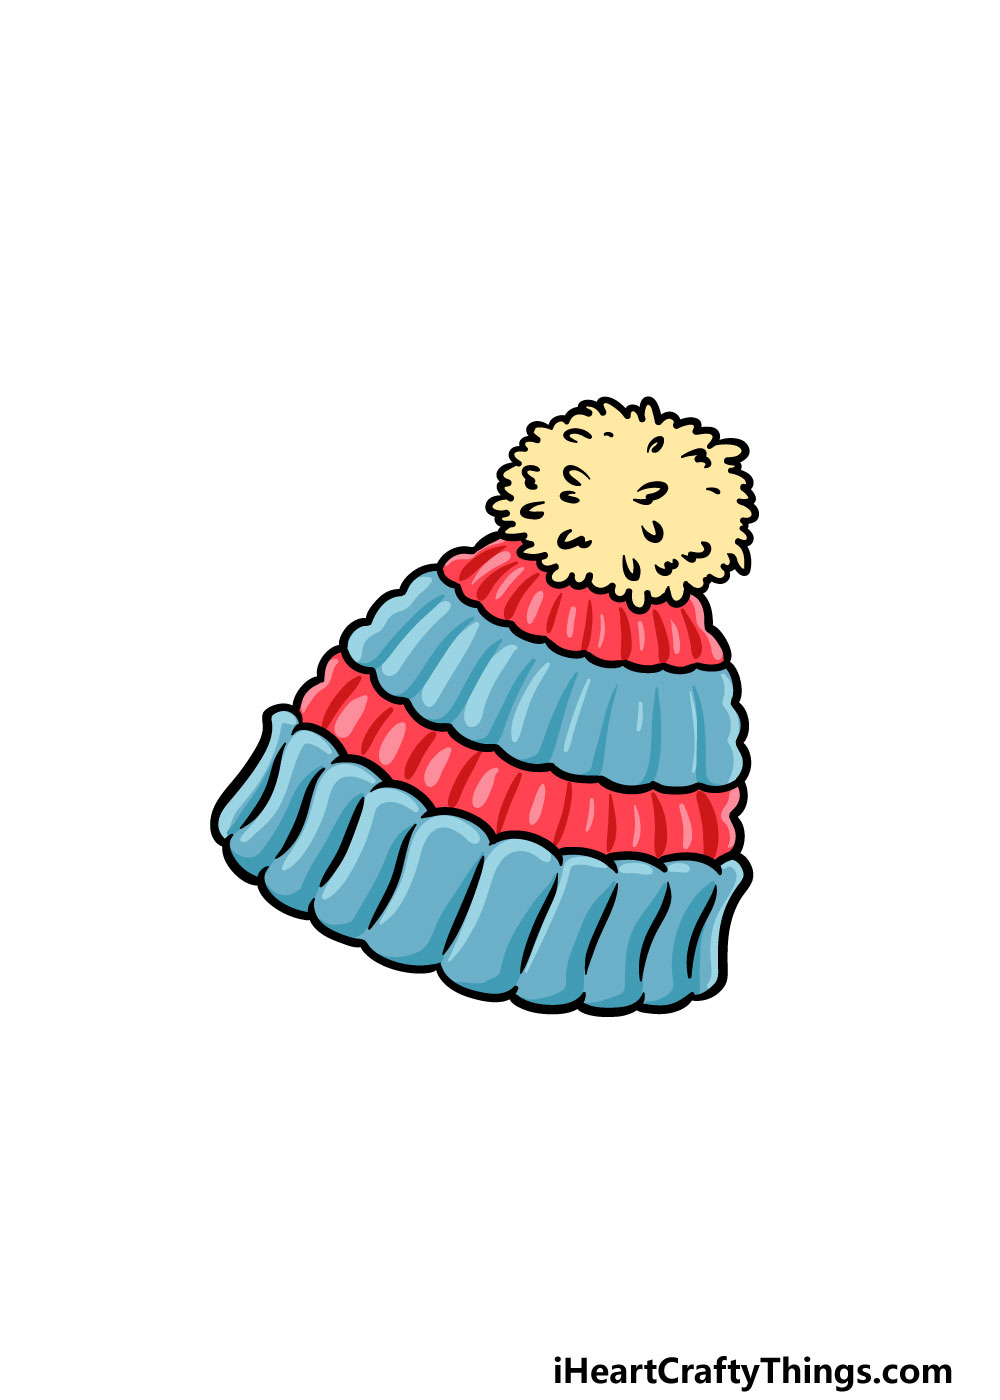
This step of your beanie drawing is the one where you get to have fun relaxing with some fun coloring!
In our reference picture, we went with a red and blue color scheme with a light yellow for the bobble.
This is just one of many color schemes you could go for, however! For this step, you should feel free to let your creativity flow and use any of your favorite colors.
You can also achieve some amazing color looks with the art mediums and tools that you decide on to bring the colors to life.
You could achieve bright and vibrant colors using acrylic paints or colored pens for a few suggestions.
More muted colors can be created using mediums such as watercolors and colored pencils to name a few.
These are just a few of the many amazing mediums and tools you can use to bring your colors to bring this drawing to life, and you should feel free to experiment and see what you can come up with.
What will you use to finish off your beanie drawing?
Do this to take your beanie drawing to the next level
Try on these tips we have for making your beanie sketch look even better!
For this drawing of a beanie, we used blue and red as the main colors. These colors look great, but you could use any other colors that you want!
This could include different variations of the colors we used, or they could be entirely unique. Not only can you try out different colors, but you could also use different art tools and mediums together.
Doing this can add some different variety and texture to your picture that will make the colors stand out!
Taking the previous step even further, you can also use arts and crafts to make your drawing really draw the eye. For example, there are some fun crafts you could use for the bobble of this beanie.
This could include a little lump of fabric or maybe some beads. Then, for the fabric of the beanie, you could use some felt or maybe some wool.
These are just a few ideas, but don’t be shy about experimenting with crafts and things you have around the house already.
Once you are happy with how your beanie drawing looks, you could then draw some more of the outfit that goes with it. This could include other warm clothing such as a sweater and some mittens.
This could even be taken a step further as you draw someone wearing the beanie and other clothing. Maybe this character could be based on you or someone you know for a personal touch!
Finally, you can show where you would wear the clothing in your beanie sketch by adding a background.
If you took our previous suggestion and showed someone wearing the beanie, then you could show where they are.
Otherwise, you could maybe show the beanie hanging up with some other clothing and items you would wear in some cold weather.
These are just two ideas you could use, but there are some cool backgrounds you could go with instead!
Your Beanie Drawing is Complete!
This brings you to the end of this guide on how to draw a beanie!
We hope that this guide allowed you to have lots of fun as you learned to draw this fluffy beanie, and also that it was made much easier than expected.
Whenever you take on a new drawing it can always be made simpler and more fun if you break it down into more manageable steps, so that is what we aimed to do for this guide.
Now that you have mastered this drawing, you can keep it going with your own details, elements and designs.
We mentioned a few ideas such as drawing a background or making it look as if you are the one wearing the hat.
These are just a few suggestions that you could go with, but what creative ideas can you think of?
This is just one of many fun drawing guides that we have for you on our website! We upload new ones frequently, so be sure to visit often to never miss out.
Once your beanie drawing is complete, we would love to see your artwork! You can show us by sharing it on our Facebook and Pinterest pages for us to enjoy.